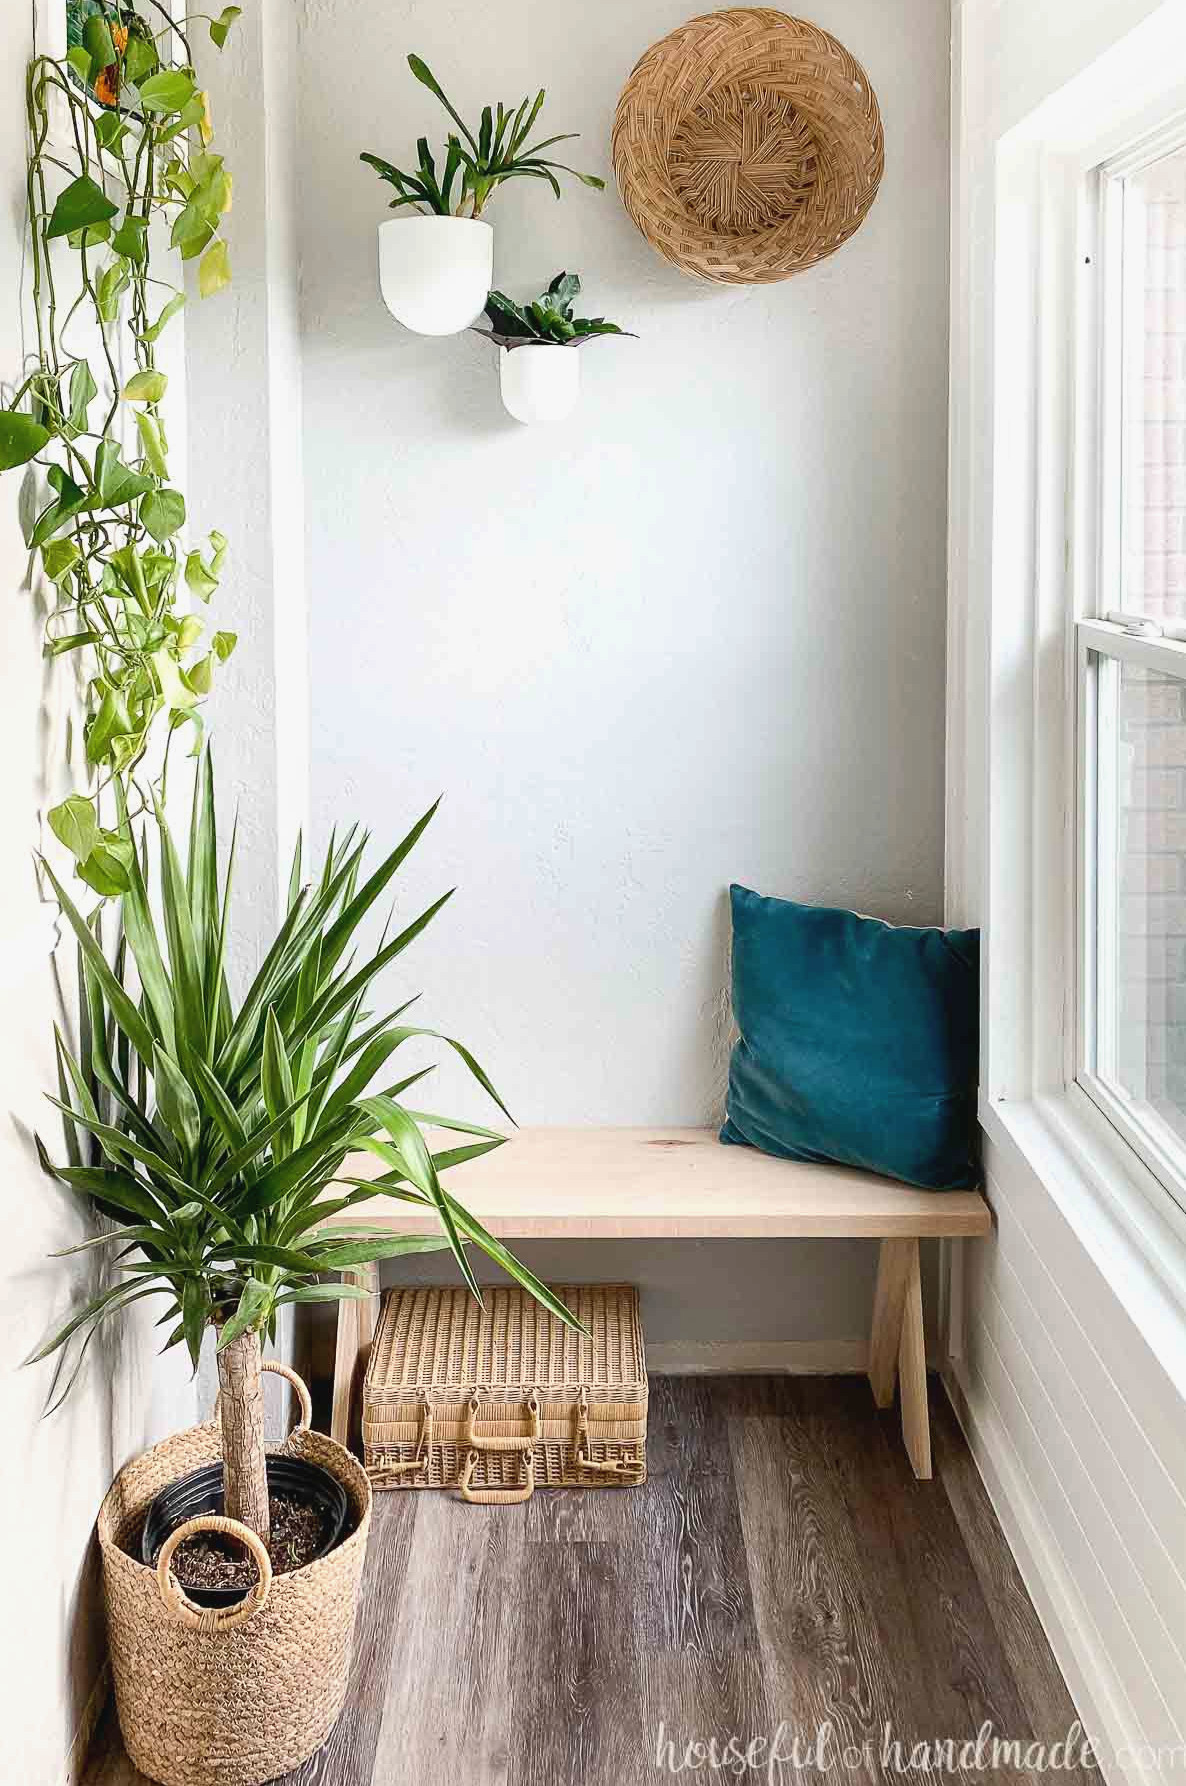
You’ll be amazed by how simple it is to build this solid wood X-Leg bench.
There is no such thing as having too many benches! They are handy for sitting down and removing shoes, providing additional seating, keeping baskets underneath, displaying plants on top, and countless other uses.
When my sister-in-law asked me to build a few uncomplicated x-leg benches for her entryway makeover, I was thrilled to take on the project.
I built two DIY X-leg benches to place on both sides of her spacious entryway. They help ground the area while bringing plenty of practicality and character!
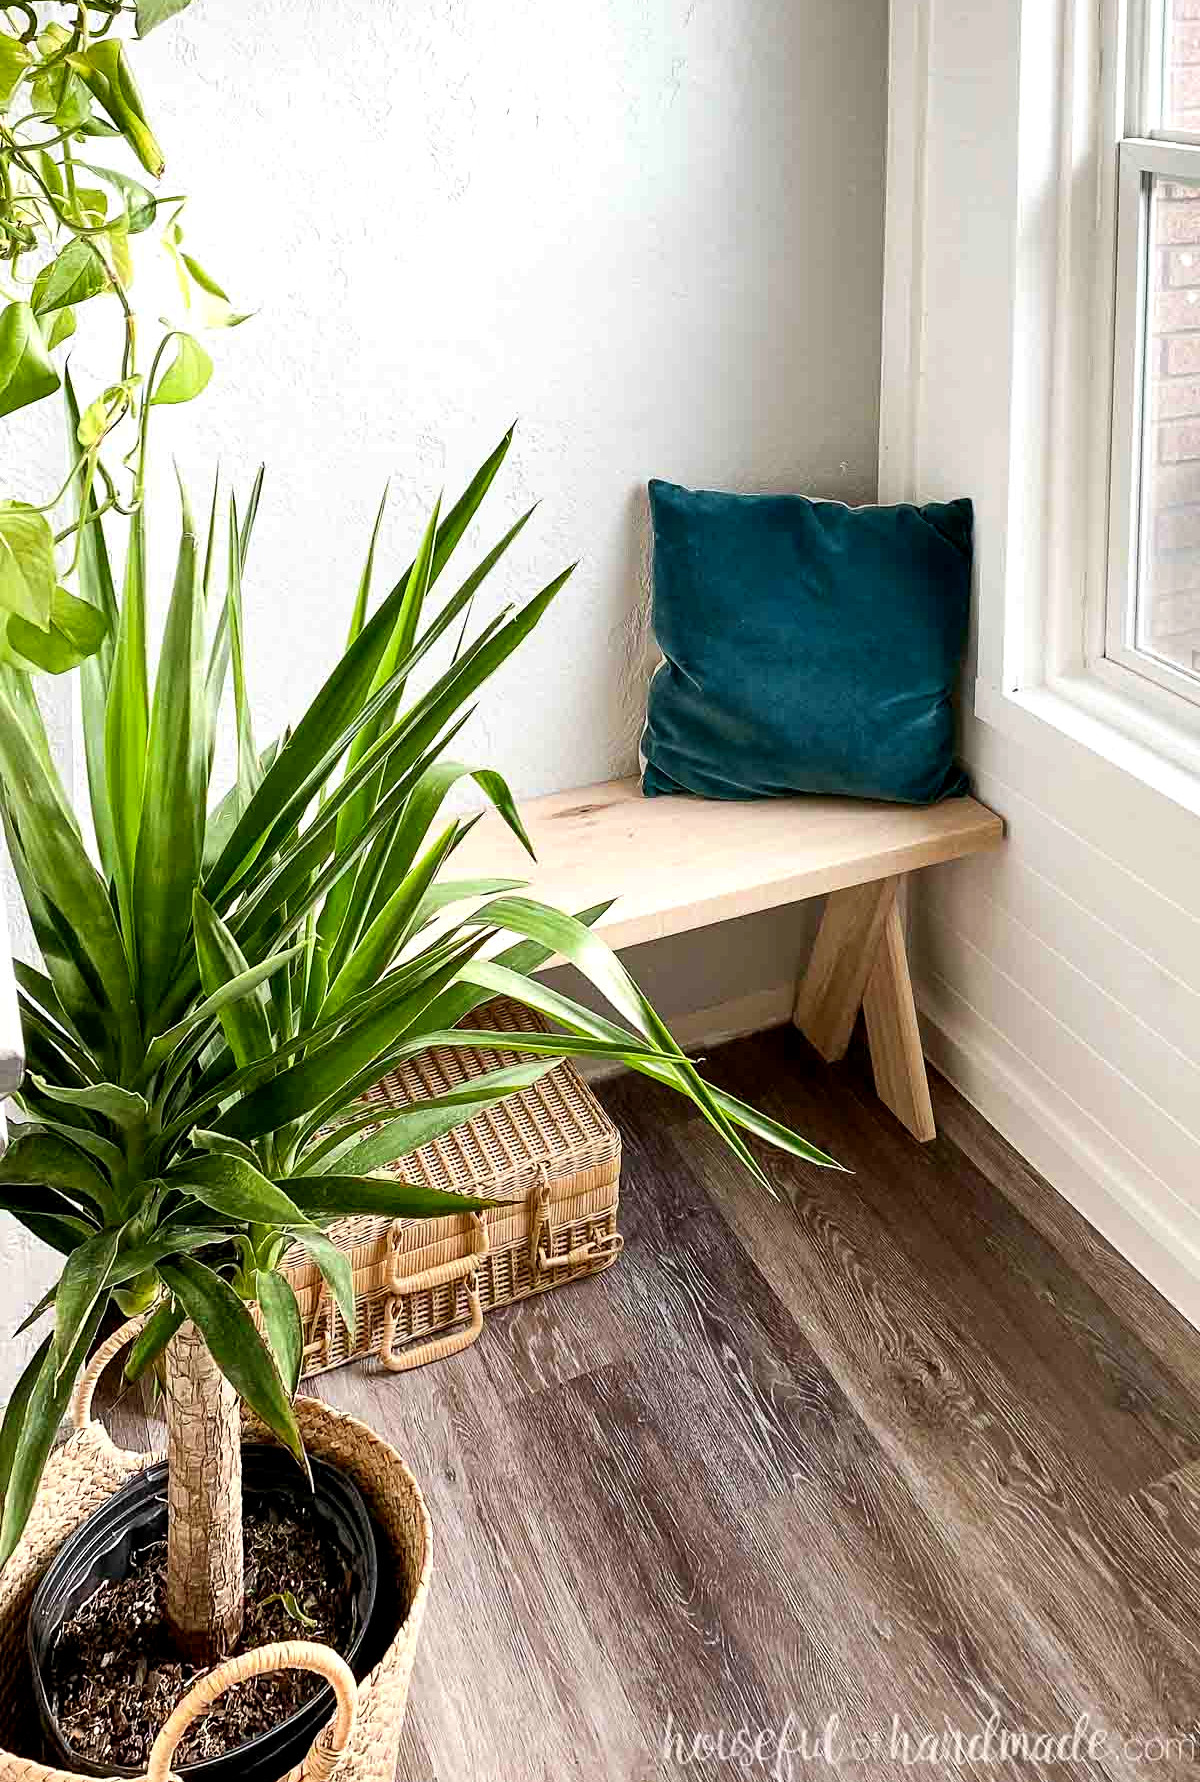
Working with Hickory
The DIY x-leg bench was planned to be extremely straightforward, so we spent time choosing some especially attractive lumber for the project. Naturally, my sister-in-law loved the rich color and pattern of hickory.
I had never used hickory before since I had heard that it was exceptionally hard. The harder the wood variety, the more difficult it may be to work with.
Still, I figured a basic building plan was the ideal opportunity to challenge myself with an unfamiliar wood. It turned out to be a great way to improve my skills with a dense hardwood while giving myself a manageable chance of success.
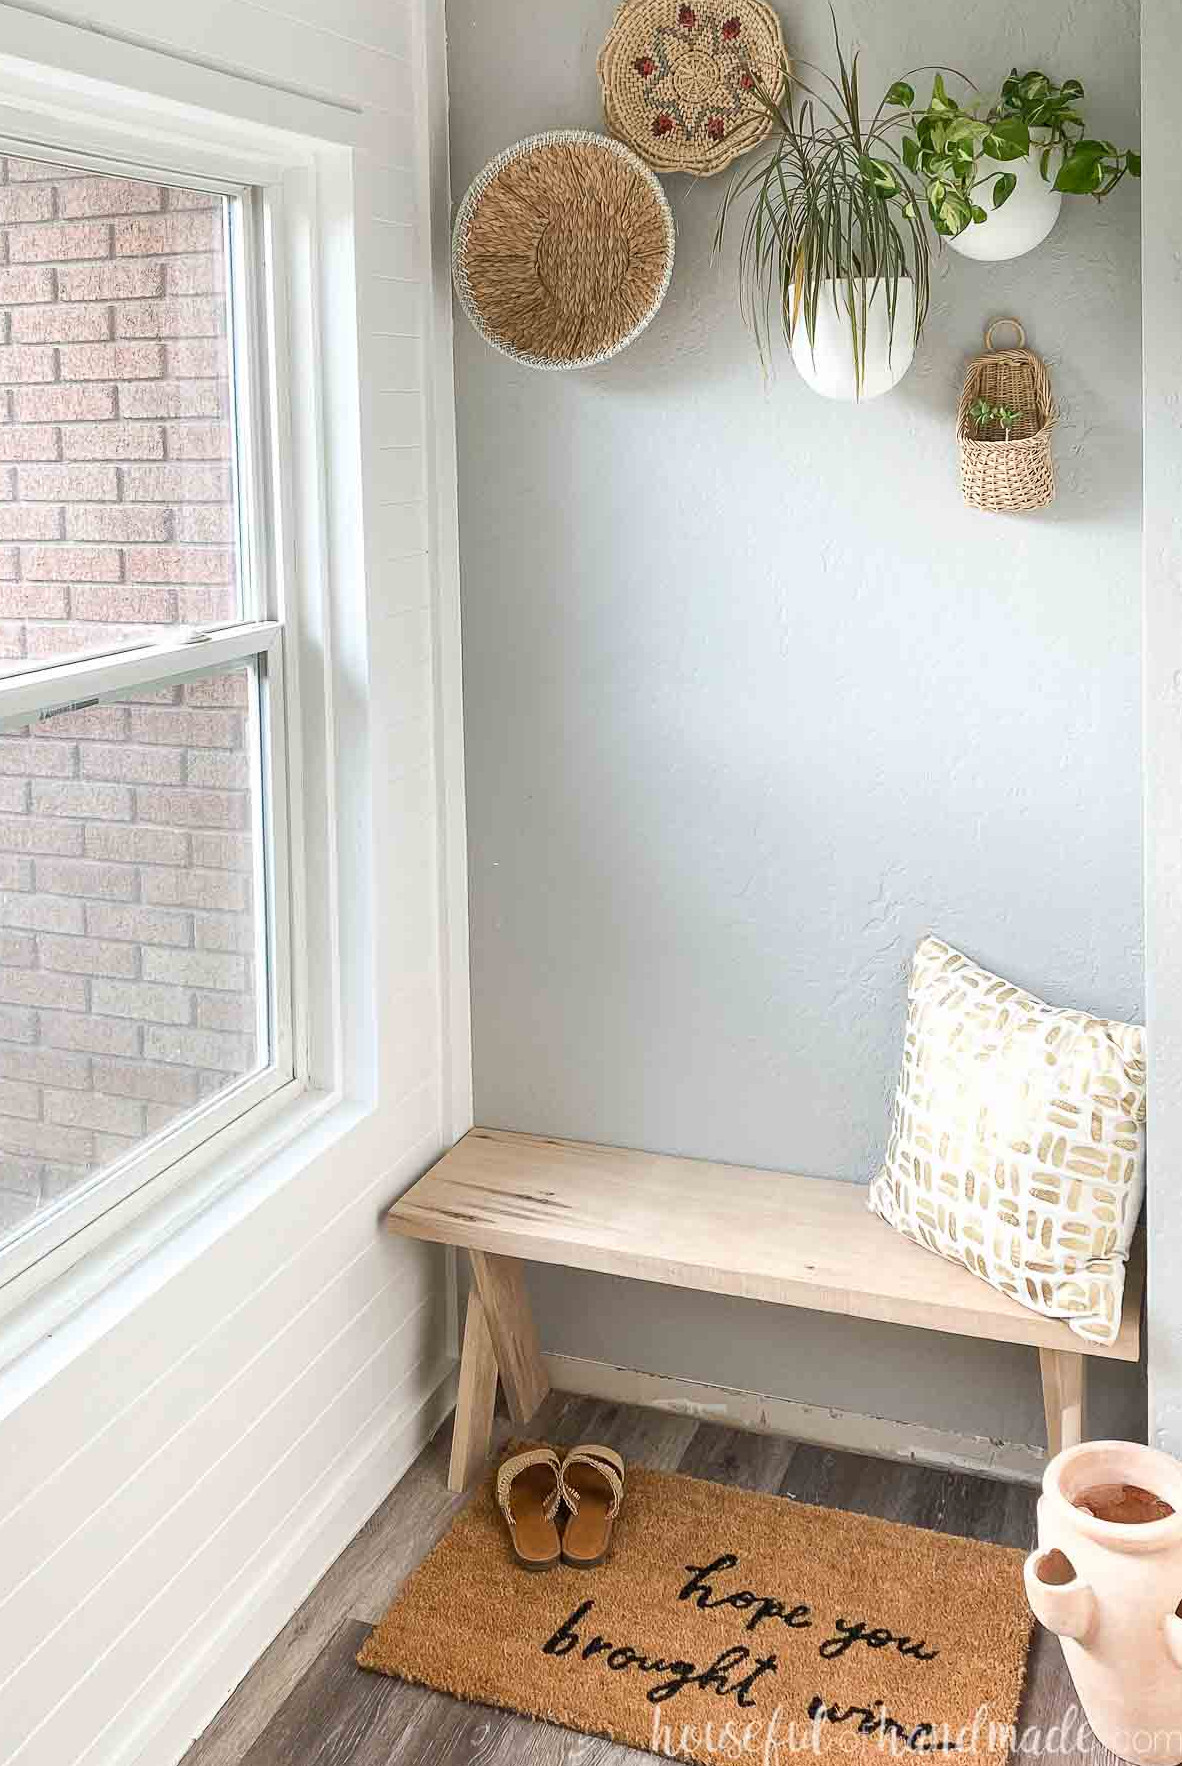
Working with a tougher wood species calls for extra patience. Since we bought rough-sawn boards from the lumber yard, I milled the lumber myself for these benches.
When cutting the boards down to 1×4 dimensions for the legs, I did not attempt to rip through the full 3/4″ thickness in a single cut.
Rather, I raised the table-saw blade only 1/4″ and made one pass. I then raised it another 1/4″ and made a second pass, completing the final 1/4″ with a third cut.
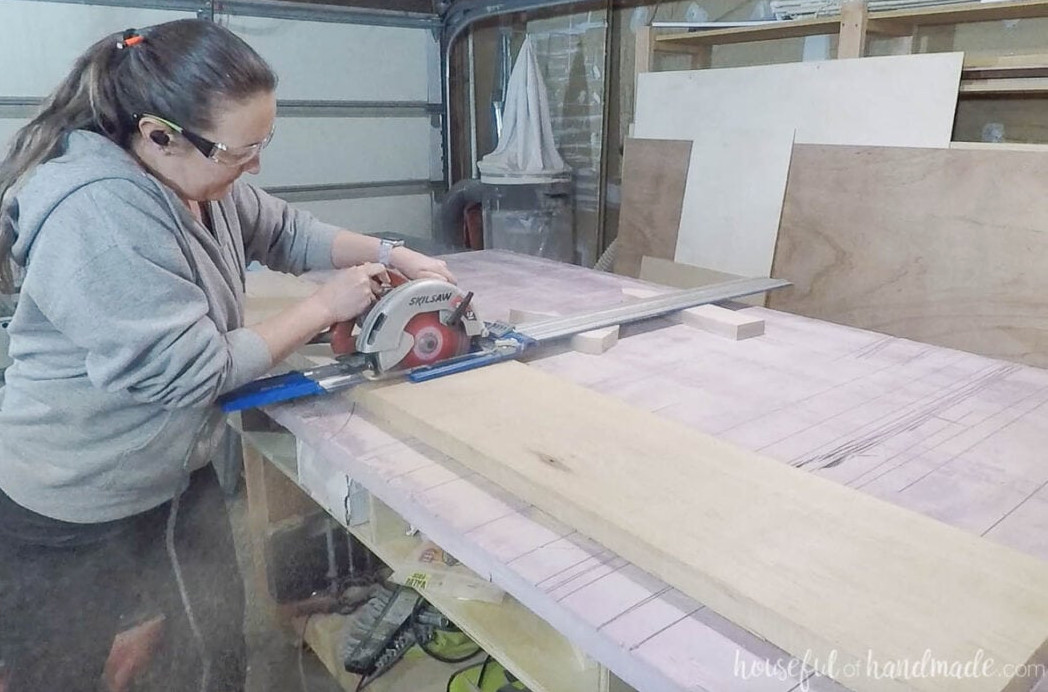
In addition, for cutting the 1 1/2″-thick board used for the bench seat, I placed it on a sheet of 2″ rigid foam and used my circular saw. The foam supports the entire board, preventing it from flexing during the cut and keeping the blade from binding.
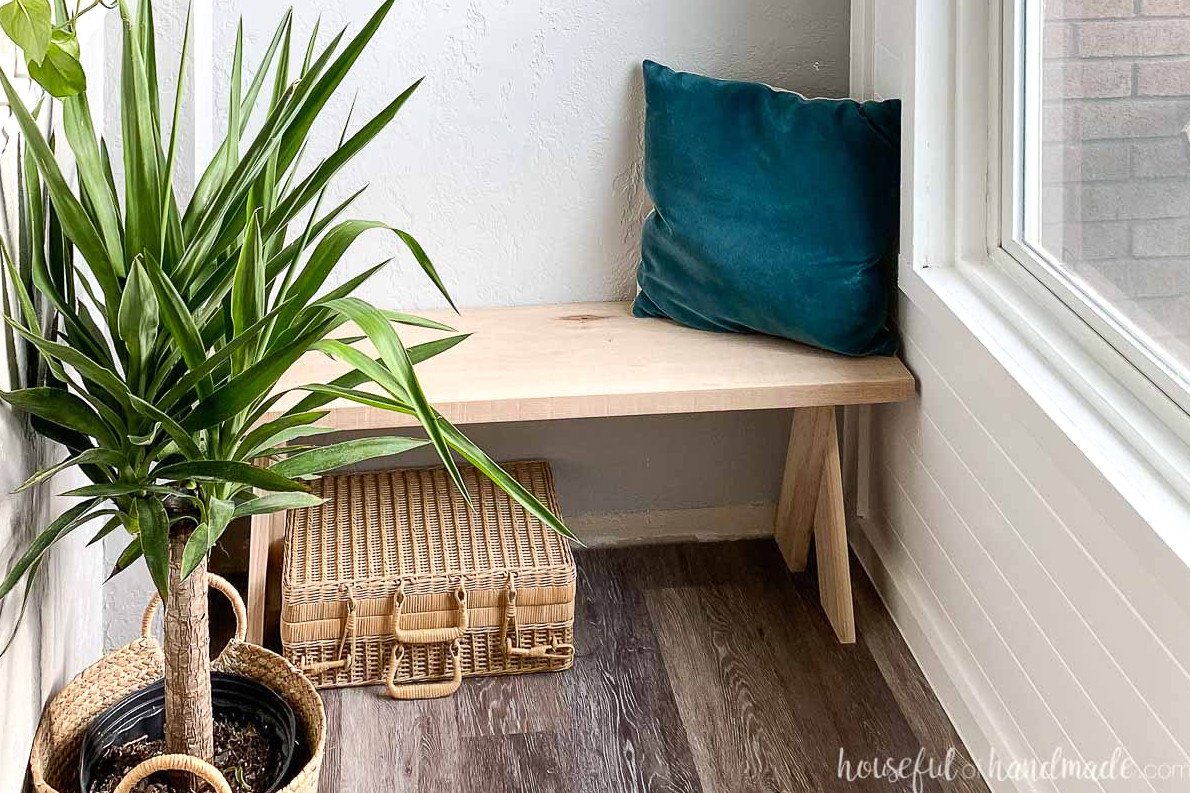
Despite the additional precautions needed to cut the hickory safely, these uncomplicated DIY benches assembled in no time.
Since the completed benches look incredible, I am now prepared to try another hickory project!!!
Simple Jig for the X-Legs
One issue I faced while putting together the x-legs was ensuring that the legs sat perfectly flush at both the bottom and the top. Measuring the attachment points for the two legs is tricky because every component is angled.
When the legs are not completely flush at both ends, the benches will wobble. That is something nobody wants!
Fortunately, I found an ideal answer: a very simple DIY jig!
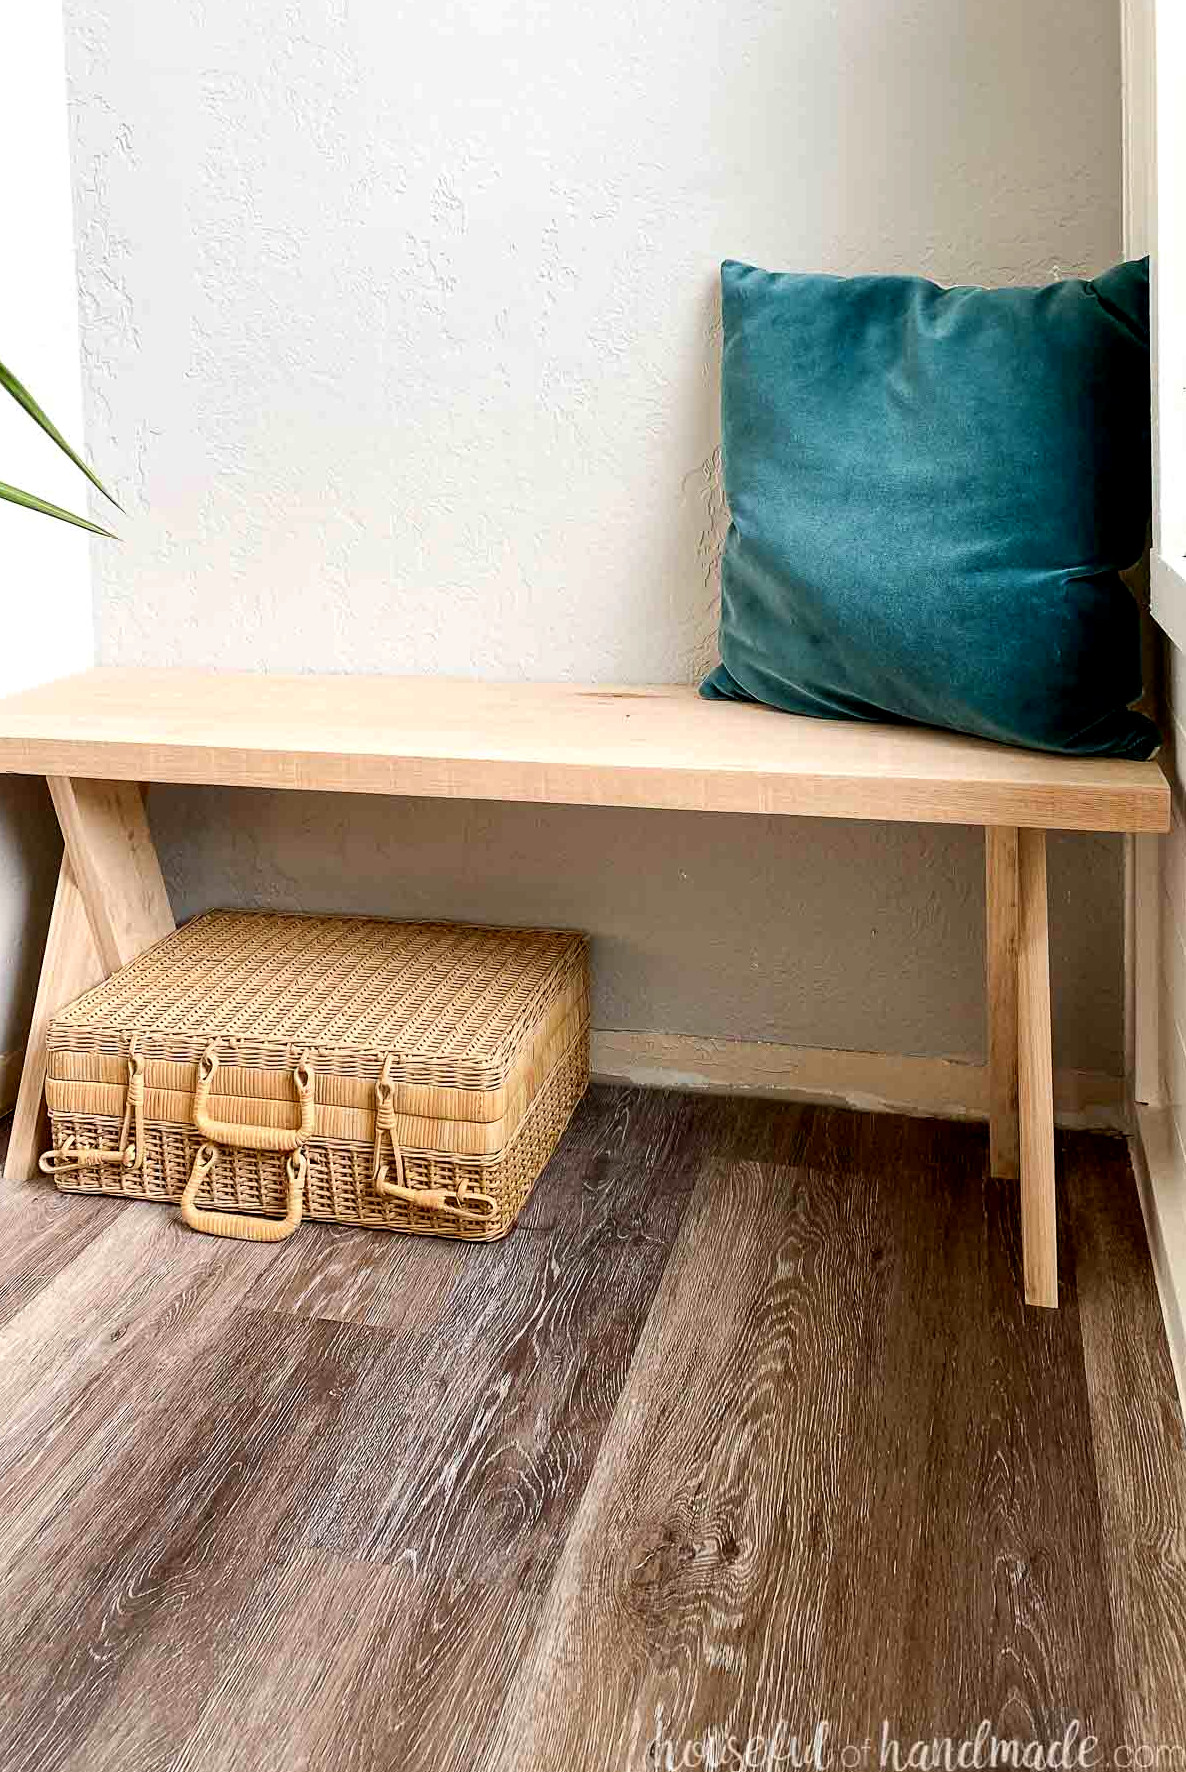
Jigs are useful for woodworking jobs that must be repeated accurately or made more convenient. I only wish I had discovered them much sooner in my woodworking experience.
This jig consists of only 3 wood scraps fastened with a handful of screws. However, it made it effortless to create 4 matching, level legs for the 2 benches.
More Benches & Entry Ideas
Create a stylish, functional entryway with storage by trying these fantastic DIY projects.
How to Make an X-Leg Bench
Tools & Materials
Cut List
For these benches, I chose hickory purchased from my nearby lumber yard. However, any type of wood will work, including boards bought from a local home improvement shop.
To make the bench seat, cut the 1×12 down to 40″ in length.
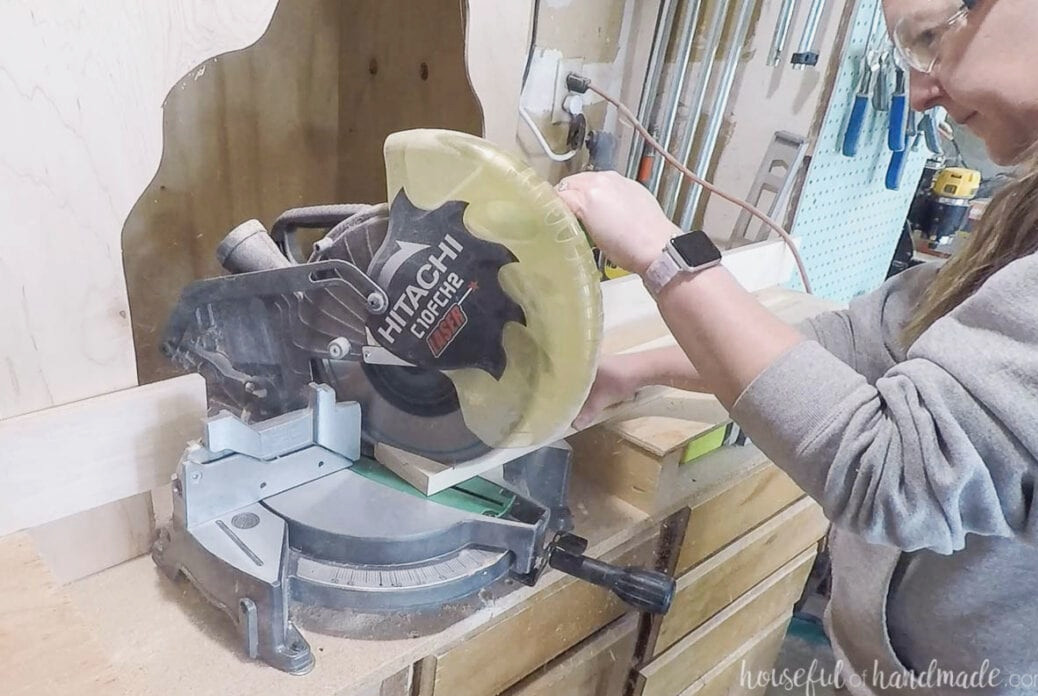
For the legs, cut four 1×4 boards to 17″ long, cutting both ends of every leg at a 20 degree angle.
As a result, each piece measures approximately 15 1/2″ from point to point.
STEP 1- Build a jig for the leg assembly
Spending a short amount of time making this basic jig ensures that both leg sets sit evenly on the bottom and match after assembly.
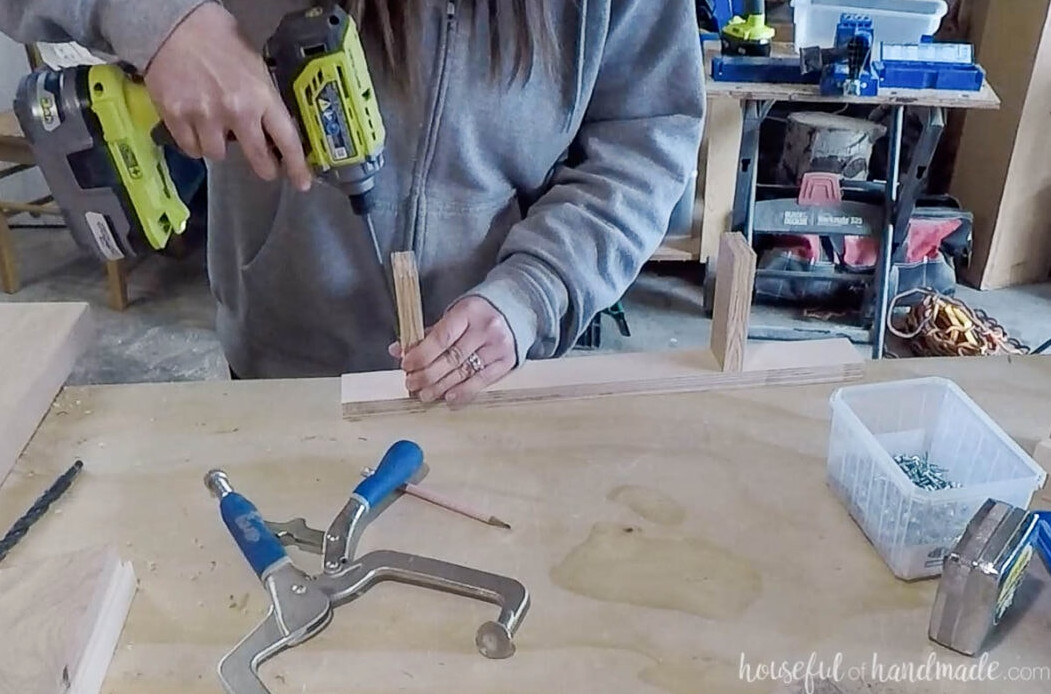
Cut a few 1×2 scraps or ~1 1/2″-thick plywood pieces, then fasten two ~3-4″ sections to a board with a 10 1/2″ gap between them.
I used my Kreg jig and pocket-hole screws to secure the smaller pieces to the larger board, though regular screws driven from the back will work too.
STEP 2- Build the legs
Before assembling the x-legs, use the doweling jig to drill 2 dowel-pin holes into the top of each of the four leg pieces.
Without a doweling jig, you can instead fasten the legs to the bench seat using these figure 8 fasteners.
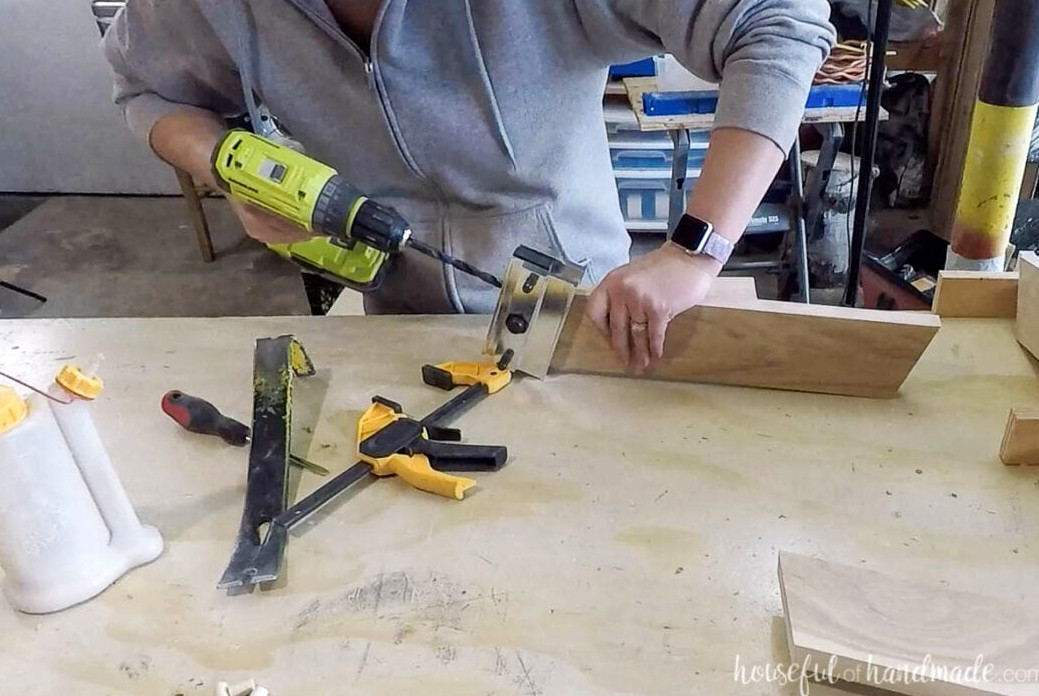
Secure your jigto your worktable so it rests along the sides, then position the first leg piece inside it. The leg’s bottom should sit flush with the jig’s back, while its outer edge contacts the jig’s side.
Position the second leg over the first, keeping its bottom flush and its outside edge against the opposite side of the jig. Indicate the area where the two pieces intersect.
Spread wood glue on the first leg only in the section where the pieces overlap. Next, reposition the second leg over it.
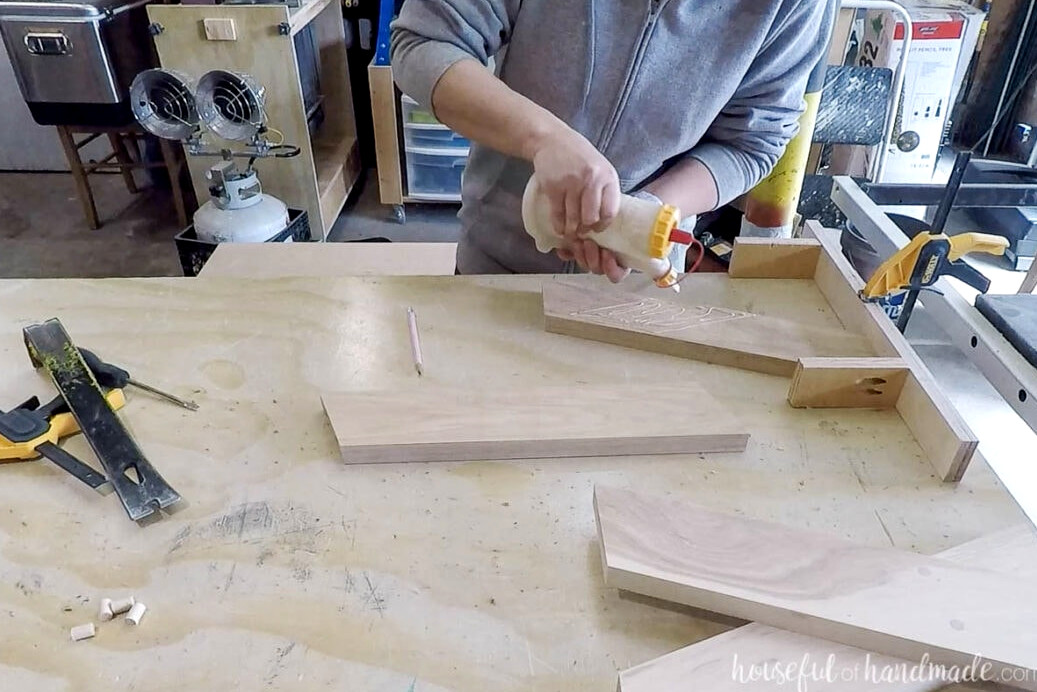
Draw a line through the middle of the overlapping leg pieces.
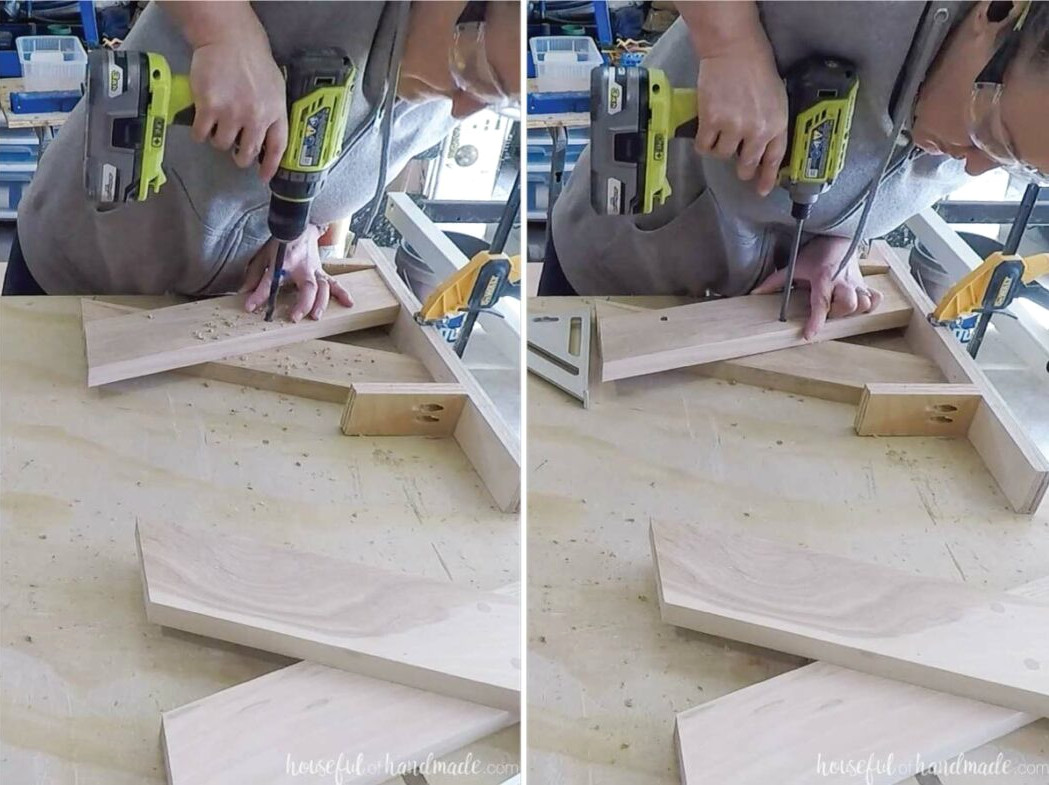
With a 1/4″ drill bit, make two 1/4″-3/8″ holes through the upper leg along the center line. Place one hole nearer the bottom and the second closer to the top.
Secure the legs together by driving the 1″ wood screws through the holes. Keep both pieces properly positioned in the jig while fastening them.
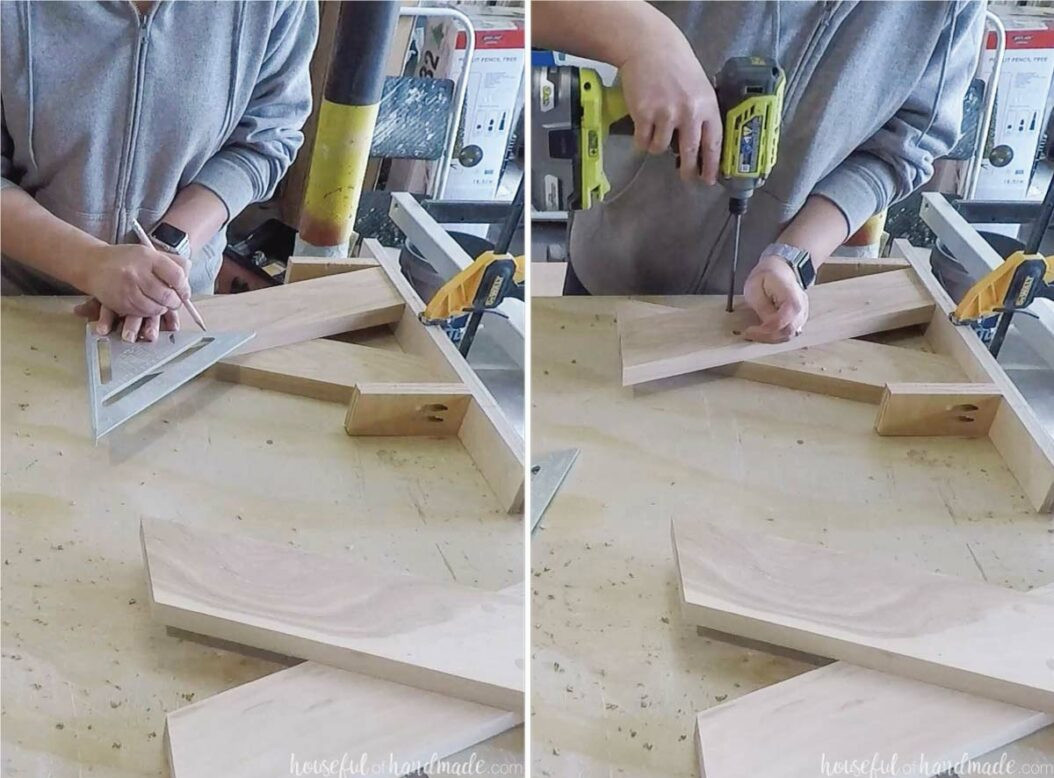
Turn the leg over, then draw a horizontal center line across the overlapping areas.
Make two additional holes along this line and fasten the pieces with two more screws. Position one hole toward the left and the other toward the right.
At this point, you should have a strong x-leg. Make the second leg the same way.
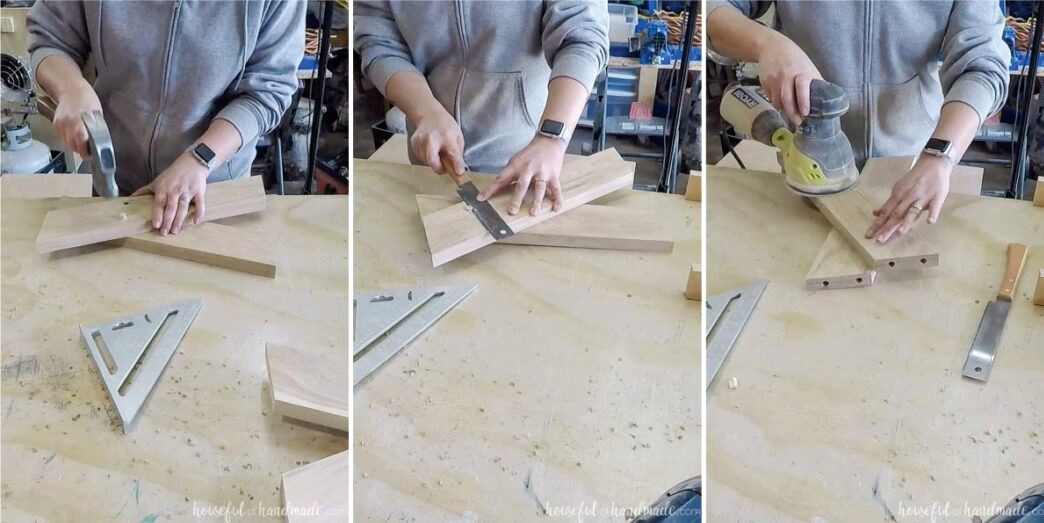
Slice short sections from the 1/4″ dowel and glue them into the holes in the leg. Tap each piece firmly into position. Once set, use a flush-cut saw to remove the excess, then sand the surface smooth.
Do the same on both sides of each leg.
STEP 3- Attach the bench top
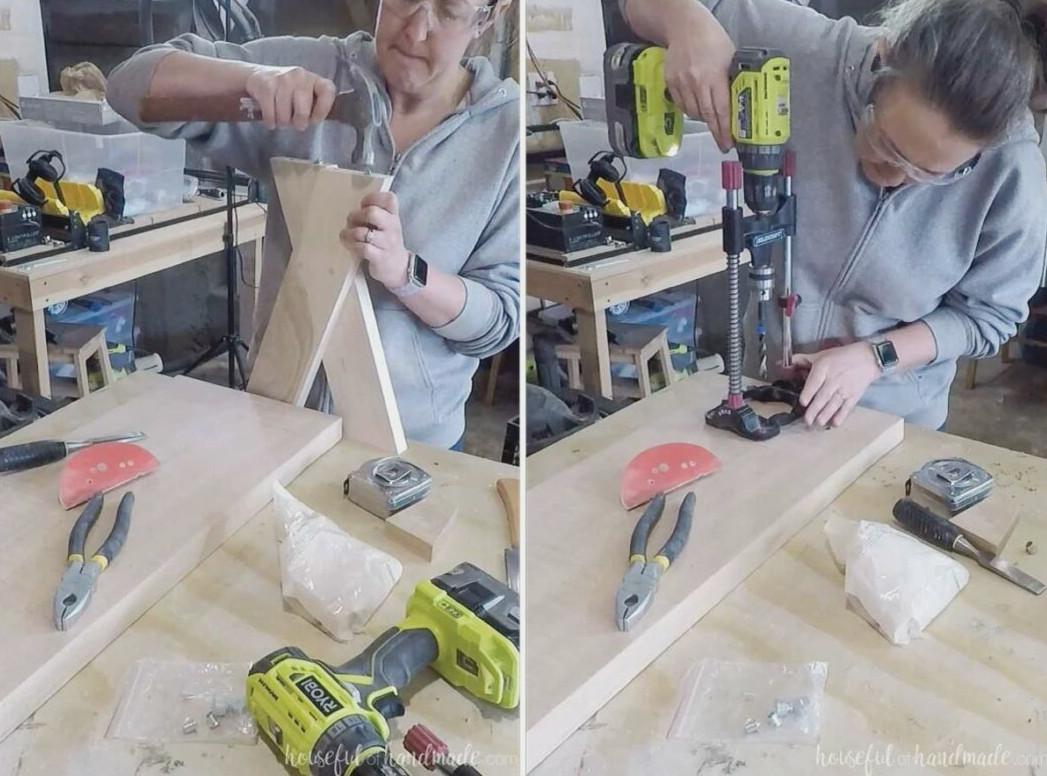
For fastening the bench top, I placed dowel center points in the existing dowel holes to mark where the matching holes needed to be drilled on the top’s underside.
Using dowels to connect the legs leaves no visible joinery, although these figure 8 fasteners offer another simple option. Most of the fasteners would remain concealed beneath the bench.
Because I don’t own a drill press, I used a portable drill guide to hold the drill straight while making the pin holes.
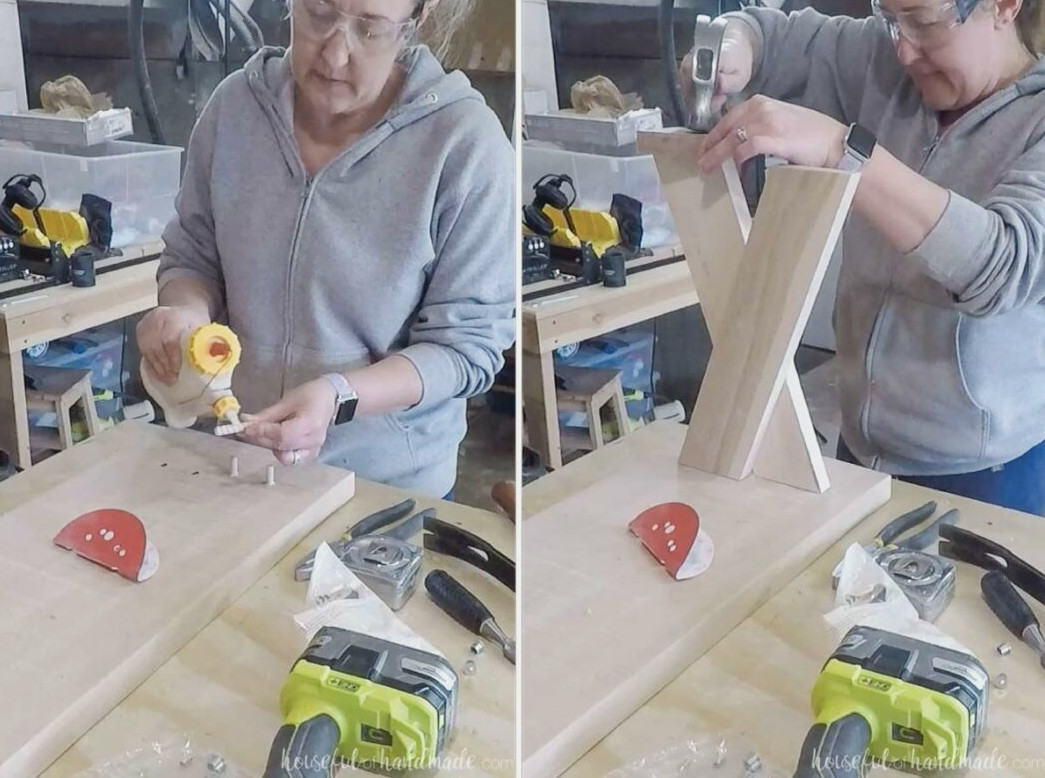
To install the legs, glue the dowel pins into the bench top. Apply wood glue to the leg tops and the insides of the dowel holes, then tap the legs onto the pins.
Hold the legs firmly with clamps until the glue dries. Repeat the process with the second leg.
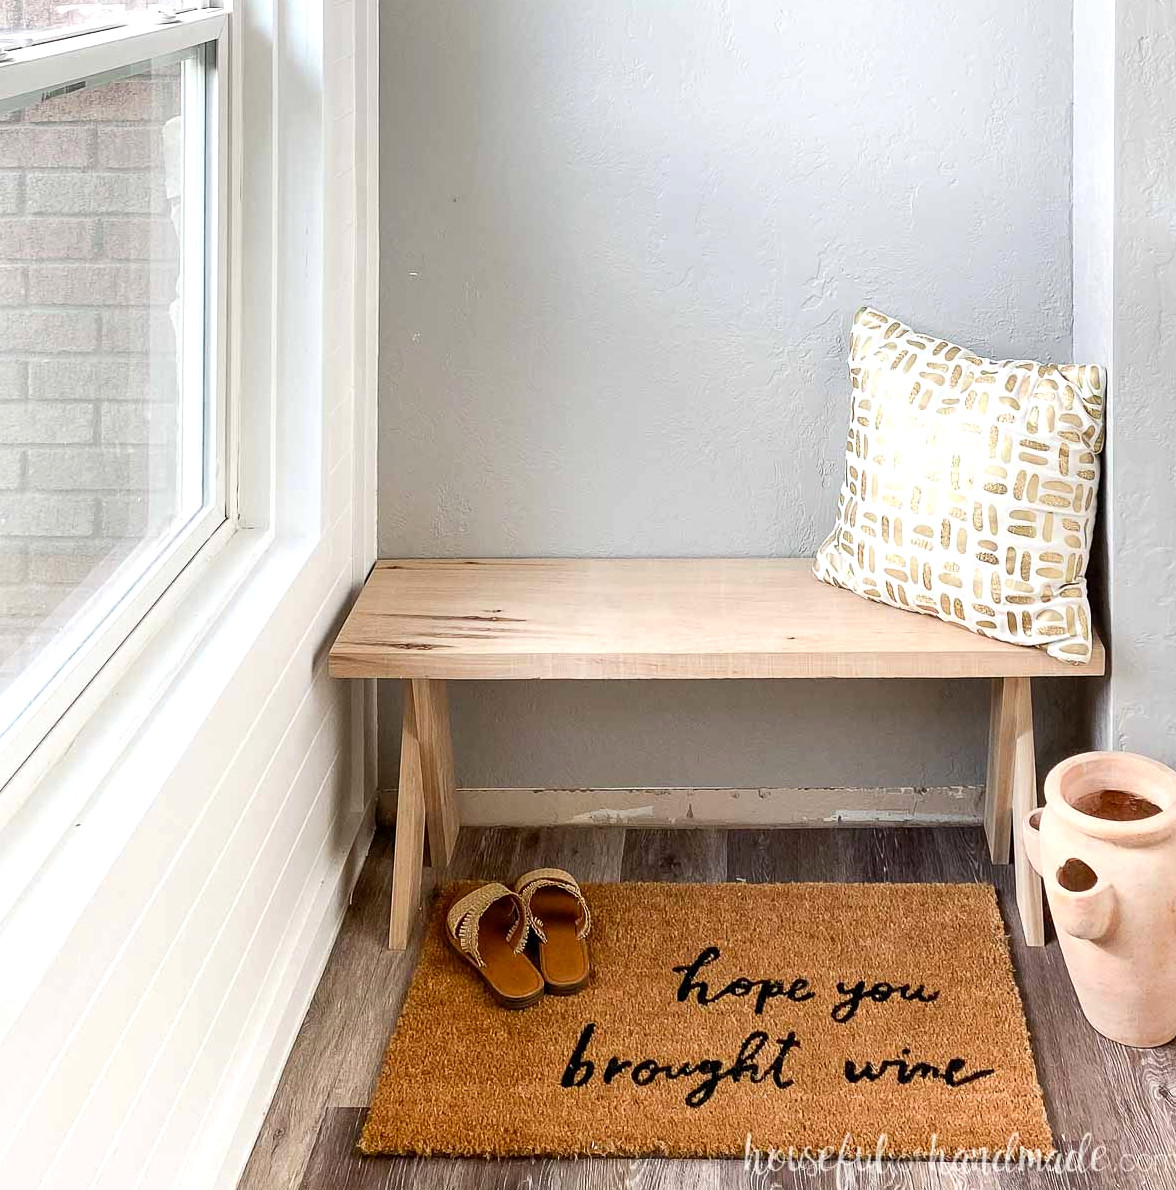
That’s it—you’re finished! You now have a lovely x-leg bench without exposed screws or visible hardware.
I really enjoy the clean design of these benches, which lets the gorgeous wood my sister-in-law selected take center stage.
Enjoy building!