Create a gorgeous DIY console table that brings extra storage and style to your home.
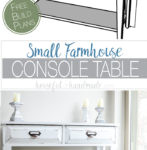
Featuring two roomy drawers and two shelves, this DIY farmhouse console table is an excellent storage solution for small spaces.
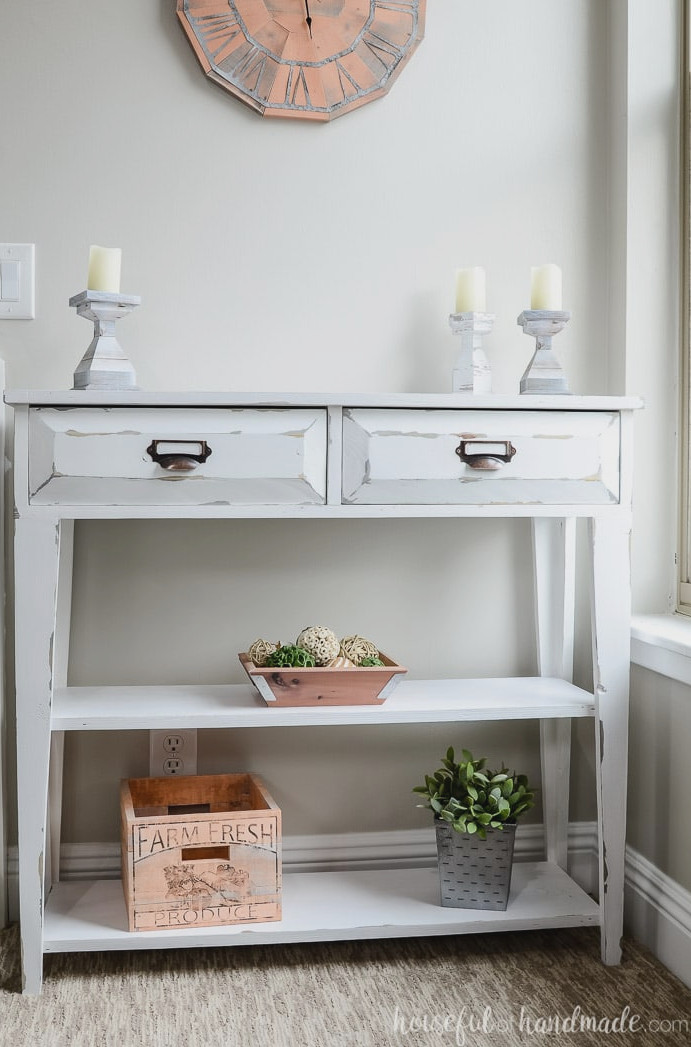
For tight areas, a small console table is an ideal choice. This white farmhouse-style console features open shelving that is perfect for showcasing your favorite treasures.
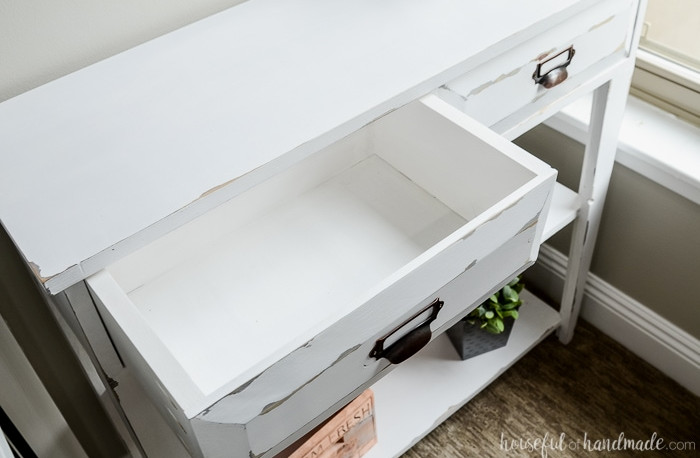
The spacious drawers also provide useful storage for your room. Best of all, this compact console table is fast to assemble and makes an excellent weekend project.
There is an inconvenient nook in our living room beside the window. At first, I imagined placing a chair there, but the area was only a little over 36″ wide, making it too cramped for comfortable seating.
Instead, the spot turned into our clutter corner. Do you have a place like that? Somewhere you toss items that have not found a proper home?
I had grown tired of the mess, so I decided to create the ideal answer for our small unused space.
Because the nook sits beside the window, I decided that a petite console table would be an ideal fit for the area.
I wanted open shelving for displaying attractive pieces rather than the clutter piles that had occupied the corner. A couple of drawers would also be useful for concealing the mess that never seems to fully go away.
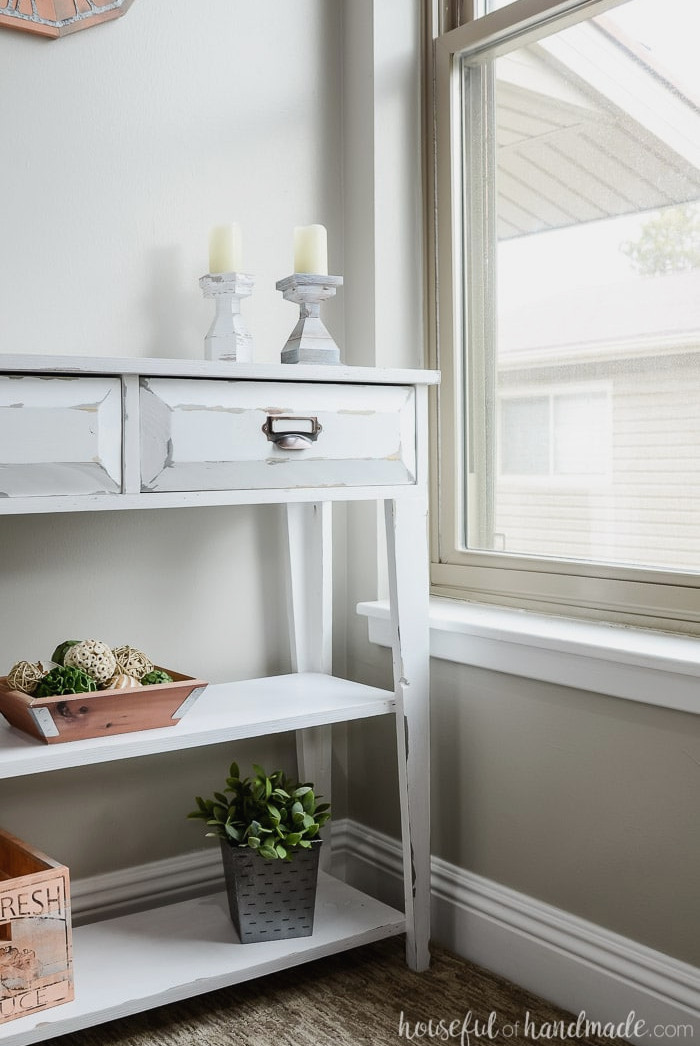
I searched for a farmhouse console table that would work, but the available options were either oversized, lacking in storage, or beyond my budget.
So I chose to build a small console table that included all the features I wanted. The result was this beautiful farmhouse-inspired console that I absolutely adore!
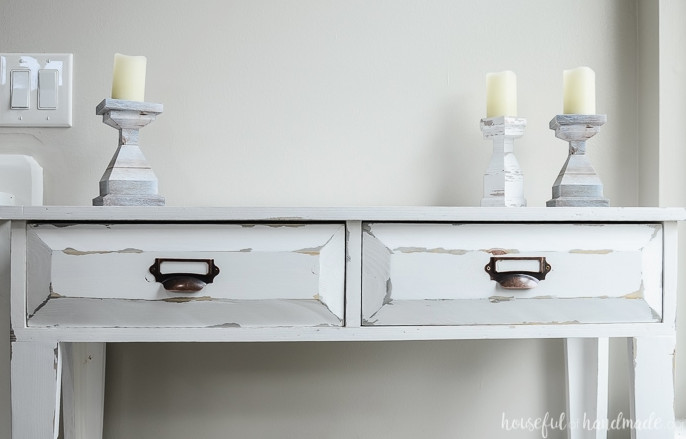
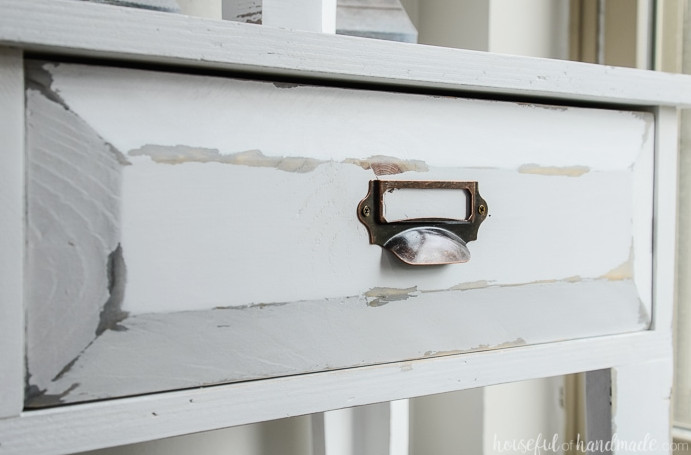
The detail I love most is the attractive shape cut into the drawer fronts. Adding trim could create decorative drawer faces, but I preferred a more distinctive design.
Using a table saw, I angled away the edges of the drawer fronts, and the outcome turned out beautifully. Simple aging methods make the drawer shape stand out and give it an impressive finished look.
This compact console table would look wonderful in a living room, as ours does, or in a dining area. It offers a convenient spot for napkins, table linens, and serving dishes.
It could also serve beautifully as an entryway table or hallway console. Its narrow profile makes it ideal for making use of those troublesome corners throughout your home. Now it is time to start building!
More Console Tables to Build
Use these handmade console projects to bring organization to every part of your home. There is an option for every room!
How to Make a Small Console Table
Tools & Supplies
Finished Dimensions
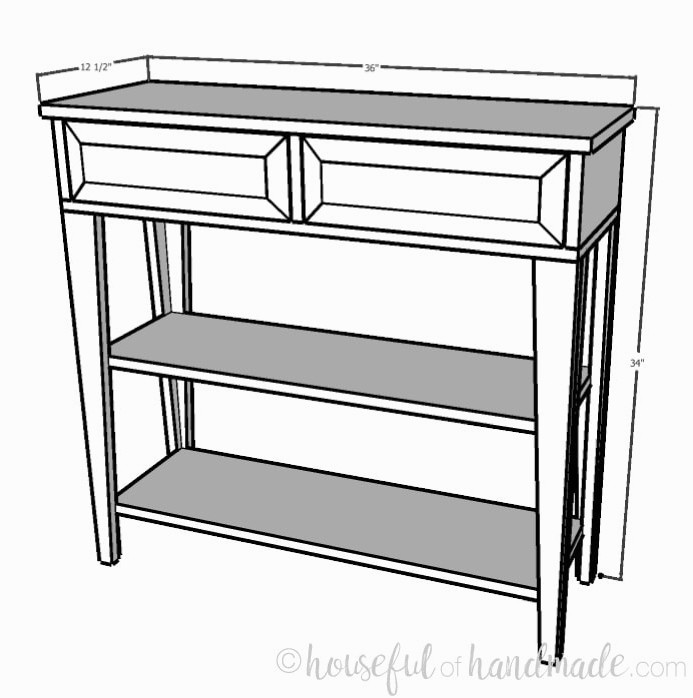
Once completed, the console table with drawers measures 36″ wide x 34″ tall x 12 1/2″ deep.
Each drawer measures 16 1/4″ wide x 11″ deep.
Required Cuts
Prepare the components by following the clear cut chart included in the PDF plans.
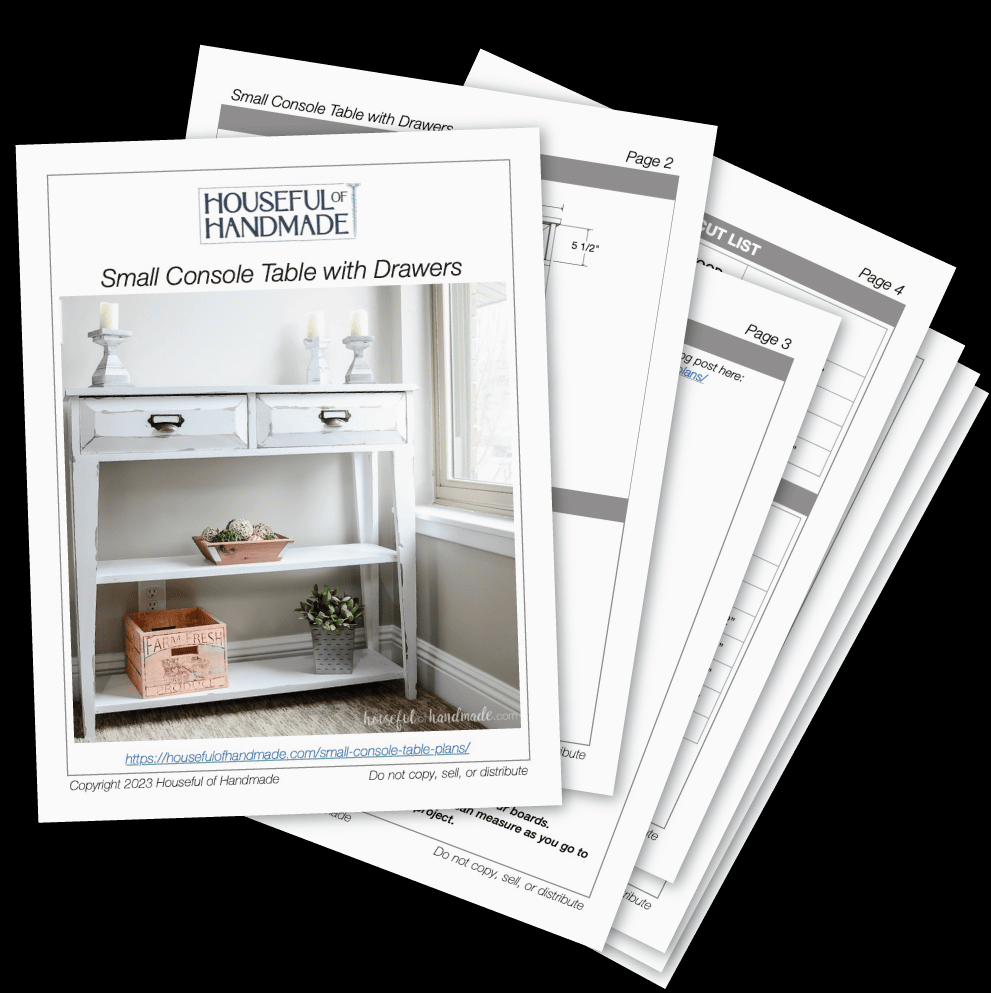
Download the Premium PDF Woodworking Plans
PDF plans contain- Simple Cut List, Materials List, Suggested Tools, Detailed Step-by-Step Directions with 3D illustrations, & Useful Resources
BONUS- 3D SketchUp Model
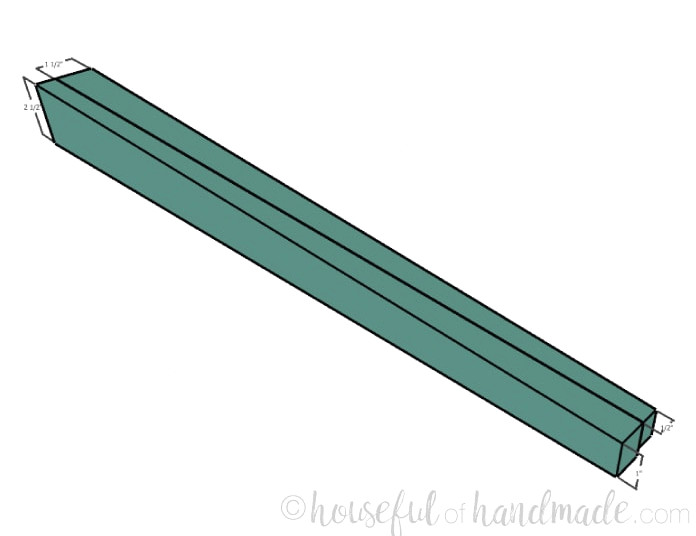
STEP 1- Cut and put together the legs
With a circular saw and guide track (this is my favorite) or a jig saw, taper the 27″ leg boards so that the board measures 2 1/2″ wide at the top and 1″ wide at the bottom, following the diagram in the plans.
Next, taper the leg side boards so they measure 1 1/2″ wide at the top and 1/2″ wide at the bottom.
Before putting the legs together, make pocket holes for 3/4″-wide material in the upper sections of the legs and leg sides. Position the pocket holes toward the inside of the small console. The holes on the rear legs may instead face the back of the console.
Join the legs with the straight edge of each leg side aligned flush with the straight edge of the leg. Apply wood glue, fasten with finishing nails, and allow everything to dry.
STEP 2- Assemble the base
Make 4 pocket holes for 3/4″-wide material in the side corners of the plywood shelves. Place them near the shelf edges so the screws can catch the narrow part of the legs.
Mark the desired shelf locations on all four legs, then attach the shelves using pocket hole screws and wood glue.
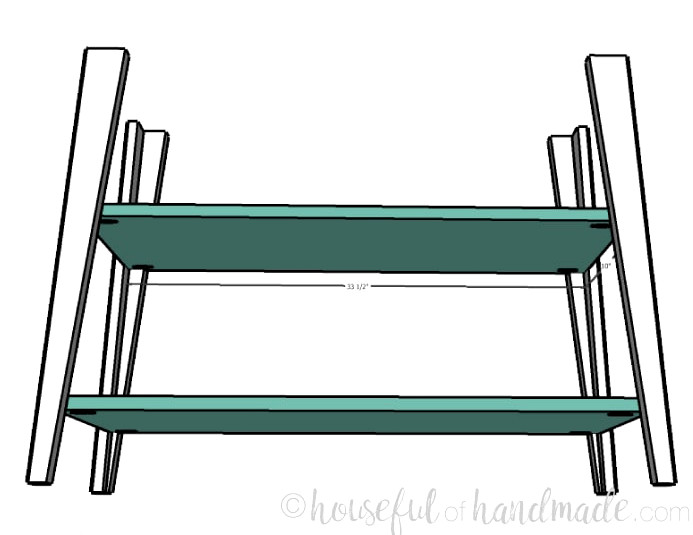
Use wood glue and pocket hole screws to fasten the bottom of the drawer section to the tops of the legs. Check that the plywood bottom lines up flush with the legs’ outside corners.
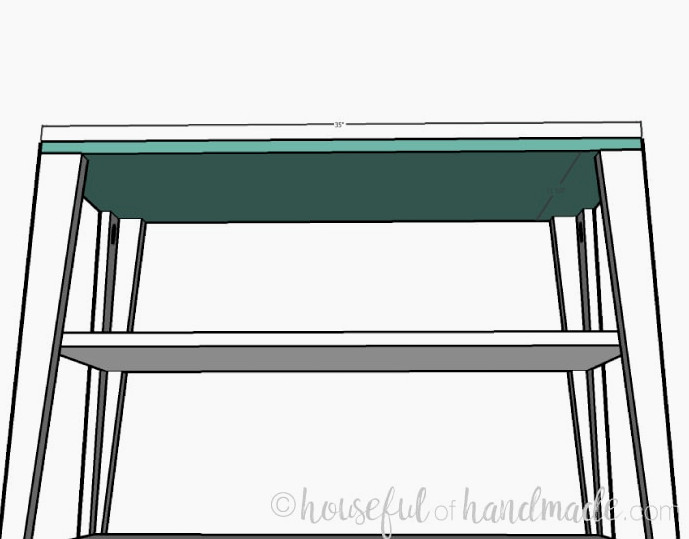
STEP 3- Construct the console top
Following the diagram in the build plans, attach the drawer section’s back, sides, and center divider to the upper side of the bottom piece. Fasten them with wood glue and pocket hole screws.
Confirm that the boards sit flush with the bottom’s outer edge, and make sure the center divider is straight and positioned in the middle.
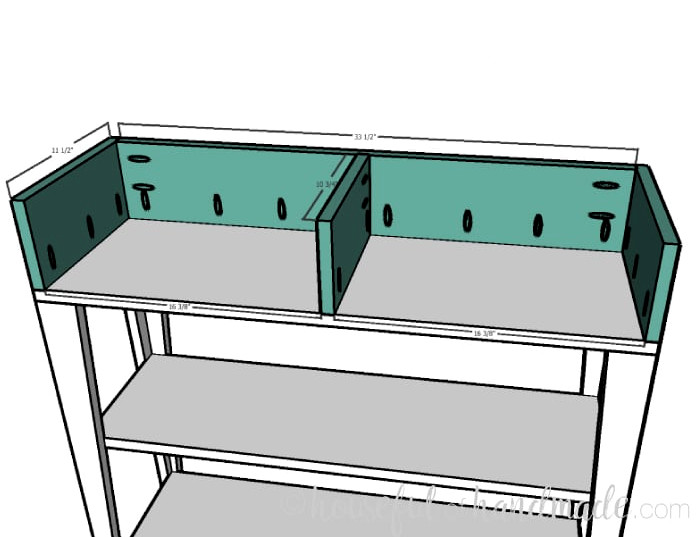
Set the console tabletop in place and center it, leaving a 1/2″ overhang on every side.
Attach it to the drawer section’s sides, back, and center divider with wood glue and finishing nails.
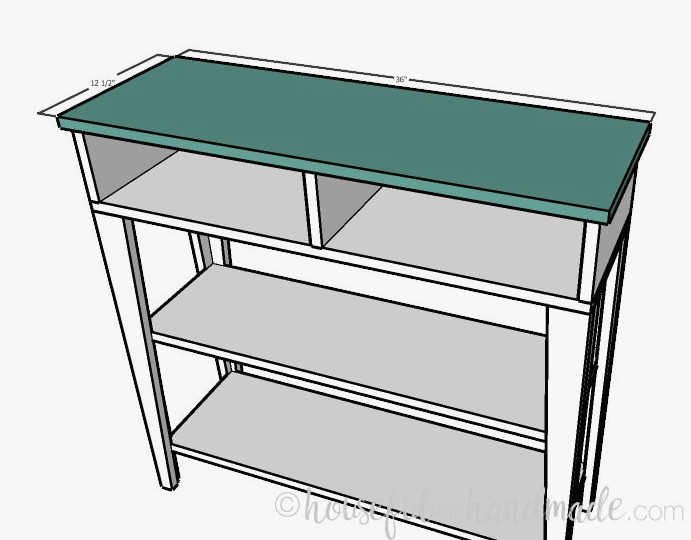
STEP 4- Assemble the drawers
For the drawers, rip the 1×6 boards to a width of 5 1/4″ so they fit inside the console drawer compartment.
These drawers do not use drawer slides; they simply rest inside the boxes. Add four felt furniture pads beneath the drawer corners to help them glide smoothly.
To shape the two decorative drawer fronts, position your table saw fence 3/8″-1/2″ from the blade. Set the blade height to approximately 2″, then angle it 15 degrees away from the fence.
Pass all four edges of each drawer front board through the table saw, cutting an angle while keeping the middle front section flat.
Alternatively, leave the drawer top flat and attach trim to the front, as I did during this sewing machine table makeover.
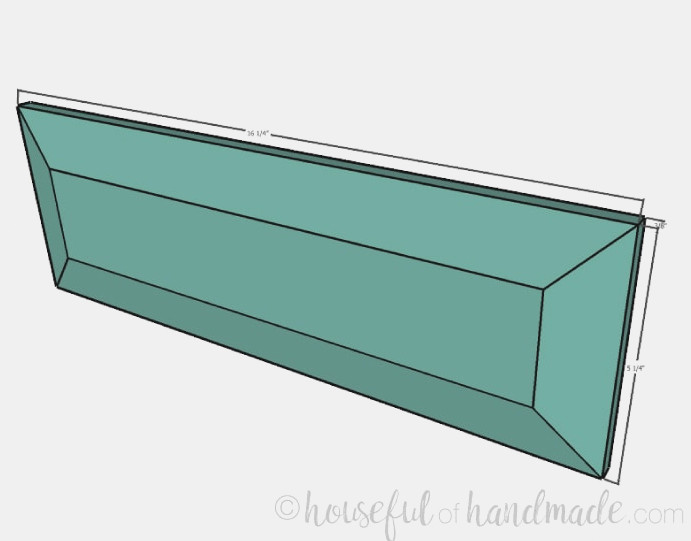
Cut a groove 1/4″ deep and 1/4″ wide into the drawer side and back boards, positioning it 1/4″ above the bottom edge. To do this on the table saw, place the fence 1/4″ from the blade and set the blade height to 1/4″.
Feed the boards through the saw, then move the fence one blade width farther from the blade and run the boards through again. Repeat this process until the groove reaches 1/4″ in width.
Find additional drawer-box building tips and methods here.
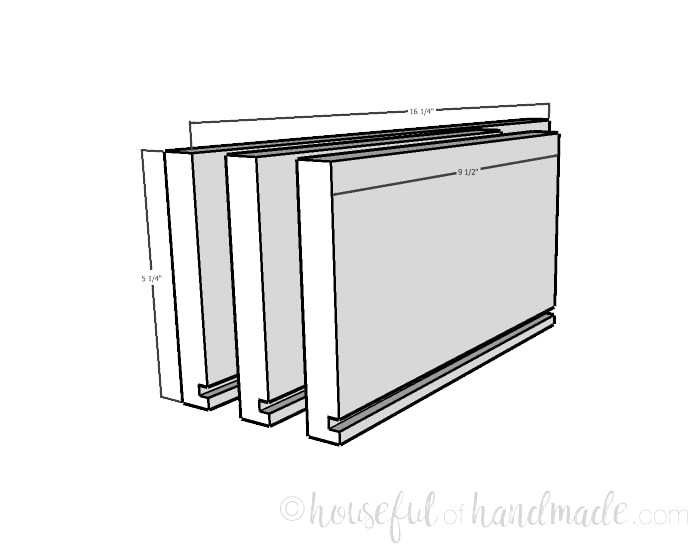
Make pocket holes for 3/4″ material along the outside back of the drawer sides.
Create pocket holes for 1/2″ material on the outside front of the drawer sides. Remember that decorative cuts make the drawer front only about 3/8″ -1/2″ thick.
Fasten the drawer sides to the drawer back with wood glue and 1 1/4″ pocket hole screws.
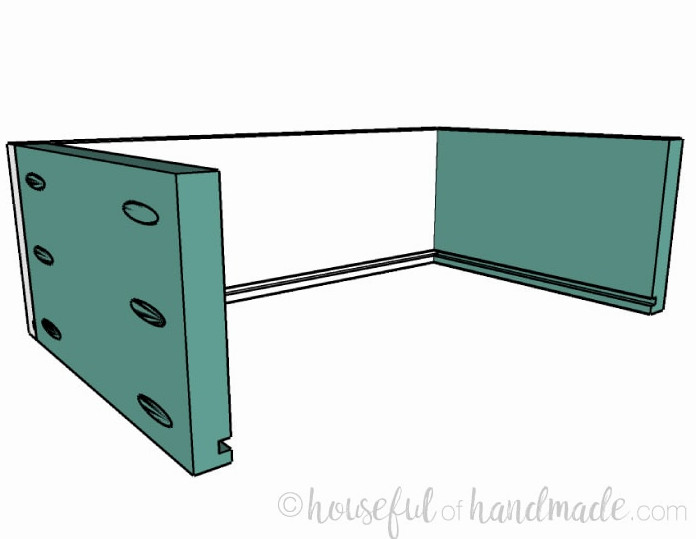
Insert the 1/4″ plywood drawer bottoms into the grooves in the drawer boxes.
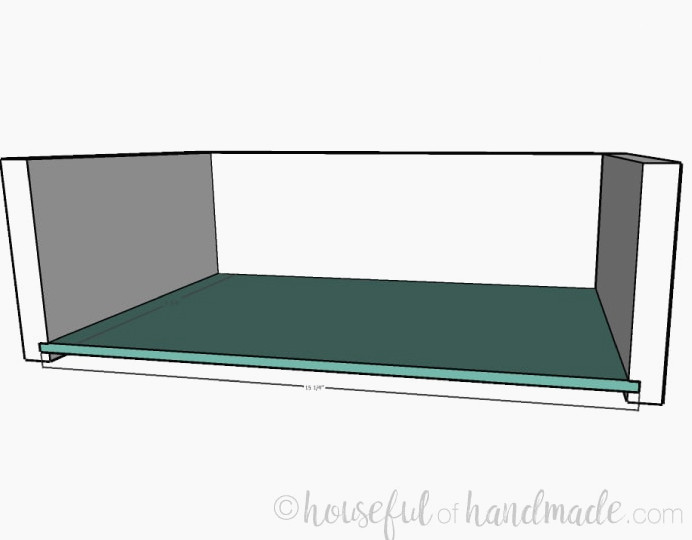
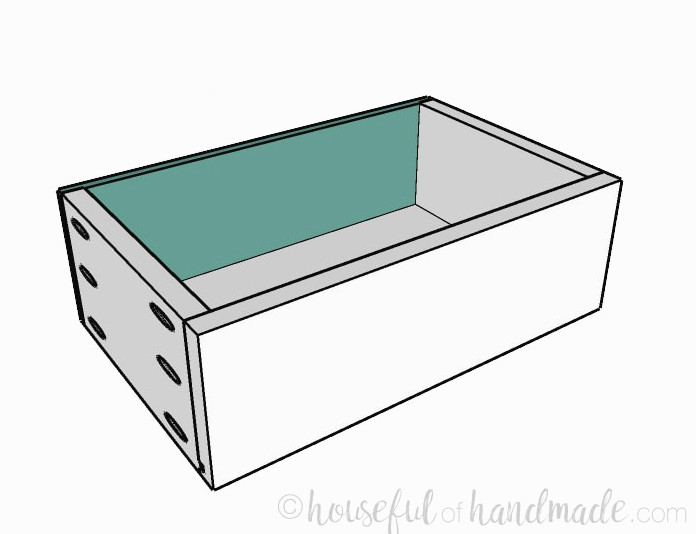
Fasten the drawer fronts to the sides.
Use the 1″ pocket hole screws and wood glue to secure them.
STEP 5- Apply the finish
Sand the small console table, then apply your chosen finish.
I gave mine a farmhouse appearance by first staining it with Varathane weathered wood accelerator. Afterward, I applied Vaseline along the edges and areas that would naturally become worn.
The entire piece received 2 coats of Behr Ultra Pure White, converted into chalk paint using this homemade chalk paint recipe.
Remember to Get the Printable PDF Plans Here!
Premium plans contain:
- Suggested Tools
- Materials list
- Easy-to-follow cut list chart
- Cutting diagrams
- Detailed instructions with 3D renderings
- Useful resources
- BONUS: 3D SketchUp file
After that, I coated the whole piece with furniture wax.
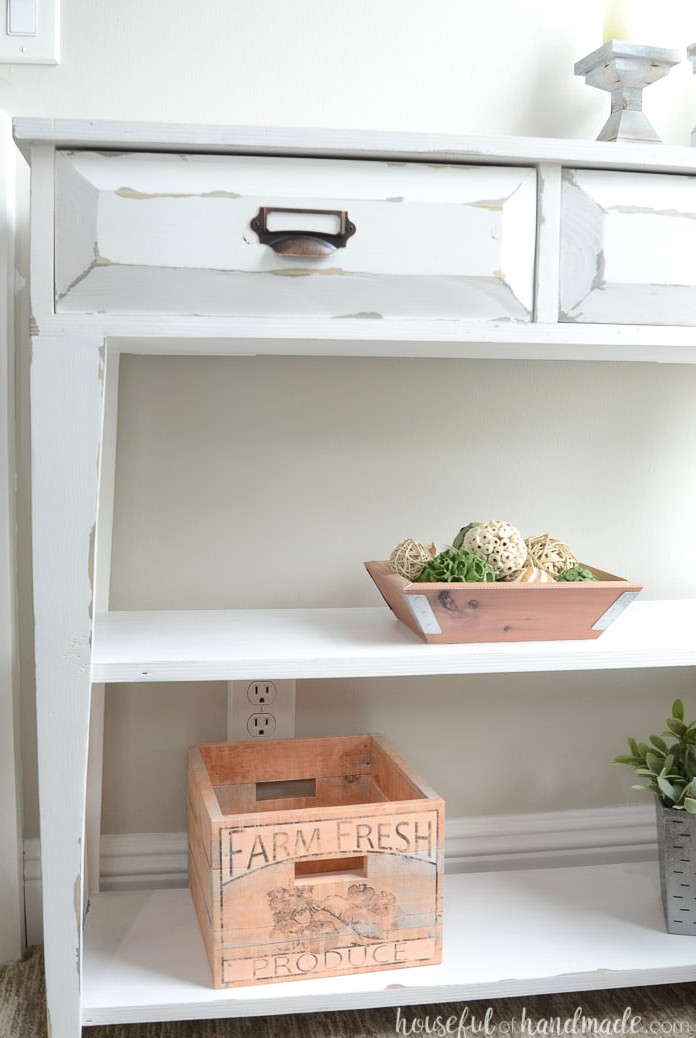
I installed these library card drawer pulls and really enjoy the finished result!
For more woodworking inspiration, explore the rest of my woodworking tutorials.