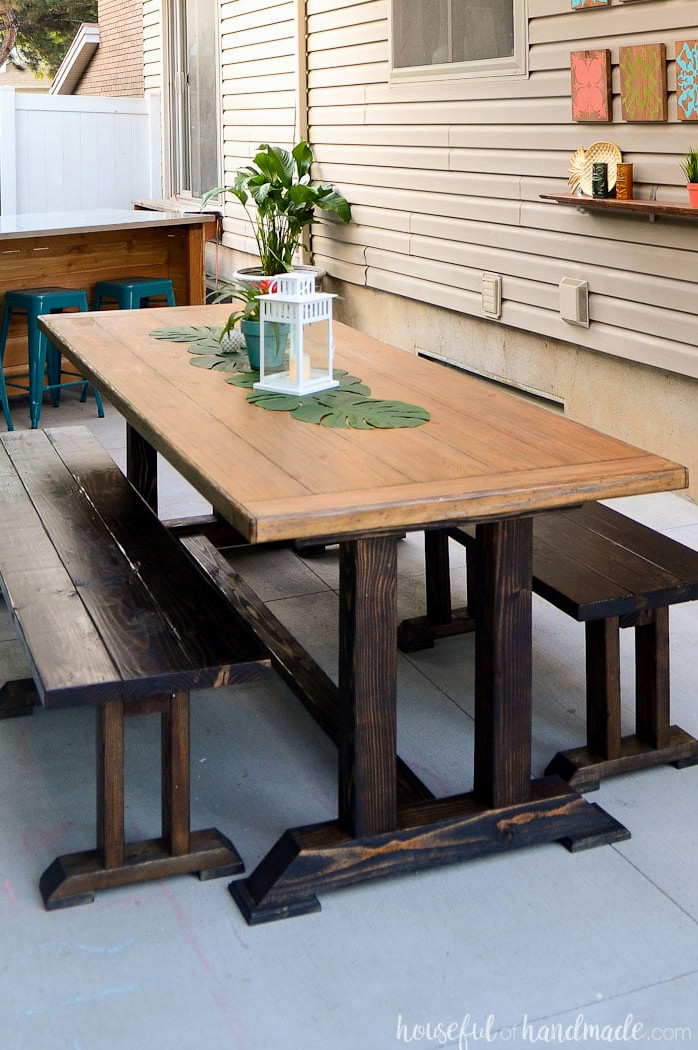
Design the ideal entertaining area with these outdoor dining table plans.
Make better use of your outdoor area with these outdoor dining table plans.
A simple-to-construct, oversized picnic table is an excellent way to provide ample entertaining room at home.
An expansive picnic table with benches offers a fantastic spot to share an outdoor meal with guests.
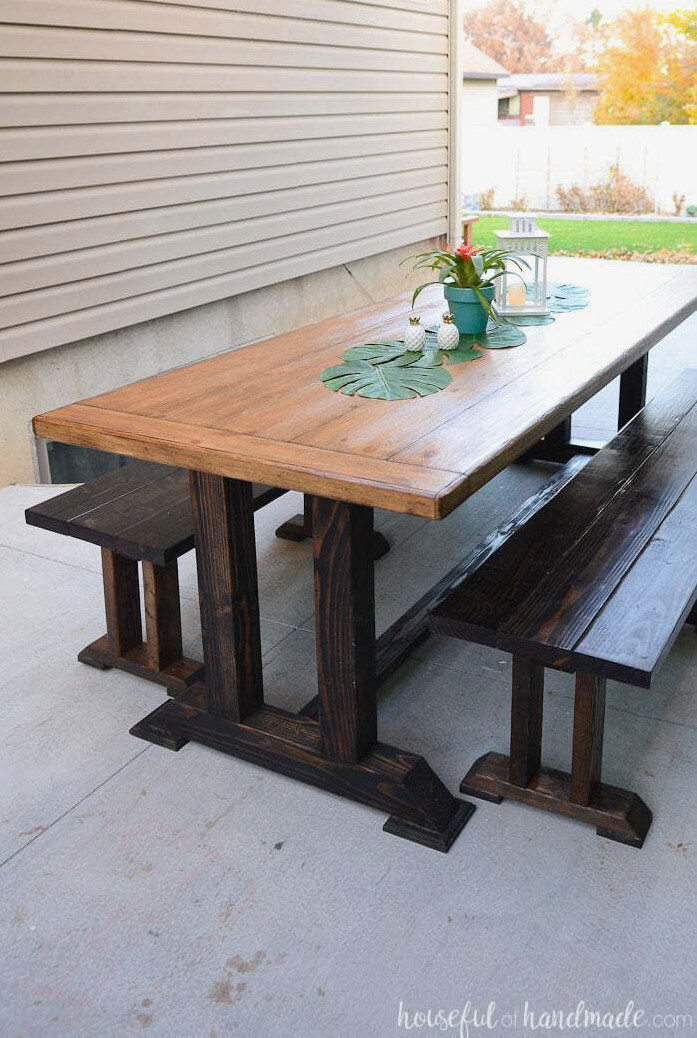
This charming rustic dining table features a sturdy foundation and coordinating benches, providing seating for 8 or more people.
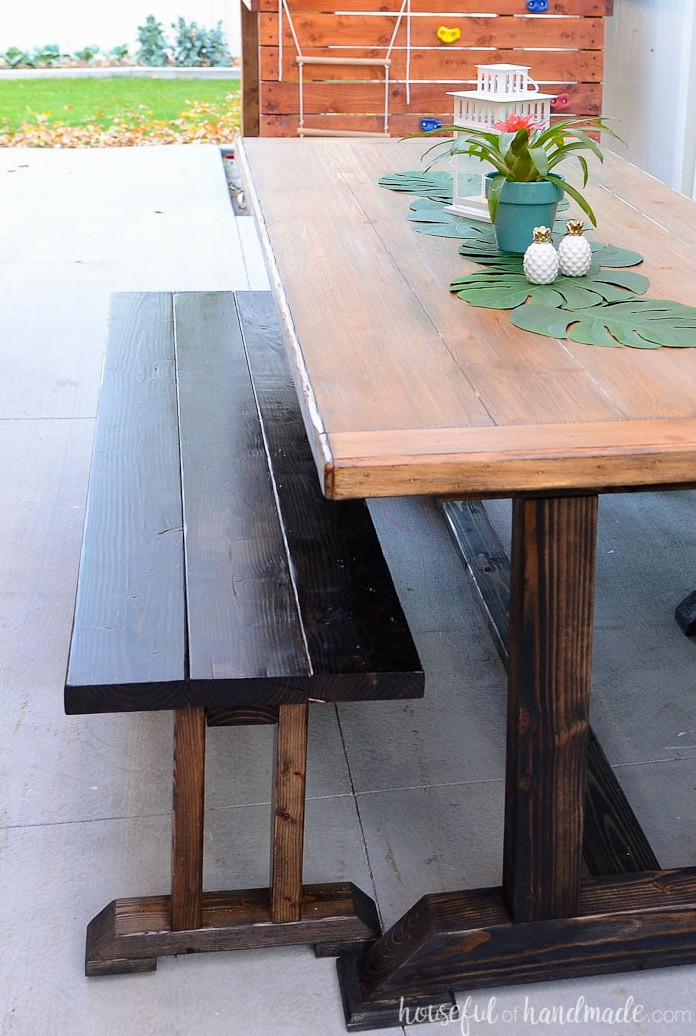
The last element of our tropical retreat was building a spot where our family could come together outdoors.
Our children really enjoy having dinner in the backyard, although we previously had no proper place to do so.
We attempted outdoor meals by having the kids sit at their nautical picnic table while the adults held plates on their laps. It was far from ideal. That has changed now…
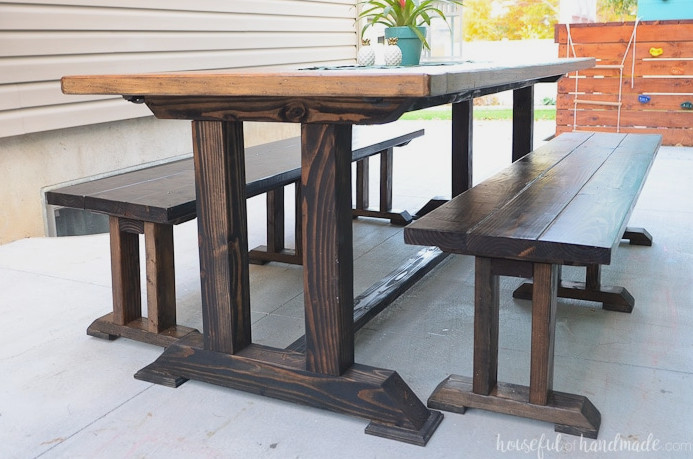
Now our family has a lovely spot for enjoying meals outdoors!
Our patio has become a gorgeous dining area, with this enormous outdoor dining table as its centerpiece. It is an ideal gathering place for the entire family, with plenty of space left over.
We also had an opportunity to spend time outside last weekend, including playing a few card games. The patio has quickly become my favorite setting for family game night!
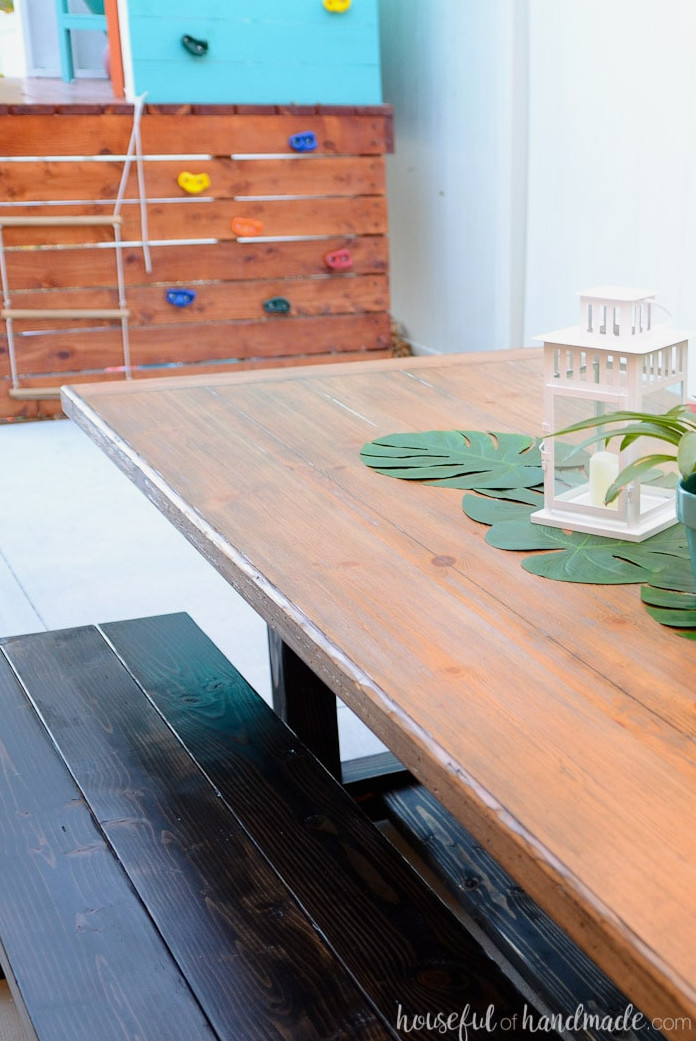
The tabletop came from a nearby furniture shop as a scratch & dent item, similar to the top used for our outdoor kitchen island.
I had no idea how large it was until I took it out of storage to install the legs. The tabletop measures 96″ x 38″.
Because of that, I constructed broad, extra-deep benches for both sides. We can now comfortably seat our family and additional guests while enjoying the new pergola.
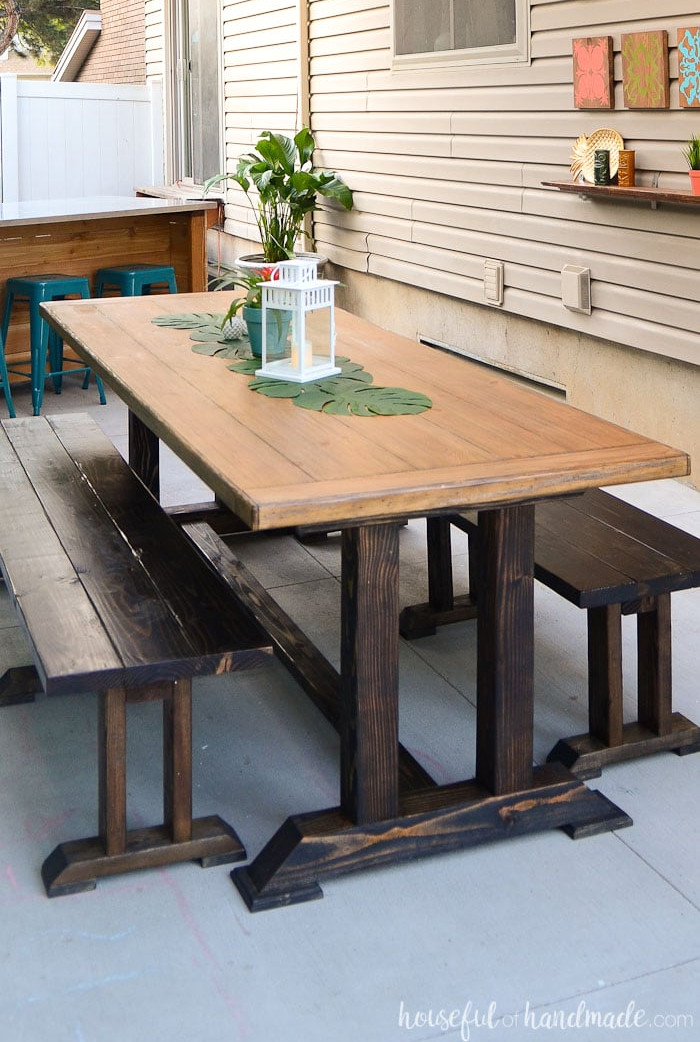
The whole area is finally coming together beautifully! I am so excited to show you the finished result in only a few days.
Be sure not to miss the other DIY projects we used to build the perfect tropical retreat:
UPDATE: Our premium scratch & dent tabletop was not made from solid wood after all. It failed to make it through the winter undamaged, so I removed it from the base, which held up well, and built a new top. Find the updated wood picnic table plans here.
More Incredible Outdoor Builds
Prepare your patio for plenty of outdoor time with these DIY projects.
How To Construct the Outdoor Dining Table
Tools & Supplies
Cutting List
Cut each piece using the simple-to-follow cut list included in the premium PDF plans.
Download the Premium PDF Woodworking Plans
PDF plans contain- Easy-to-Follow Cut List, Shopping List, Suggested Tools, Step-by-Step Directions with 3D drawings, & Useful Resources
BONUS- 3D SketchUp File
Cut both ends of the 4×4 pieces for the leg tops and bottoms at a 45 degree angle.
STEP 1- Build the base sides
To give the table feet a decorative finish, use a router to create an ornamental edge along all 4 sides of each foot.
Use wood glue and 1 1/4″ construction screws to fasten the feet to the bottoms of the table legs.
Take care not to position the feet too near the angled outer edges of the leg bottoms, or the screws may break through the top.
Do the same for the opposite table leg.
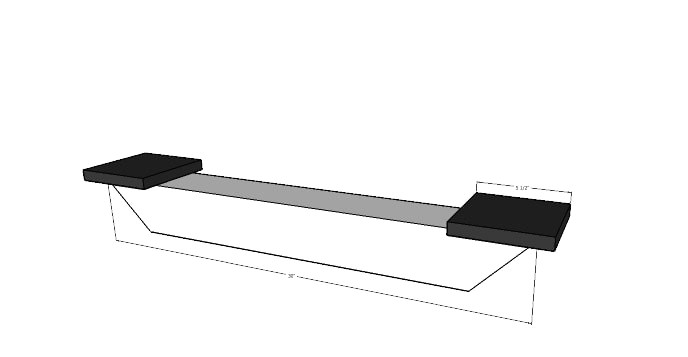
Fasten the table leg posts to the upper side of the table leg bottoms. Position the posts 8″ apart and centered across the leg bottom.
Drill 1″ deep pilot holes into the underside of the leg bottoms, then attach the legs using 4″ screws driven through the prepared holes and into the leg posts.
Repeat the process for the second table leg.
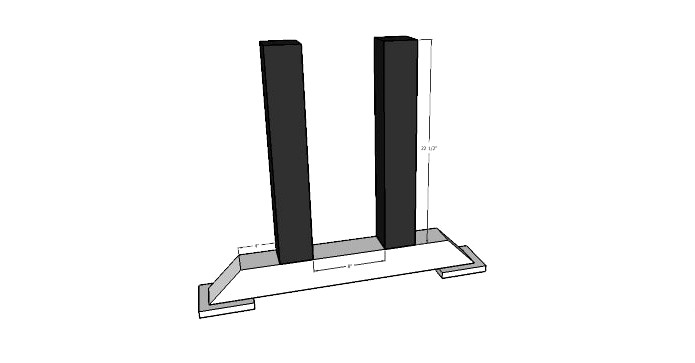
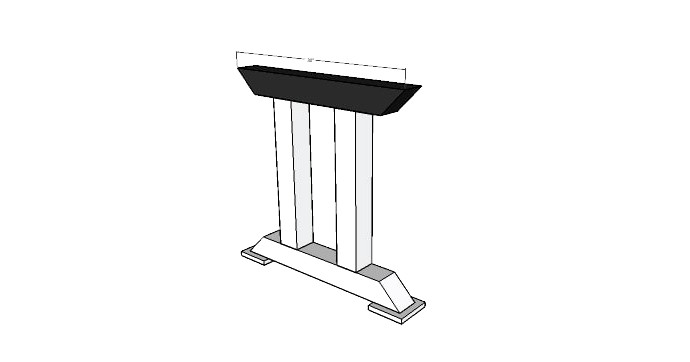
In the same way, secure the table leg top to the upper ends of the leg posts as you did with the table leg bottoms.
Confirm that the posts are 8″ apart and centered on the leg top. Repeat for the other table leg.
STEP 2- Join the sides together
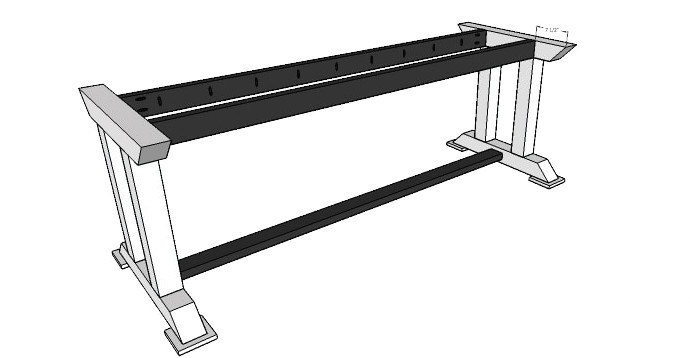
Assemblethe table base by fastening the table top supports with pocket holes so they sit flush with the outer edges of the table leg posts.
Drill pocket holes into the upper side of the table top supports to secure the table top.
Position the table leg support between the two lower table leg pieces, keeping it centered on the legs.
Fasten them using 2 1/2″ pocket holes.
STEP 3- Assemble the table top
Create the table top by joining the 4 table top boards lengthwise with pocket holes.
Next, fasten the 2 table top end pieces to each end with pocket holes.
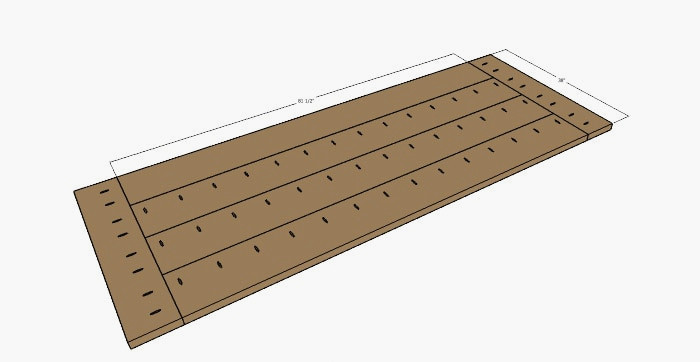
Fasten the table top to the base using 2 1/2″ pocket hole screws.
Give the completed table a thorough sanding. It is now ready for finishing.
If the table will be placed outdoors, be sure to apply stains and sealers rated for exterior use.
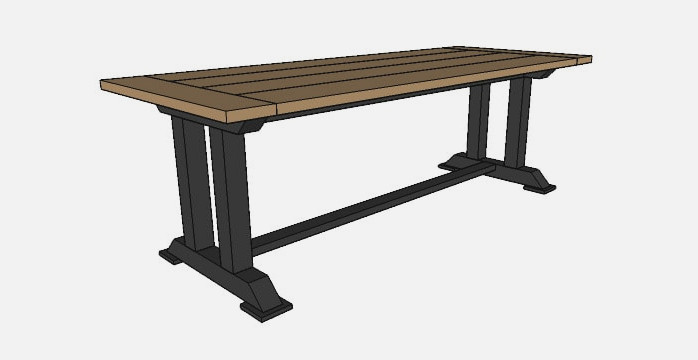
You’re all finished!
Be Sure to Get the Printable PDF Plans Here!
Premium plans feature:
- Suggested Tools
- Materials list
- Simple cut list chart
- Cutting diagrams
- Detailed instructions with 3D renderings
- Useful resources
- BONUS: 3D SketchUp file
Now you can include extra seating. I suggest these coordinating dining table benches.
I love how these benches provide an affordable way to add plenty of seats to our spacious dining table.
Be sure to visit the full patio reveal to see all of the patio DIY projects.
Enjoy building!