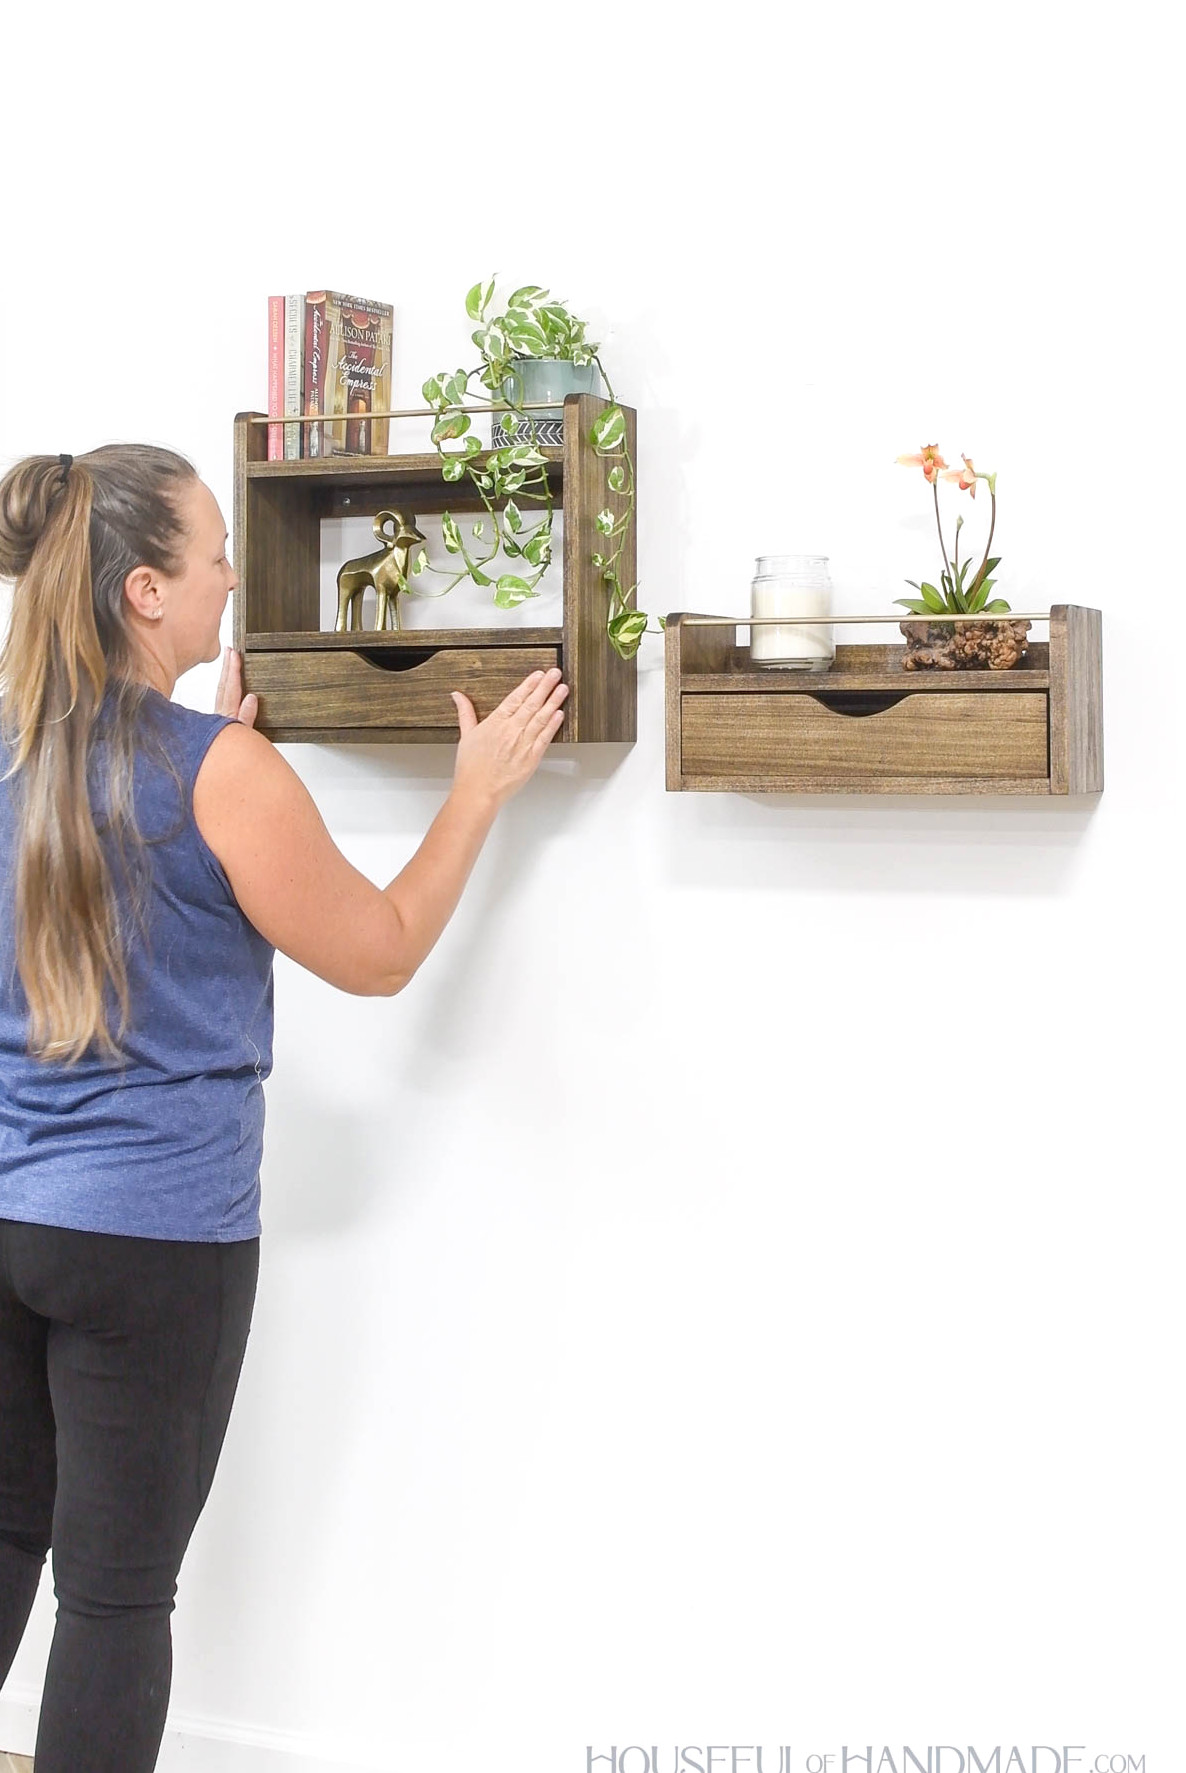
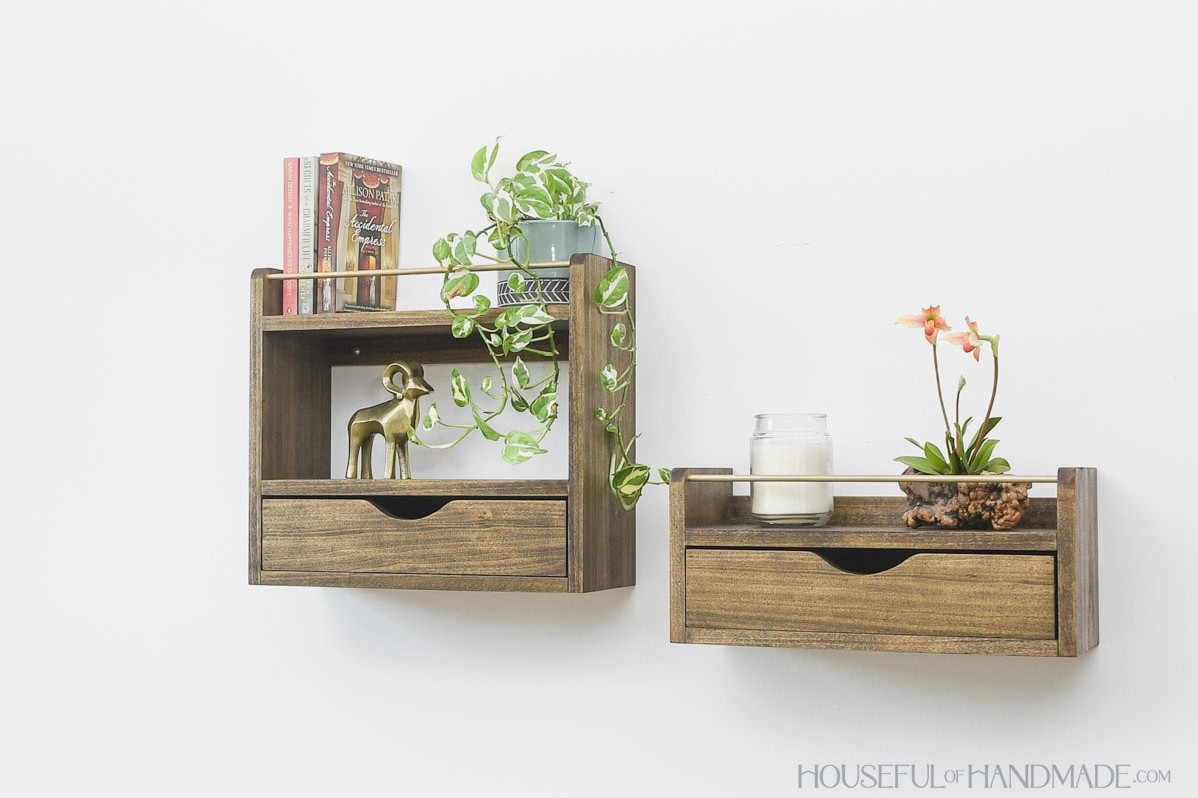
Create these simple drawer shelves to bring storage to any wall.
At times, you need somewhere to showcase and organize items, but there isn’t enough floor room for an additional piece of furniture…
That’s exactly where these DIY wall shelves are useful! They’re an ideal solution for adding storage in a compact area.
Wouldn’t they look great in a bathroom or bedroom? The drawer provides convenient concealed storage for items such as makeup or hair accessories.
Simple Floating Shelf
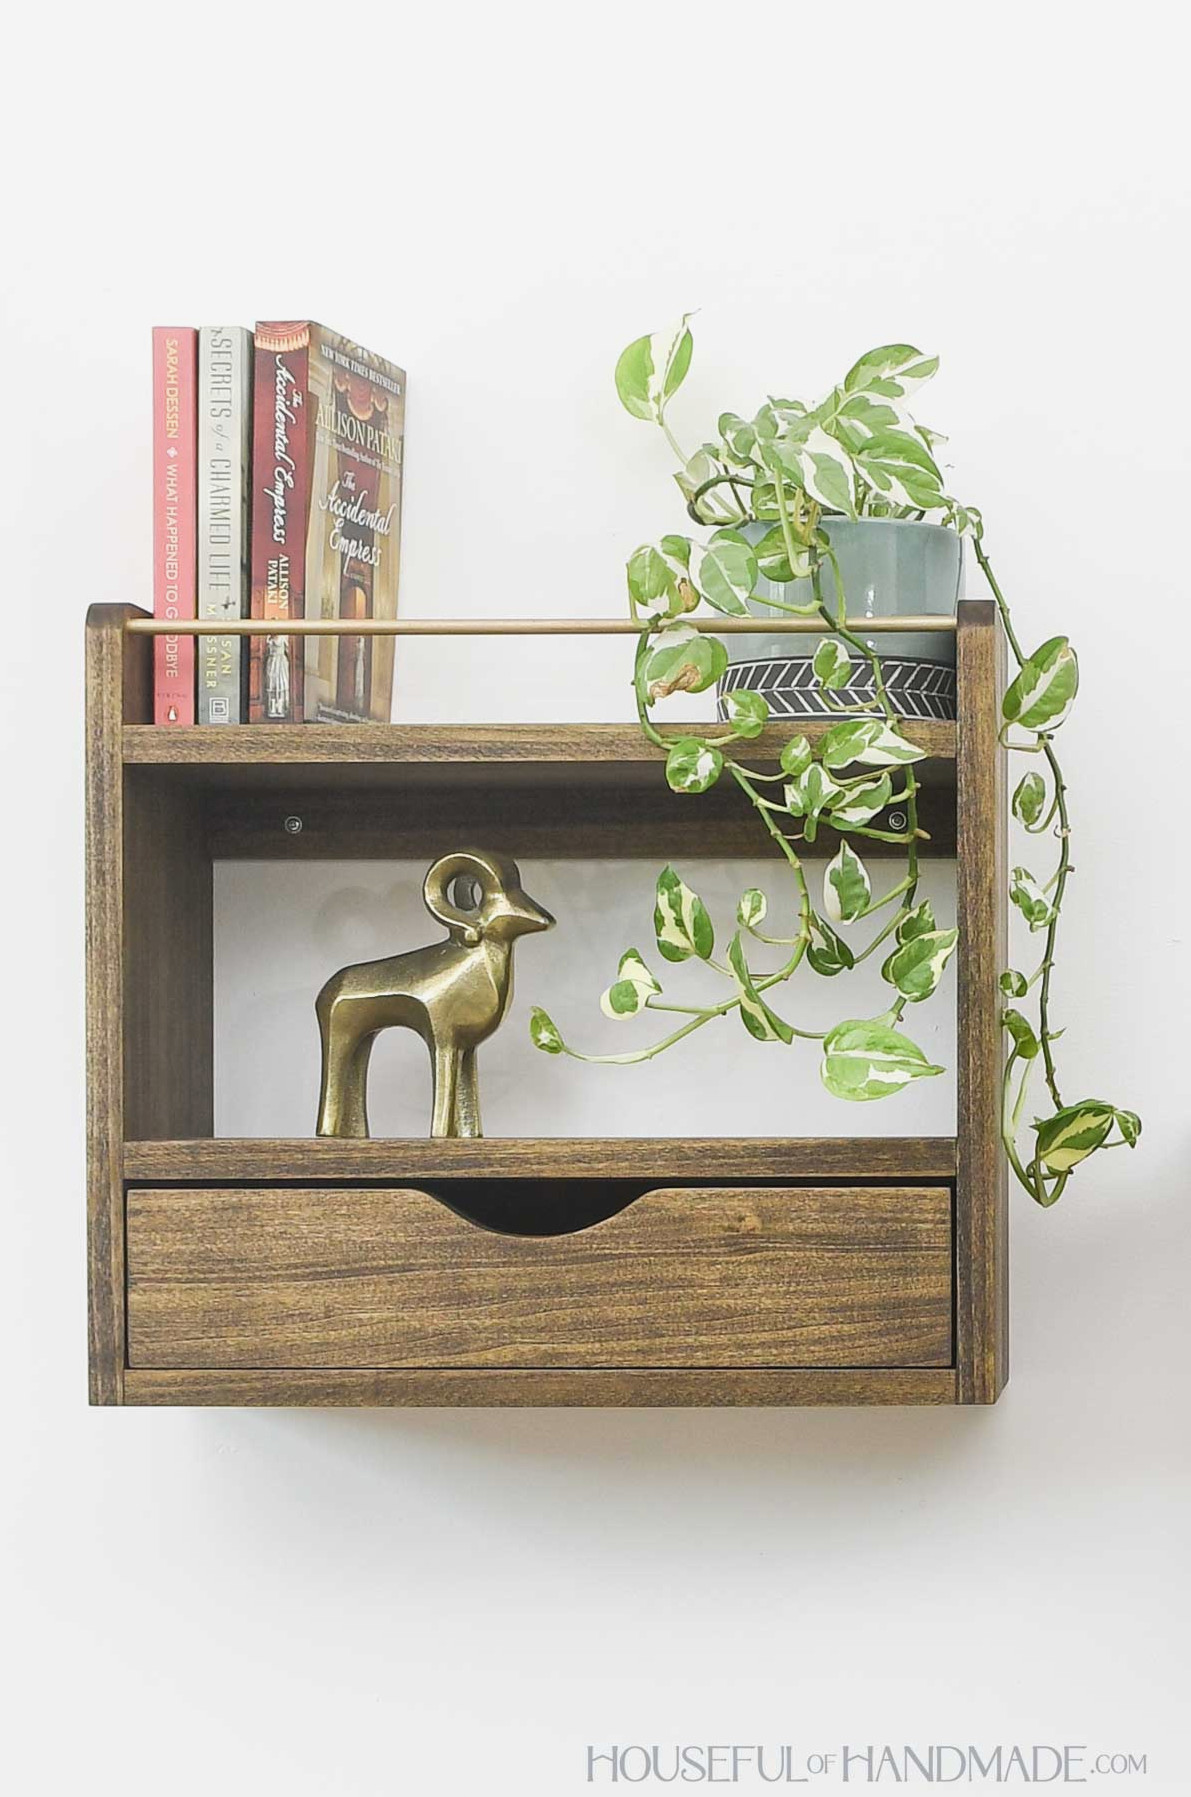
What I love most about these attractive shelves is how simple they are to construct and mount!
With strategically positioned pocket holes, the shelf box comes together quickly while keeping the fasteners concealed.
Using a few brad nails, the drawer is easy to assemble and simply slides into the opening, so drawer slides aren’t required.
It’s an excellent starter drawer project to help build your confidence before taking on a DIY dresser.
Hanging these straightforward shelves doesn’t require any complicated hardware either.
Simply fasten them to the wall through the rear support board. For strong, stable shelves, be sure to secure them to a wall stud.
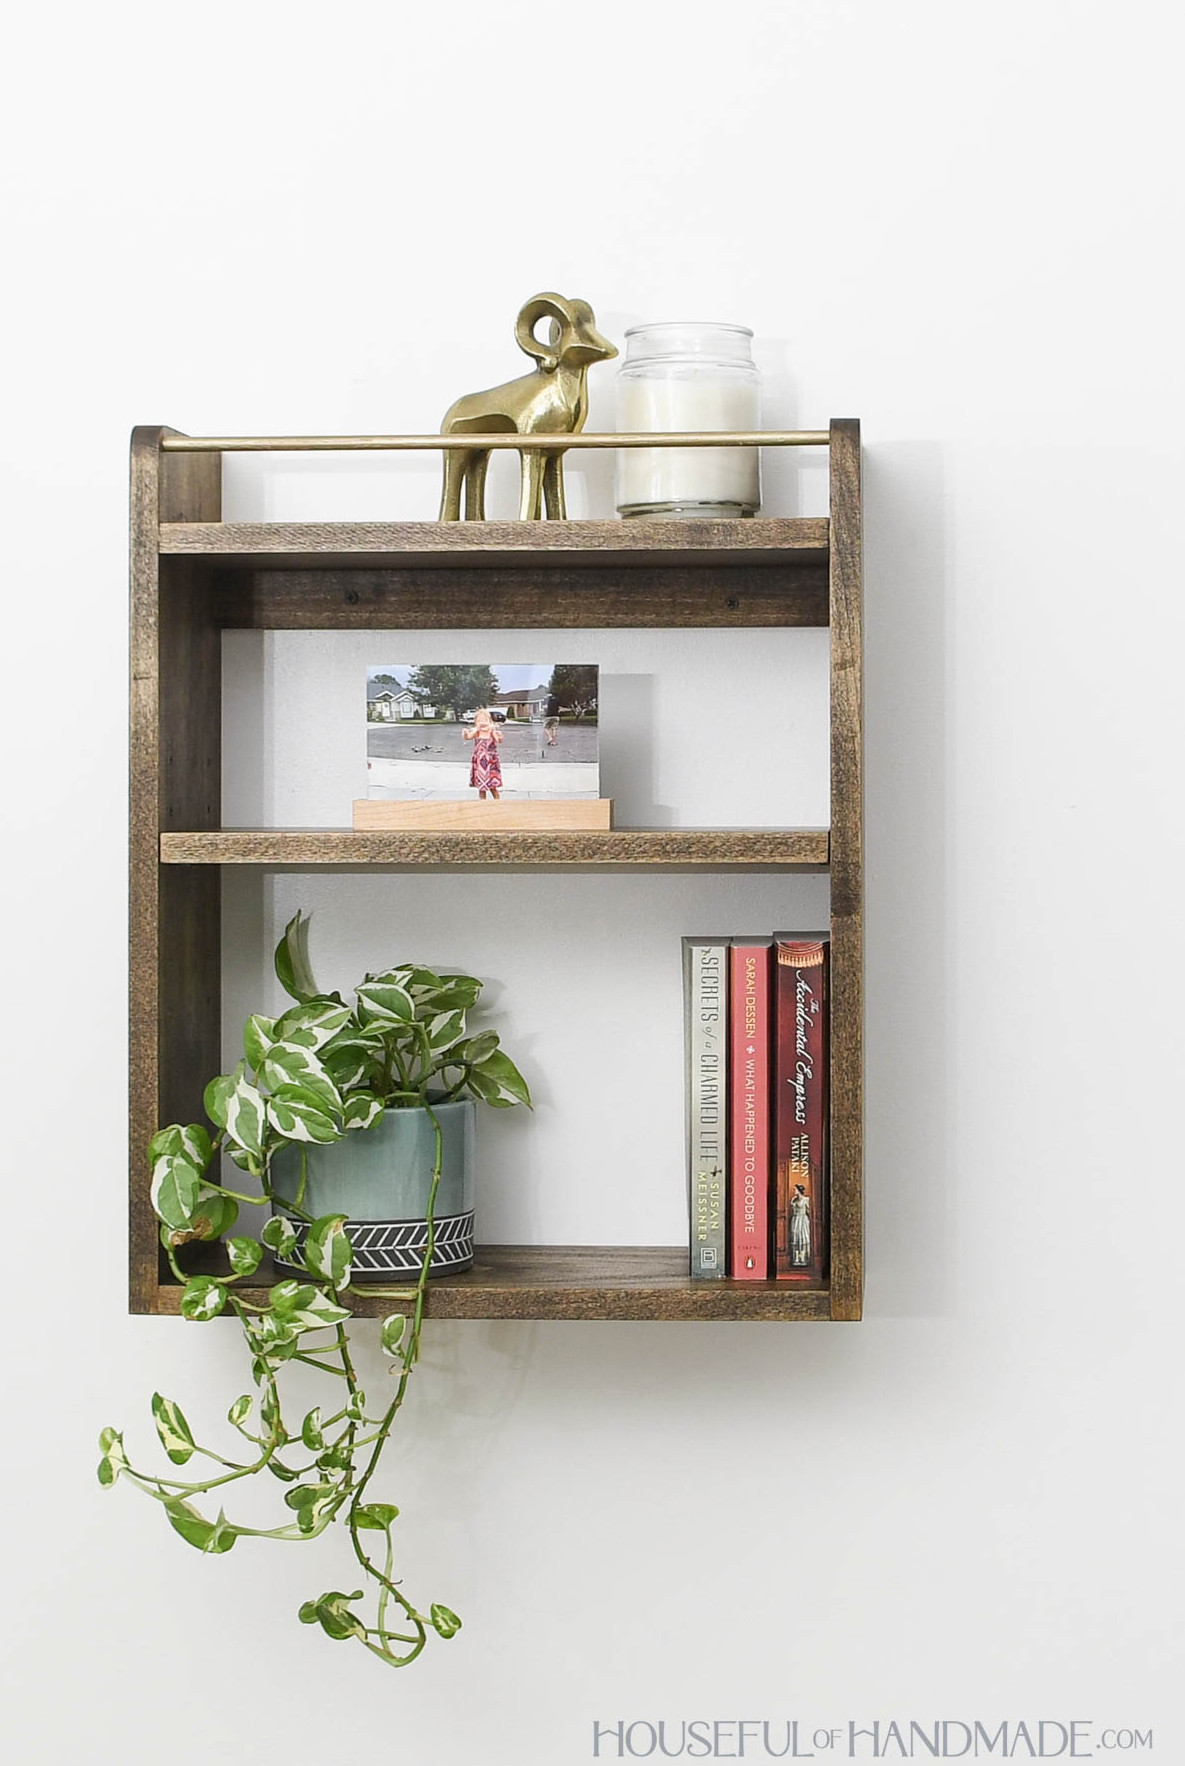
If you don’t need a drawer in your shelf, or you’d like to create an entertaining display with several shelves, I also created a wall shelf featuring an adjustable middle shelf to coordinate.
The plans for this shelf are available on KregTool.com. You can find the plans here.
More Creative Shelf Ideas
There’s no such thing as having excessive storage! Take a look at these additional DIY shelves you can make.
How to Make a Basic Shelf with a Drawer
Tools & Supplies
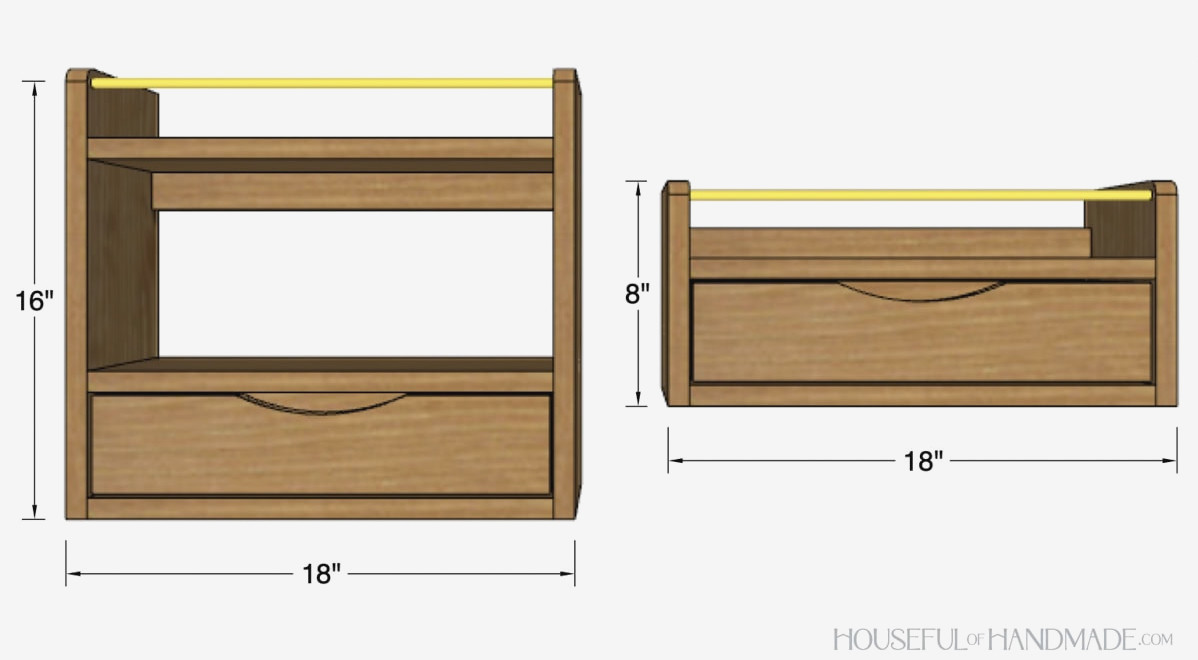
Overall Measurements
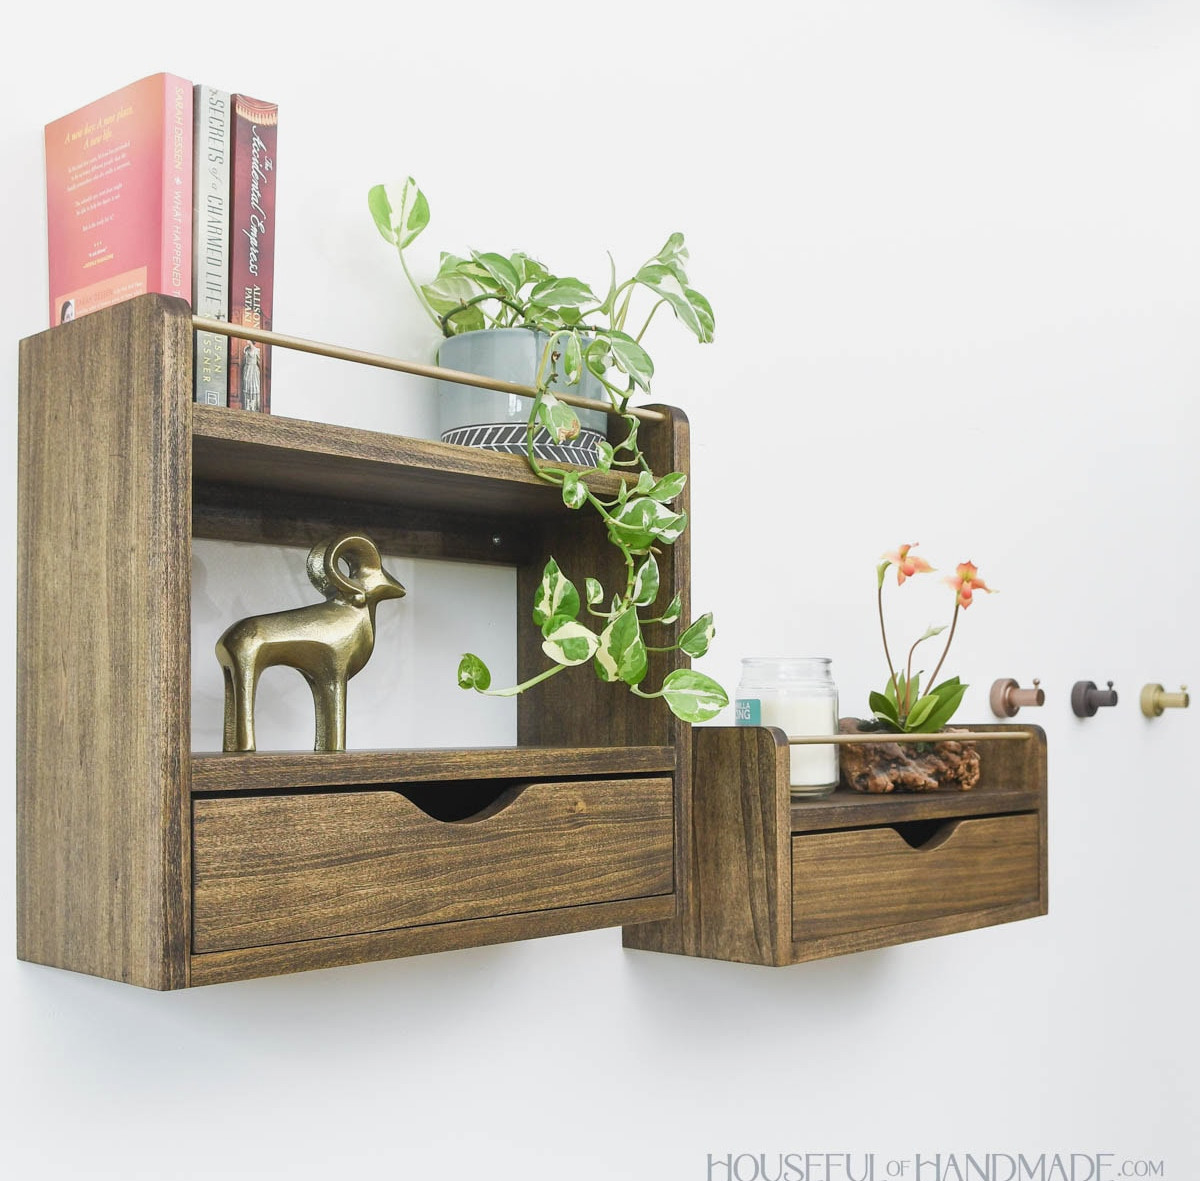
The taller shelf measures 16″ high, while the shorter shelf is 8″ high. Each shelf is 18″ wide and 7 1/4″ deep.
Cutting Guide
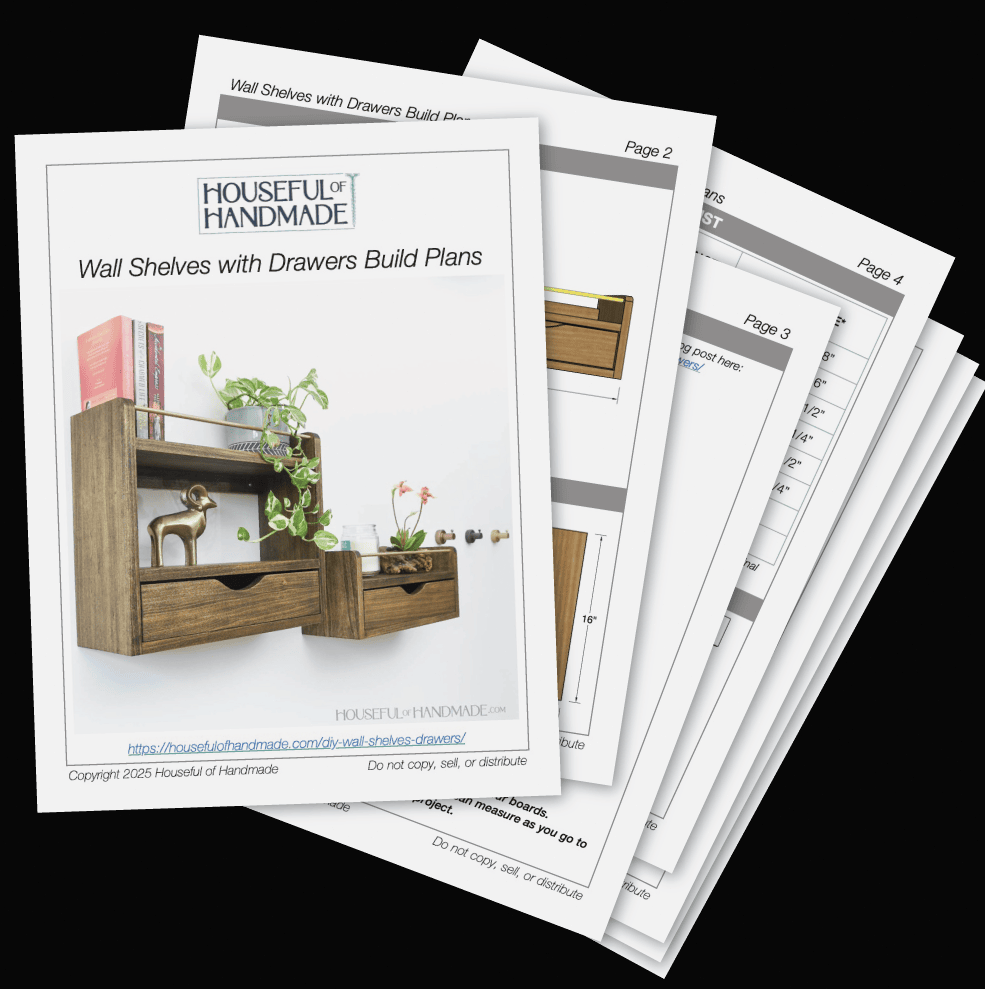
Use the clear table in the PDF plans to cut each piece to size.
Download the Premium PDF Woodworking Plans
PDF plans include- Easy-to-Follow Cut List, Shopping List, Suggested Tools, Step-by-Step Directions with 3D illustrations, & Useful Resources
BONUS- 3D SketchUp Model
STEP 1- Prepare the sides
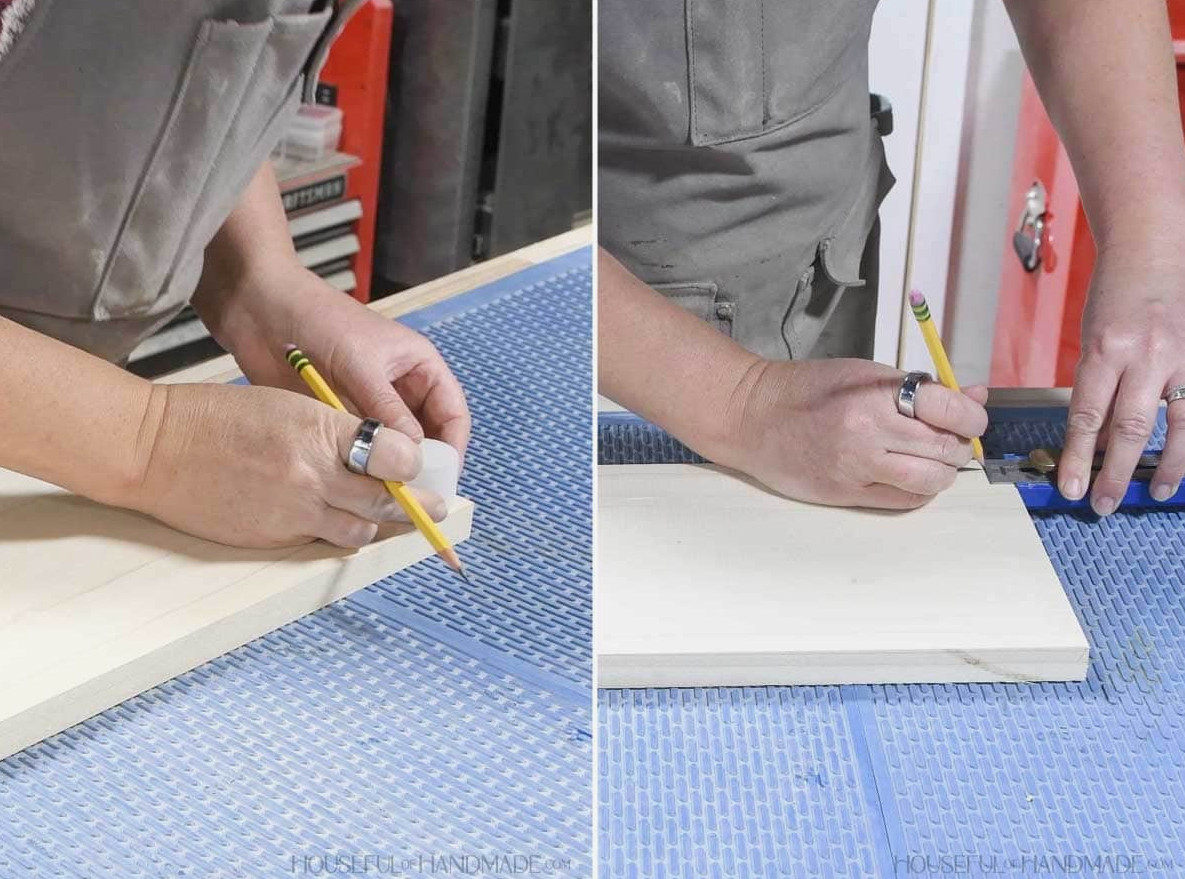
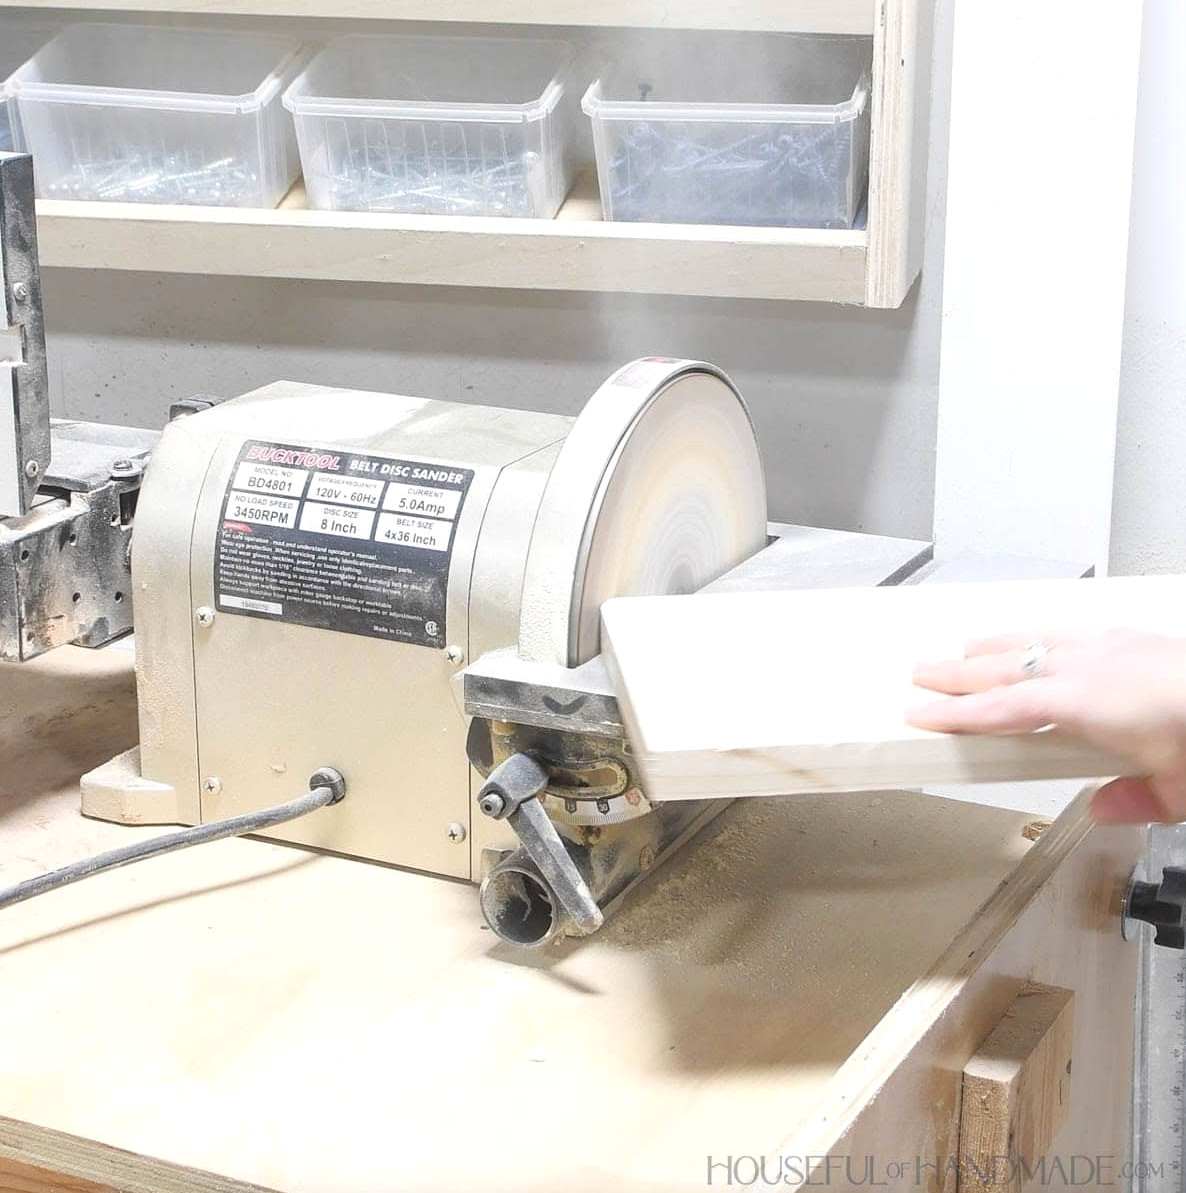
Sketch a curve along the upper front corner of each side. I traced a small curve using a little cap, then sanded down to the marked line.
Next, measure 1/2″ inward and 1/2″ downward from the upper front corner, and place a mark.
EXPERT TIP:
Identify the center point for your hole before rounding the corner, giving yourself a level surface from which to measure.
Use a jigsaw to cut the curve, or shape it by sanding the board.
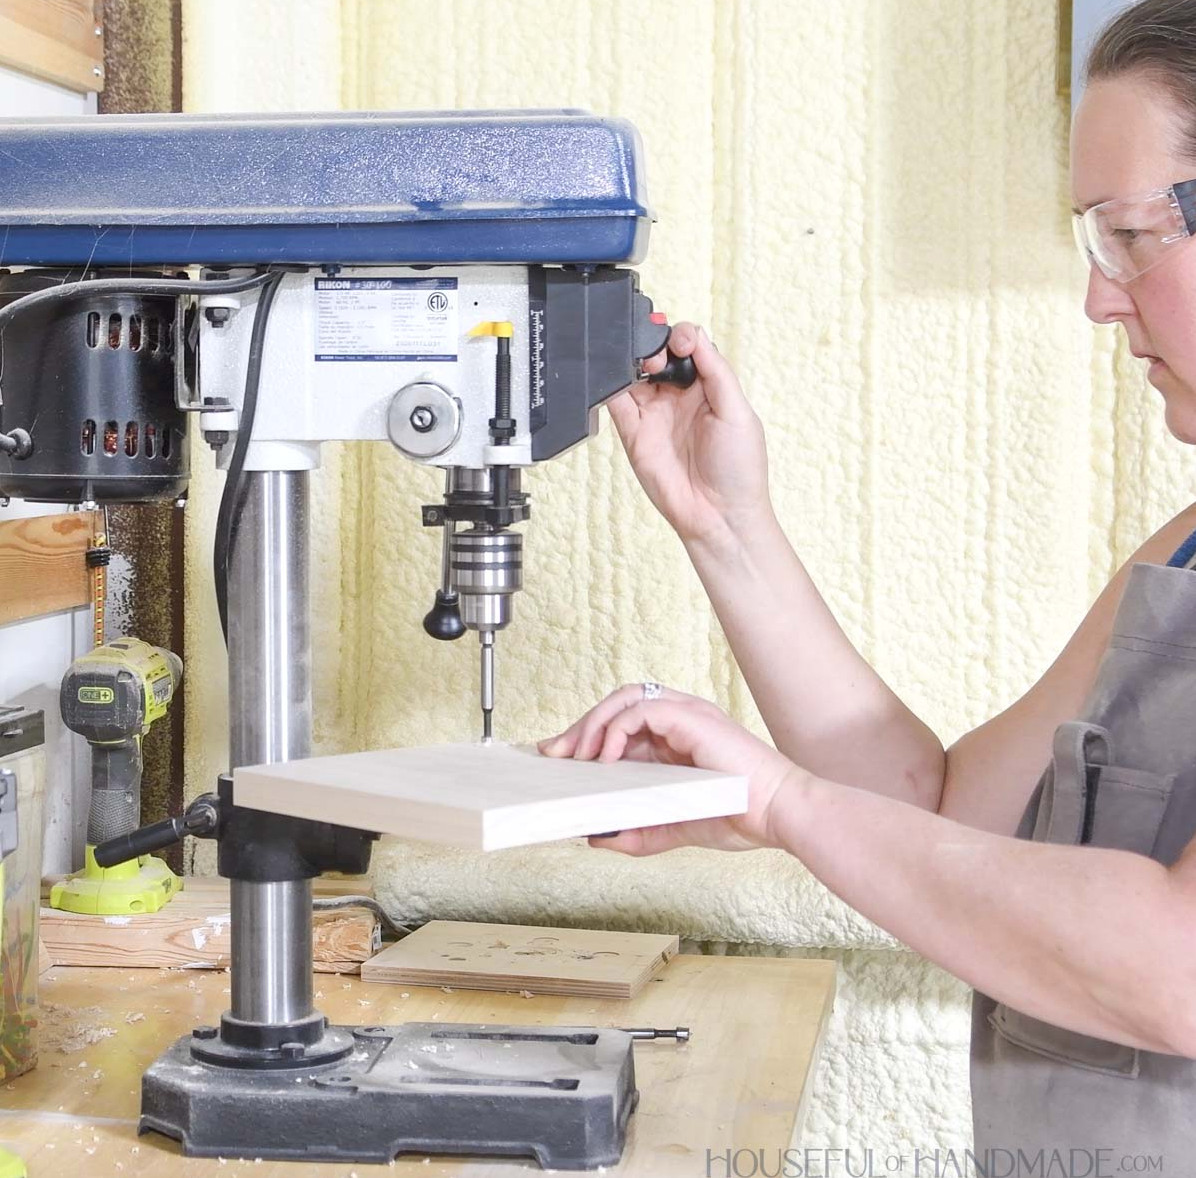
Bore a 3/8″ hole to a depth of 3/8″, centering it on this mark.
EXPERT TIP:
When adding the holes and round-over, be certain to mirror the sides.
STEP 2- Put the shelf together
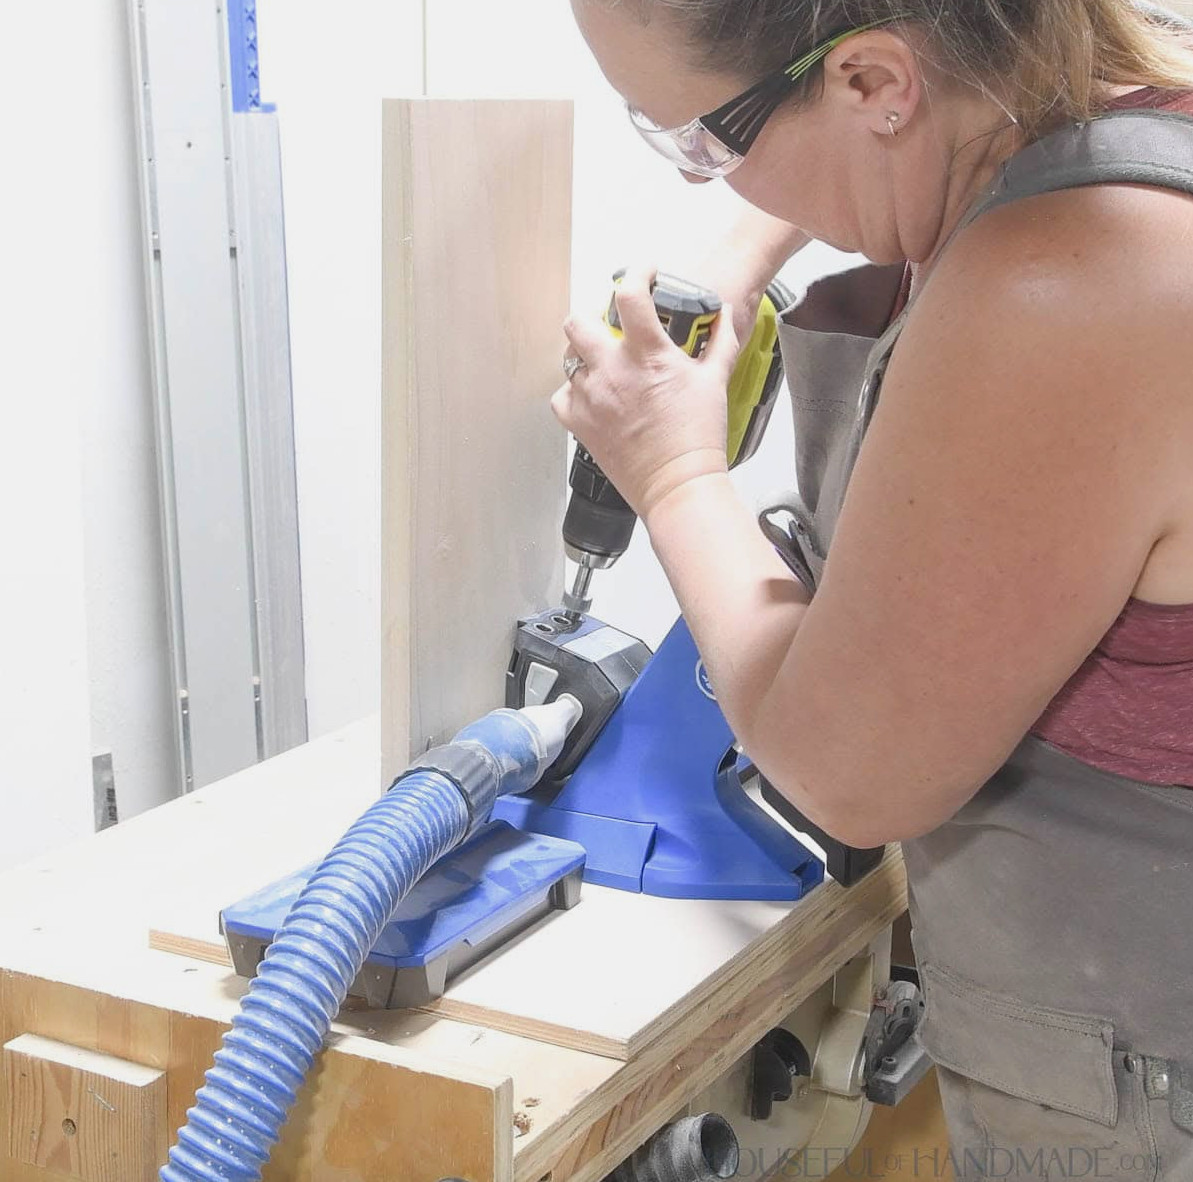
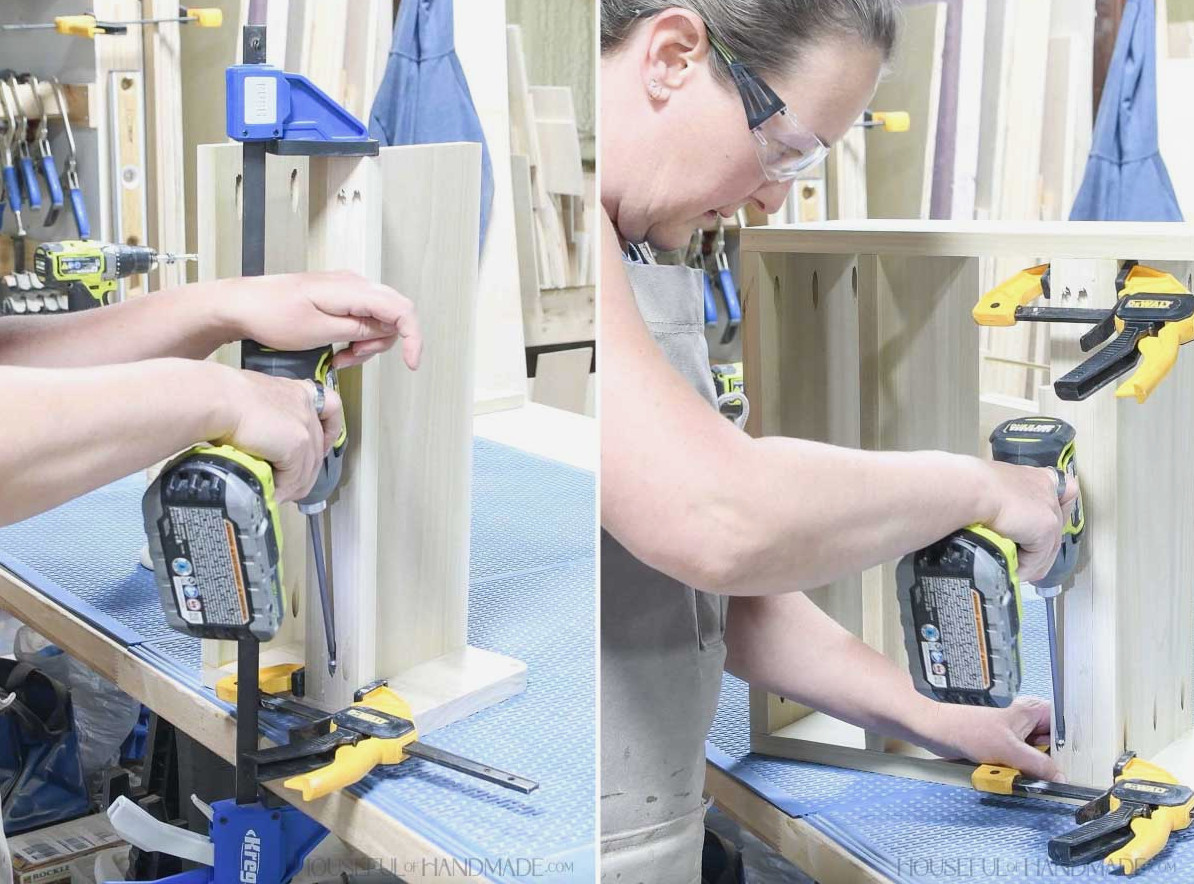
Adjust your pocket hole jig for drilling into 3/4″ material. Make three pocket holes in each side of the shelf boards.
On the small shelf, fasten the upper shelf to one side board, positioning it 2 3/4” below the top. Install the lower board flush with the side’s bottom edge.
Hold everything in place with wood glue and 1 1/4″ pocket hole screws.
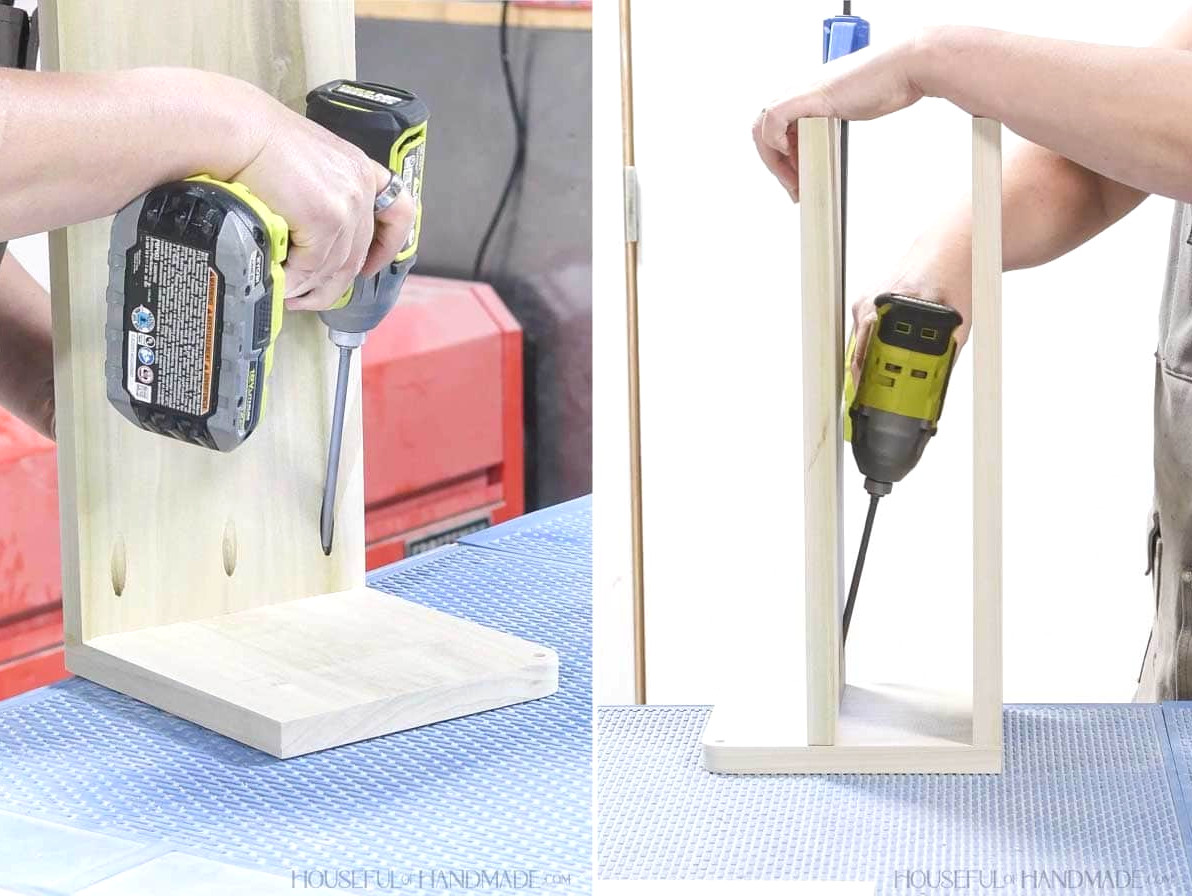
For the larger shelf, secure the top shelf to one side board, placing it 2 1/2″ beneath the top edge.
Install the bottom board flush with the side’s lower edge. After that, attach the third shelf 3 3/4” above the bottom shelf.
EXPERT TIP:
To conceal the pocket holes, position the holes in the lower two boards toward the inside of the drawer compartment. For the top board of the larger shelf, it might seem unusual, but orienting the pocket holes toward the top of the shelf allows the items placed on it to disguise them once it is mounted on the wall.
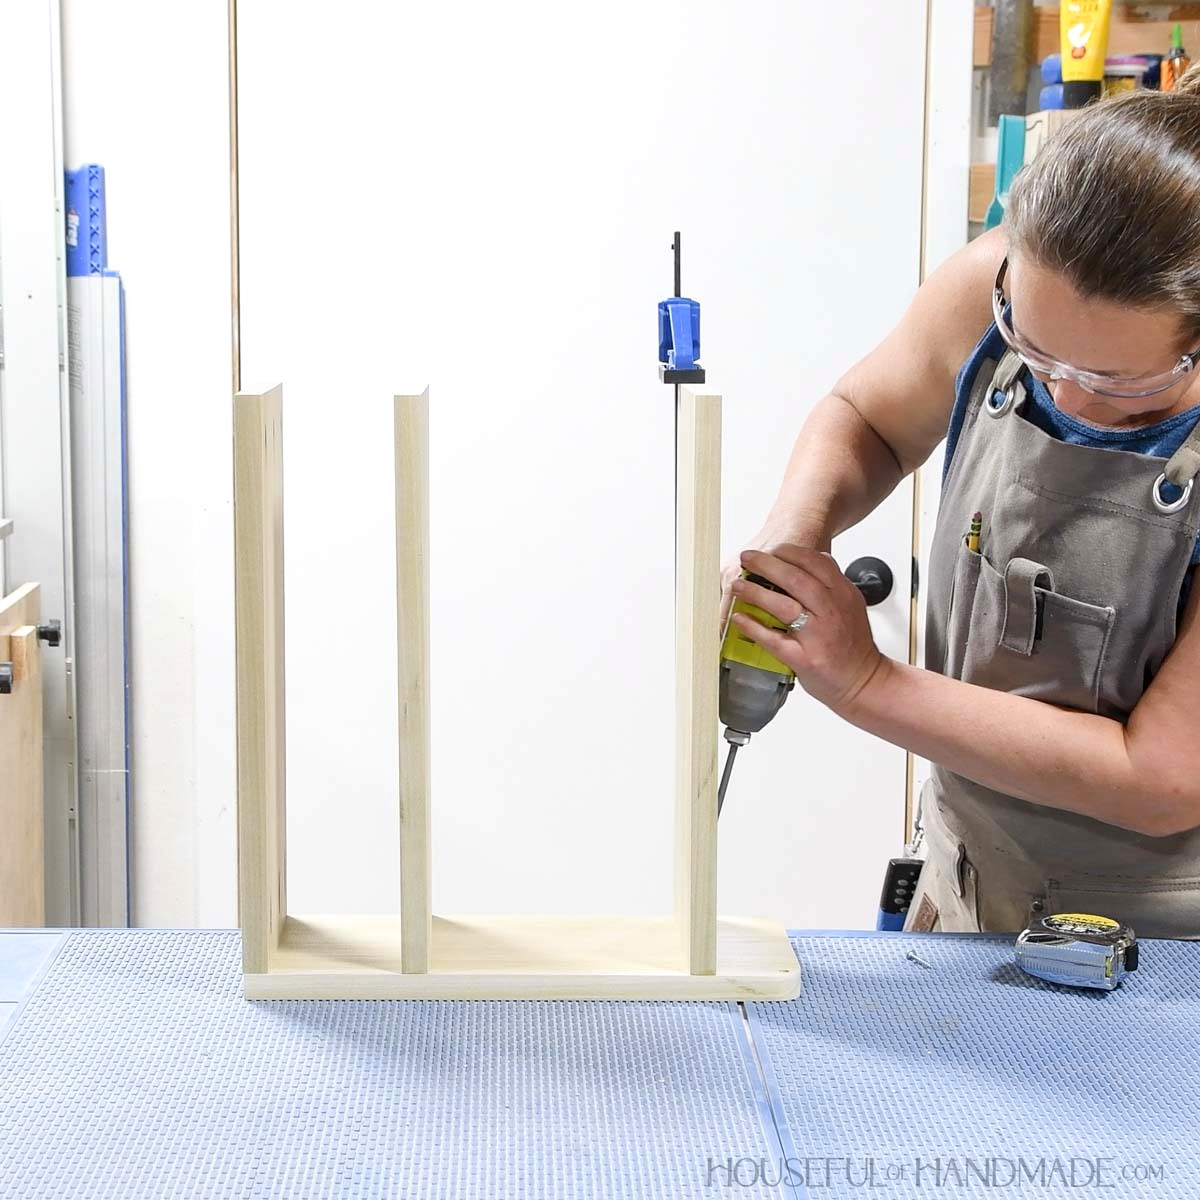
With the pocket hole jig remaining adjusted for 3/4″-thick material, make 2 pocket holes at each end of the back support boards.
On the large shelf, fasten the support to the side board immediately beneath the top board, keeping it flush with the back.
On the small shelf, mount the support to the side directly above the top shelf, also keeping it flush with the back.
Apply wood glue and secure everything with 1 1/4″ pocket hole screws.
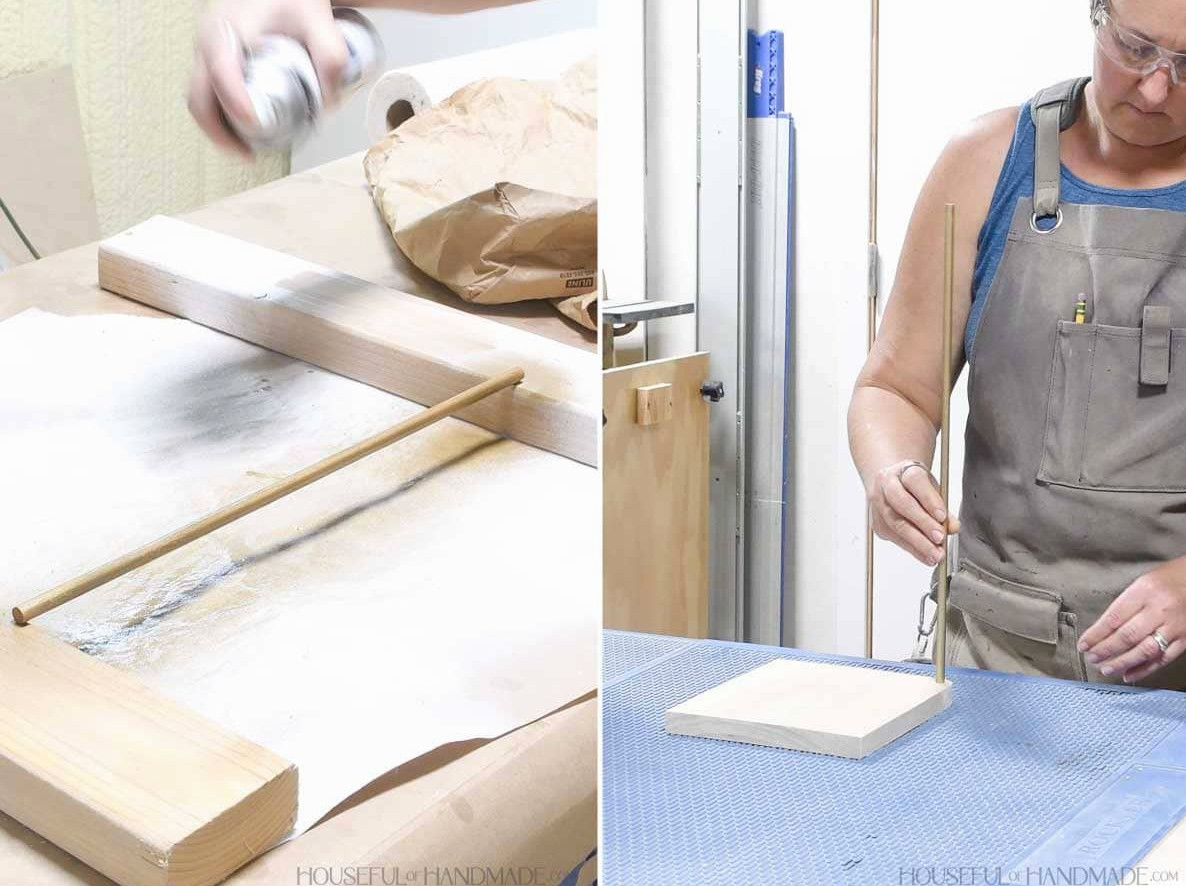
If you plan to paint the dowel a different color from the rest of the shelf, finish painting it before fastening it in place for easier handling.
Insert the rail dowel into the hole at the top of the side board.
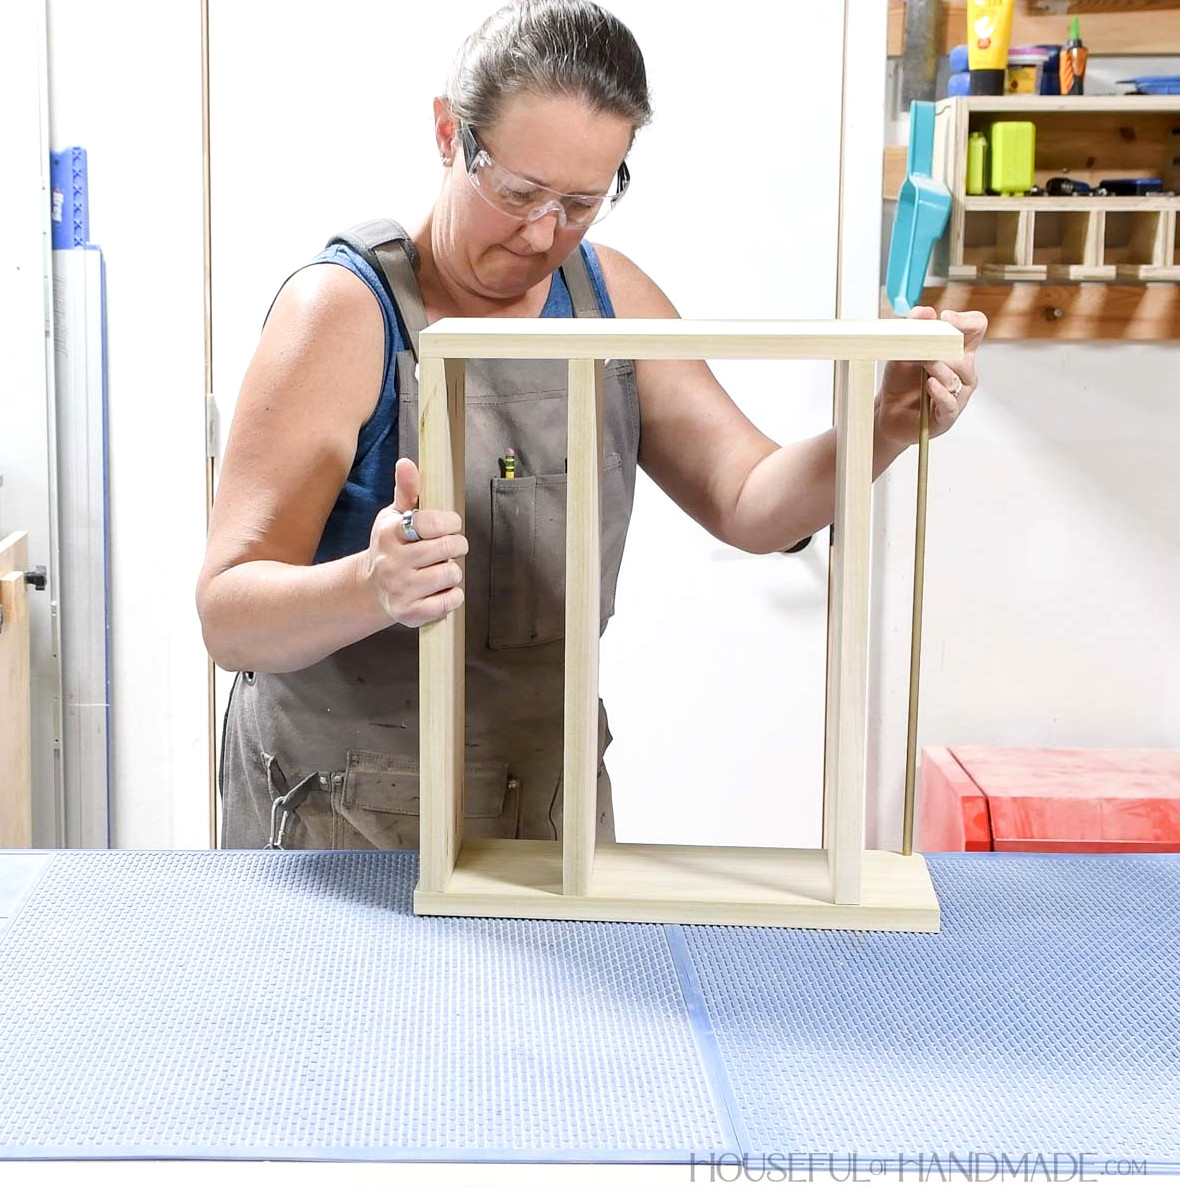
Next, place the second side piece over it, ensuring the dowel fits into its hole as well.
Position the side so that the shelf boards align with those on the opposite side.
Attach all the boards to the second side using 1 1/4″ pocket hole screws and glue.
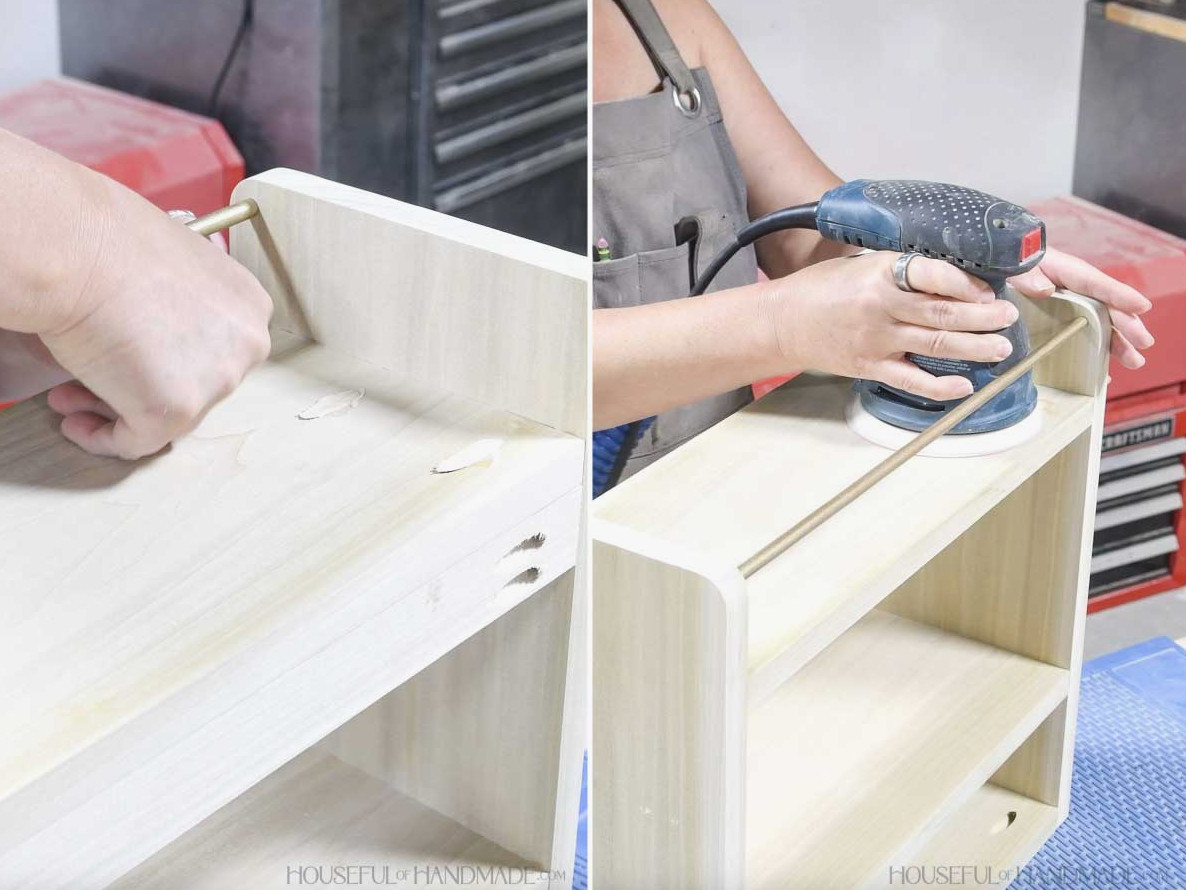
Plug the pocket holes or apply wood filler, then sand everything smooth.
I filled only the holes on top because the ones inside the drawer box area are effectively concealed.
STEP 3- Build the drawer
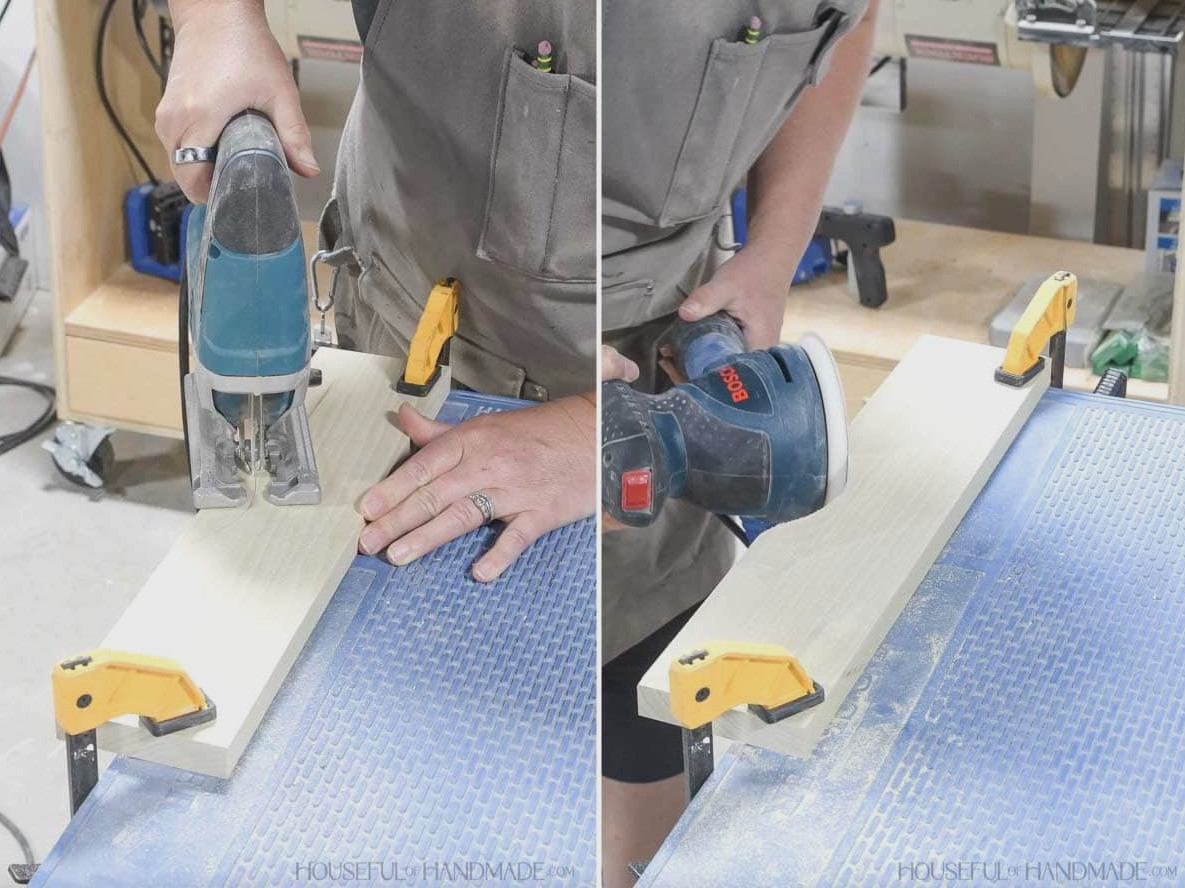
Using the plans as a guide, mark a curve on the drawer front boards. I used a gallon paint can to create the curve between the marked points.
Cut along the line with a jig saw, then sand the edge smooth.
Fasten the drawer sides to the bottom, aligning them flush with both the sides and bottom.
Apply wood glue and secure with 1 1/4” nails. I drove 3 nails into the bottom on each side.
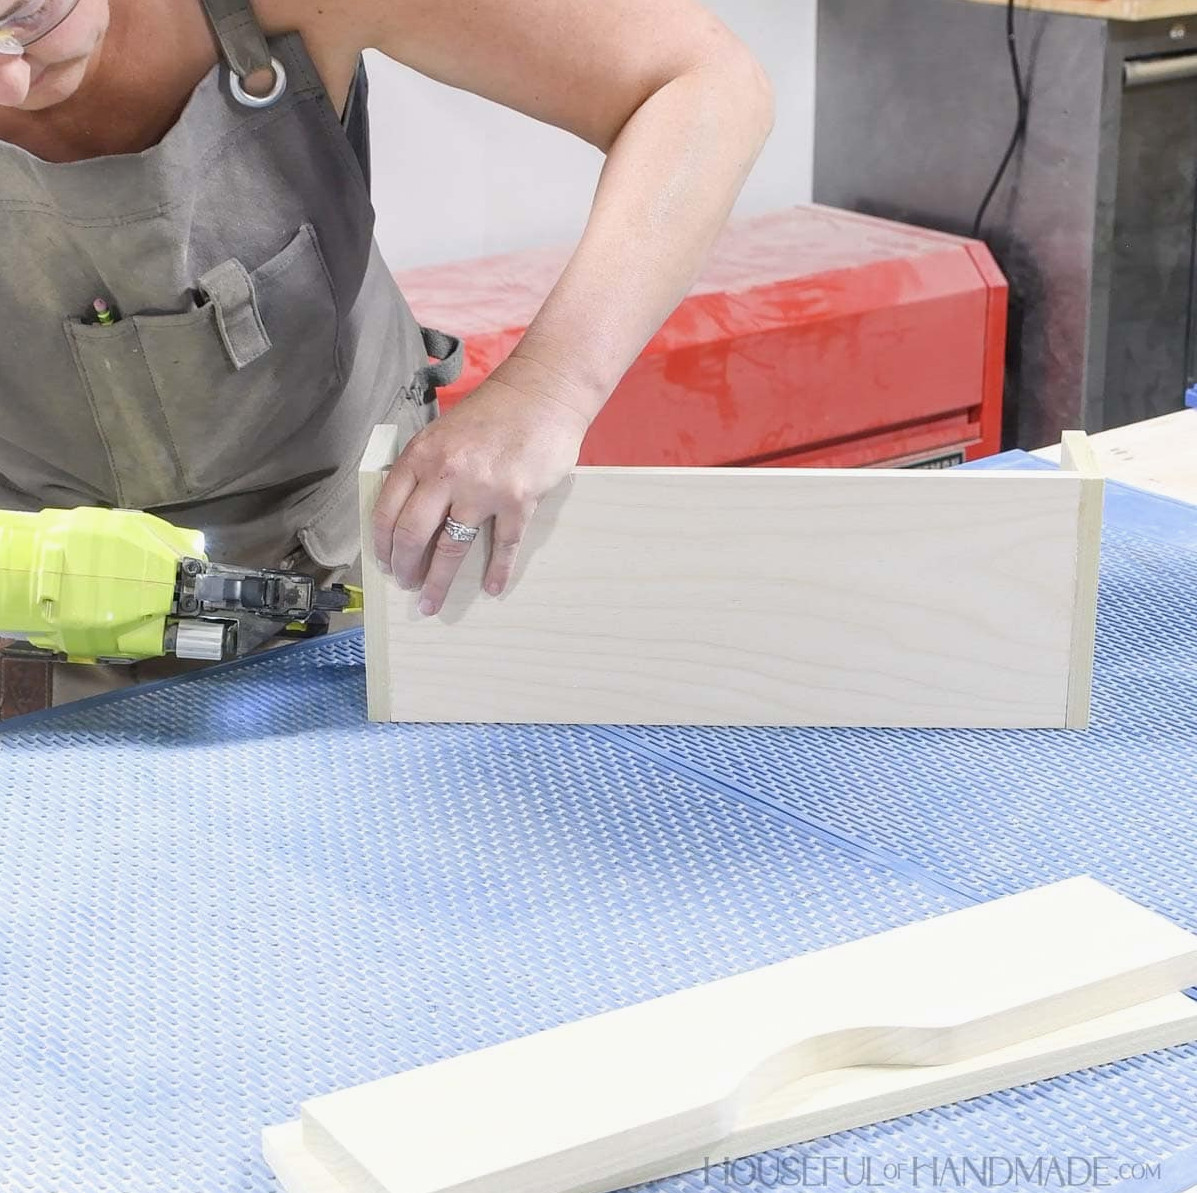
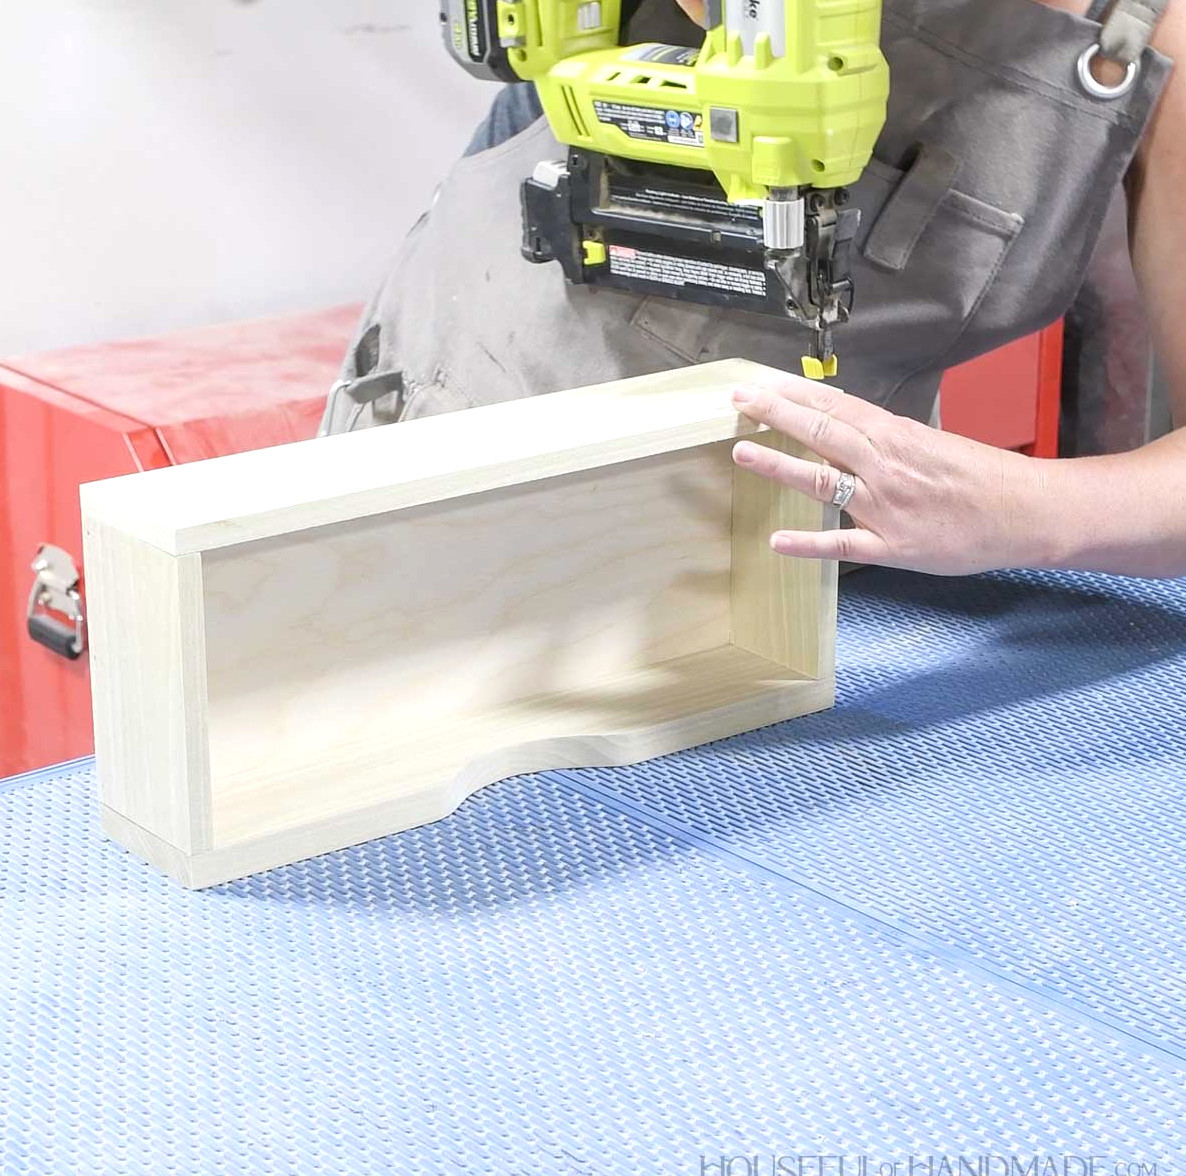
Next, attach the drawer front and back, keeping both pieces flush with the sides and bottom.
Secure them with glue and 1 1/4” nails.
To reduce noticeable nail holes, I used just a couple of nails through the sides on the front. On the back, I added nails through both the sides and bottom.
STEP 4- Finish & hang the shelves
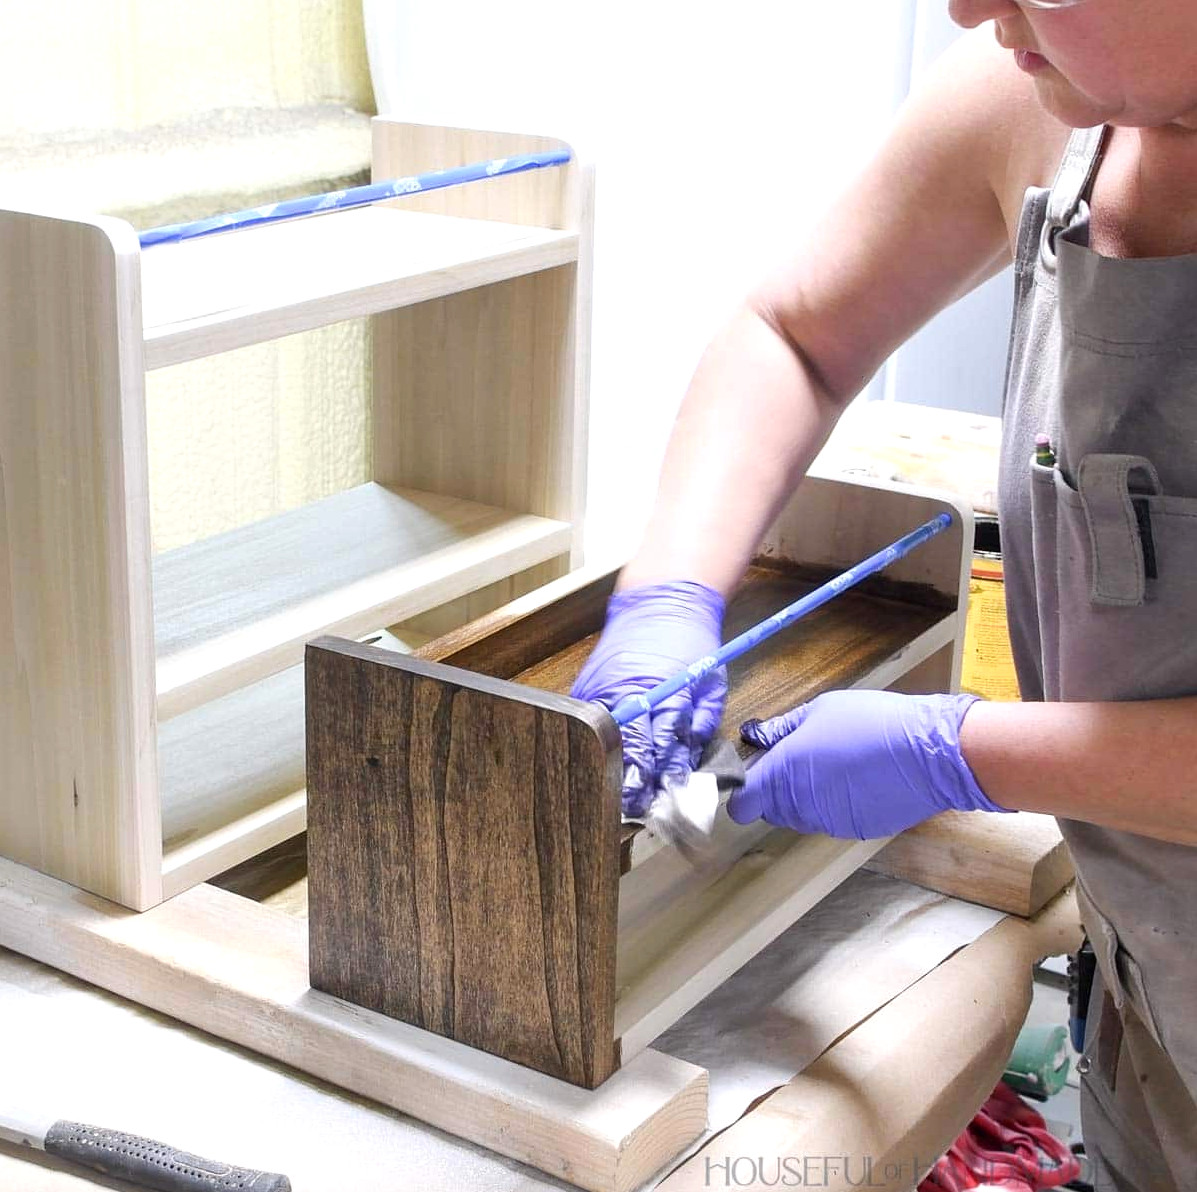
Sand your shelves and apply the desired finish.
I made my shelves from poplar and stained them with Minwax dark walnut stain.
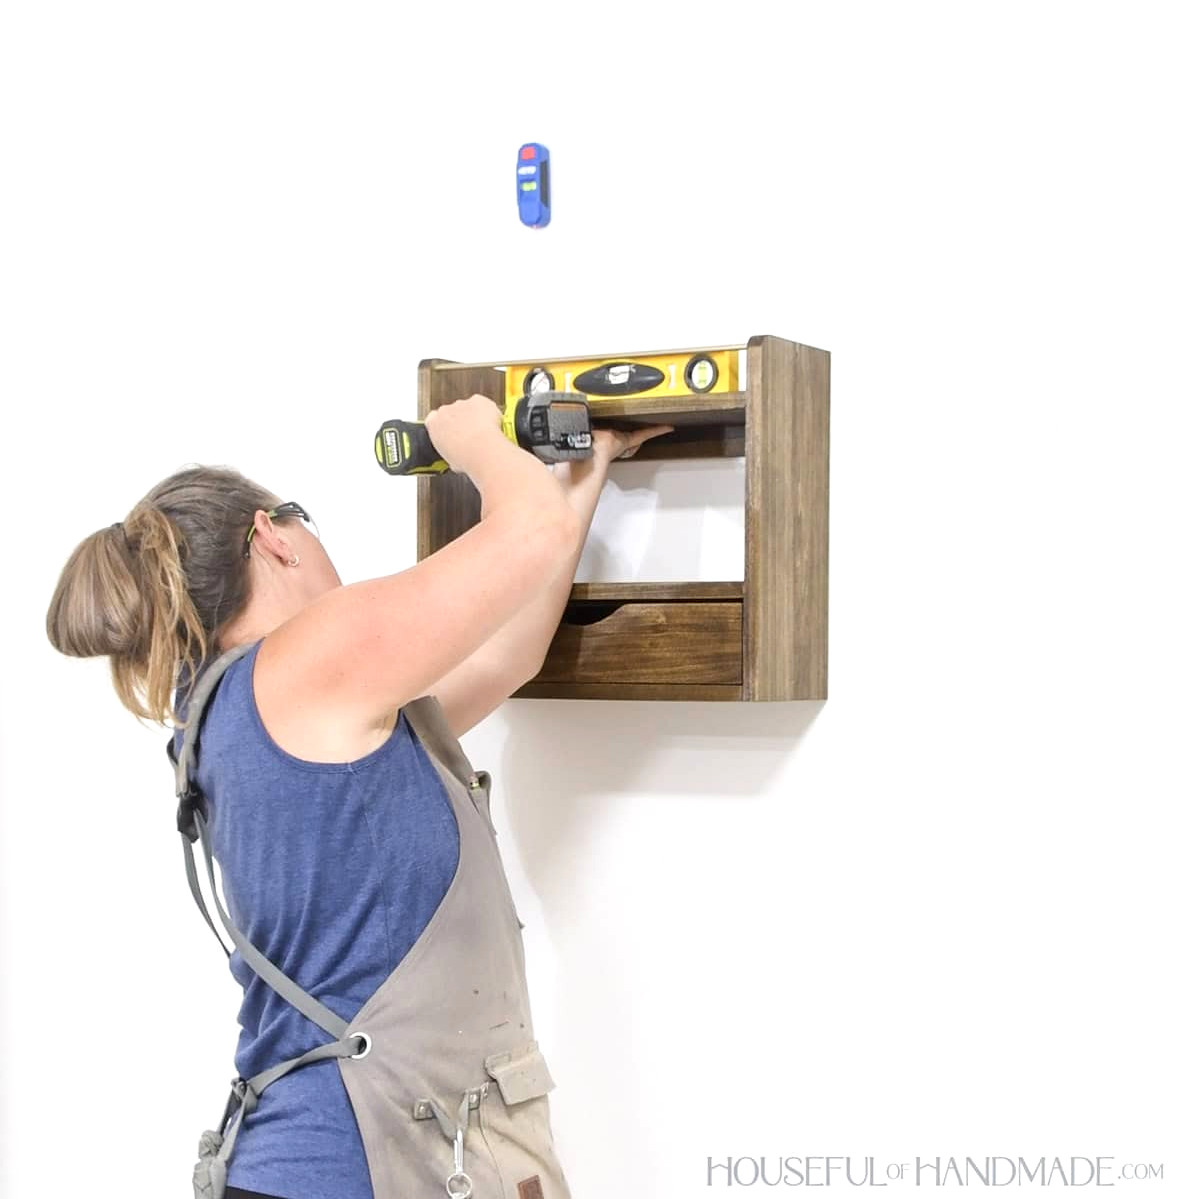
To mount the shelf, first verify that it is level. Then drive the 2″ wood screws through the back support and into the wall studs.
When both screws cannot be driven into studs, install a heavy-duty wall anchor for the screw that misses the stud.
However, be certain that at least 1 screw enters a wall stud to keep the shelf firmly secured.
Don’t Forget to Grab the Printable PDF Plans Here!
Premium plans include:
- Suggested Tools
- Materials list
- Simple-to-follow cut list table
- Cutting diagrams
- Detailed step-by-step directions with 3D renderings
- Useful resources
- BONUS: 3D SketchUp file
You finished it!
Slide the drawers into the shelf and enjoy decorating them. I love being able to tuck some items away in the drawers while leaving others on display.
Enjoy building!