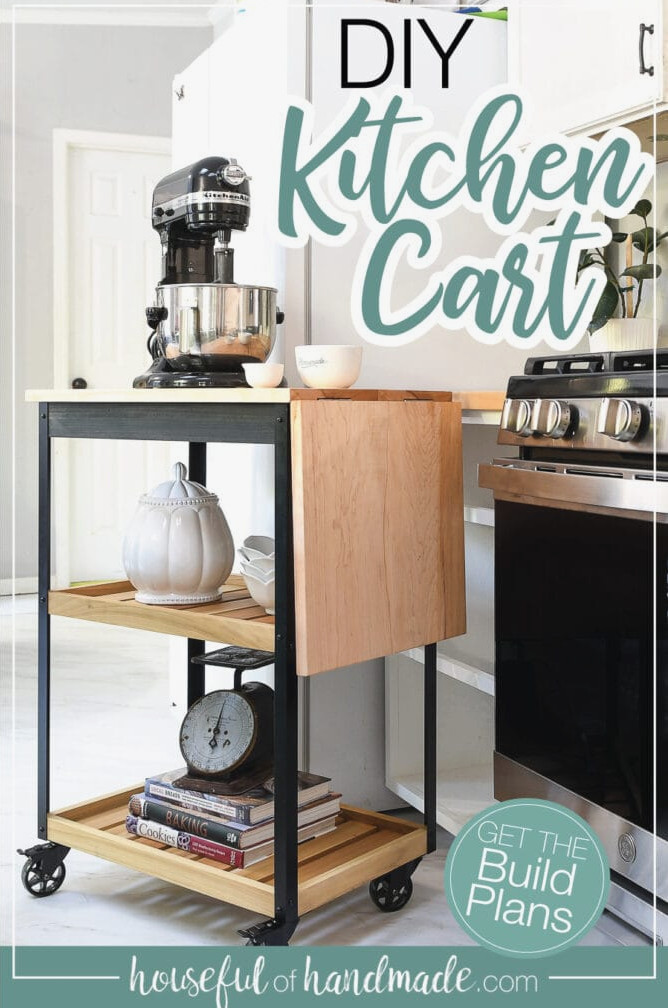
Give your kitchen more storage and countertop space with this gorgeous DIY rolling kitchen cart.
The weather is getting cooler, which means it’s baking season!!!! It’s my favorite time of year. However, in our new home, I didn’t have an ideal spot for storing my stand mixer.
So, I teamed up with Kreg Tools to create a rolling kitchen cart just in time for all of my holiday baking.
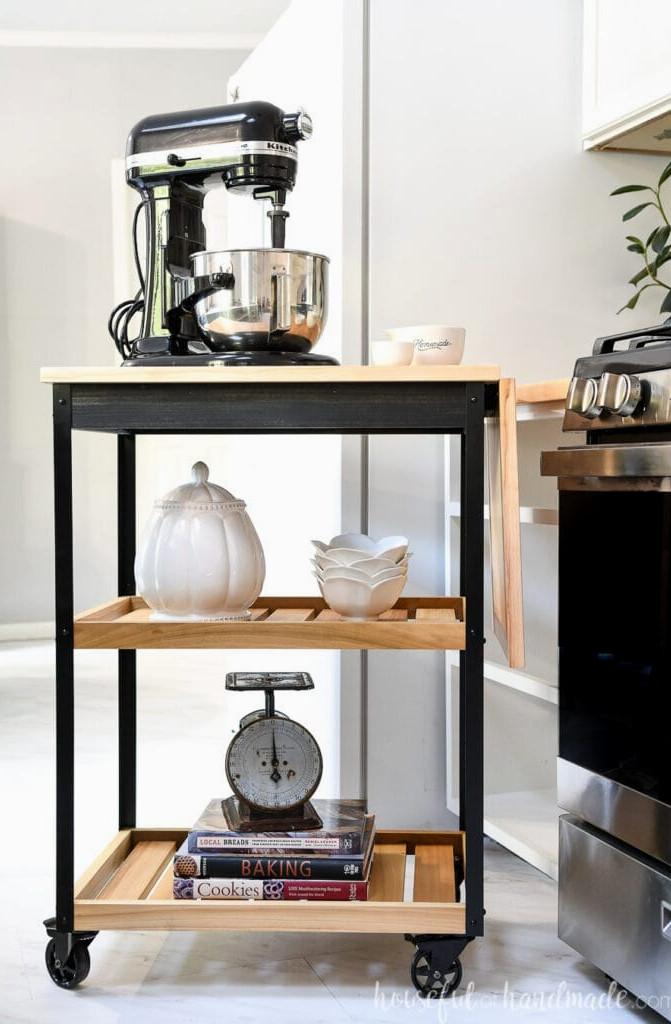
Kitchen Cart with Folding Leaf
I have never heard anyone complain about having too much counter space. This contemporary kitchen cart is an excellent way to add a little extra countertop area to any kitchen.
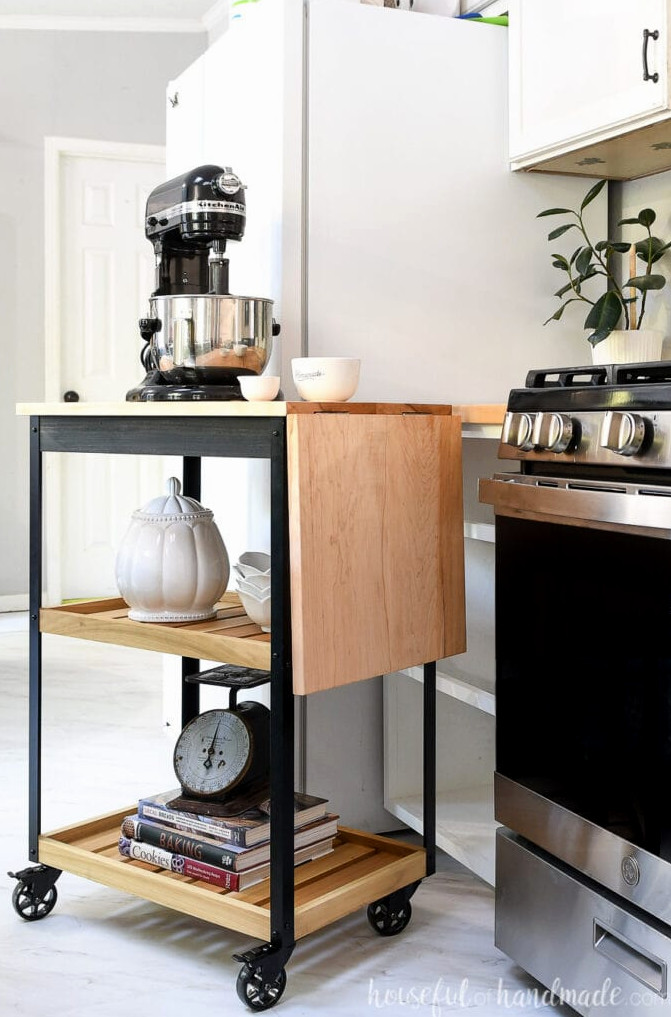
Measuring 26″ x 16 1/2″, the cart can slip easily into an unused corner and roll out whenever required. The fold-down leaf also creates additional workspace.
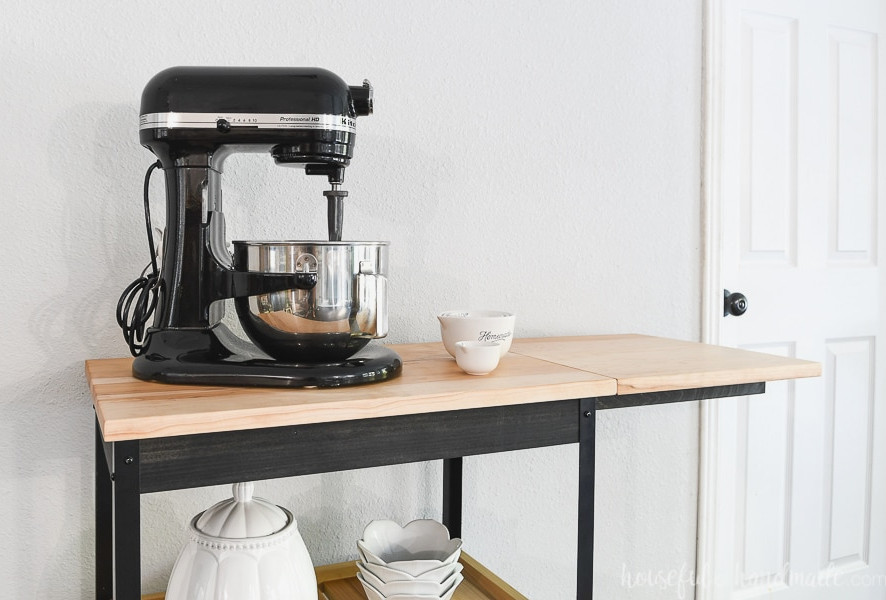
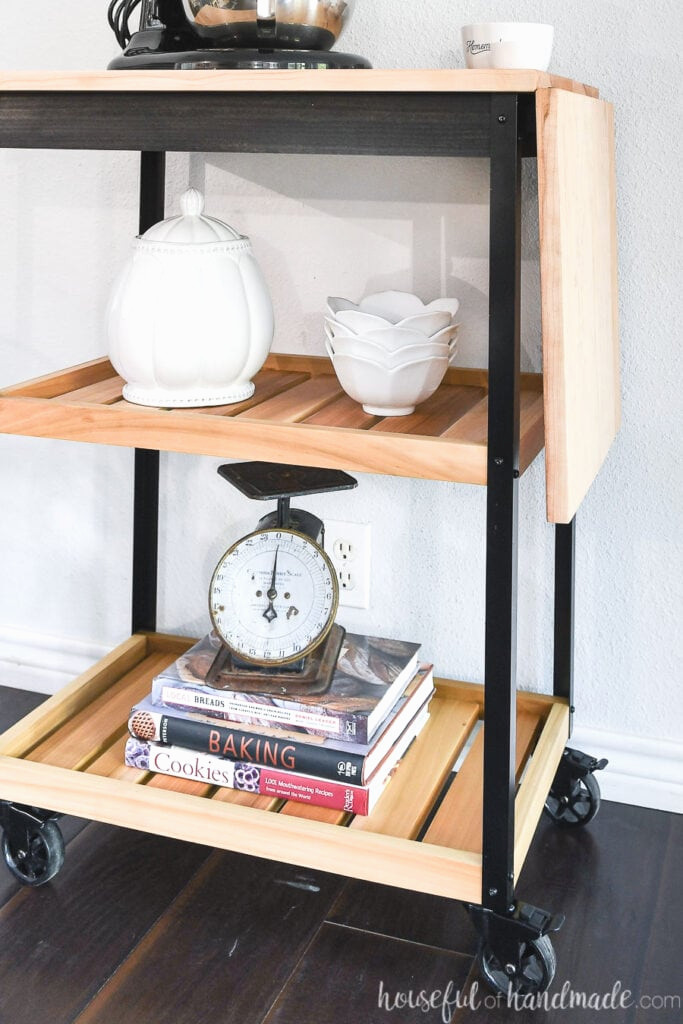
The leaf folds up and down effortlessly thanks to the concealed support that slides out from beneath the kitchen cart. The 2×2 supports reinforce the leaf, allowing you to use it as extra preparation space.
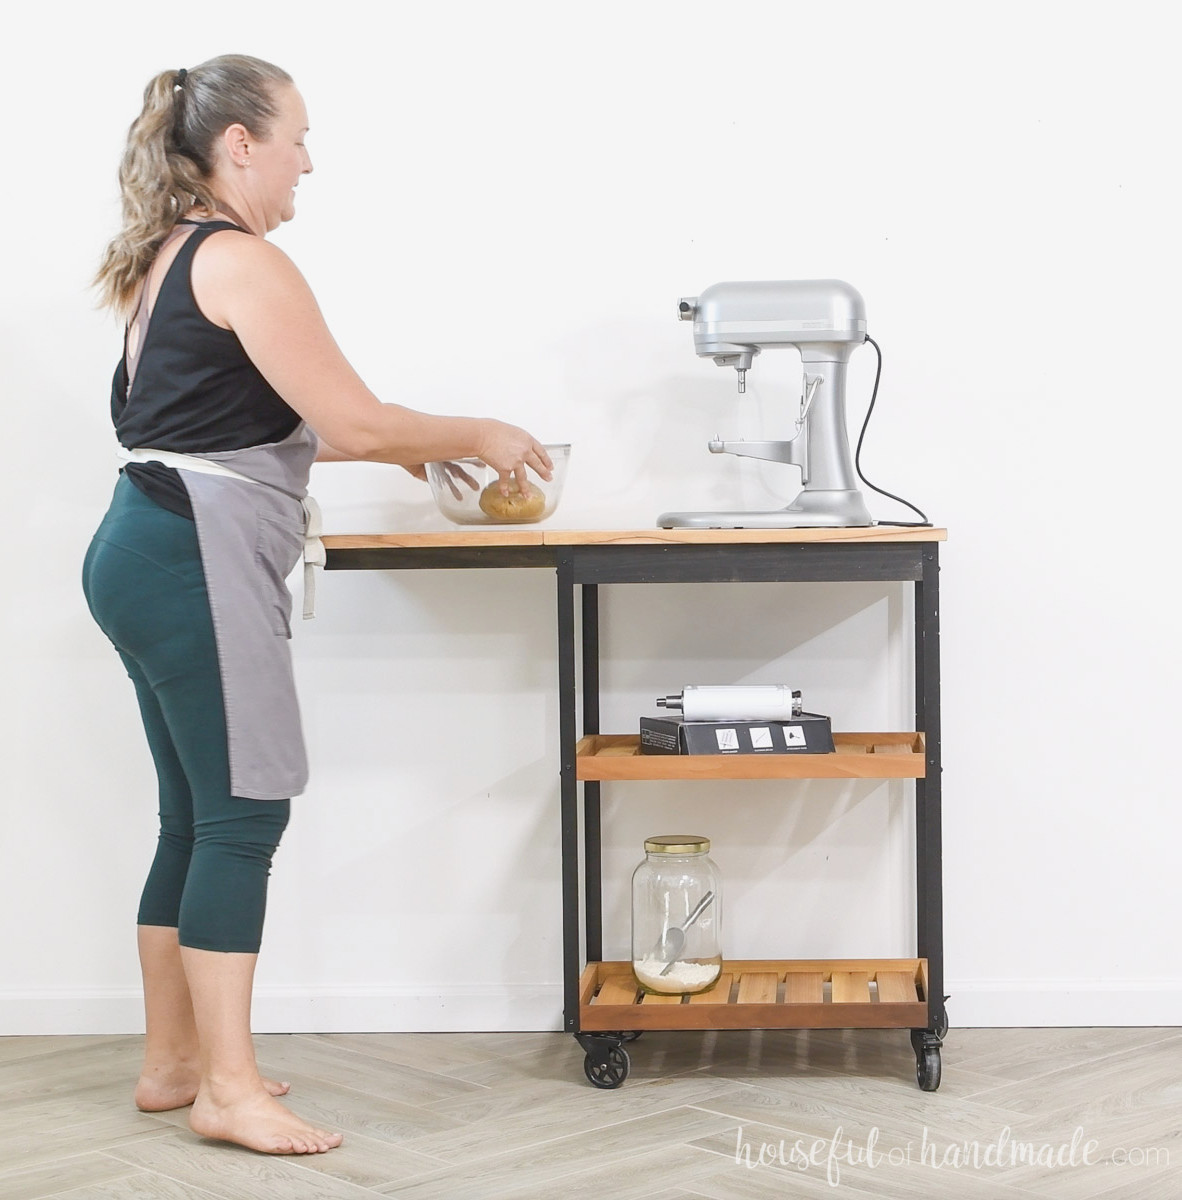
Because I’m using my DIY kitchen cart for baking, the top serves as the permanent spot for my stand mixer. When it’s time to bake, I can raise the leaf, creating the ideal area for measuring ingredients and preparing delicious treats.
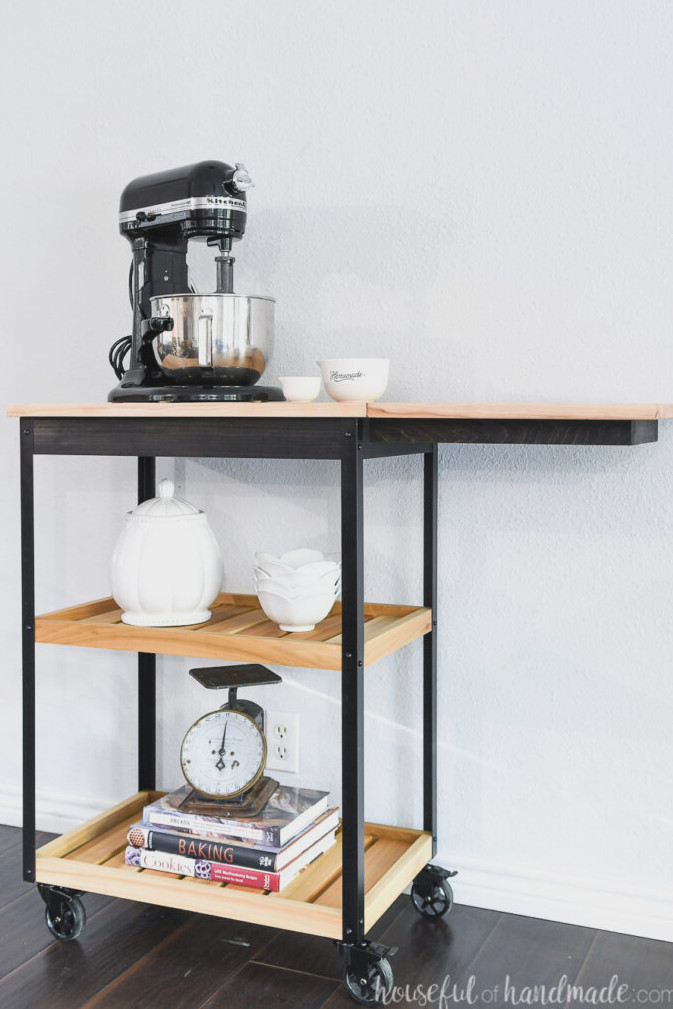
You can never really have too much storage, either. This contemporary rolling cart features two roomy shelves that are ideal for holding additional kitchen supplies.
Both shelves include a small raised edge to prevent items from sliding off as the cart moves around the kitchen. Since I use my cart for baking, they are perfect for keeping my baking cookbooks and cookie jar!
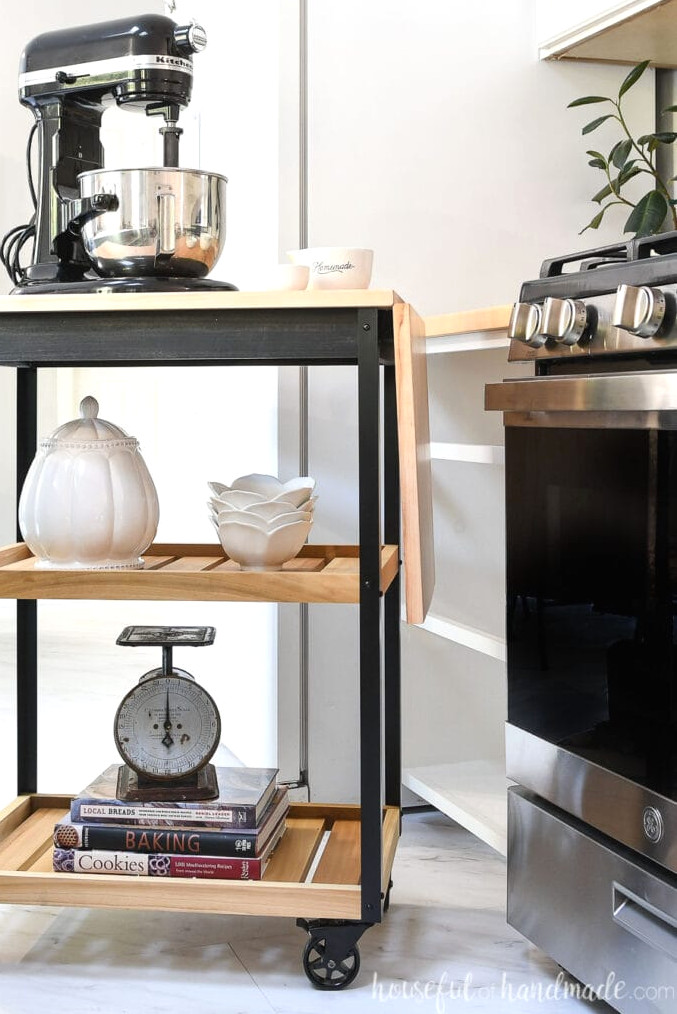
Because the kitchen cart has wheels, you can easily move it out of the way when it isn’t needed. This makes it an incredibly flexible storage solution for your kitchen!
Simple Contemporary Design
To preserve the cart’s sleek, modern appearance, I chose a fun new corner material: aluminum angle.
This affordable metal edging is lightweight and simple to cut using standard woodworking tools. You can trim it with a metal blade in your jigsaw or with your miter saw.
The aluminum can also be spray-painted in any shade you prefer. Just be sure to apply an aluminum primer first (I used Rustoleum Self Etching Primer).
For a clean, modern finish, I coated my cart with satin black spray paint and stained the upper frame, including the leaf support, with Minwax True Black wood stain. I really like how the natural wood stands out against the black, and it coordinates beautifully with the black vintage inspired castors I found here.
For the cart’s base and shelves, I selected poplar wood. Maple was used for the top.
The poplar absorbed the black stain beautifully, helping the black aluminum angle blend in seamlessly.
Once finished, the poplar looks very similar to maple, with only a subtle hint of its characteristic yellow-green coloring. It offered an excellent budget-friendly alternative to using maple for every naturally colored component.
The maple cart top also gives this kitchen cart another purpose. It essentially functions as a rolling maple cutting board, so you can transform the cart into a convenient food-preparation area whenever you like.
How to Make a Portable Baking Cart
Tools & Supplies
Overall Measurements
The completed kitchen cart measures 16 1/2″ deep by 25 1/2″ wide with the leaf lowered and 41 1/2″ wide withthe leaf elevated. The cart measures 31 3/4″ in height without castors and 34 3/4″ with castors.
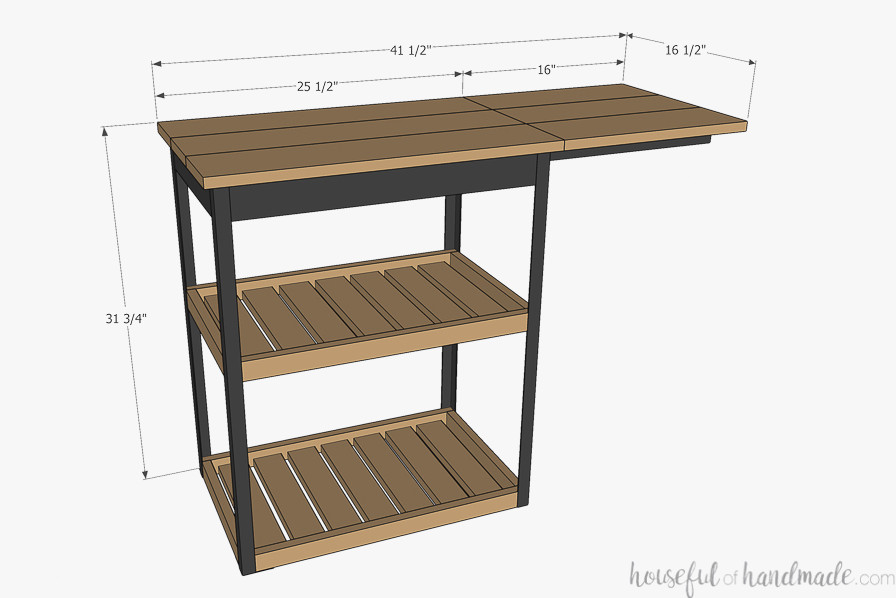
Cut List
Prepare the pieces based on the cut list provided in the plans on Kregtool.com.
STEP 1- Construct leaf support
Begin by boring a 7/16″ hole into the back of two top support boards.
Position the hole’s center 1″ from the back and align it with the middle of the 2×2. Ensure the hole passes directly through the board.
Hammer the 7/16″ dowel into the opening, centering it so that 5/8″ extends from both sides.
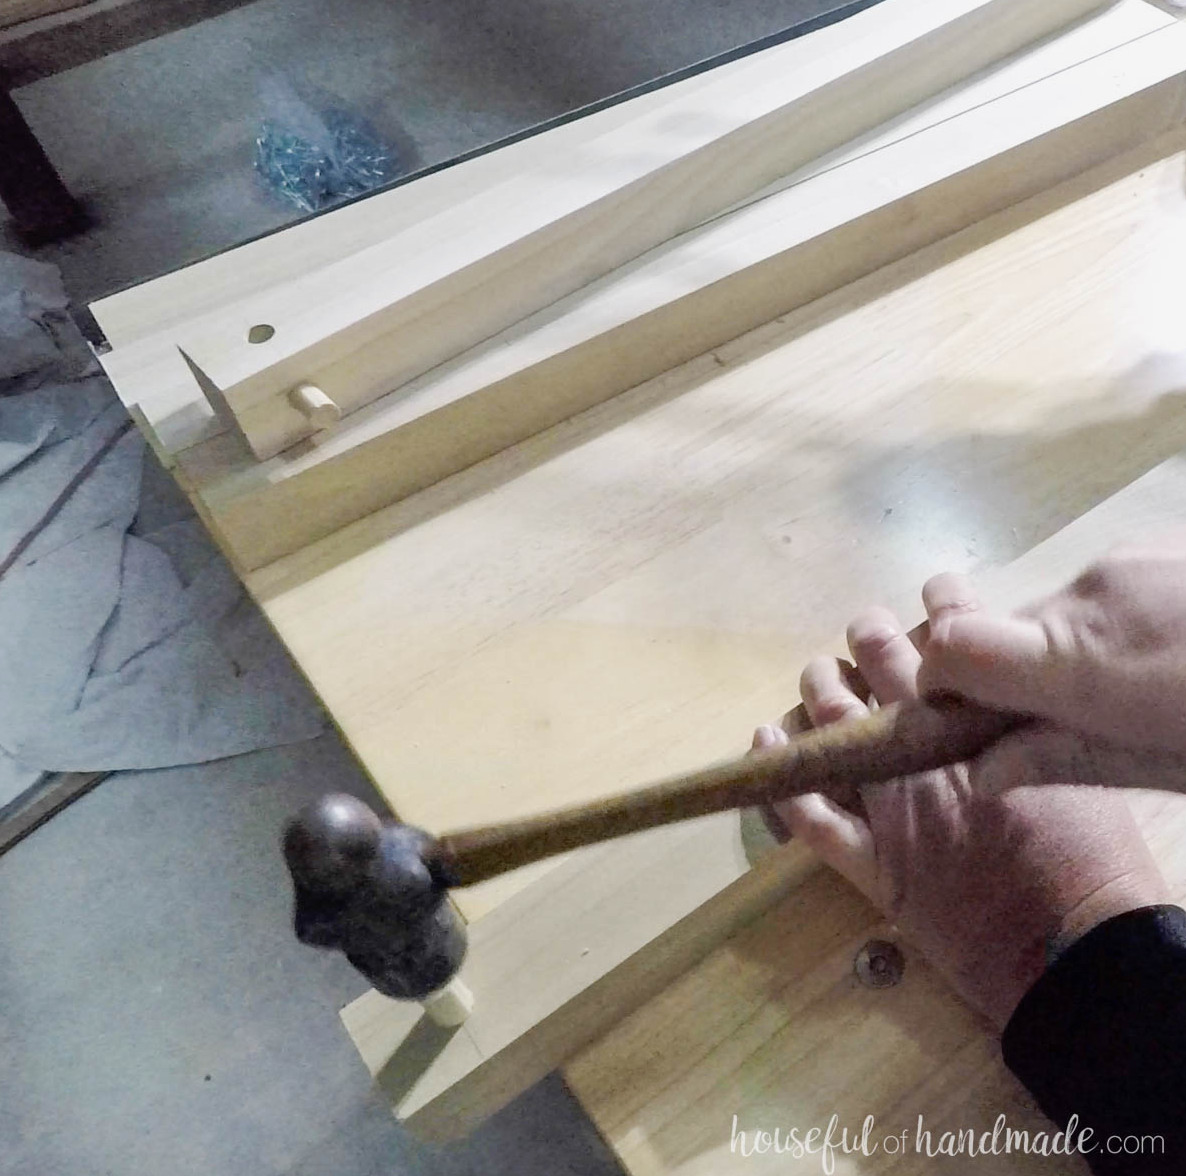
For simpler removal of the leaf support, use a 1 1/2″ Forstner bit to drill a 3/4″ half-circle into the center edge of the top support handle.
I completed this step after assembly, though doing it beforehand is more convenient. When drilling, clamp a scrap piece of wood beside the leaf handle for a neat cut.
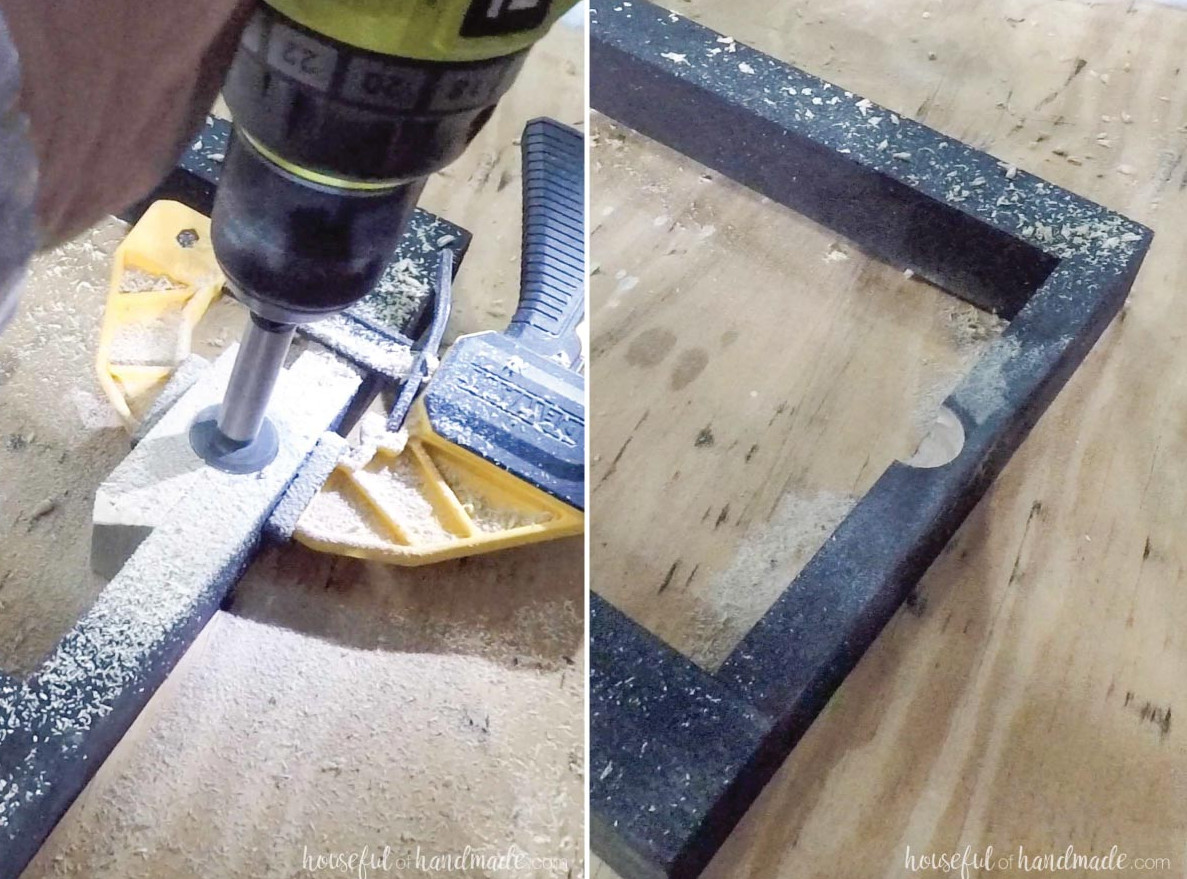
Set your Kreg Jig for 3/4″-thick material, then bore pocket holes into both ends of the top support handle.
Using 1 1/4″ pocket holes and wood glue, fasten the handle between the two support boards.
Check that the dowels project from the sides of the boards rather than from the top or bottom.
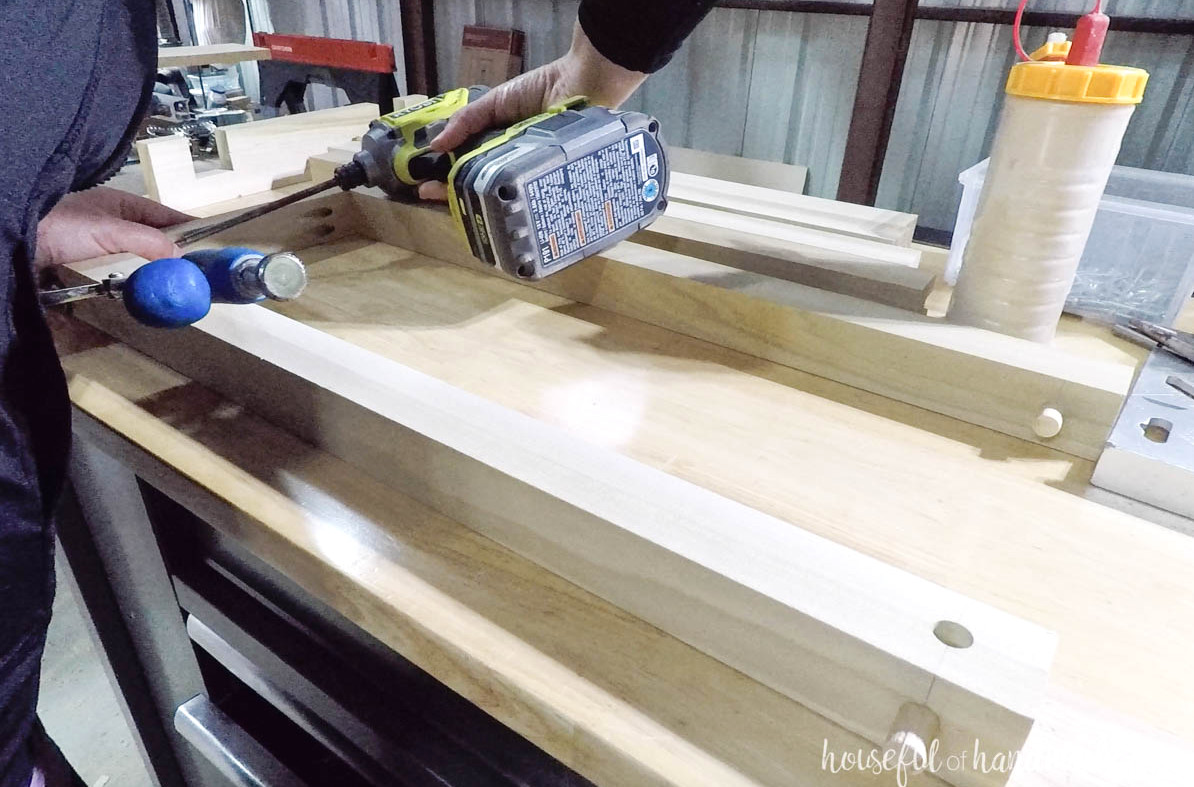
STEP 2- Assemble top frame
For the remaining top support boards, route a groove measuring 3/4″ deep and 1/2″ wide along the center of one side. End the groove 5 1/4″ short of the board’s end.
Make several routing passes, removing only a little wood each time to avoid chipping.
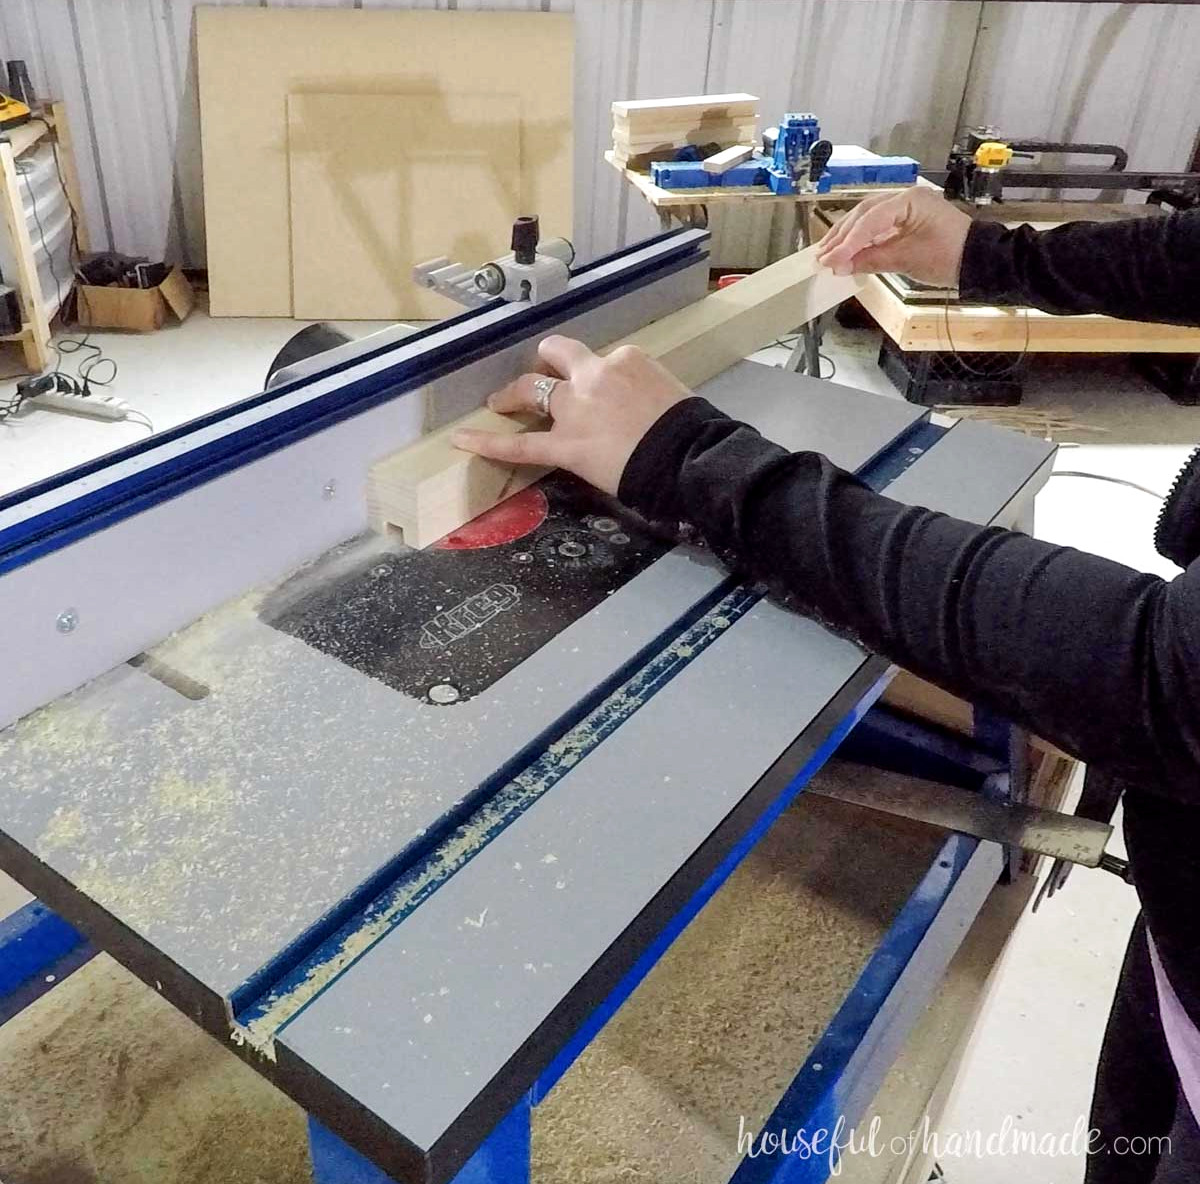
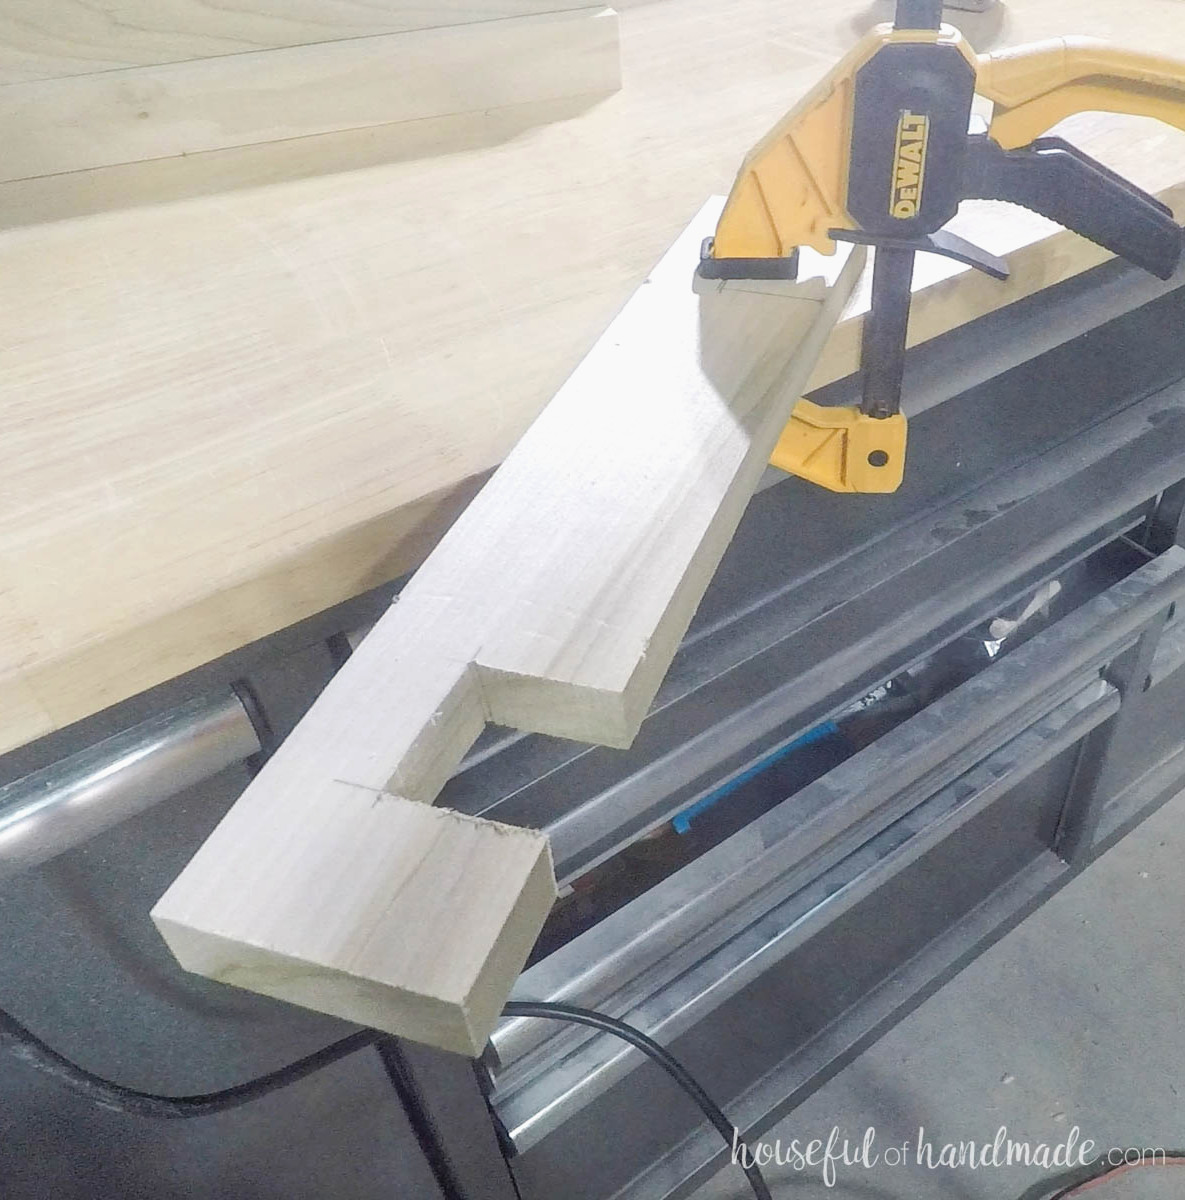
On one top frame side board, mark a 1 1/2″ x 1 1/2″ notch located 1 1/2″ from both ends, then remove it with a jigsaw.
Set the assembled leaf support into the notches to confirm that it fits and slides freely.
The upper edges of the notches should align flush with the top of the leaf supports.
Keeping the Kreg Jig adjusted for 3/4″-thick material, make two pocket holes at each end of the top support boards on the side opposite the groove.
Drill only for 3/4″-thick material so you do not break through the grooves.
Fasten two support boards to the outer side of the notched frame side board, aligning them flush with both the top and outside edge.
Use 1 1/4″ pocket hole screws and wood glue to hold them in place.
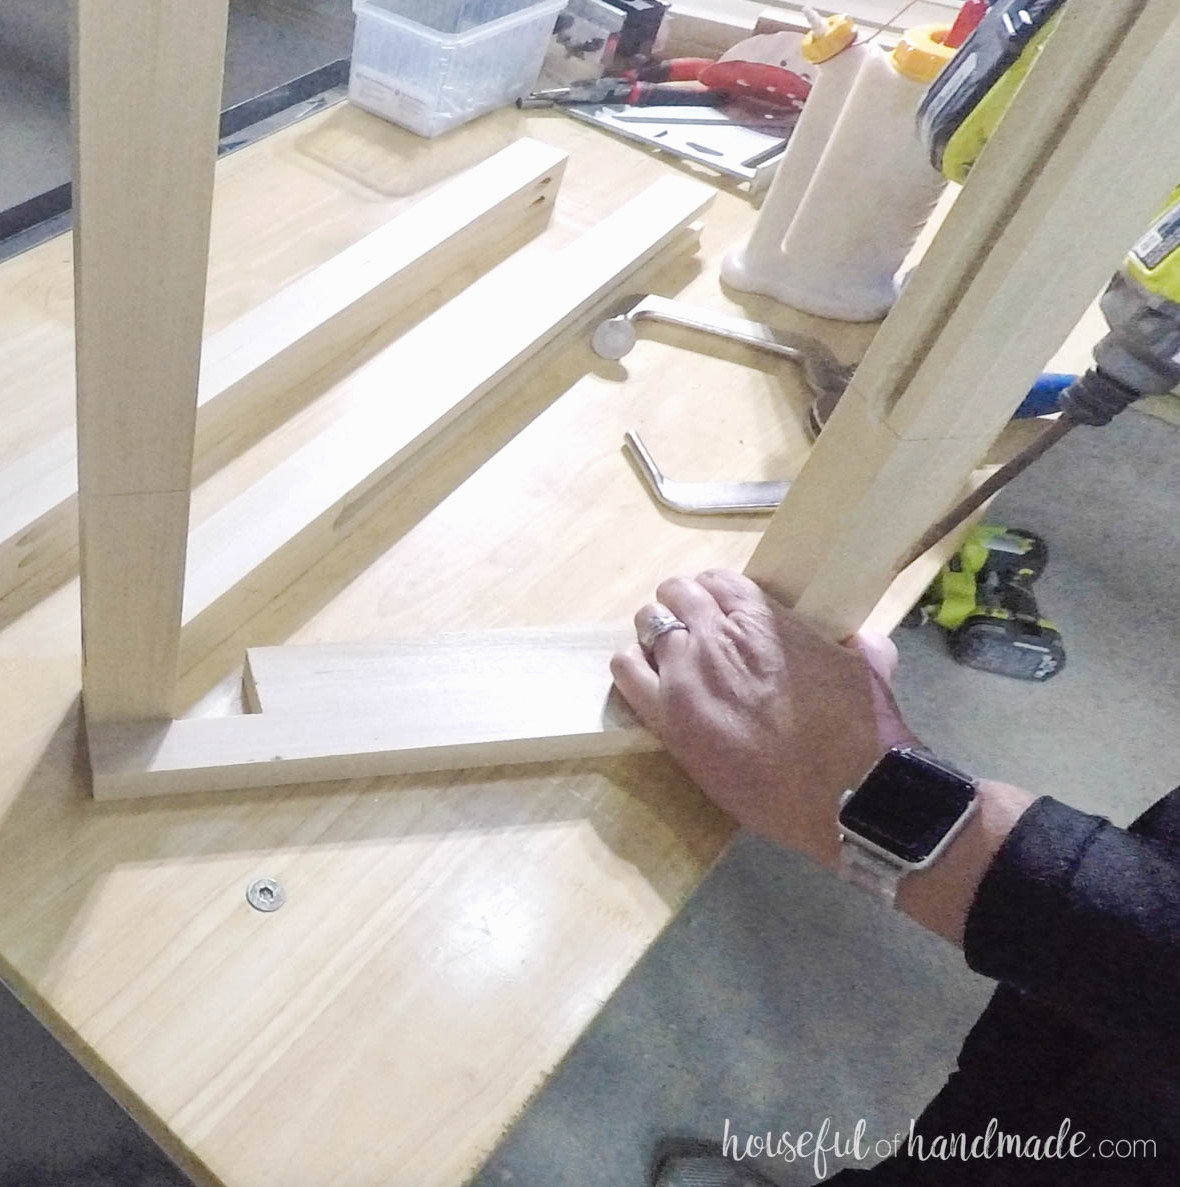
If you plan to stain, seal, or paint the leaf support, complete that finish before placing it inside the frame. The remaining frame may be finished afterward if desired.
Guide the leaf support dowels into the grooves at the back of the frame, then rest the handle on the outside of the side frame so the boards settle into the notches.
Install the remaining grooved top support boards, ensuring that the ungrooved side connects to the notched board.
Fit the dowels into the grooves and bring the support boards together, leaving enough looseness for the leaf support to move in and out smoothly.
Fasten everything with wood glue and 1 1/4″ pocket holes.
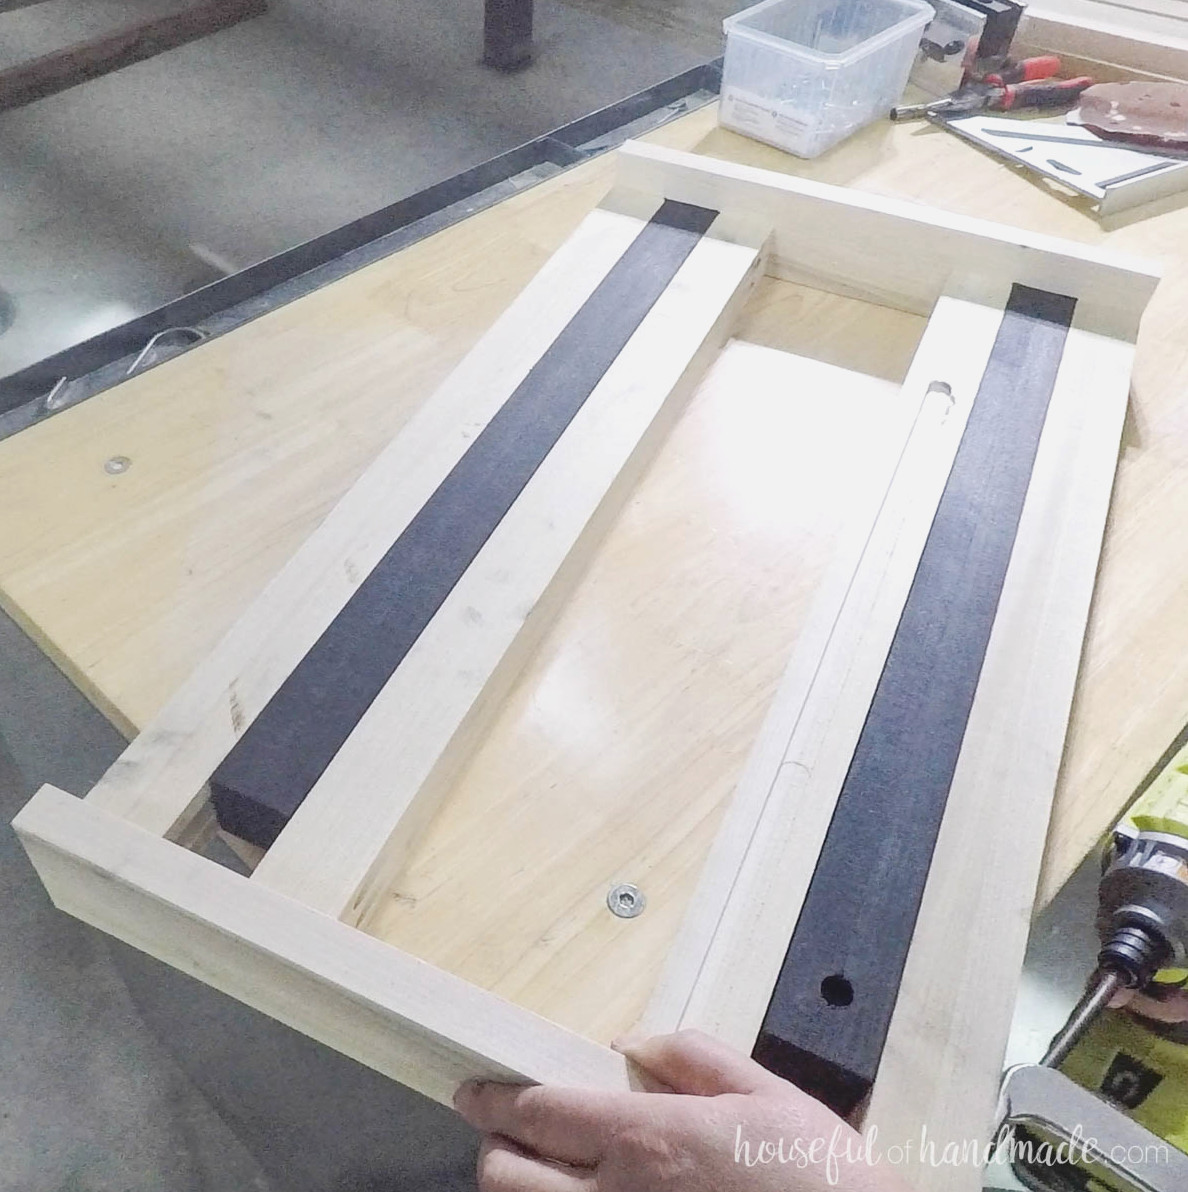
Fasten the second frame side board to the ends of the top support boards, keeping the outer boards flush with the edges and the top surfaces aligned.
Apply wood glue and 1 1/4″ pocket hole screws. Verify once more that the leaf support slides smoothly, making adjustments as needed.
Complete the top by securing the top frame front and back boards to the sides of the top supports with wood glue and 1 1/4″ finish nails.
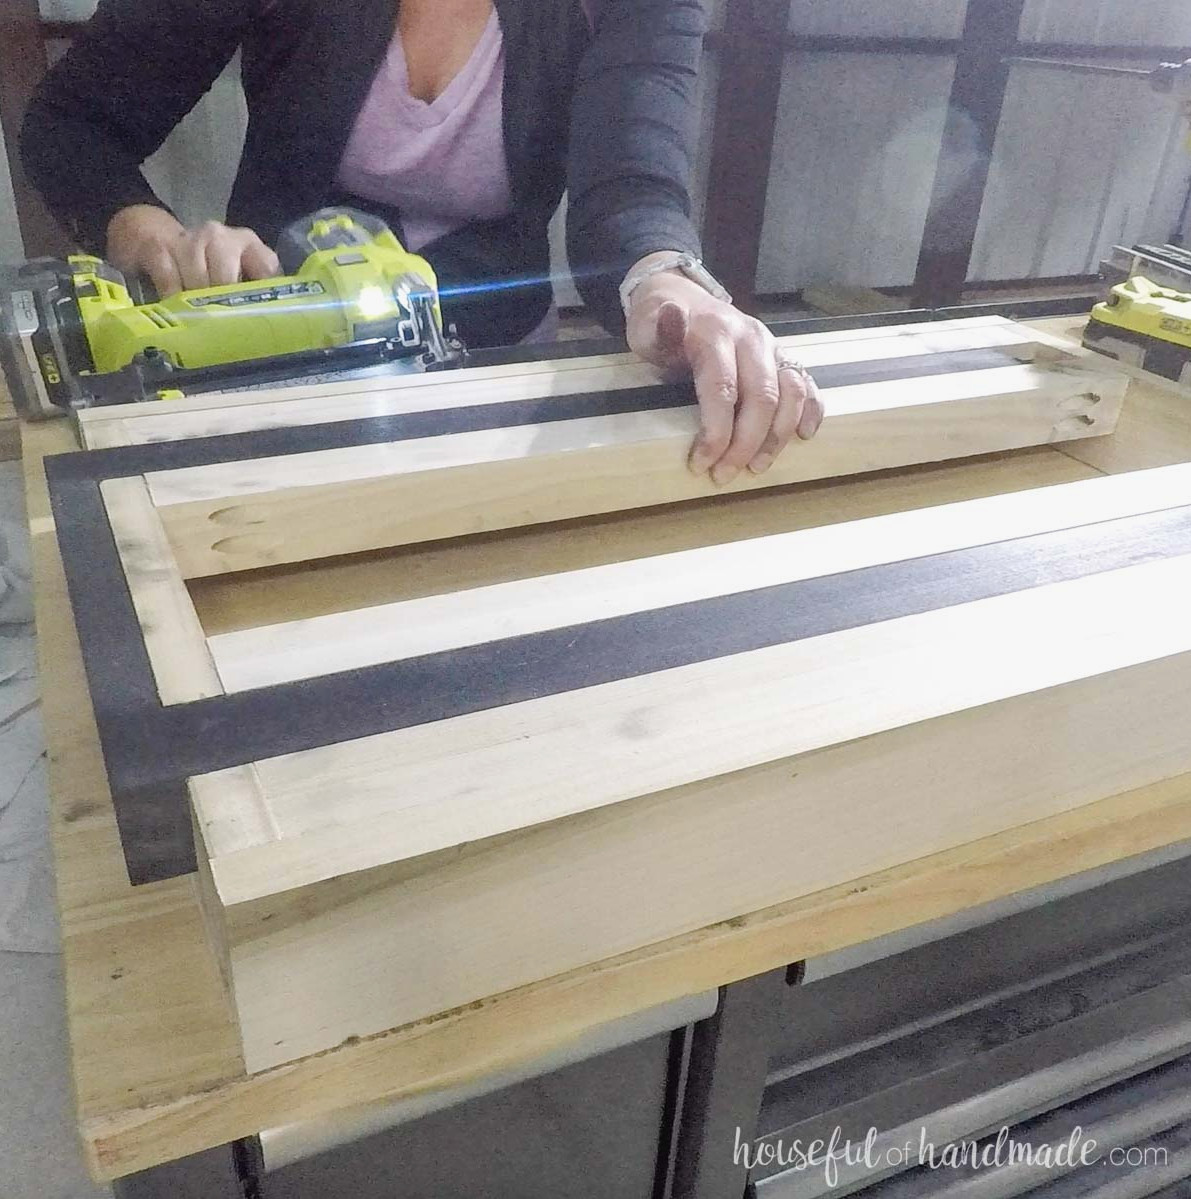
STEP 3- Construct shelves
Create pocket holes designed for 3/4″-thick material at both ends of each shelf slat board.
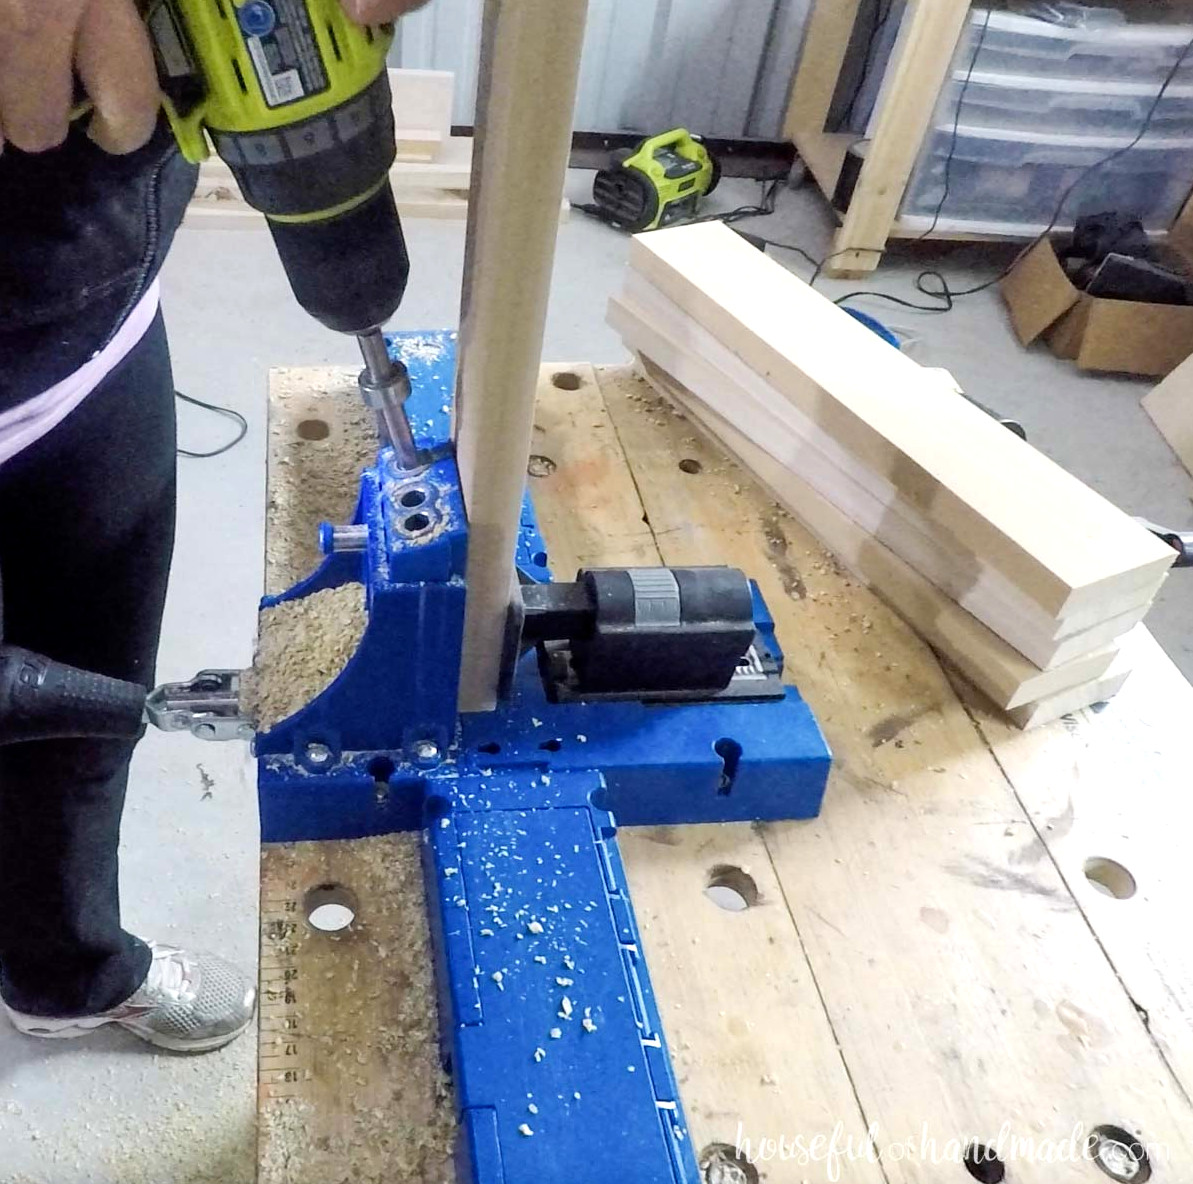
Join the shelf side ends with wood glue and 1 1/4″ finish nails.
Align them flush with the outside edge of the front and back boards.
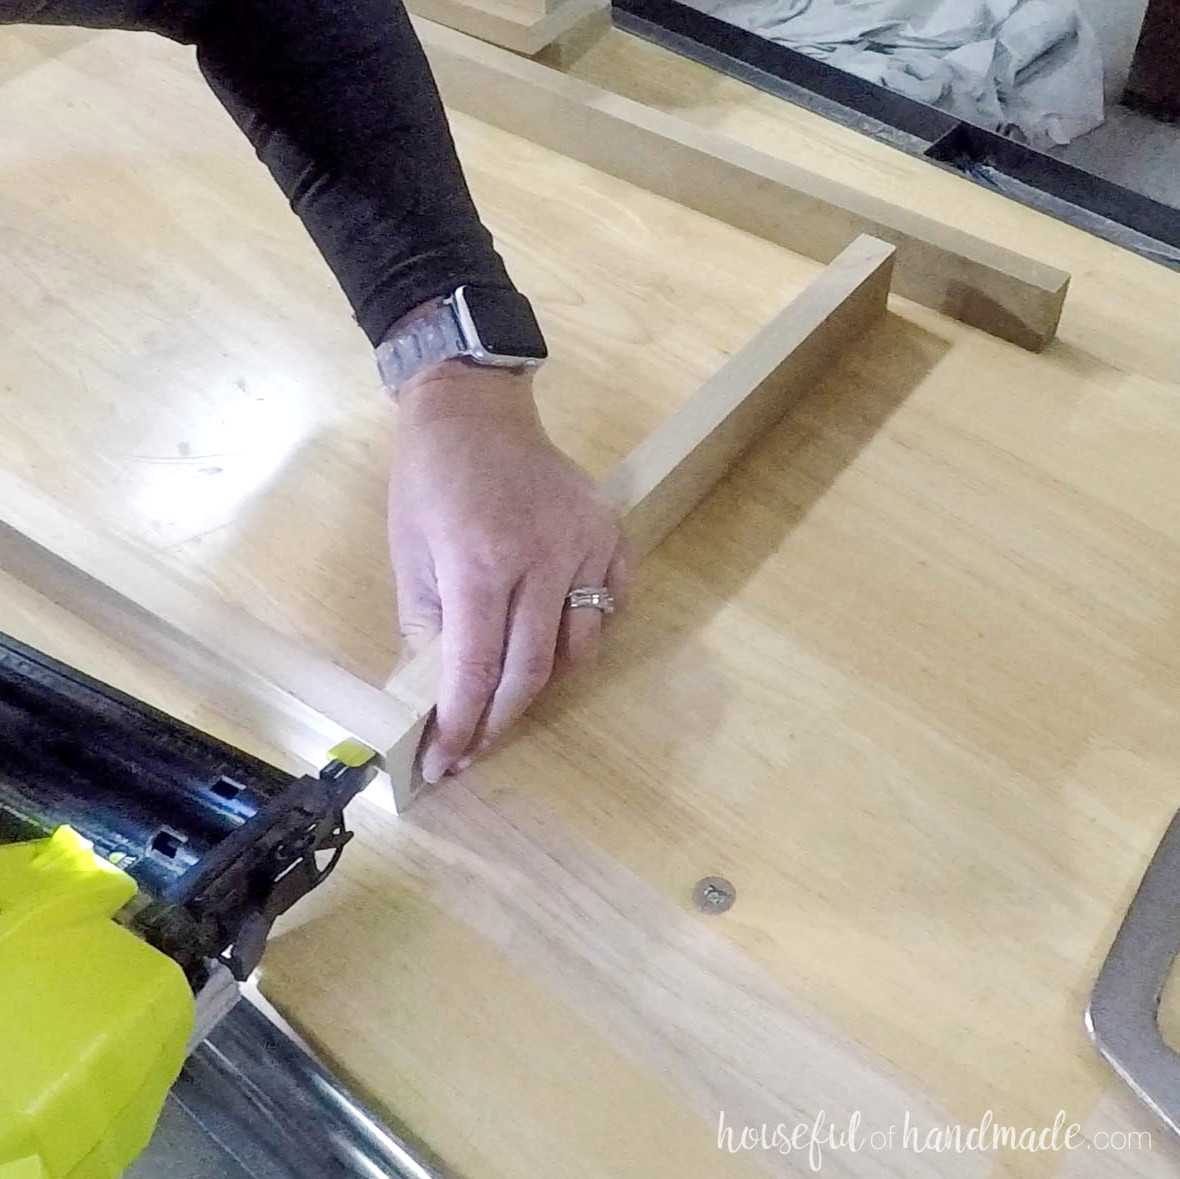
Next, fasten one end of the slat boards to the shelf front and back, keeping them flush with the bottom and leaving a 5/8″ space between each.
Secure the opposite shelf front/back board to the other ends of the slats.
Apply wood glue, using finish nails for the side boards and 1 1/4″ pocket hole screws for the slat boards.
Build the second shelf in the same manner.
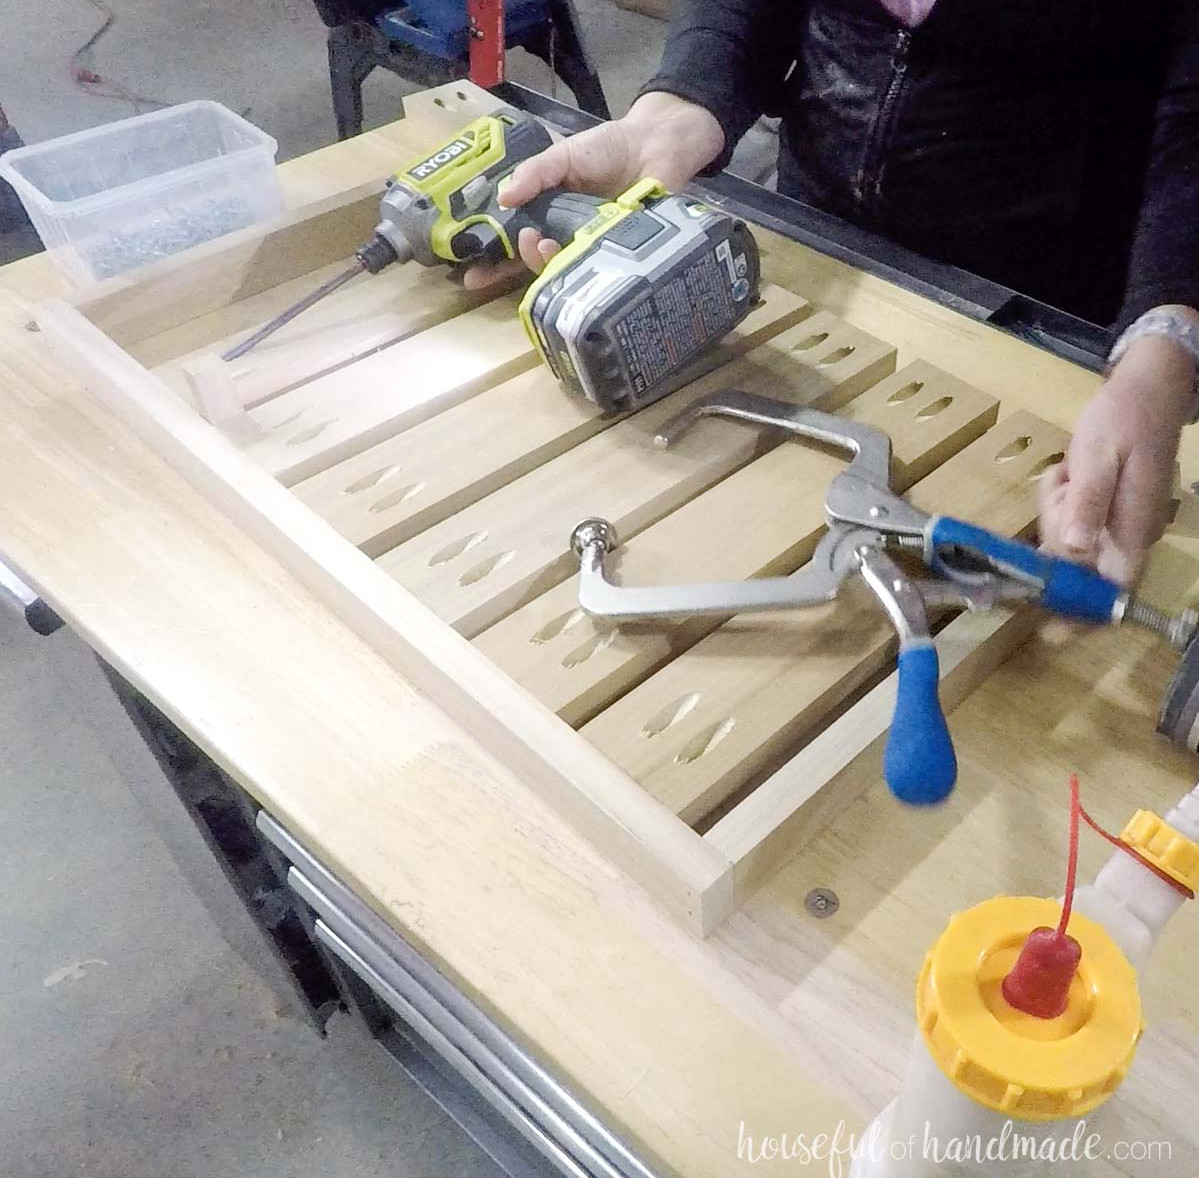
STEP 4- Put together the cart
Use a metal-cutting blade on a jigsaw or miter saw to trim the aluminum angle.
To paint the aluminum angle, apply an Etching Primer spray first, then coat it with spray paint in any color you…want.
Additionally, coat the heads of (24) 1 1/4″ pocket hole screws with spray paint so they coordinate.
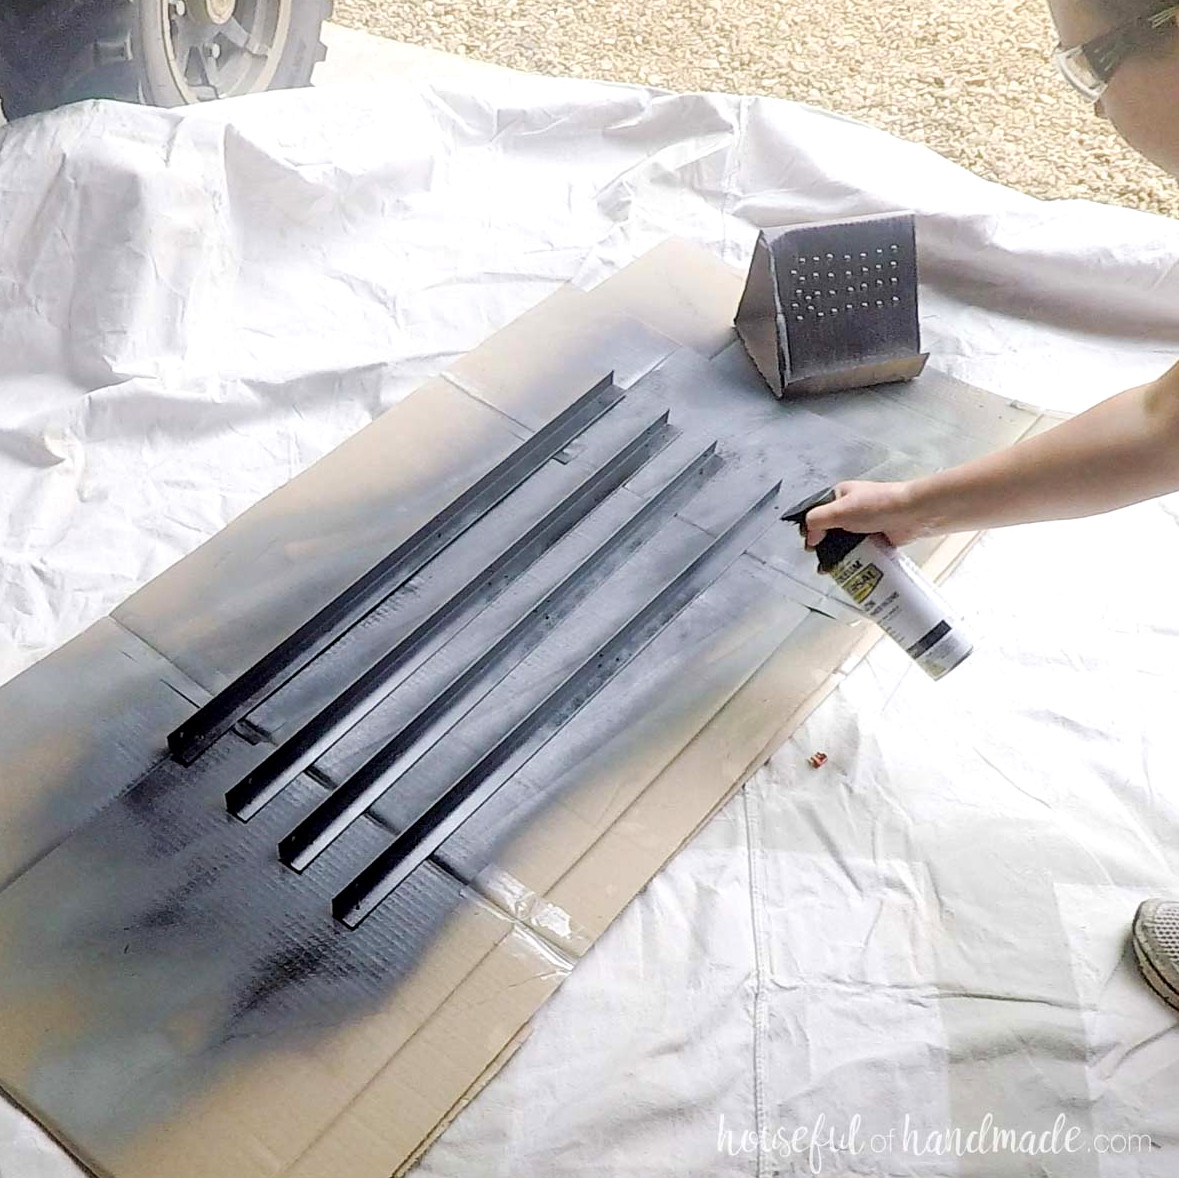
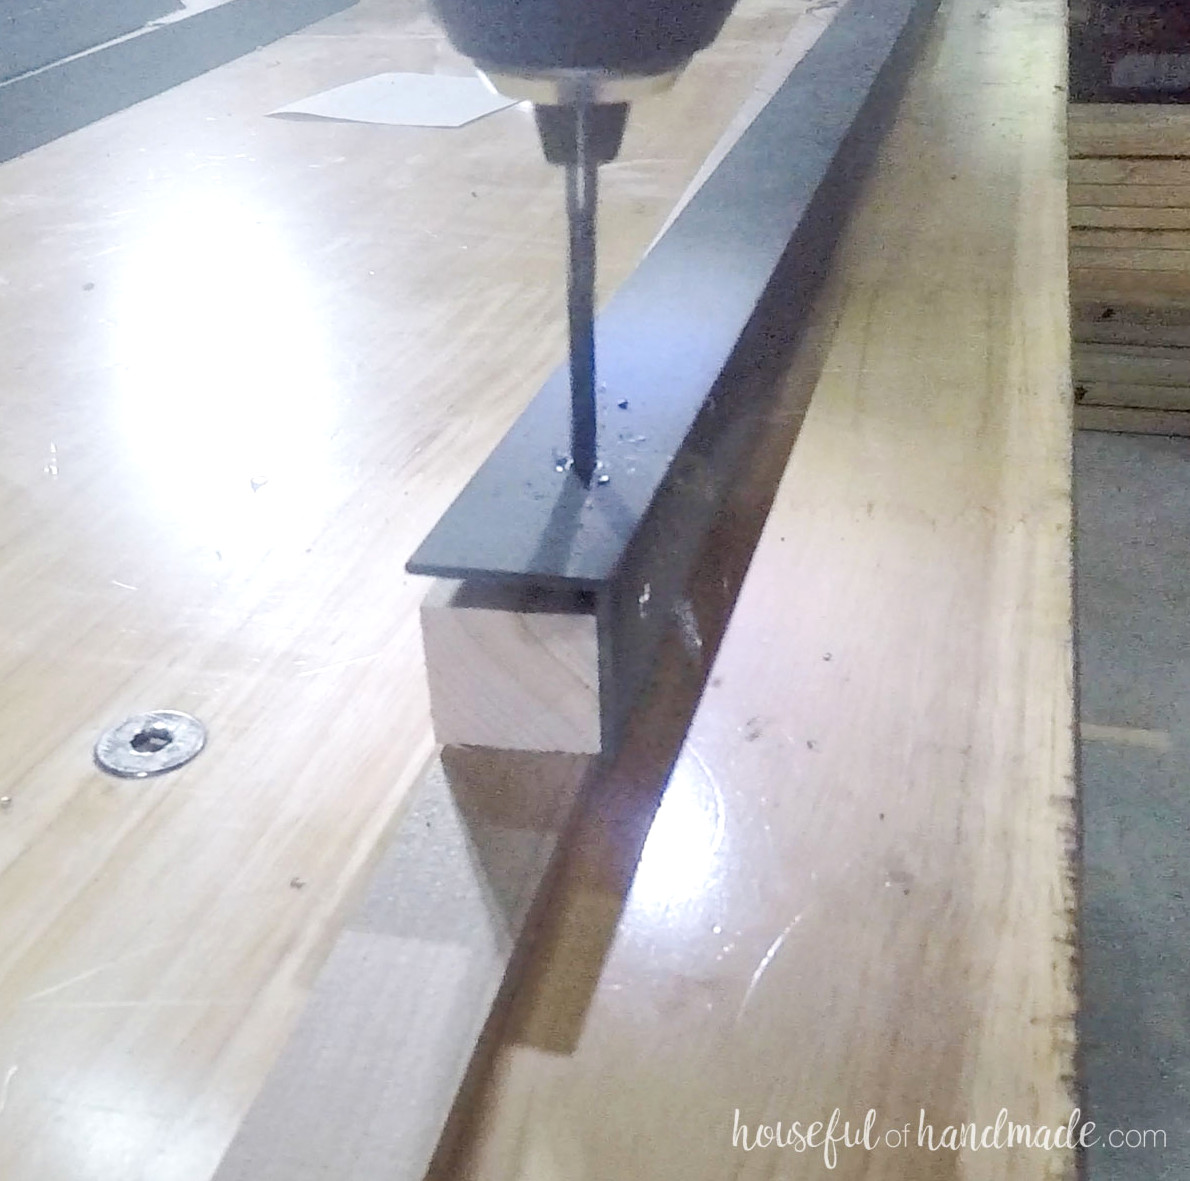
Make holes in the angle iron at the points where the top and shelves will be secured.
Place 1 screw on either side of the angle iron, offsetting them by at least 1/2″ to prevent the screws from hitting each other.
Position the top frame flush against the upper edge of the angle iron.
Fasten it using the painted screws.
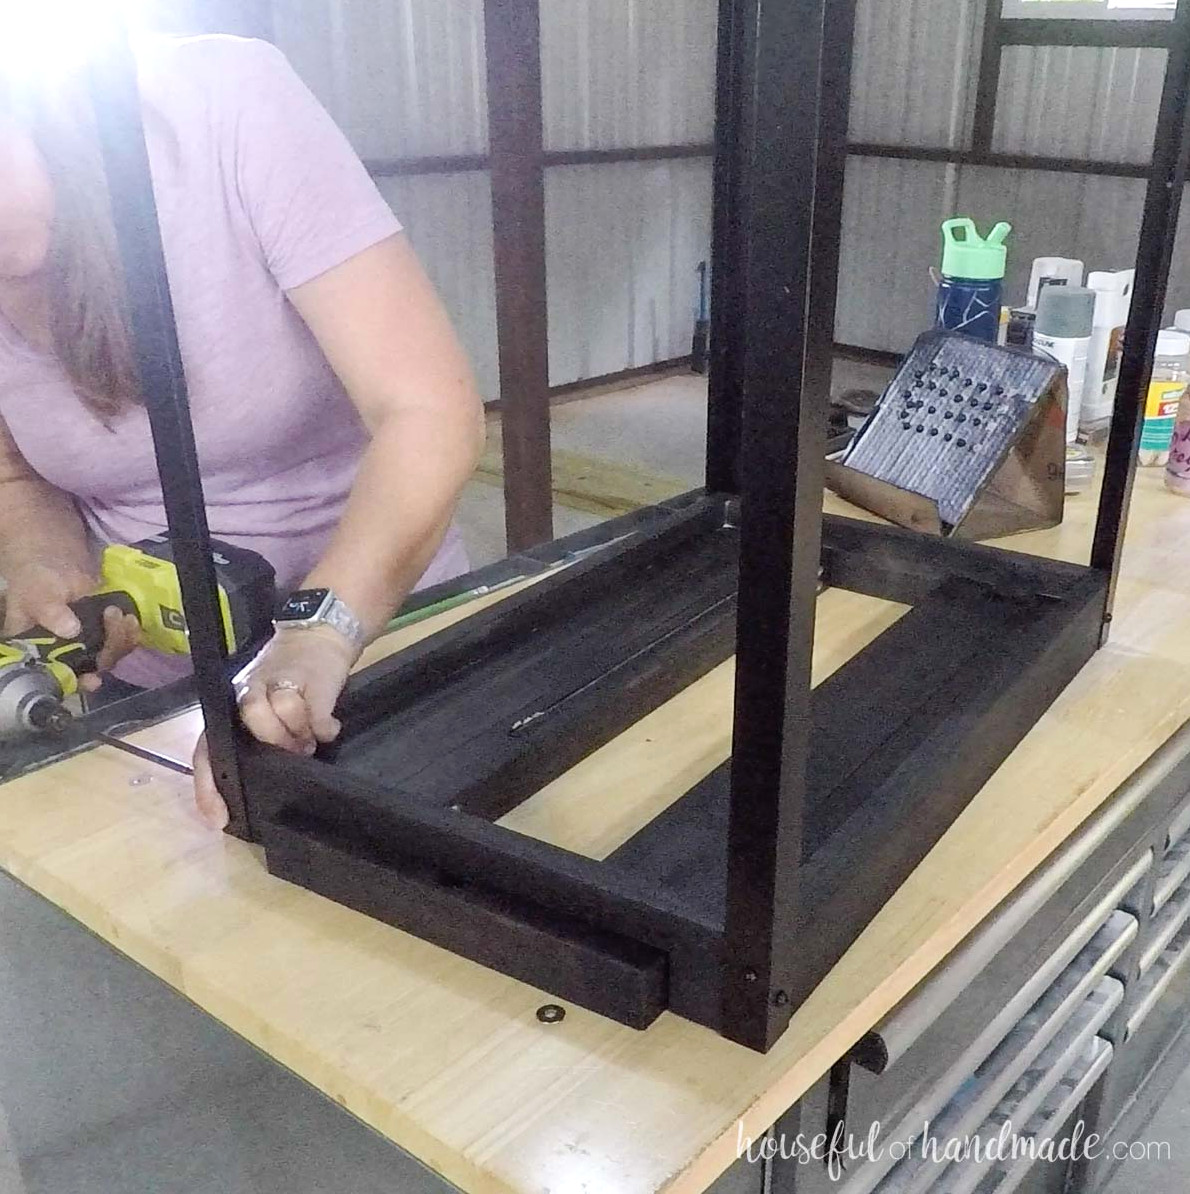
Next, install the bottom shelf so its edge aligns with the bottom.
Set the middle shelf at any height that suits your needs. Fasten it with the painted screws.
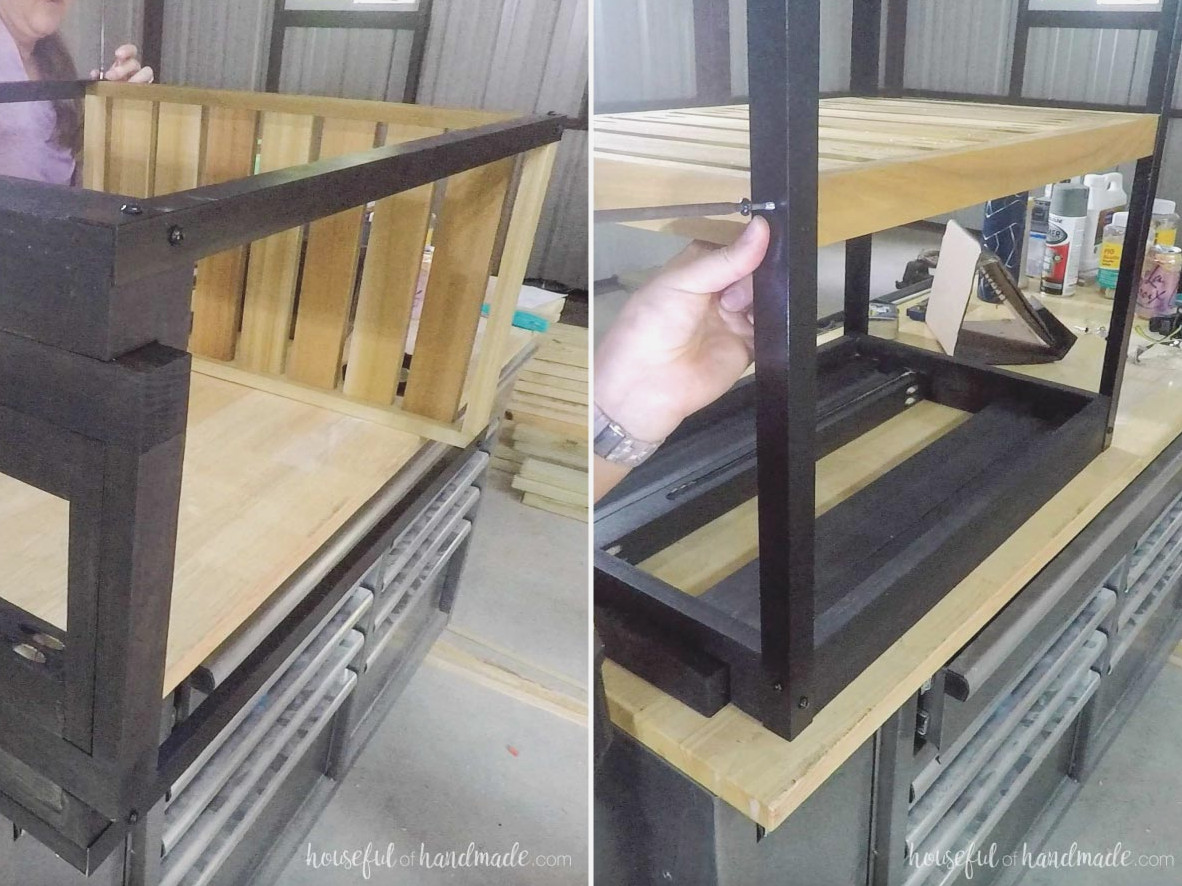
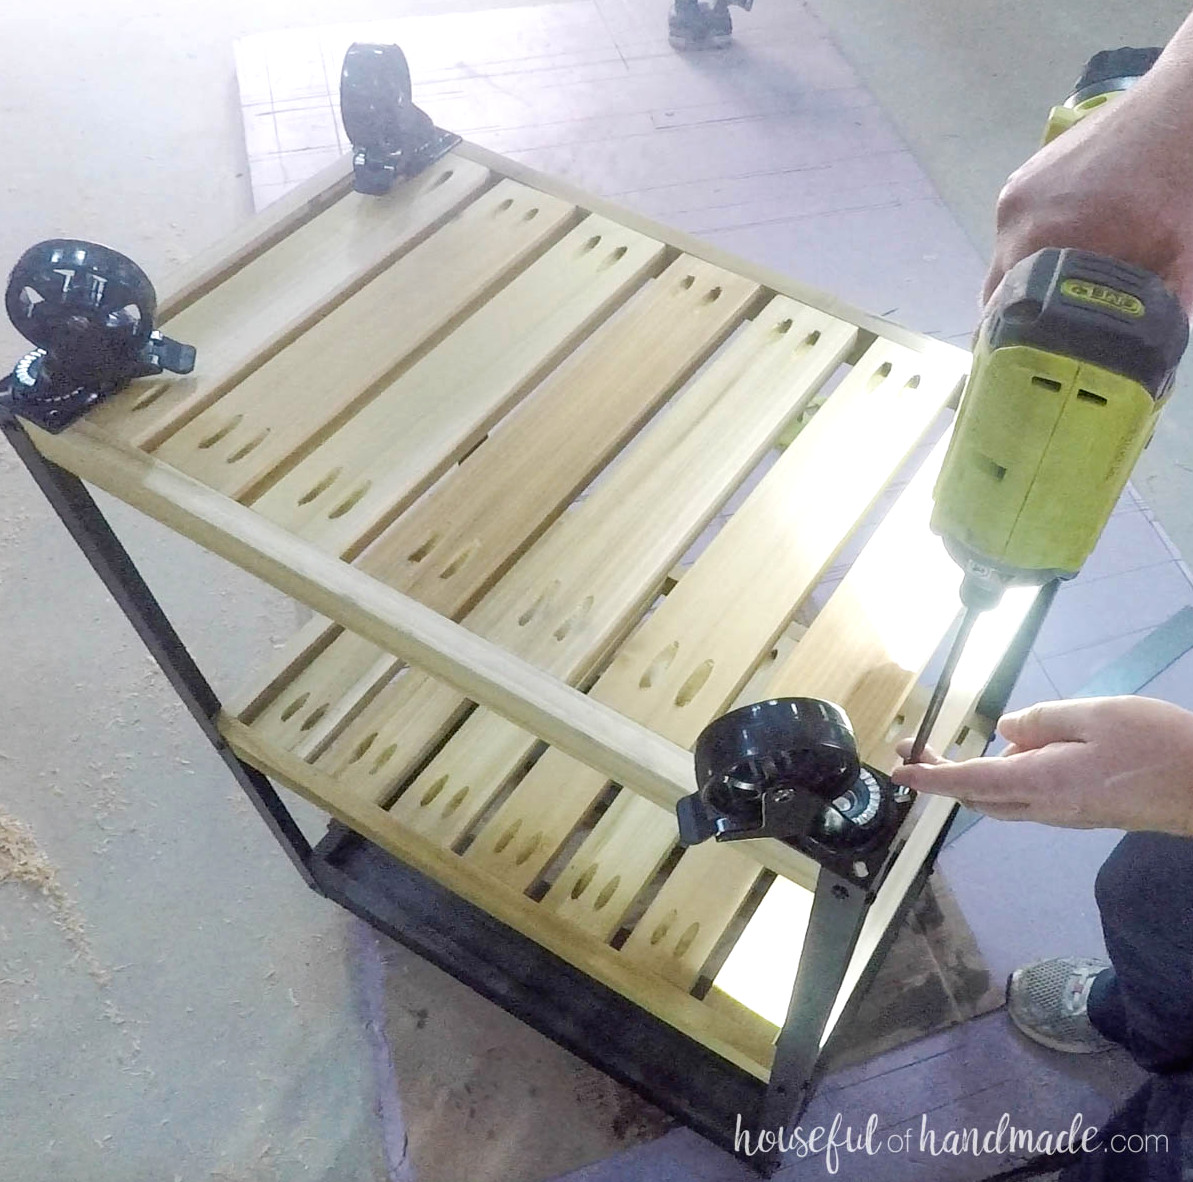
Complete the cart base by mounting the castors to the lower shelf’s bottom corners.
Be sure to choose locking castors to keep the cart steady while you bake.
STEP 5- Build and attach top
Join the 3 table-top and leaf-top boards with glue to form a board that is 16 1/2″ wide.
To hold them together, you can cut pocket holes for 3/4″-thick material into the sides of 2 boards, as I did on this DIY nightstand top.
For my table top, I used wider leftover maple boards and connected them with biscuit joints and wood glue, avoiding exposed pocket holes on the leaf.
Alternatively, use pocket holes and conceal them with plugs.
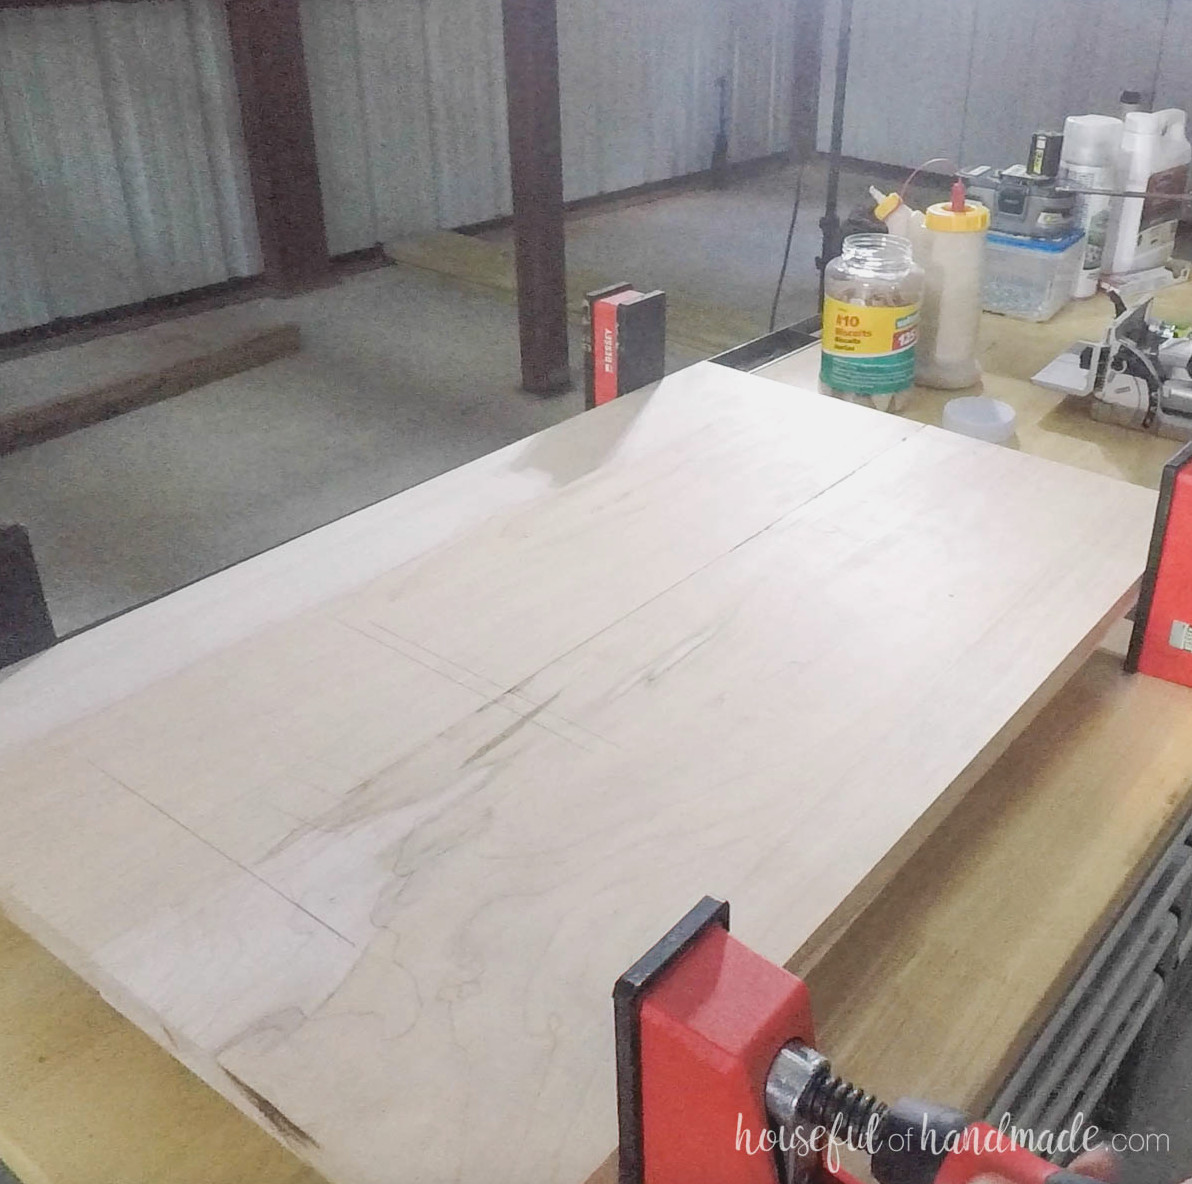
To make the leaf fold downward, install 2 hinges beneath the joined table-top and leaf sections.
For the hinges to sit flush with the board bottoms, these areas must be routed. Determine the hinge locations, then begin by routing a recess equal to the hinge thickness.
Next, locate the hinge center and route a deeper channel for it to rest in.
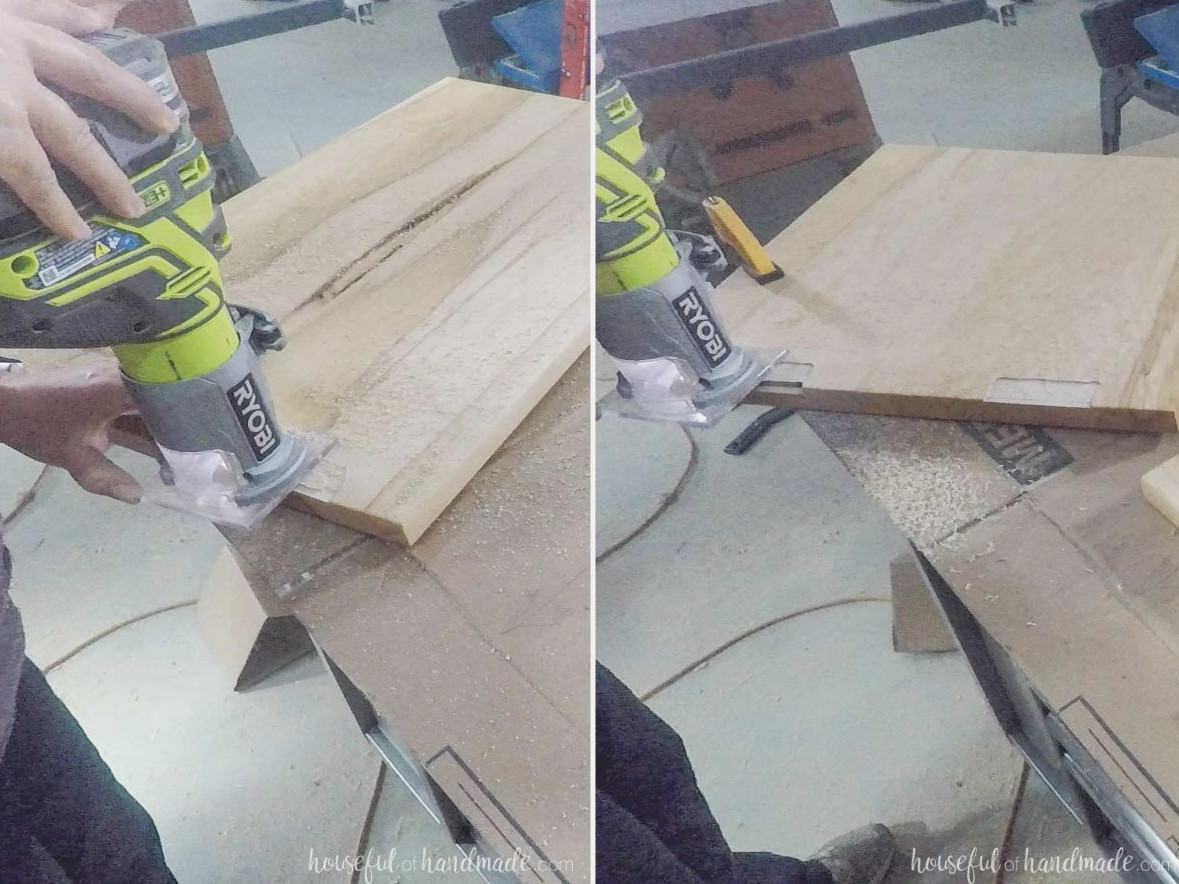
For the top sections to open smoothly, also route a chamfer along the bottom edge where they join so they can pivot.
Afterward, secure the hinges with screws.
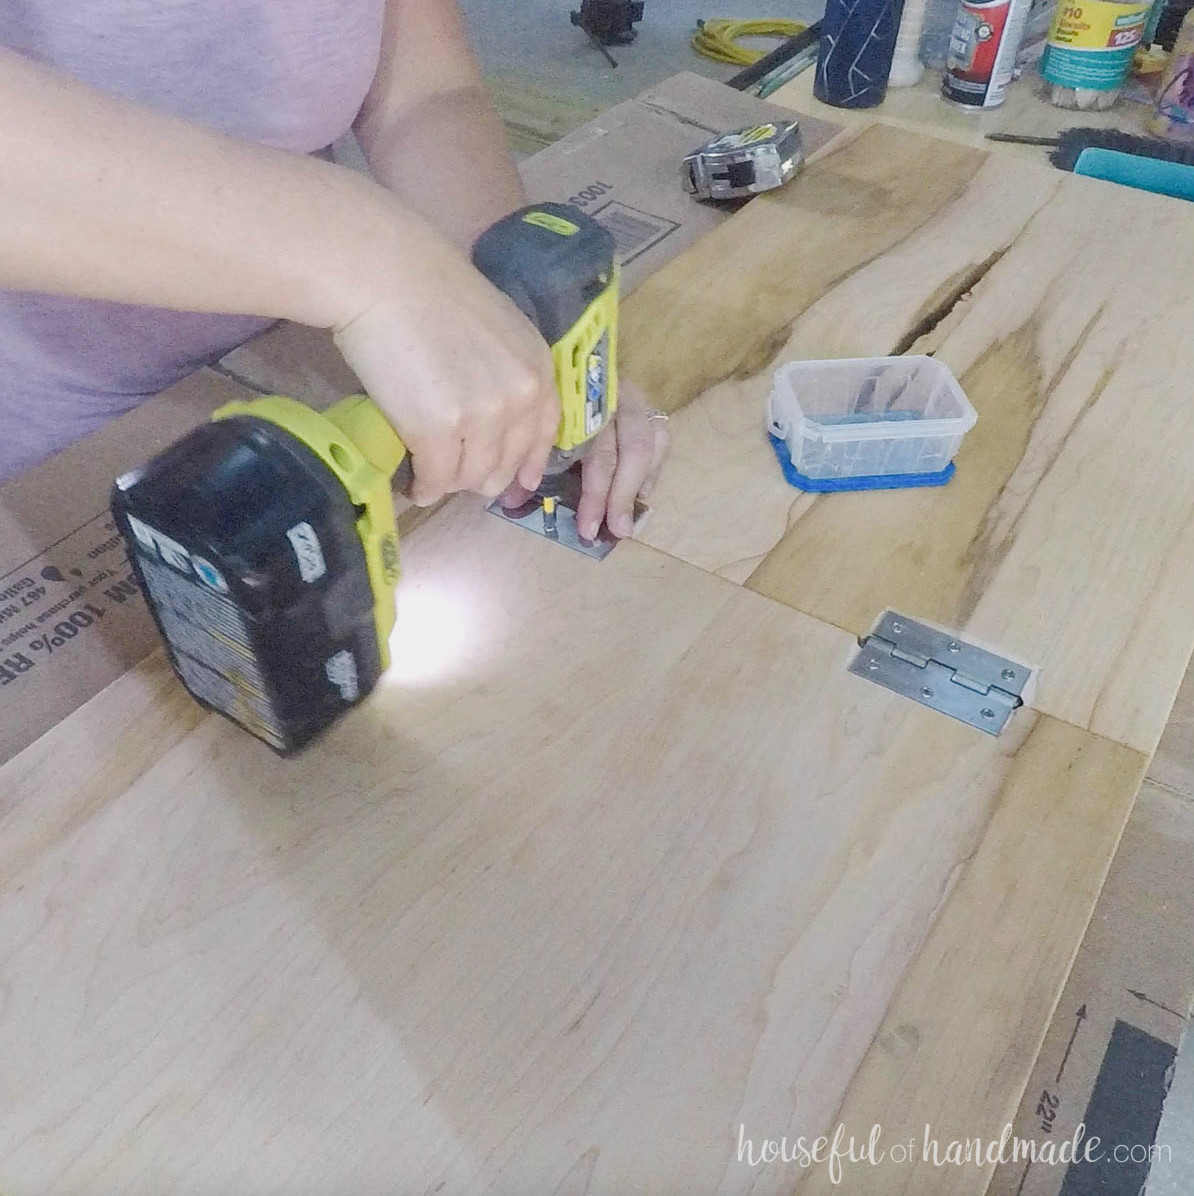
Create holes for fastening 4 figure 8 fasteners inside the top frame and support boards.
I positioned the fasteners inside near the leaf side, with the one on the opposite side placed behind the leaf support.
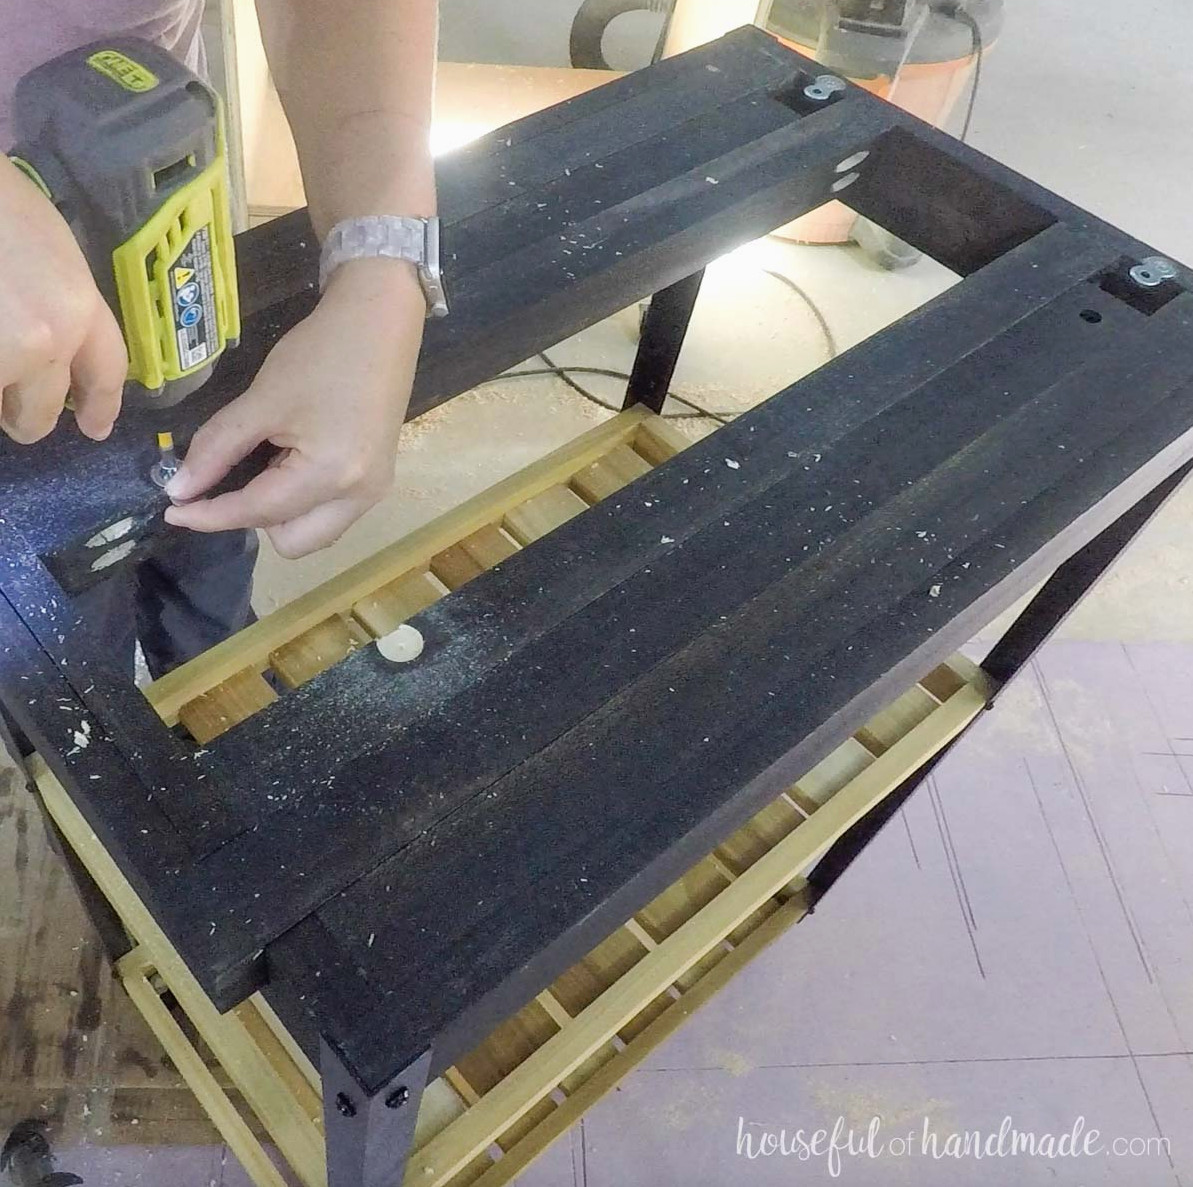
Secure the table top and leaf to the baking cart’s upper frame, leaving a 1/2″ overhang on the non-leaf side and 3/4″ overhang at the front and back.
Avoid over-tightening the fasteners, since doing so can keep the leaf support from sliding freely.
Check that the leaf lifts and slides correctly, adjusting the hinges or leaf support as needed.
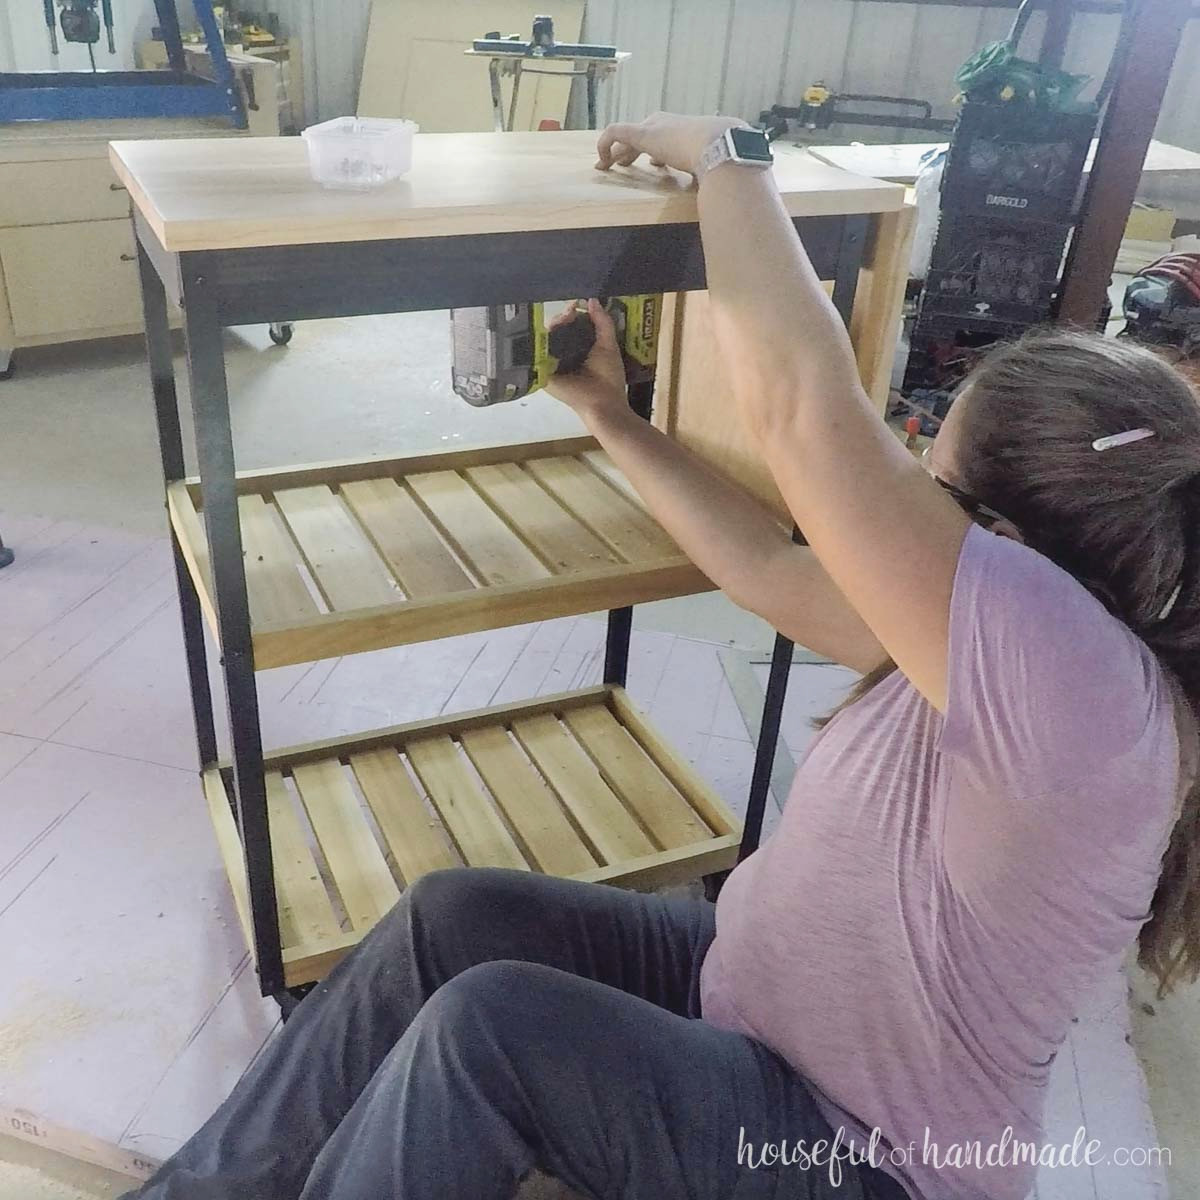
That’s it!
Your new baking cart is ready to load. I appreciate that I can keep my mixer on it and roll it aside whenever I’m not using it.
Extend the leaf support to hold up the leaf and provide plenty of additional workspace.
Enjoy building!