Create a straightforward side table with these simple instructions.
Side tables, sometimes known as end tables, are incredibly handy. Even better, they are enjoyable to make!
This small, uncomplicated project is ideal for beginners interested in building furniture themselves. Experienced DIY enthusiasts will also have fun completing this attractive, uncomplicated project in just one afternoon.
I teamed up with Kreg Tools to simplify the construction of these sturdy side tables even further with pocket holes.
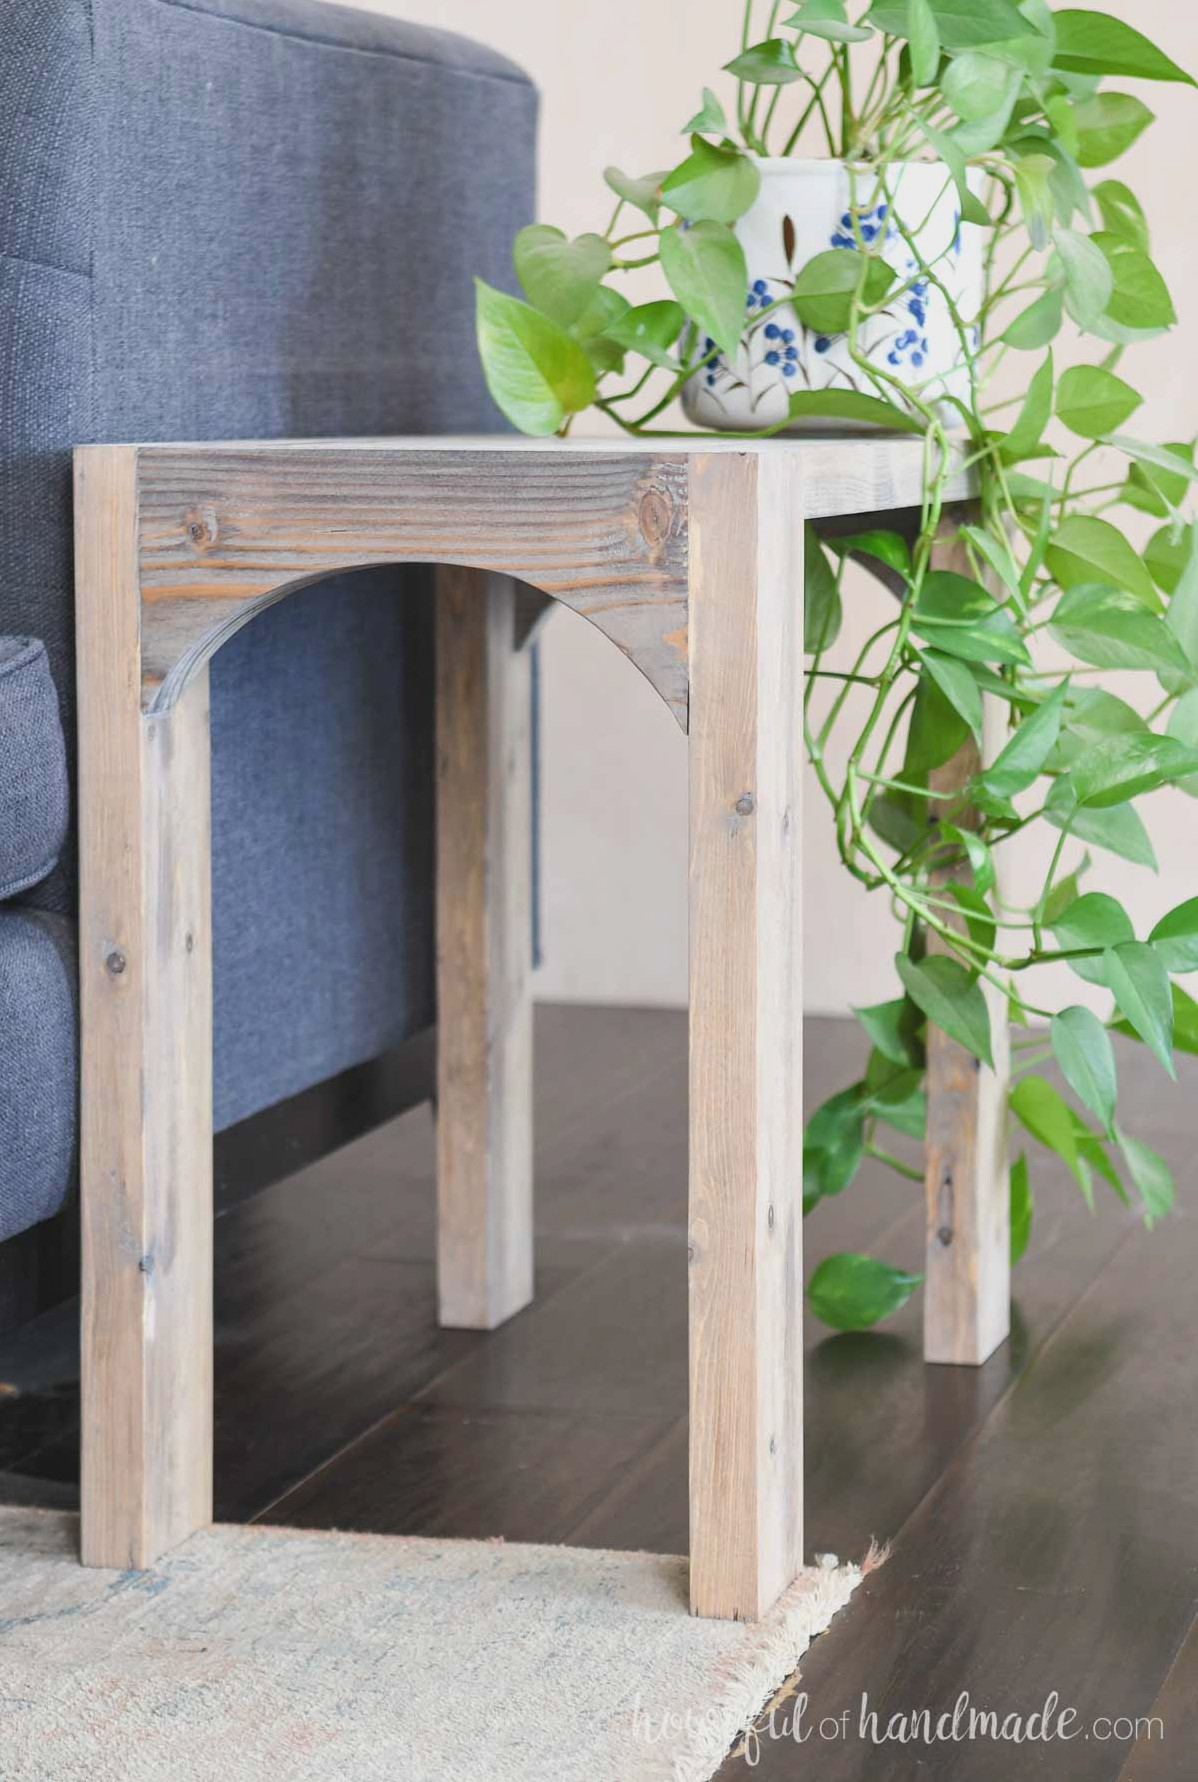
End Table Made from 2x Boards
One feature I especially like about this side table is that it uses affordable 2x boards.
You only need one 2×4, one 2×6, and one 2×2 board. There will still be plenty of material remaining for another project or even a second side table.
Because I liked the result so much, I also built a coordinating chunky coffee table with budget-friendly 2x boards and 4×4 legs.
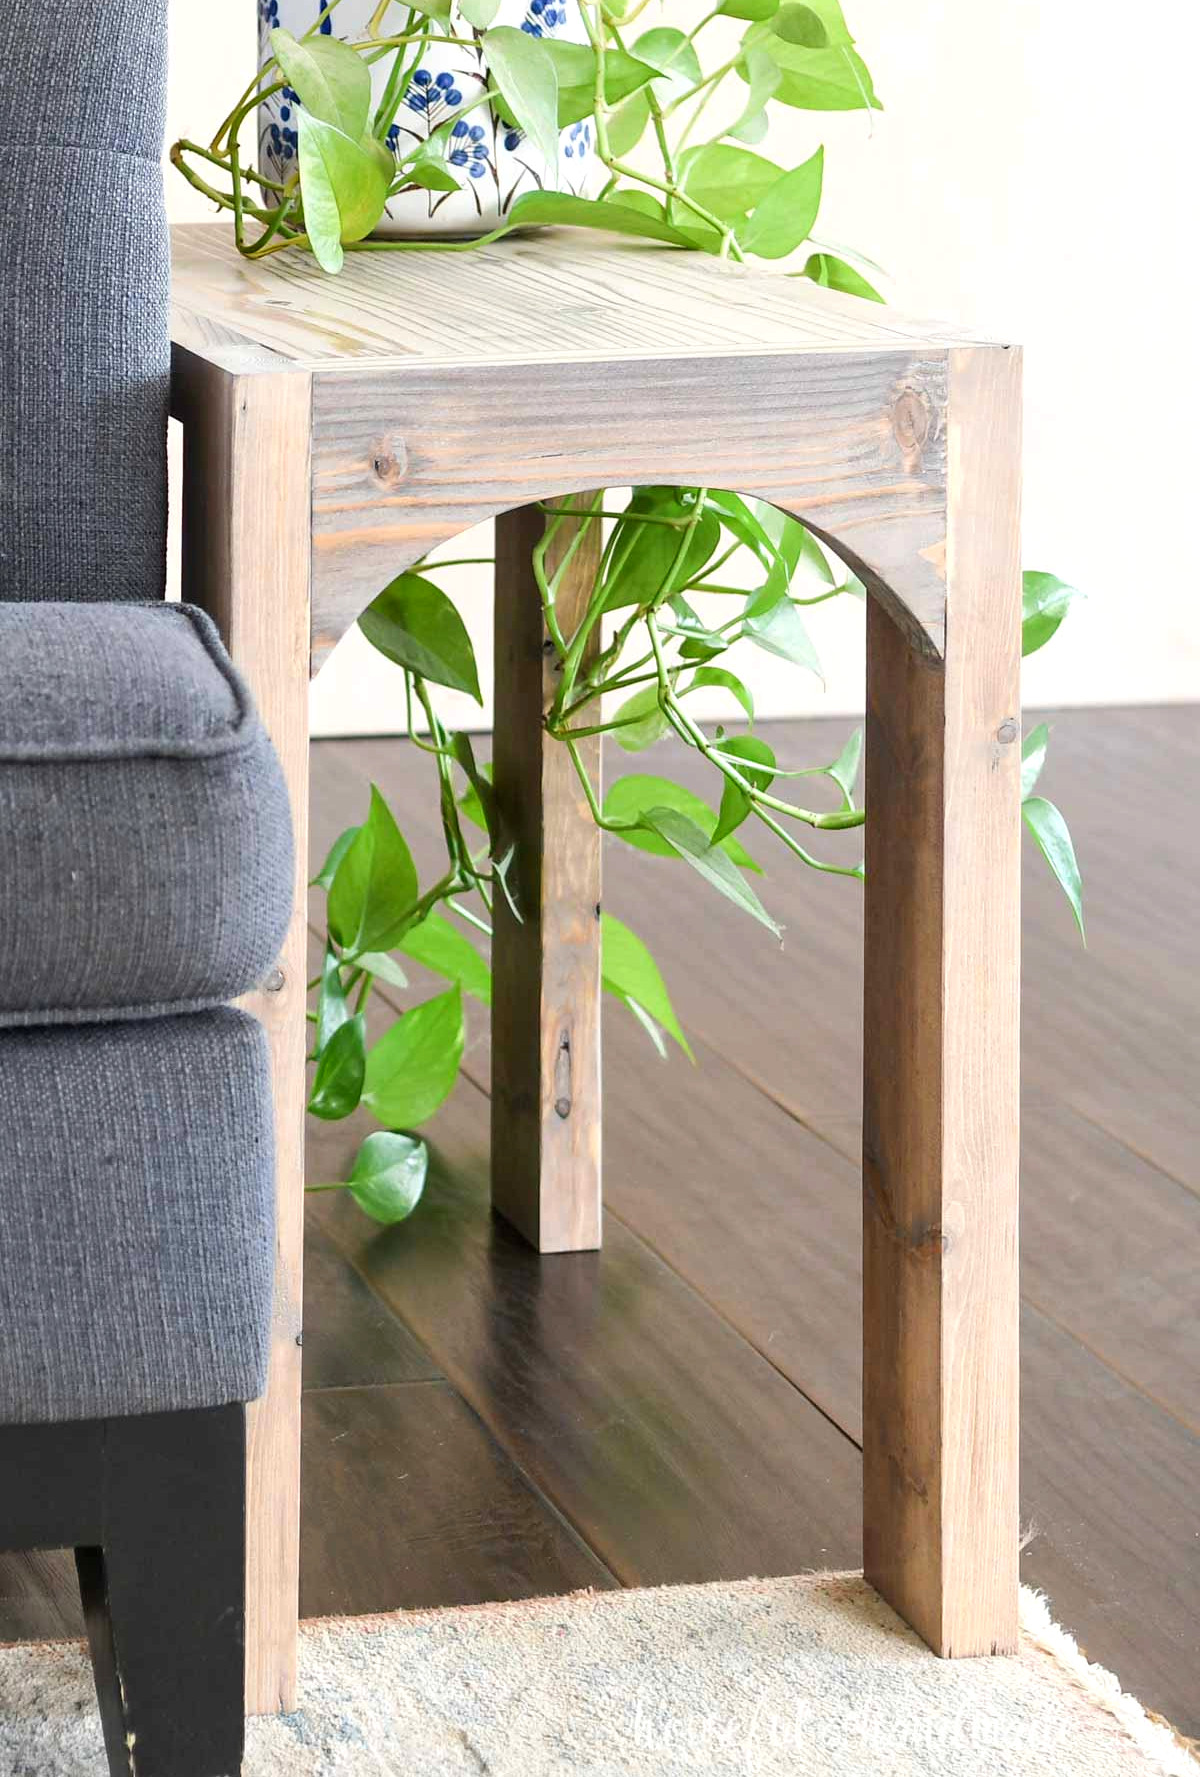
I used a planer to eliminate the rounded edge from my 2x boards.
As a result, the boards measured nearly 1 3/8″ thick rather than the typical 1 1/2″. This did not change the construction process.
Planing is optional, and the small depression between the boards can add an appealing rustic character to your table.
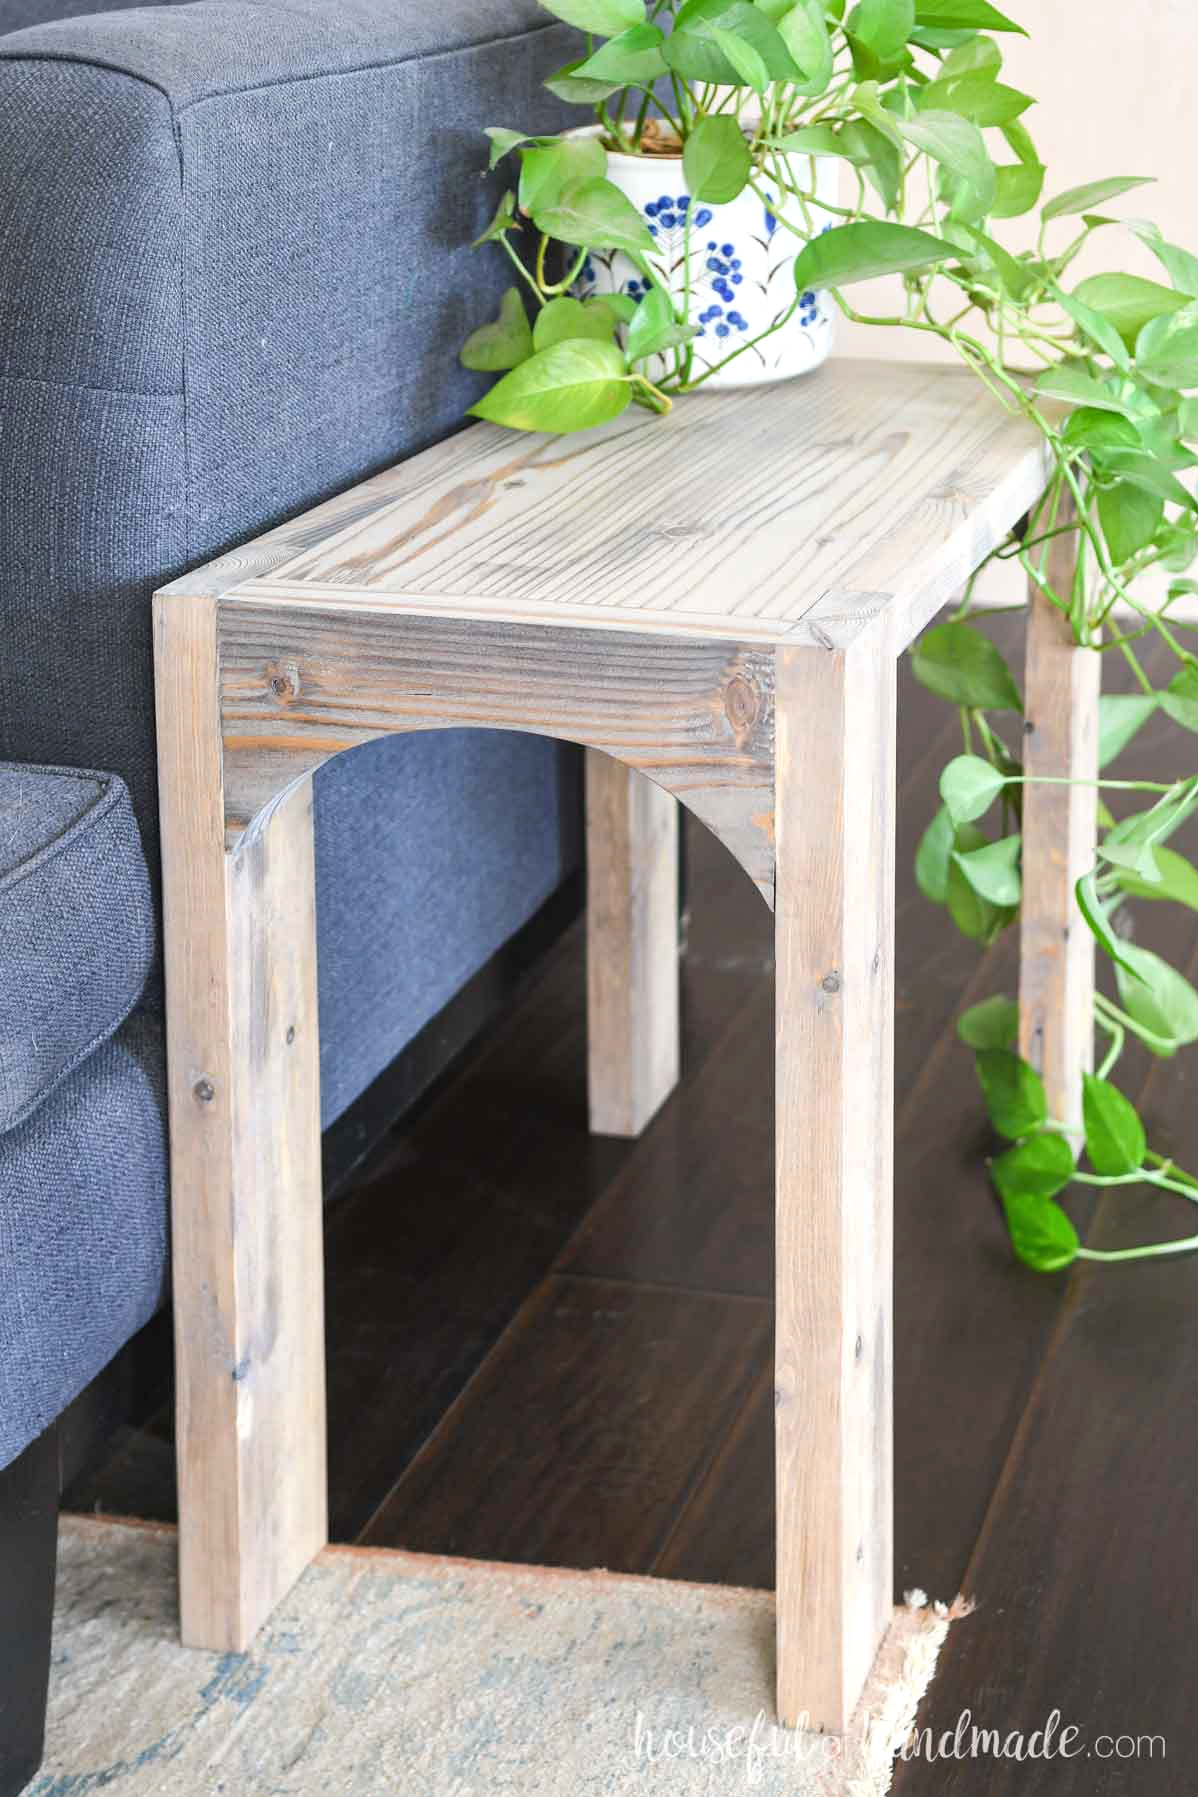
Additional Side Tables to Make
Still looking for more end tables? Explore these other home-building plans.
How to Make a Rustic End Table
Tools & Supplies
Finished Measurements
The completed end table measures 14″ wide x 24″ deep and 22″ high.
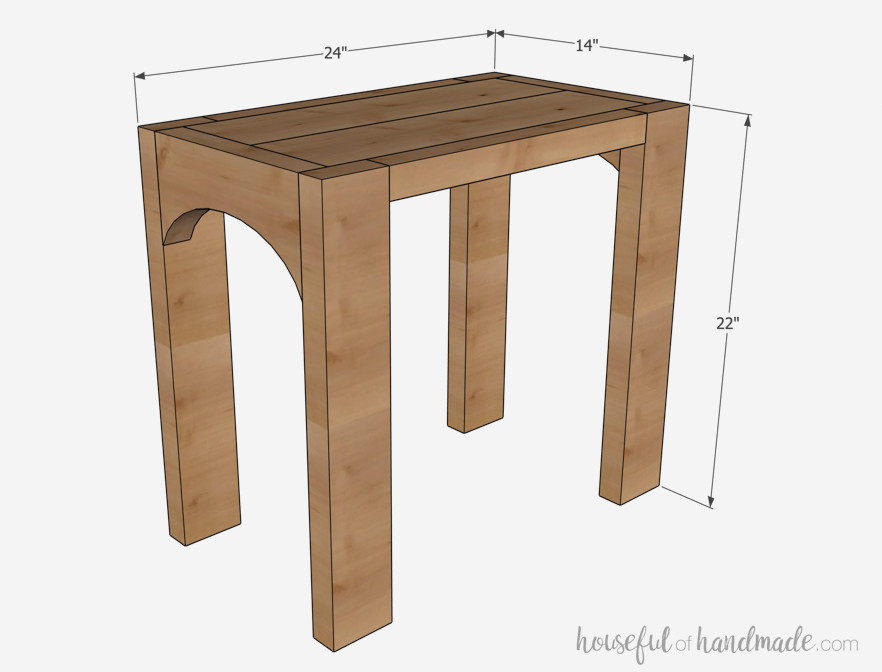
Cutting Guide
Prepare the components using the cut list provided in the PDF plans at KregTool.com.
EXPERT TIP:
Before trimming the arched end pieces, bring the two upper center boards together and verify the measurement. Modify the arched-end length to correspond with the actual measurement.
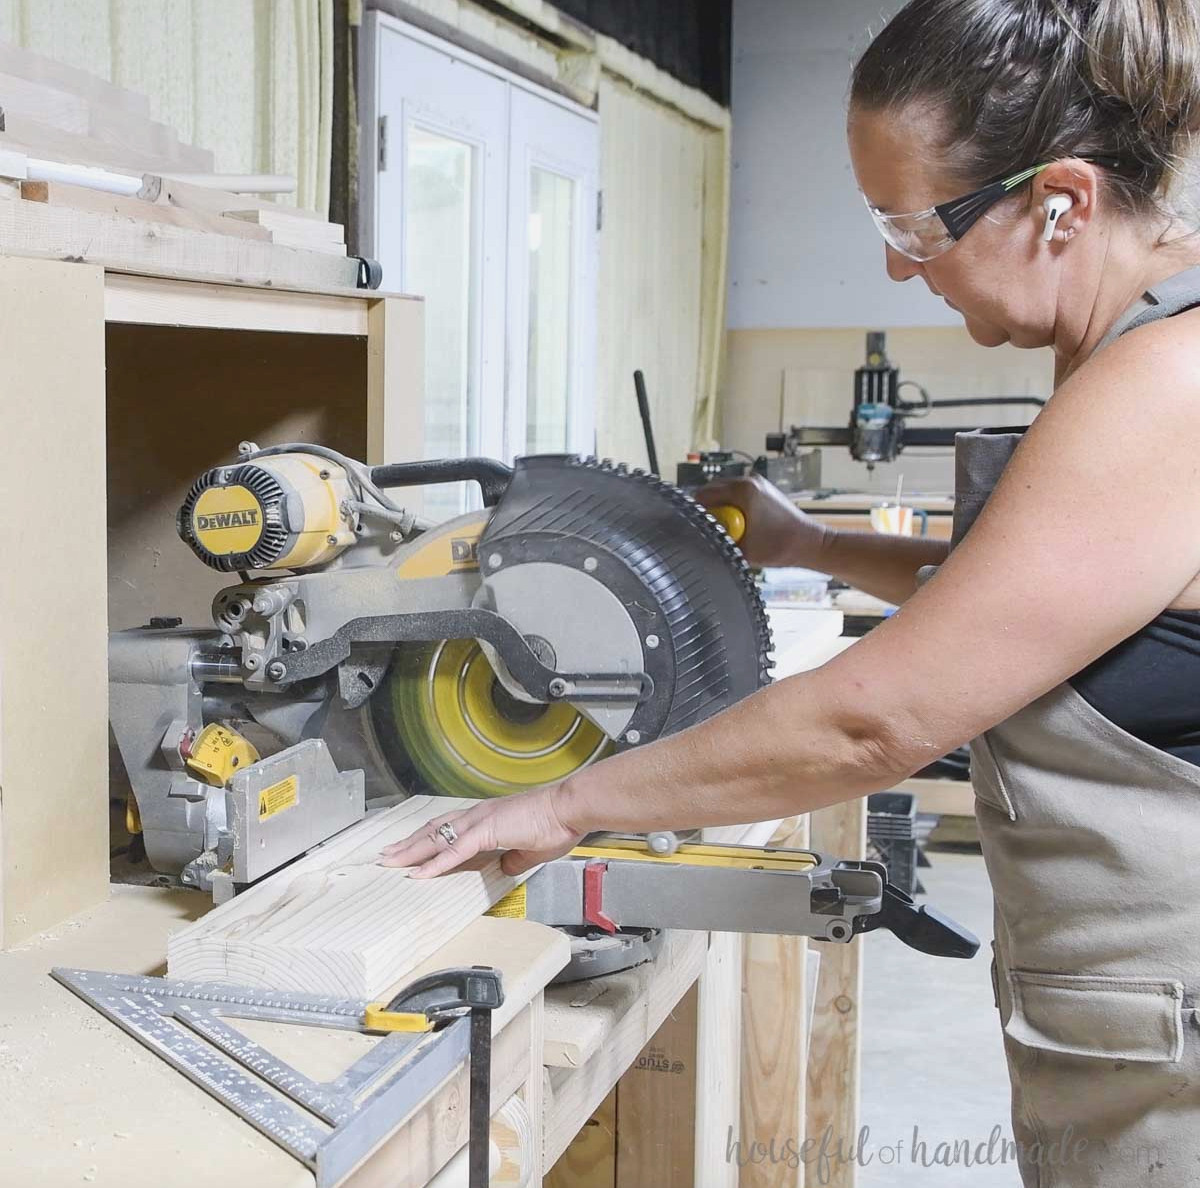
STEP 1- Cut the arches
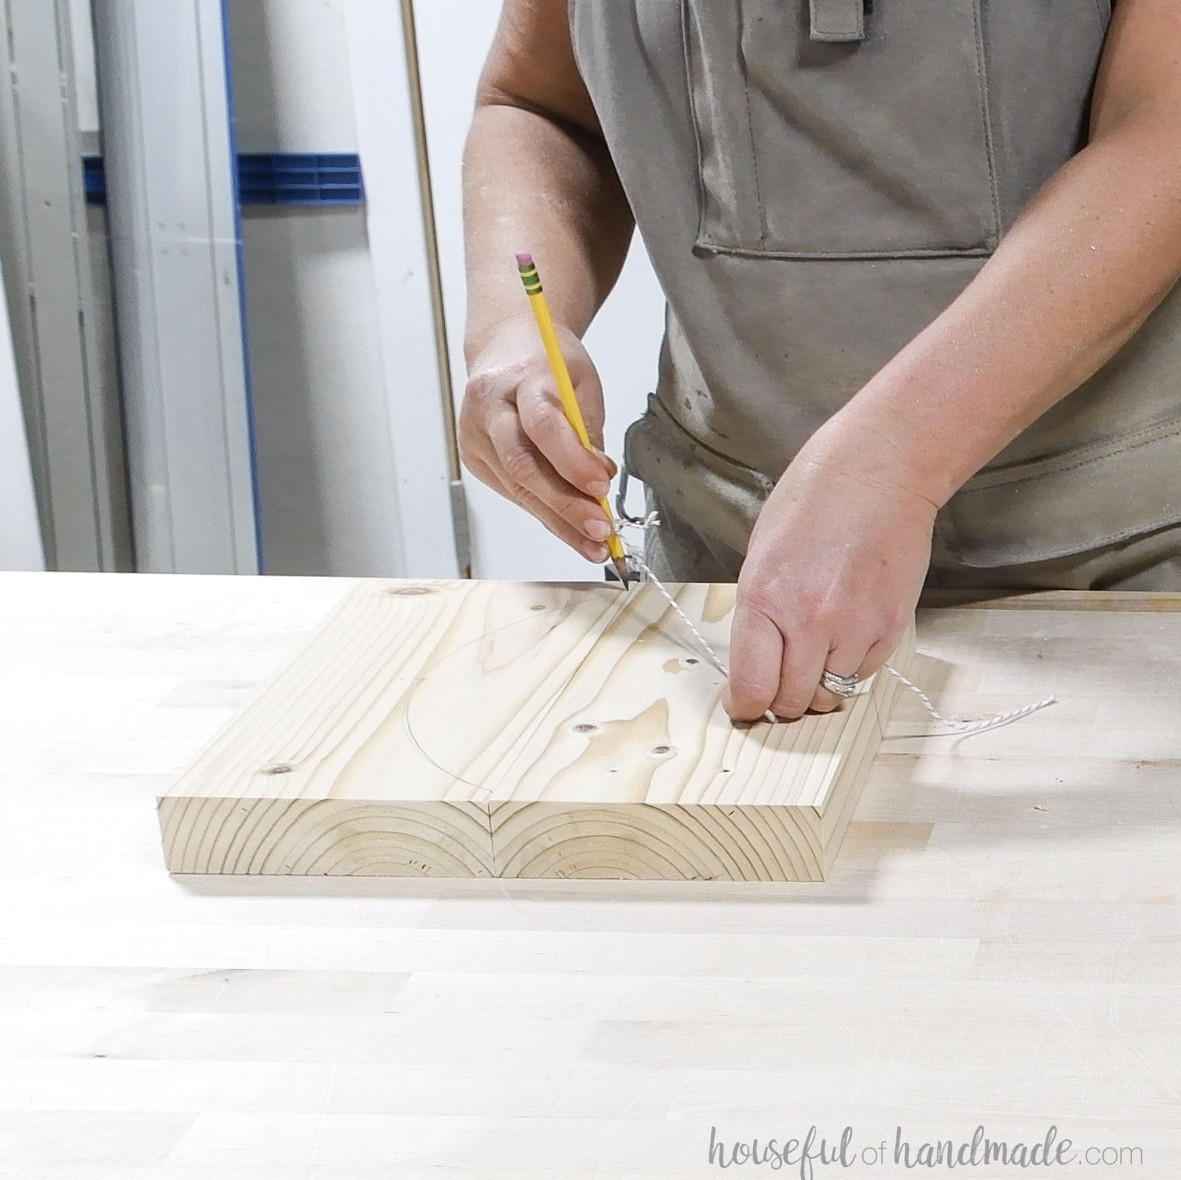
Mark a line through the middle of each arched end board. In the lower portion, sketch an arch that extends from one side to the other and meets the center line.
To outline the arch, I tied a string to a pencil and used it as a guide.
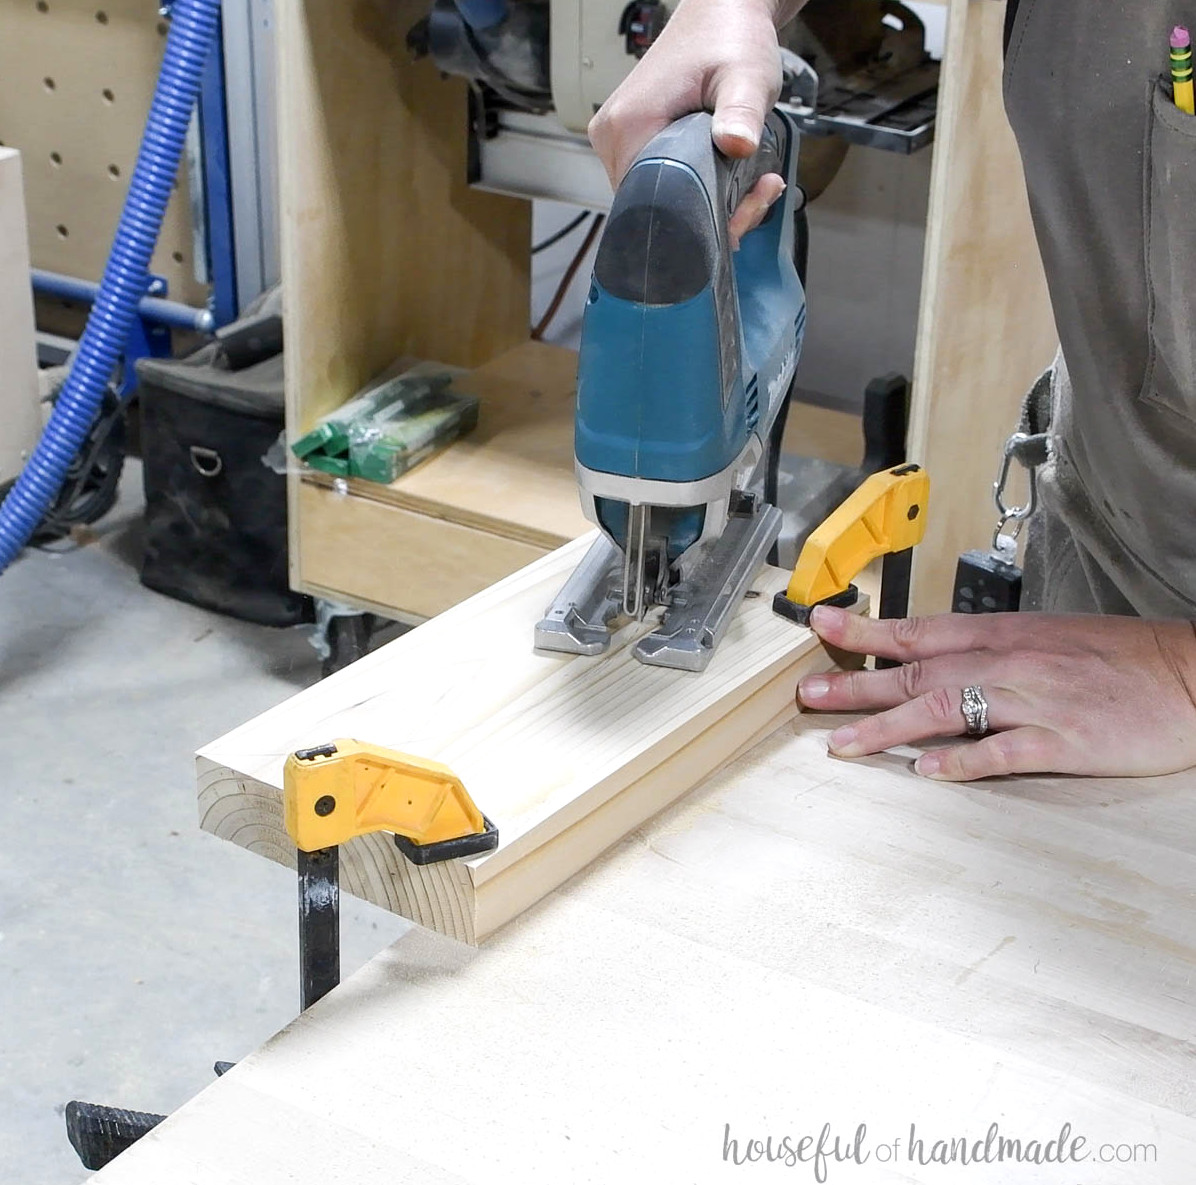
Use a jig saw to remove the arch from the board.
STEP 2- Put the sides together
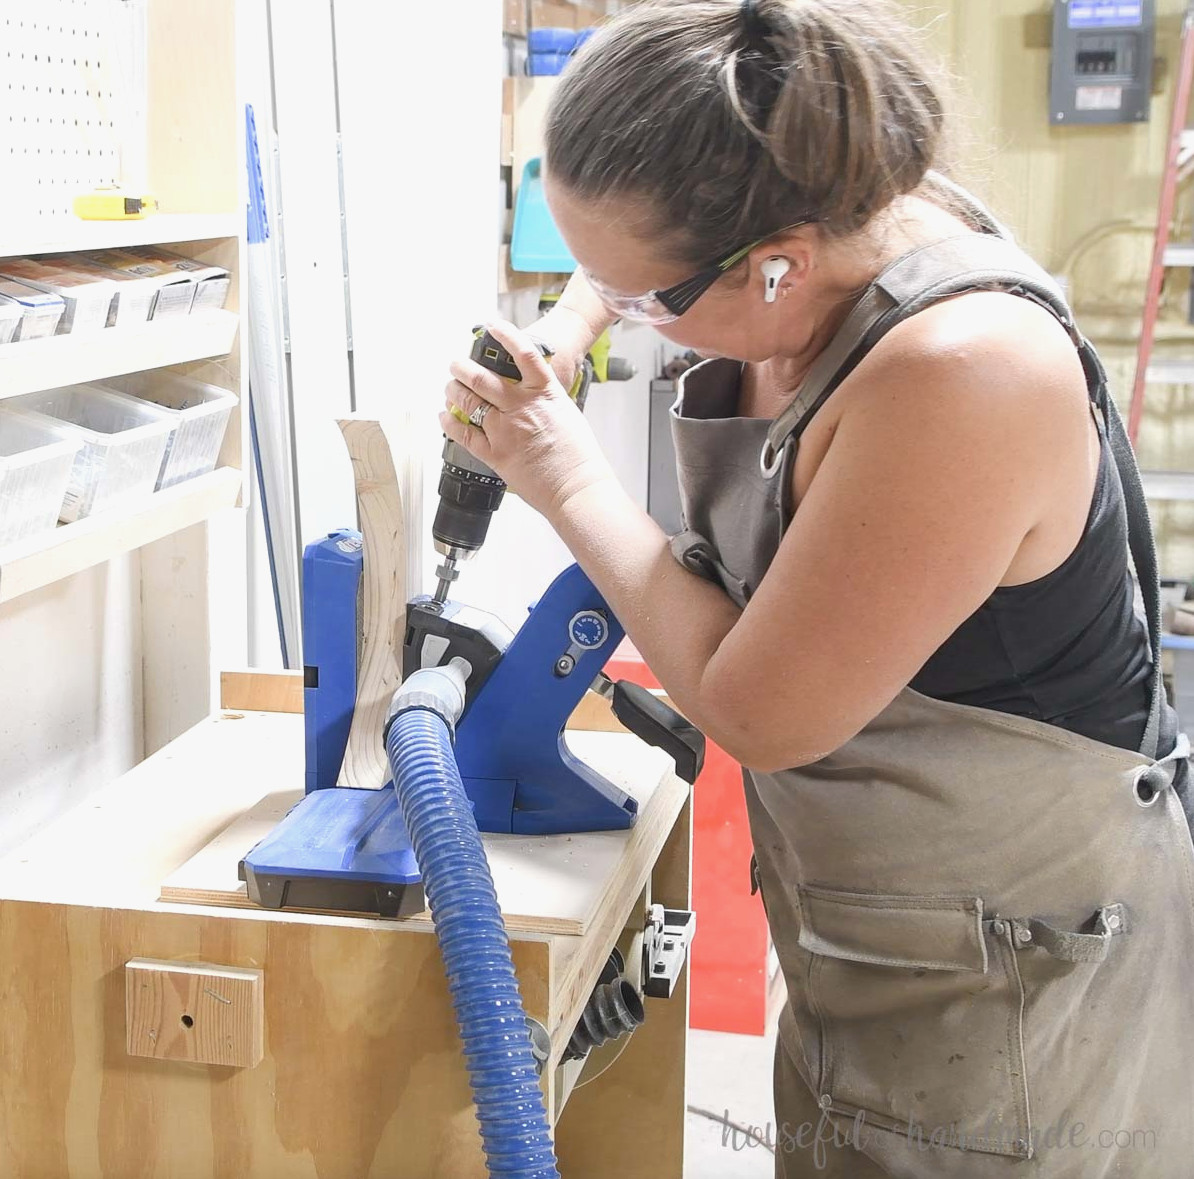
Adjust your Kreg pocket hole jig for drilling into 1 1/2″-thick material.
Make two pocket holes at each end of the arched boards, positioning them in the upper half.
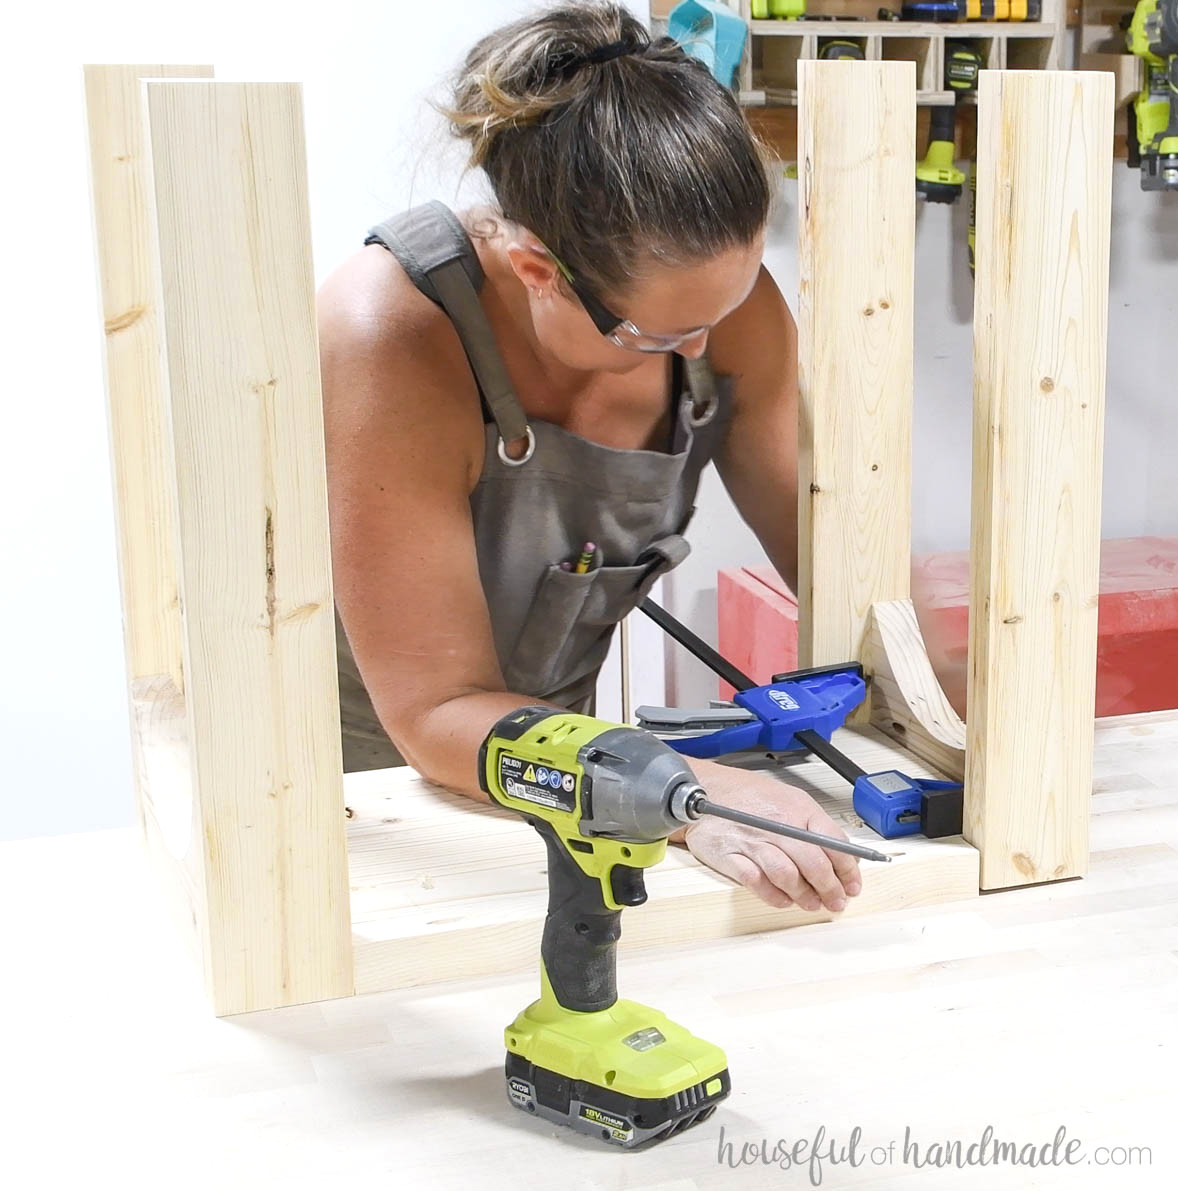
Position the arched boards between two leg boards, aligning them with the top and front edges. Fasten everything with 2 1/2″ pocket hole screws and wood glue.
Build the other side in the same manner.
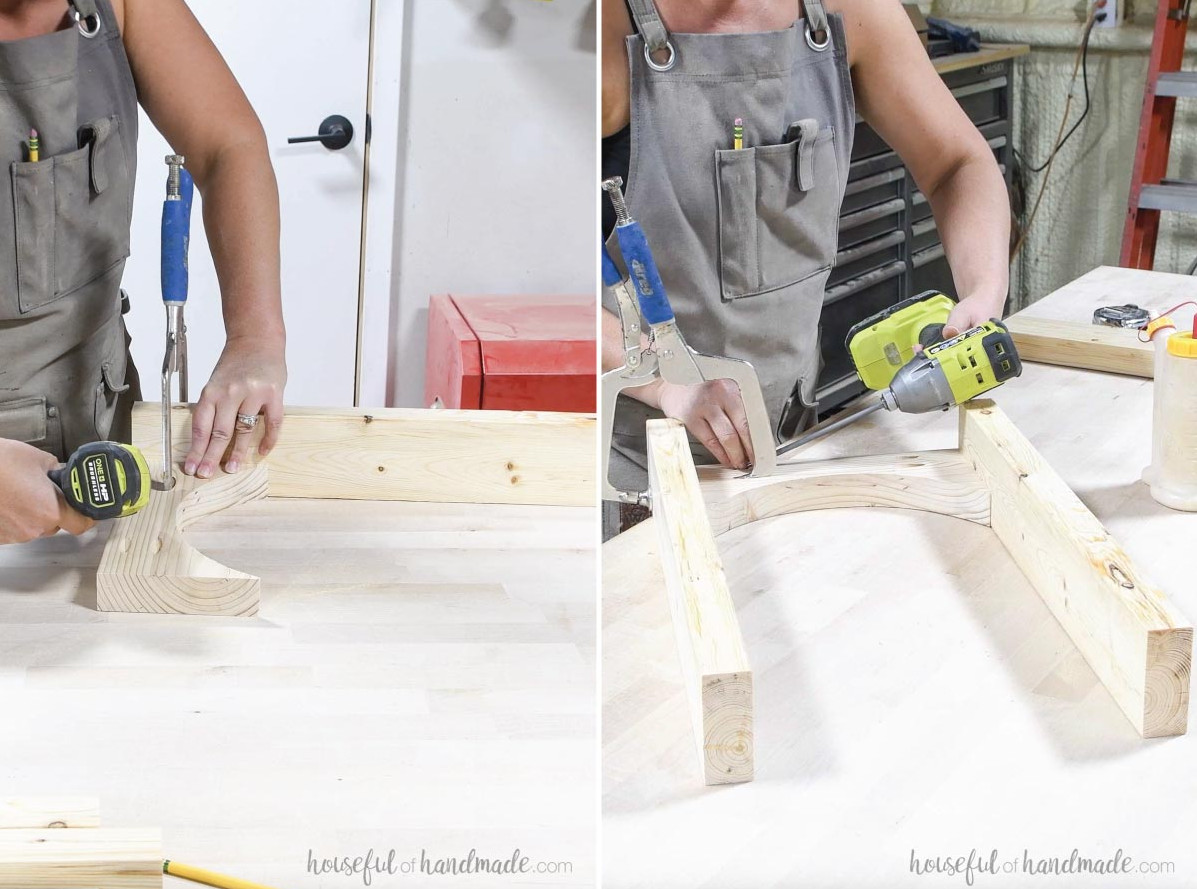
STEP 3- Put together the top
Before cutting the top edge pieces, set one prepared top center board between the two legs and clamp the assembly securely. Measure the opening between the legs, then cut the 2×2 top edge boards to fit that dimension.
Keep the pocket hole jig adjusted for 1 1/2″-thick material and drill holes in the top boards as shown in the plan diagram.
Take careful measurements to determine the edge board’s position and ensure a proper fit.
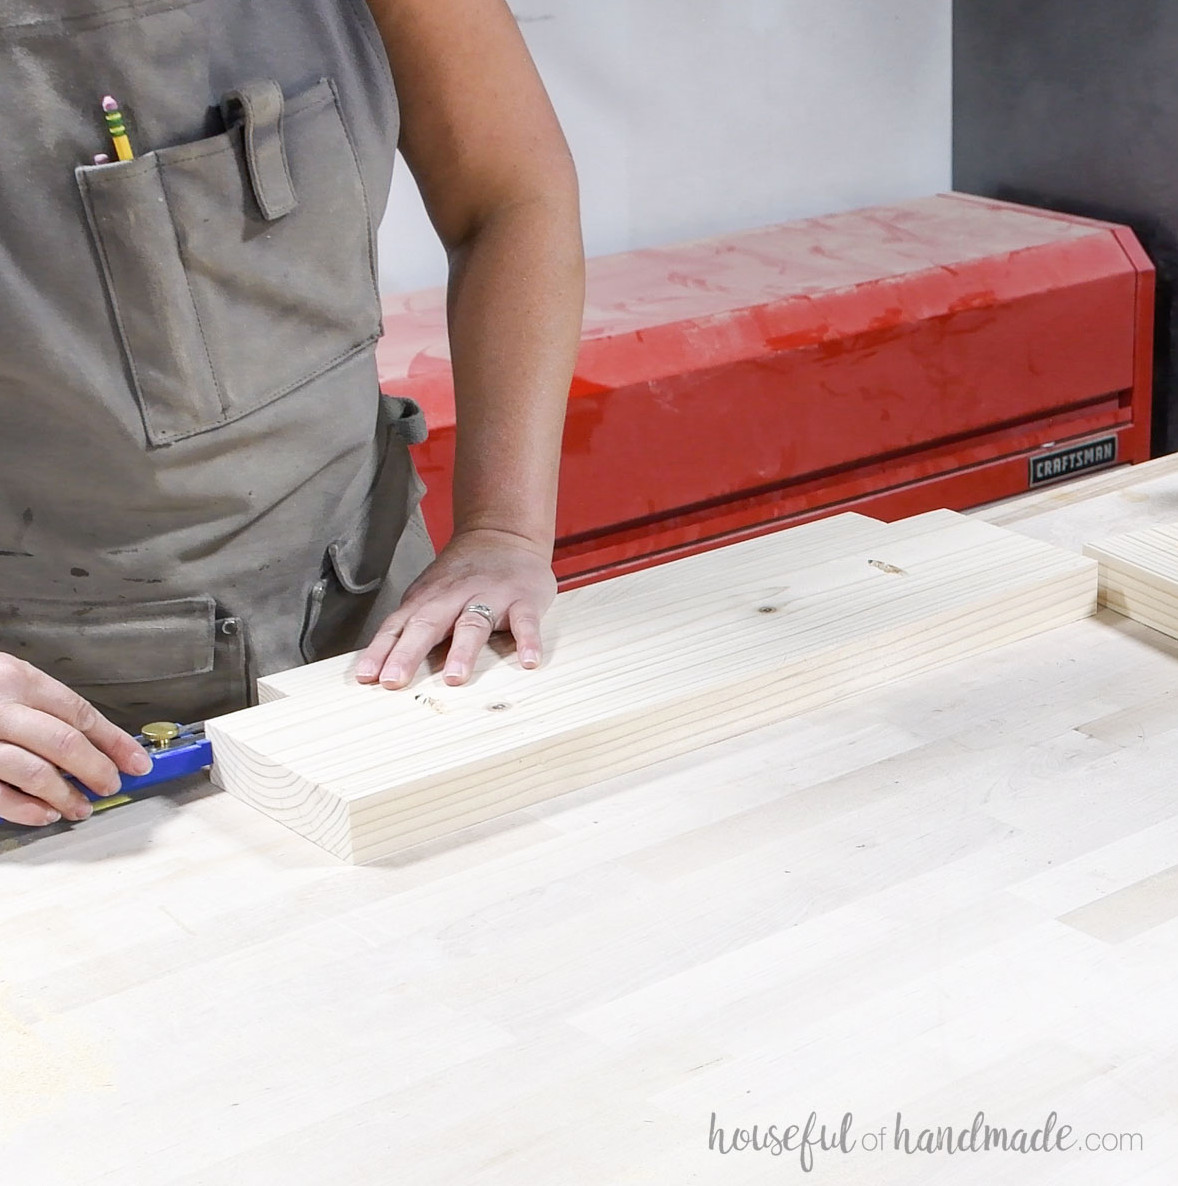
Apply glue along the joints, then fasten the boards so their surfaces remain level on the top and bottom.
Hold the pieces flush with project clamps while attaching them using 2 1/2″ pocket hole screws.
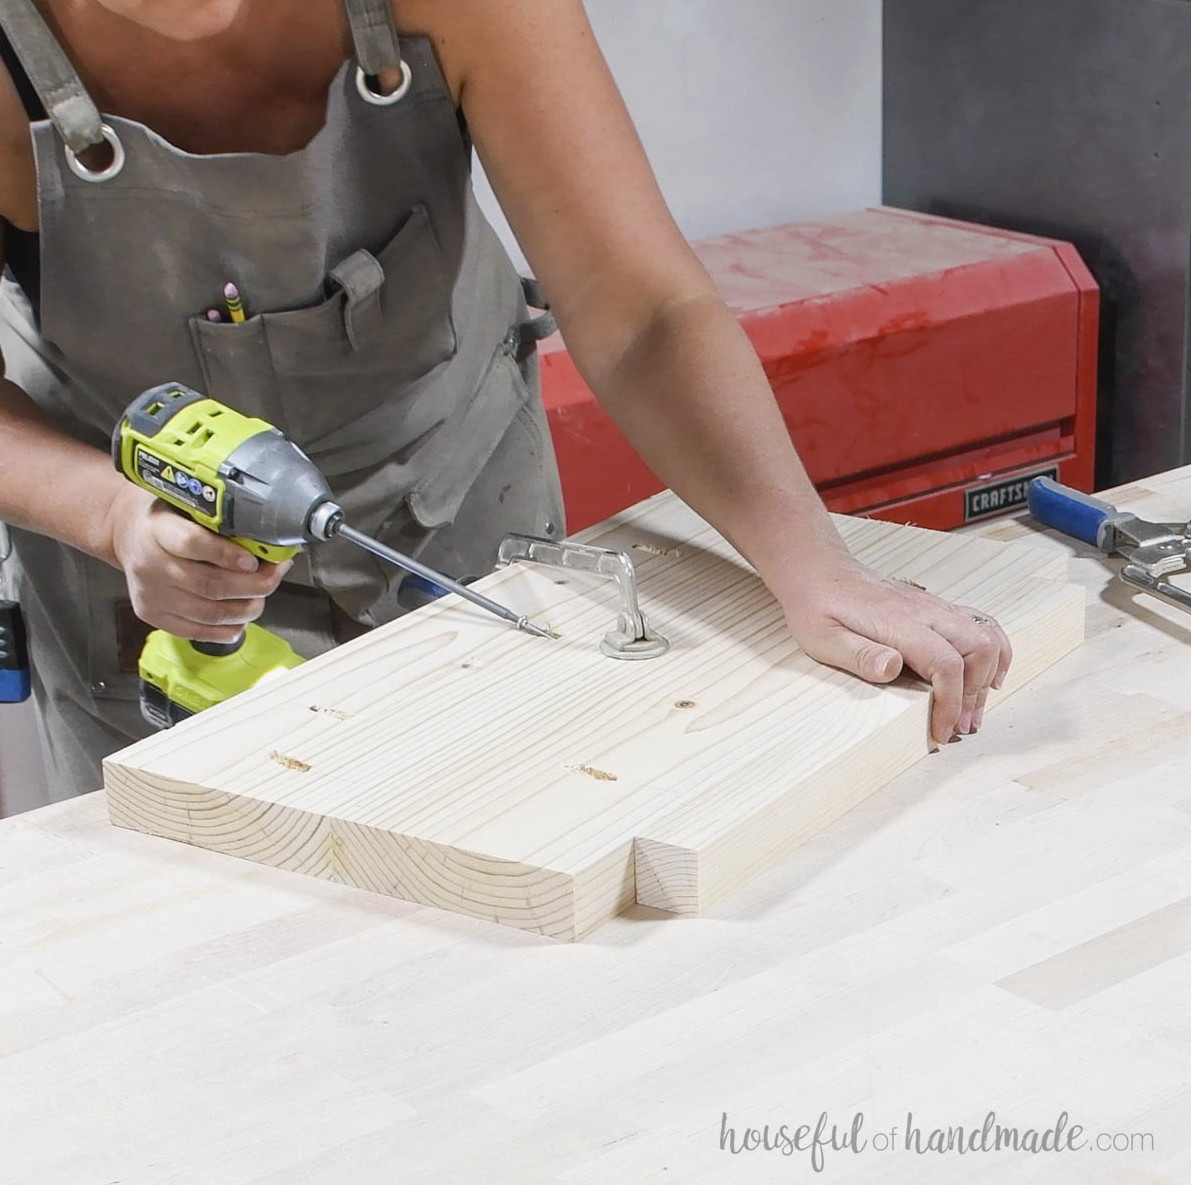
STEP 4- Secure the top
Set the jig for 1 1/2″-thick lumber and drill pocket holes along the center edge of every top board.
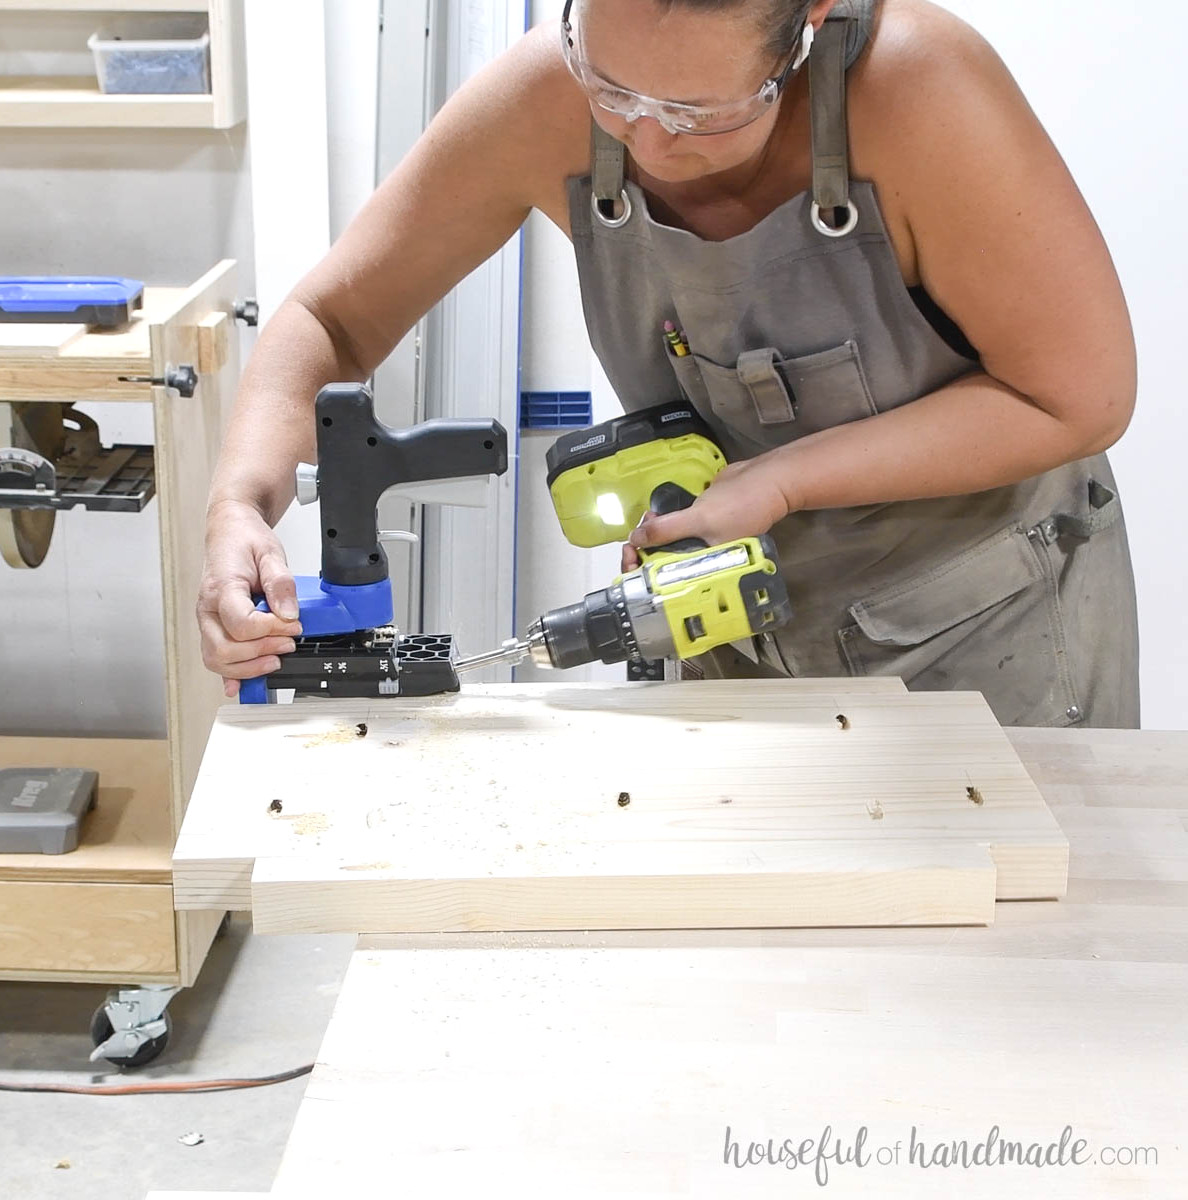
Fit the top between the legs, checking that it aligns evenly with the legs and arched boards.
Drive 2 1/2″ pocket hole screws through each white pocket hole location shown in Step 3.
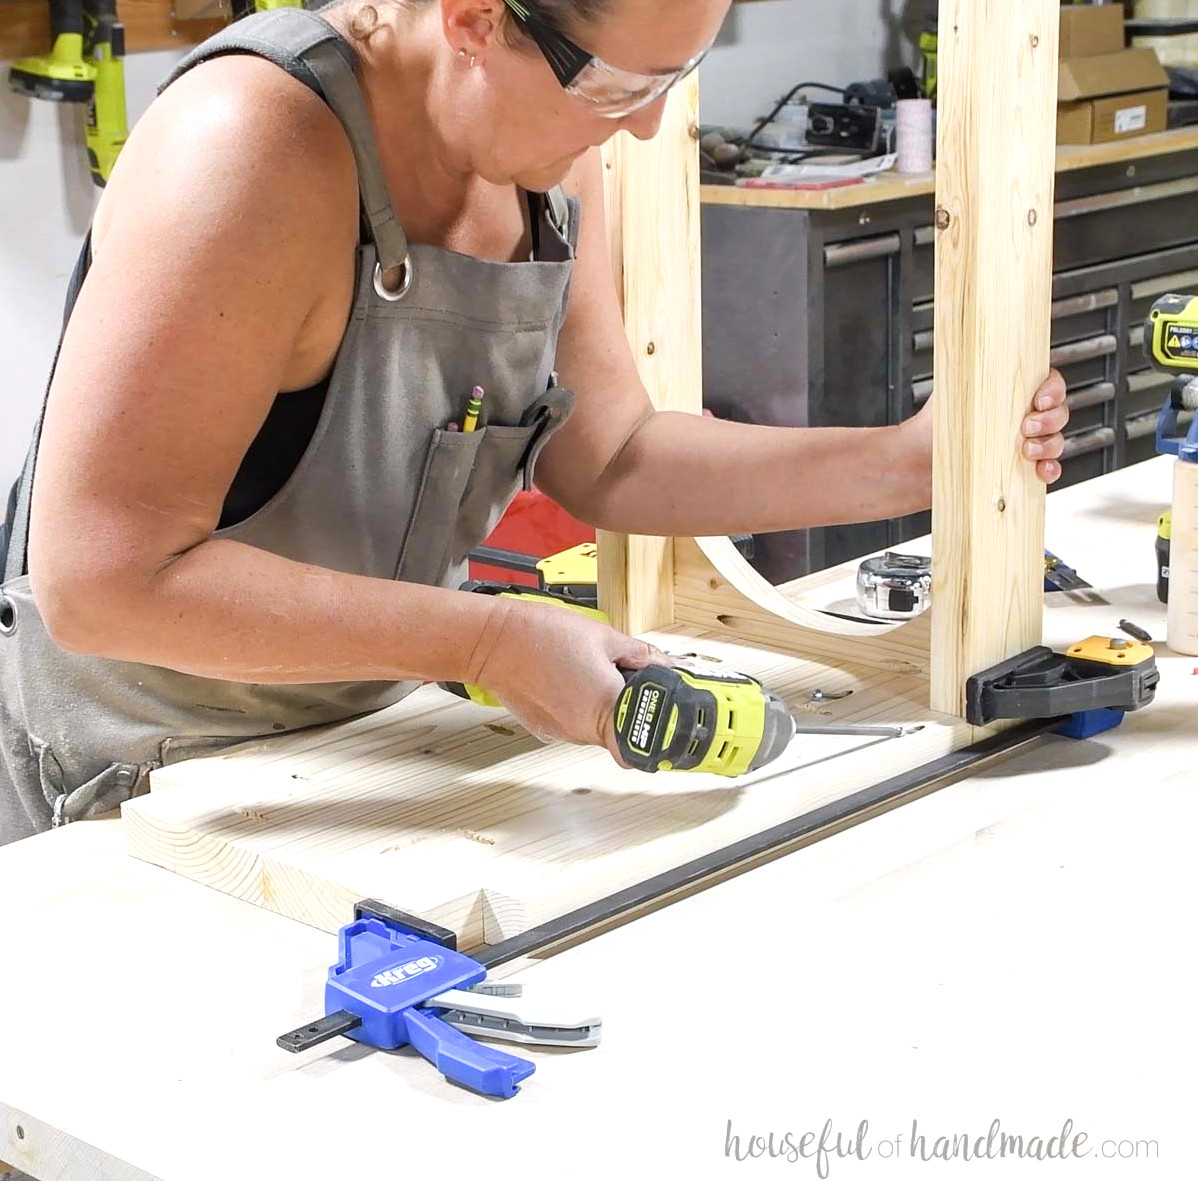
When the legs are too close together for the top to slide in, carefully use a clamp as a spreader to widen them enough for installation.
STEP 5- Apply the finish
That’s done!
All that remains now is sanding and finishing your freshly built side table!
To achieve my desired appearance, I applied two different stains. First, I brushed on Minwax Chestnut stain, followed by Varathane Antique White stain.
The soft, warm color is one of my favorite details.
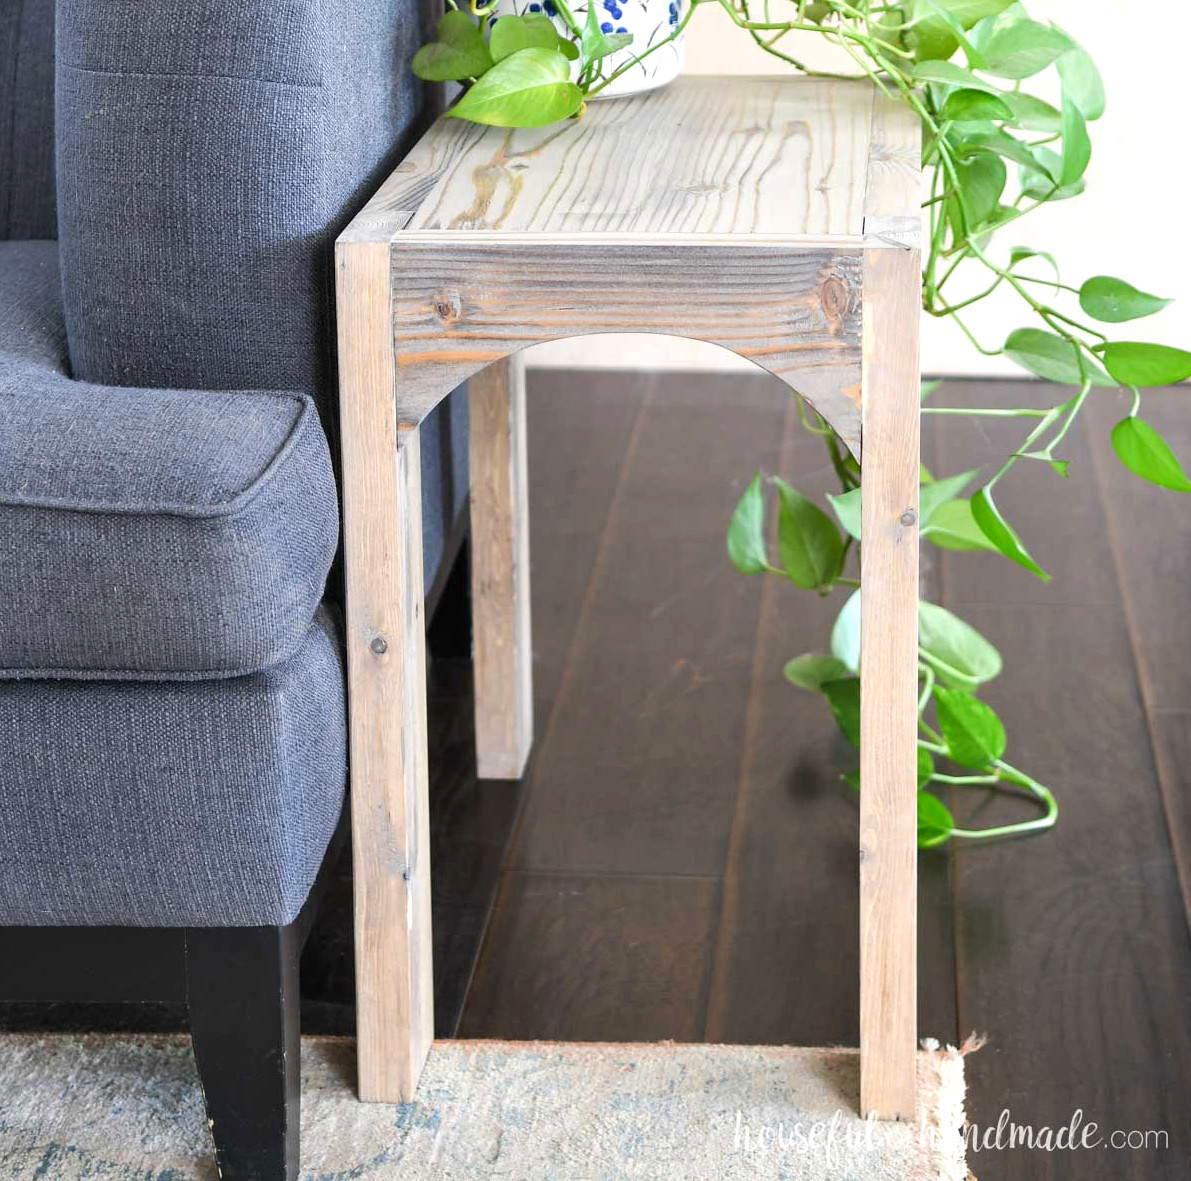
Your attractive end table is now ready to enjoy.
Enjoy building!