Give your fairy garden a magical touch with these delightful, simple-to-create clay mushrooms! Crafted from basic air-drying clay and fallen twigs, they bring a burst of color and playful charm to any outdoor (or indoor!) fairy display. The best part?No kiln or sculpting experience needed-only creativity and fun!
No-Bake Clay Mushrooms for Outdoor Fairy Gardens
Honestly, a fairy garden doesn’t feel complete without a circle of enchanting mushrooms! When I decided to make a few for my own fairy tree arrangement, I wanted them to appear natural (while still standing up to rainy weather). After considering several possibilities, I chose this simple air-dry clay method, which uses fallen branches as stems and doesn’t require any special equipment.
And the best thing? These tiny toadstools are quicker to make than you might expect. With roughly 30 minutes of hands-on work (and some drying time), you can create an entire group of sturdy, weather-resistant mushrooms to place beside your stones and fairy cottages. Whether you like traditional red-and-white spotted caps or muted woodland designs, this craft encourages you to enjoy the little flaws—since in fairy gardens, personality always matters more than perfection!
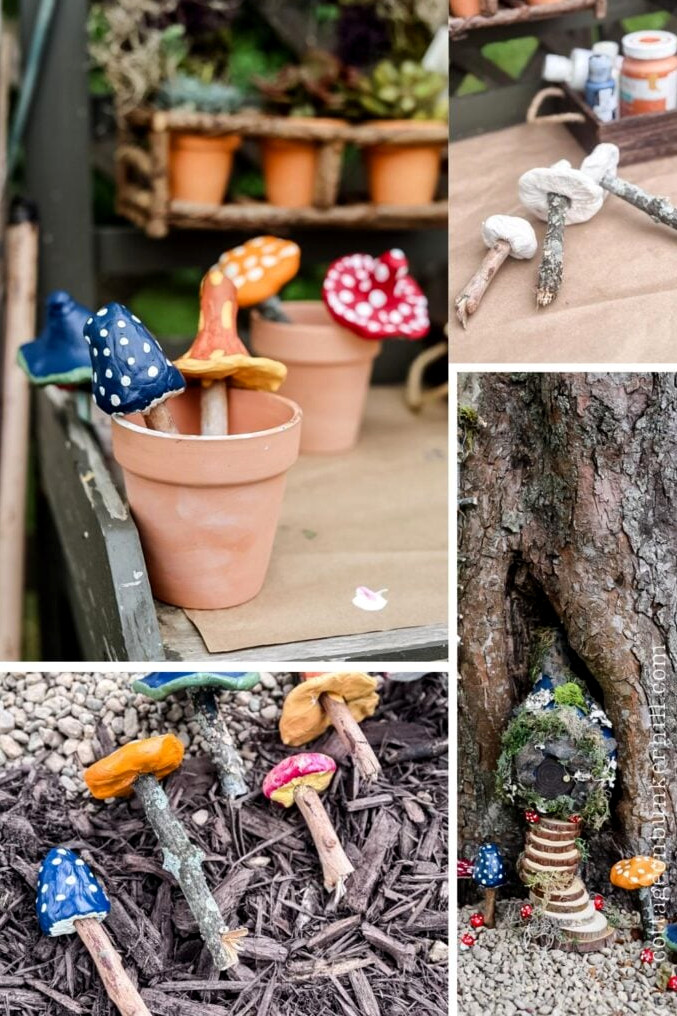
What You Will Need
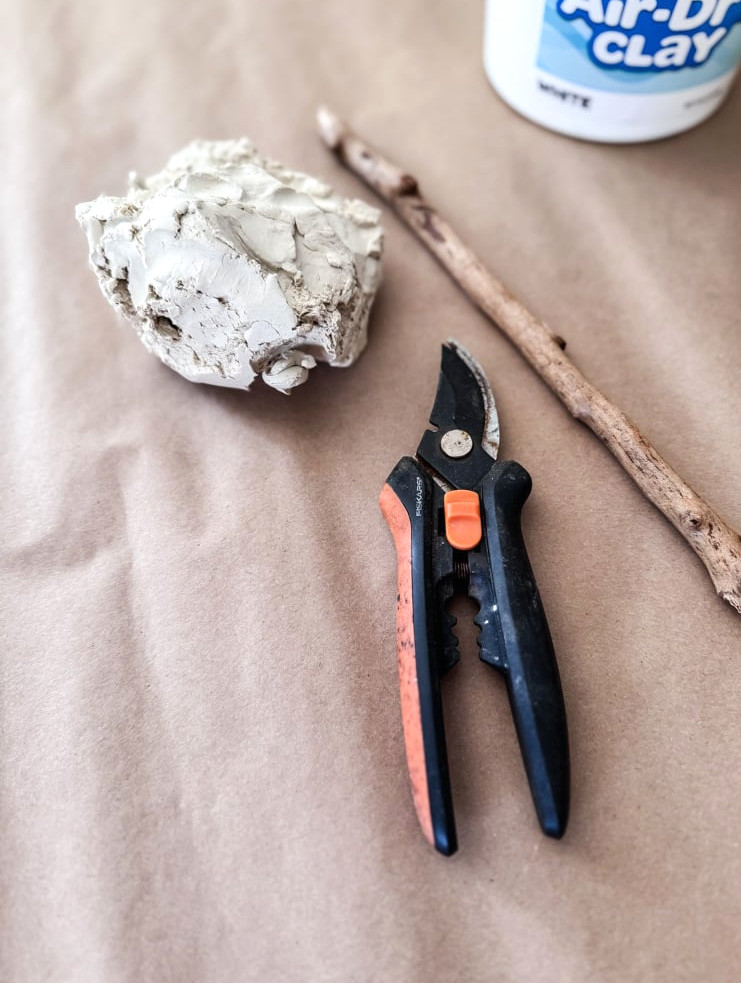
Supplies for this Craft
Step-by-Step Tutorial
Gather your materials and protect your work area ( I like using a roll of brown kraft paper for DIY projects, I purchased this one 2 years ago and use it constantly!). Find a branch, then snap or trim it into pieces for the mushroom stems.
1. Form Your Mushrooms
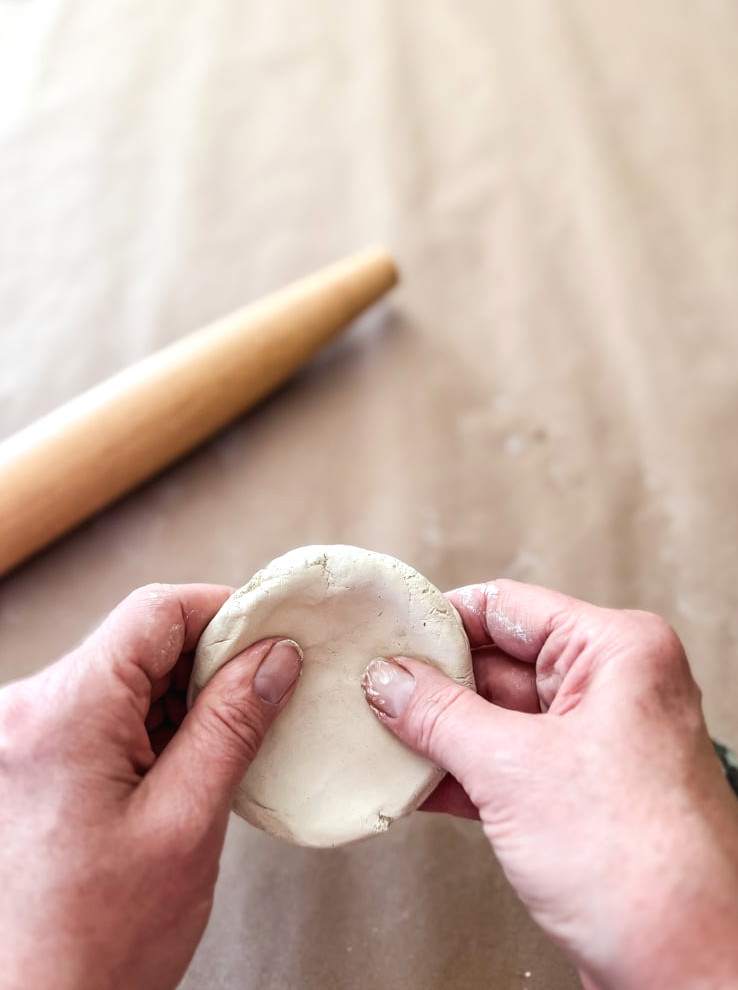
- Shape the clayinto a thick sphere (roughly the size of a golf ball for regular mushrooms). I flattened some pieces while keeping others rounded.
- Insert a twiginto the middle-this will serve as the stem.
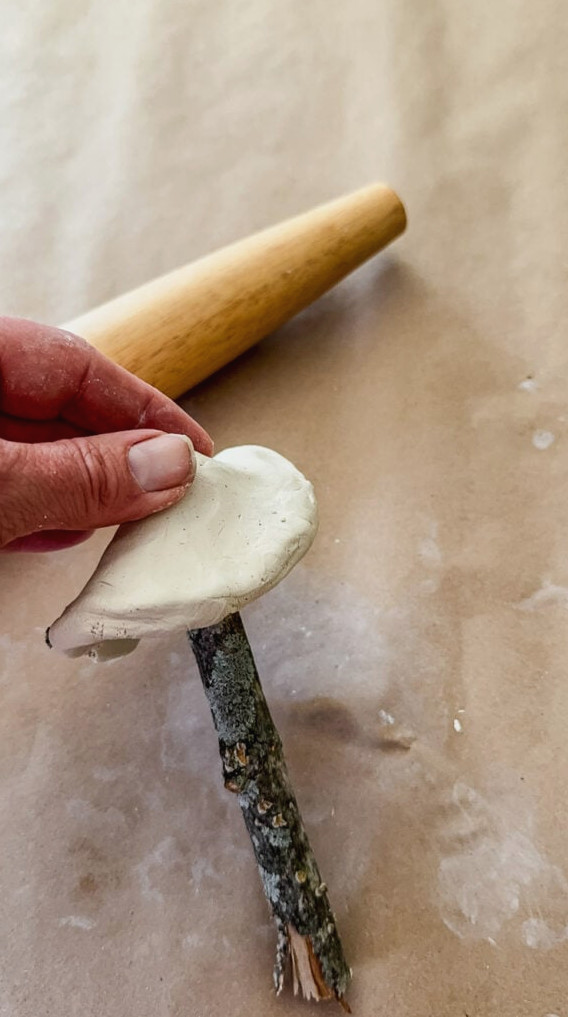
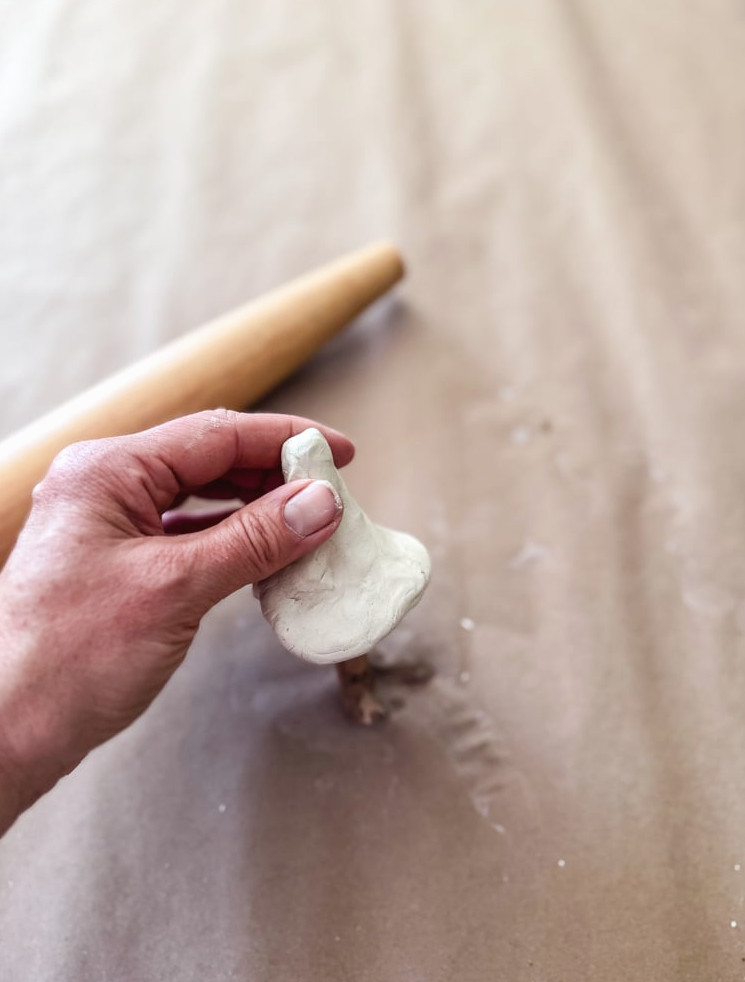
- Carefully form the caparound the stem:
- For traditional toadstools: Press the top into a rounded dome.
- For storybook mushrooms: Flatten it a little and turn the edges upward.
- Helpful Tip:Avoid pressing the stick in too deeply—it may come through the top!(I found that out the difficult way.)
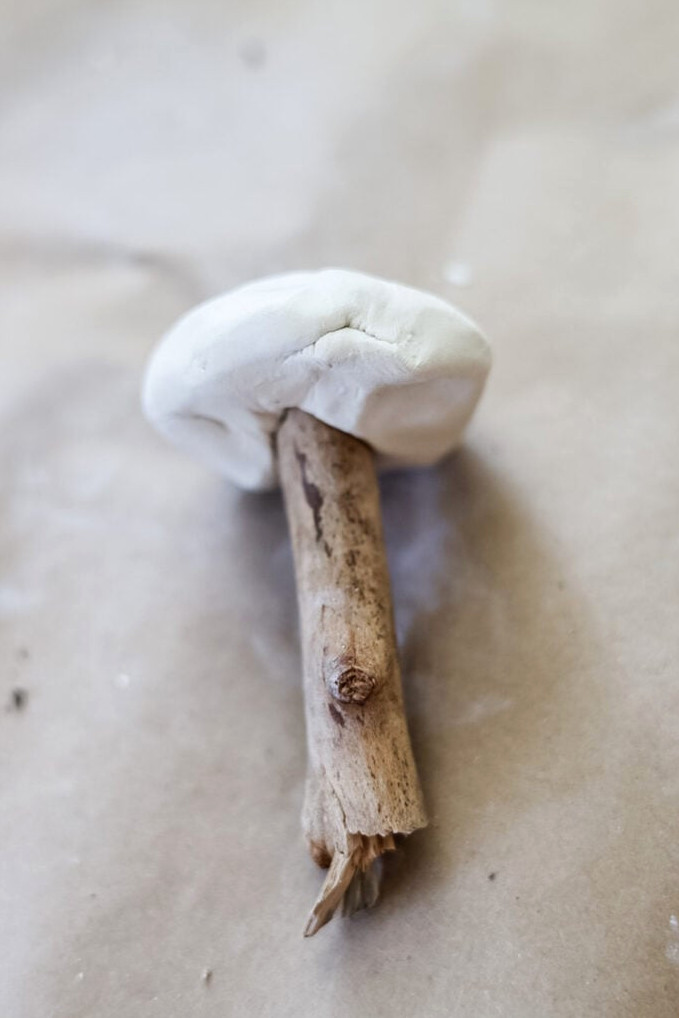
Tip: To repair cracks or smooth rough edges, wet your fingertip and gently rub the spot.
2. Leave Them to Dry Overnight
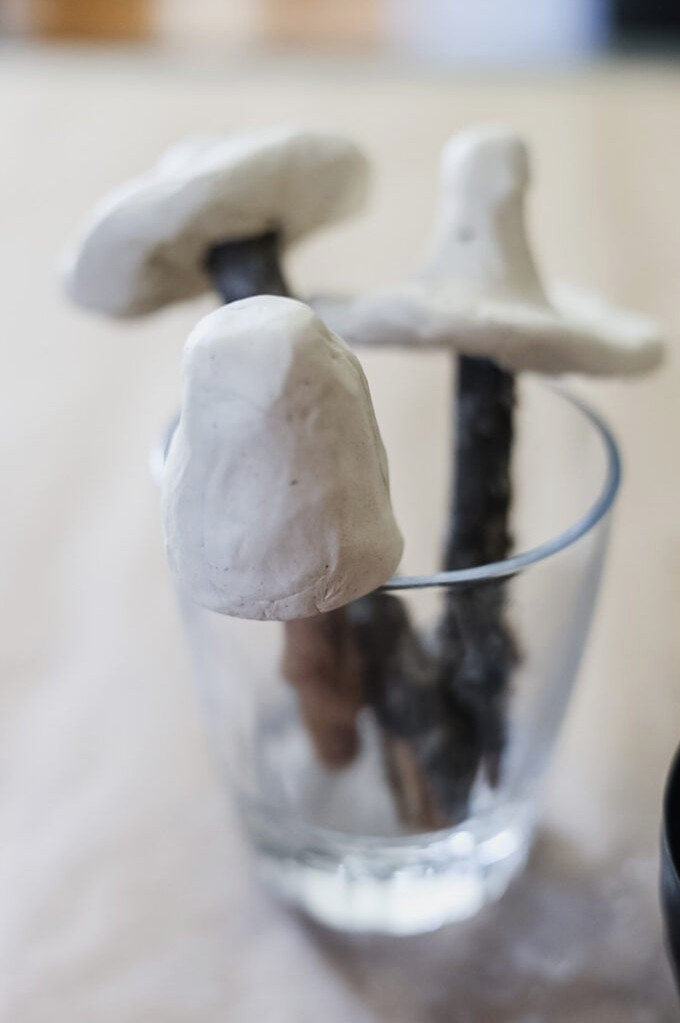
Allow the mushrooms to dry fully overnight; I recommend placing them on a glass so they won’t develop a flat area.
4. Make Them Weatherproof (Essential!)
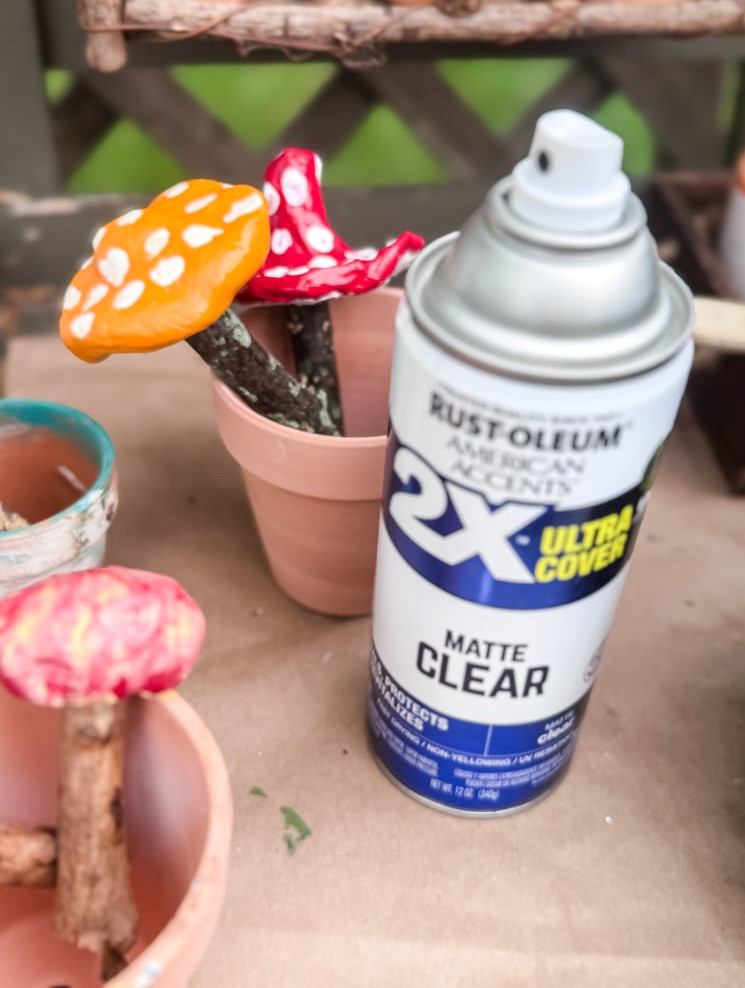
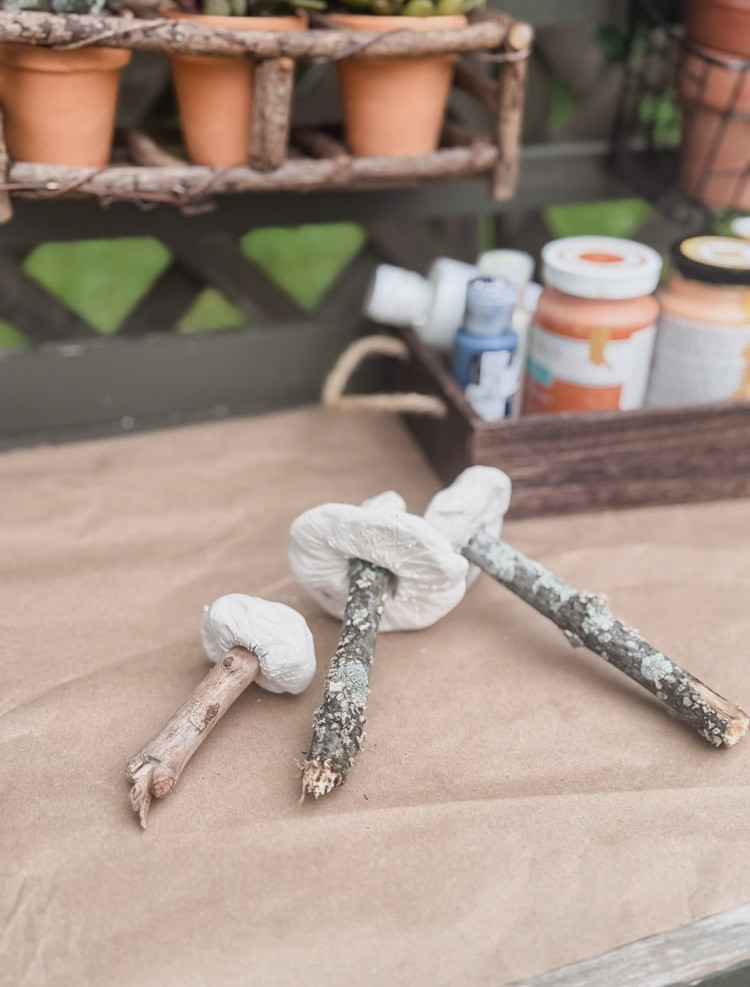
Shield your mushrooms with 2 thin layers of clear acrylic sealer (on both the clay mushroom & stick)– this is necessary for:
- Outdoor resilience(protection from rain/sun)
- Indoor plant placement(guards against moisture damage)
- Lasting color(helps prevent paint from fading)
Fixes & Expert Tips
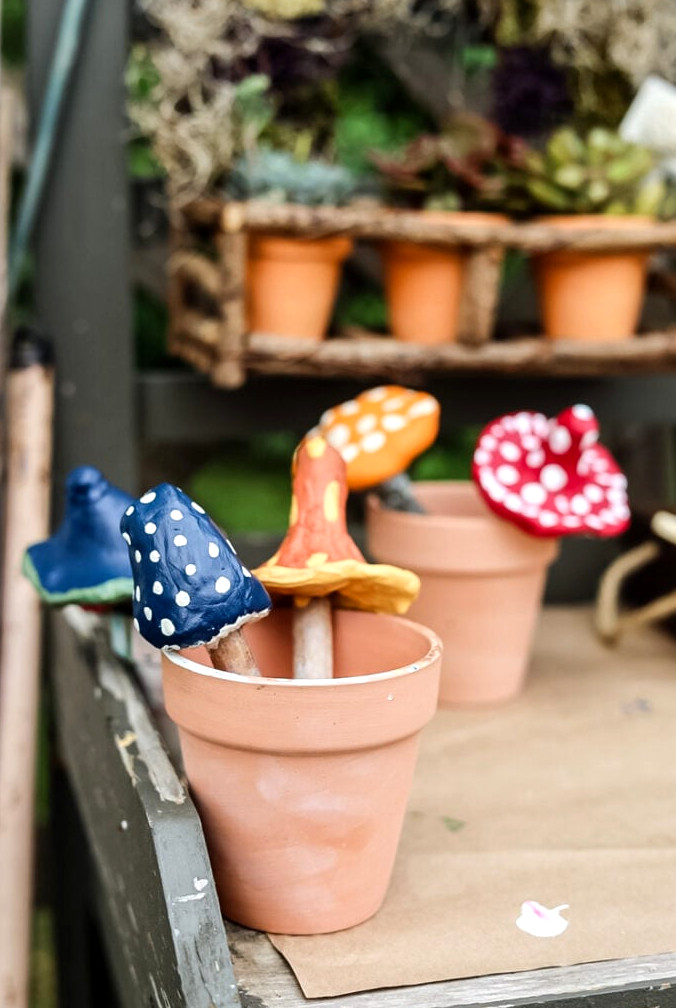
- My clay split as it dried! – Blend the cracks with damp fingers before the clay hardens completely.
- The stems keep falling out!– Put a small amount of glue inside the cap if it dried separately.
- Painting isn’t my thing!– Choose colored clay or tint it with diluted paint (though painting gives the best result, sorry!)
Arrange & Position Your Mushrooms
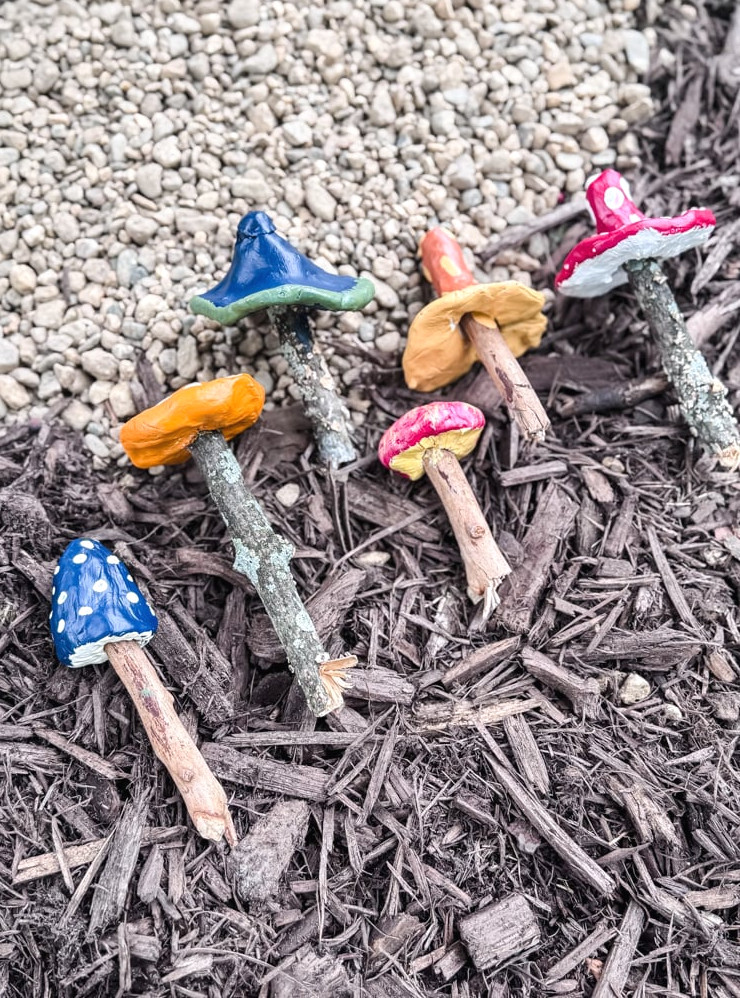
- Group them togetheraround your fairy tree to create a “magical ring” effect.
- Hide them beneath fernsor next to pebble paths for delightful surprises.
- Combine different sizes-some tall, some miniature-for a more natural appearance.
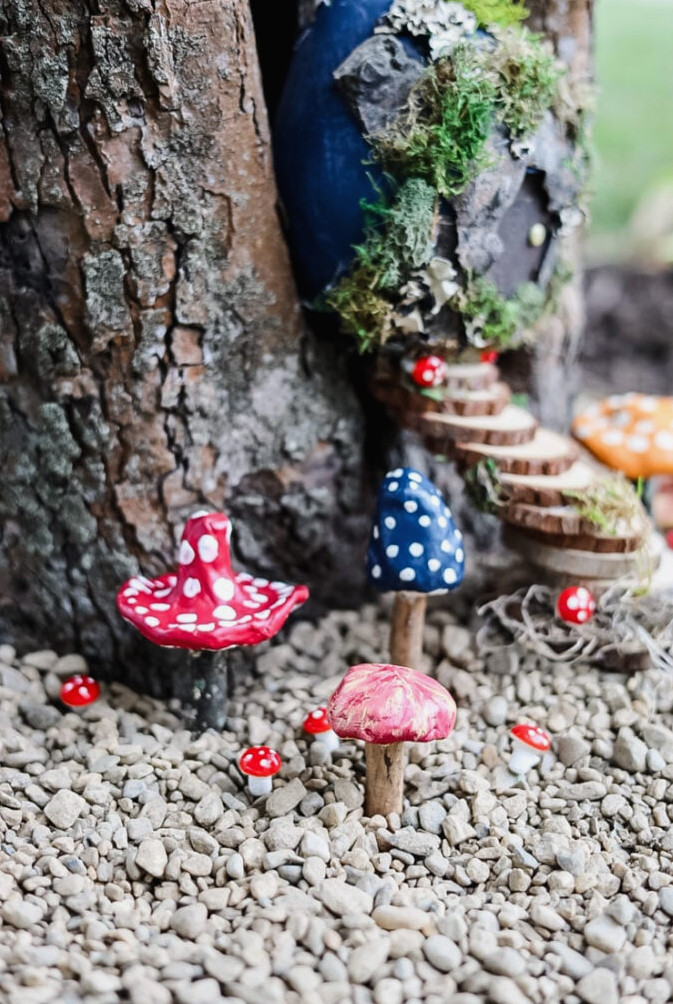
I added a few tiny craft mushrooms, but after one rainy night, they are peeling. I’ll coat several more with the spray finish and share an update on how well they hold up!
Fairy Garden Tree Retreat
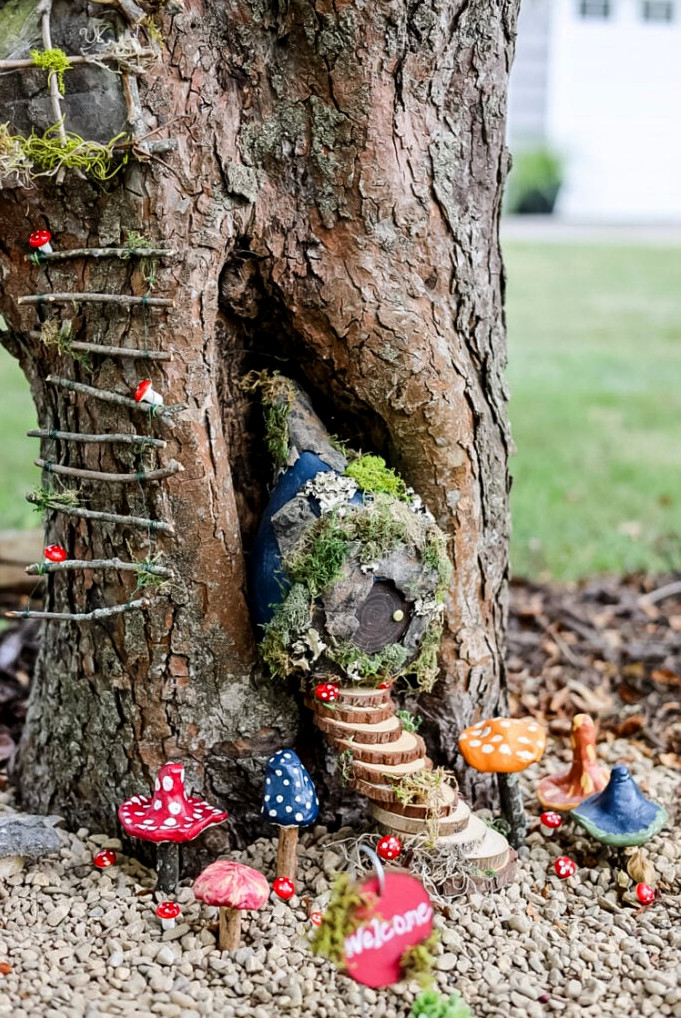
Discover how I created this complete fairy tree garden using gathered treasures and craft materials I already had nearby. It’s a cheerful, budget-friendly way to bring a touch of enchantment to your outdoor space!
Adding the Finishing Details – Bringing the Fairy Garden to Life
Just like that, your magical miniature landscape is finished! From thebirch-bark fairy cottage nestled inside its tree hollowto thetwig ladders, stone pathways, and these handmade clay mushrooms, each element joins together to form a place where creativity can flourish.
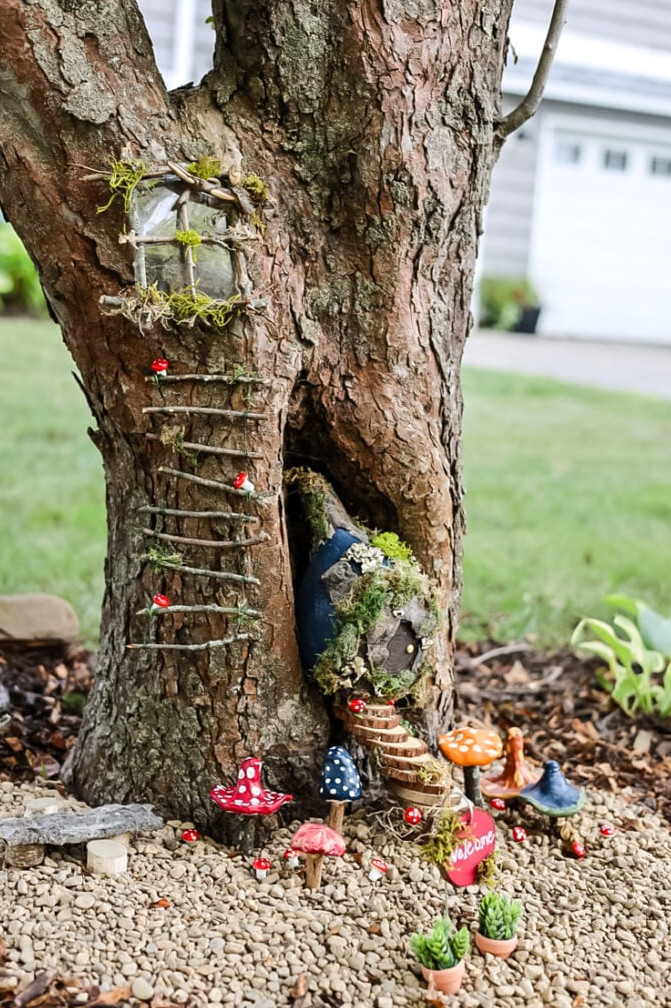
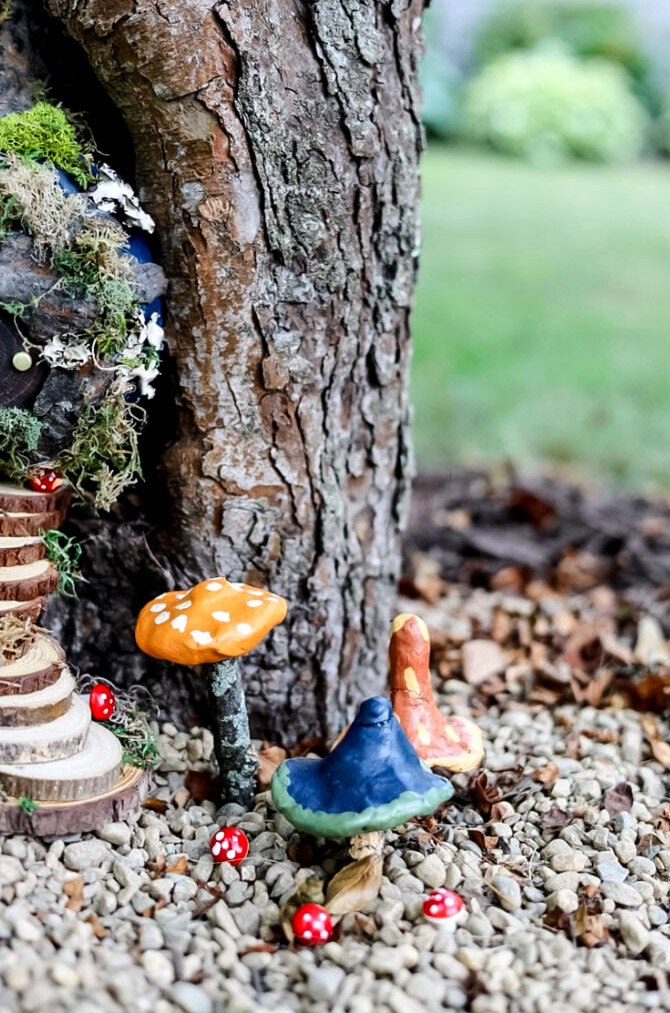
Theseair-dry clay mushroomsmade an ideal final detail-sturdy enough for outdoor enchantment (thanks to the transparent sealer!), while their vivid spots and natural forms keep them charming. Place them around your fairy tree, tuck them beside the stone path, or allow them to appear unexpectedly near the windows. Keep in mind:imperfections bring personality, so don’t worry about making every spot perfectly circular; nobody will notice!
A Gift That Continues to Grow:
This entire project-fromgourd cottage to toadstools—shows that enchantment doesn’t come from flawlessness, but fromreimagining the natural materials (and craft supplies) you have available. As the seasons pass, your fairy garden will transform: moss may spread, paint will fade, and perhaps you’ll add a miniature swing or acorn-cap lantern down the road. That’s what makes it so enjoyable!
Now it’s your turn!
I’d be delighted to see your fairy garden flourish! Send your photos & questions to jennifer@cottageonbunkerhill.comso I can:
- Feature your creationsin the reader’s gallery
- Respond to questionsabout your own mushroom-crafting projects
- Offer seasonal inspiration (how adorable would an Autumn fairy garden be!)
Enjoy creating, kindred spirits!May your gardens flourish with wild wonder.
xo, Jennifer
Give This Creative Garden Project a Try!