See how breaking a terracotta pot turned into my favorite succulent planter! (Every now and then, a bit of destruction can create something truly beautiful!)
I’ll confess…I intentionally used a hammer on a perfectly good terracotta pot. Why? I had a plan in mind: a rustic, tiered succulent planter with a cozy spot for each tiny plant. The best thing? You can make this using a pot you’vealreadybroken (so there’s no need to feel guilty!) or enjoy the satisfying process of carefully smashing one yourself.
Whether your pot broke by accident or, like me, you cracked it on purpose for a little creative mayhem, this project transforms imperfections into eye-catching features. Let’s turn those fragments into a gorgeous succulent display!!
How to Transform a Cracked Terracotta Pot into a Gorgeous Succulent Planter
This project is incredibly enjoyable and adaptable, so you can personalize it however you like! Although I chose succulents, this method would also look lovely with trailing annuals such as calibrachoa (just picture those bright flowers spilling over the broken sides!) or even a convenient collection of kitchen herbs. The cracked pot levels make wonderful little planting spaces for many different varieties!
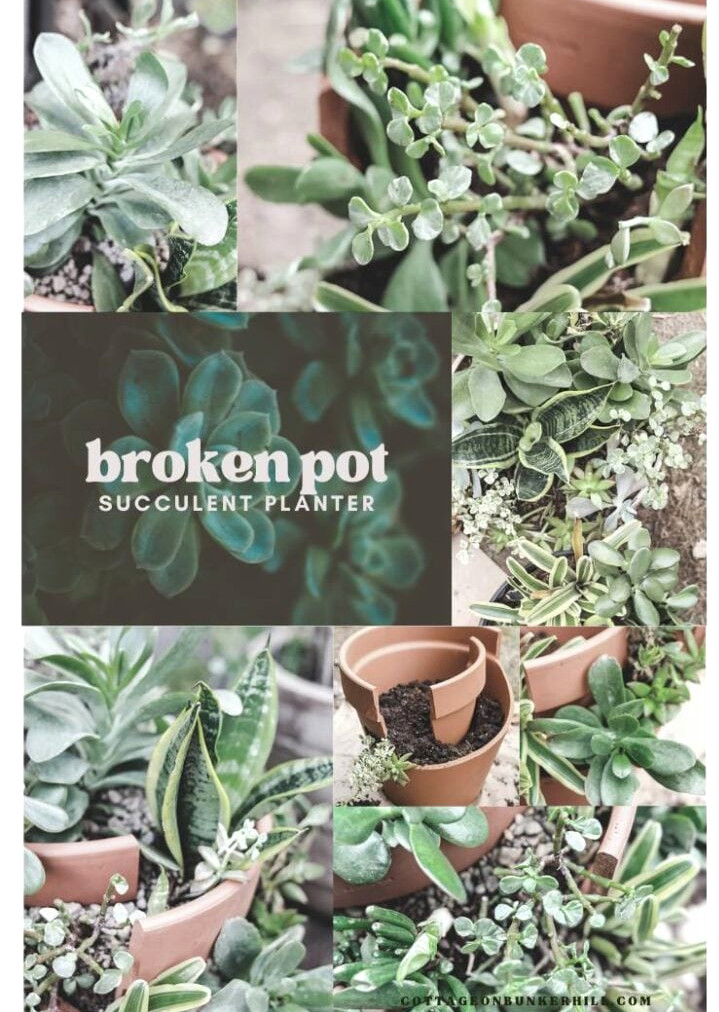
Supplies You’ll Need
(Adaptable & Practically Foolproof!)
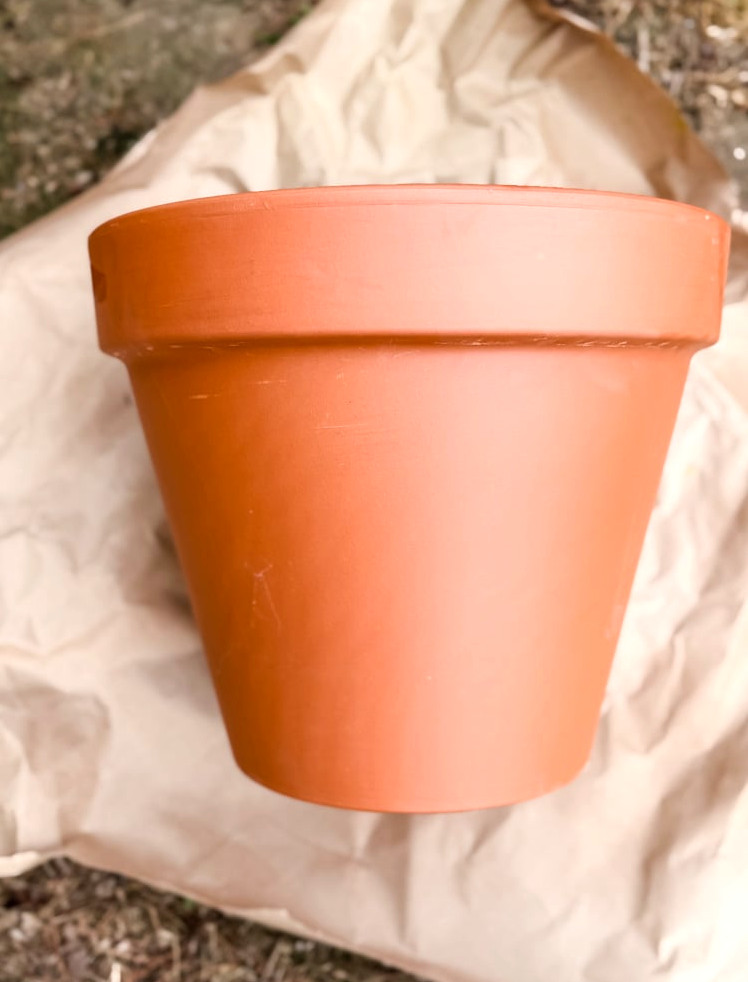
1. The Container:
- Option 1:Abrand-new or unbroken terracotta pot(choose any size—I used a large one, though smaller pots are perfectly suitable too!). If you’re close to an Ocean State Job Lot store, check there for excellent deals on large planters; this one cost $12!
- Option 2:Previously cracked or shattered pots(look through your garden collection—imperfections become part of the design here!).
2. Tools for Deliberate Cracking(Leave these out if your pot is already broken!):
- Hammer (a standard claw hammer is suitable)
- Protective gloves & goggles (terracotta fragments can fly!)
- Old towel (for wrapping the pot before you break it)
3. Planting Materials:
- Succulent potting blend(good drainage is essential!)
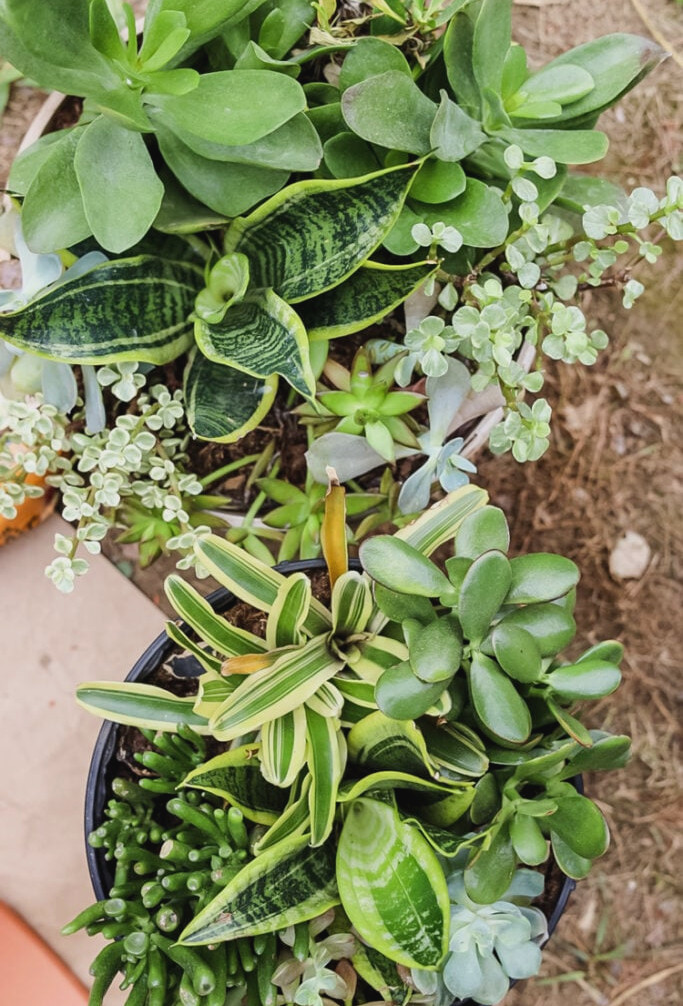
- A variety of succulents(Match them to the size of your pot: petite types like hens-and-chicks suit smaller pots, while larger echeverias are ideal for roomy planters.)
- Optional additions:Decorative stones, moss, or sand for finishing the top.
Project Materials
- Large terracotta planter (or one that is cracked/broken)
- Hammer (for intentional breaking)
- Protective gloves & goggles
- Old towel
- Potting soil formulated for succulents
- Mixed succulent plants
- Optional: Moss, pebbles, or ornamental sand
Step-by-Step: Creating a Broken Terracotta Succulent Planter
Here’s a simple walkthrough for making your own broken terracotta planter at home. Prepare all your supplies ahead of time, then choose a level outdoor area where you can work safely.
Step 1: Crack the Pot (Or Leave It If It’s Already Broken!)
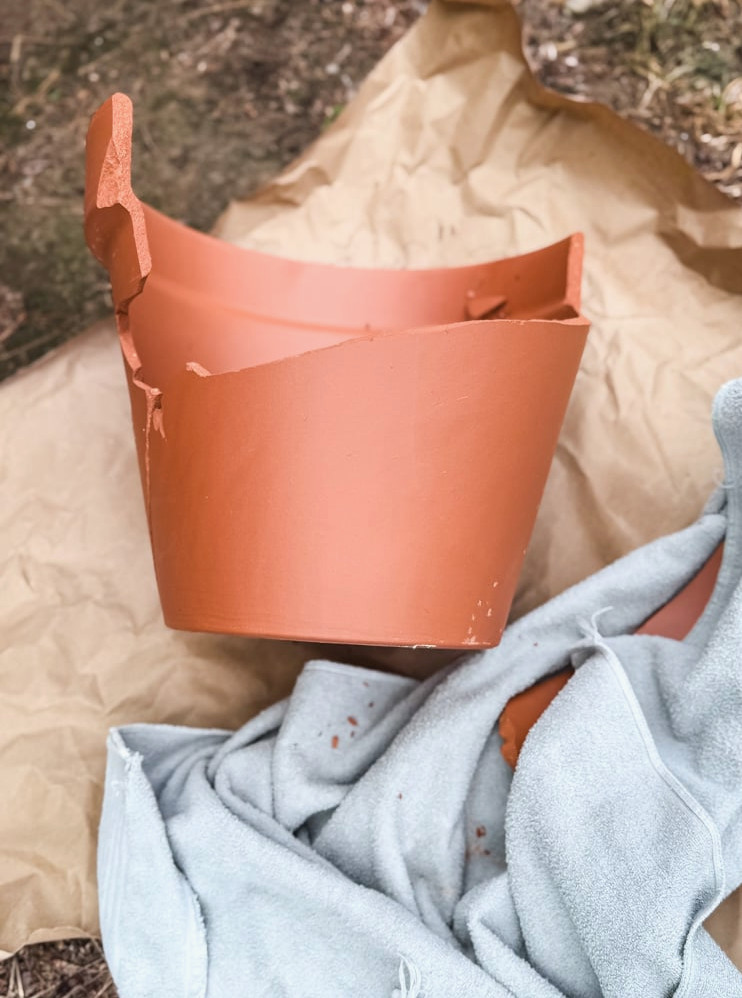
- Put safety first!Protect your hands and eyes with gloves and goggles. Set the pot on a cushioned surface, such as grass or a towel, to keep shards under control.
- Create an interesting shape:Tap the rim with a hammer to form 2-3 sizable pieces and an opening at the front. (Tip: Covering the pot with a towel helps produce neater breaks!)
- There’s no need to aim for perfection—uneven edges bring rustic charm!
Step 2: Test Your Arrangement
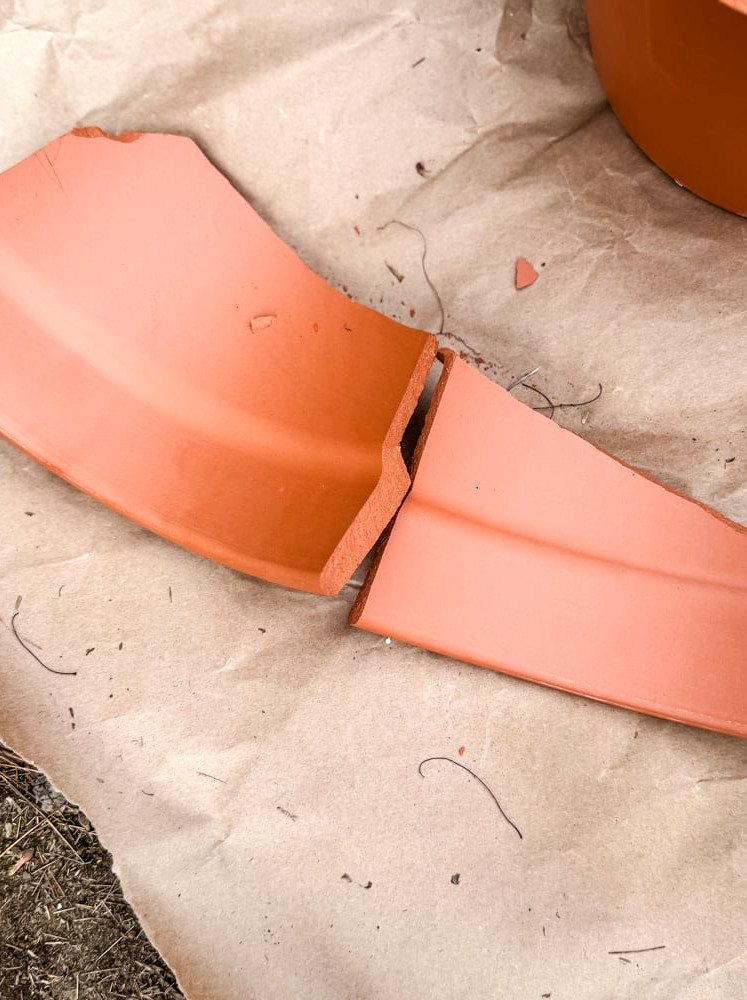
Before putting in any soil, I spent some time trying out different arrangements with the broken pieces. I placed them inside the empty planter and moved them around, exploring various angles and heights until the layout felt just right. This practice setup made planting everything for real much easier!
- Fit the broken pieces into the largest pot section, much like assembling a puzzle.
- Experiment with varying heights and angles.
Step 4: Anchor & Embellish (Optional)
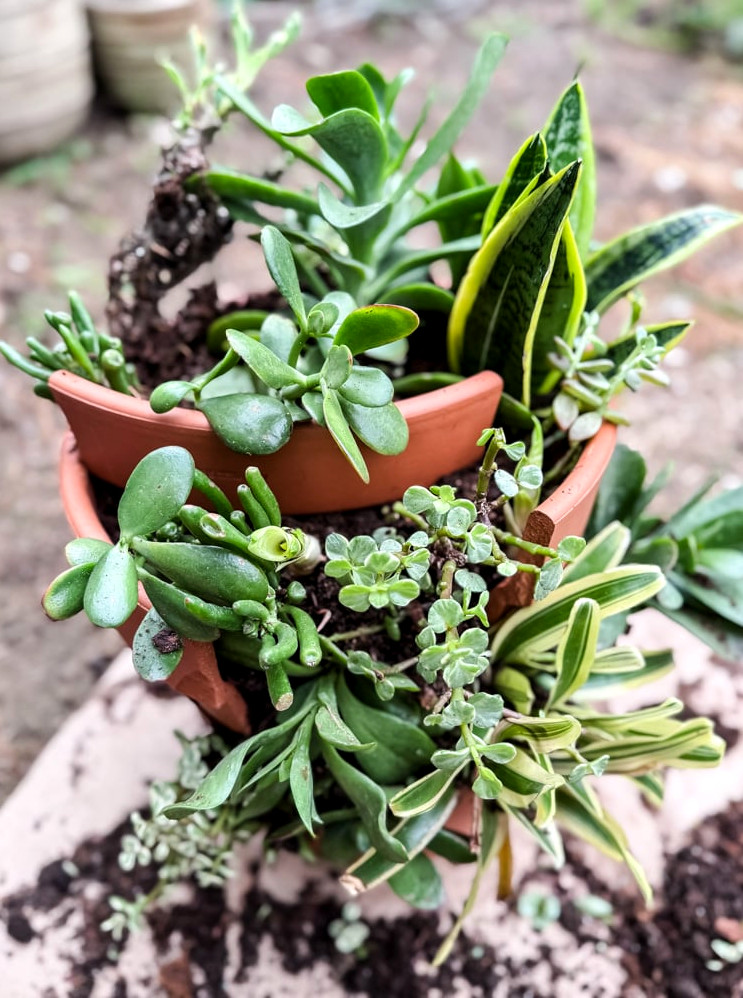
- Steady loose piecesby packing soil tightly around them.
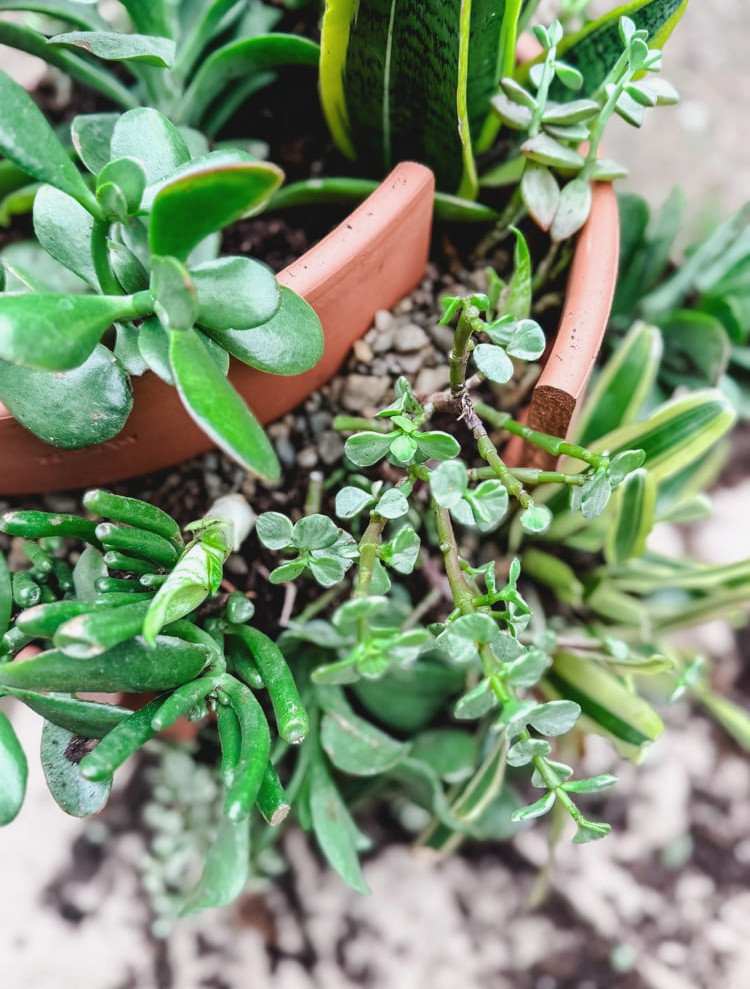
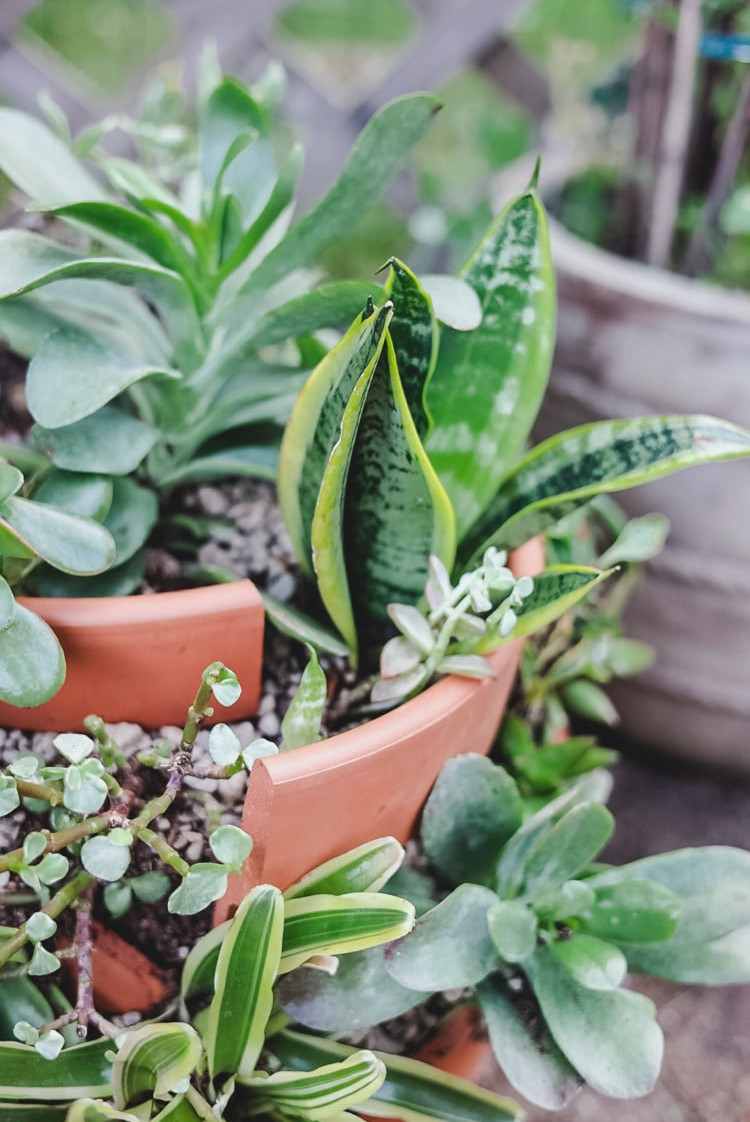
- Top dressing:Scatter sand, ornamental stones, or pebbles across the surface to conceal the soil and minimize mess. I had some pebbles remaining from my latest fairy tree garden project.
- Moss is another option and would provide a natural appearance.
- For an extra touch of charm, include a fairy figurine and mushrooms!
Step 5: Water & Let It Settle
- Initial watering:Gently mist or water the planter to dampen the soil while rinsing away any dirt trapped among the succulents.
- Placement:Keep it in bright, indirect light as the plants become established. (strong summer sunlight may burn the succulents if they have been kept out of direct natural light)
- Terracotta dries quickly—inspect the soil each week!
7 Expert Tips for Healthy Outdoor Succulents
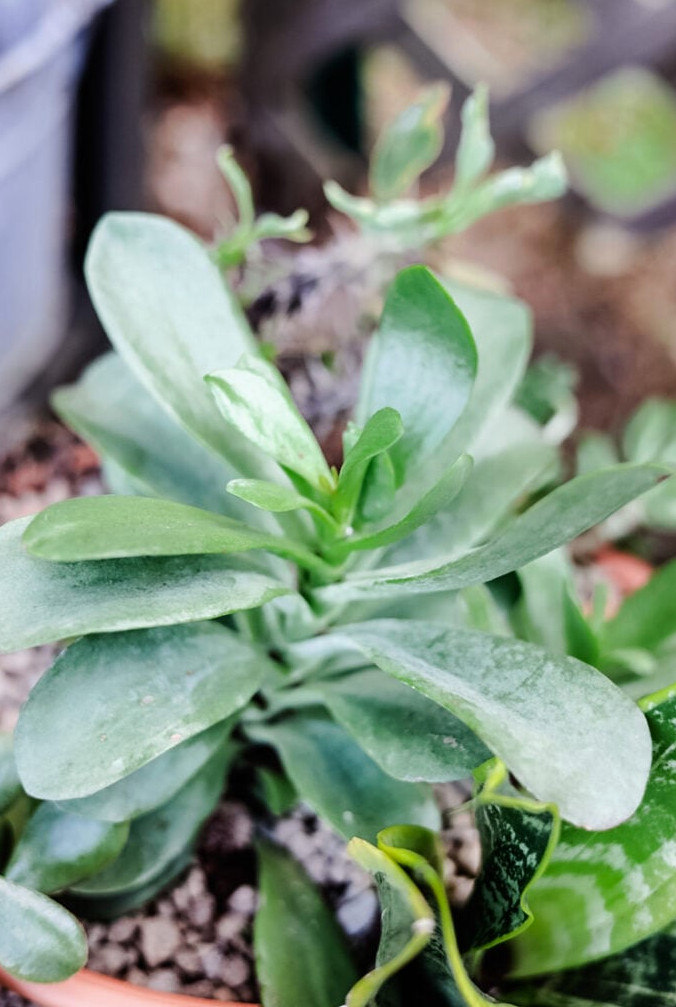
- Sunlight Exposure
- Morning sunlight followed by afternoon shade works best. Since terracotta heats up rapidly, turn the pots from time to time to help avoid leaf sunburn.
- Watering Method
- Give the plants a thorough soak but water sparingly, letting the soil become fully dry between applications. Since terracotta is porous, it helps reduce excess moisture; check the soil through the broken edges or drainage gaps.
- Proper Drainage
- Be sure to choose a planter that has drainage openings underneath.
- Managing Wind
- Succulents placed in tall, raised sections might require extra support. Add small stones or pebbles to keep the plants steady while their roots develop.
- Seasonal Changes
- When rainfall is frequent, tilt the planter a little so excess water can flow out through the broken gaps.
- One of my favorite tricks?
- Trim elongated stems and replant the cuttings in empty soil pockets. It’s a simple way to make your arrangement fuller as time passes
- Protecting Through Winter
- In cooler regions, move terracotta planters inside near a bright, sunny window.
The Grand Reveal: A Rustic Succulent Showpiece
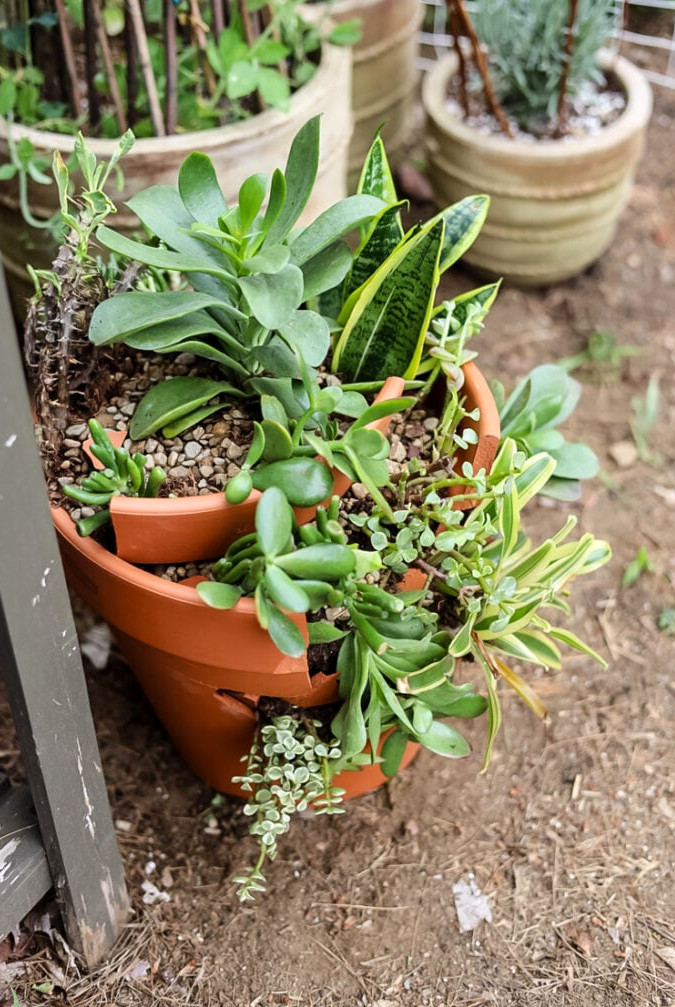
And in an instant, that former heap of shattered terracotta has become a flourishing, richly textured succulent display! This project shows that a touch of imagination can make all the difference:
- “Broken” turns into the main design element(those uneven edges bring so much personality!)
- Layers add dimension(from cascading stems below to sculptural rosettes above)
- Terracotta’s porous texture does extra work(helping succulents stay suitably dry between waterings)
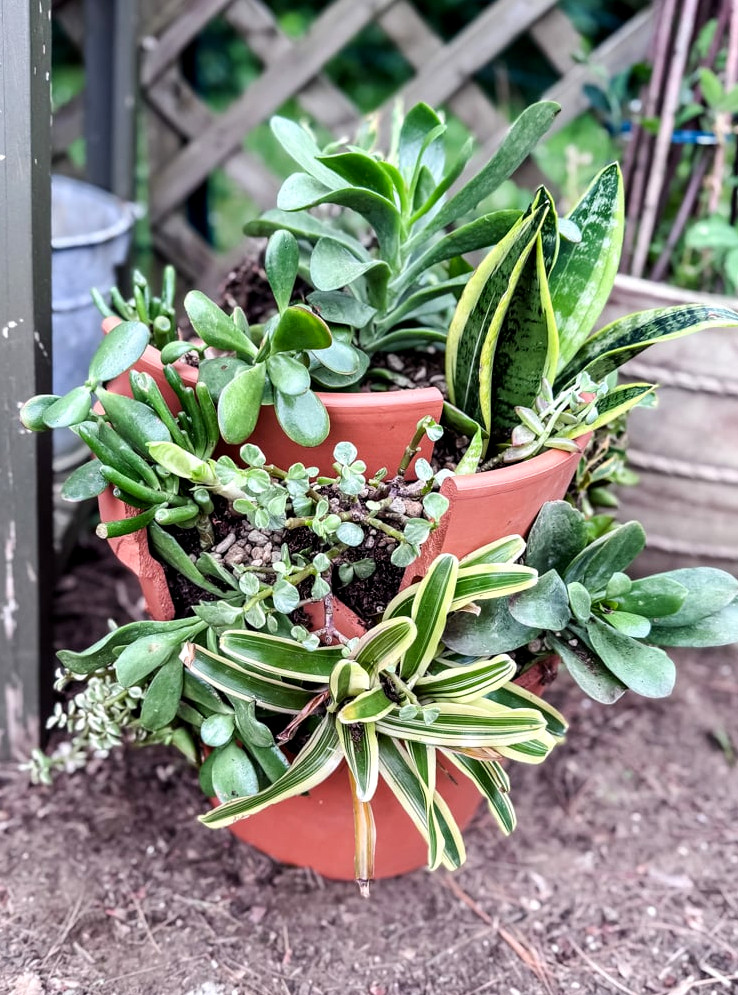
The best part? Seeing the plants settle into their fresh little spaces over time. Every crevice develops into its own miniature ecosystem!
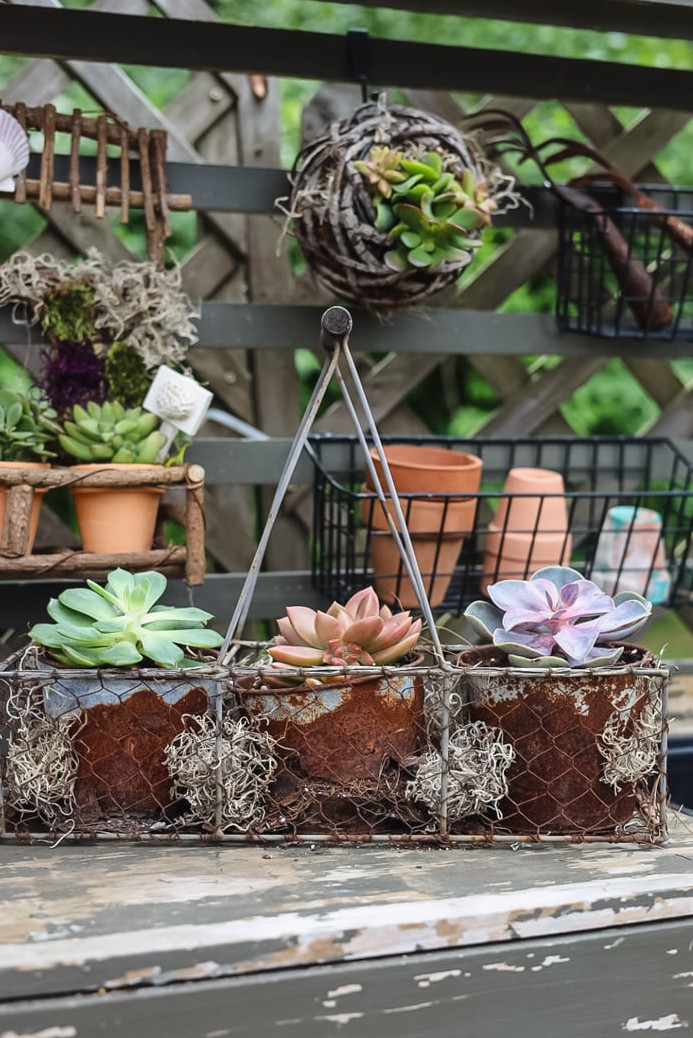
featured
recycled planters
more creative ways to showcase succulents in the garden.
A Project That Even Surprised Me
I truly can’t express how enjoyable this broken terracotta planter was to create! From the satisfyingcrackof the hammer to the final point when all those succulent layers fell into place. Watching rough fragments turn into deliberate, artistic tiers, each showcasing a plant with its own character, was incredibly rewarding. The contrast between coarse terracotta edges and soft, fleshy succulents produces captivating texture, while the trailing varieties flowing through the openings create a beautifully natural effect.
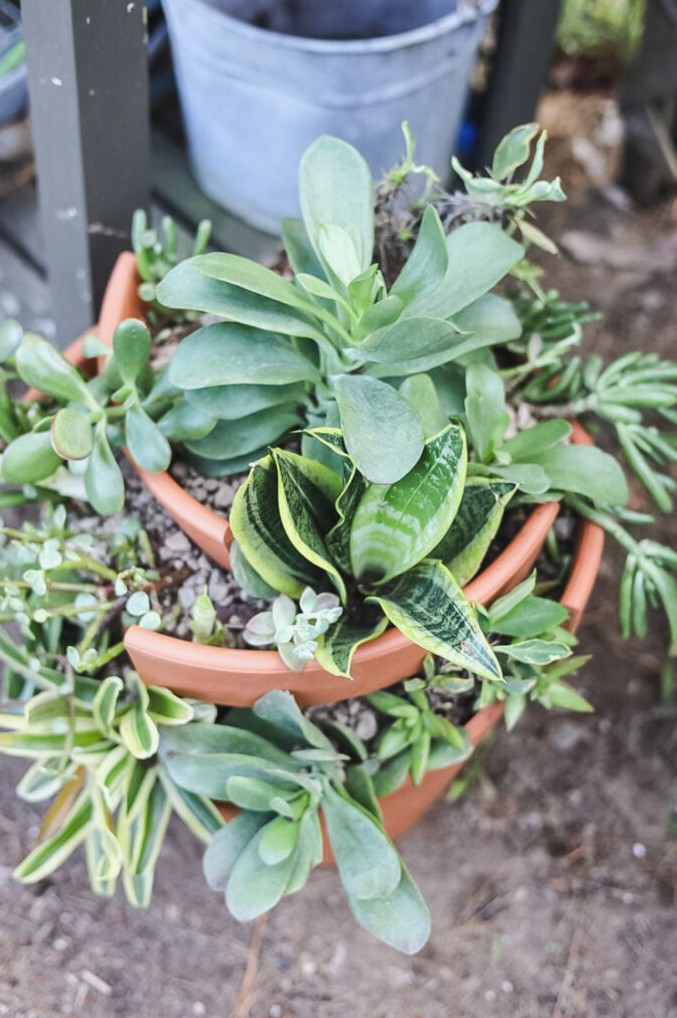
It feels vibrant, constantly evolving, and much more lively than any flawless pot I’ve ever planted. This project showed me that gardening is not solely about growth; it also involves having fun, trying new ideas, and appreciating the charm of “imperfect” materials.
For a weekend project that is both calming and eye-catching, pick up that chipped pot (or a hammer!) and give your imagination free rein. Believe me, it will make you grin whenever you pass by.
Now, I’d love to know: Will you give this a try with succulents, herbs, or something entirely unexpected? Tell us your version in the comments!
Have your projects showcased! If this project or one of my other DIY ideas inspires you, I would be delighted to see your work and include you in the Reader’s Spotlight gallery. Email a photo to jennifer@cottageonbunkerhill.com
xo, Jennifer