
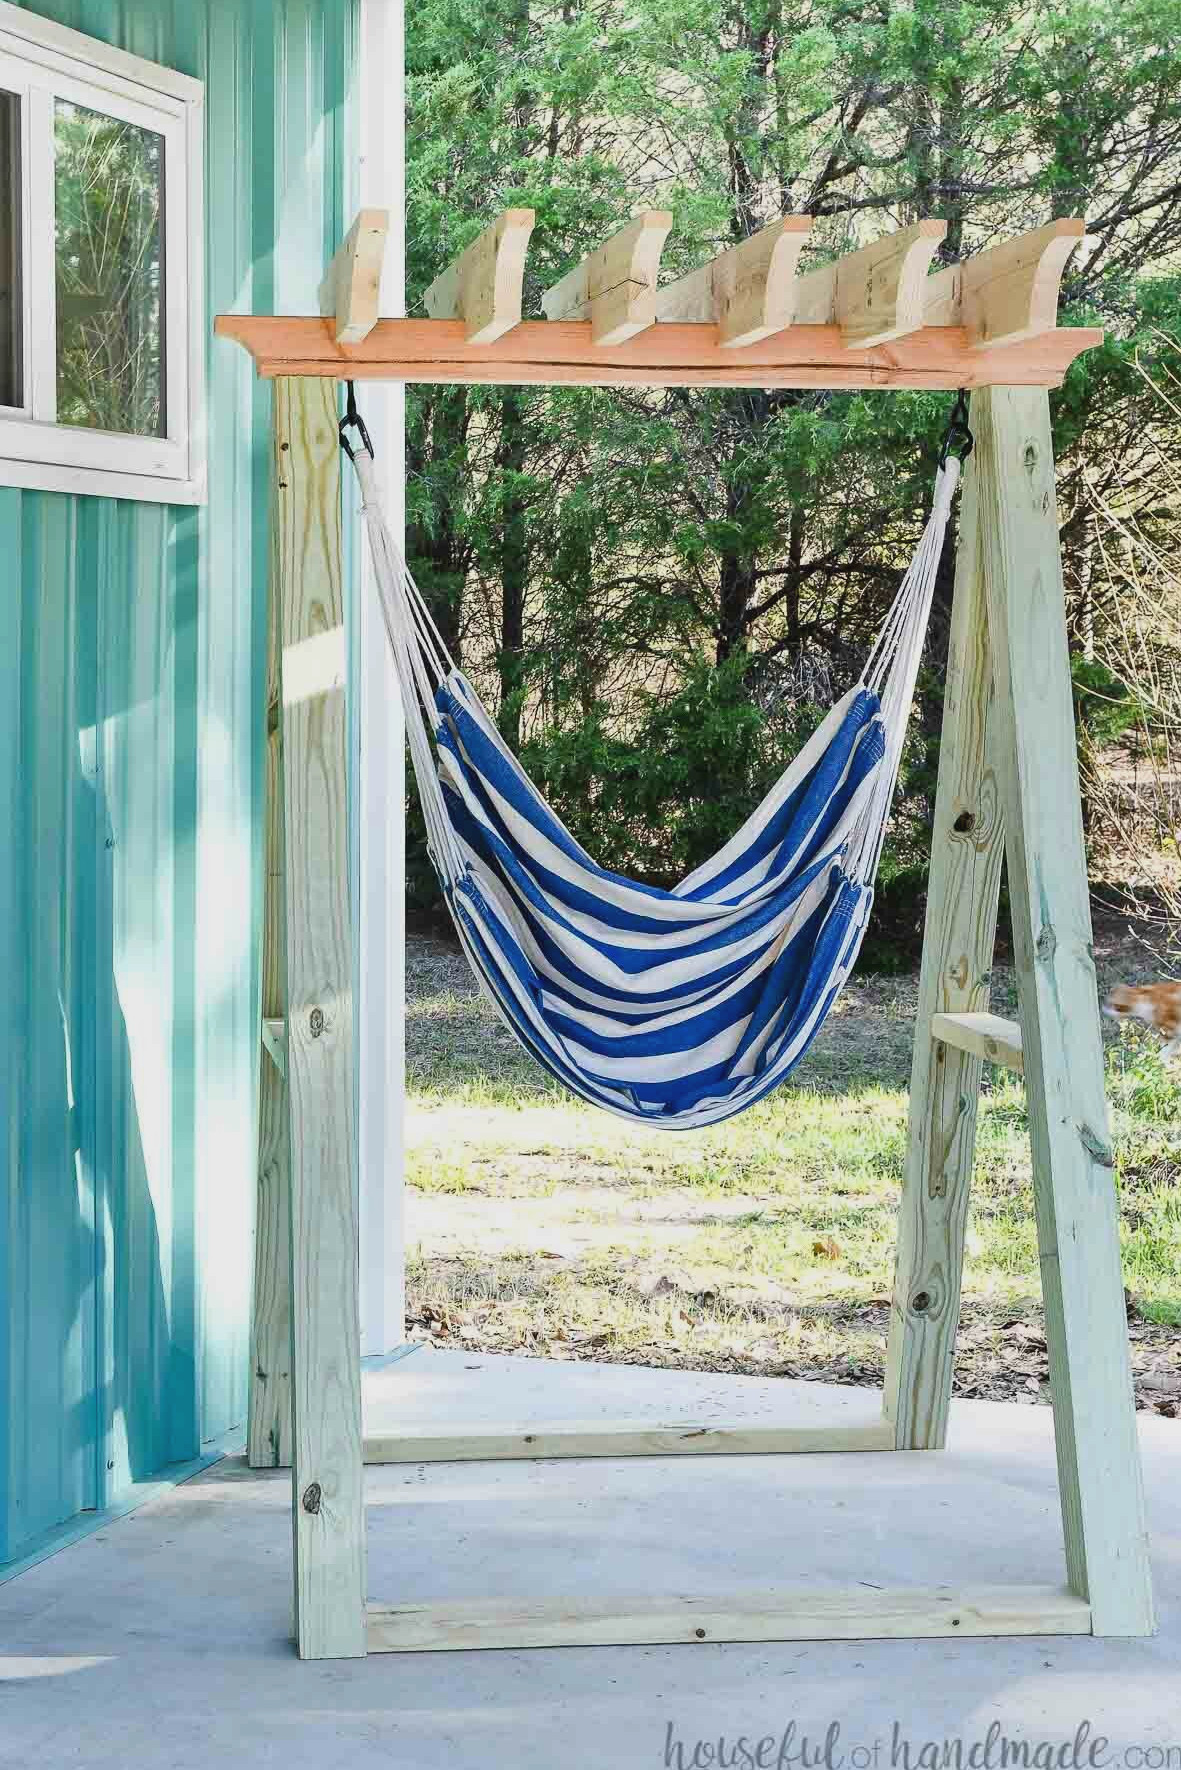
Relax outdoors in style with this incredible hammock chair stand.
As a child, swings were always my favorite playground feature. I still enjoy them as an adult. That gentle back-and-forth motion is incredibly calming.
To create a solid hammock chair stand for swinging, I teamed up with Kreg Tools and used their new Pocket Hole Jig XL.
The new XL pocket hole jig lets you drill pocket holes into 4×4 and 2×4 lumber. It is ideal for substantial outdoor projects like this.
To make my hammock swing stand even more suitable for summertime, I installed a pergola roof to provide shade on scorching days. If you are looking for me, I will be swinging!
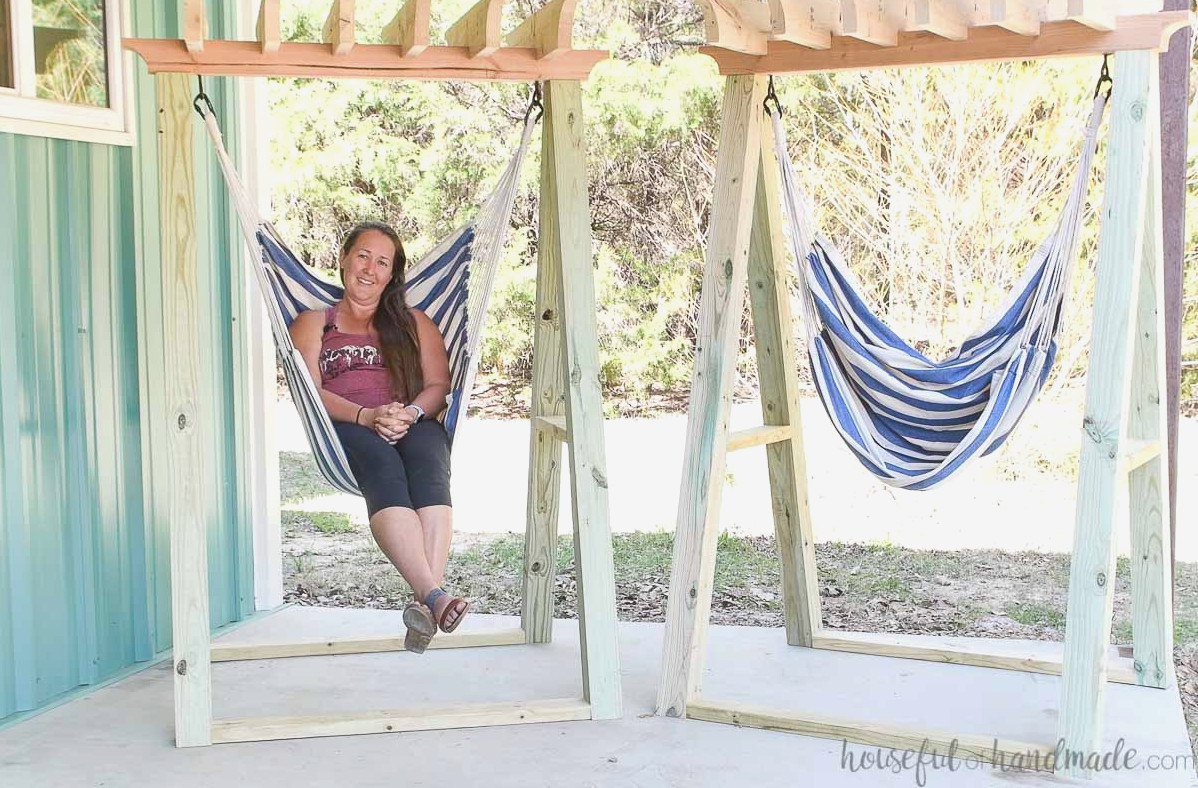
Hanging Chair with Stand
This hanging chair stand features a 39″-wide opening. It works with any hammock chair that has loops on both sides and can be detached from the pole, if one is included. This is the affordable yet durable hammock I used.
The hanging chair attaches to the A-frame stand at two locations, preventing it from twisting or spinning. Instead, it forms a comfortable swing.
It is especially useful because you can position your hanging chair in whichever direction you prefer and take in the scenery. Simply lean back and unwind rather than struggling with constant twisting and turning.
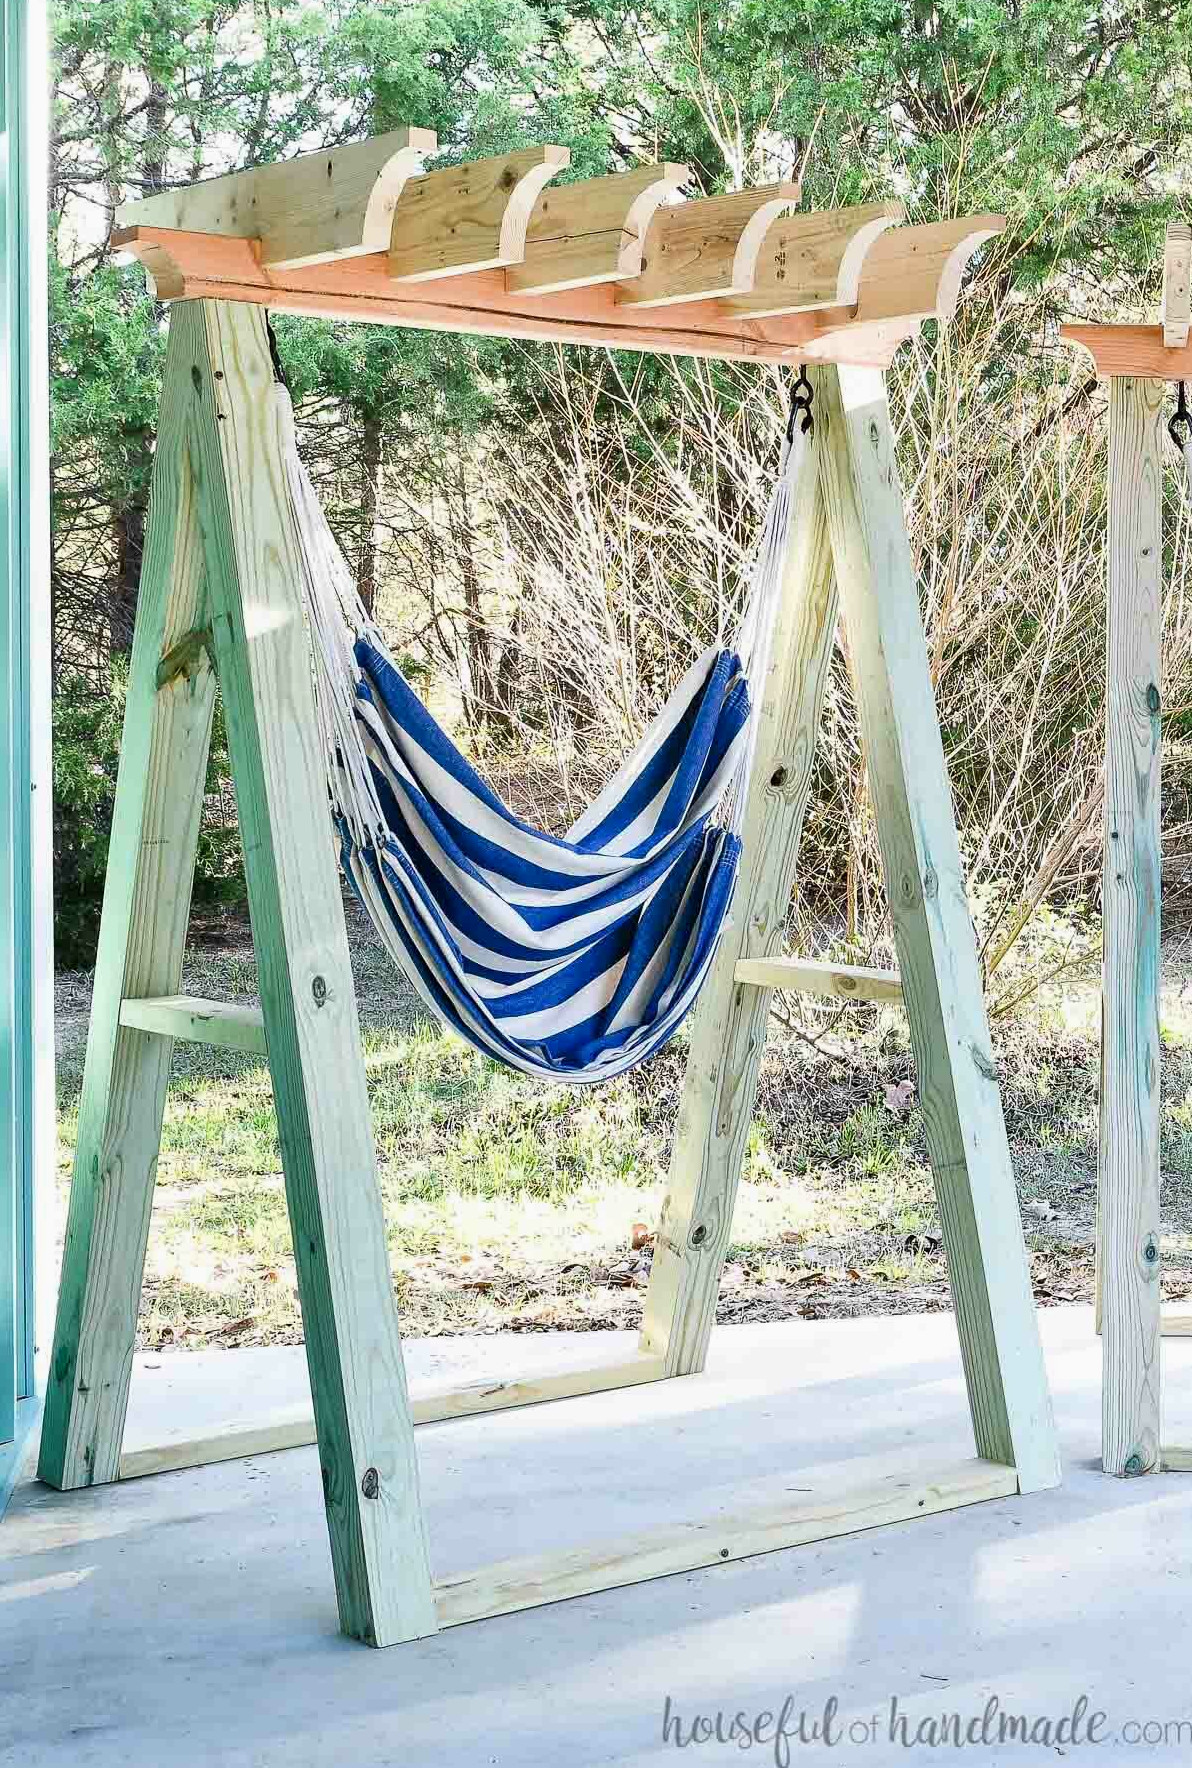
Freestanding Hammock Chair
The hammock chair stand provides a freestanding hammock chair that can be used wherever you like. Set one on your porch or make several for the yard.
You do not need a tree limb or roof rafters positioned exactly where you want to swing!
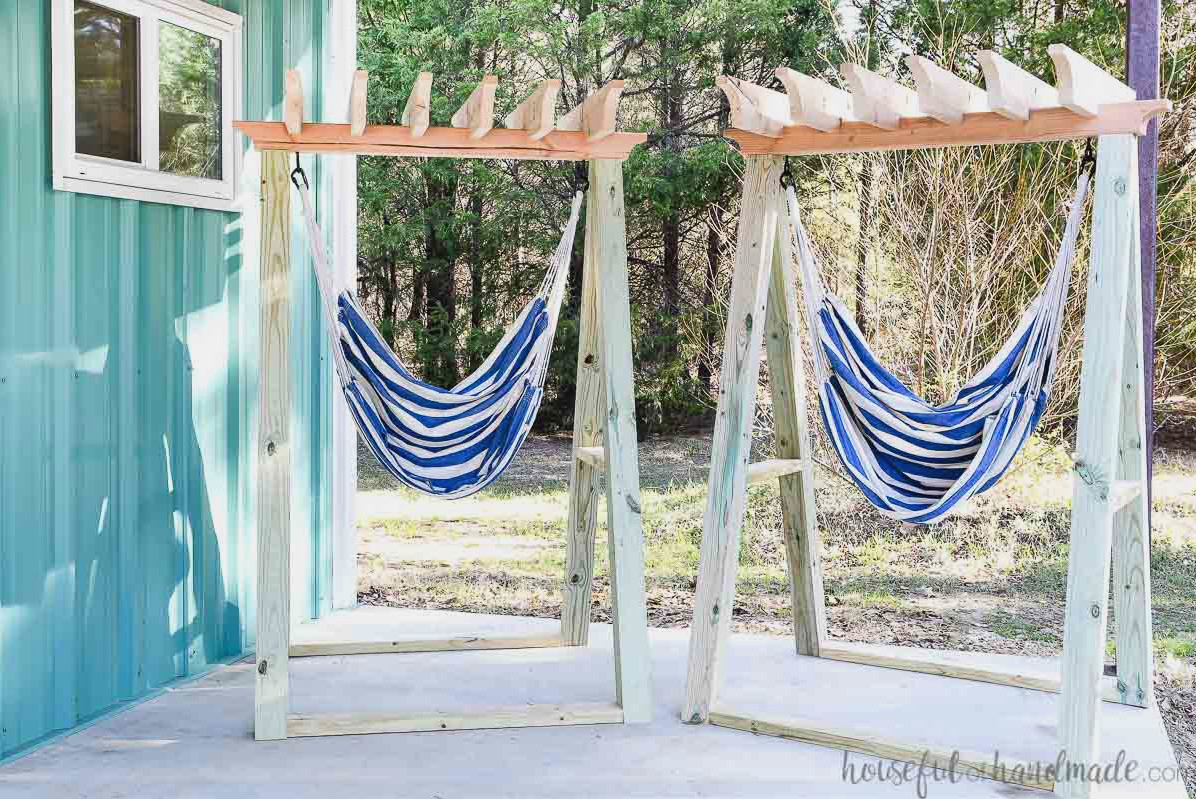
Because the hammock chair can stand independently wherever you position it, adding the pergola rafters makes the setup even more enjoyable.
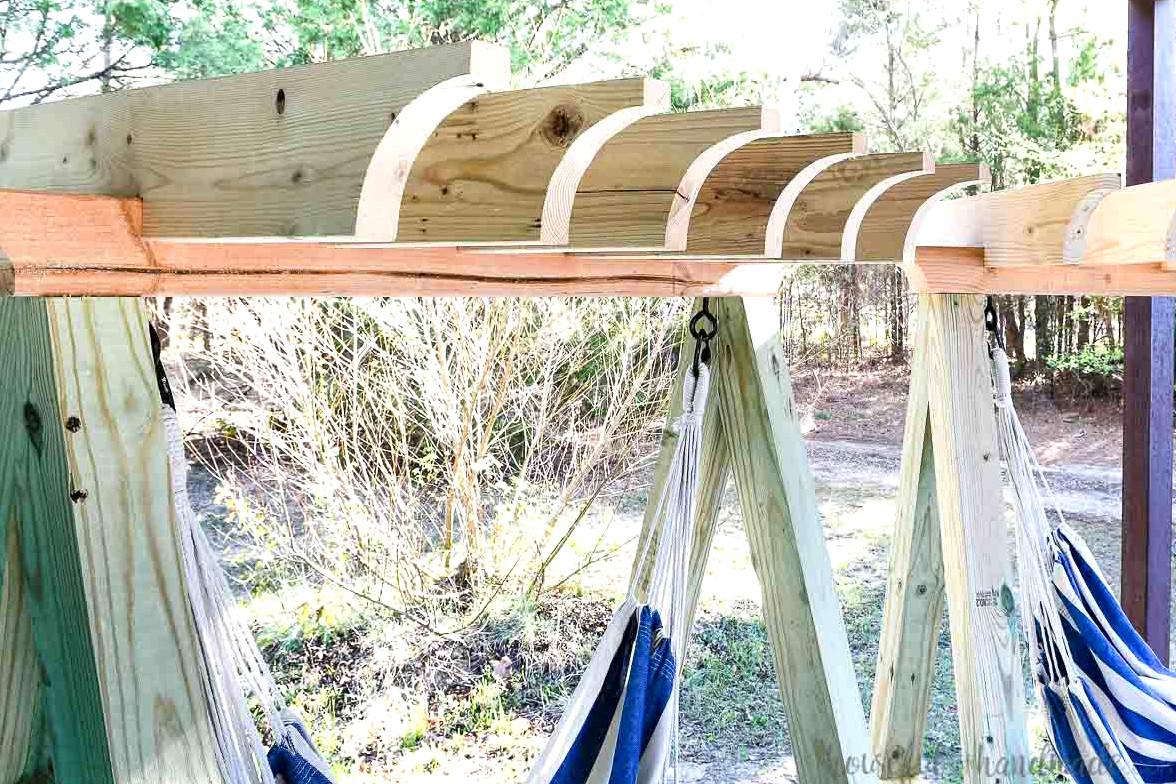
The pergola rafters offer shade all day as the sun travels across the sky. You will have less shade only when the sun is positioned directly overhead, though some shade will remain.
The pergola roof additionally brings balance to the design of the freestanding hammock chair stand. It complements the A-frame base by balancing the upper section.
Simple-to-Build Stand
This beautiful hammock swing stand is straightforward to construct with the new Kreg Pocket Hole Jig XL.
The ability to form strong joints in 4×4 lumber makes building durable outdoor furniture much easier.
The Pocket Hole Jig XL resembles the Pocket Hole Jig 310 or 320, only larger! You can learn how to operate the Kreg 300 Series Pocket Hole Jig here. It is incredibly simple.
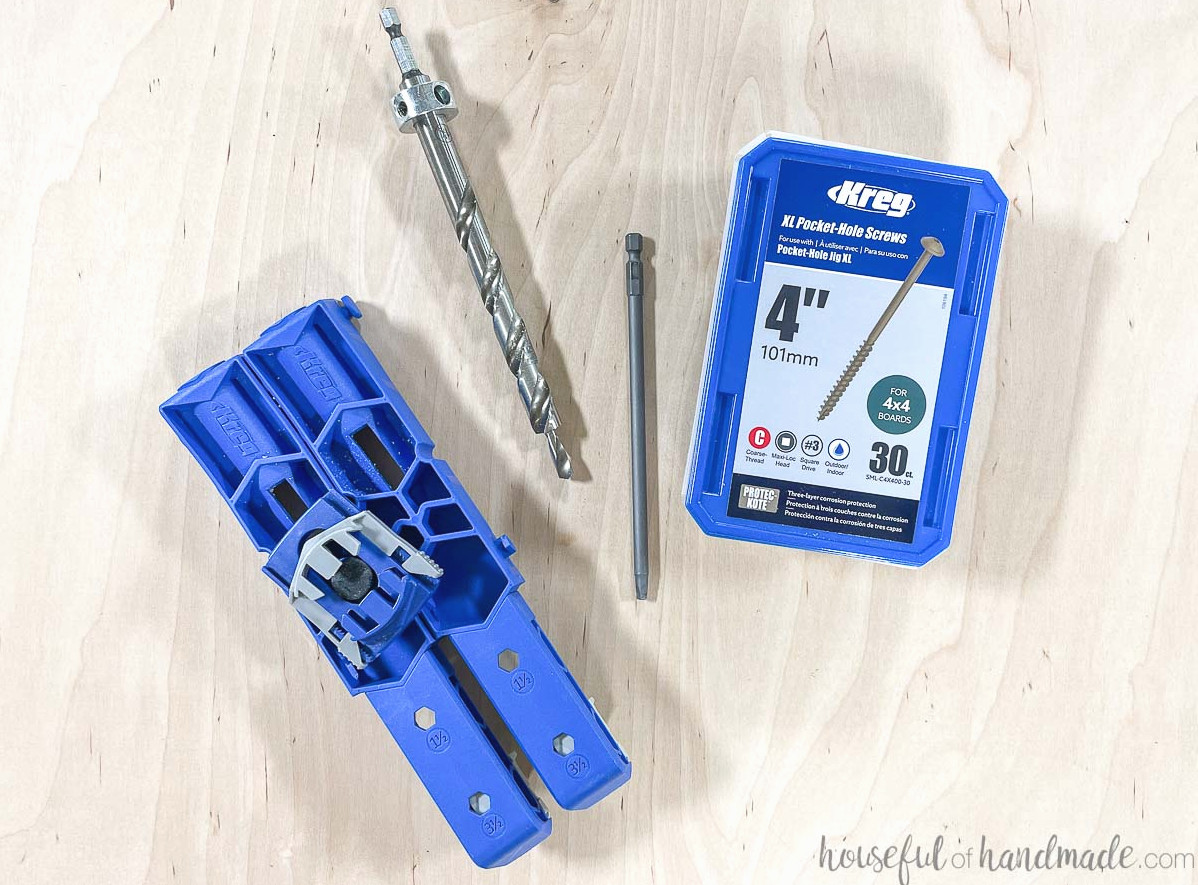
For the 4×4 boards, use 4″ pocket hole screws, which Kreg has also recently introduced.
When using the XL jig with 2×4 boards, select the 2 1/2″-long XL screws.
These oversized screws secure larger lumber firmly. As a result, the hammock chair stand is strong, so I do not need to question its durability. I can simply relax and enjoy it!
Building a Hammock Chair Stand
Tools & Supplies
Overall Measurements
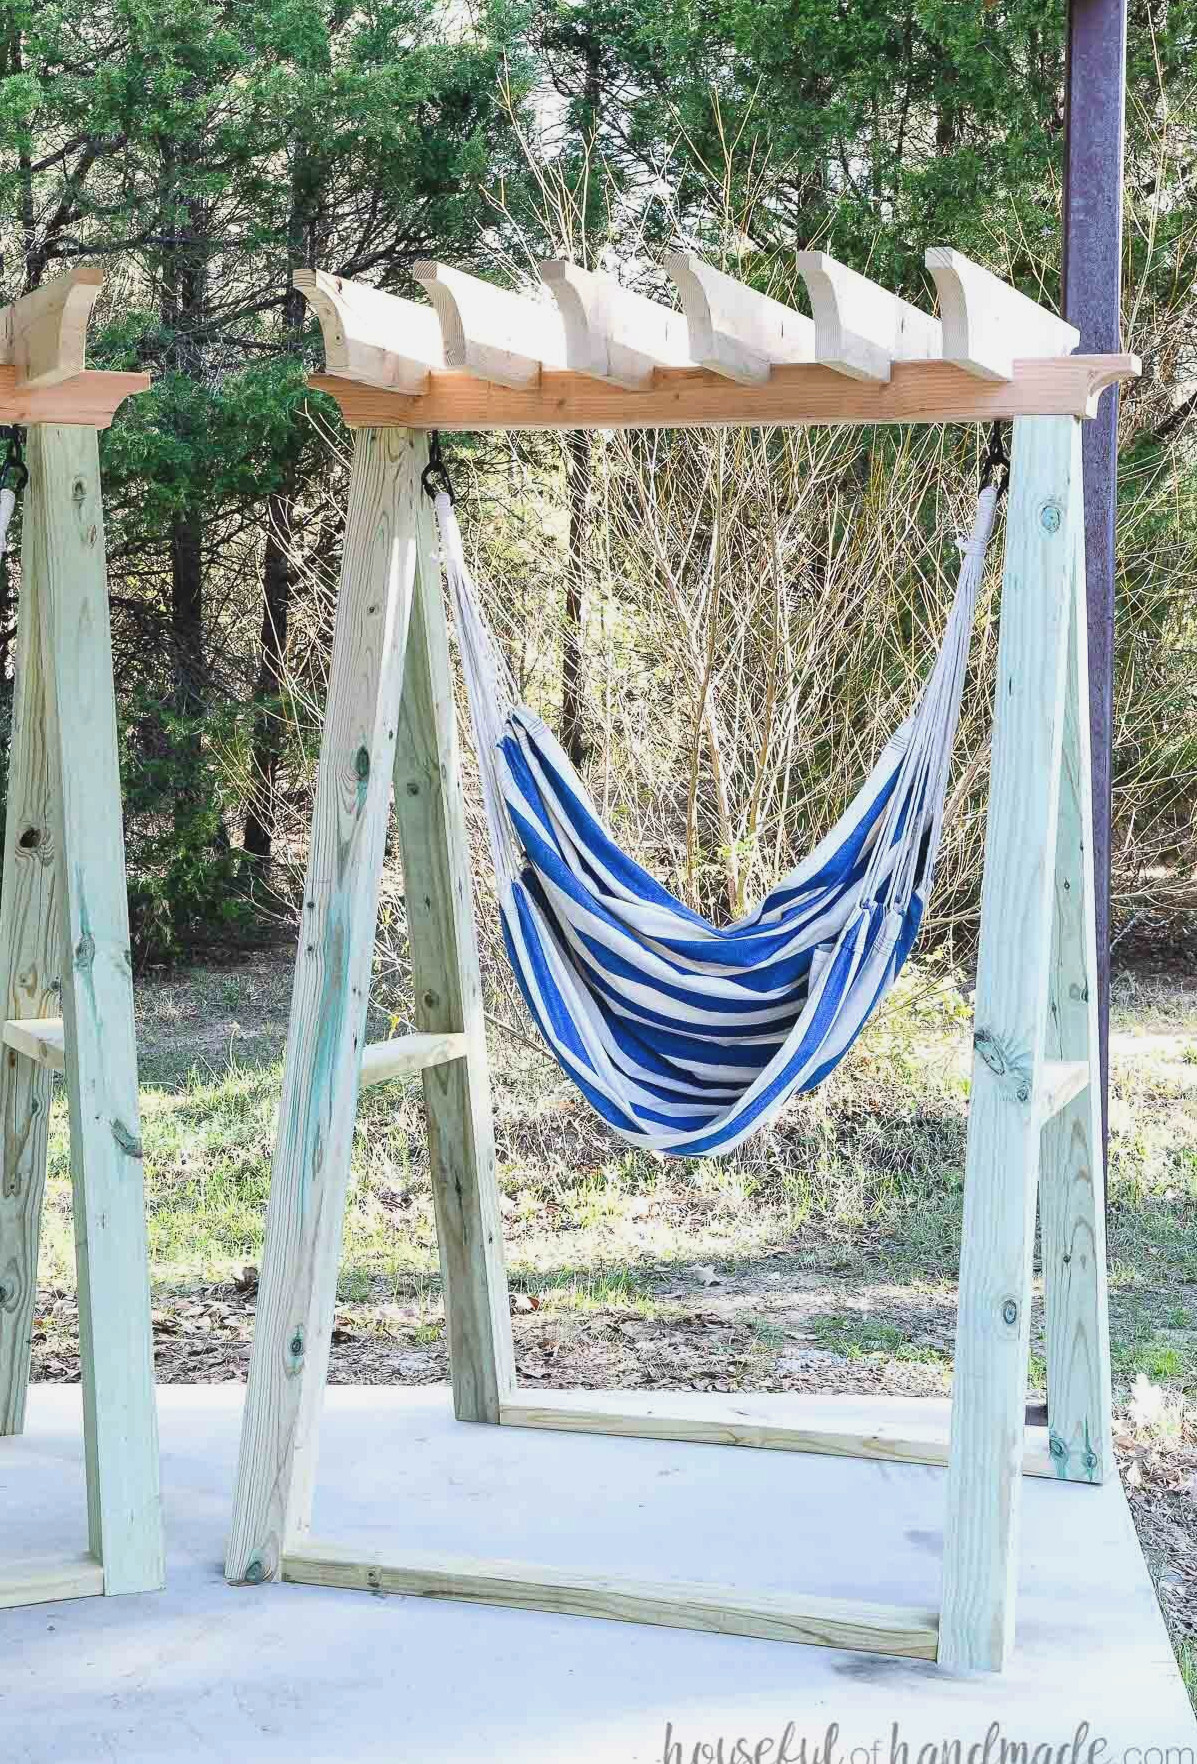
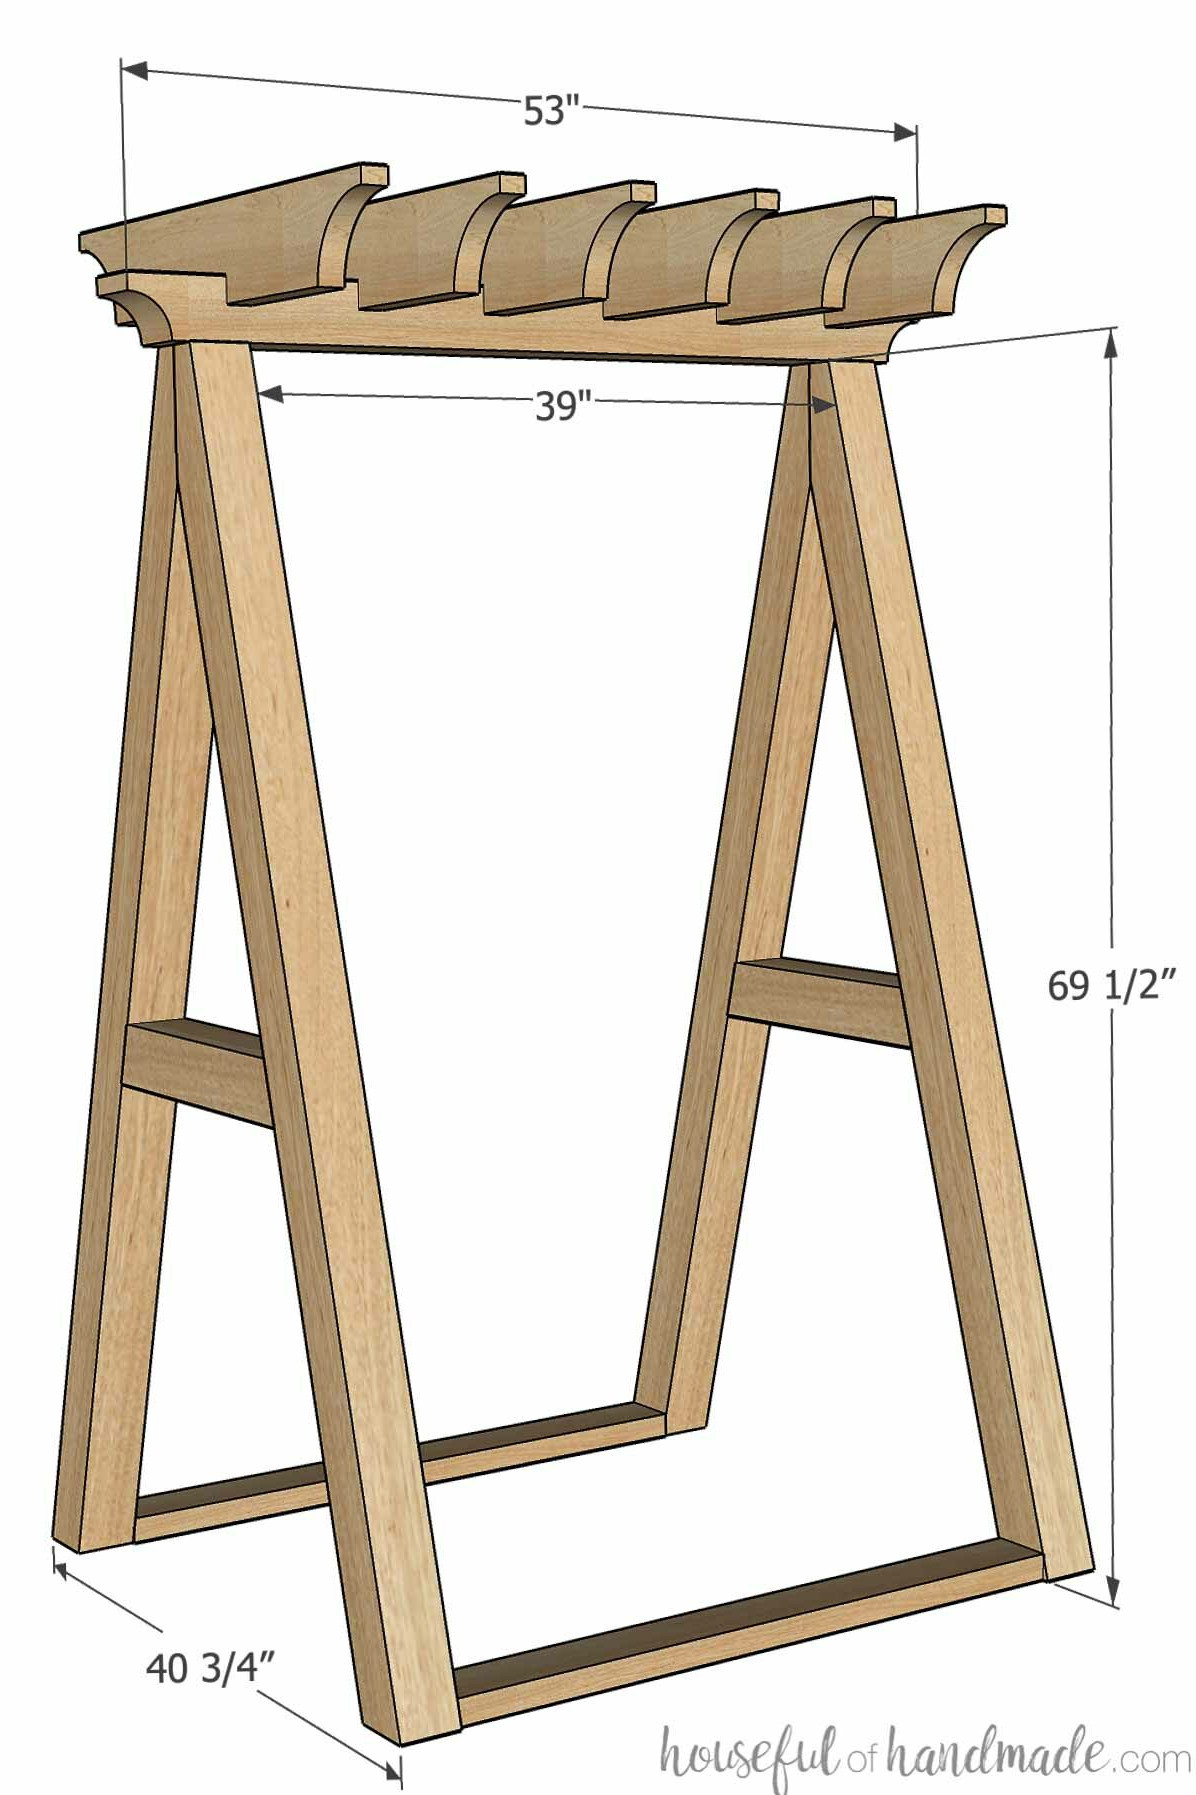
The completed hammock chair stand measures 53″ wide, approximately 40″ deep, and 77″ high.
The opening where the hammock fits measures 39″ wide and 69 1/2″ high.
Piece List
Cut the components based on the clear, easy-to-follow chart in the PDF plans.
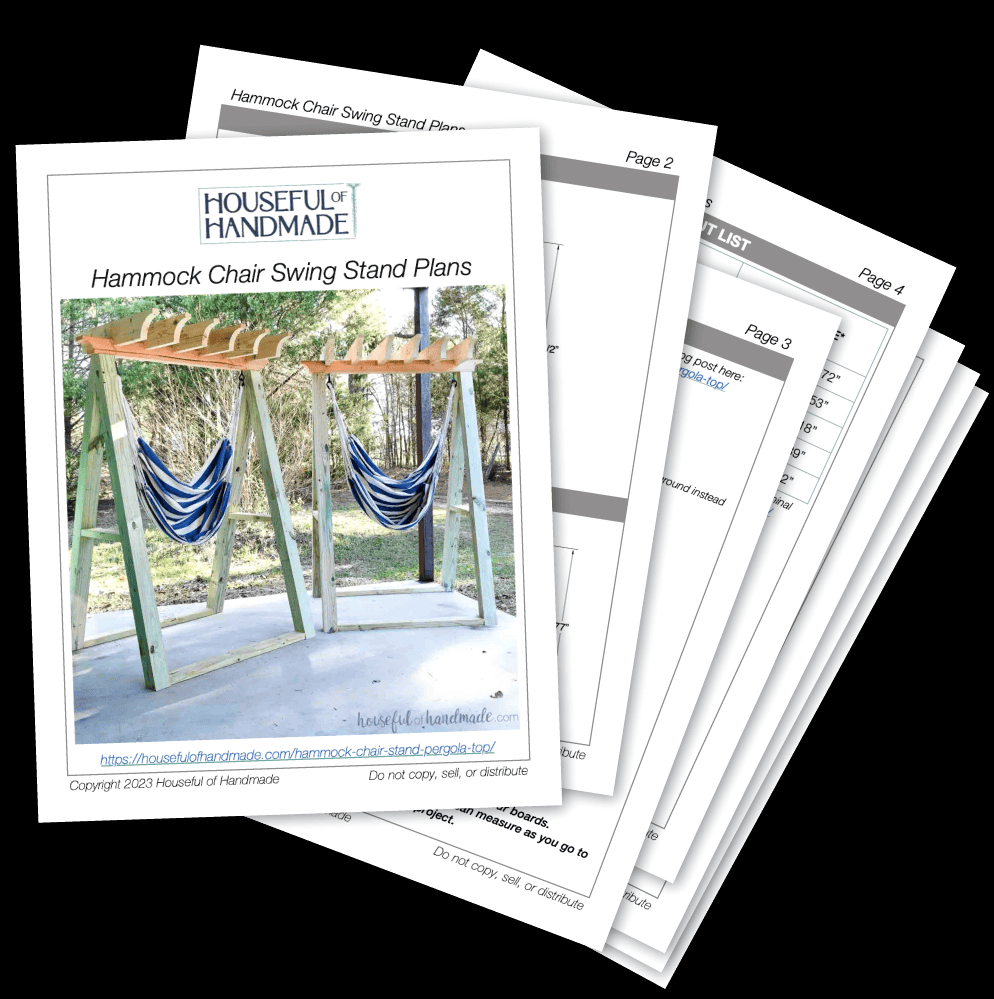
Download the Premium PDF Woodworking Plans
PDF plans contain- Easy-to-Follow Cut List, Materials List, Suggested Tools, Detailed Instructions with 3D illustrations, & Useful Resources
BONUS- 3D SketchUp Model
STEP 1- Shape Angles in the Leg Boards
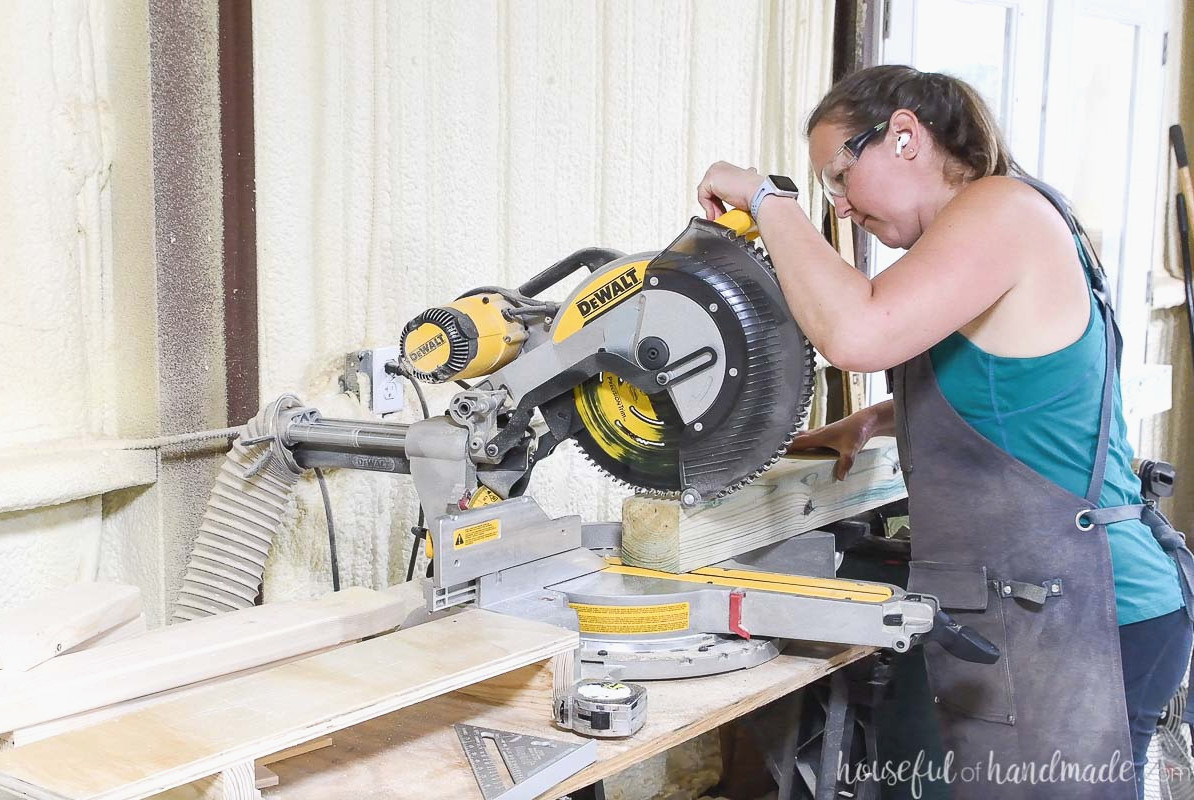
Trim the leg posts at a 15-degree angle.
Ensure every leg board is precisely the same length when cutting the angles.
Arrange two legs on your workbench in a mirrored position, ensuring the angle at the bottom is correct so they sit flat on the ground in an A shape.
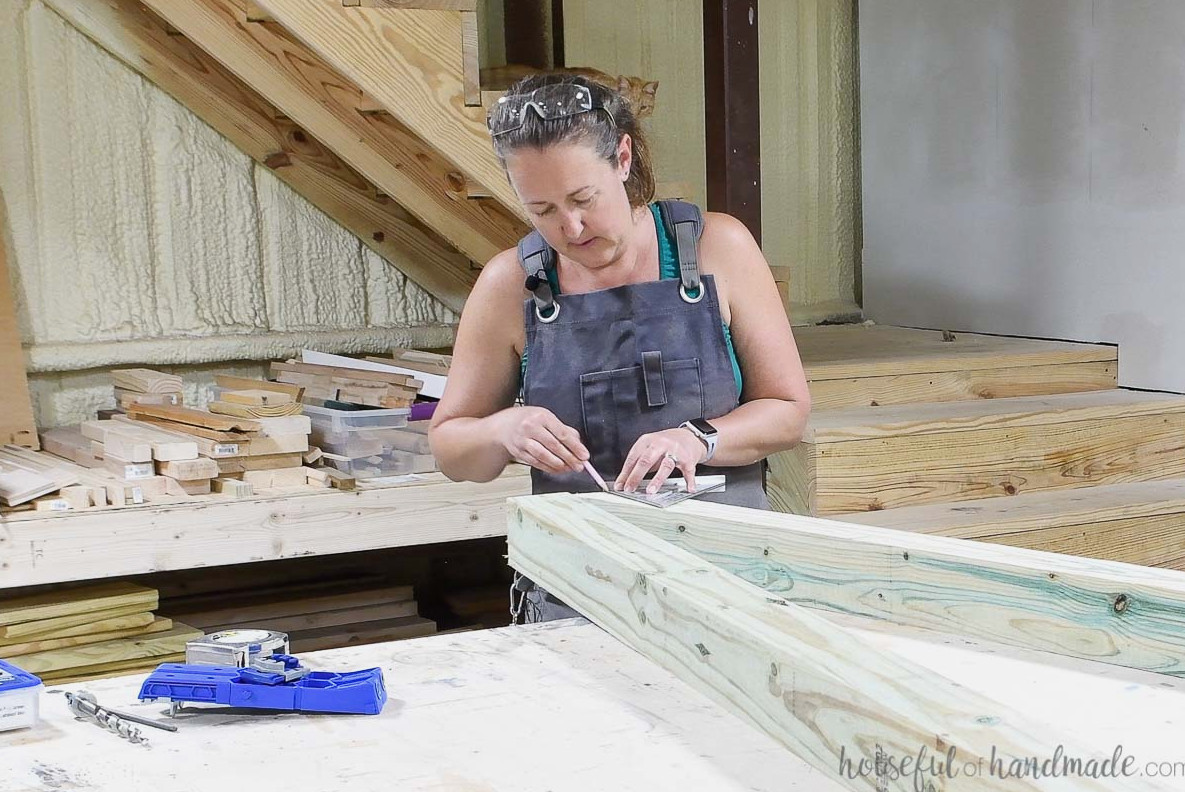
On the upper end of each board, measure 1 3/4″ inward from the outside edge. With a square, mark a line from this point at a 90 degree angle to the 15 degree cut, extending to the edge of the board.
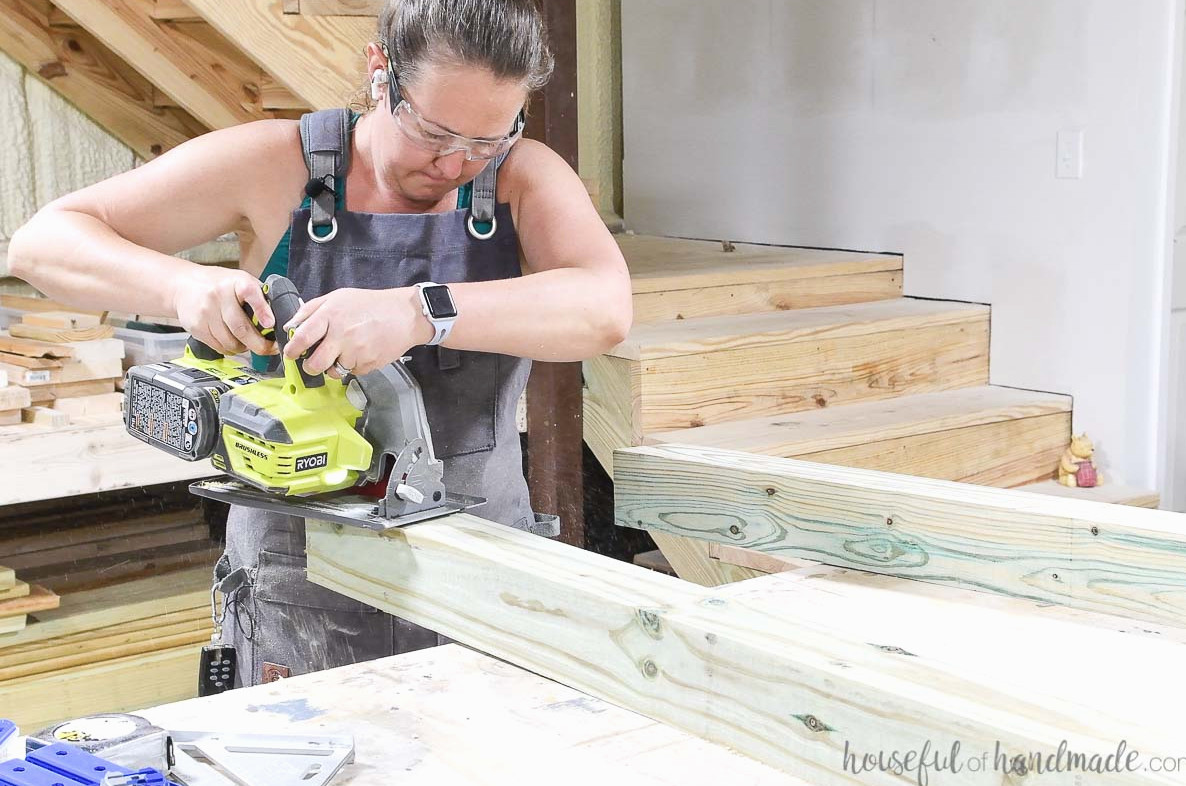
Adjust your circular saw to its maximum cutting depth (it will not pass completely through). Follow the marked line to make the cut.
Complete the cut through the remaining portion of the board with a hand saw.
I used a saw from a miter box and cut as far as it could reach. Afterward, I completed the cut with a flush cut saw.
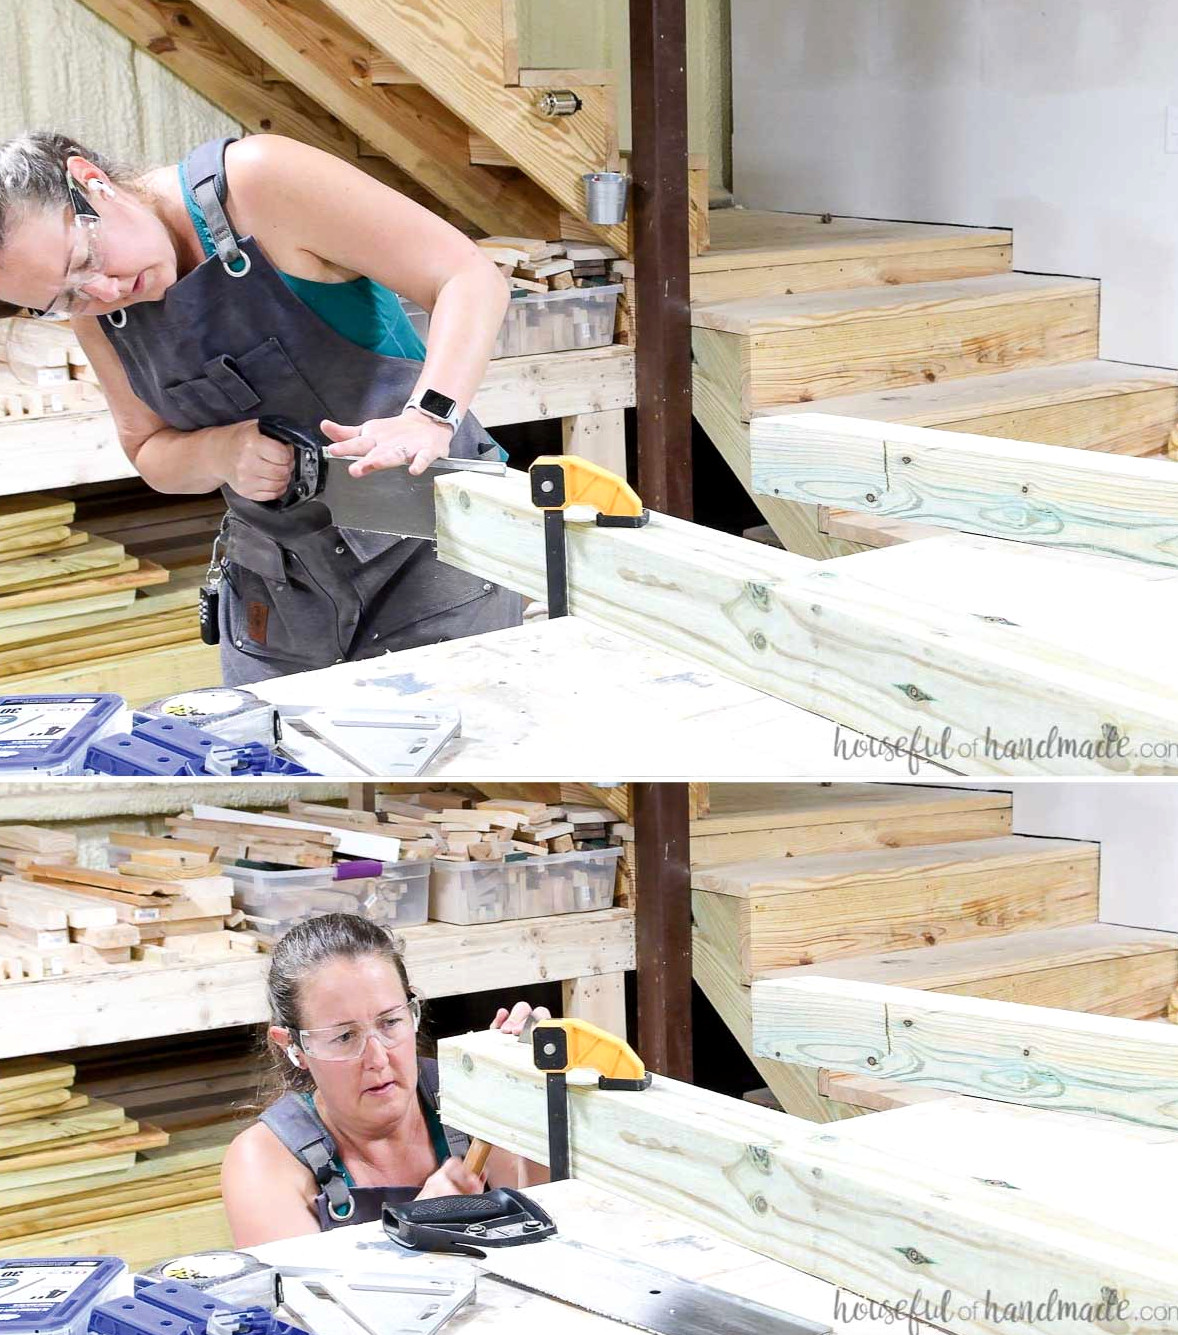
Do the same for the remaining legs. Before cutting, be certain to mirror the legs so the angles line up properly.
STEP 2- Build the sides
With the Kreg Pocket hold jig XL, make two pocket holes in one of the angled cuts. Arrange them with one near the lower end of the angle and the other closer to the middle.
Be sure to use the XL pocket hole jig drill bit. The standard drill bit is undersized for the XL jig.
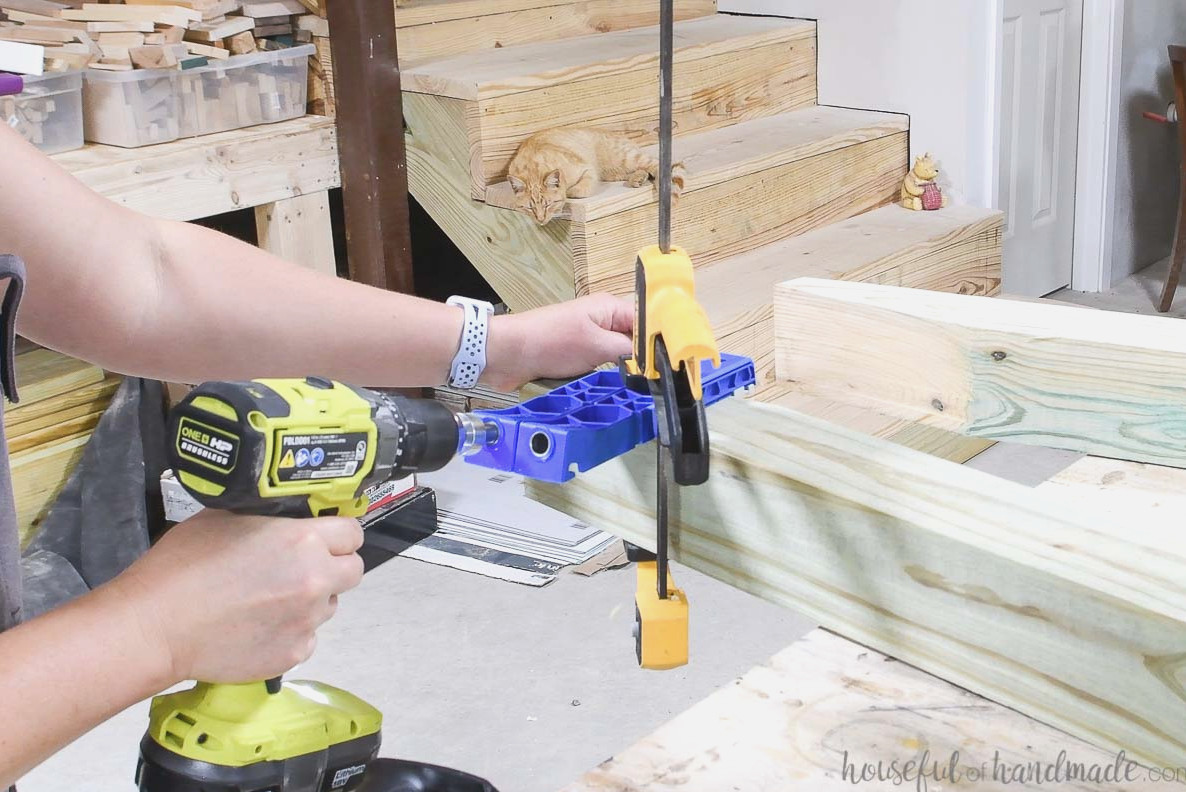
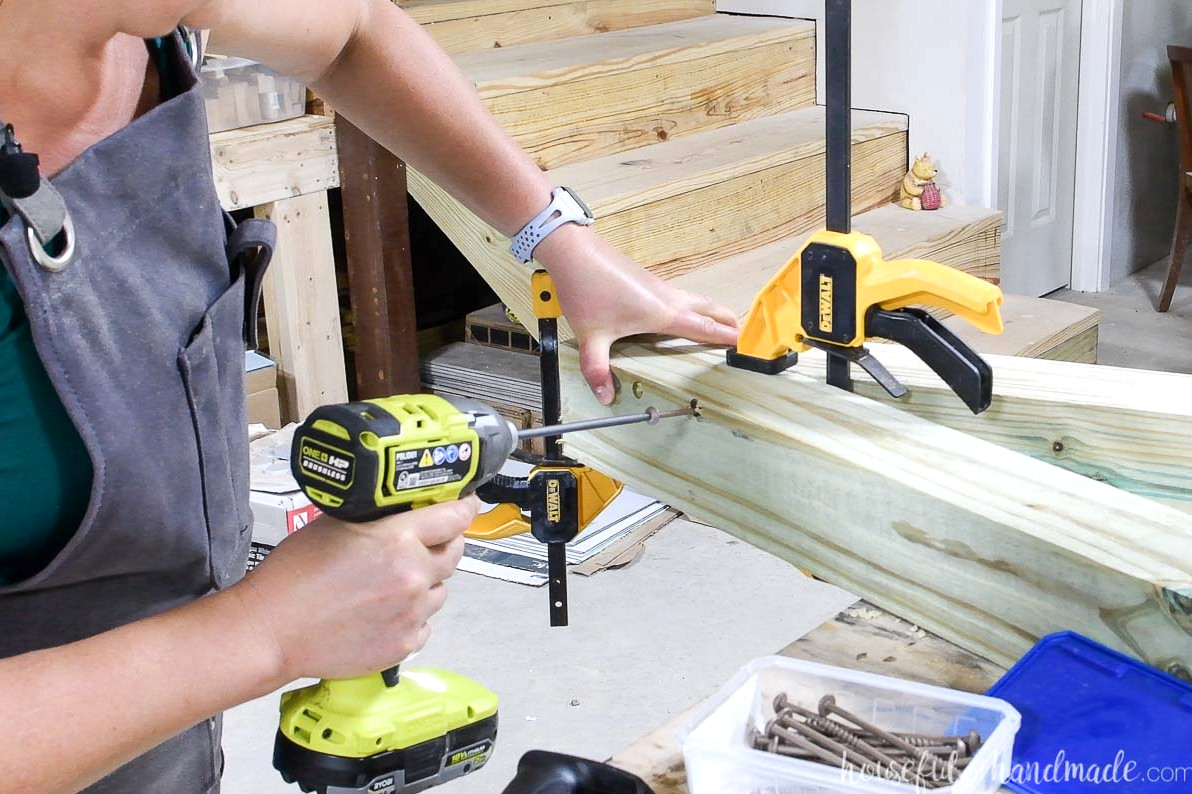
Fasten the two leg boards together securely using 4″ pocket hole screws.
Turn the assembled legs over, then create 2 XL pocket holes facing upward.
The second pair of pocket holes must be drilled from the opposite side of the legs so the first pocket hole screws do not obstruct them.
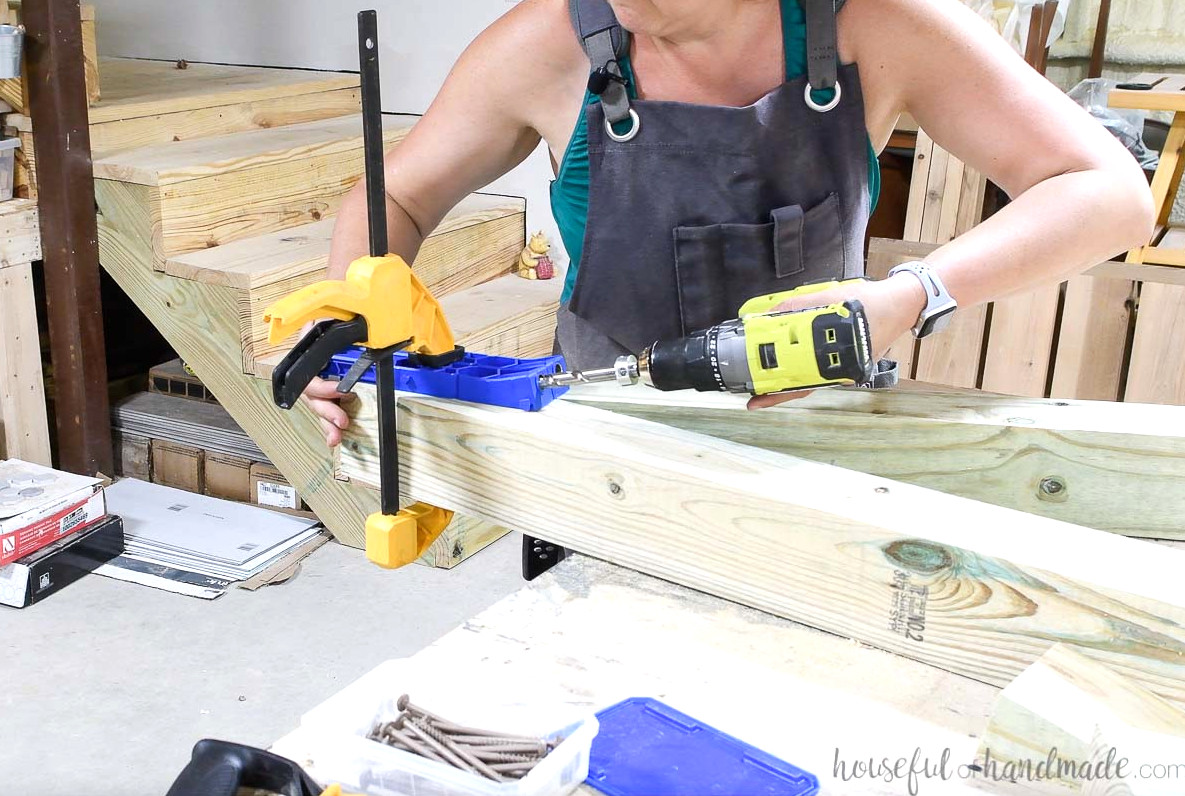
Repeat the process on the opposite side. Because of the angled cut, the XL pocket holes begin on the back of the 4×4 rather than on the side.
When the holes in the first set of legs were made on the right side, drill the holes on the left side of the other set. This places all the holes toward the rear of the completed hammock swing stand.
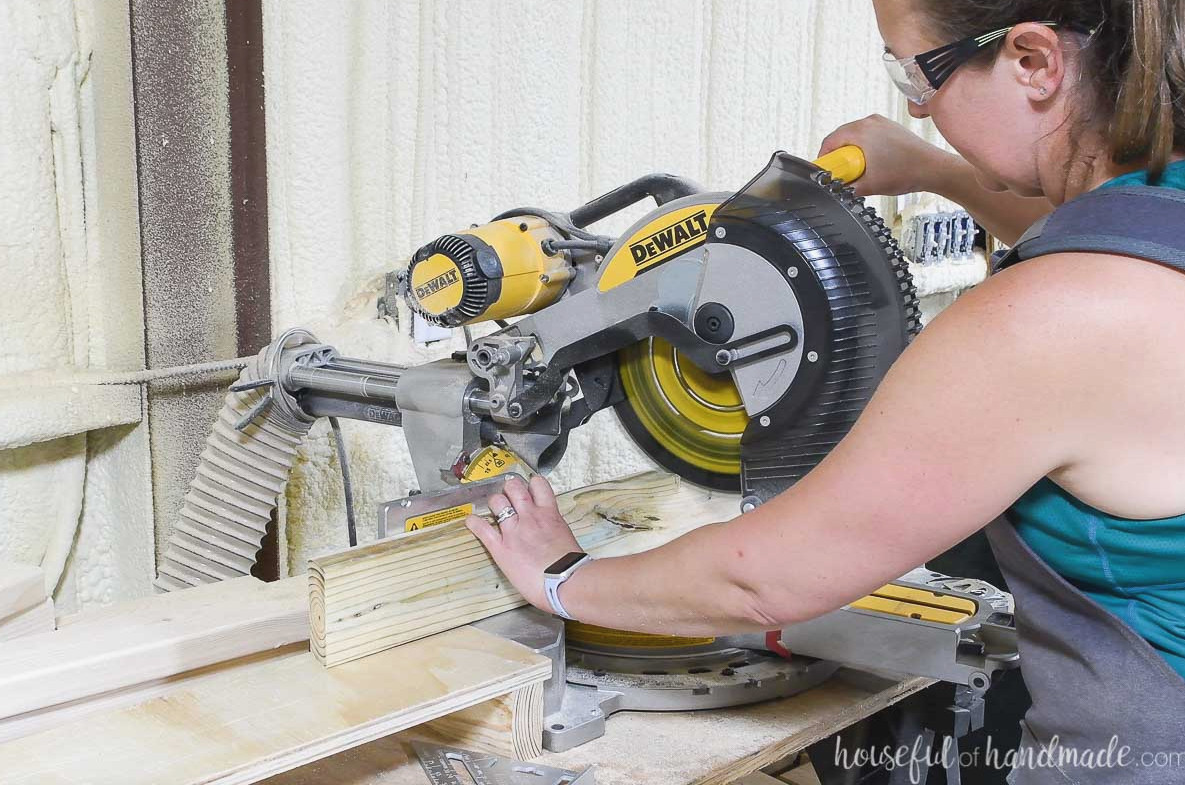
Following the build plans, cut the side support pieces with 15 degree angles at both ends, pointing the angles toward one another.
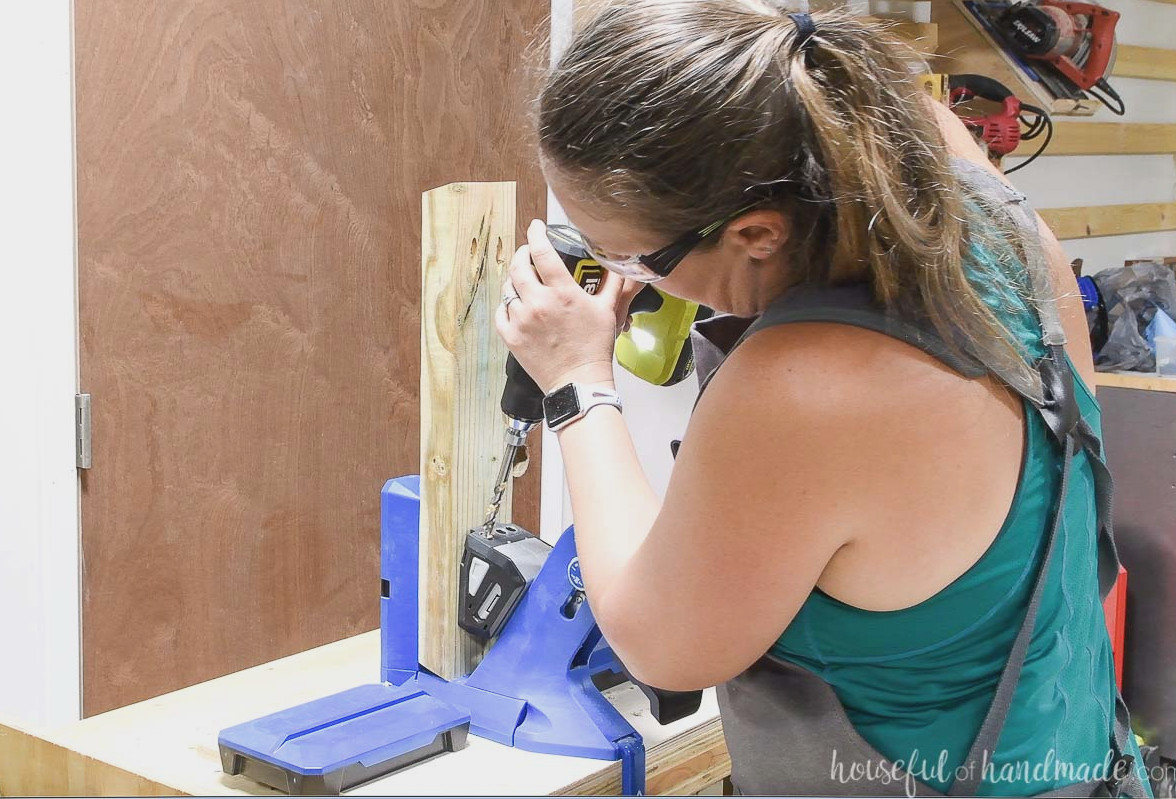
Create pocket holes for 1 1/2″ thick material at both ends of the boards’ long ends.
The new Pocket hole jig XL can make pocket holes in 2x material, but it produces a larger opening. You will also need a 2 1/2″ XL screw with it.
Because I already had 2 1/2″ blue-kote screws in my workshop, I used my standard Kreg Pocket Hole jig.
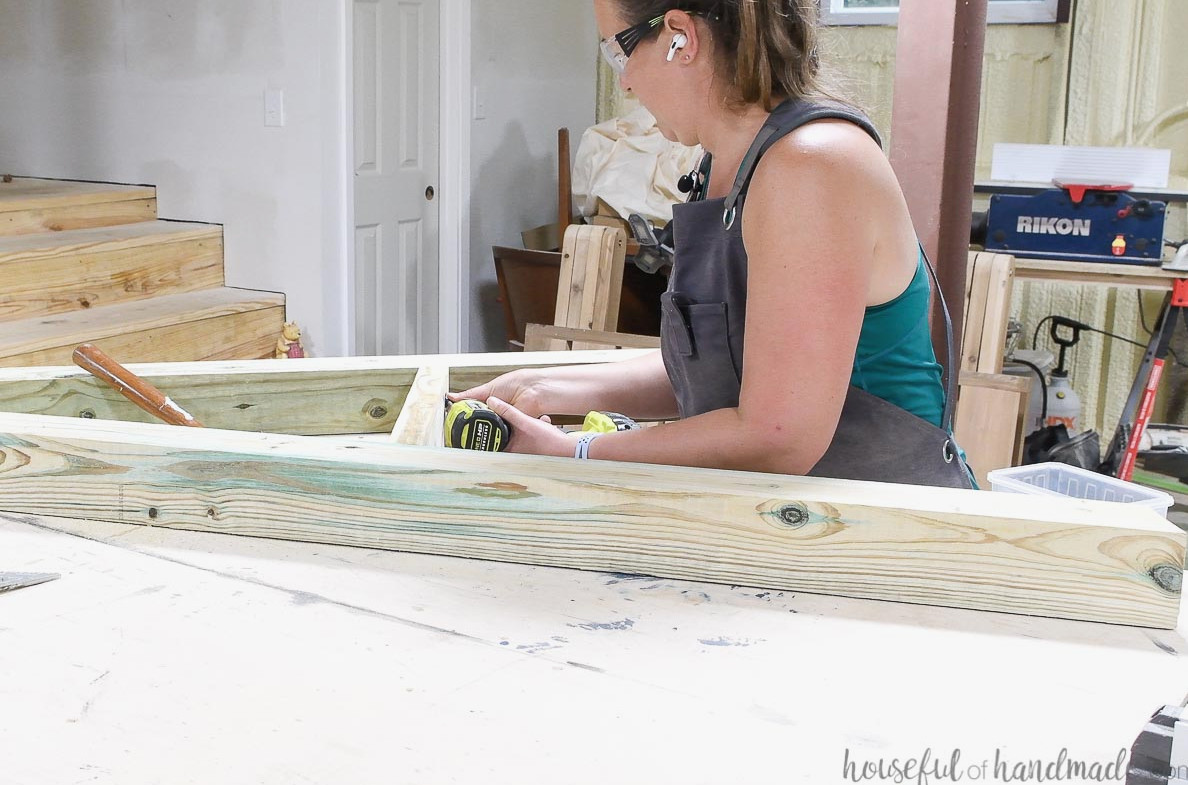
Measure 29″ upward from the bottom of the legs and mark a line. This mark indicates the starting location for attaching the braces.
Should the circular saw cut not be exactly 90 degrees to the top, your A-frame may vary slightly from mine. Each hammock stand I built had minor differences.
Set the brace boards into the legs at this mark and reposition them as needed so they attach securely. Keep the brace at an equal location on both sides so the bottom remains level once finished.
Fasten them with 2 1/2″ pocket hole screws (choose XL screws with the XL jig and standard screws with the regular jig).
STEP 3- Attach sides together
Cut the bottom braces as specified. Make pocket holes on both sides of the boards along the bottom.
According to the diagram in the plans, set the boards between the two sides. If you do not have a sufficiently large table, you can assemble this on the floor.
Attach the boards to the legs using 2 1/2″ pocket hole screws.
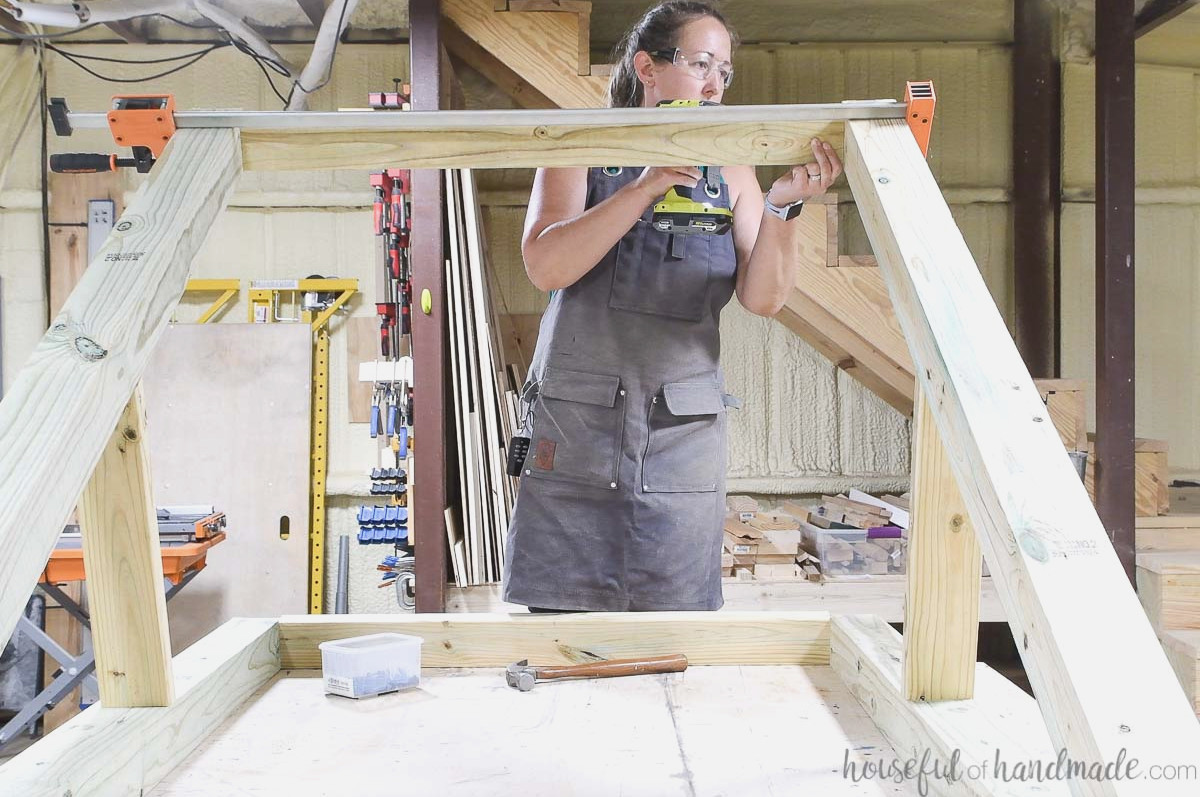
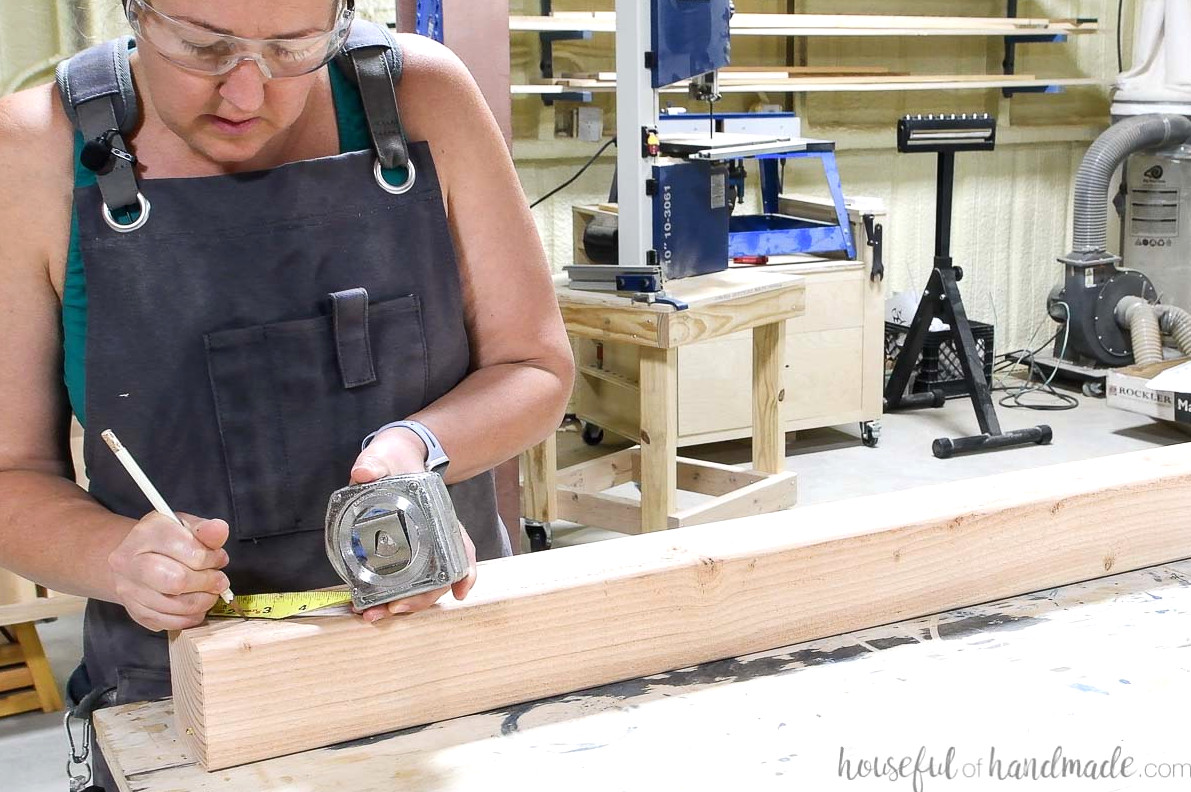
Following the PDF plans, cut the top piece (it does not need to be treated).
Mark a 2 1/2″ curve at both ends to create a pergola-style appearance.
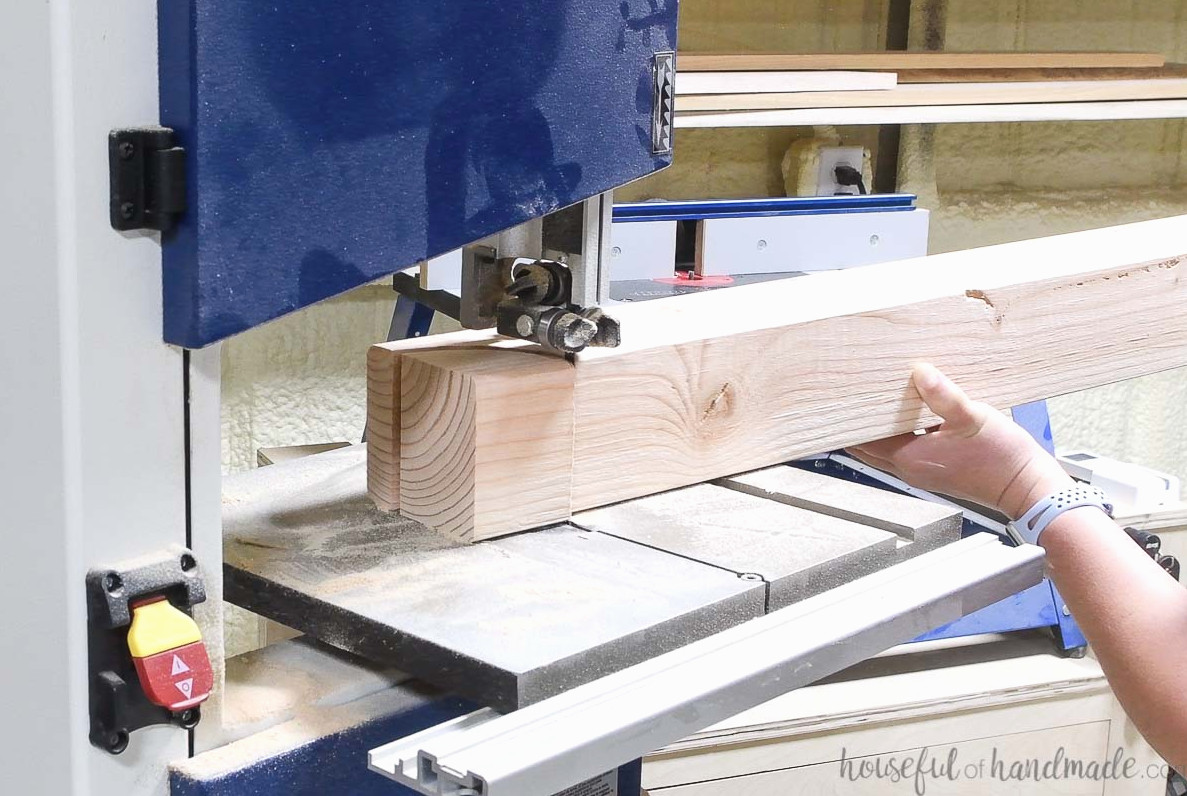
I used a bandsaw to cut the curve through the 3 1/2″ thick material. I could not find jigsaw blades long enough to pass through 4x material.
If you do not own a bandsaw capable of cutting the 3 1/2″ thick material, you can instead make a straight angled cut on the board with a miter saw or circular saw.
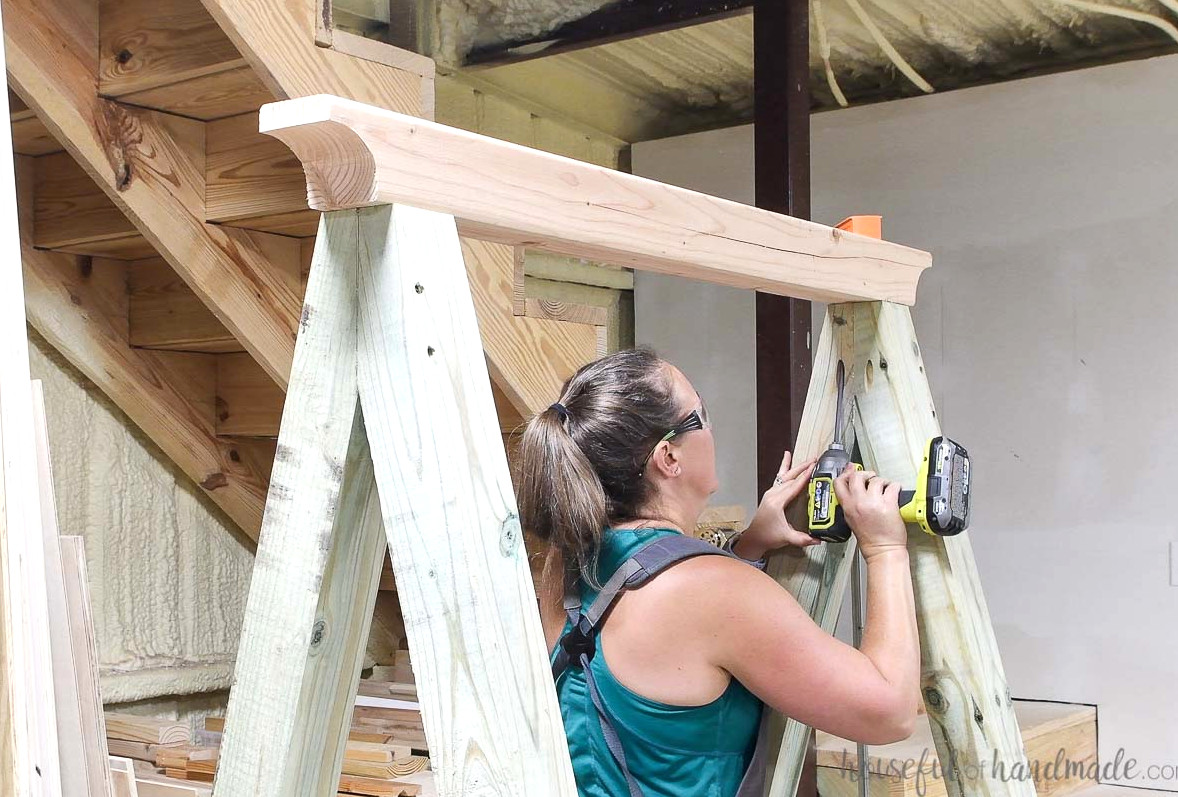
Set the top post across the legs. The curves should extend 1″ beyond each side (3 1/2″ inward from theedge). This will provide 39″ between the sides.
Fasten it with 4″ pocket hole screws through the predrilled holes in the sides.
STEP 4- Install the pergola rafters
Cut the pergola rafter components based on the building plans.
I used leftover scraps from an earlier project, so I cut my rafters to 36″. For longer rafters, purchase 10′ boards so you can still cut three pieces from a single board.
Clamp the boards together, then measure and mark a 3 1/2″ area at the center of the boards.
Adjust your circular saw blade to a depth of 1 1/2″. Carefully cut along the inner edges of the lines. Next, make numerous cuts between them, leaving no more than 1/4″ of material.
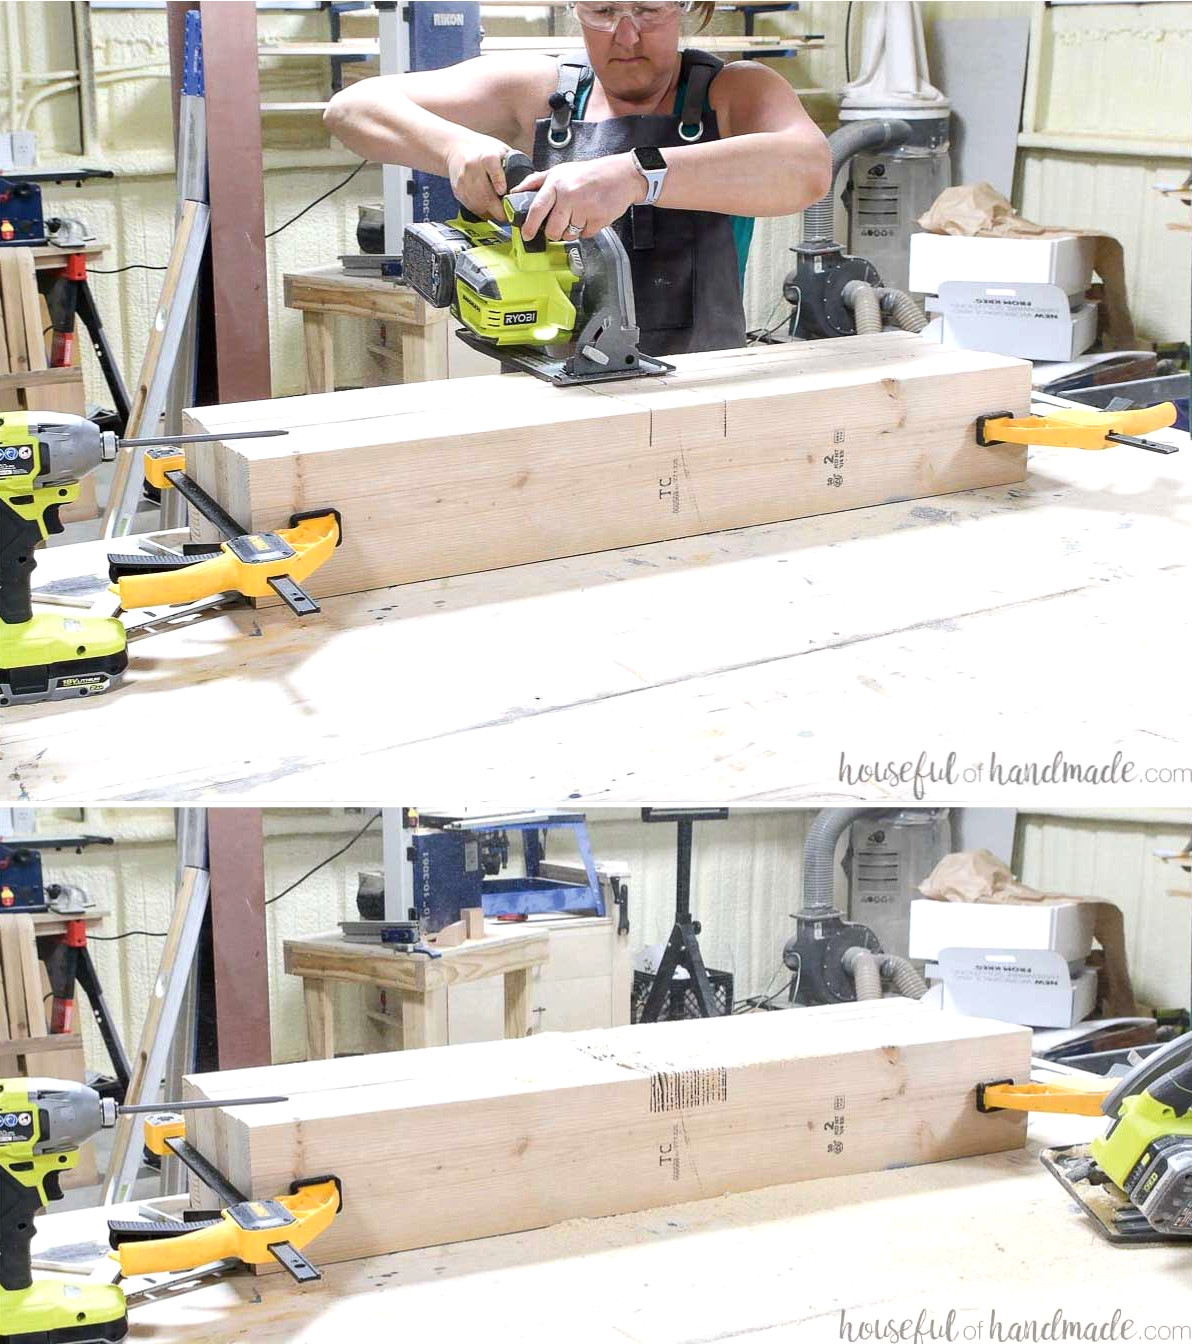
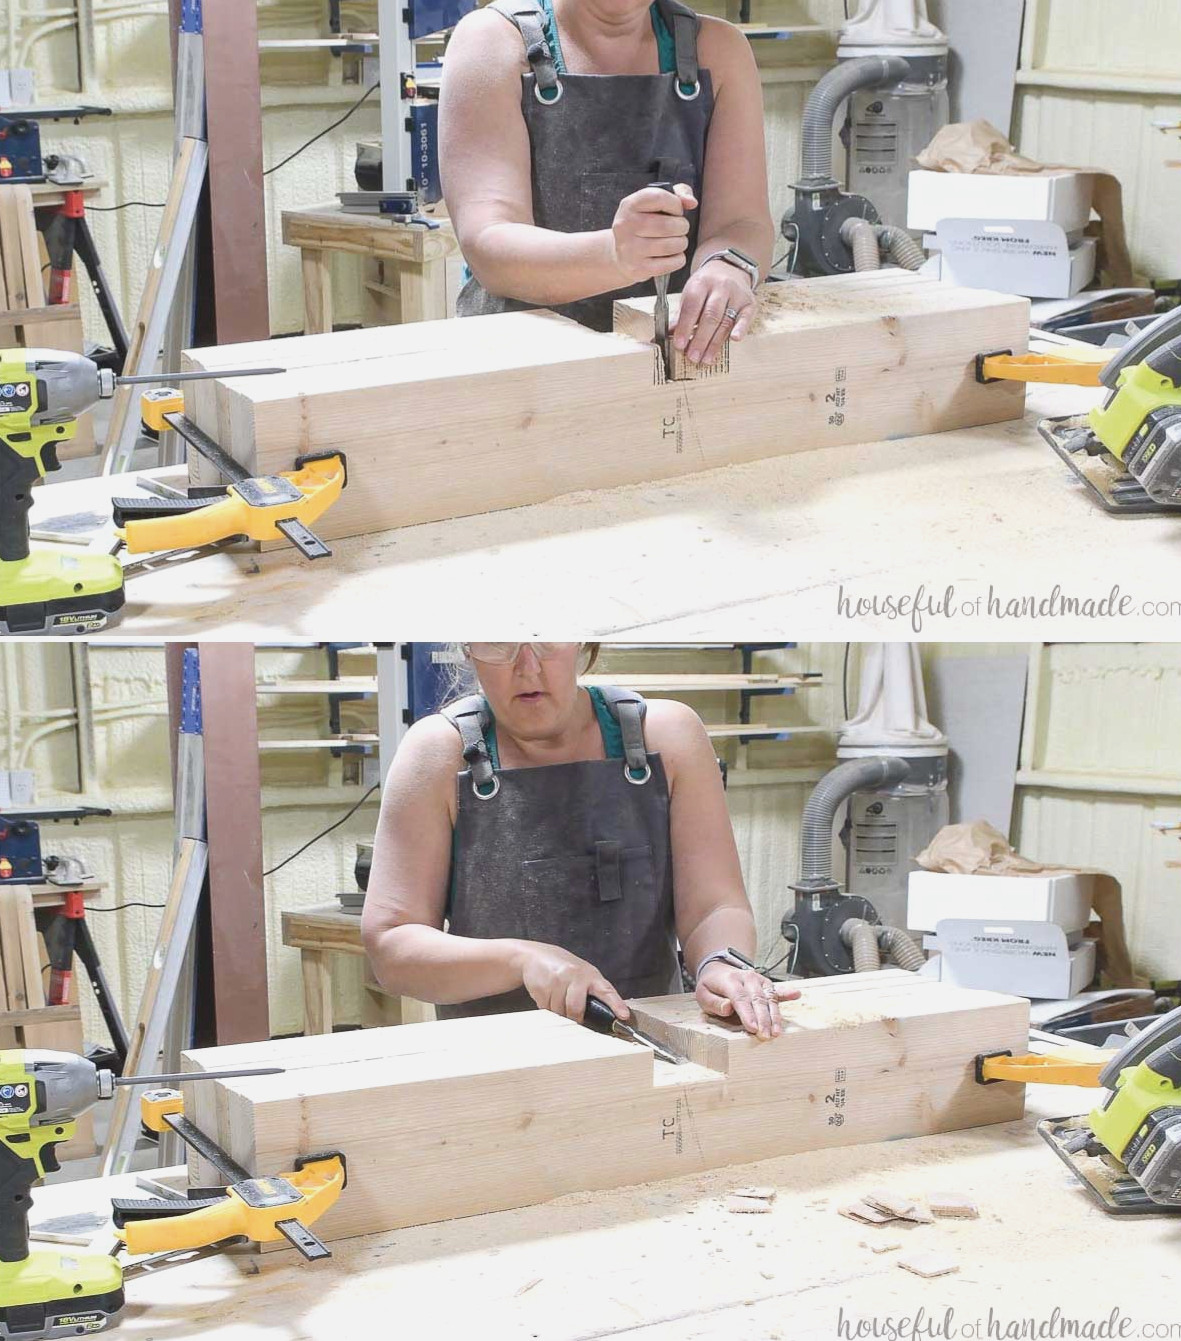
Break away the remaining material with a chisel.
Afterward, use the chisel to smooth the bottom of the notch. Verify that it fits snugly over the 4×4 post and make any necessary adjustments.
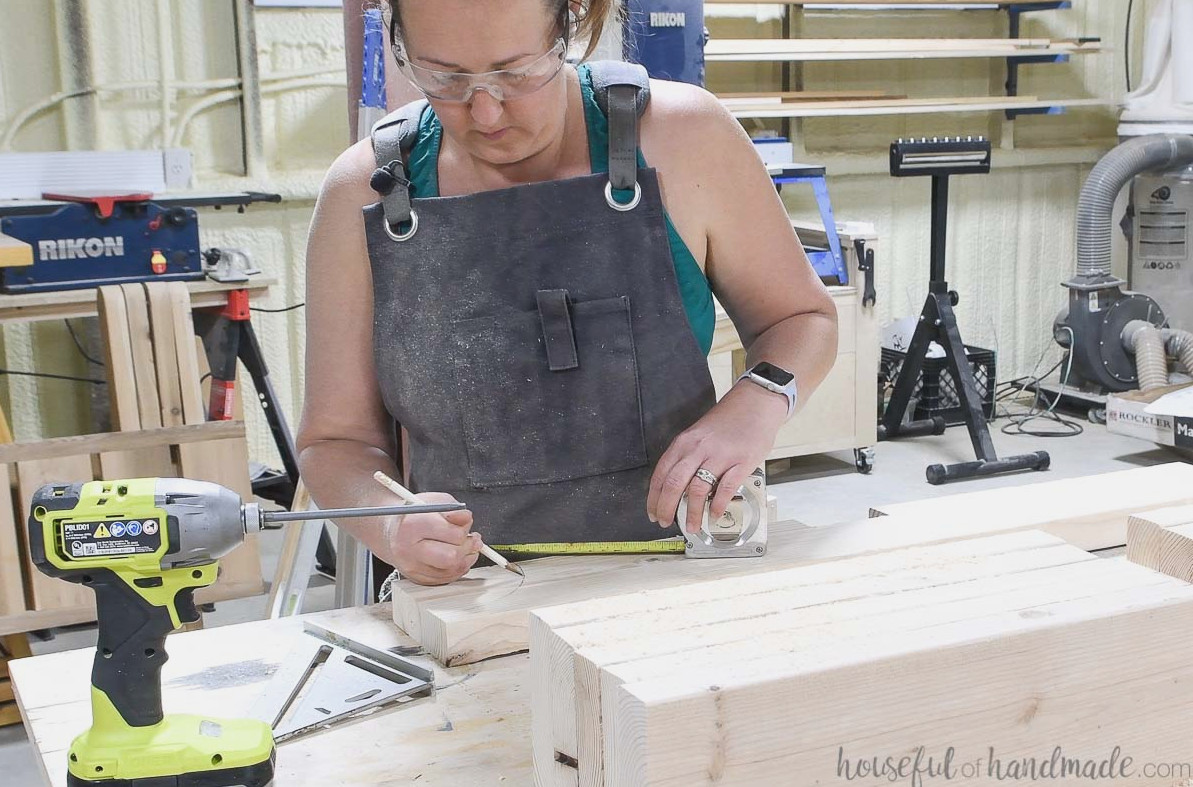
Sketch a 4 1/2″ curve at the end of one board. This creates a 1″ point along the top.
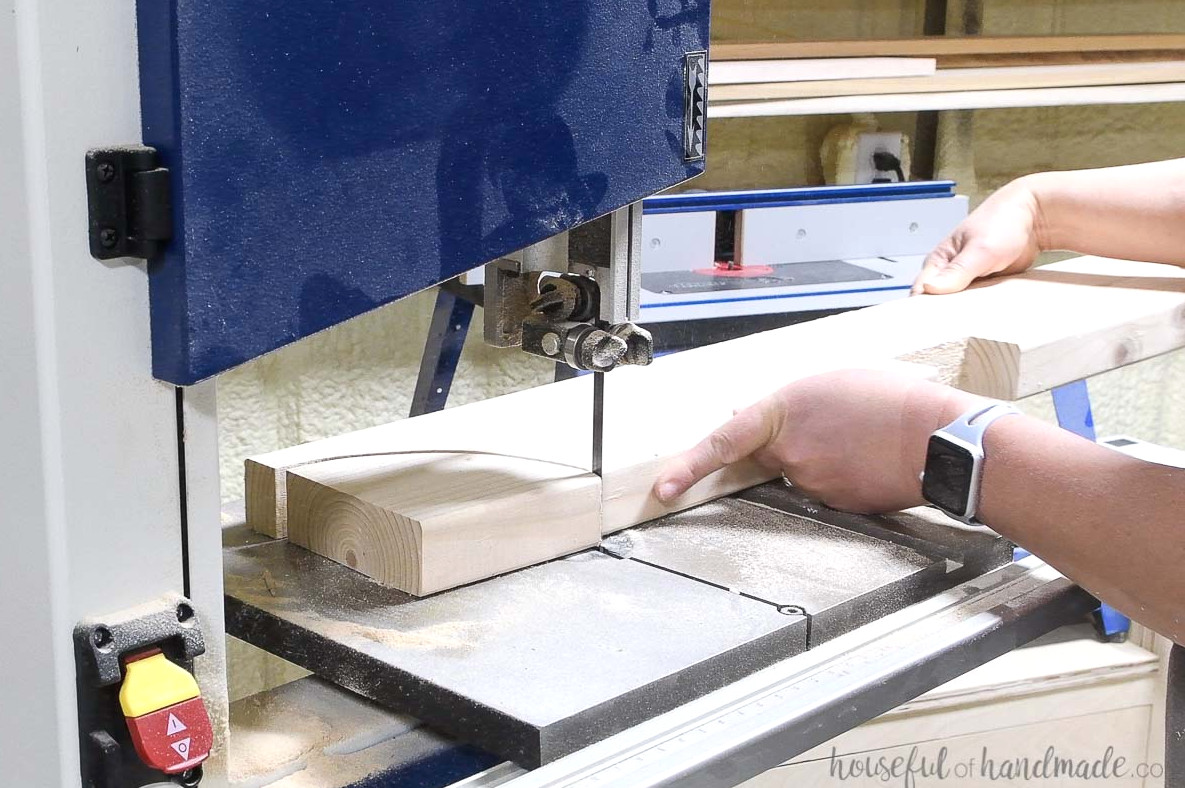
Carefully cut along the curve.
A jigsaw makes cutting this curve easy. Alternatively, if you cut the top post at an angle, you can trim these boards at the same angle to create a matching fit.
Trace the identical curve onto the other boards using the cut piece as a template.
Then cut the curve into all 6 rafters.
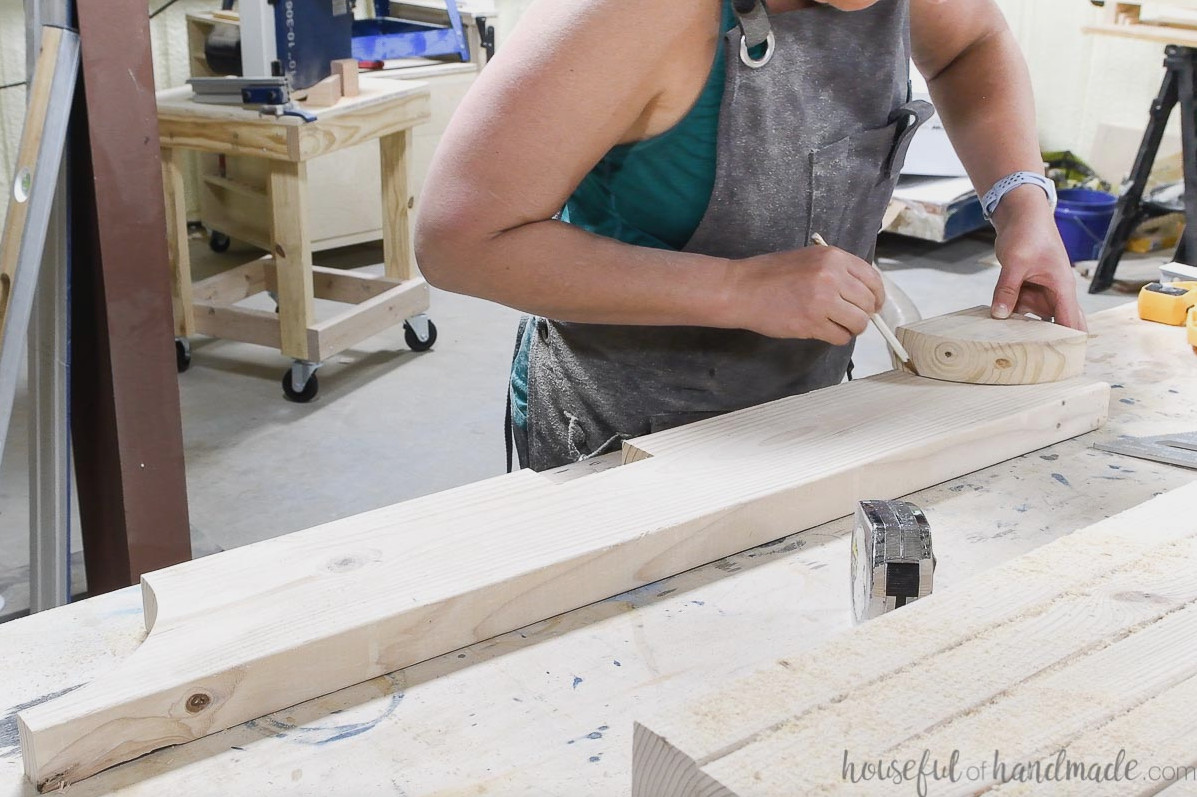
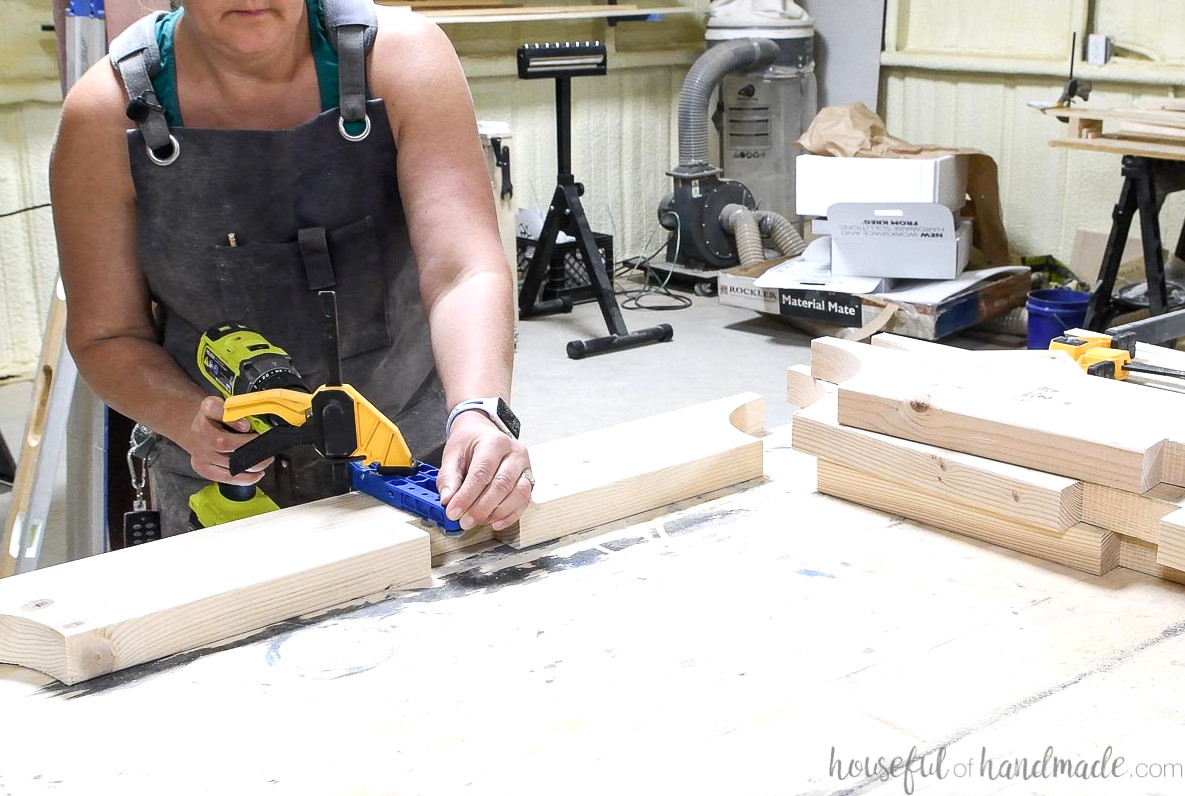
Choose the two nicest boards for the outer ends of the rafters. In these boards, drill 2 pocket holes for 1 1/2″-thick material above the notch on one side.
For the remaining boards, make 1 pocket hole on each side above the notch. Ensure the pocket holes alternate between the two ends of the notch.
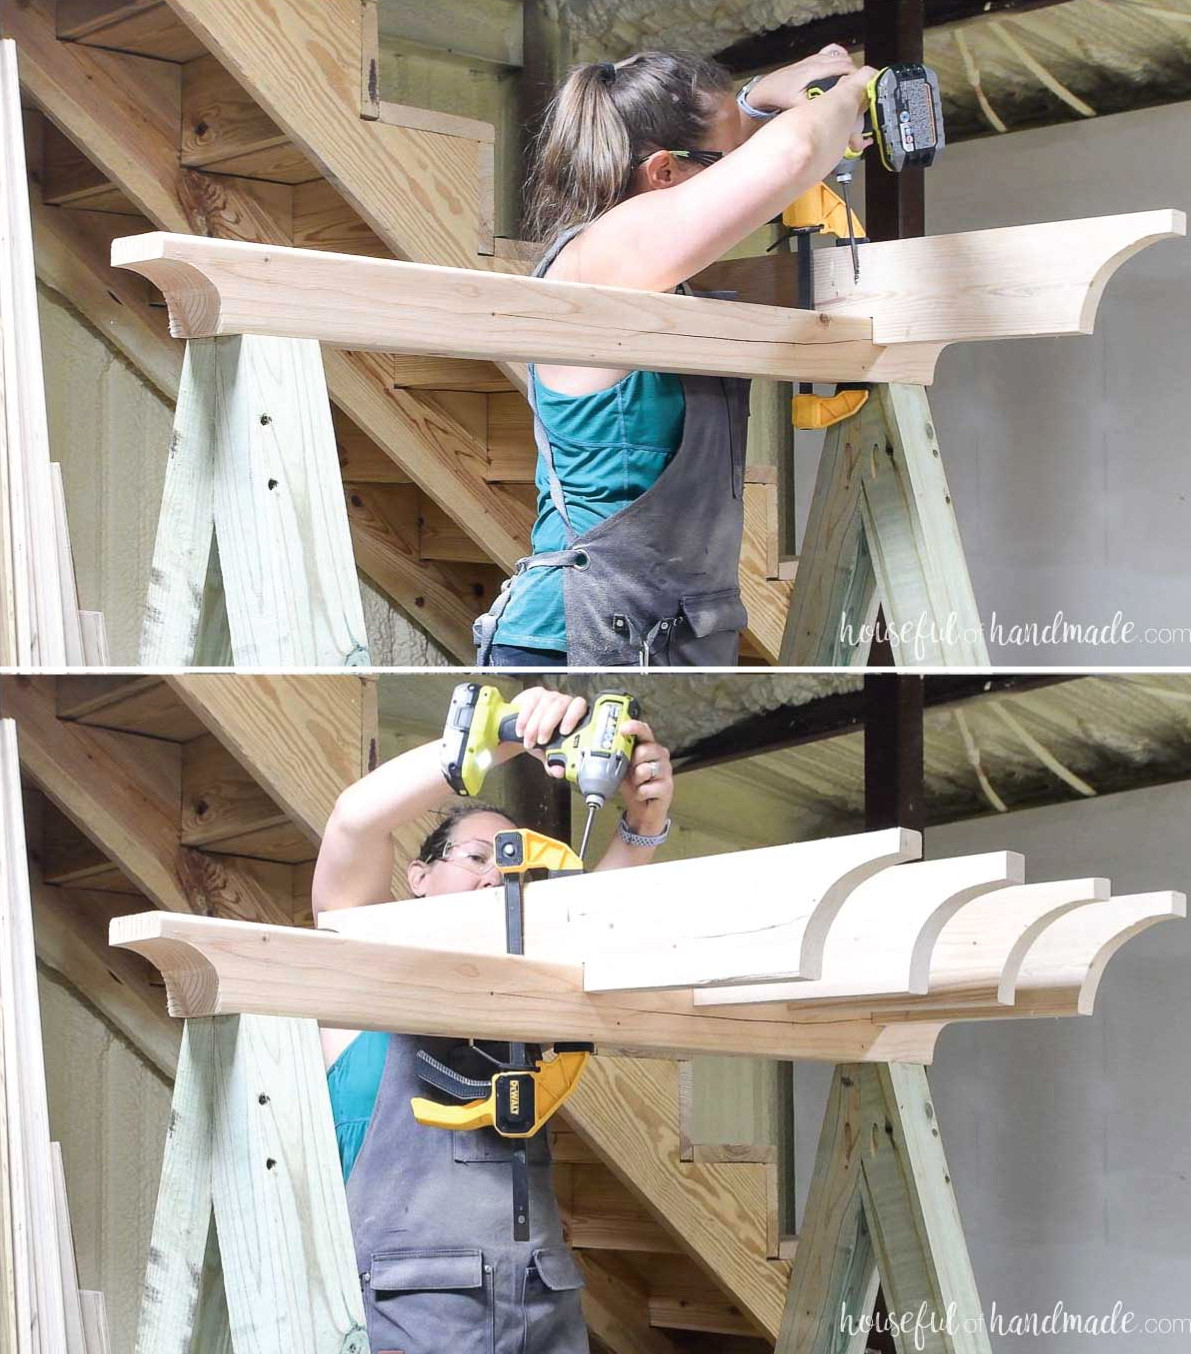
Position the first rafter just beyond the inside of the legs. Fasten it with 2 1/2″ pocket hole screws.
Distribute the remaining rafters evenly along the top, then attach them with pocket hole screws.
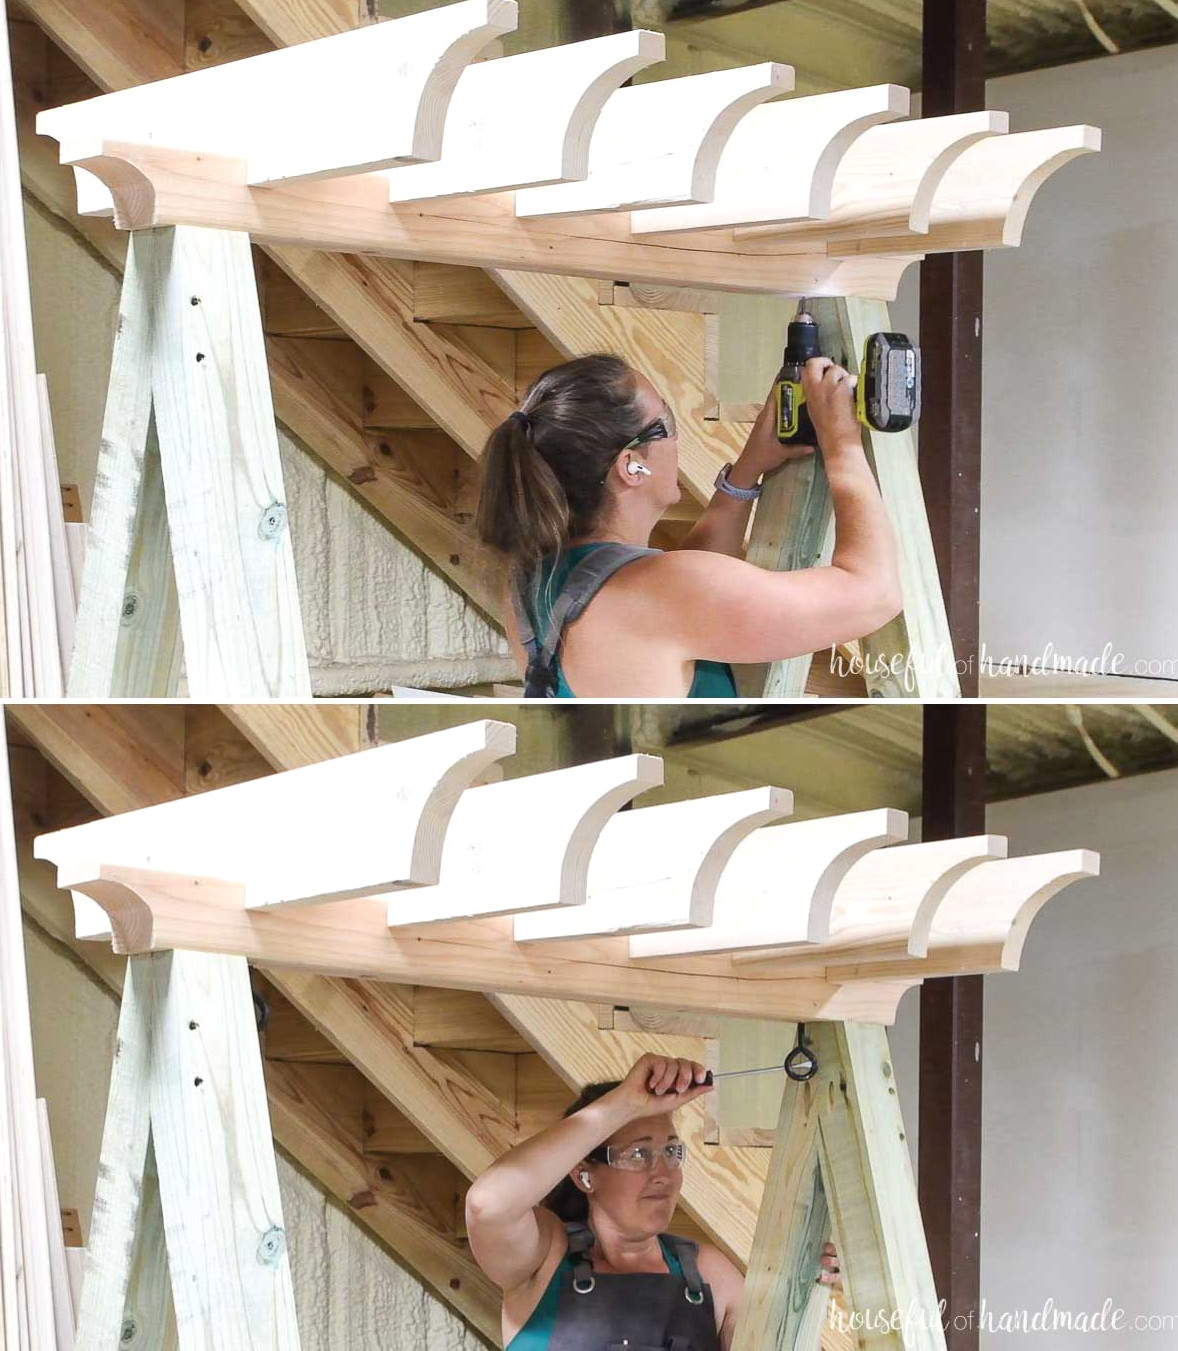
STEP 5- Install the hammock swing
Drill a pilot hole for the screw eye as specified in the instructions. Mine called for an 11/64″ drill bit. This is considerably smaller than the screw eye itself, but a hole that is too large will reduce its holding strength.
Next, drive the screw eye into the hole. Inserting the heavy-duty eye into the post takes considerable force.
I began with pliers to start threading it. Then I used a sturdy flat-head screwdriver for extra leverage to twist it the rest of the way in.
Even then, I managed to insert it only about 3/4 of the way and needed my husband’s help with the final 1/4. Now I am certain they will stay securely in place!
To suspend my hammock chair, I took the chair off the pole that keeps it open.
Next, I attached two heavy-duty carabiners to the loops on either side.
That’s it!
Don’t Forget to Download the Printable PDF Plans Here!
Premium plans contain:
- Suggested Tools
- Materials list
- Clear cut list table
- Cutting diagrams
- Detailed instructions with 3D renderings
- Useful resources
- BONUS: 3D SketchUp file
These carabiners make it simple to attach the hanging chair to the stand while we relax outdoors.
They can also be quickly removed when the chair is not in use, helping keep it clean and free of bugs!
Since I used treated lumber, I have to let it dry for several weeks—6-8 weeks is recommended—before applying an outdoor sealer to the wood.
Until then, we are enjoying the hammock chairs on the porch beside my workshop! It makes being productive a bit more difficult when I know the comfortable chair is waiting just outside.
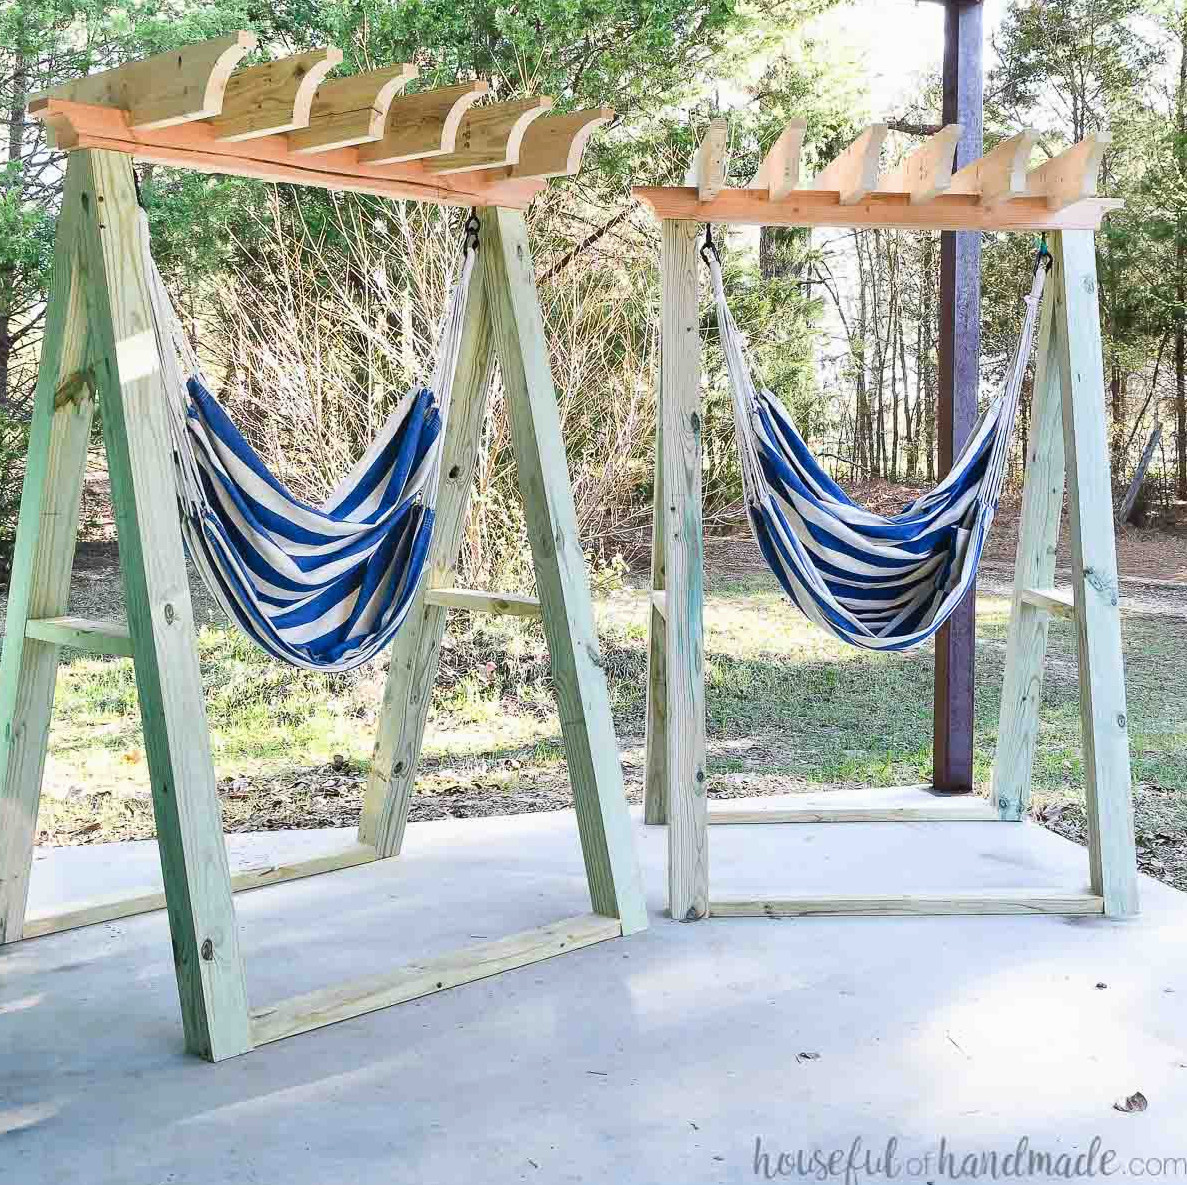
We have also put these chairs to the test all week! My husband, who is 6′ 2″ and weighs about 240 lbs, enjoys them. The only issue is making sure he does not hit his head while leaving the swing.
The children enjoy reading their books in the chairs. It makes a wonderfully cozy swing.
I also love sitting back and watching the clouds drift across the sky. It is the ideal way to appreciate my hard work!
Prefer Watching? View the Video Below
I am confident you will enjoy them as well…
Happy Building!