Create a spacious dresser with 6 roomy drawers for plenty of clothing storage.
If organizing your clothes with enough drawers is difficult, this dresser is the solution!
This DIY 6 drawer dresser offers an incredible amount of storage. It provides much more room than the small drawers in my previous dresser.
The top has two shallower drawers, while the bottom includes 4 extra-deep drawers. Even when sharing a dresser, you will still have ample space for storing lots of clothing.
This timeless 6 drawer dresser is also included in a bedroom furniture collection. Matching plans for a 4 drawer dresser, tall 7 drawer dresser, and 1 drawer nightstand are already available. Plans for the coordinating 3 drawer nightstand will be available soon.
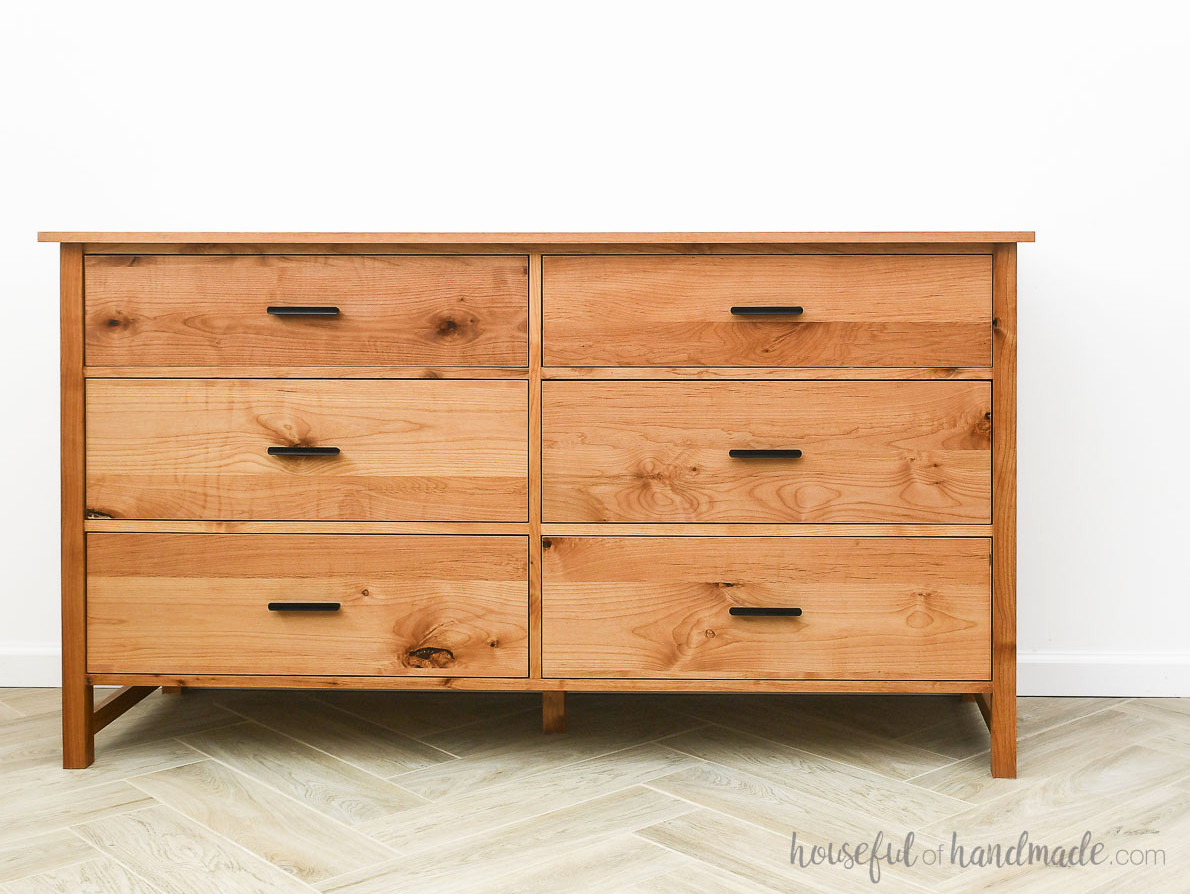
PB Farmhouse Dresser Lookalike
I adore the appearance of Pottery Barn’s farmhouse collection, but the cost is another story! For about half the price of the extra-wide 6 drawer dresser, I purchased enough lumber to make 3 matching dressers and a nightstand (coming soon).
My take on this dresser costs much less to construct without giving up style or practicality.
The 6 roomy, oversized drawers provide an abundance of space. You will appreciate how much storage this dresser offers.
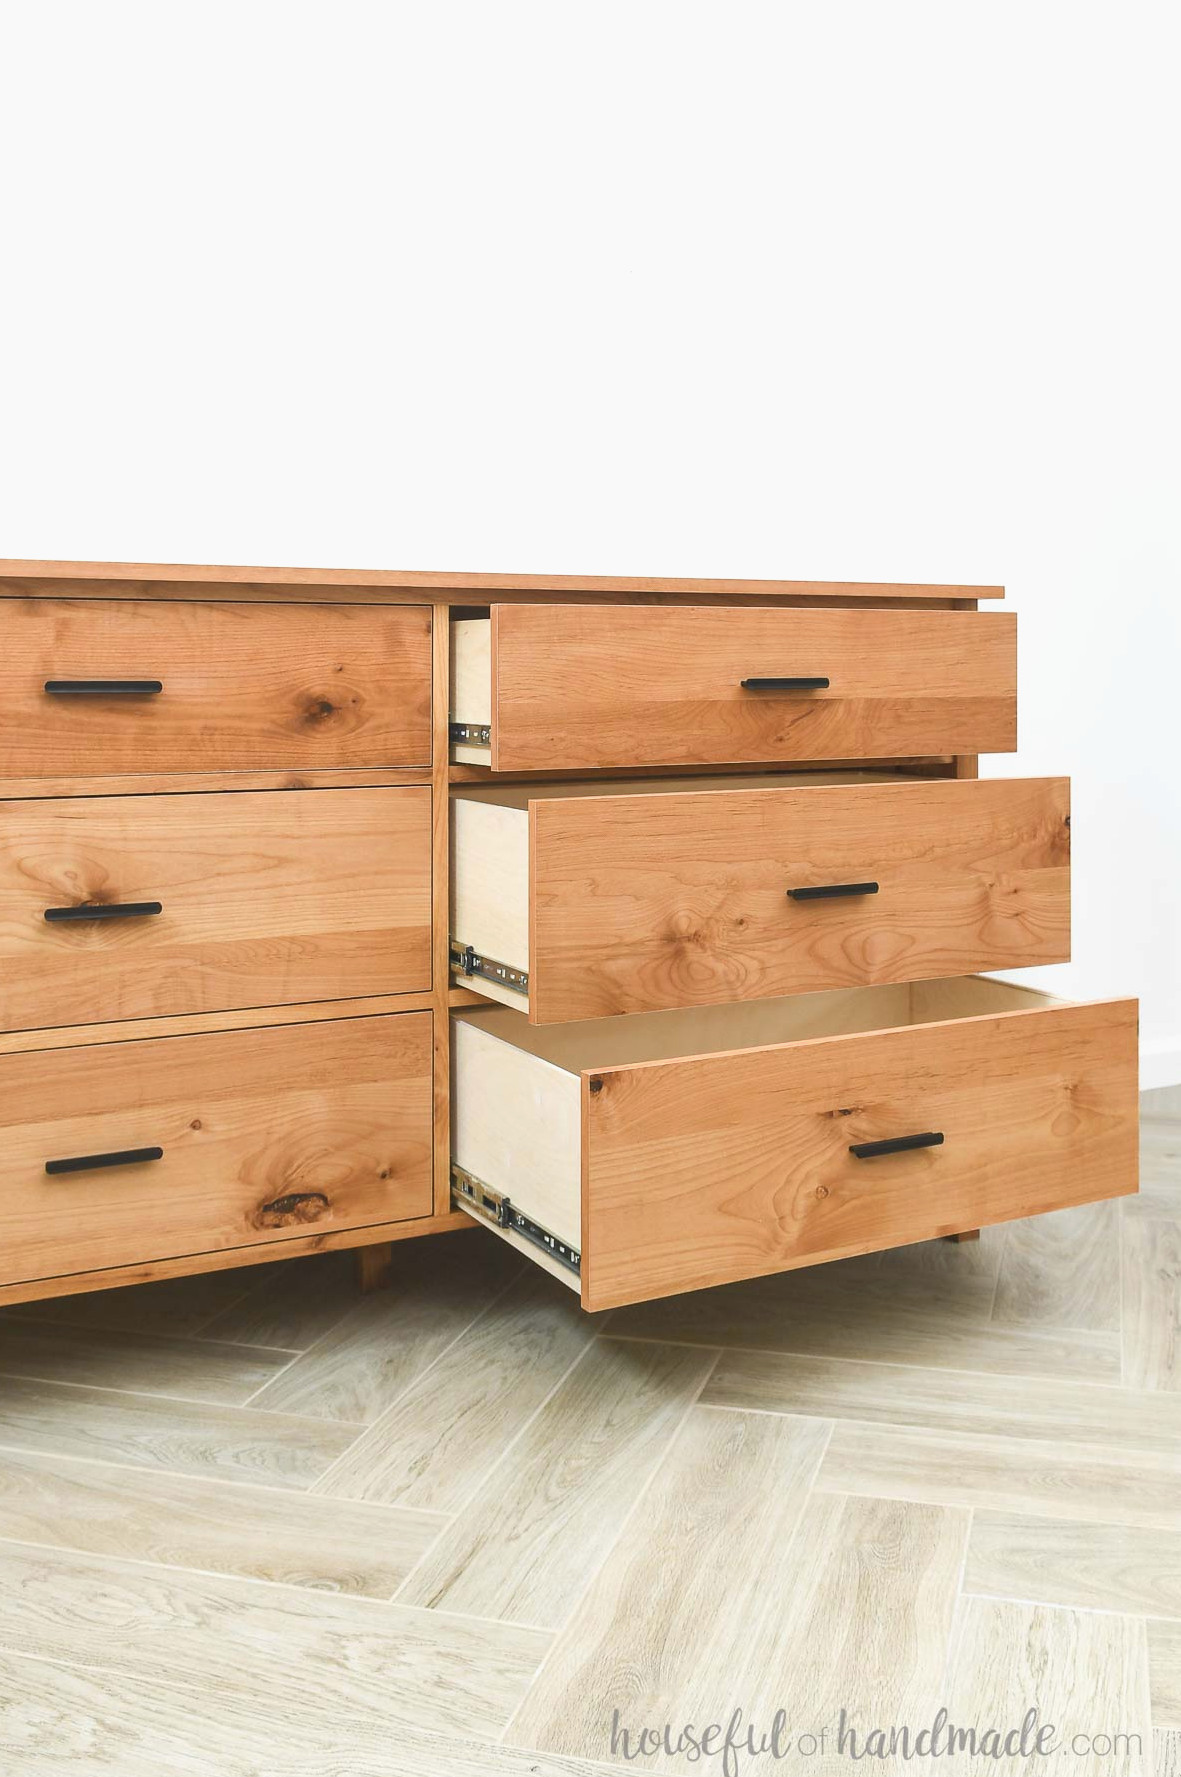
I constructed my dresser using knotty alder. Alder plywood makes up the top, drawer fronts, and side panels.
The alder’s warm coloring is among my favorite features.
Alder is also an excellent beginner-friendly hardwood. It is an affordable, sturdy material that is simple to use.
Rather than applying stain, I only sealed the wood to showcase its lovely natural color.
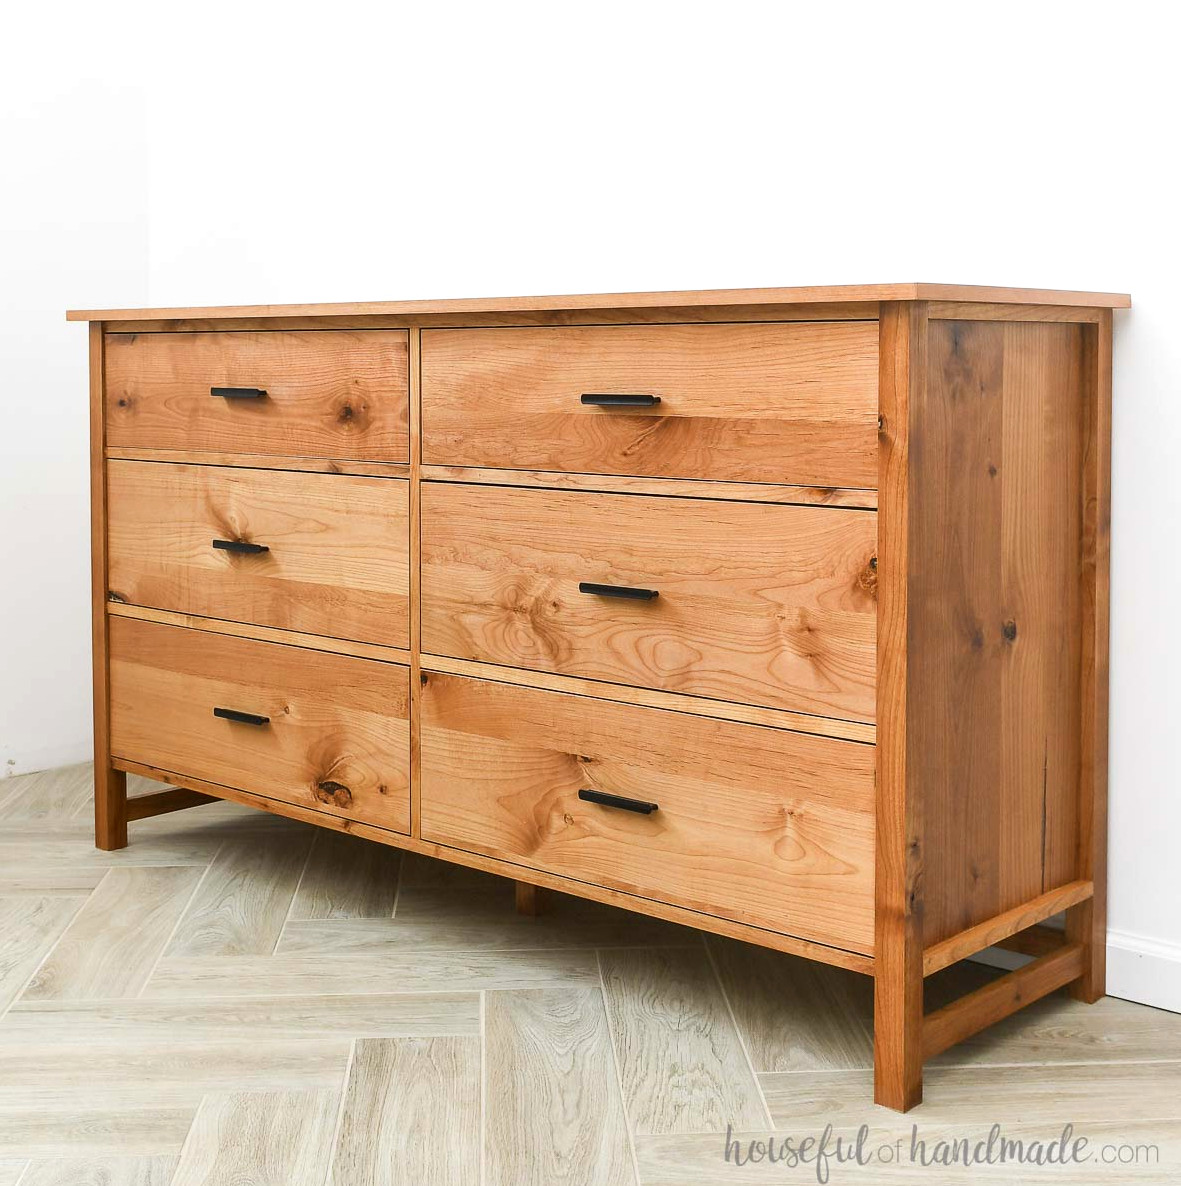
Coordinating Dresser Collection
Enjoy this dresser? Complete your bedroom set with additional coordinating dressers and nightstands.
How to Construct a Large 6 Drawer Dresser
Tools & Supplies
Overall Measurements
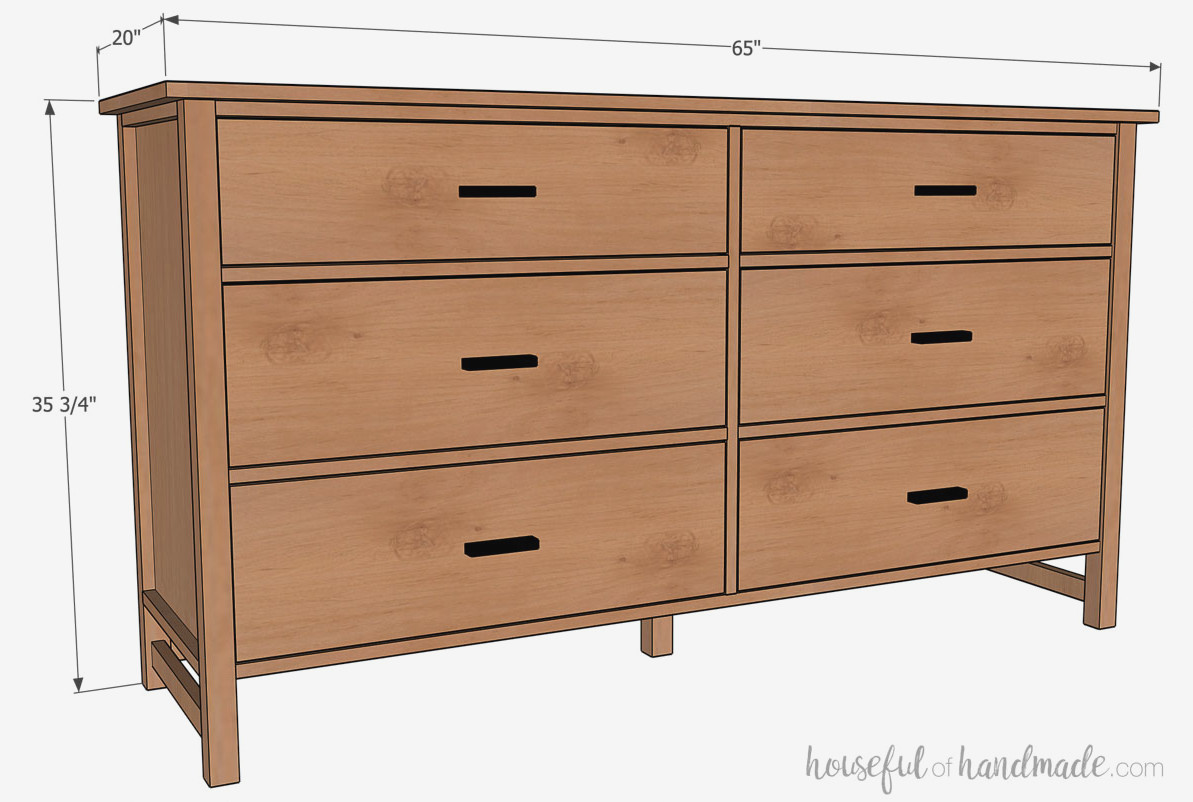
The completed dresser measures 65″ long, 20″ deep, and 35 3/4″ tall.
It features 6 spacious drawers: two shorter drawers (16″ x 27 5/8″‘ x 6 1/2″ deep) and 4 deeper drawers (16″ x 27 5/8″ x 8 1/2″ deep).
Cutting Guide
Prepare the components using the clear table and illustrations provided in the PDF plans.
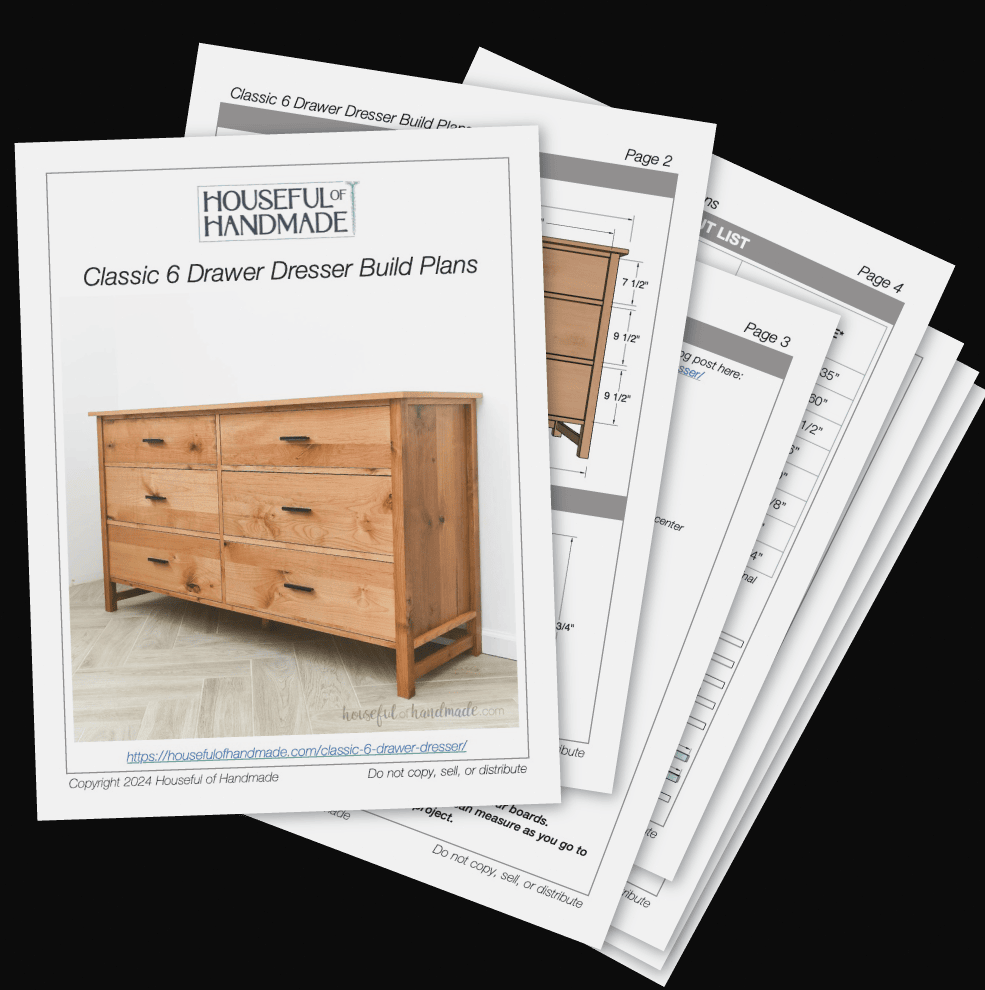
Download the Premium PDF Woodworking Plans
PDF plans contain- Simple Cut List, Materials List, Suggested Tools, Detailed Instructions with 3D illustrations, & Useful Resources
BONUS- 3D SketchUp Model
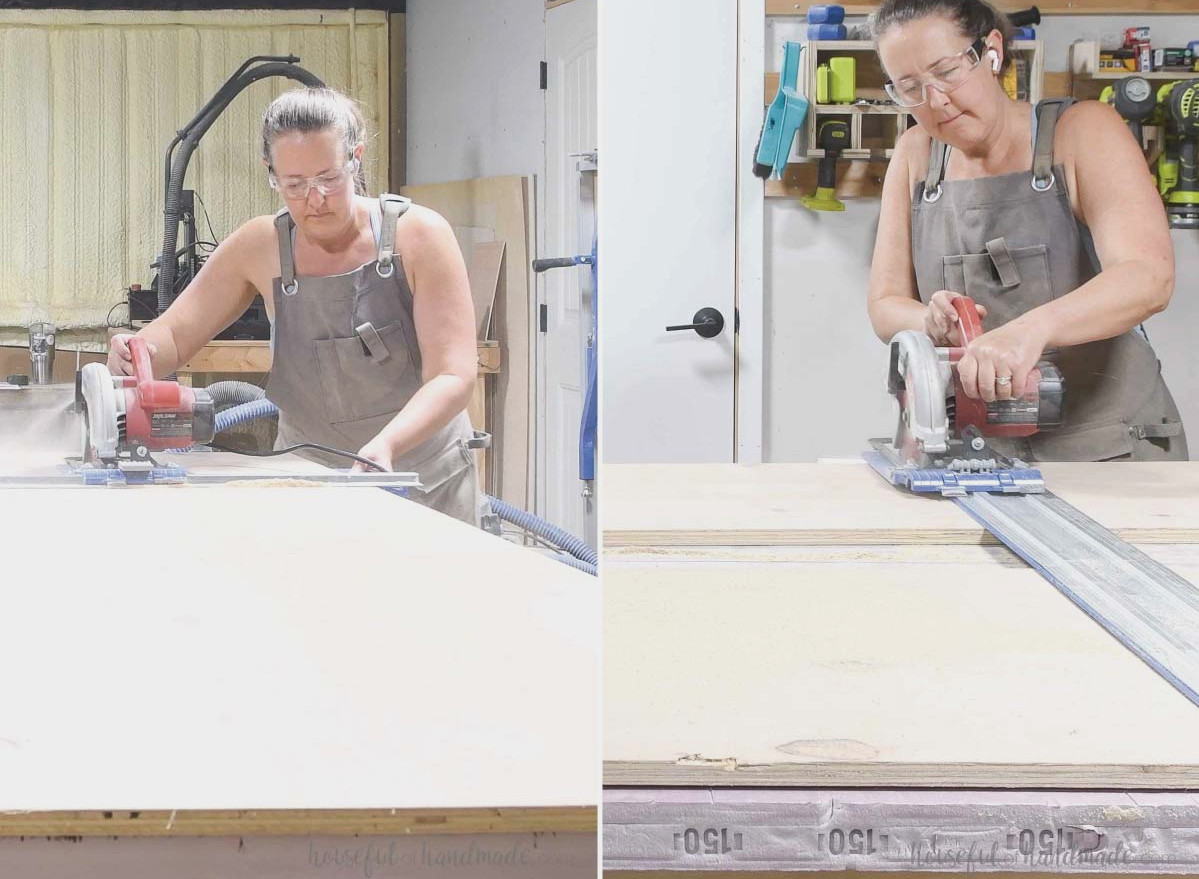
I prefer using my circular saw with a RipCut guide to cut the 4×8 plywood sheets into strips, followed by an AccuCut to crosscut each piece to its final size.
You can find all my advice for breaking down plywood sheets easily with a circular saw here.
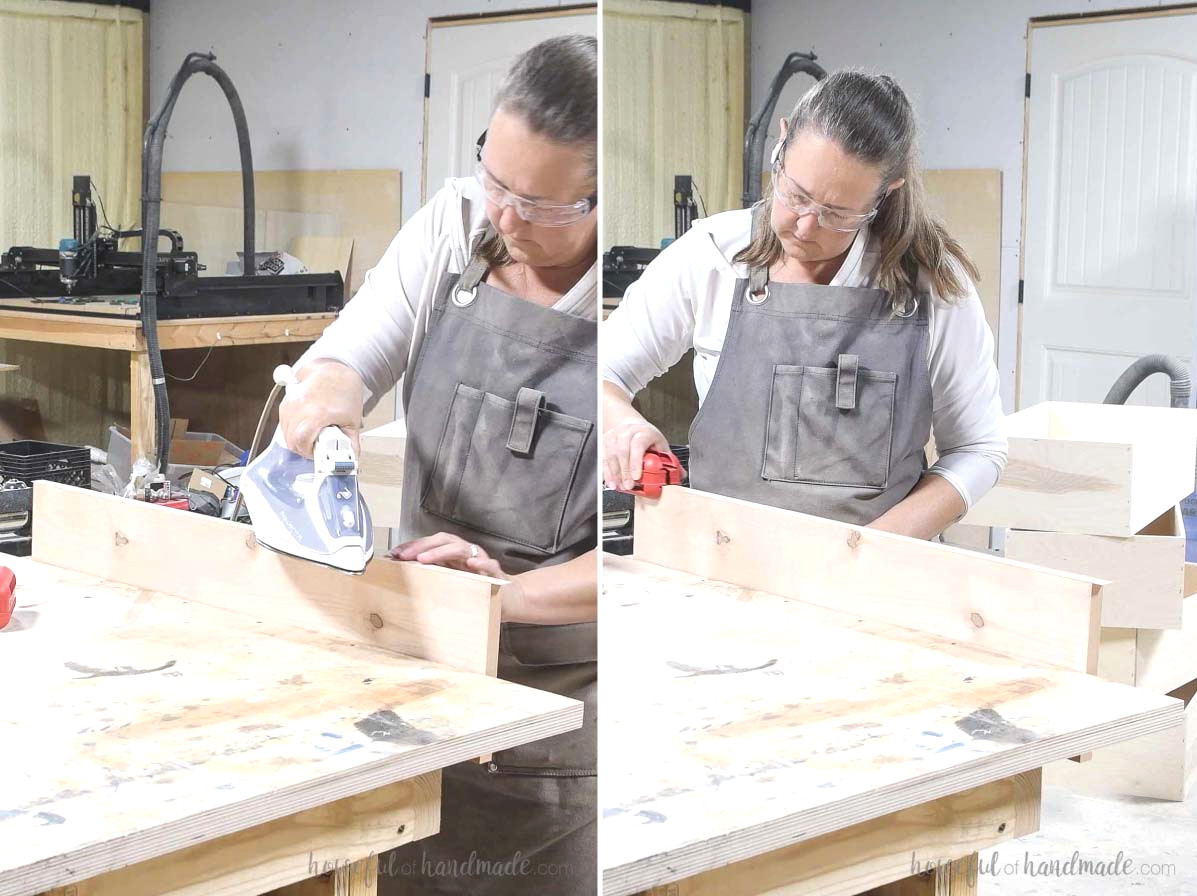
To hide the plywood edges on the drawer fronts and top, apply iron-on edge banding around the outside of the drawer front pieces.
As another option, make the drawer fronts from 1×8 (actually 7 1/4” wide) and 1×10 (actually 9 1/4” wide) lumber if you would rather use solid wood.
STEP 1- Assemble the sides
In each end of the 3/4” wide edge on the side trim pieces, drill one pocket hole adjusted for 1 1/2” thick material.
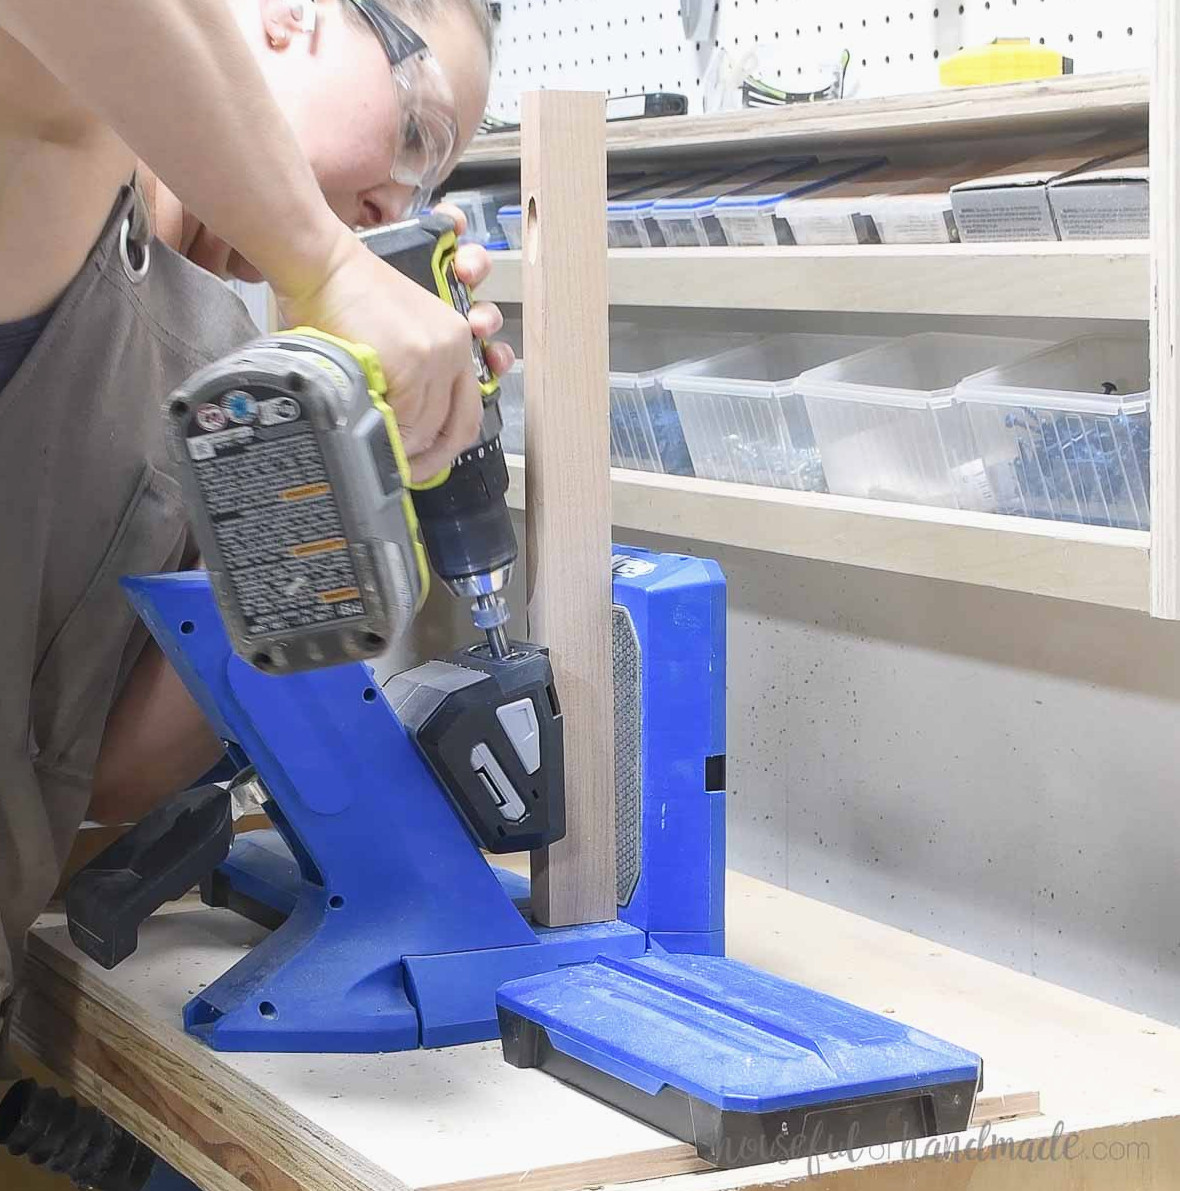
Add pocket holes around the edges of the side panel pieces, setting them for 3/4” thick plywood.
At the top and bottom of the side panel, position the pocket holes far enough from the edge so they do not interfere with those on the side trim pieces.
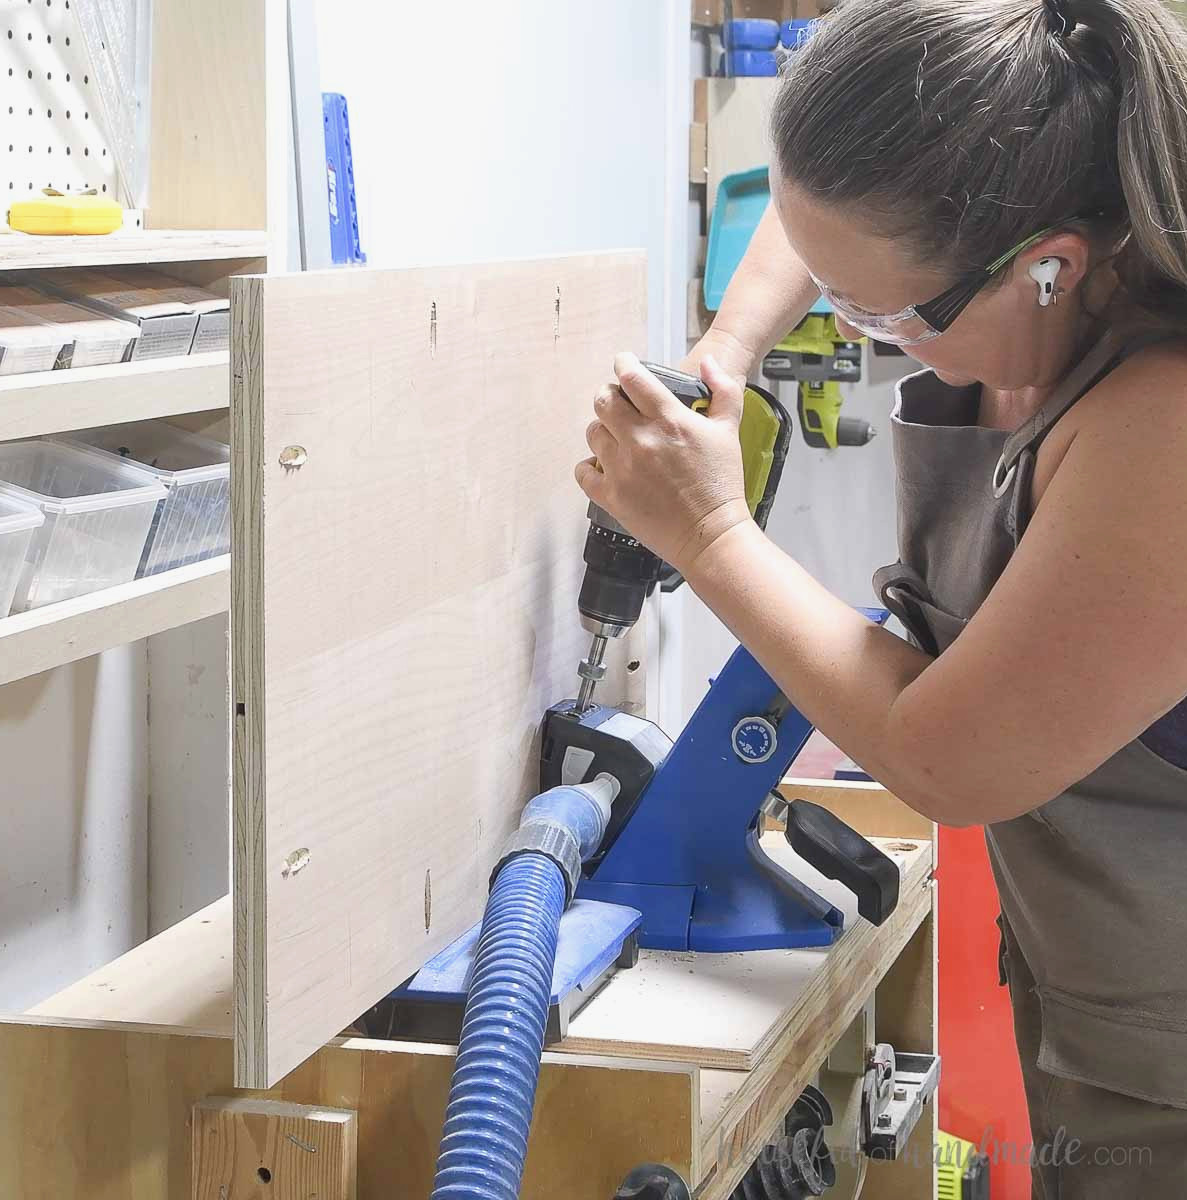
Fasten the side trim to the panel’s top and bottom, aligning the panel flush with the trim board’s back edge.
Attach everything with 1 1/4” pocket hole screws and wood glue.

Using wood glue and screws, connect the side panel to one leg piece, keeping the panel level with the top and aligned flush with the leg’s back.
- Fasten the trim pieces to the leg with 2 1/2” long pocket hole screws.
- Connect the panel to the leg using 1 1/4” pocket hole screws.
Attach thethird side trim piece to the leg’s lower section, positioning it 1 1/2” above the leg’s bottom and centering it across the leg (3/8” from both the front and back).
Position the pocket hole underneath to conceal it. Fasten with glue and 2 1/2” pocket hole screws.
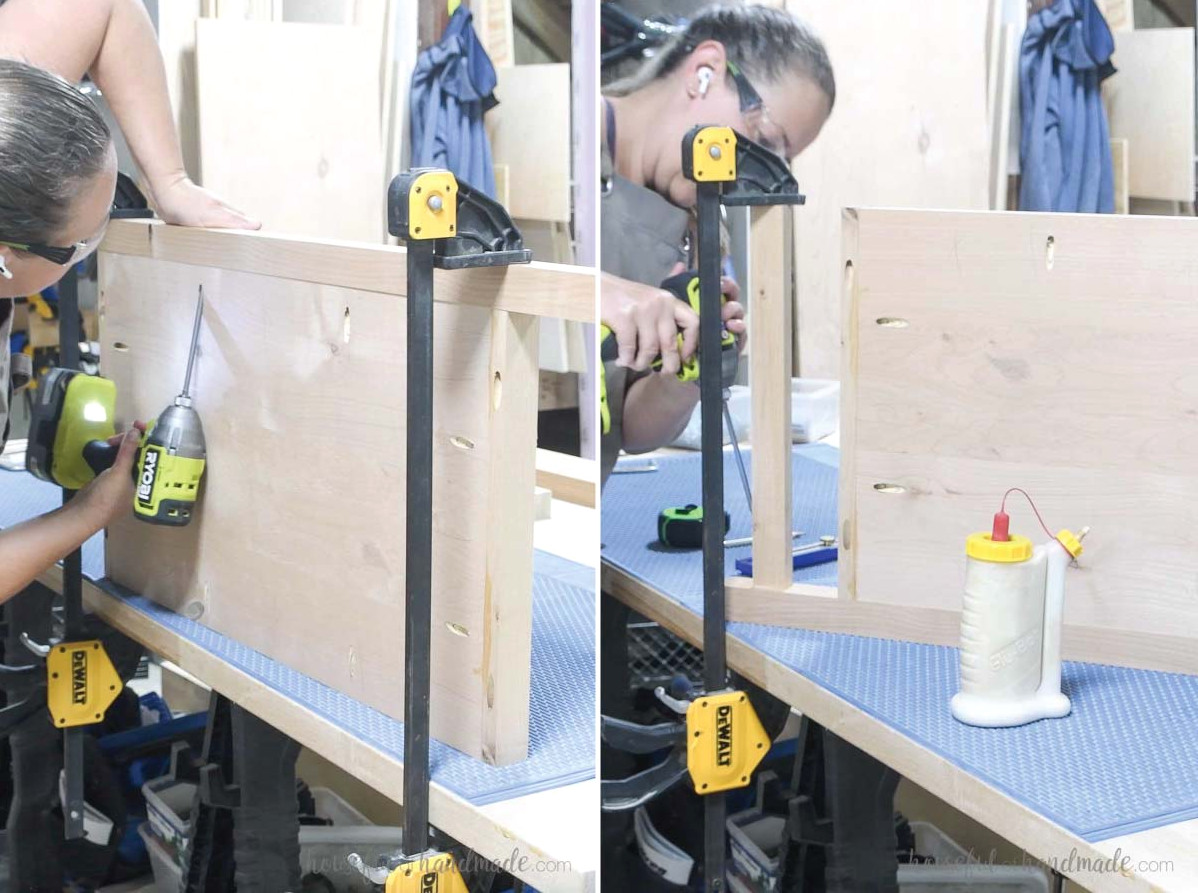
In the same manner, connect the second leg to the opposite side.
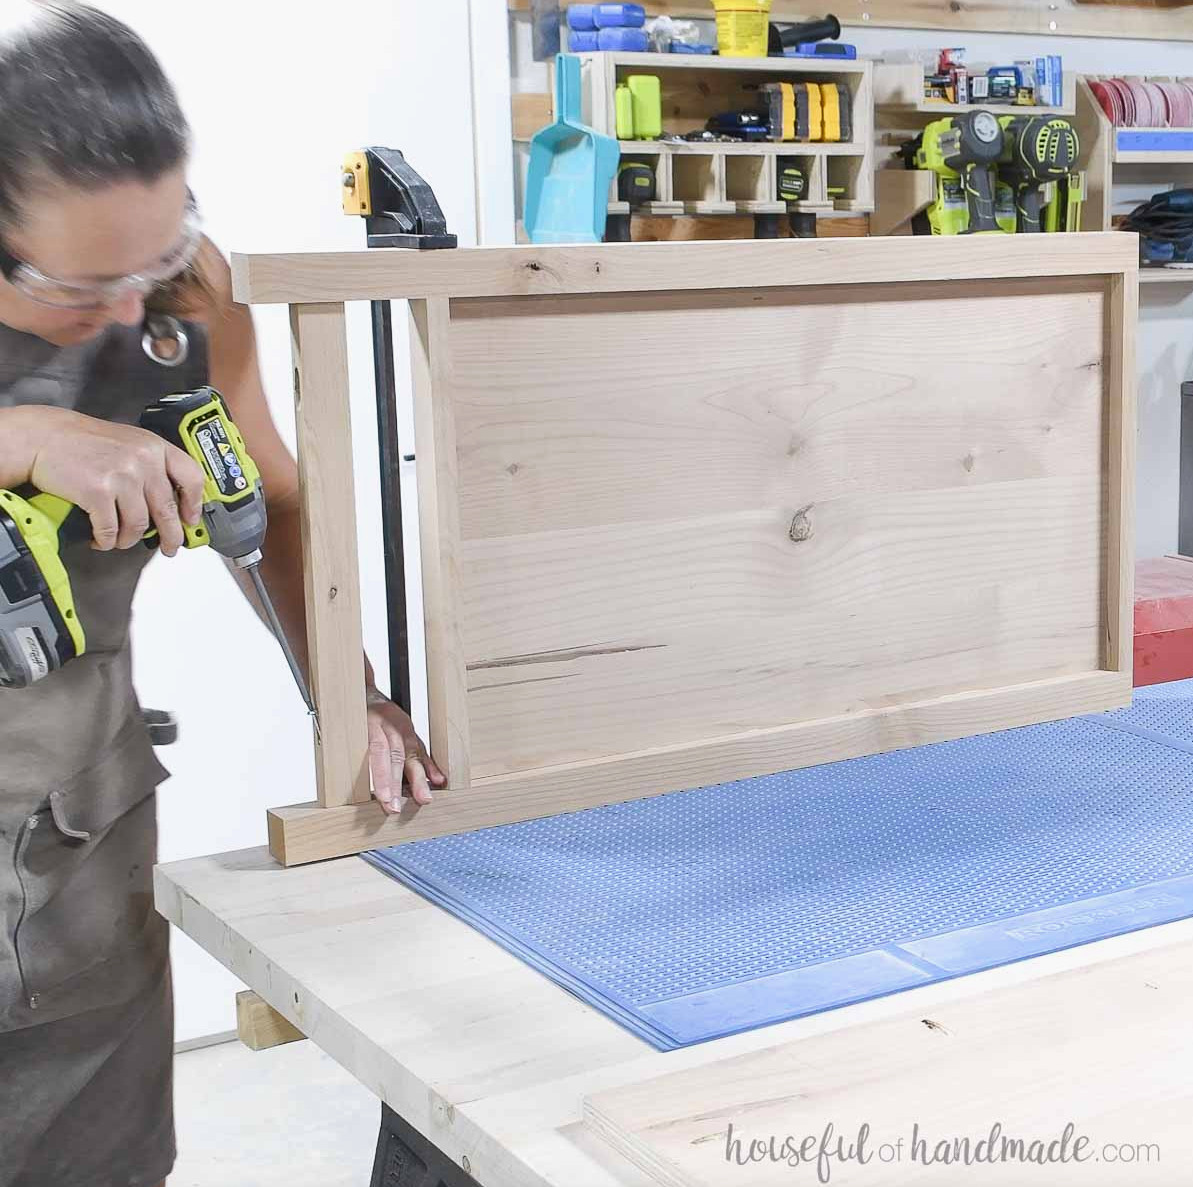
STEP 2- Construct the front frame
At each end of the front and back trim, dividers, and center pieces, drill two pocket holes configured for 3/4” thick material.
Slightly stagger the pocket holes on the dividers where they connect with the center piece.
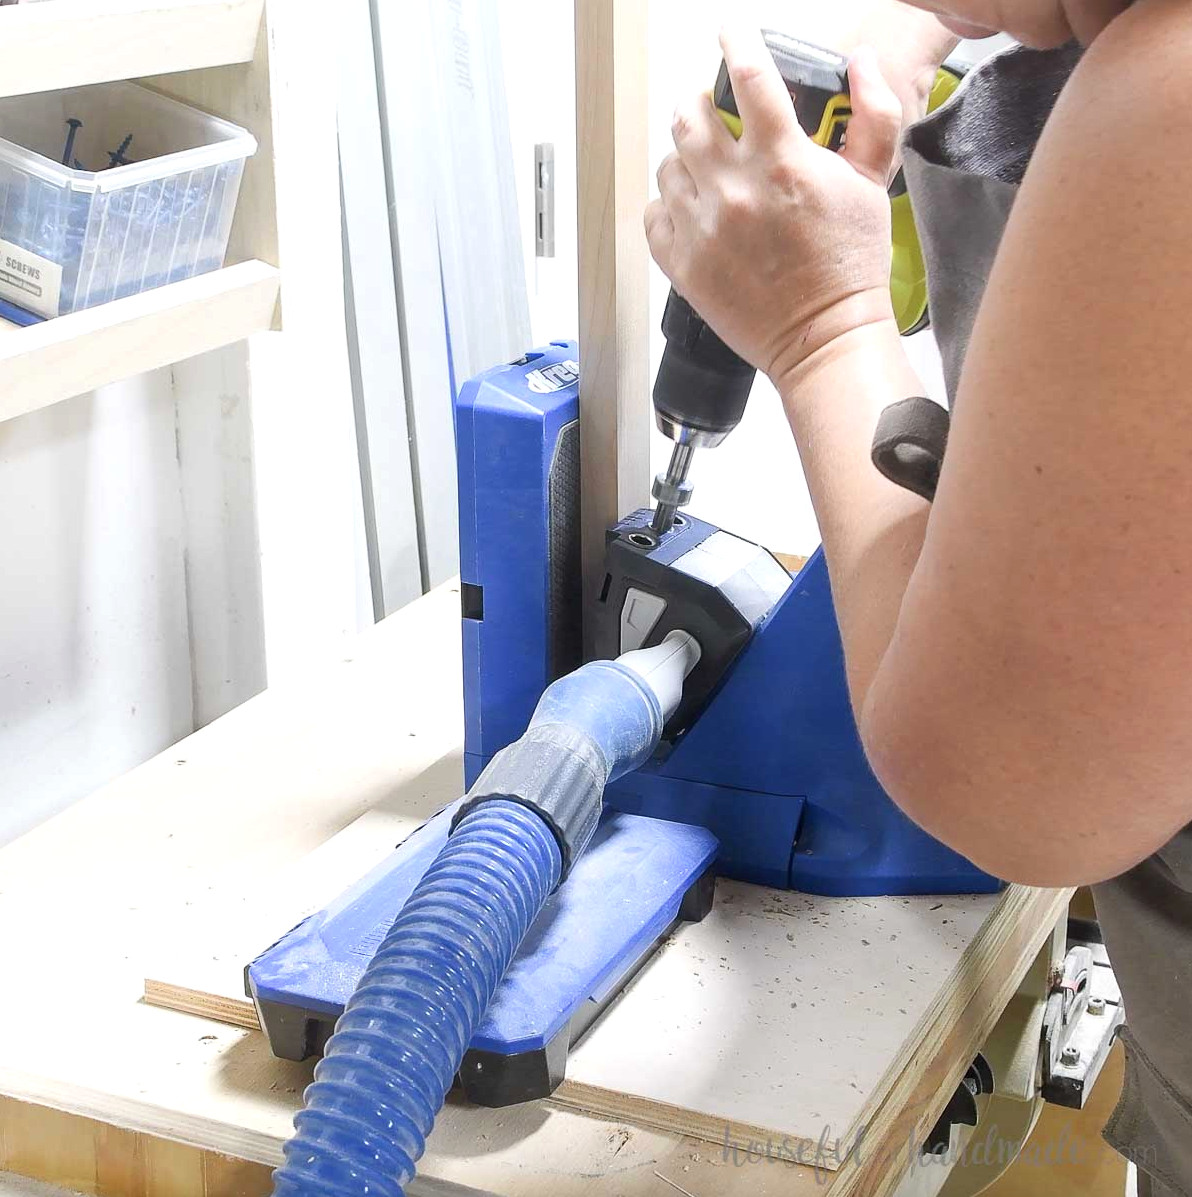
Fasten the center dividers to the center piece, keeping them flush from front to back and spacing them as shown in the plan diagram.
Use wood glue and 1 1/4” pocket hole screws to secure every board.
EXPERT TIP:
When a 90 degree clamp cannot be used to form the “t”, hold the boards firmly with a face frame clamp while fastening.
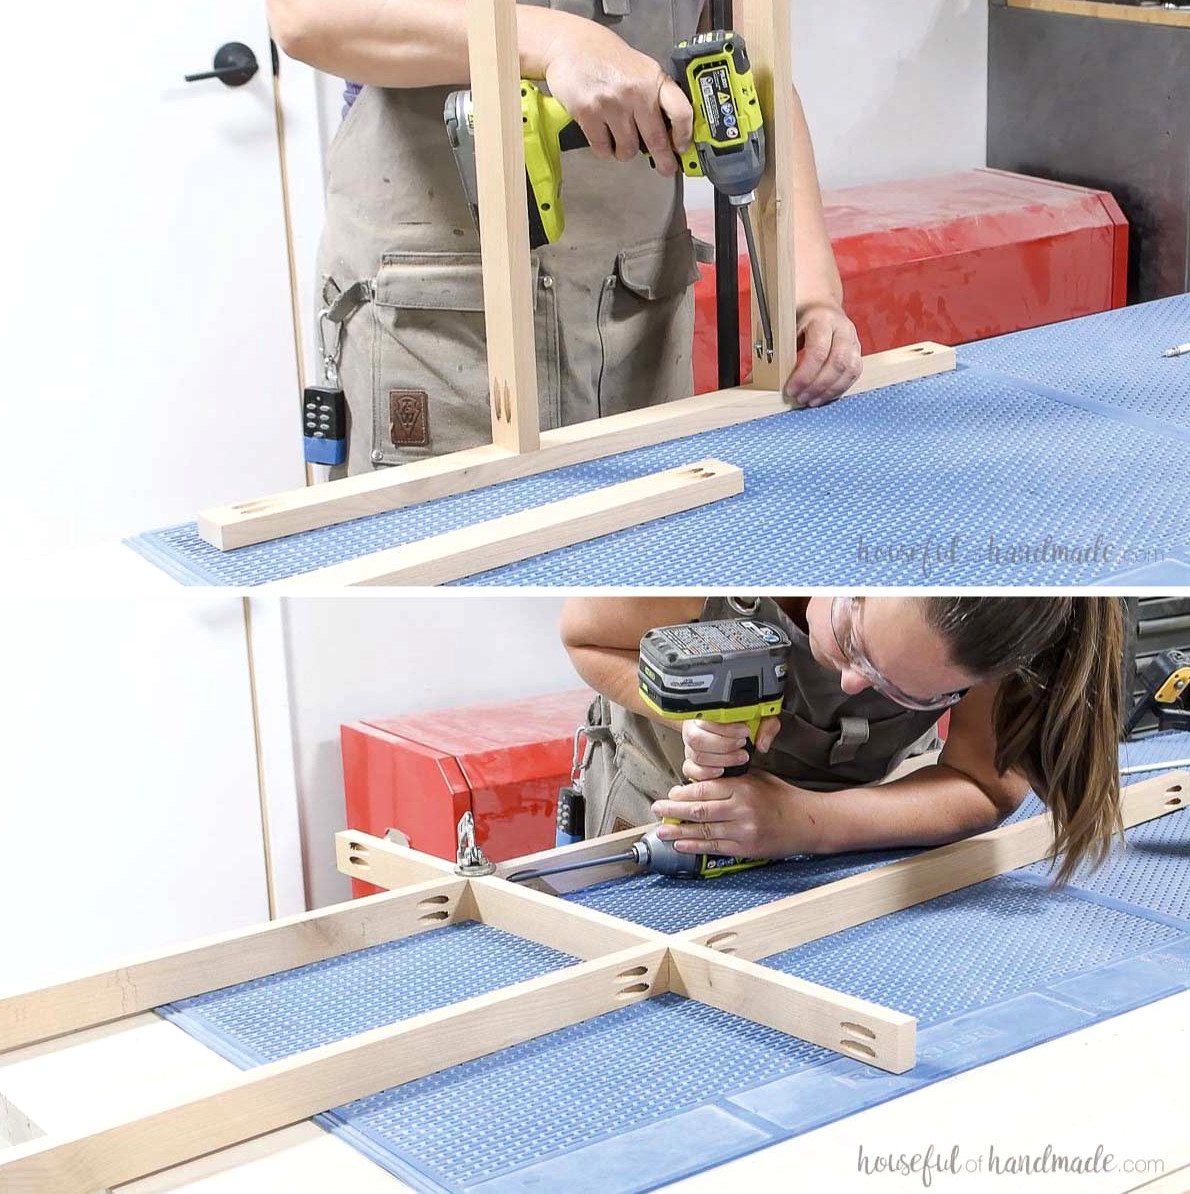
Complete the front frame by securing the front trim pieces to the frame’s top and bottom, keeping them centered.
Fasten them with wood glue and 1 1/4” pocket hole screws.
For concealed pocket holes, orient those in the top trim upward so the top covers them, and point the holes in the bottom trim downward toward the floor.
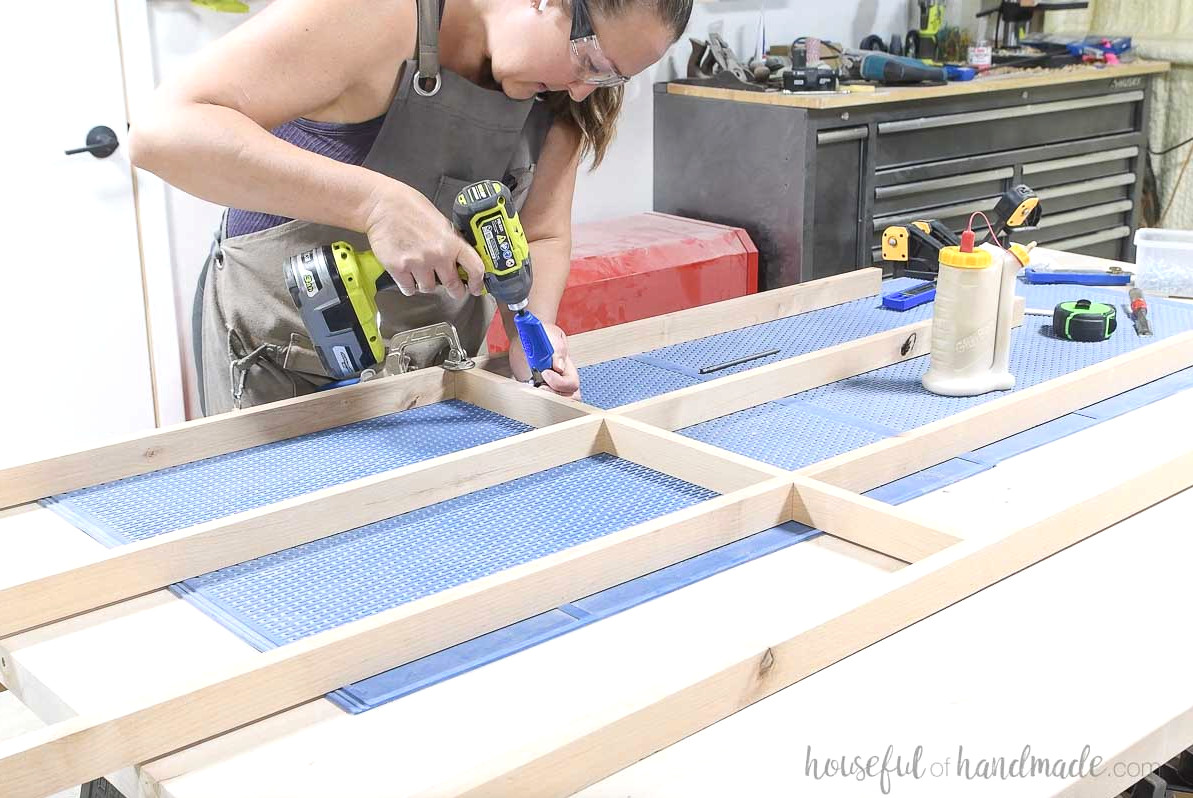
STEP 3- Put together the dresser frame
Use the pocket holes previously drilled in the ends of the front trim and divider pieces to secure the frame between the sides.
Position the front frame 1/4” back from the side’s front edge and flush with the top. Be sure the center dividers line up with the same spacing used in the center section.
EXPERT TIP:
Place a few 1/4″ plywood scraps beneath the front frame to achieve the required 1/4″ setback.
Fasten with wood glue and 1 1/4” pocket hole screws.
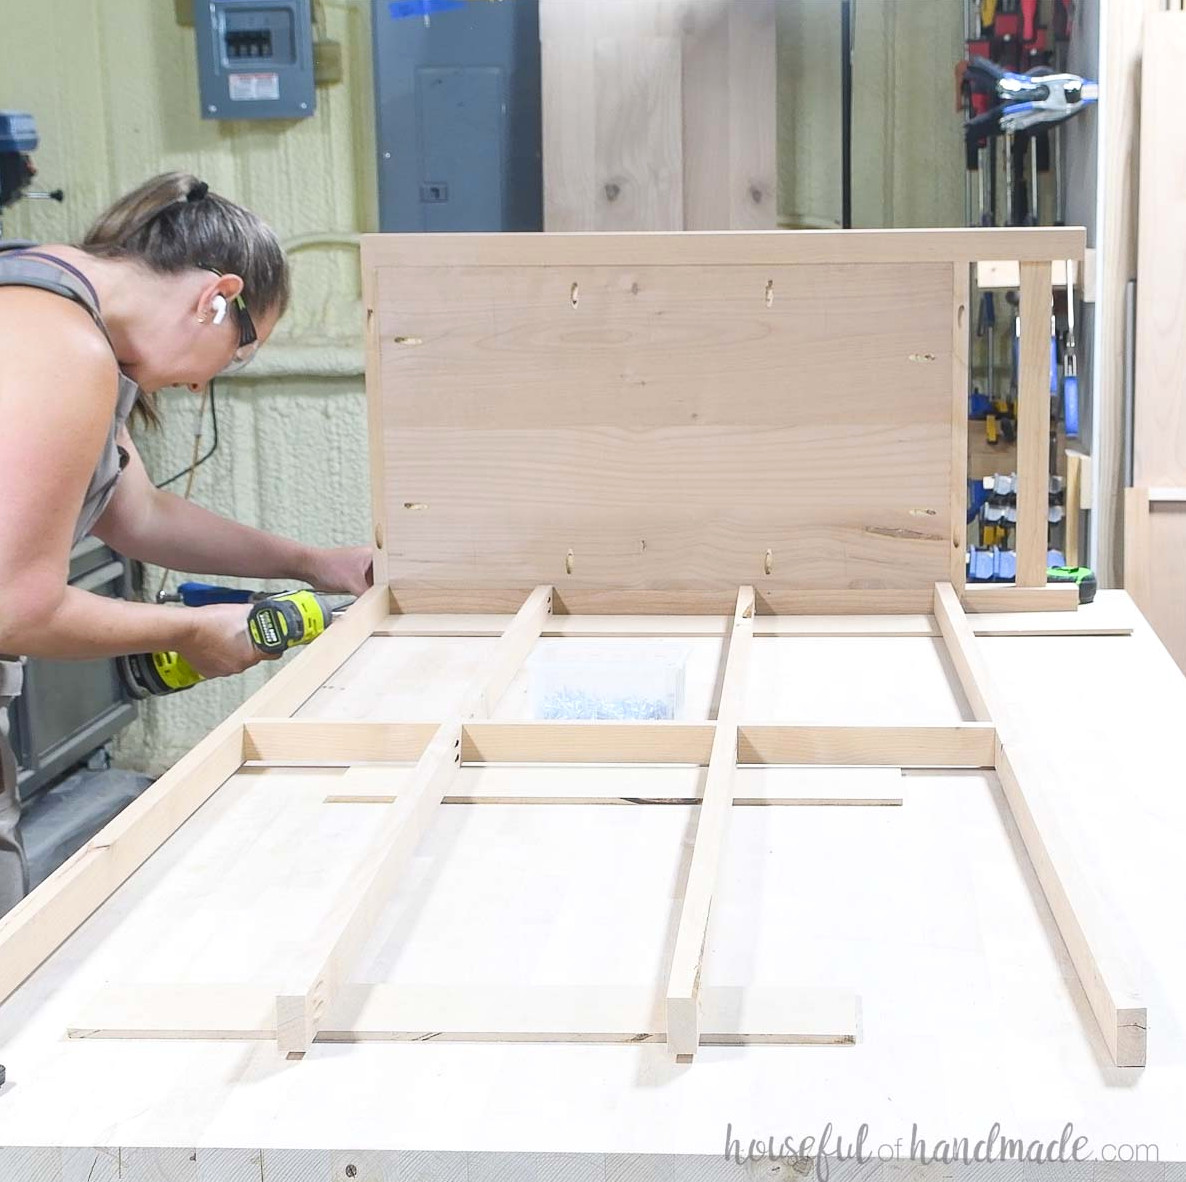
Set your drill for 1 1/2” thick material and make pocket holes in both ends of the back pieces and along the 3/4” wide edge of the back trim piece.
Fasten the back pieces to the sides using 2 1/2” pocket hole screws, keeping them flush with the top and bottom side trim.
Position the back trim between the sides, 1 1/2” above the bottom and centered on the legs (3/8” from each edge), with the pocket hole facing downward for concealment.
Secure it with wood glue and 2 1/2” pocket hole screws.
NOTE: The dresser’s back is now finished. To enclose it, you may cut a piece of 1/4” plywood to fit over the back, although it is not structurally required. I also prefer leaving the back open so items cannot become trapped behind the drawers.
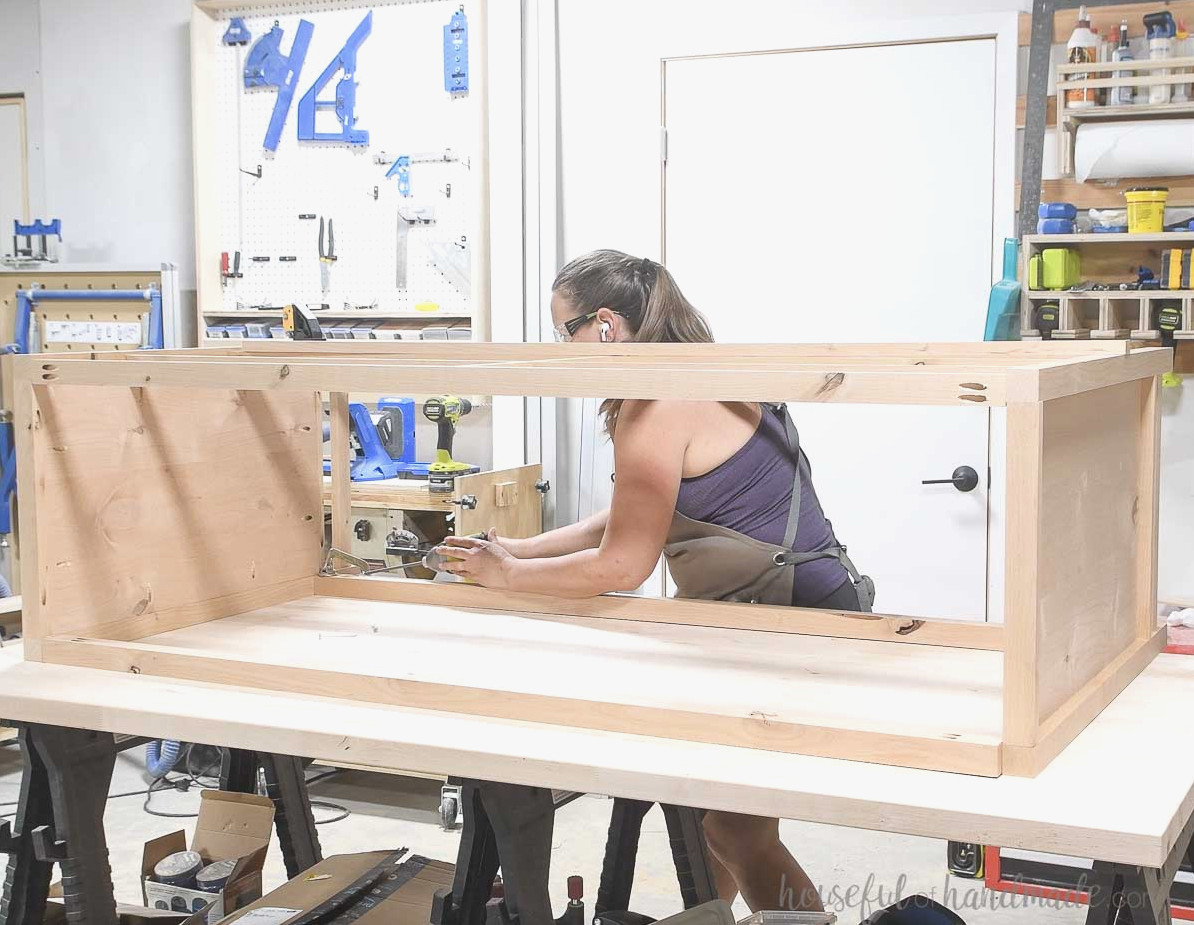
Drill pocket holes configured for 3/4” thick plywood around the perimeter of the center support piece. The top does not require pocket holes. On the back, place holes only where the plywood meets the back pieces.
Also make pocket holes set for 3/4” thick material at both ends of the center support board. At one end of the center leg board, drill two pocket holes configured for 1 1/2” thick material.
Position the center board between the lower front face and back, keeping it centered. Secure it with glue and 1 1/4” pocket hole screws.
Next, center the plywood piece within the dresser and fasten it with 1 1/4” pocket hole screws.
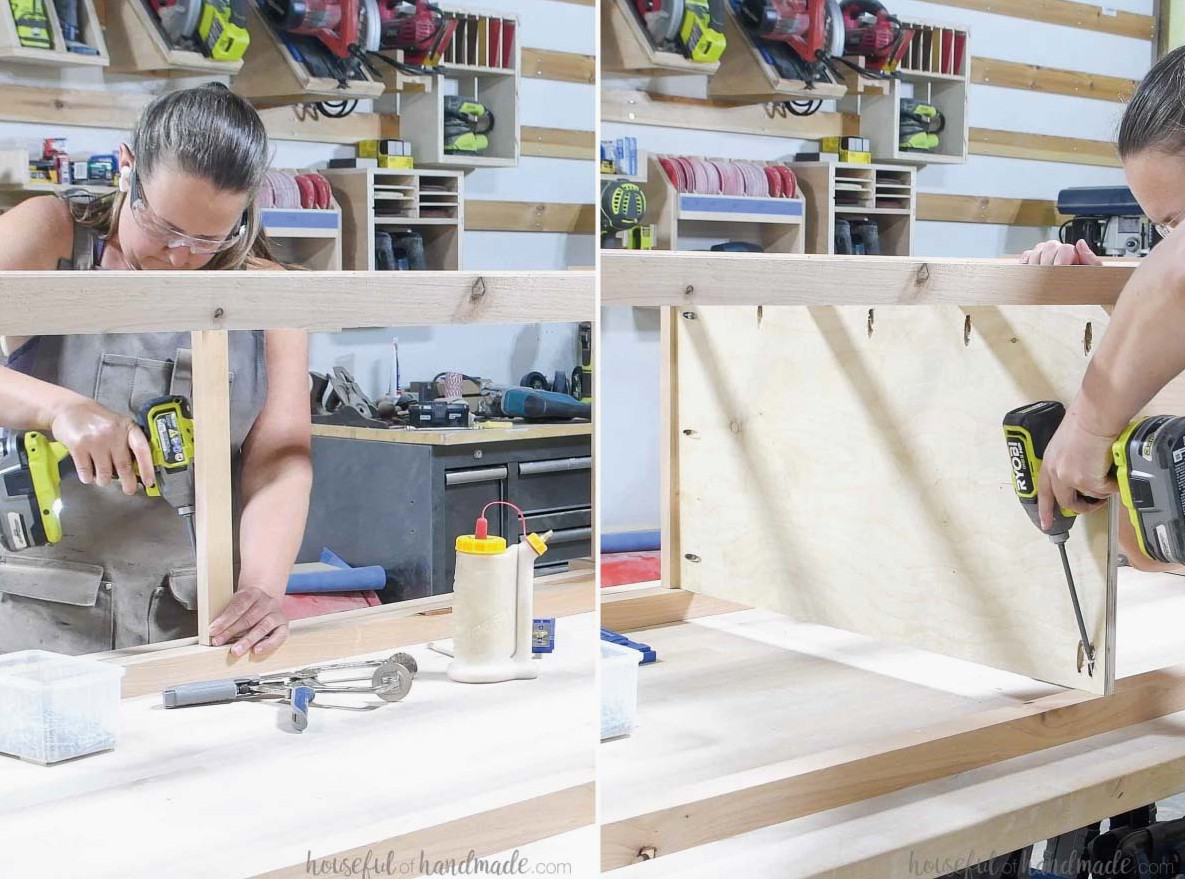
Finally, secure the center leg to the middle of the board with 2” pocket hole screws.
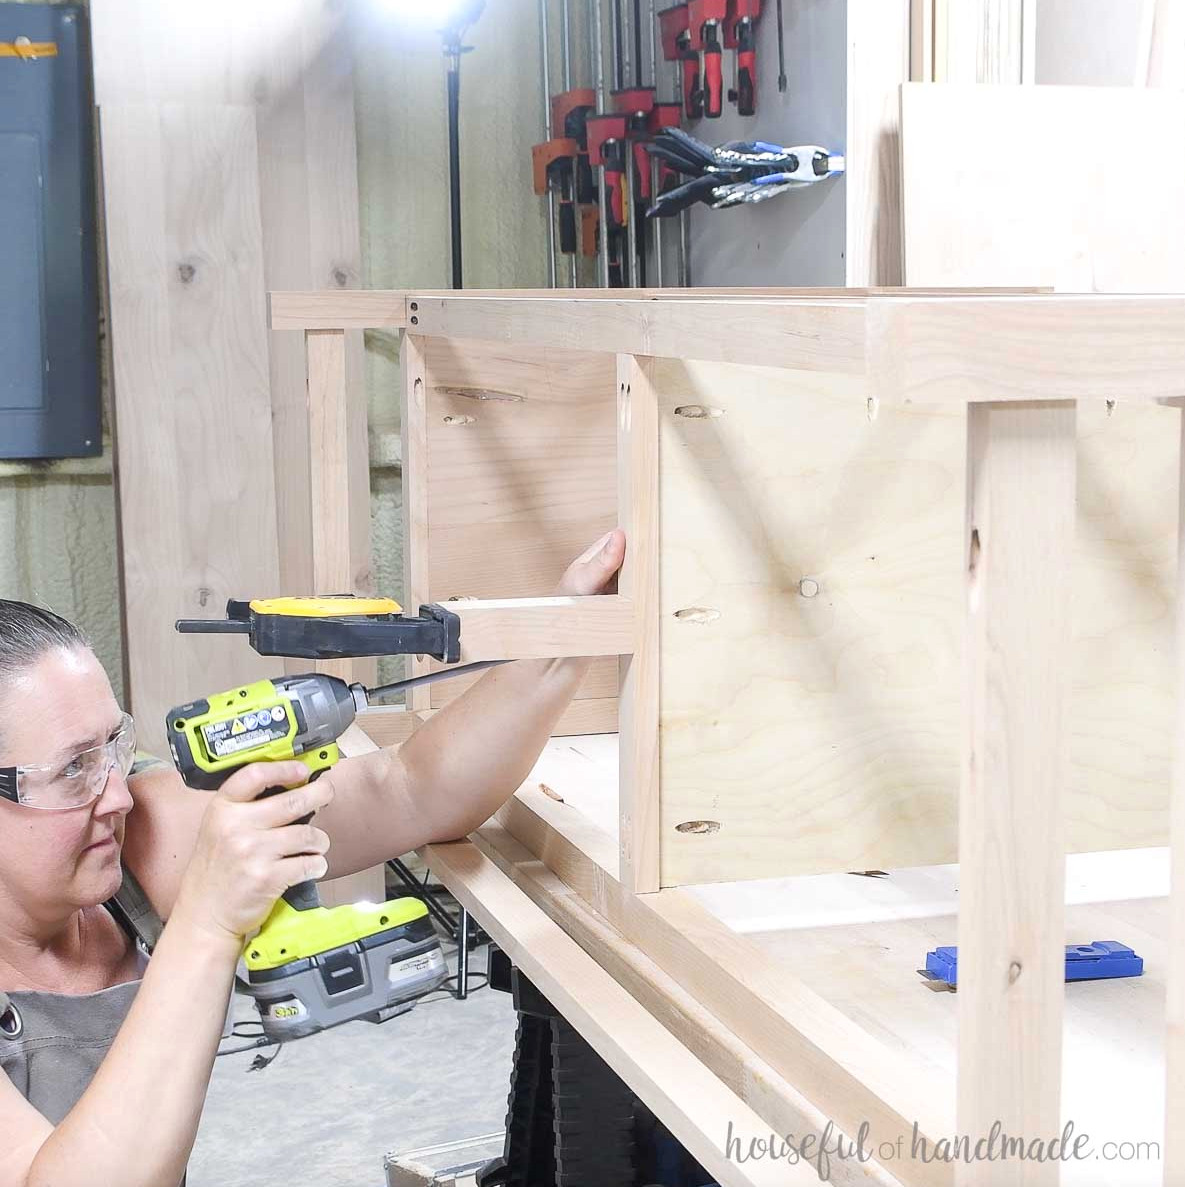
STEP 4- Construct drawer boxes
Cut a groove 1/4″ wide and 1/4″ deep along the inside of each drawer box piece, positioned 1/4″ above the bottom.
I created it by making several passes with my table saw. A circular saw or router can also be used to cut the groove.
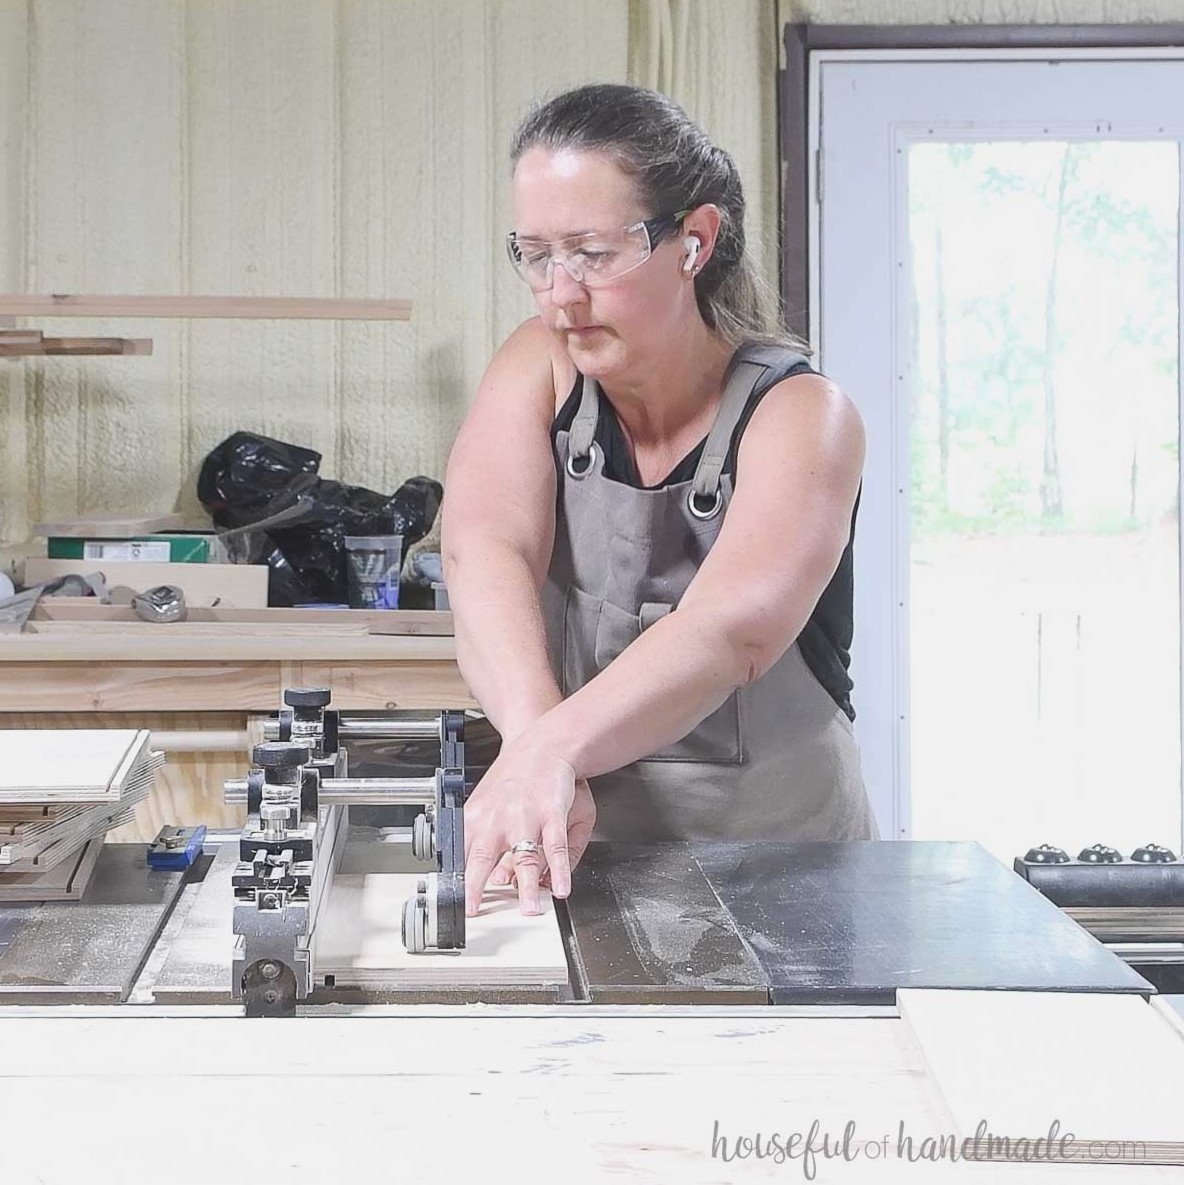
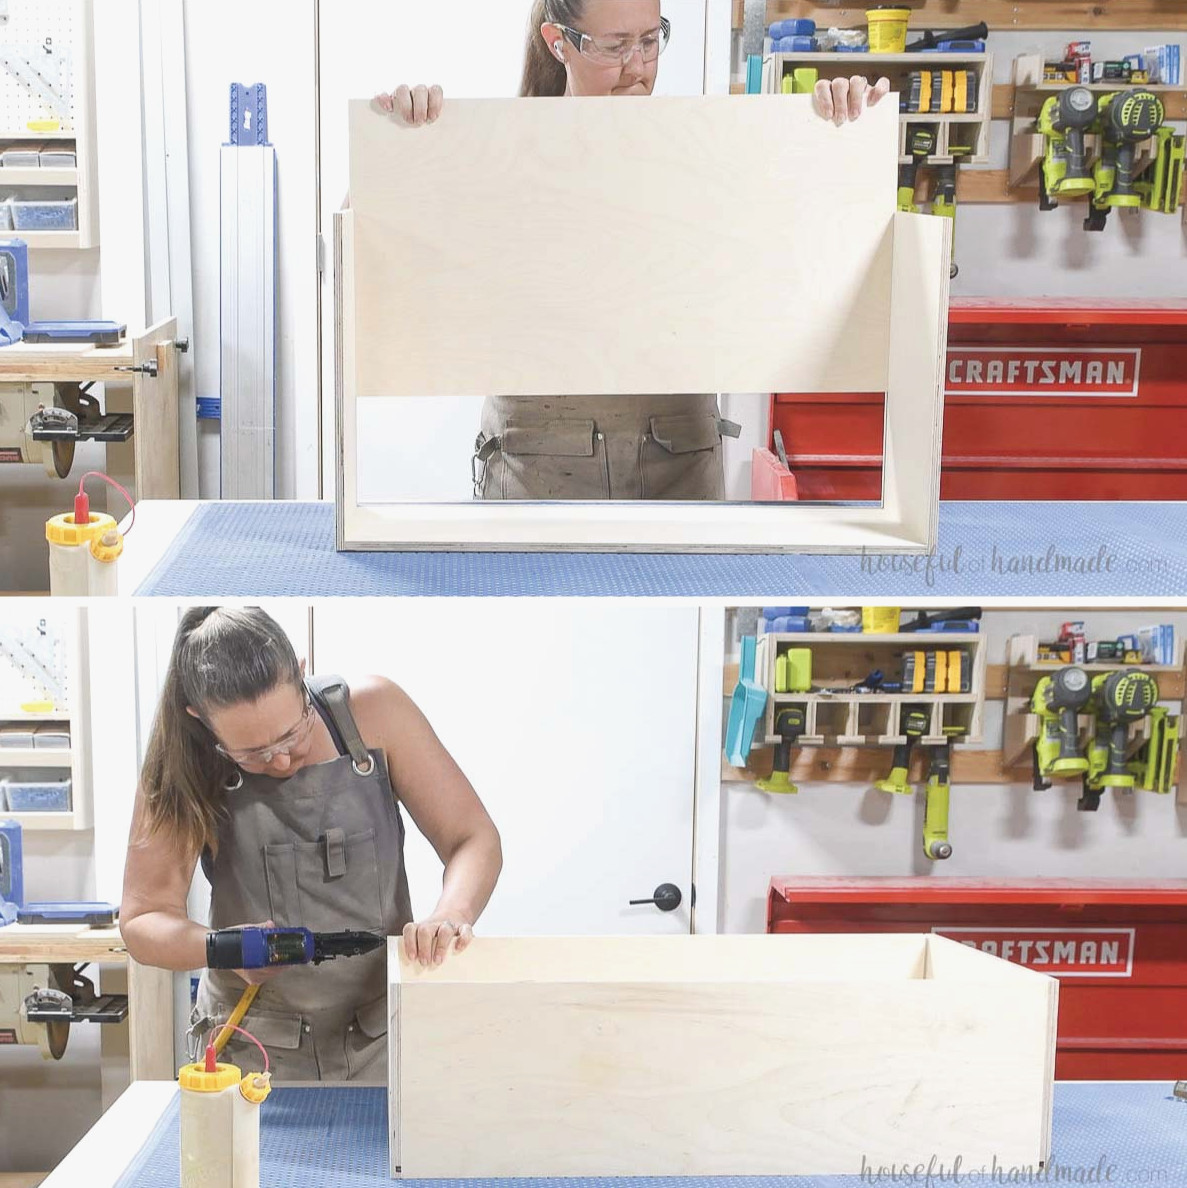
The drawers may be assembled with pocket holes or pneumatic staples. When choosing pocket holes, drill holes configured for 1/2″ material on the outer sides of the drawer box front and back pieces, avoiding the side with the groove.
Construct each drawer box by attaching the side pieces to the front pieces with wood glue and 1″ staples or pocket hole screws.
Check that the tops of all drawer box pieces are flush.
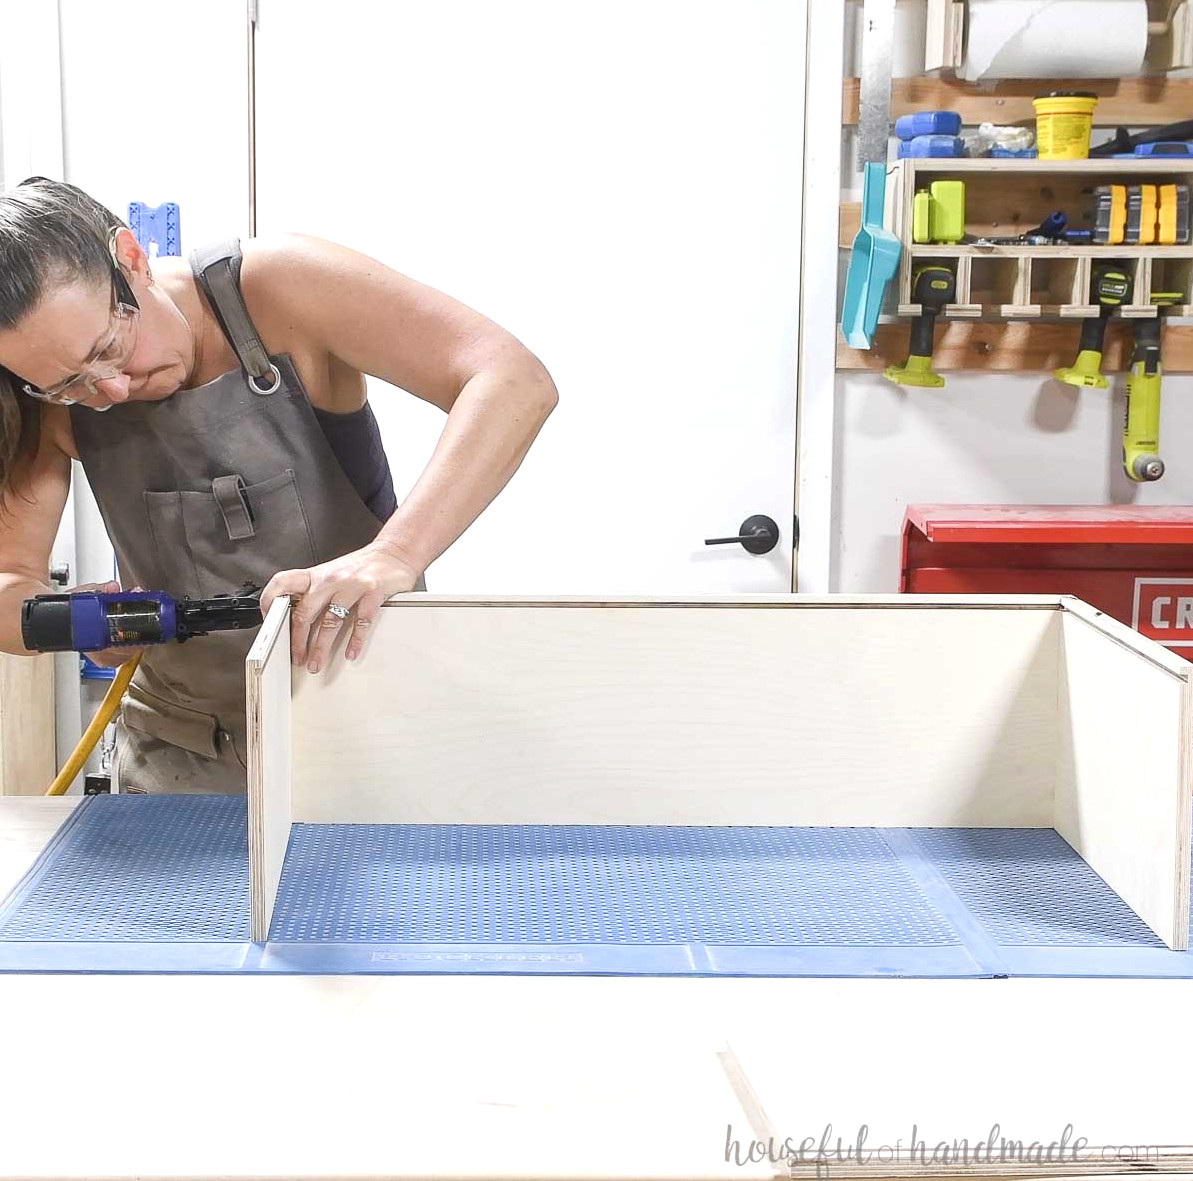
Fit the drawer box bottom into the grooves in the sides and front. Then install the back piece in the same way as the front to close the box.
Repeat forall six (6) drawer compartments.
Discover helpful tips and more methods for constructing drawer boxes here.
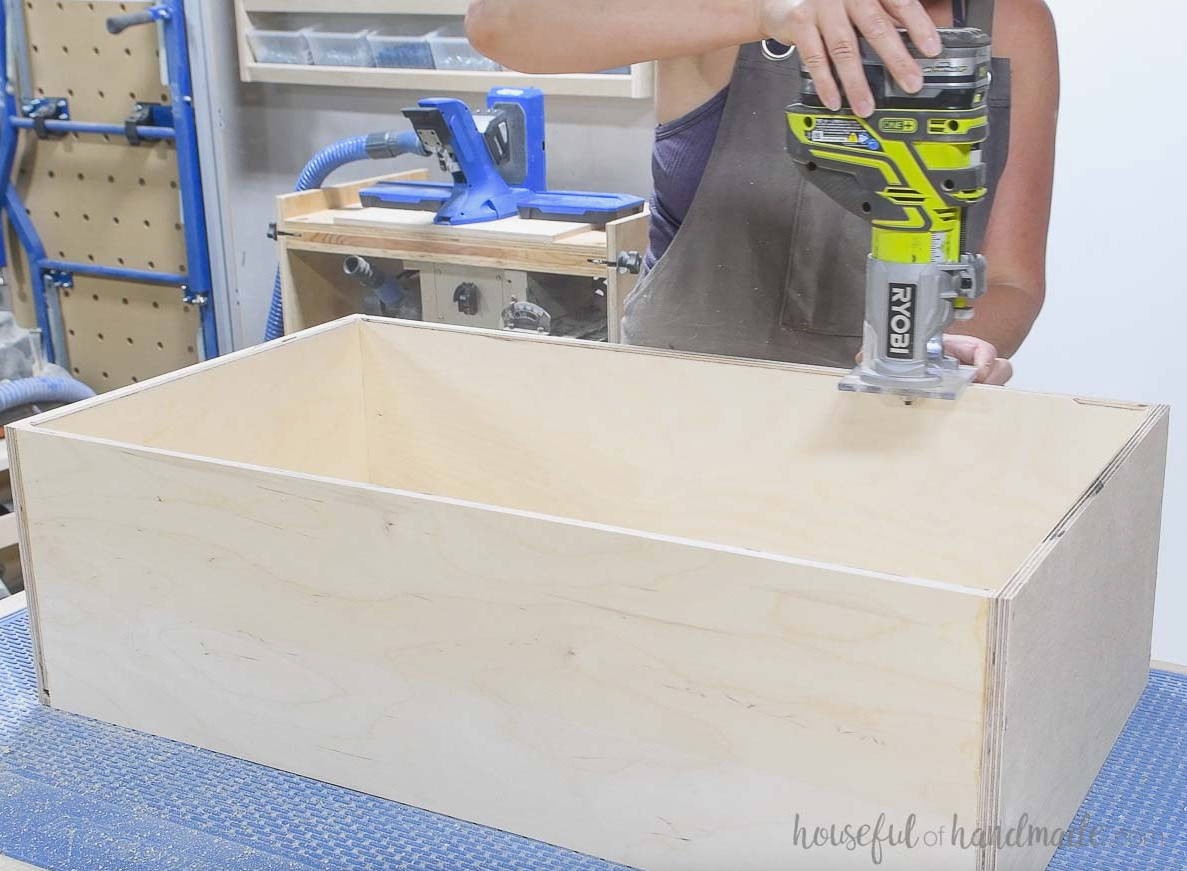
I like to soften the inner edge of the drawer box to eliminate the plywood’s sharpness. This step is completely optional, though it is simple to complete with a budget-friendly trim router and round-over bit.
Alternatively, sand the interior edge until it is smooth.
STEP 5- Install drawer boxes and fronts
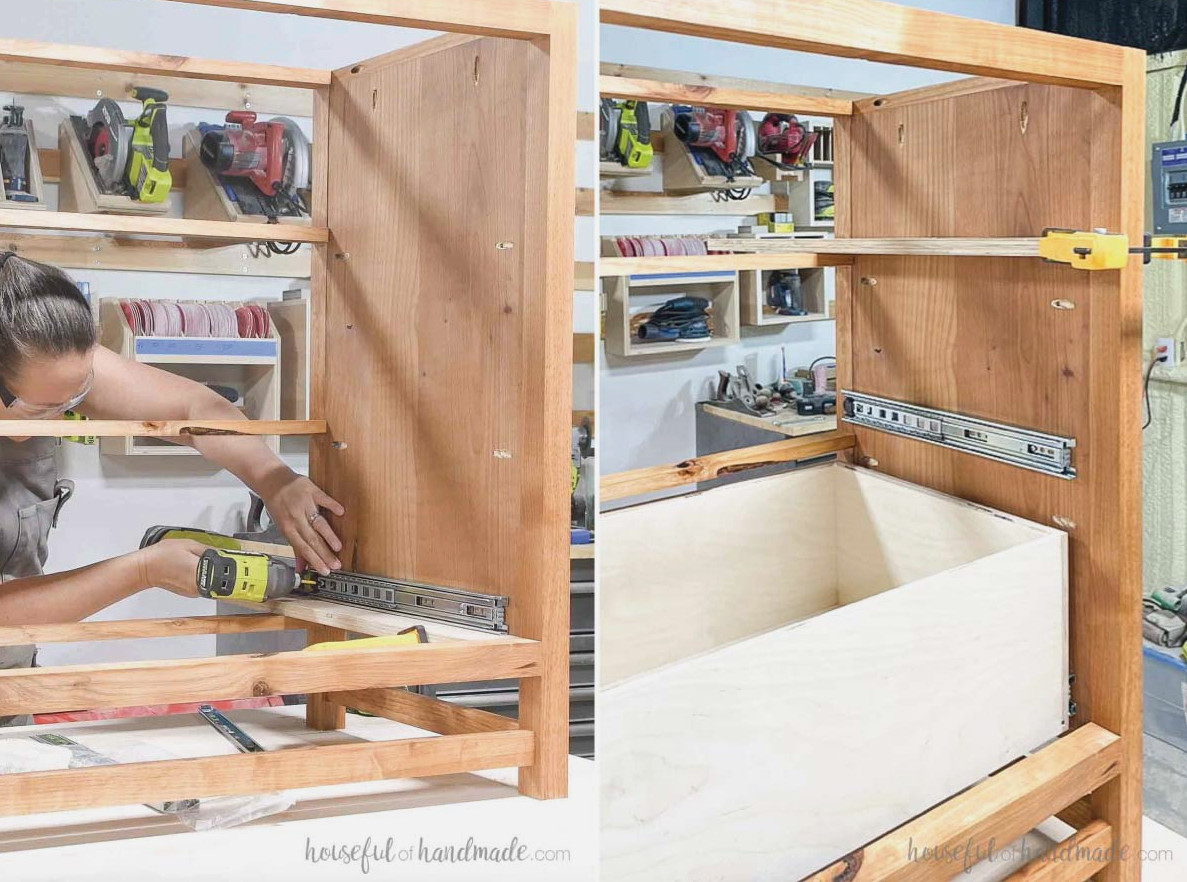
Install the drawer boxes with the side-mounted slides, positioning them 3/4” behind the front of the face frame (1” behind the front edge of the legs).
Position the drawer boxes 1/4” above the bottom of each drawer opening, leaving 3/4” of space above them.
Learn how to fit drawers with ball-bearing slides here.
EXPERT TIP:
Secure a scrap piece of 3/4″ plywood across the top of the front frame. Check that it is level, then clamp it at the dresser’s back. Rest your drawer slides on it as you fasten them in place. This helps maintain level slides inside the dresser.
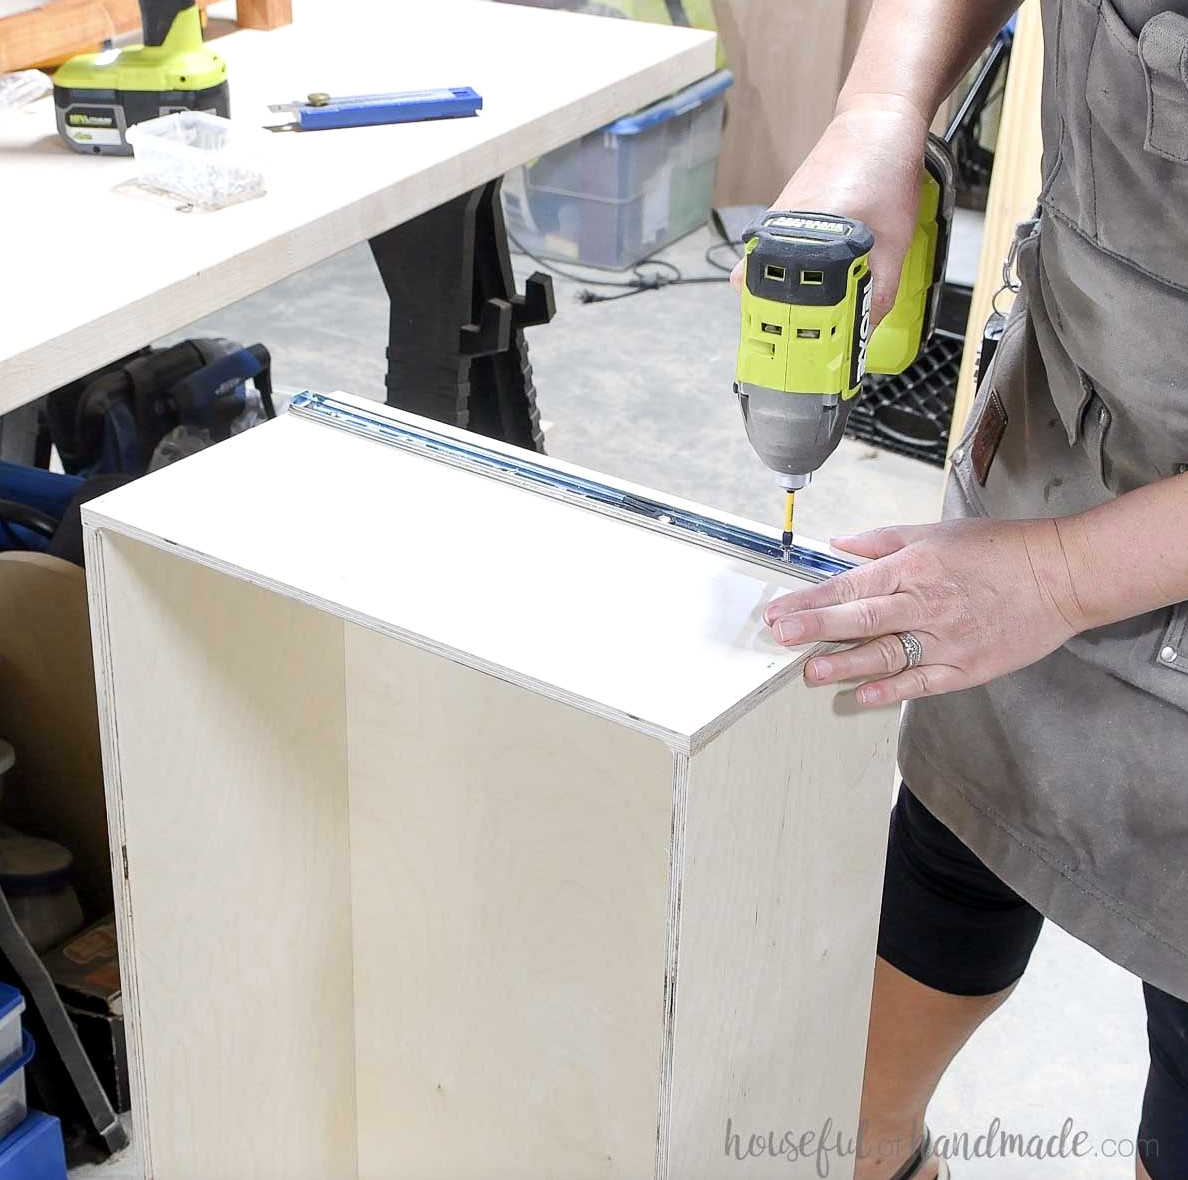
Fasten the narrower section of each drawer slide to the drawer box side.
I positioned it 7/8″ above the bottom of the box to provide the proper clearance after installation. Be sure to measure and modify this placement for your particular drawer slides.
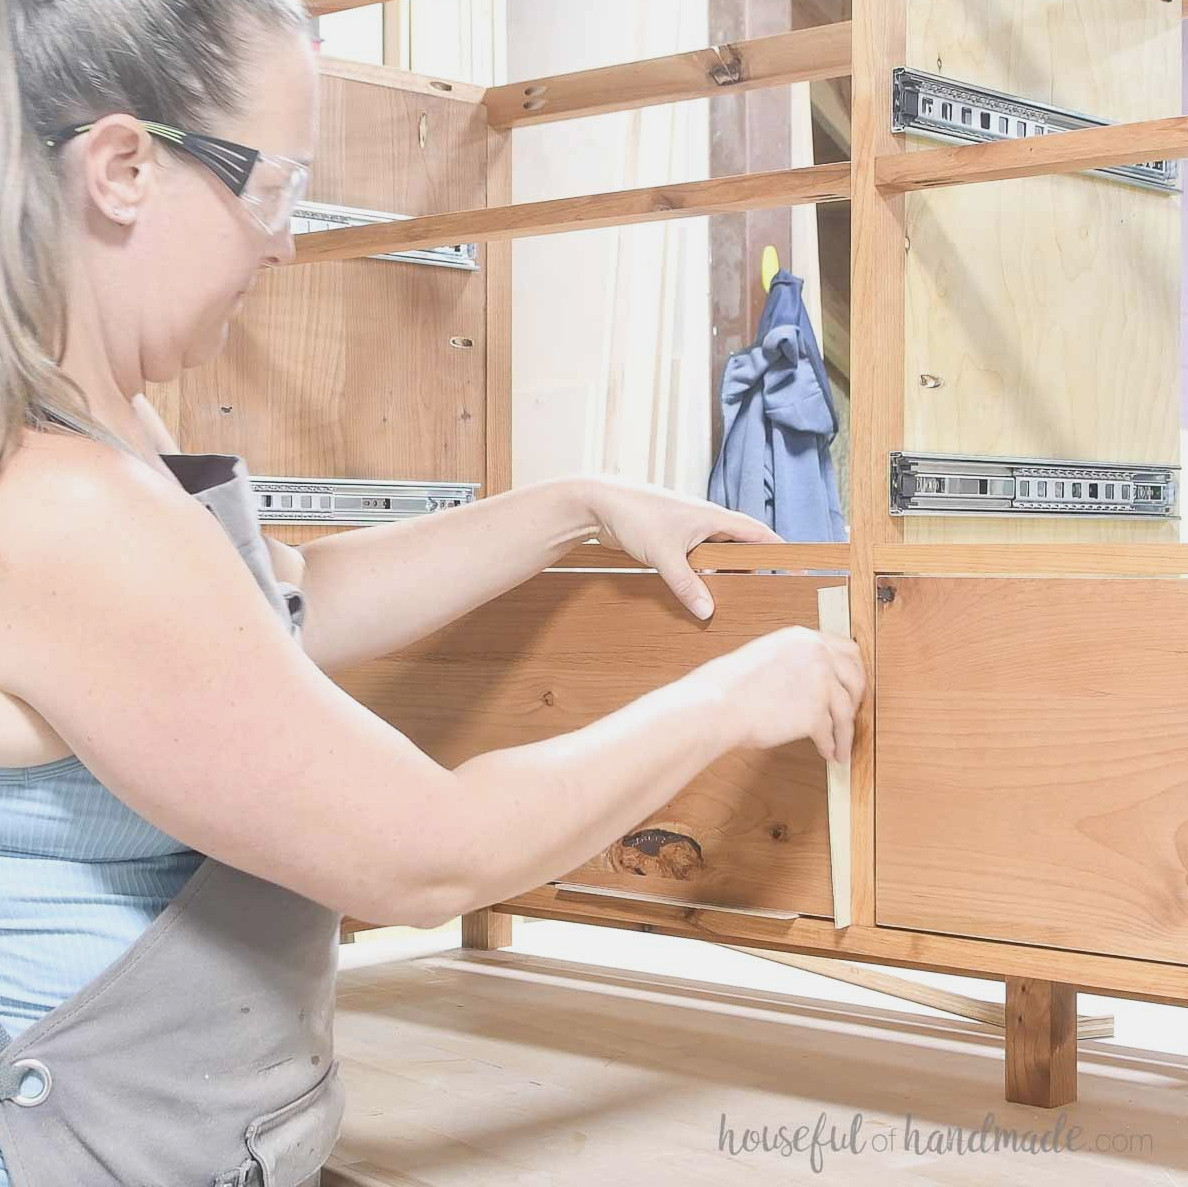
Position the drawer fronts within the frame so they are flush with the front. Leave a 1/8” space around all sides of each drawer front.
After aligning the drawer front correctly (use 1/8” spacers or playing cards to achieve an even reveal), I temporarily secured it from inside the drawer with a brad nailer and 1” nails.
You can also try my method of mounting drawer fronts with the drawer pulls. I simply had not decided which pulls I wanted to install yet.
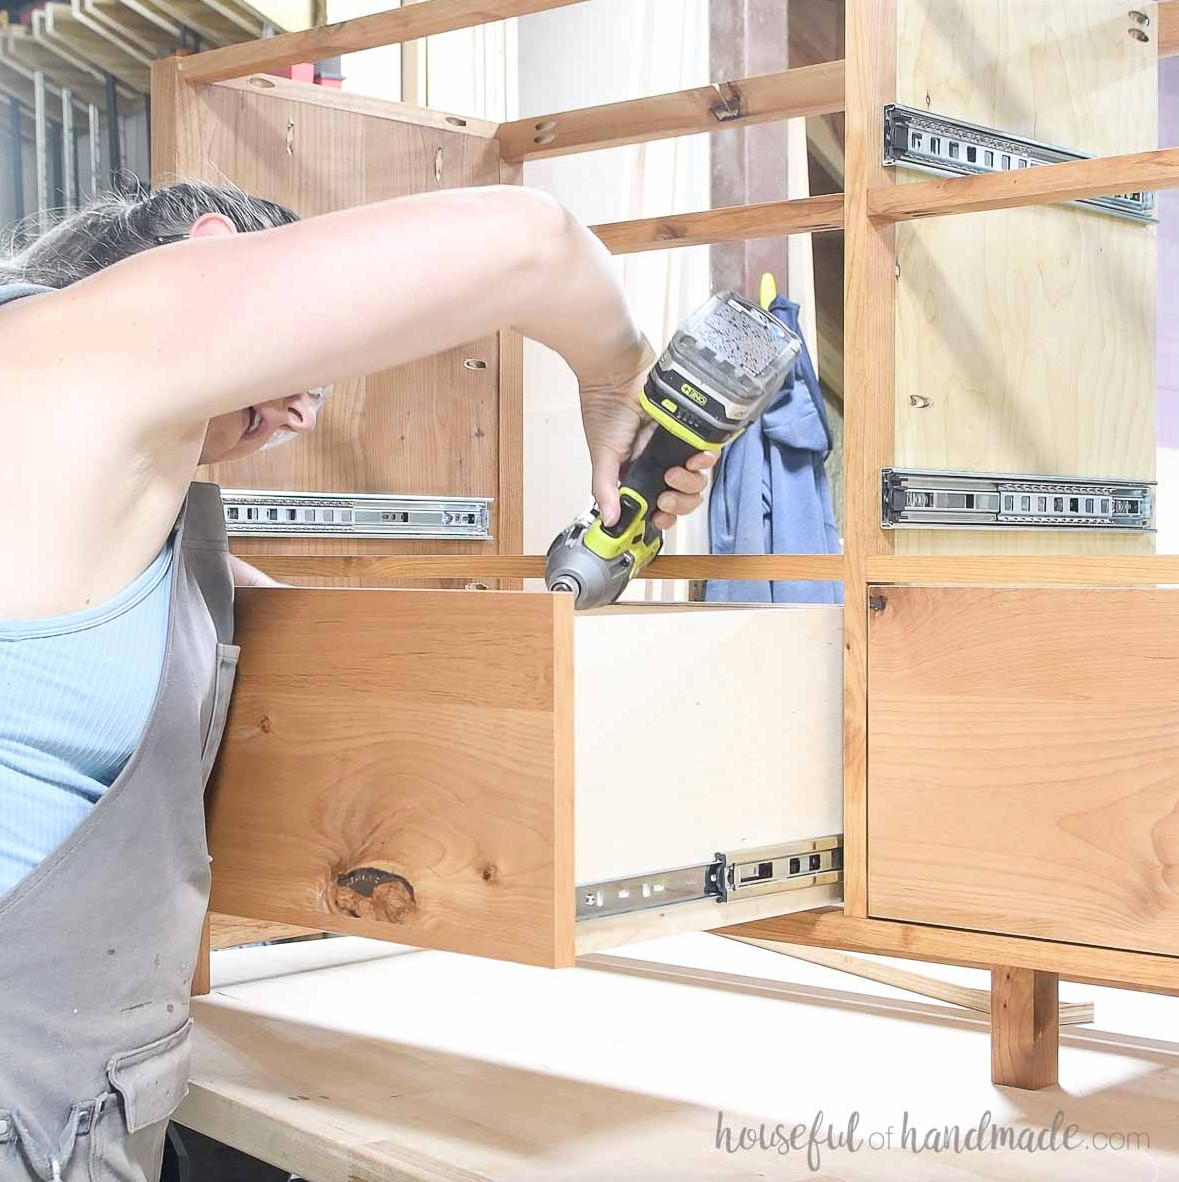
Next, permanently secure the drawers with 1” wood screws driven from inside the drawer.
Install (4) screws on each drawer, placing one at every corner of the drawer front.
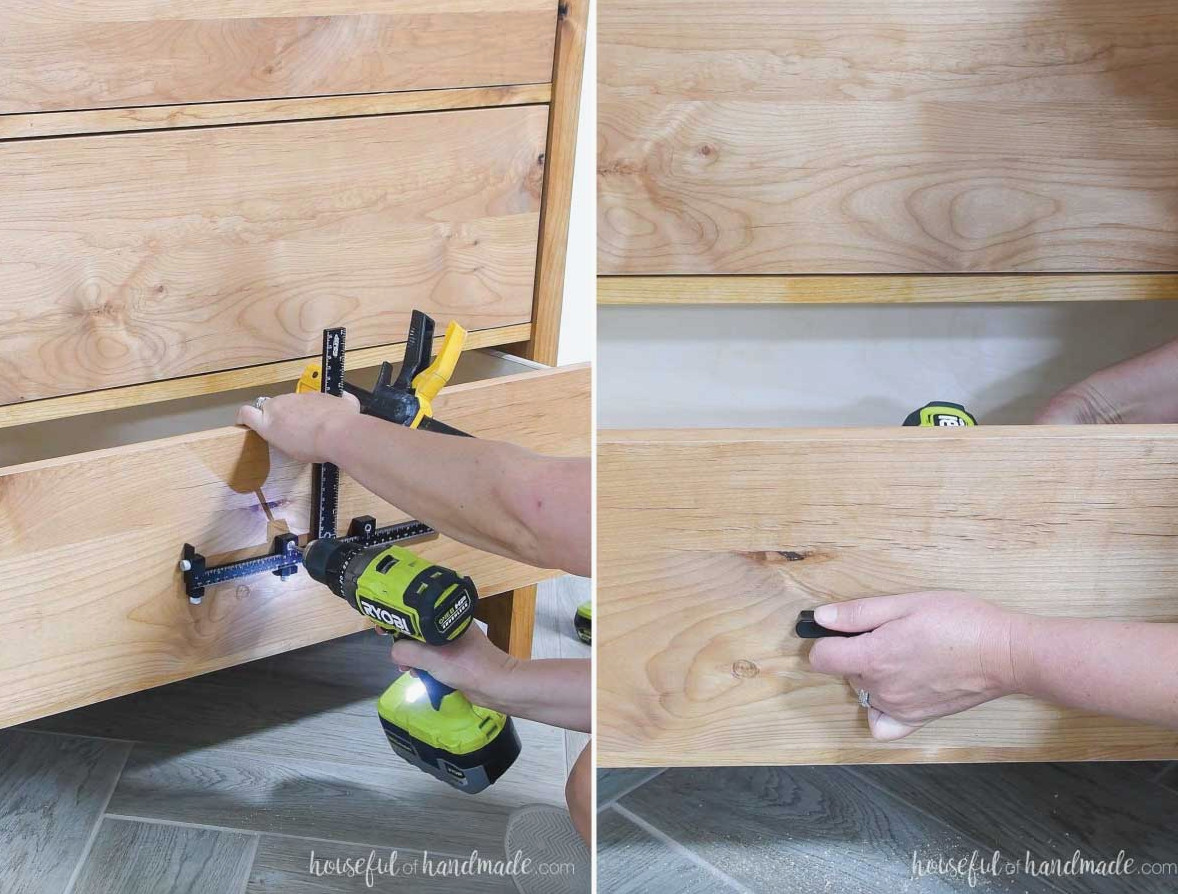
Install the drawer pulls of your choice. I centered one 4” long black pull on every drawer front.
STEP 6- Install the top and finish
I prefer fastening the top at the end, since this keeps the drawer interiors easy to reach during installation. Begin by removing every drawer and labeling it. I noted each drawer’s position on the back of its box.
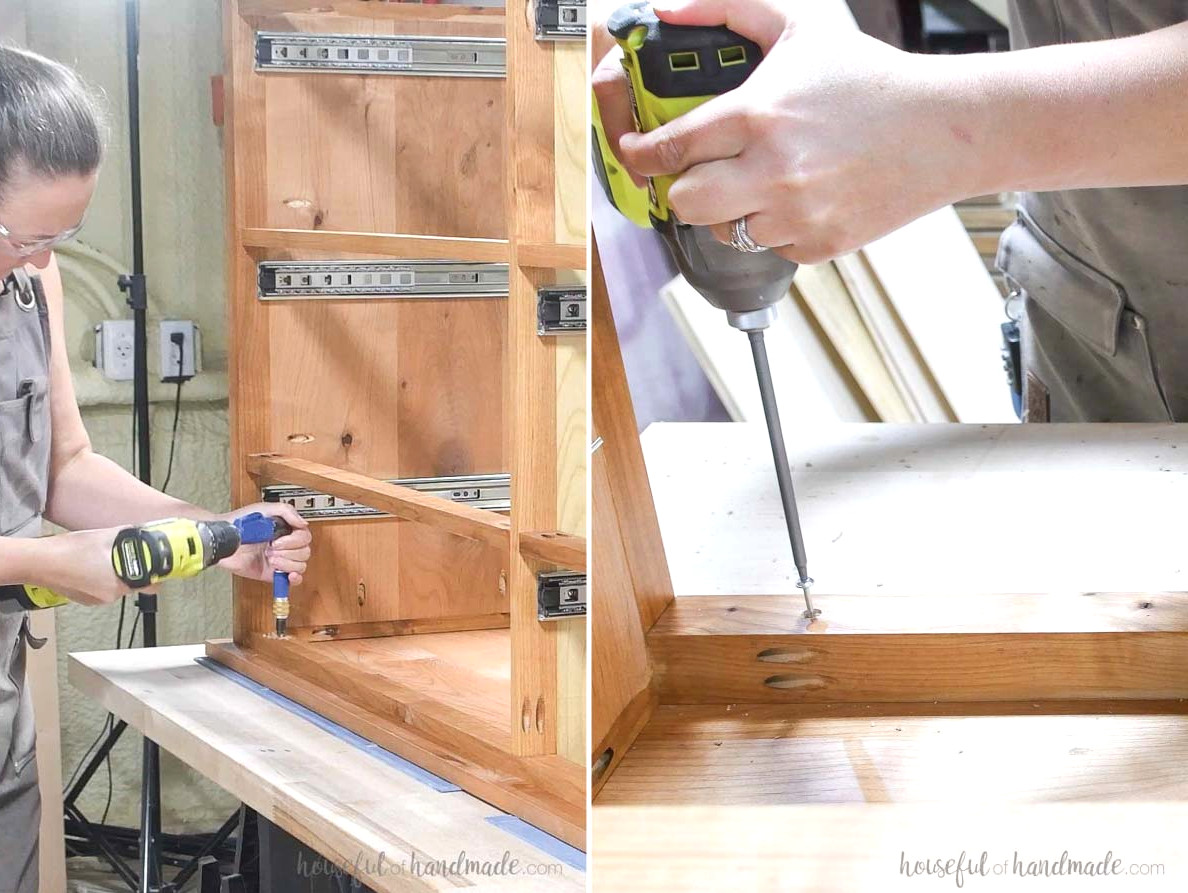
Set the top on your workbench, then turn the dresser frame upside down and place it over the top. The top needs to align flush with the back of the dresser frame while extending 1” past the sides and front.
Create 1/4” deep countersunk holes through the frame’s top at both the front and back.
Secure the top using 1” screws in the front holes and 2” wood screws in the rear.
Put the drawers back in, and you’re finished!
Stain, seal, or paint your new six-drawer dresser. I applied a matte sealer to protect the alder wood without introducing color. It simply enhances the warmth of the natural wood.
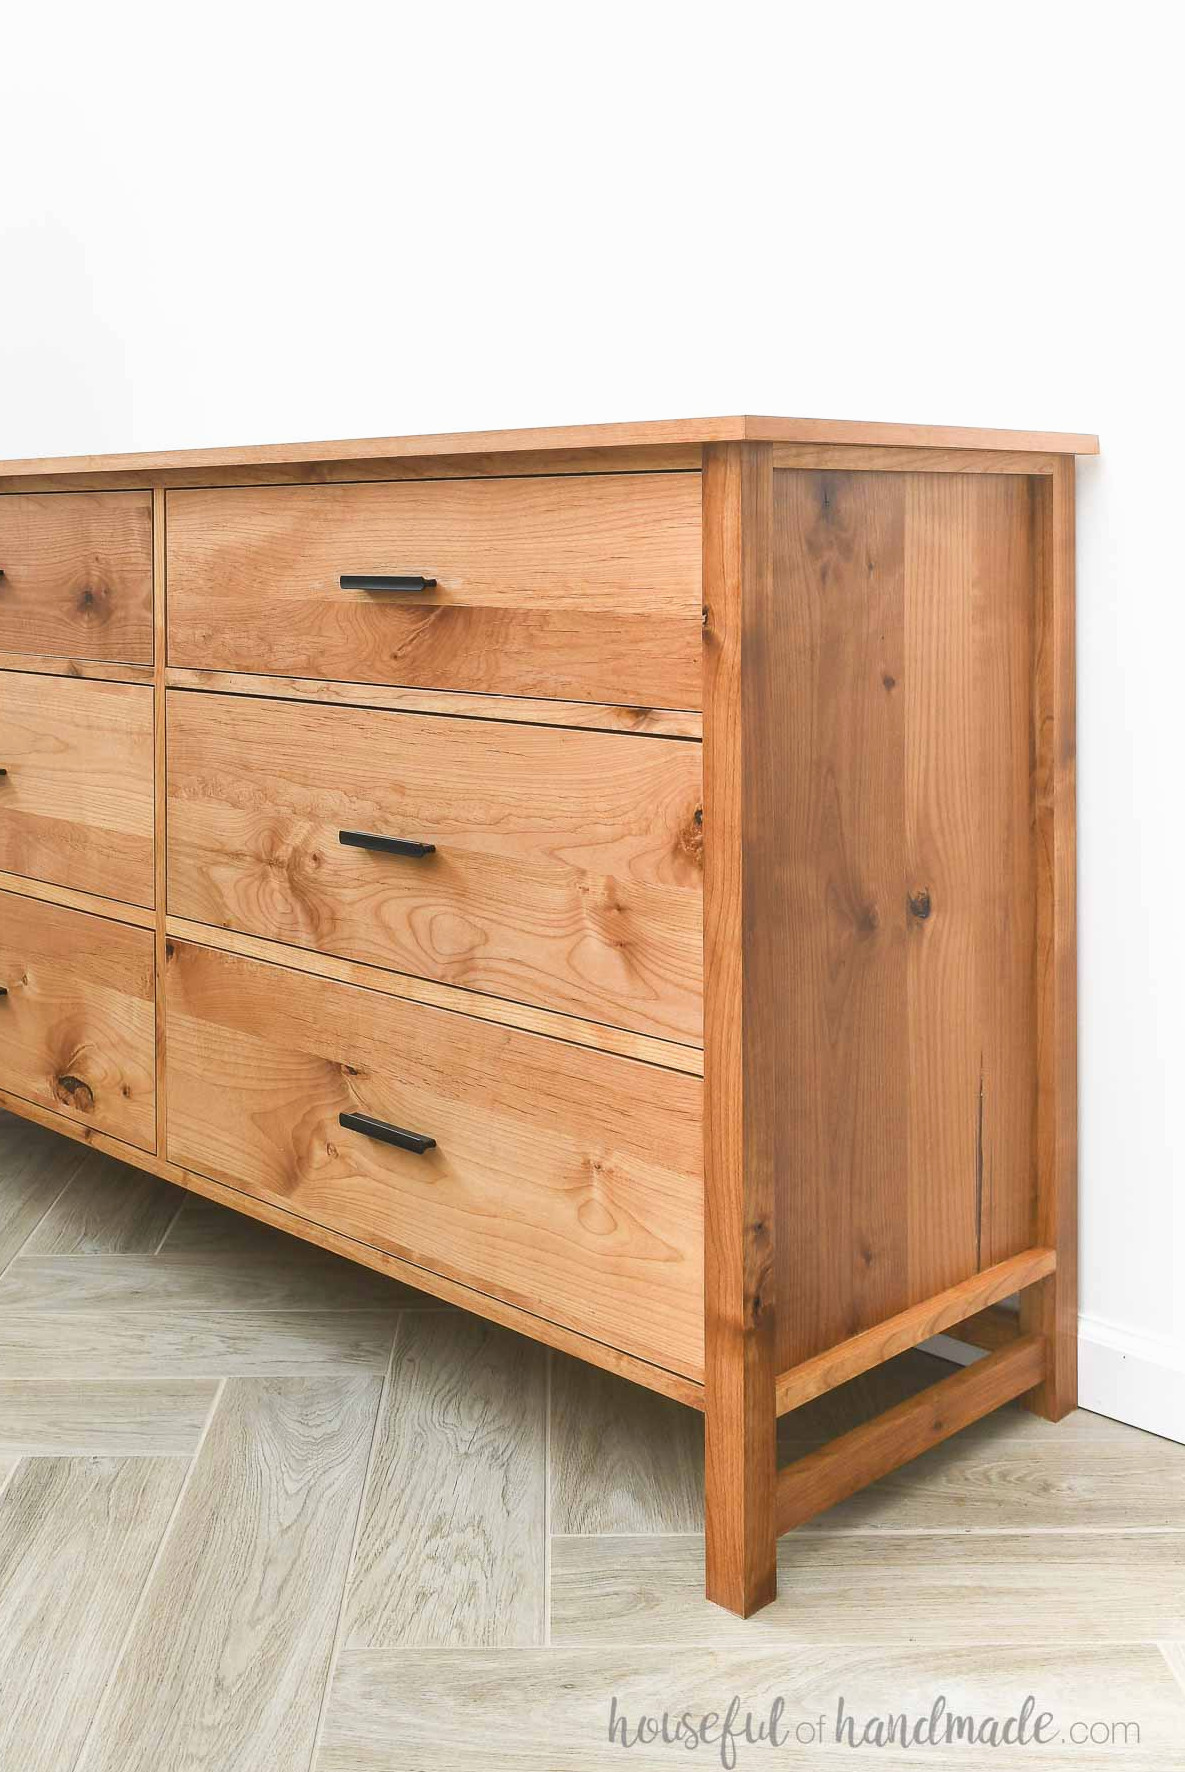
You made it!
Don’t Forget to Get the Printable PDF Plans Here!
Premium plans contain:
- Suggested Tools
- Purchase list
- Clear cut list chart
- Cutting diagrams
- Detailed instructions with 3D renderings
- Useful resources
- BONUS: 3D SketchUp model
Now fill the spacious drawers and appreciate all the storage you created!
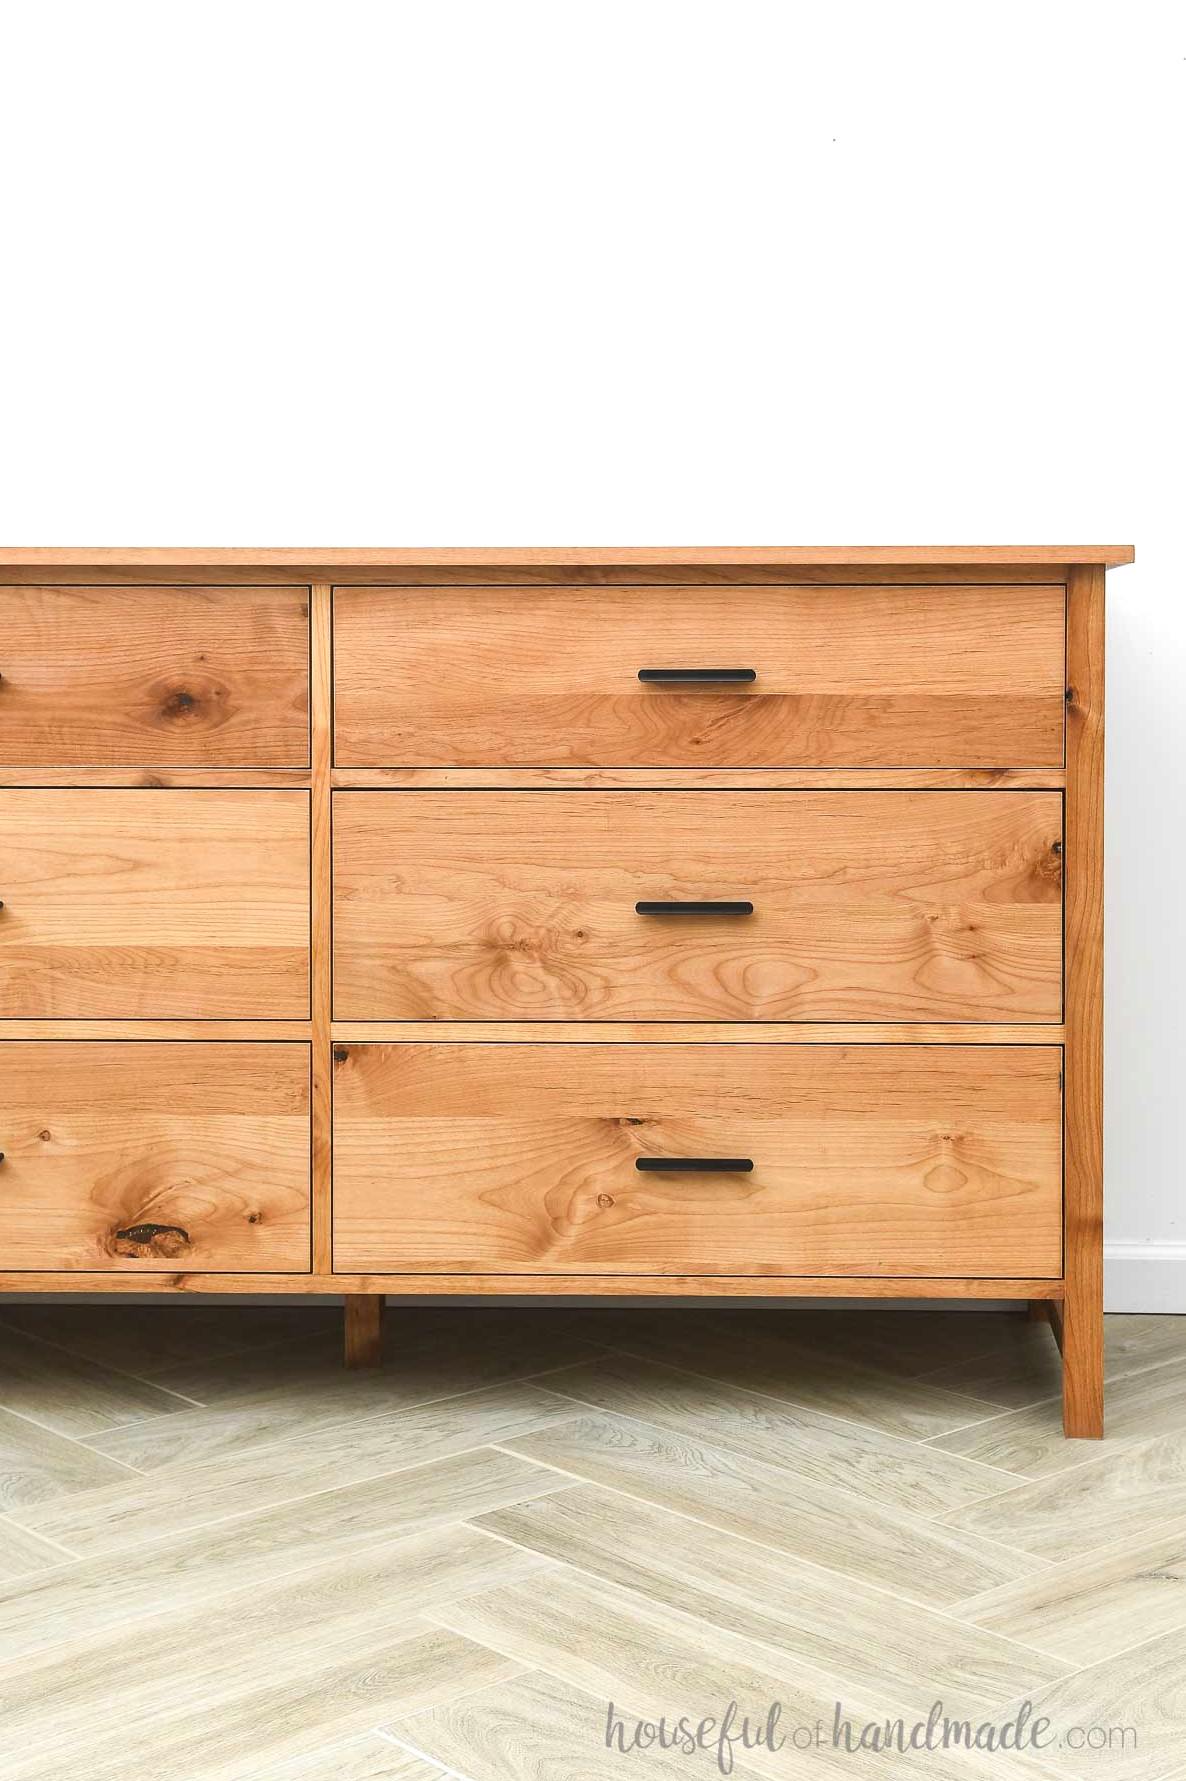
Enjoy building!