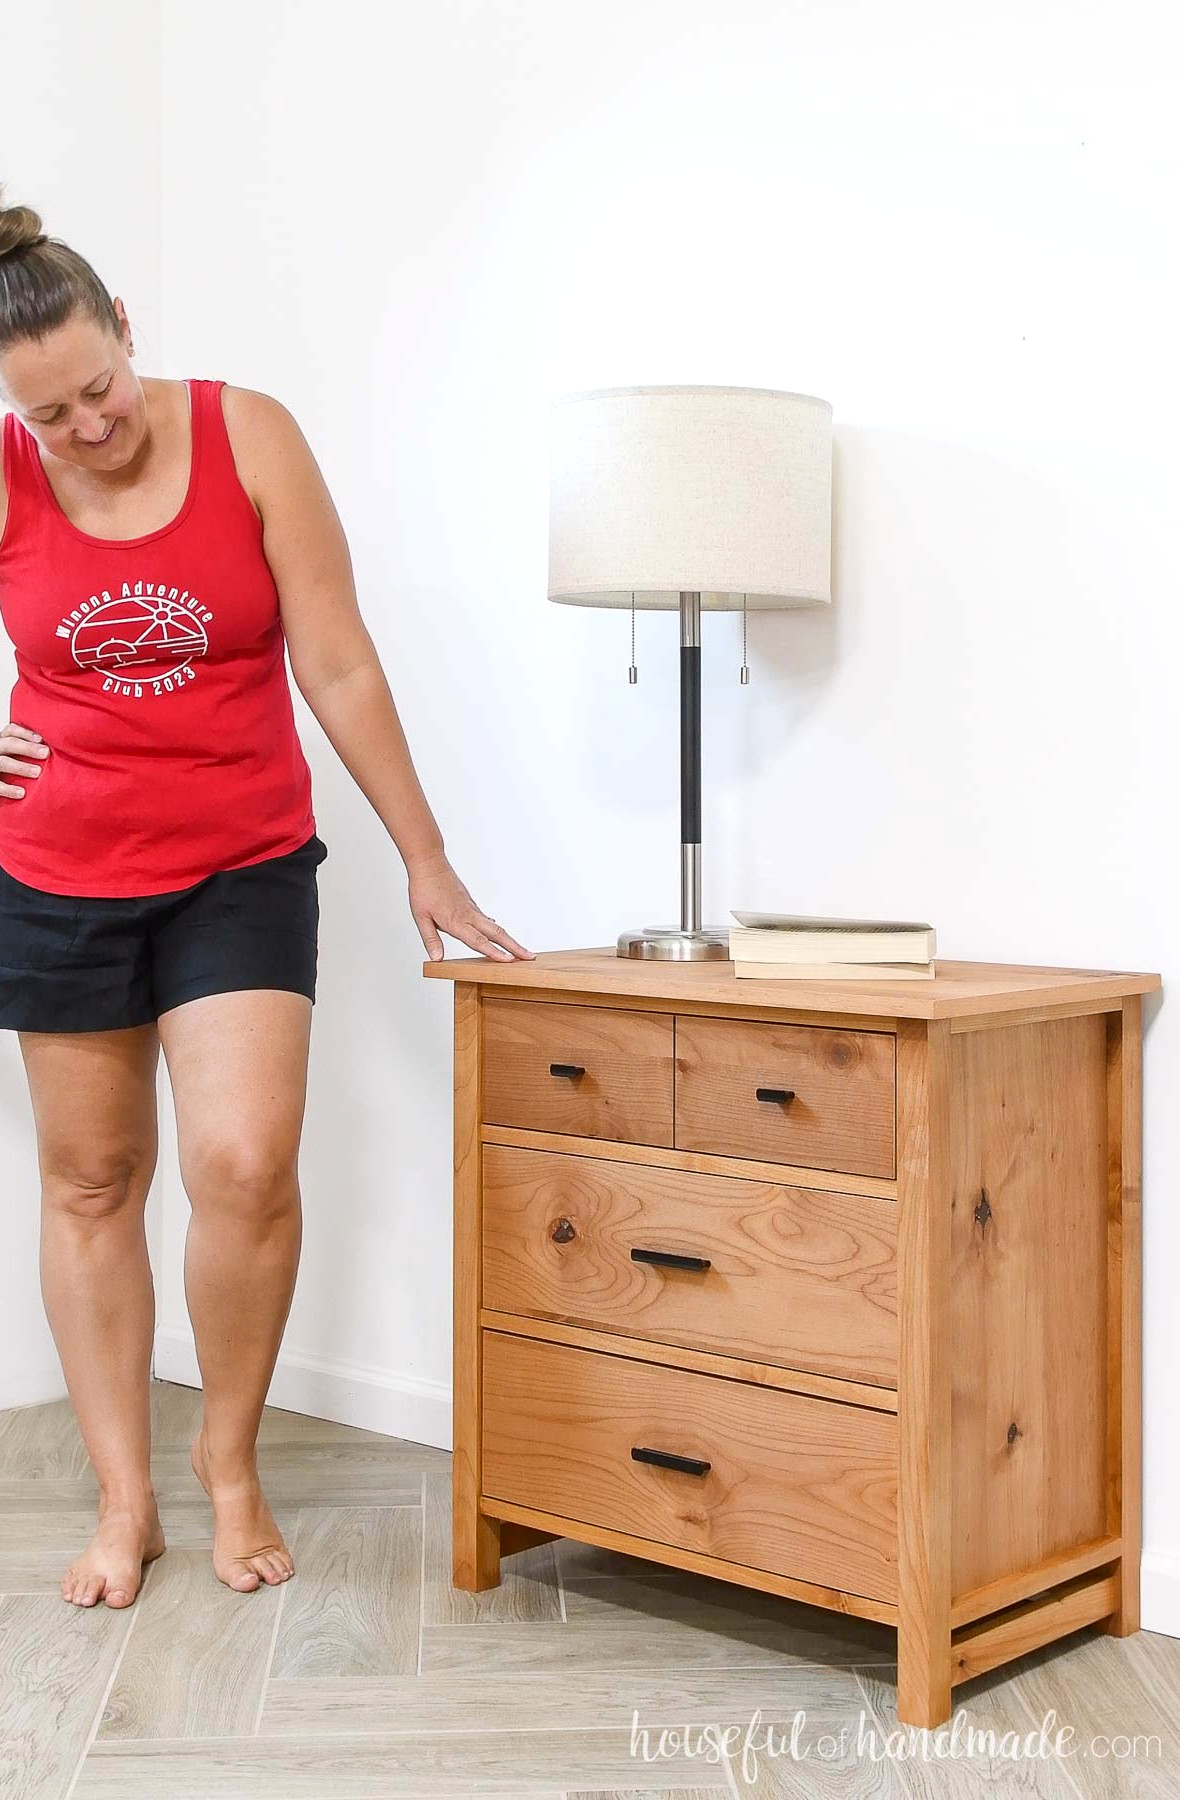
Create bedside storage with a timeless nightstand featuring 3 spacious drawers.
If you enjoy keeping essentials within reach of your bed, a nightstand is a must. This DIY nightstand offers plenty of space to organize everything.
The 3 drawers let you store all the items needed for a relaxing night’s sleep nearby. More importantly, they keep those belongings neatly concealed.
I love that this straightforward 3 drawer nightstand is the ideal finishing touch for the classic coordinating bedroom collection.
Take a look at the matching 6 drawer dresser plans, 4 drawer dresser, tall 7 drawer dresser plans and 1 drawer nightstand plans to create your own custom bedroom set.
Two Nightstand Sizes
Finding the ideal nightstand size for your space can sometimes be challenging. Spacious modern bedrooms may cause standard nightstands to appear undersized.
That is why I designed 2 different nightstand plans: a standard 22″ wide version and a generous 28″ wide version. Choose whichever nightstand size works best in your room.
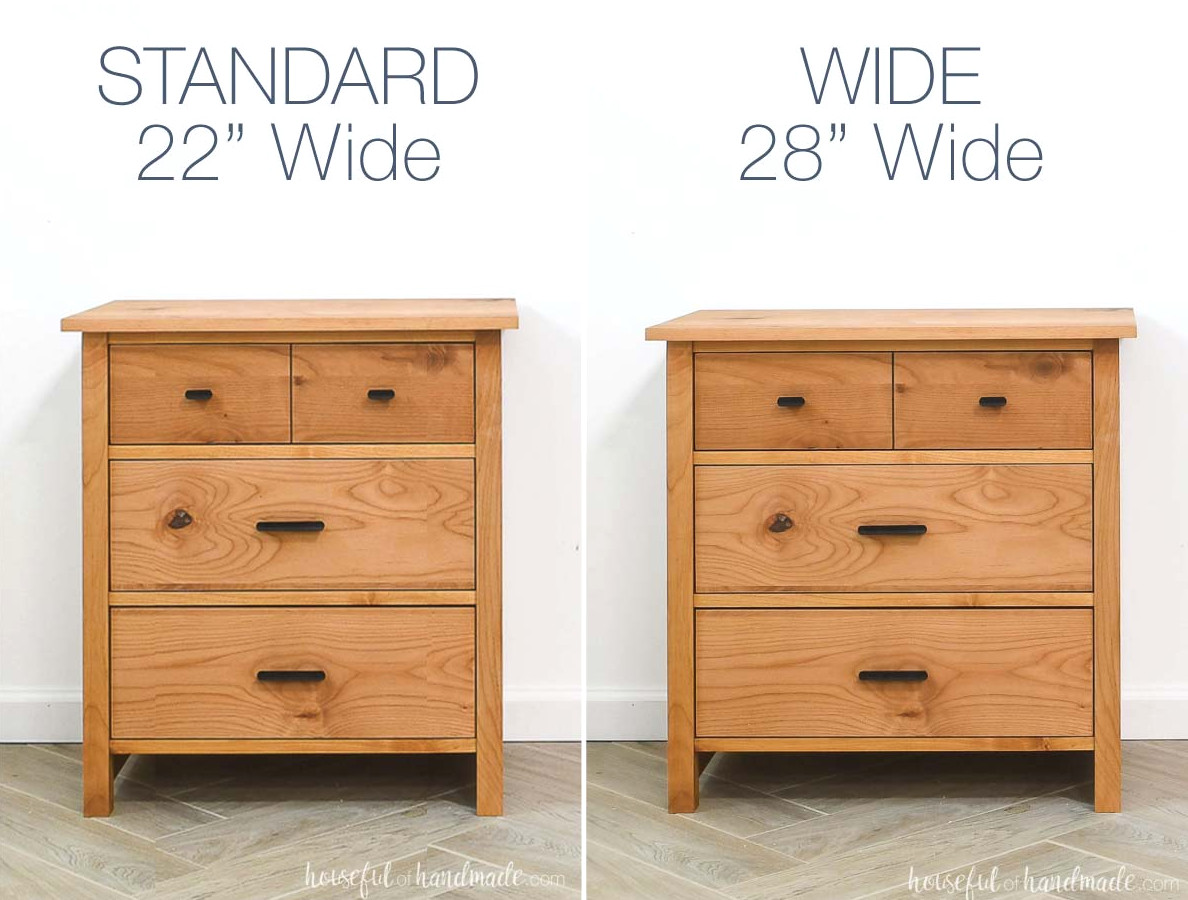
The wider nightstand is my favorite when you have plenty of items you want beside your bed. I generally keep my lamp, 1-2 books I am currently reading, lotion, blue light blocking glasses and a coaster for my evening tea.
With the bigger nightstand, everything stays conveniently within reach!
However, if you prefer a tidy, uncluttered nightstand (I sometimes wish I had one). Or need a slimmer nightstand to preserve space, the standard option is a great choice.
Even the standard nightstand offers ample storage across its 3 drawers!
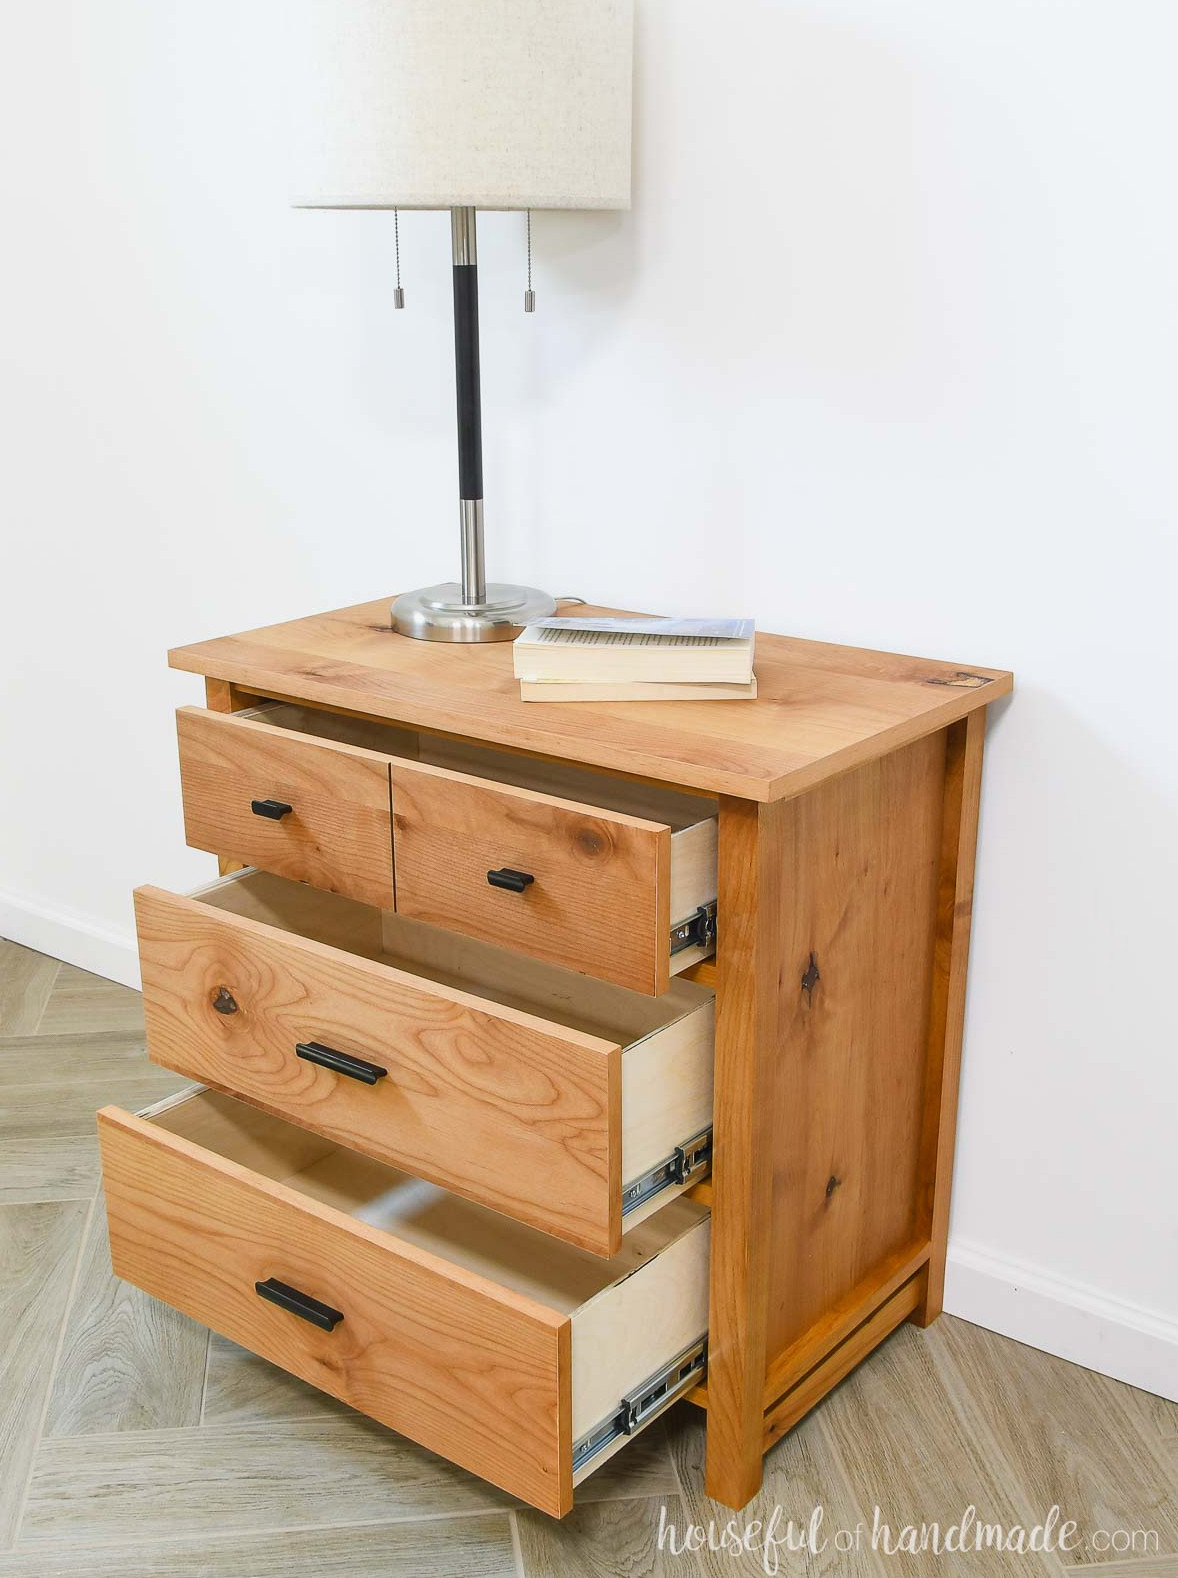
Matching Dresser Set
Looking for additional bedroom storage? Build an entire dresser set with 3 different dresser choices and 2 separate nightstand sizes.
How to Build a Nightstand with Drawers
Tools & Materials
Overall Dimensions
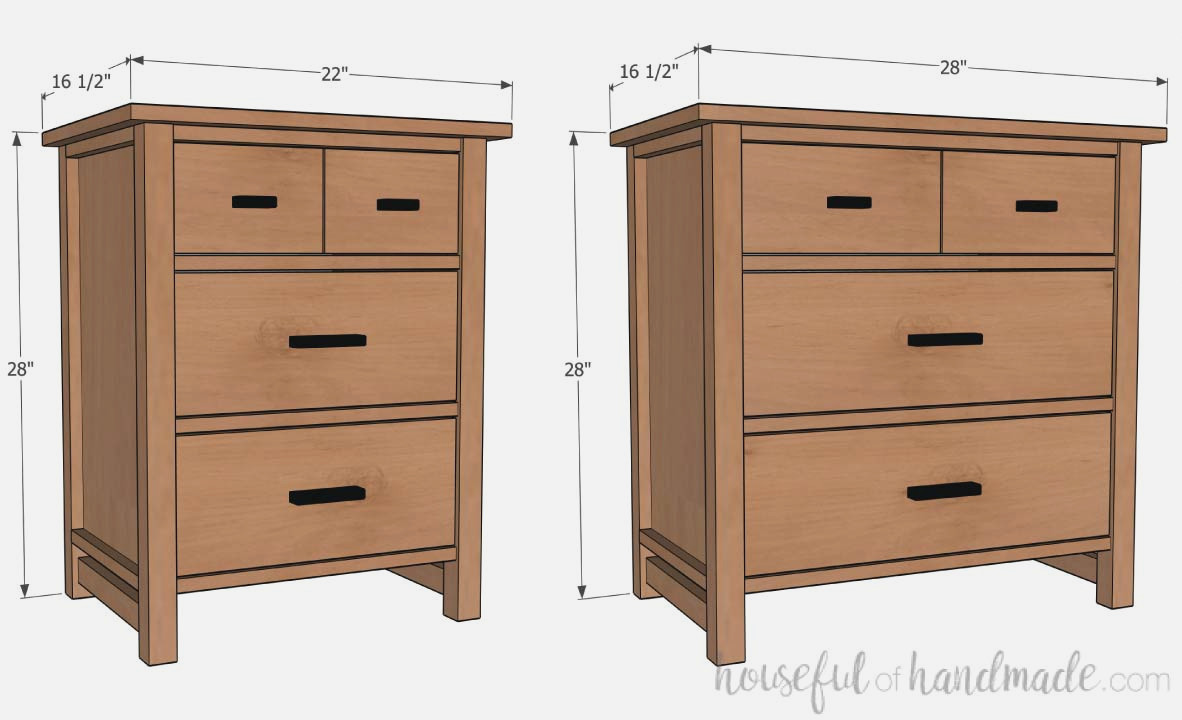
The completed nightstand measures 16 1/2″ deep and 28″ tall. The standard model is 22″ wide, while the wider version measures 28″.
Cut List
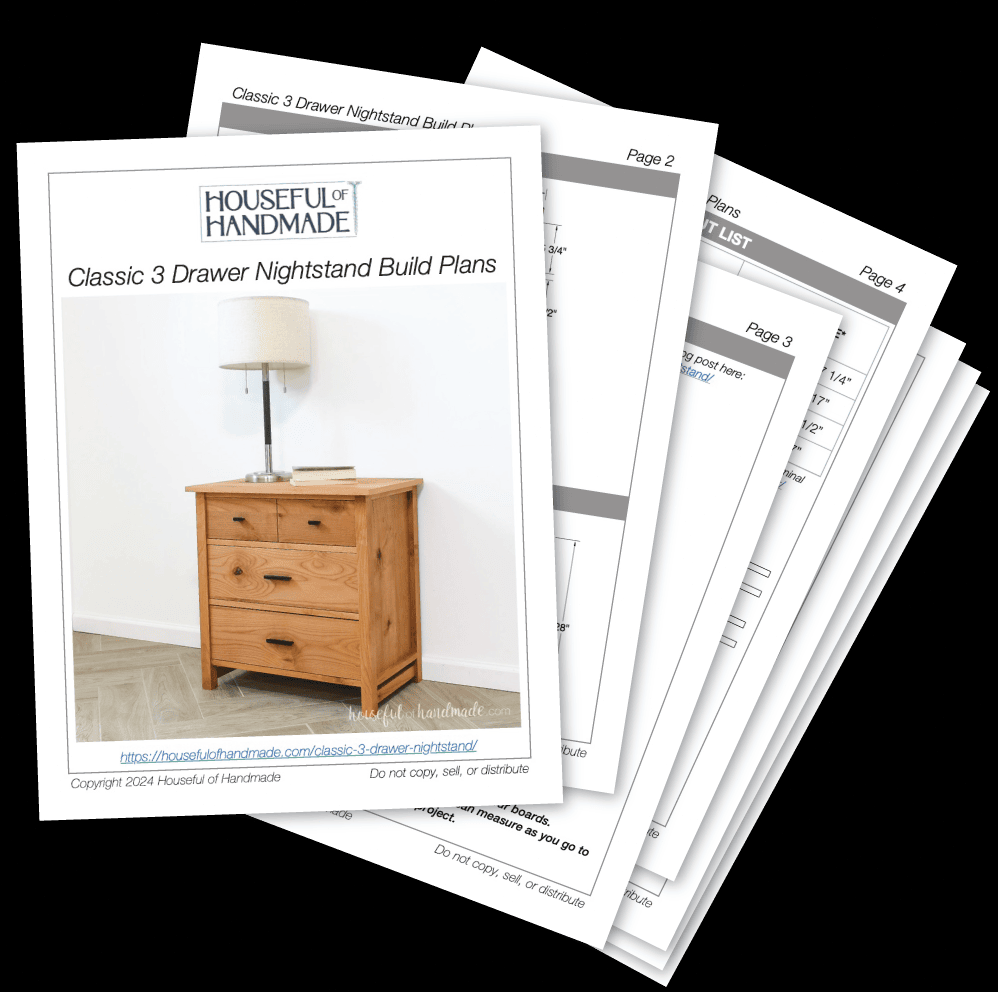
Download the Premium PDF Woodworking Plans
PDF plans contain- Simple-to-Follow Cut List, Shopping List, Suggested Tools, Step-by-Step Directions with 3D drawings, & Useful Resources
BONUS- 3D SketchUp File
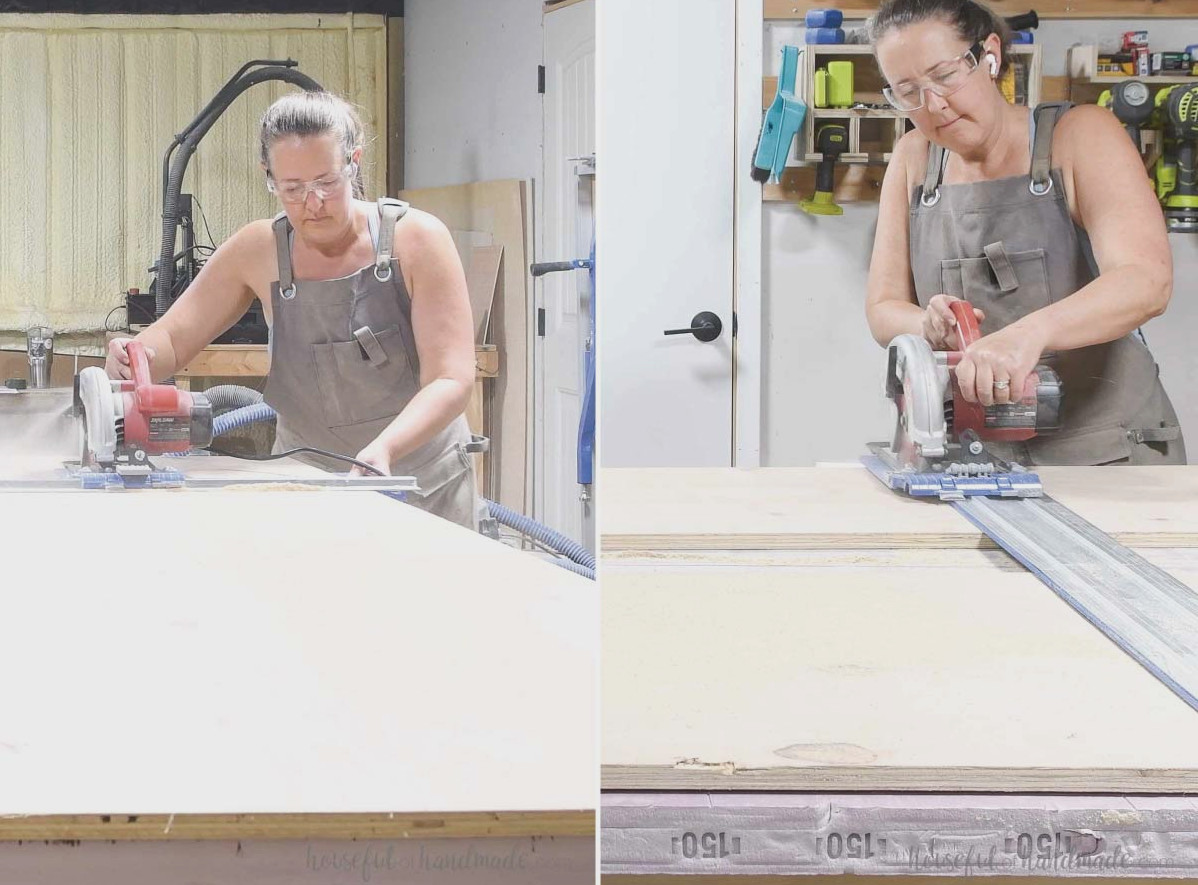
I prefer to break down my plywood sheet on a section of firm foam insulation so both the sheet and the cut parts remain supported.
First, I use a RipCut guide to divide the plywood into strips, then crosscut those strips to their final lengths.
Read all my advice for breaking down plywood sheets easily with a circular saw here.
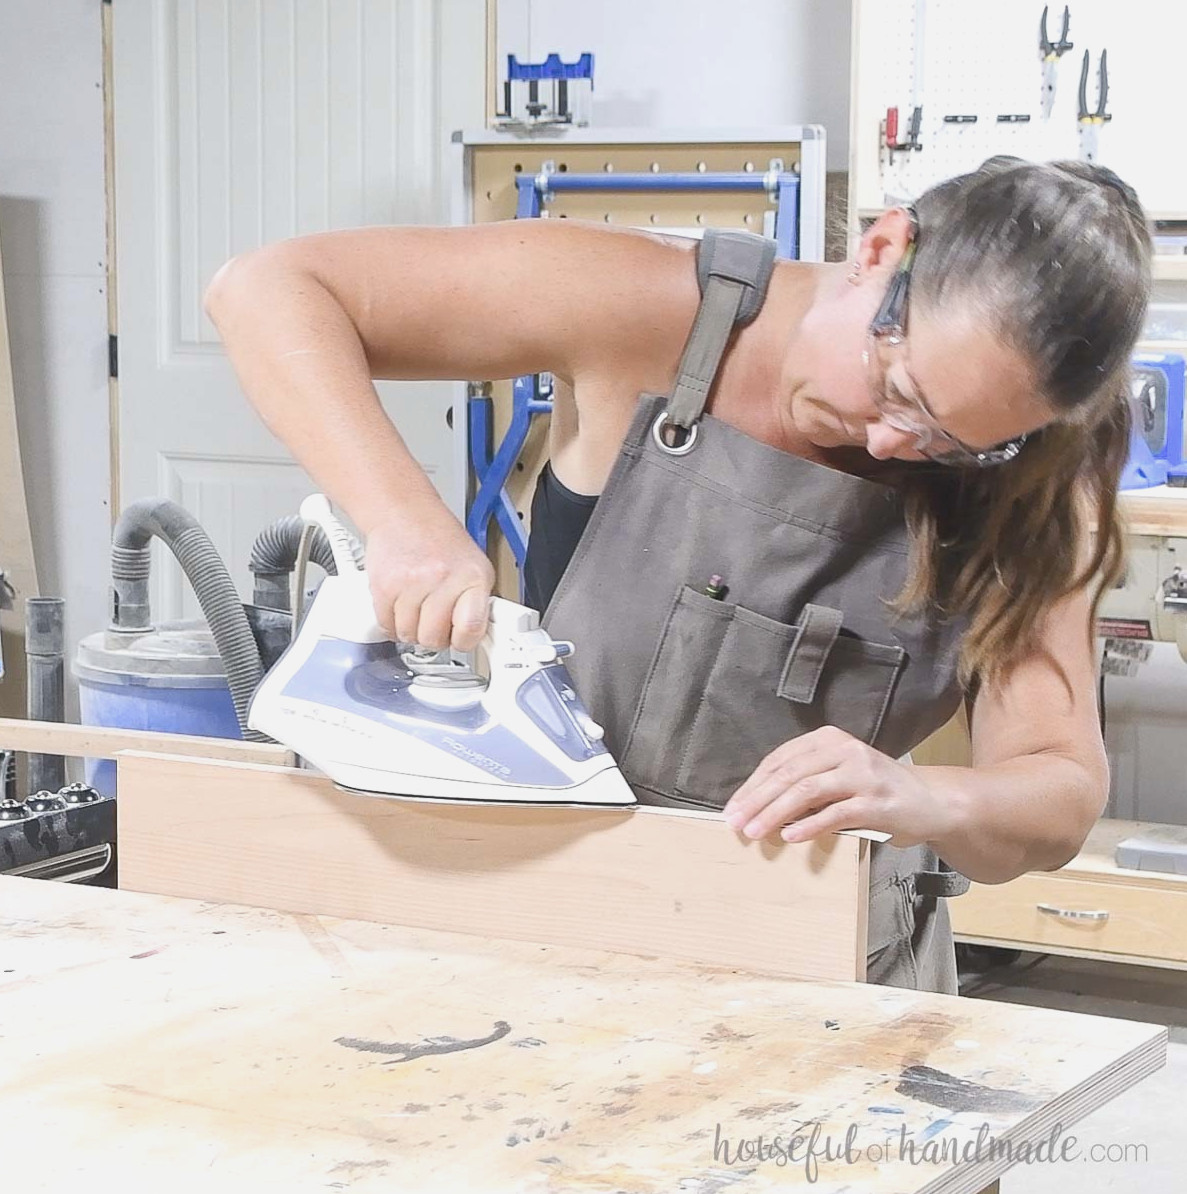
Apply iron-on edge banding around the drawer front pieces and top to conceal the exposed plywood edges.
As another option, you can make the drawer fronts from 1×6 (actually 5 1/2” wide) and 1×8 (actually 7 1/4” wide) boards if solid wood drawer fronts are preferred.
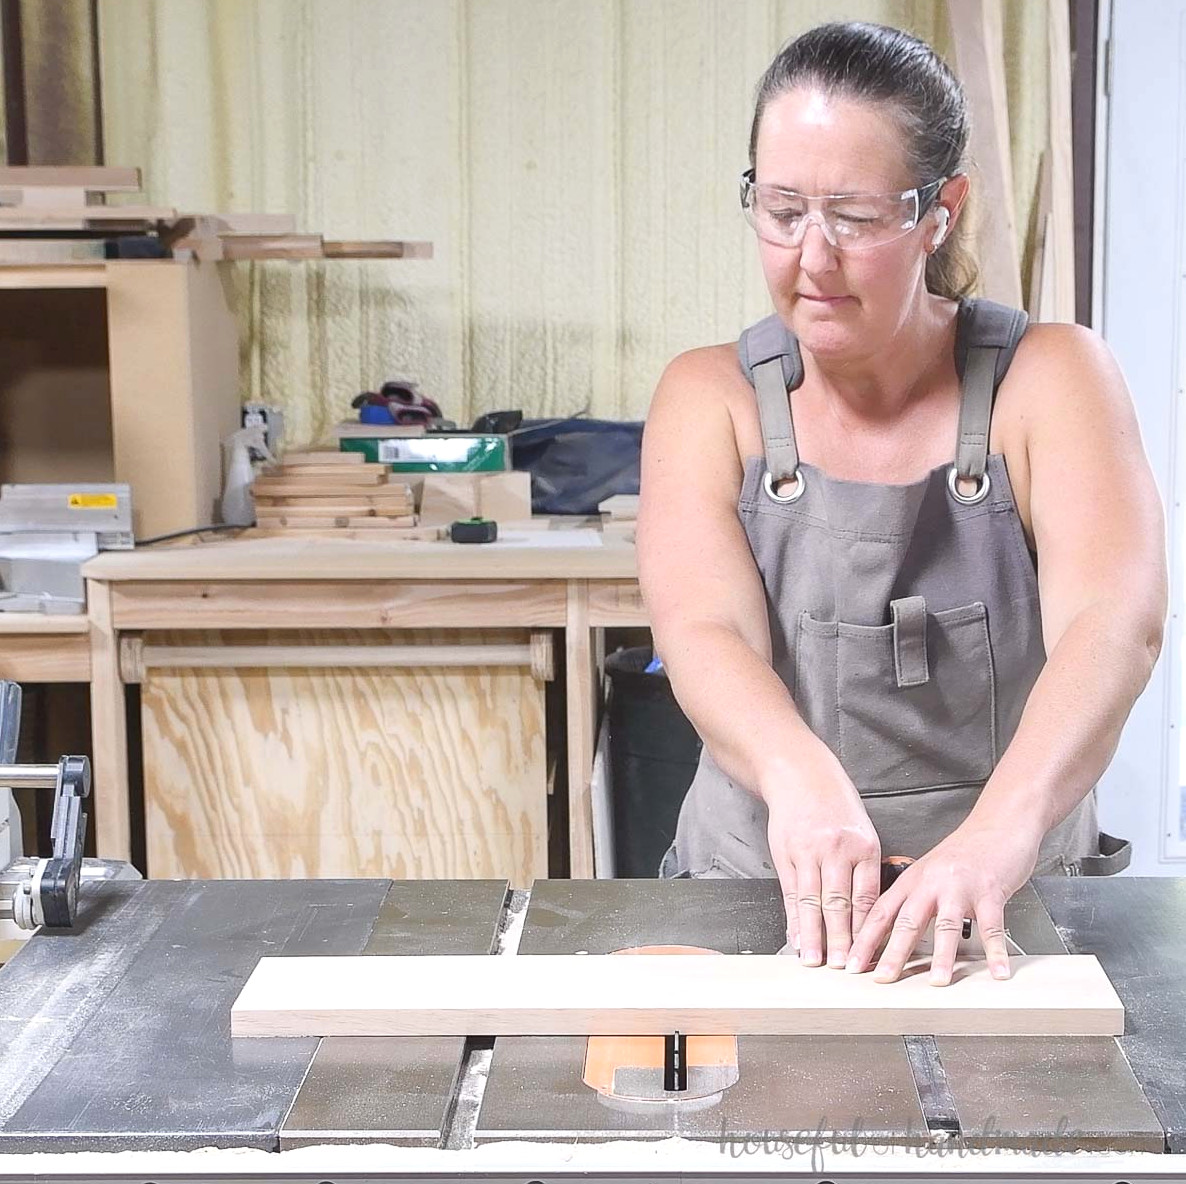
To create the appearance of 2 drawers in the upper drawer front, use a table saw or circular saw to cut a groove 1/8″ deep down the middle.
A single saw pass is enough to create the look of two drawers. If the plywood shows through lightly inside the groove, you can apply dark stain/paint to give it the appearance of a separation.
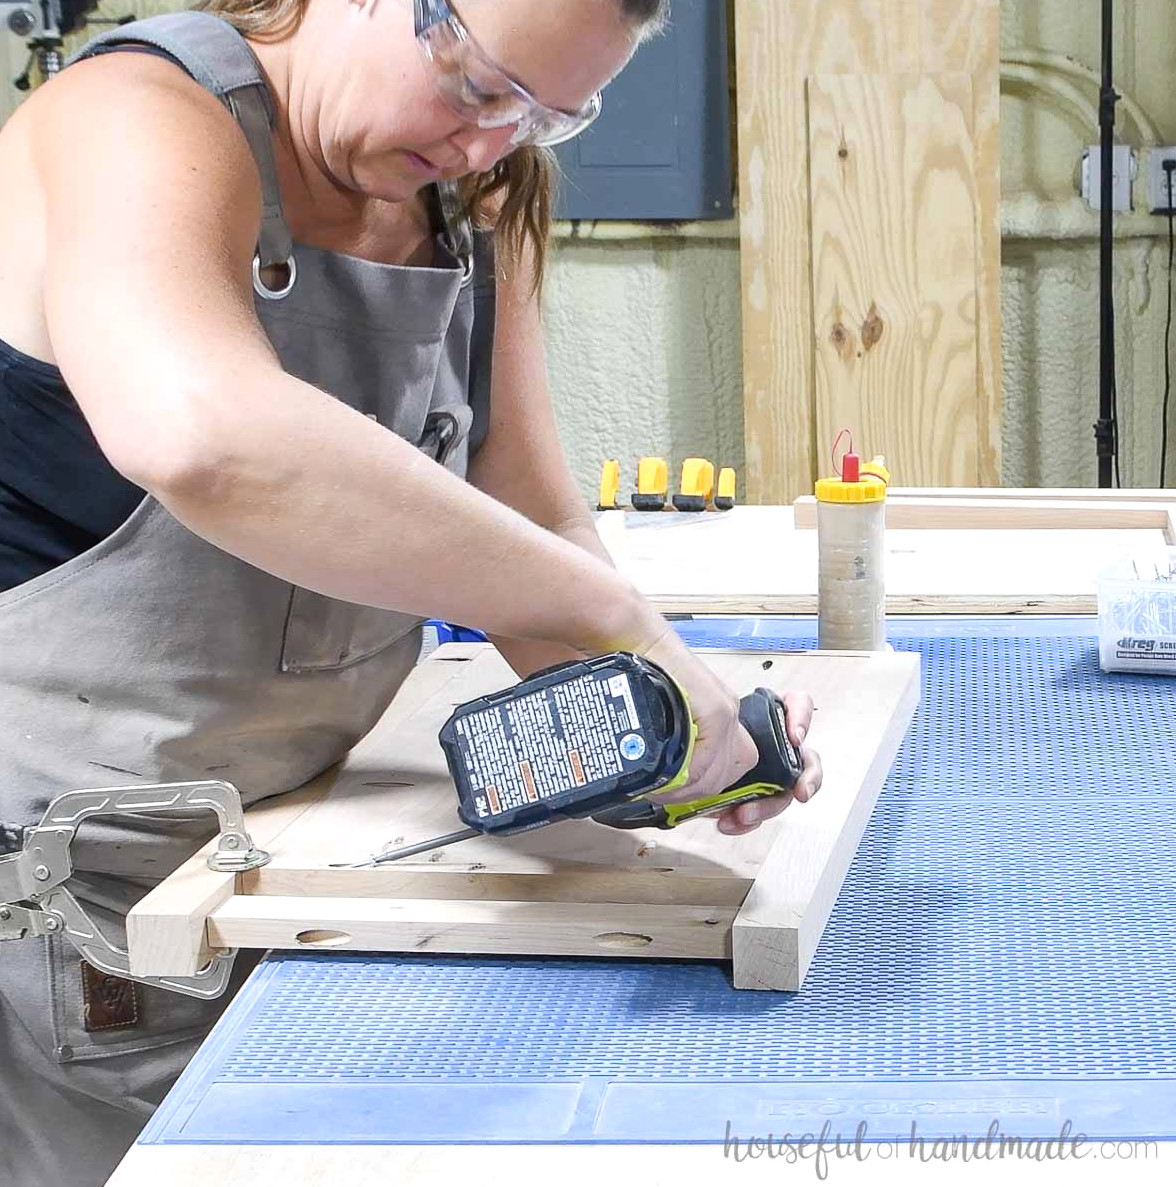
STEP 1- Assemble the sides
At both ends of the 3/4” wide edge on the side trim pieces, drill one pocket hole adjusted for 1 1/2” thick material.
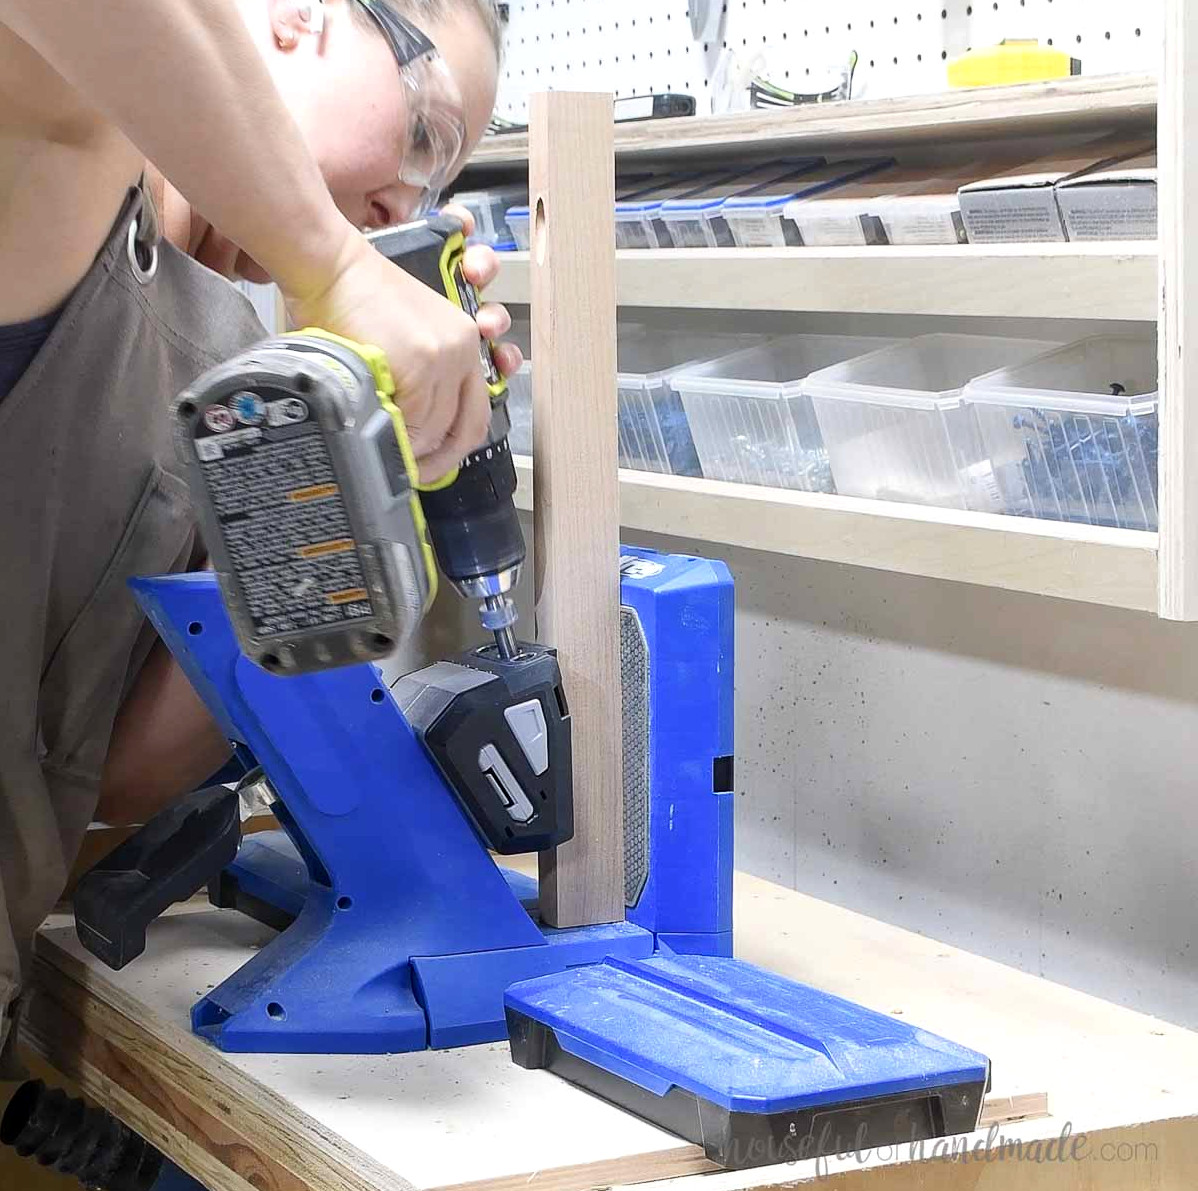
In the side panel pieces, drill pocket holes configured for 3/4” thick plywood around the perimeter.
Position the pocket holes along the top and bottom of the side panel away from the edges so they do not interfere with the holes in the side trim when everything is attached.
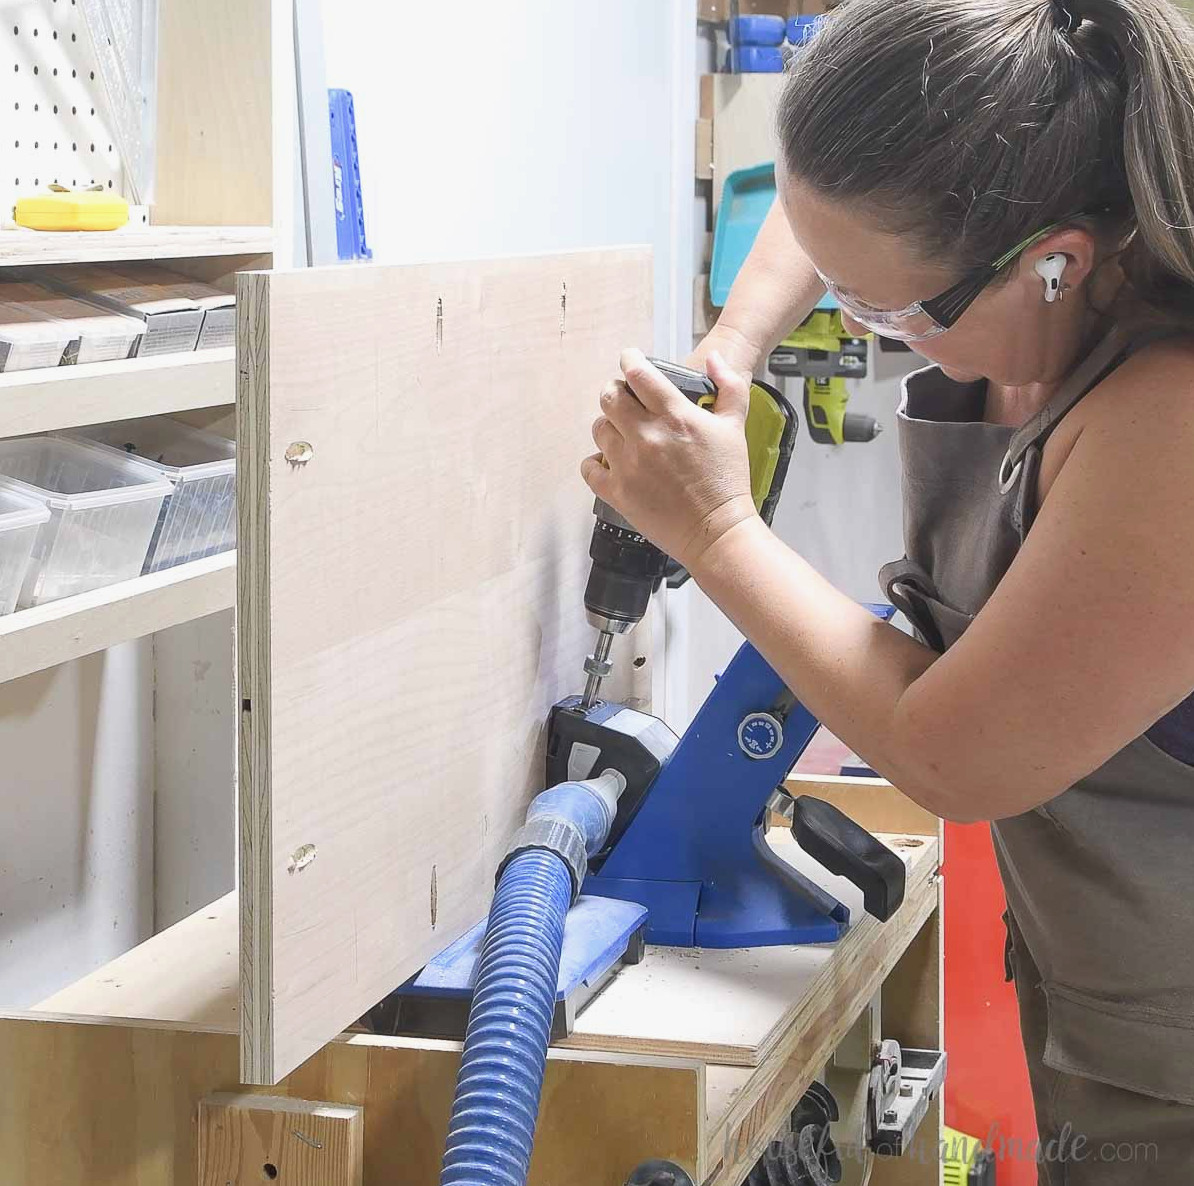
Fasten the side trim to the panel’s top and bottom, keeping the panel even with the rear edge of the trim board.
Use 1 1/4” pocket hole screws along with wood glue.
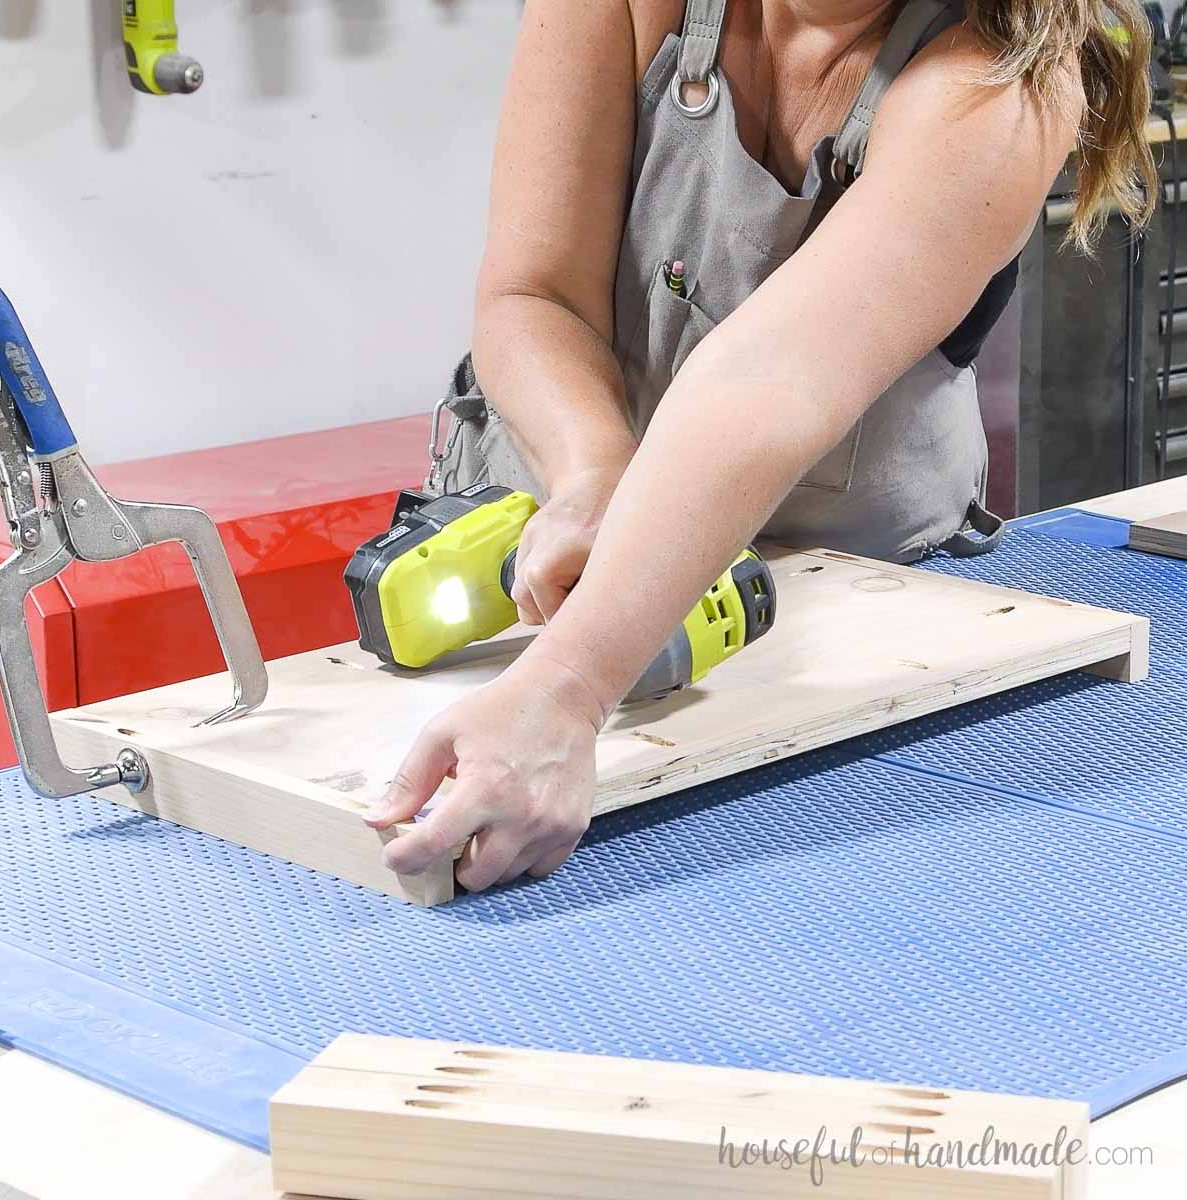
Using wood glue and screws, fasten the side panel to one leg piece, keeping it even with the top and aligning the panel flush with the leg’s back.
- Fasten the trim pieces to the leg with 2 1/2” pocket hole screws.
- Use 1 1/4” pocket hole screws to secure the panel to the leg.
Position the third side trim piece at the bottom of the leg, 1” above the leg’s base and centered across it (3/8” from both the front and back).
Orient the pocket hole toward the underside to conceal it. Apply glue and secure it with 2 1/2” pocket hole screws.
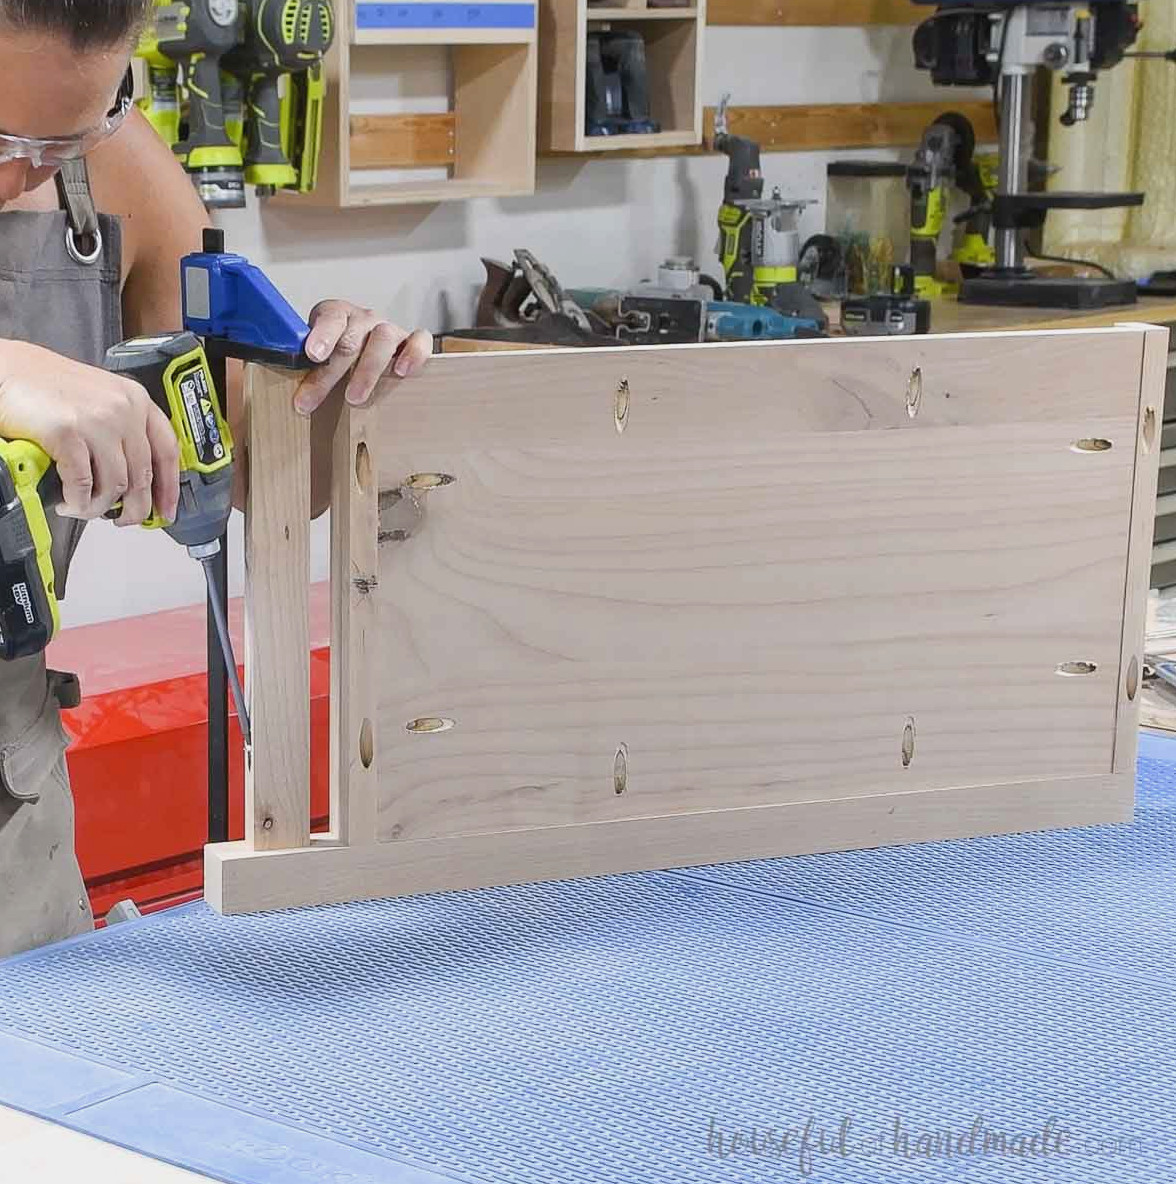
Attach the second leg to the opposite side using the same method.
Repeat these steps until you have 2 completed sides.
STEP 2- Join sides together
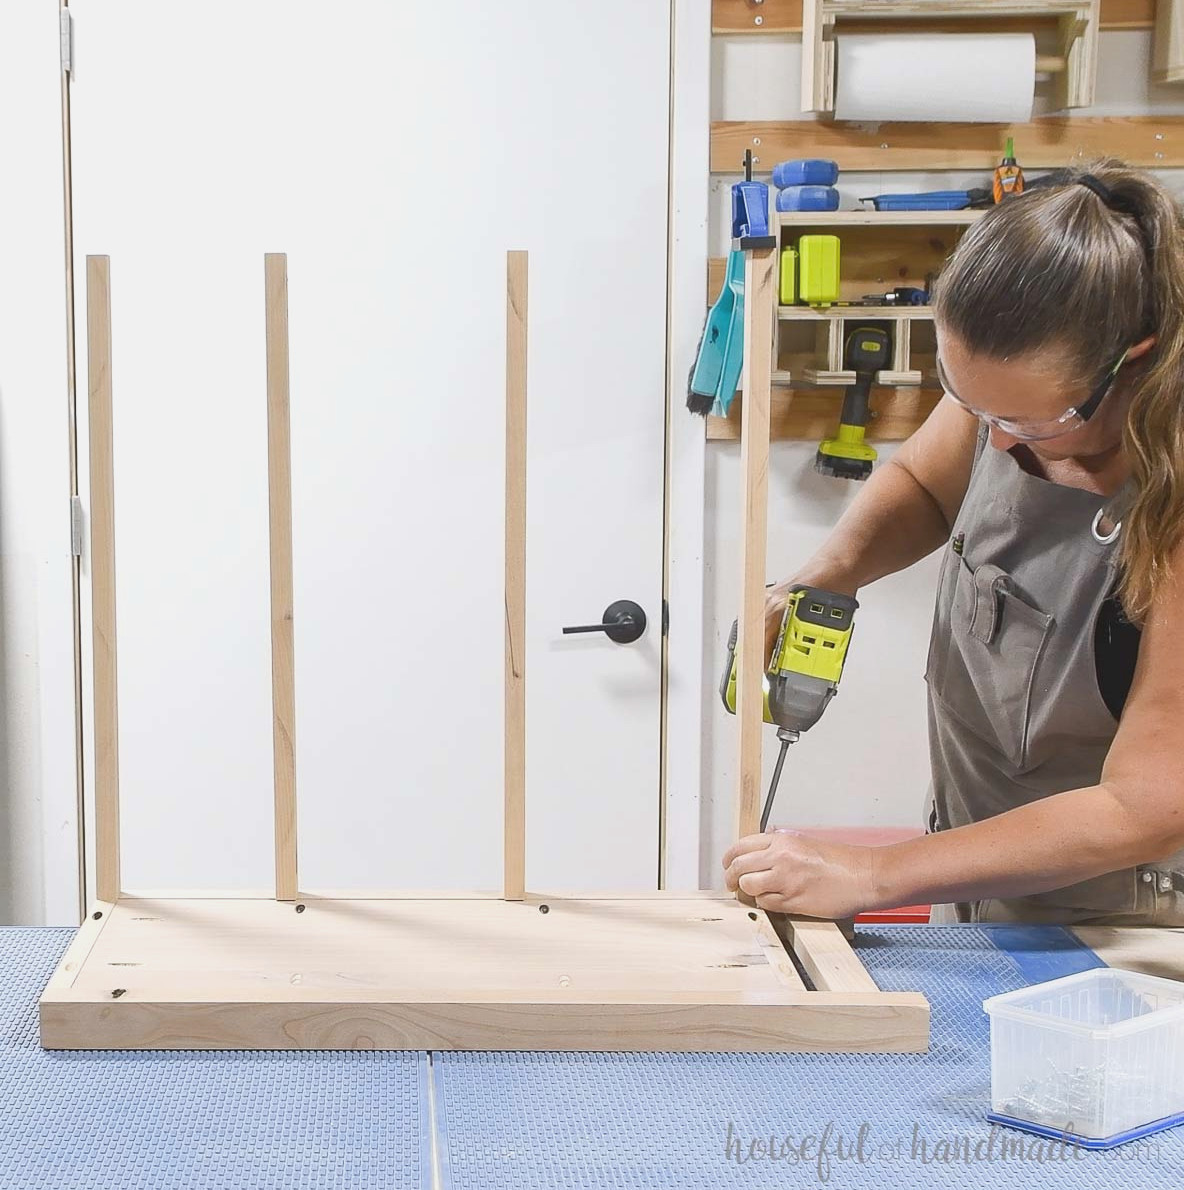
Make two pocket holes for 3/4” thick material in both ends of each of the (4) front trim pieces.
Following the spacing shown in the plans’ diagram, fasten the front trim pieces to one completed side. Position them 1/4” behind the fronts of the legs.
Use wood glue and 1 1/4” pocket hole screws to secure them.
EXPERT TIP:
For concealed pocket holes, point the holes in the upper trim upward so the top covers them, and direct the holes in the remaining trim pieces downward toward the floor.
After attaching all the front frame components to one side, fasten them to the second side piece.
Align the spacing carefully, then secure everything with 1 1/4″ pocket hole screws and glue.
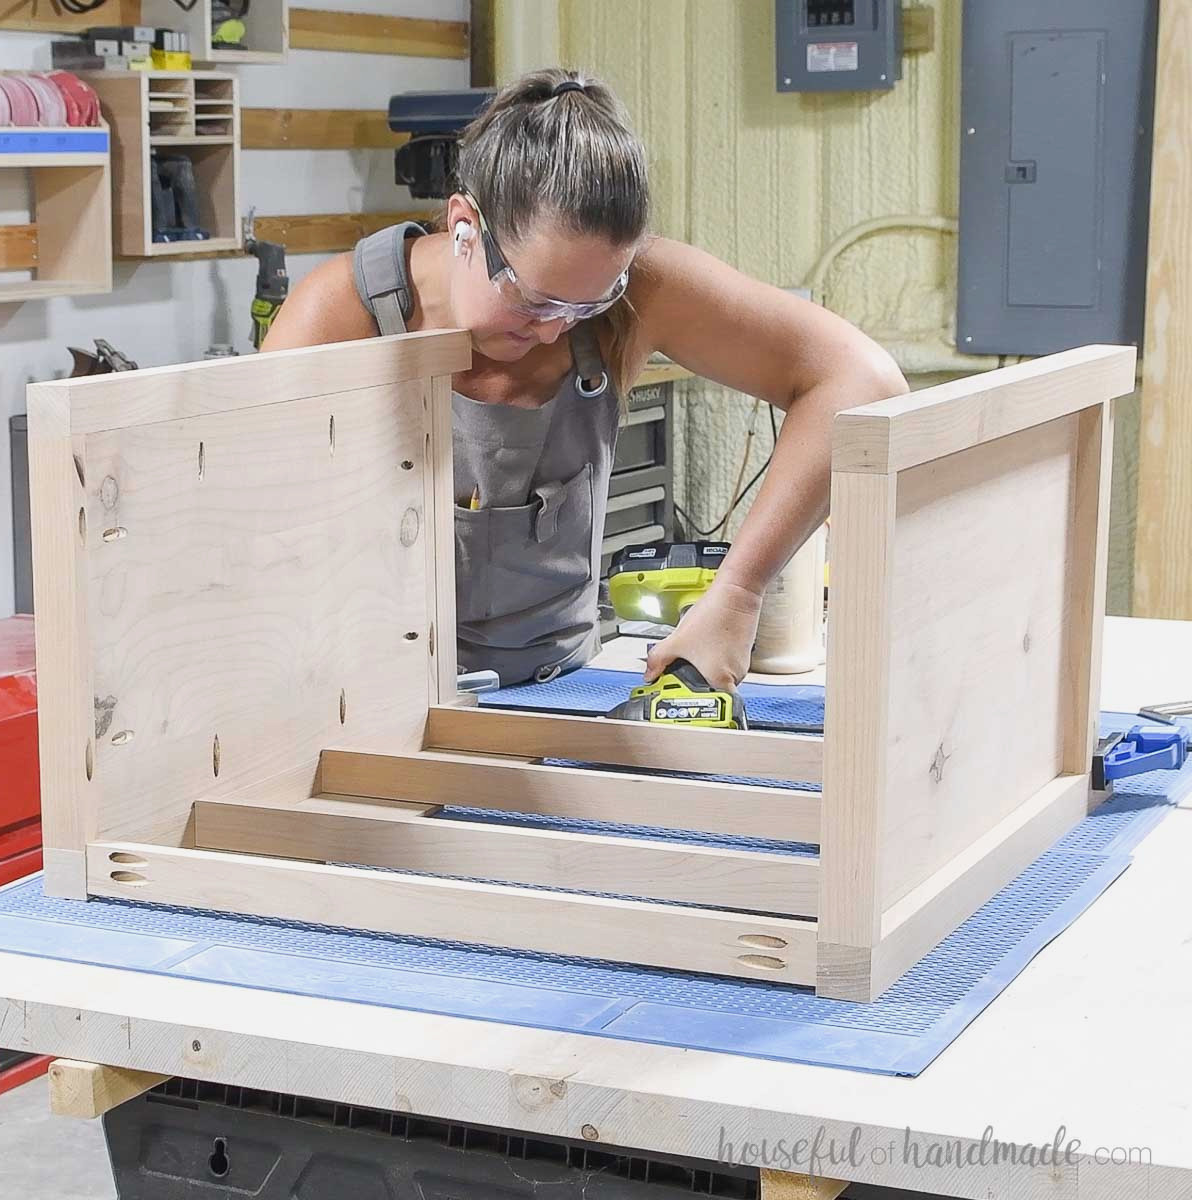
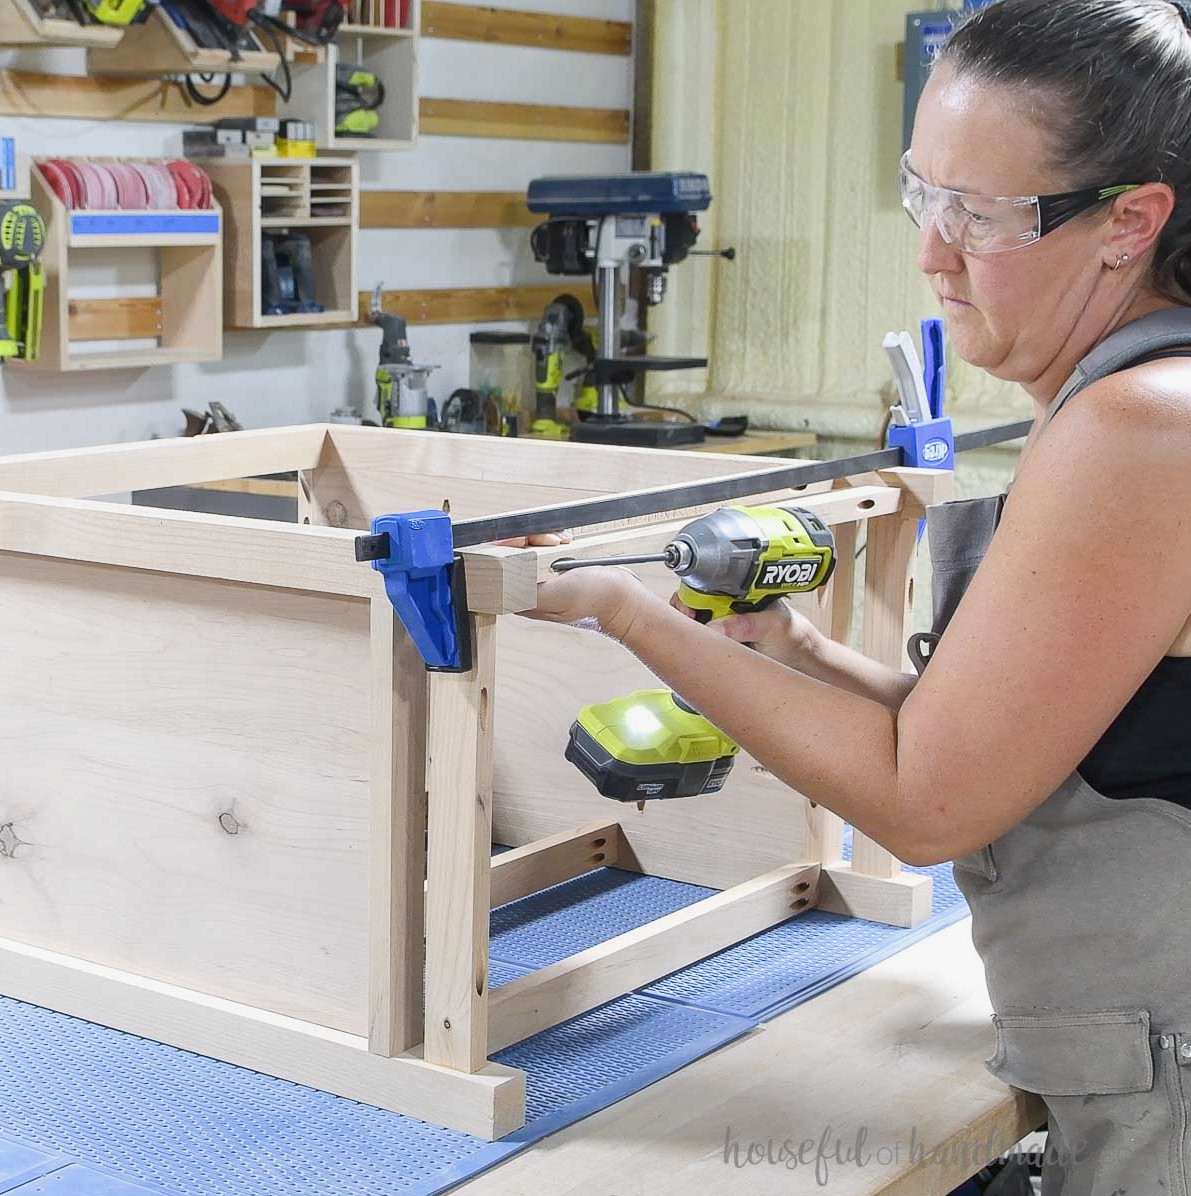
Create pocket holes for 1 1/2” thick material at both ends of the back pieces and along the 3/4” wide edge of the back trim piece.
According to the 3D illustration in the PDF plans, attach the back pieces to the sides with 2 1/2” pocket hole screws.
Place the back trim between the sides, 1” above the bottom and centered across the legs (3/8” from each edge), with the pocket hole facing downward for concealment.
Apply wood glue and fasten it with 2 1/2” pocket hole screws.
NOTE: The dresser’s back is now finished. To cover it, you may cut a piece of 1/4” plywood and attach it, although it is not required for stability. I also prefer leaving the back open so items do not become trapped behind the drawers.
STEP 3- Assemble drawer boxes
Cut a groove measuring 1/4″ wide and 1/4″ deep along the inside of the drawer box pieces, positioned 1/4″ above the bottom.
I made this cut by running the pieces through my table saw several times. A circular saw or router could also be used to create the groove.
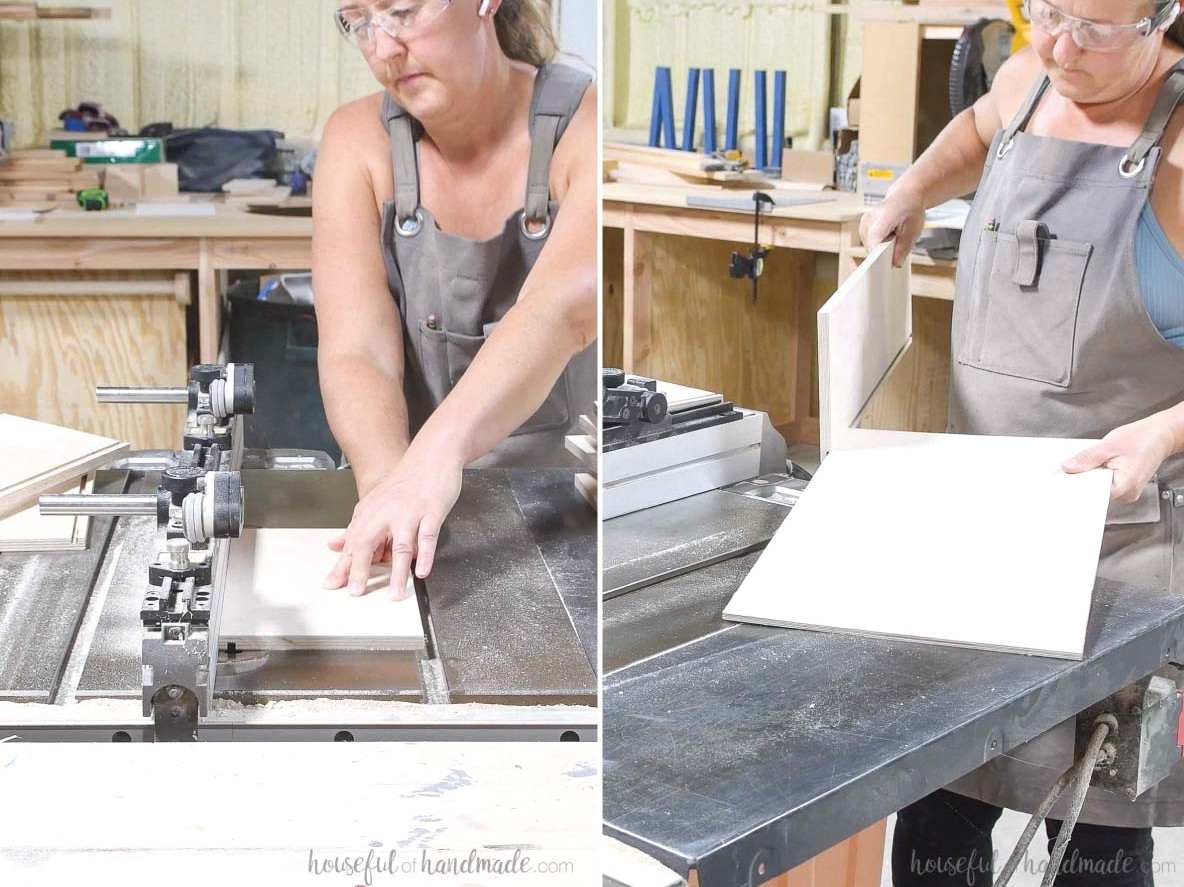
The drawers may be assembled with pocket holes or pneumatic staples. When using pocket holes, make holes for 1/2″ material on the outer faces of the drawer box front and back pieces (the side opposite the groove).
Construct each drawer box by attaching the side pieces to the front with wood glue and 1″ staples or pocket hole screws.
Ensure that the upper edges of every drawer box piece are aligned.
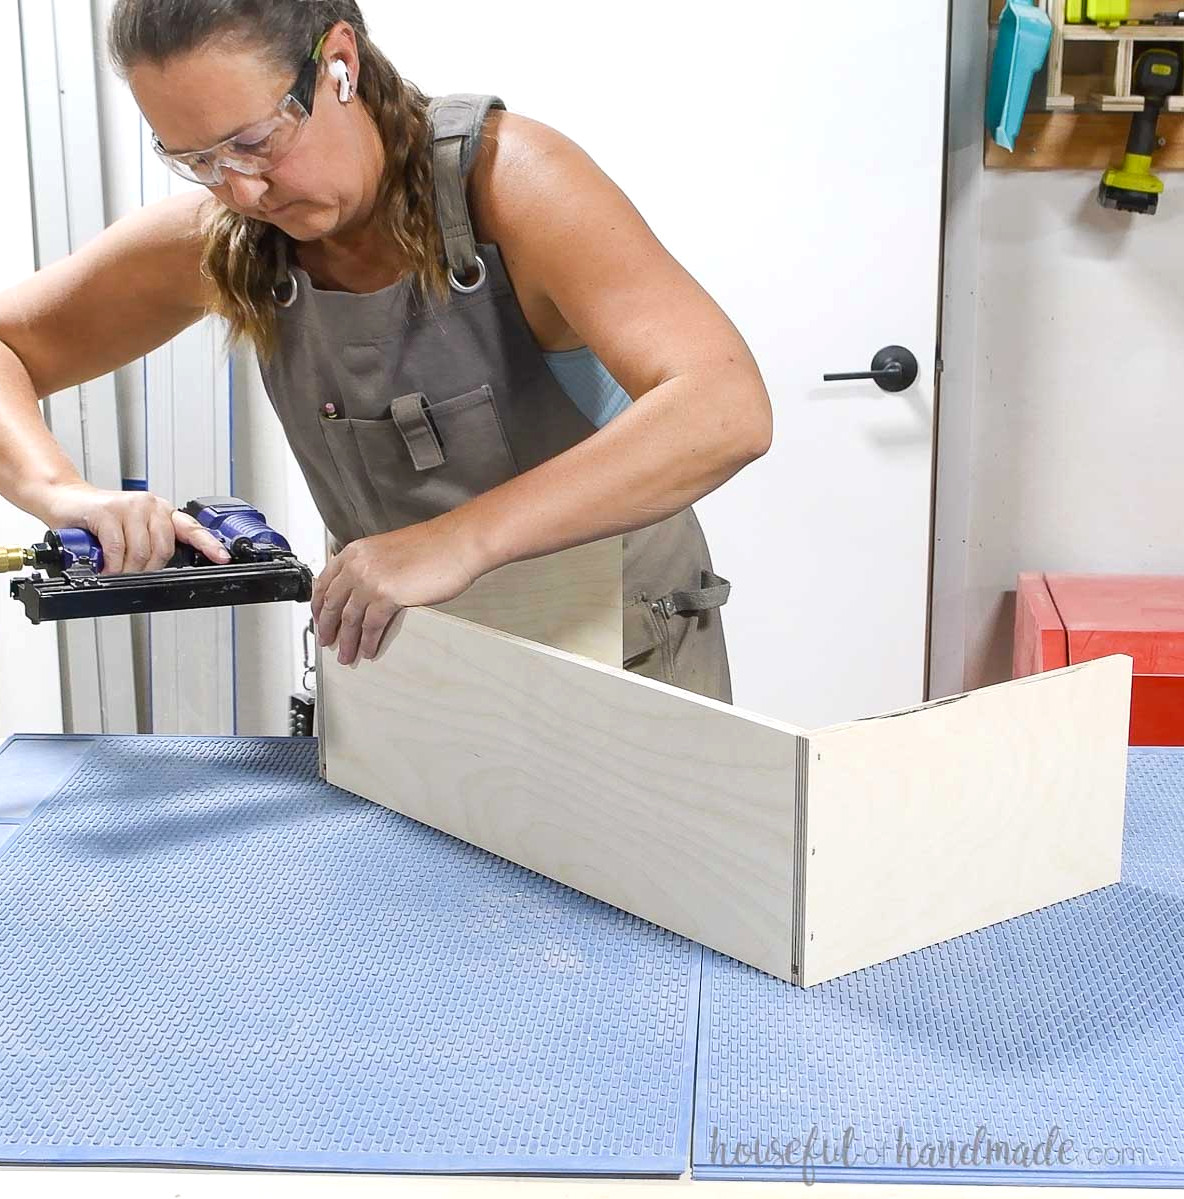
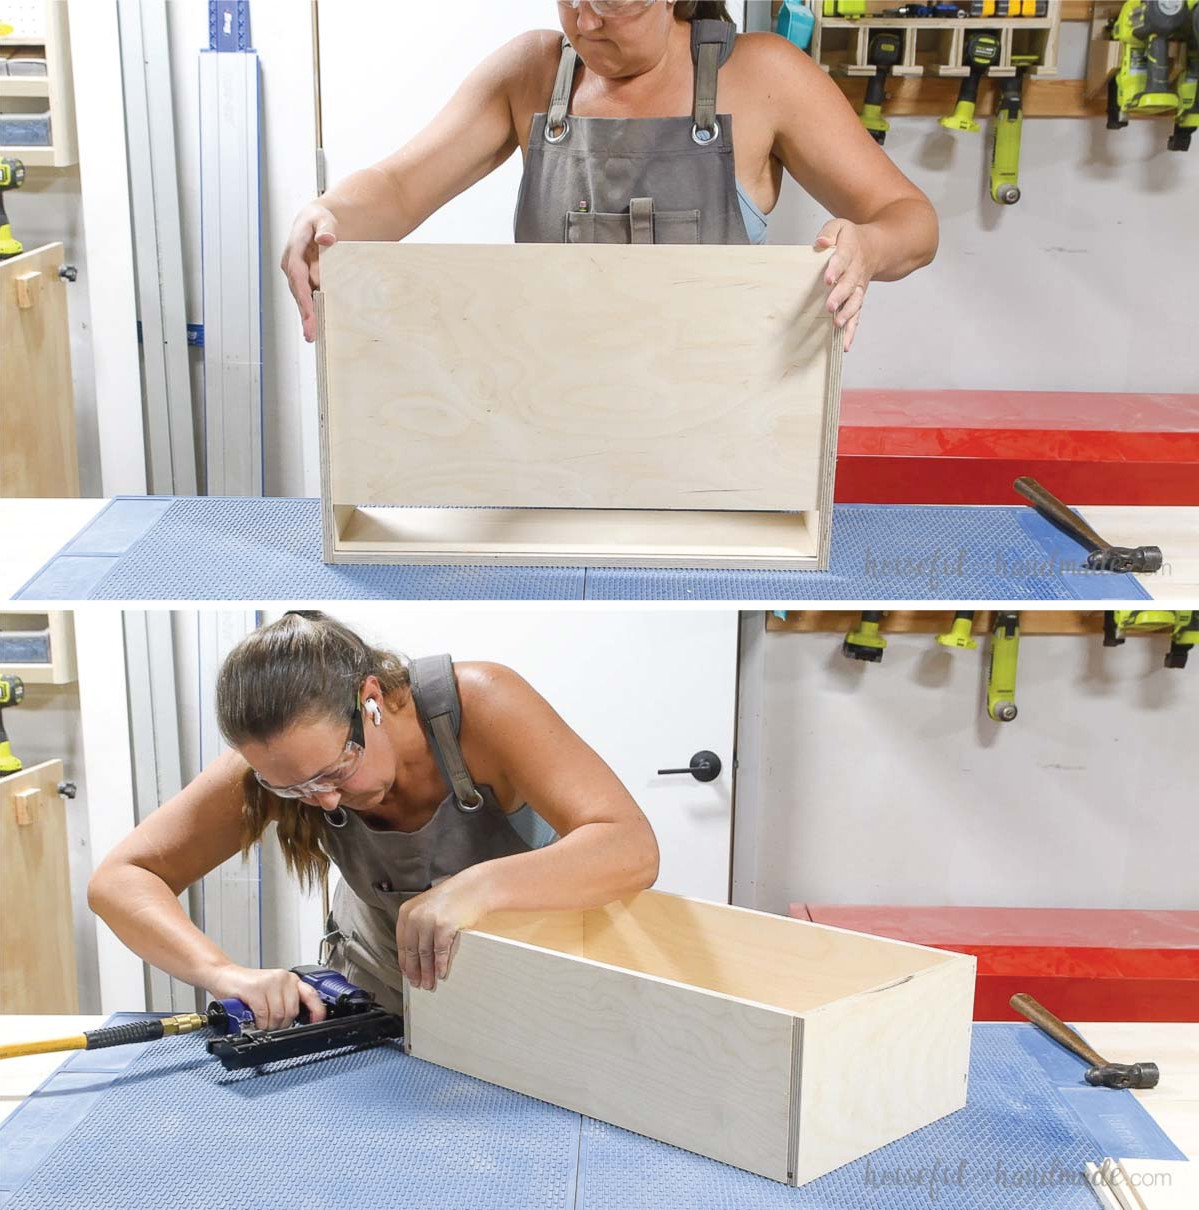
Insert the drawer box bottom into the grooves in the sides and front. Next, attach the back piece using the same method as the front to close the box.
Repeat the process for all (3) drawer boxes.
Find additional tips and other drawer box-building methods here.
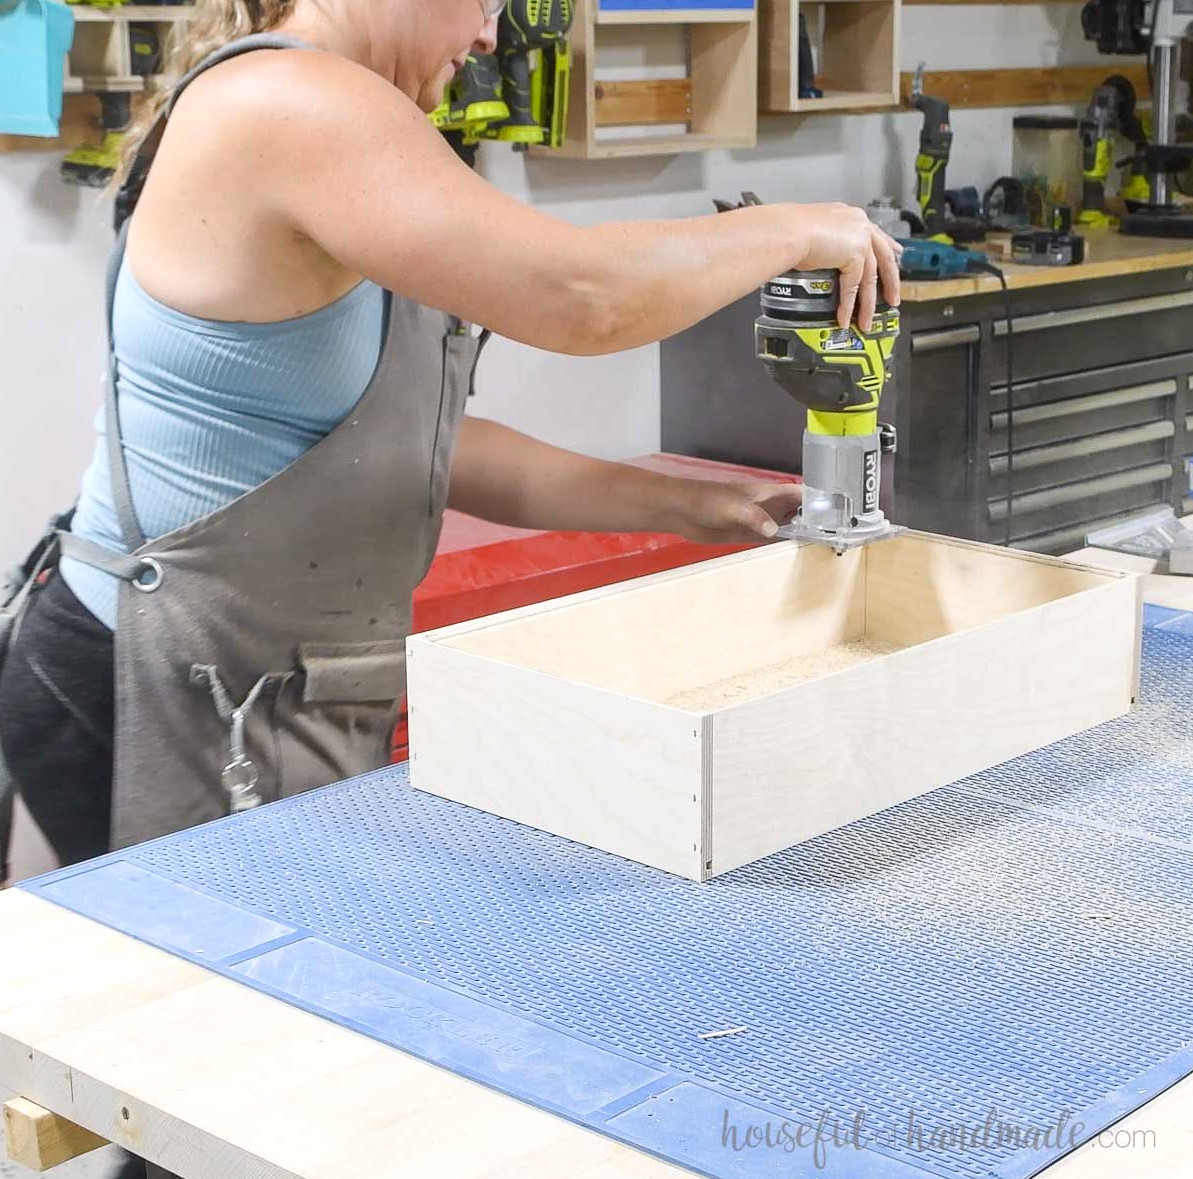
I prefer rounding the drawer box’s interior edge to eliminate the plywood’s sharp edge. This is entirely optional, but it is simple to complete with a basic trim router and round-over bit.
Alternatively, smooth the inner edge using sandpaper.
STEP 4- Fit drawer boxes and fronts
Fit the drawer boxes with the 12″ drawer slides, positioning them 3/4” behind the front edges of the front trim pieces (1” behind the legs’ fronts).
Position the drawer boxes 1/4” above the opening bottom, leaving 3/4” of space at the top.
Learn how to fit drawers with ball bearing slides here.
EXPERT TIP:
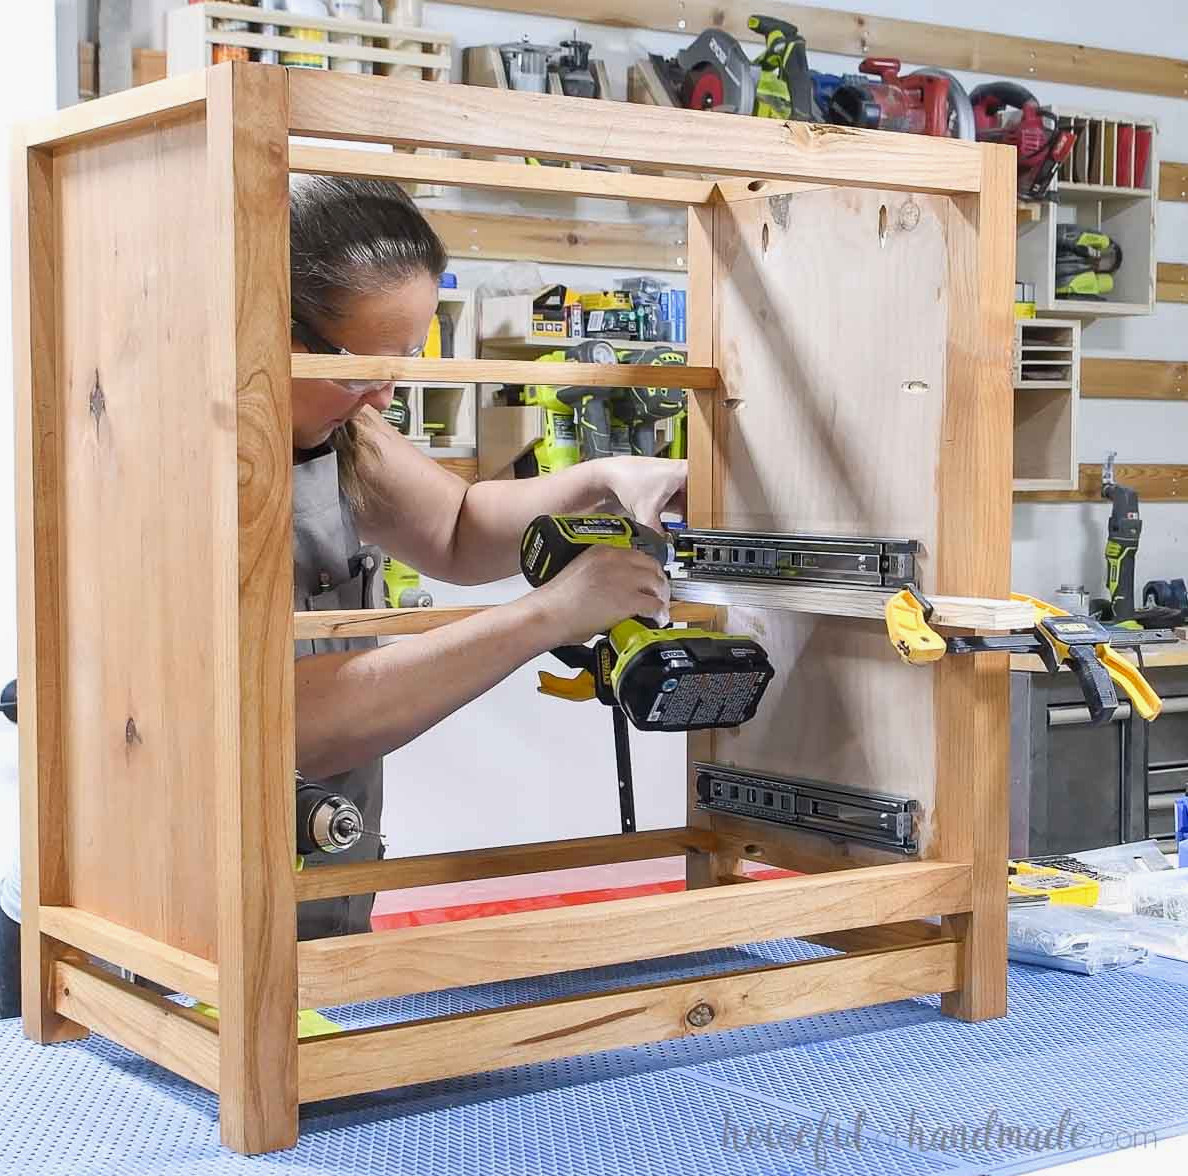
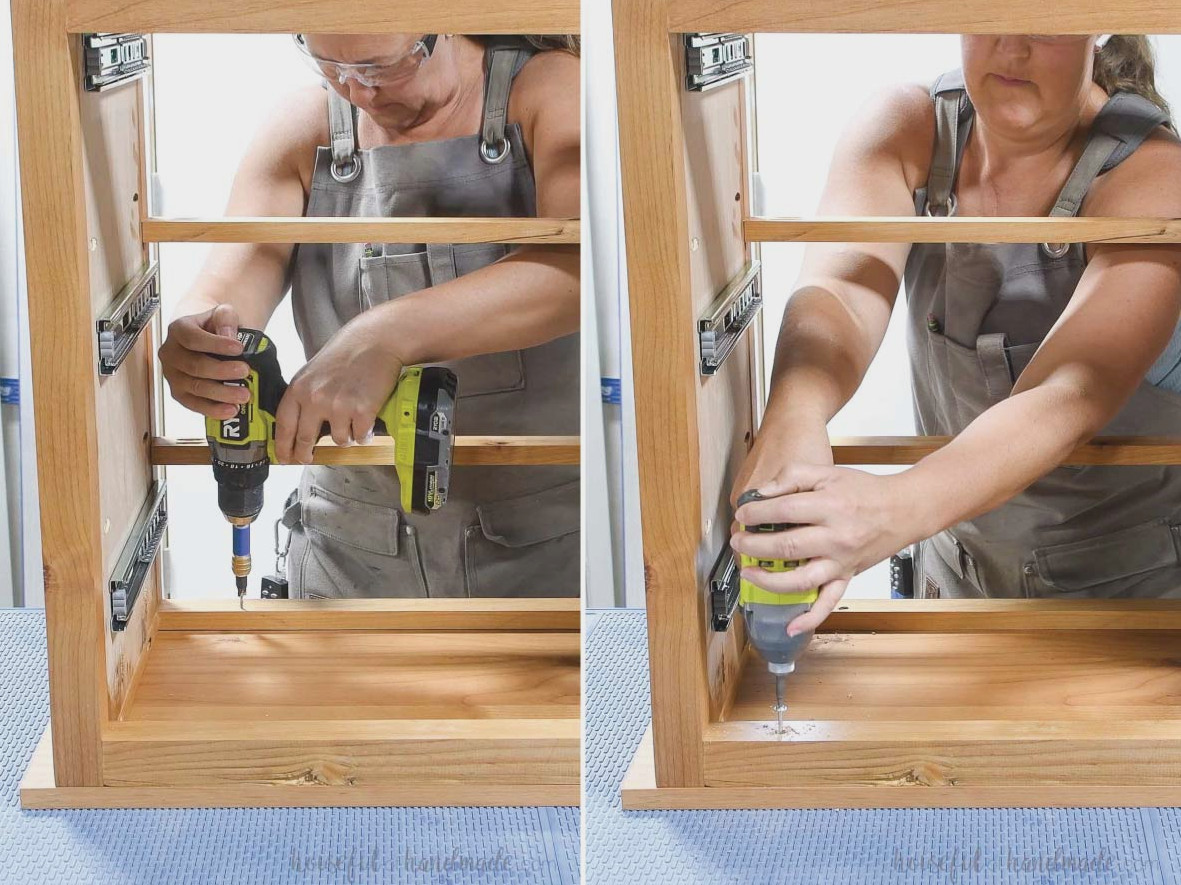
Secure a scrap of 3/4″ plywood across the top of the front frame with a clamp. Confirm that it is level, then clamp it at the back of the nightstand. Rest the drawer slides on this support while fastening them. This keeps the slides level inside the nightstand.
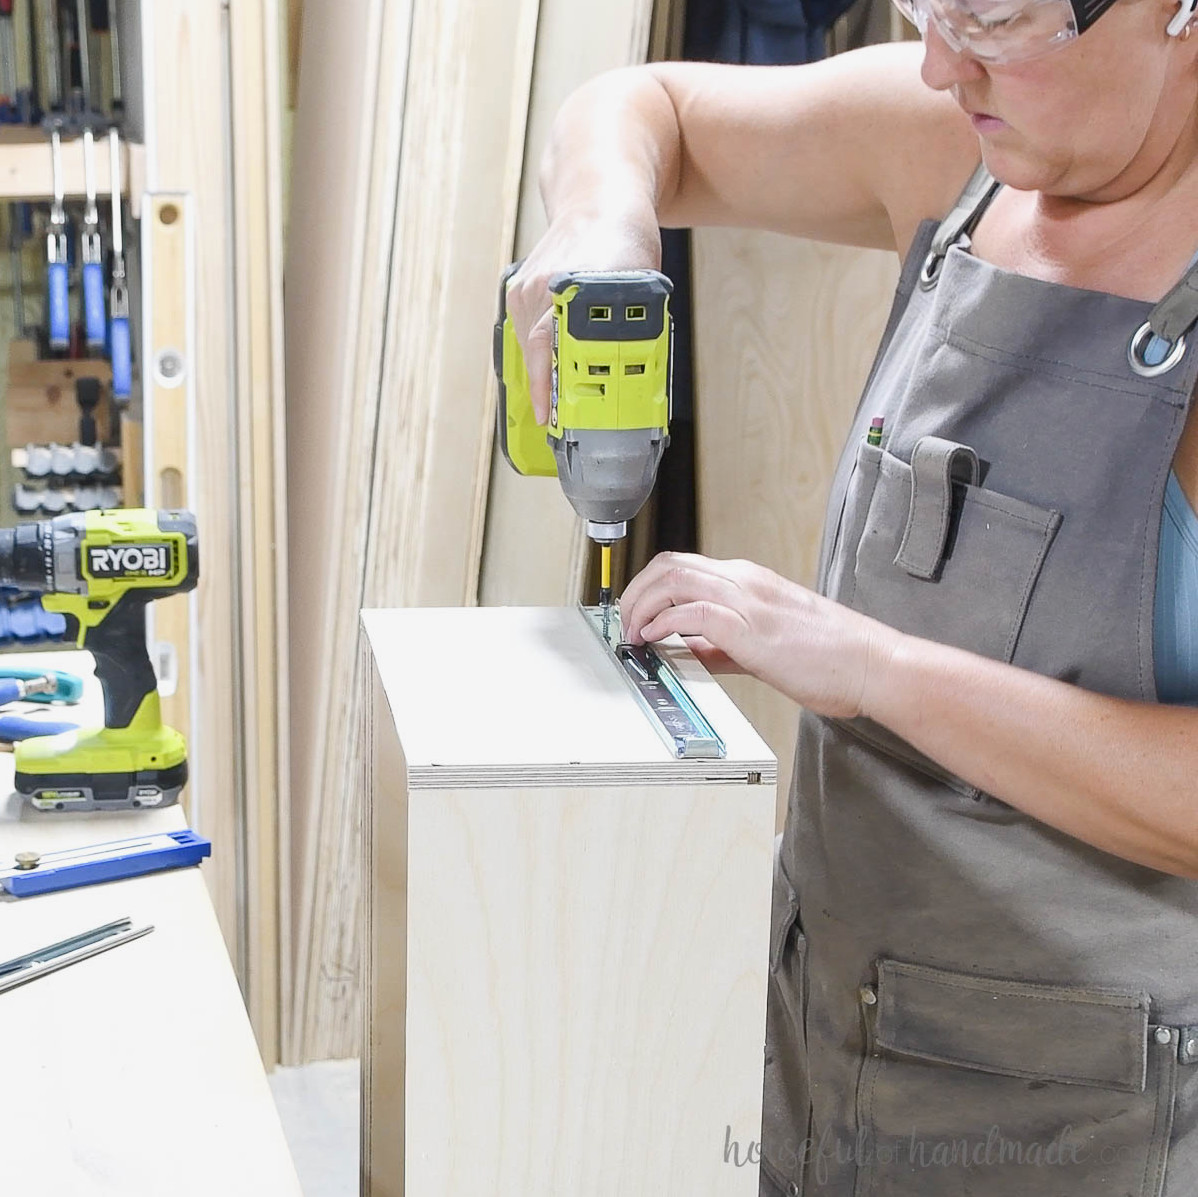
Fasten the smaller section of thedrawer slides along the side of the drawer box.
I positioned them 7/8″ above the bottom of the box to provide the proper clearance after installation. Be sure to take your own measurements and make adjustments for the specific drawer slides you’re using.
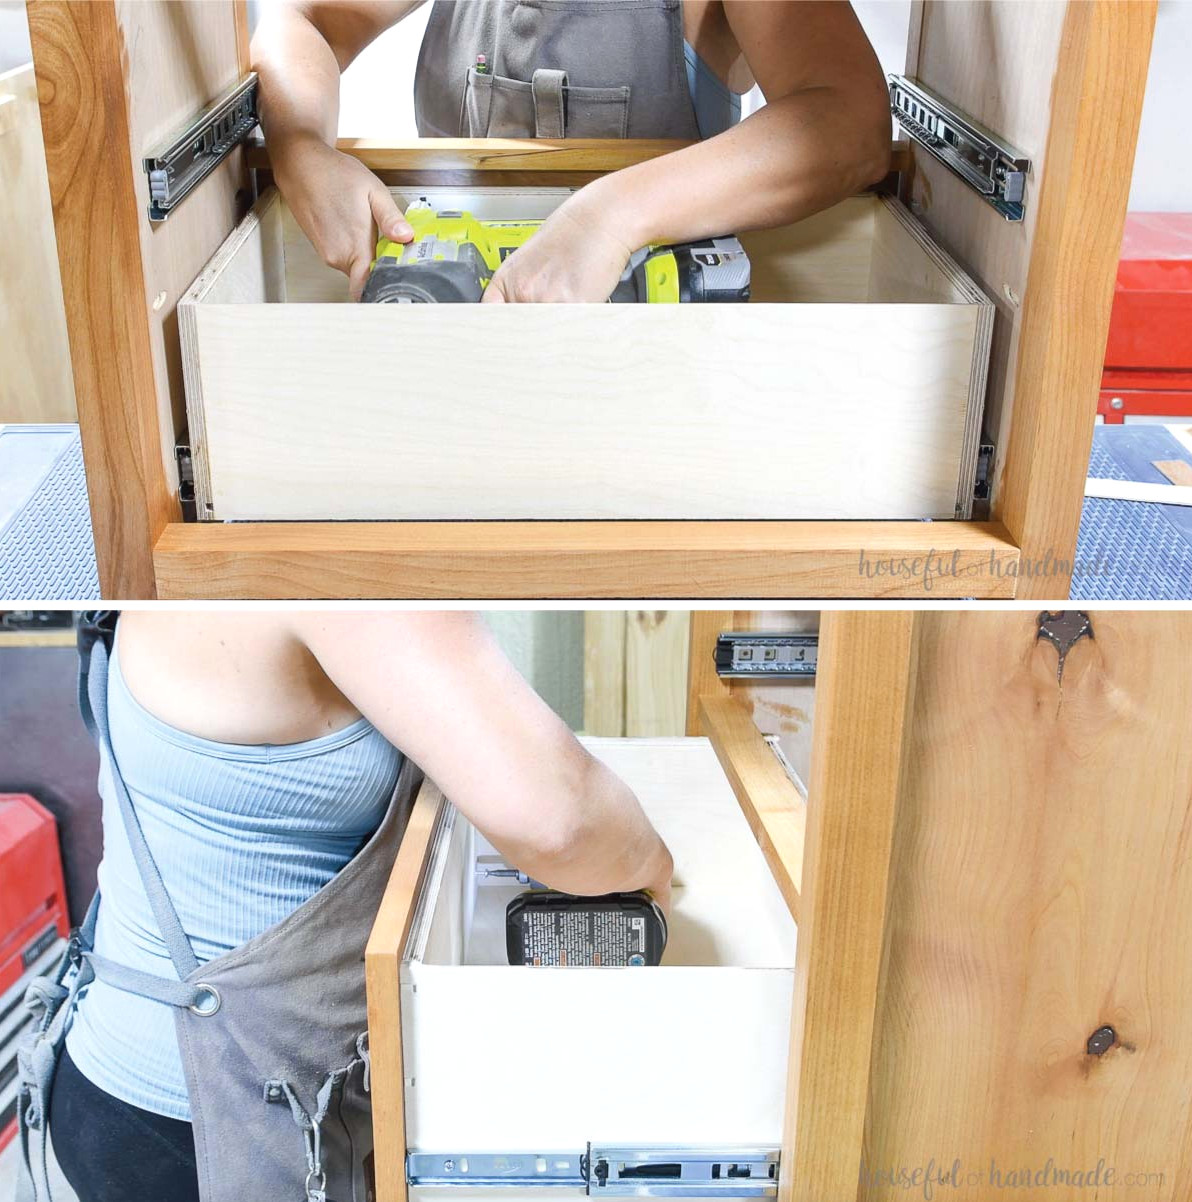
Install the drawer fronts inside the frame, keeping them level with the front surface. Leave a 1/8” space around the entire perimeter of each drawer front.
After positioning the drawer front (use 1/8” spacers or playing cards to create an even reveal), I temporarily secured it from inside the drawer with a brad nailer and 1” nails.
Alternatively, try my method for attaching drawer fronts with drawer pulls.
Next, secure the drawers permanently with 1” wood screws driven from inside the drawer. Install (4) screws per drawer, placing one screw at every corner of the drawer box front.
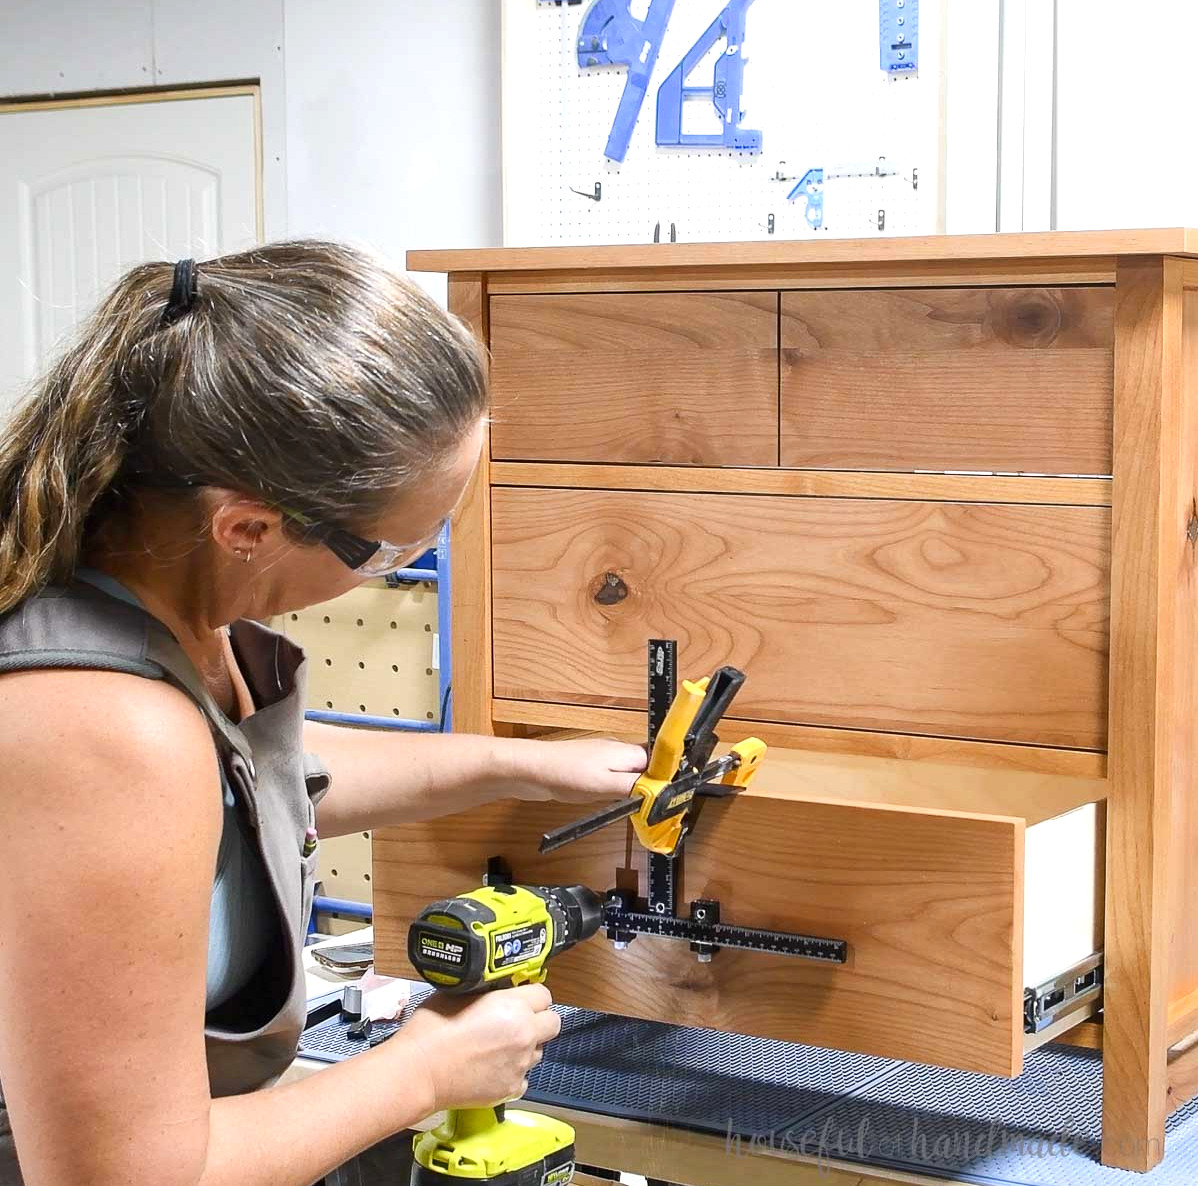
Install the drawer pulls of your choice. I placed a small 1” black pull on the smaller drawers and a large 3″ drawer pull on the fronts of the bottom drawer.
STEP 5- Attach top and finish
I like securing the top at the end because it keeps the inside of the drawers easily accessible during installation. Begin by taking out all the drawers and labeling them. I noted each drawer’s position on the back of its box.
Set the top on your workbench, then position the dresser frame upside down over it. The top must align flush with the back of the dresser frame while extending 1” past the sides and front.
Create 1/4” deep countersunk holes through the top of the frame. Drill 3 holes along the front and 3 along the back.
Fasten the top using 1” screws in the front holes and 2” wood screws in the rear holes.
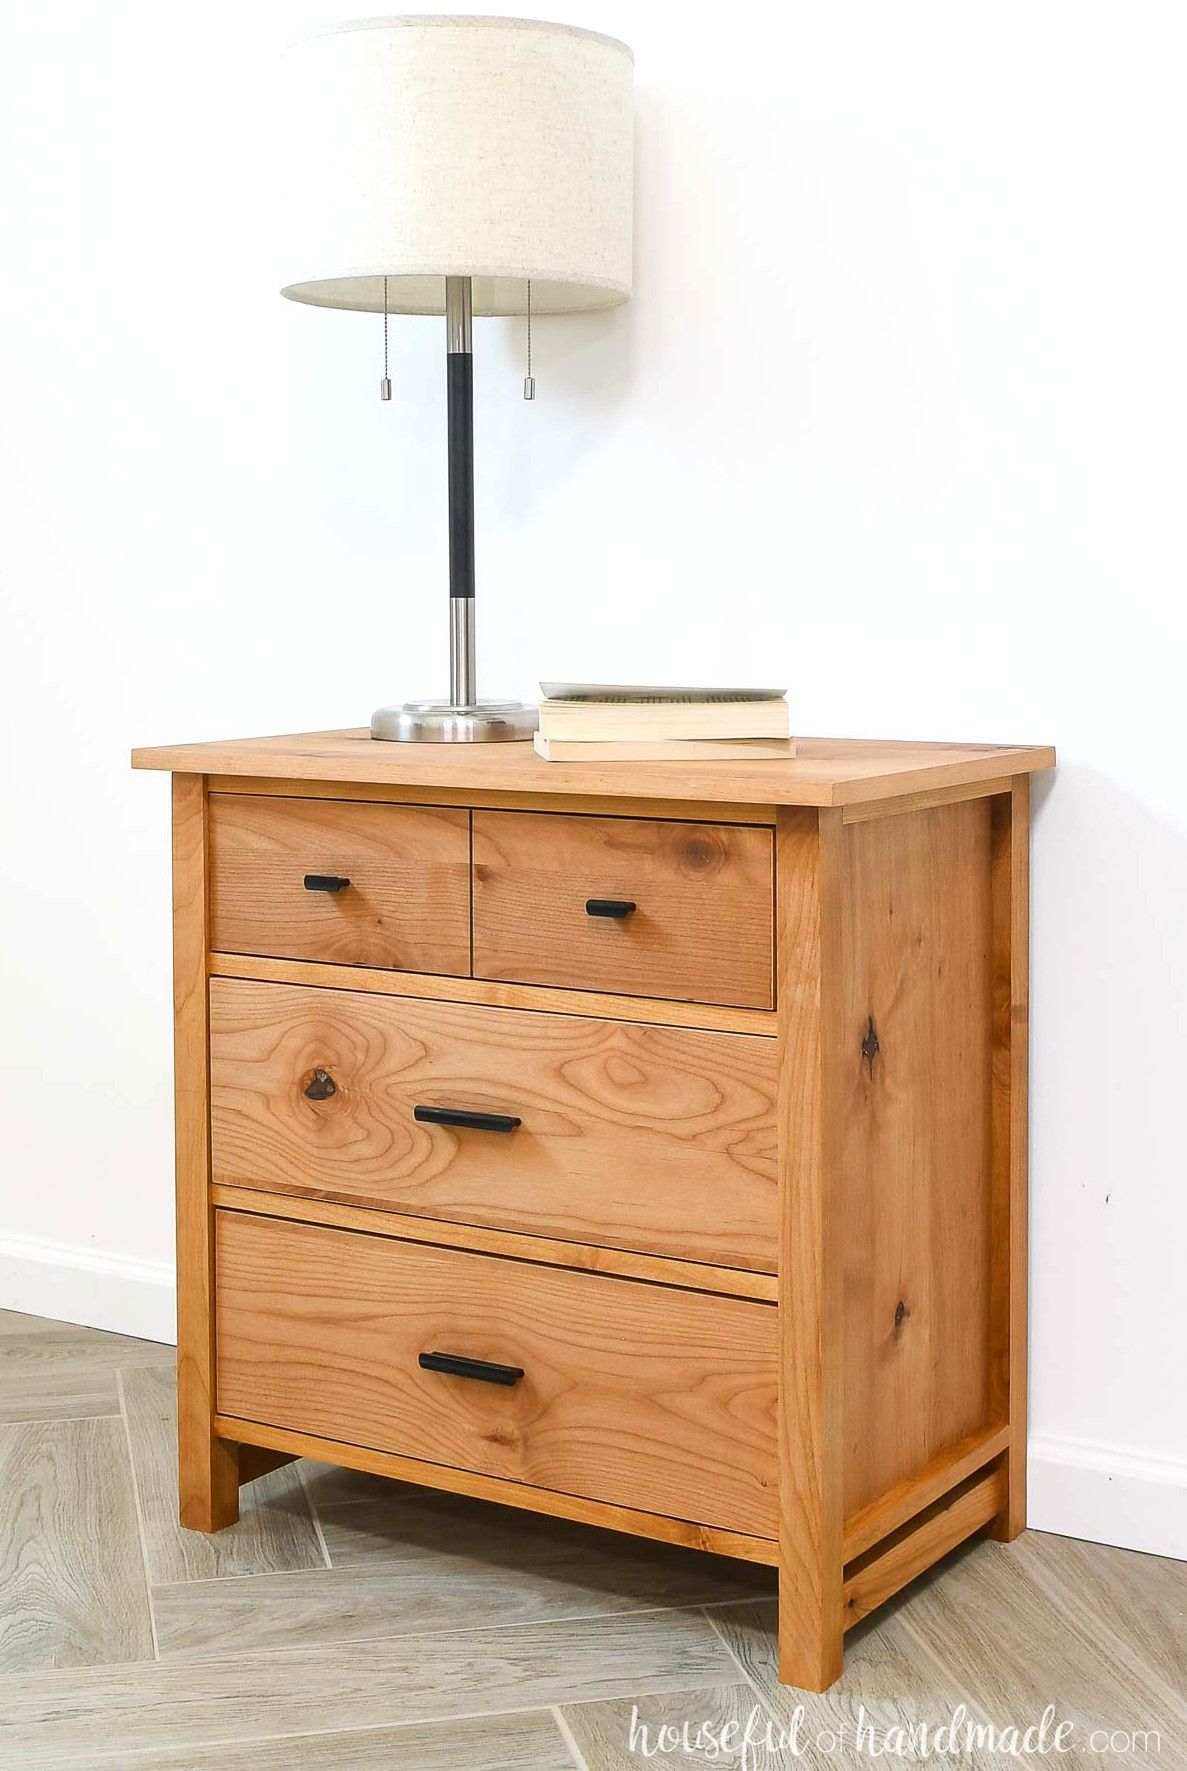
You’re finished!
Remember to Get the Printable PDF Plans Here!
Premium plans contain:
- Suggested Tools
- Materials list
- Clear cut list table
- Cutting diagrams
- Detailed instructions with 3D renderings
- Useful resources
- BONUS: 3D SketchUp file
Set your new nightstand beside your bed, then sit back and enjoy it. You now have the ideal spot for keeping everything you need.
Enjoy building!