
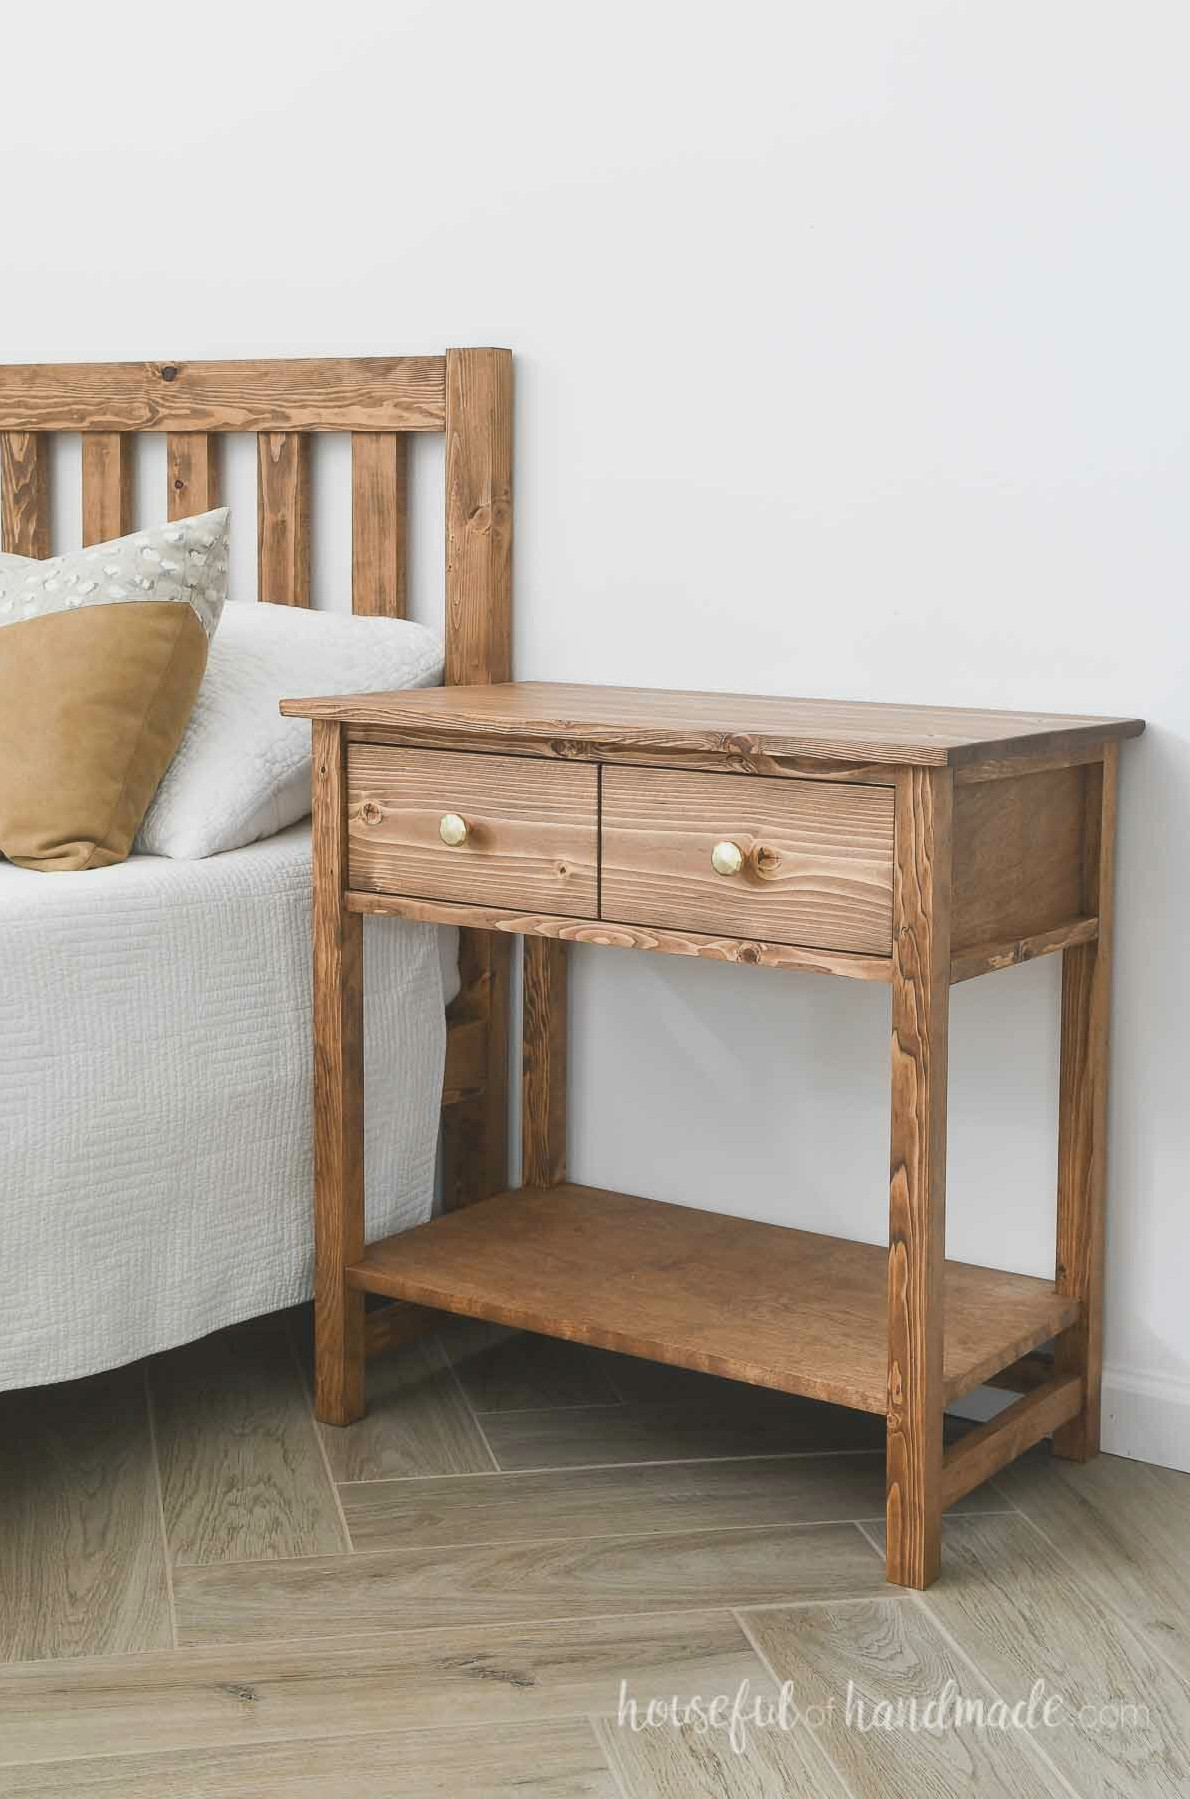
Bring extra charm and storage to your bedroom with this spacious DIY nightstand.
I built this new nightstand to coordinate with the simple platform bed I made last month while preparing the house for holiday visitors. This broad bedside table features a roomy drawer and an open shelf for ample storage.
Don’t have a need for a nightstand? You can also use this project as a side table in your family room. The drawer offers an ideal spot to tuck away remotes, magazines, and more.
To make this 1 drawer nightstand simpler to construct, I teamed up with Kreg Tools and used my favorite Kreg Clamps as an extra helping hand.
Looking for additional storage? Create a full bedroom collection with the matching 4 drawer dresser, tall 7 drawer dresser, and 1 drawer nightstand plans already available. Plans for the coordinating 3 drawer nightstand will be available soon.
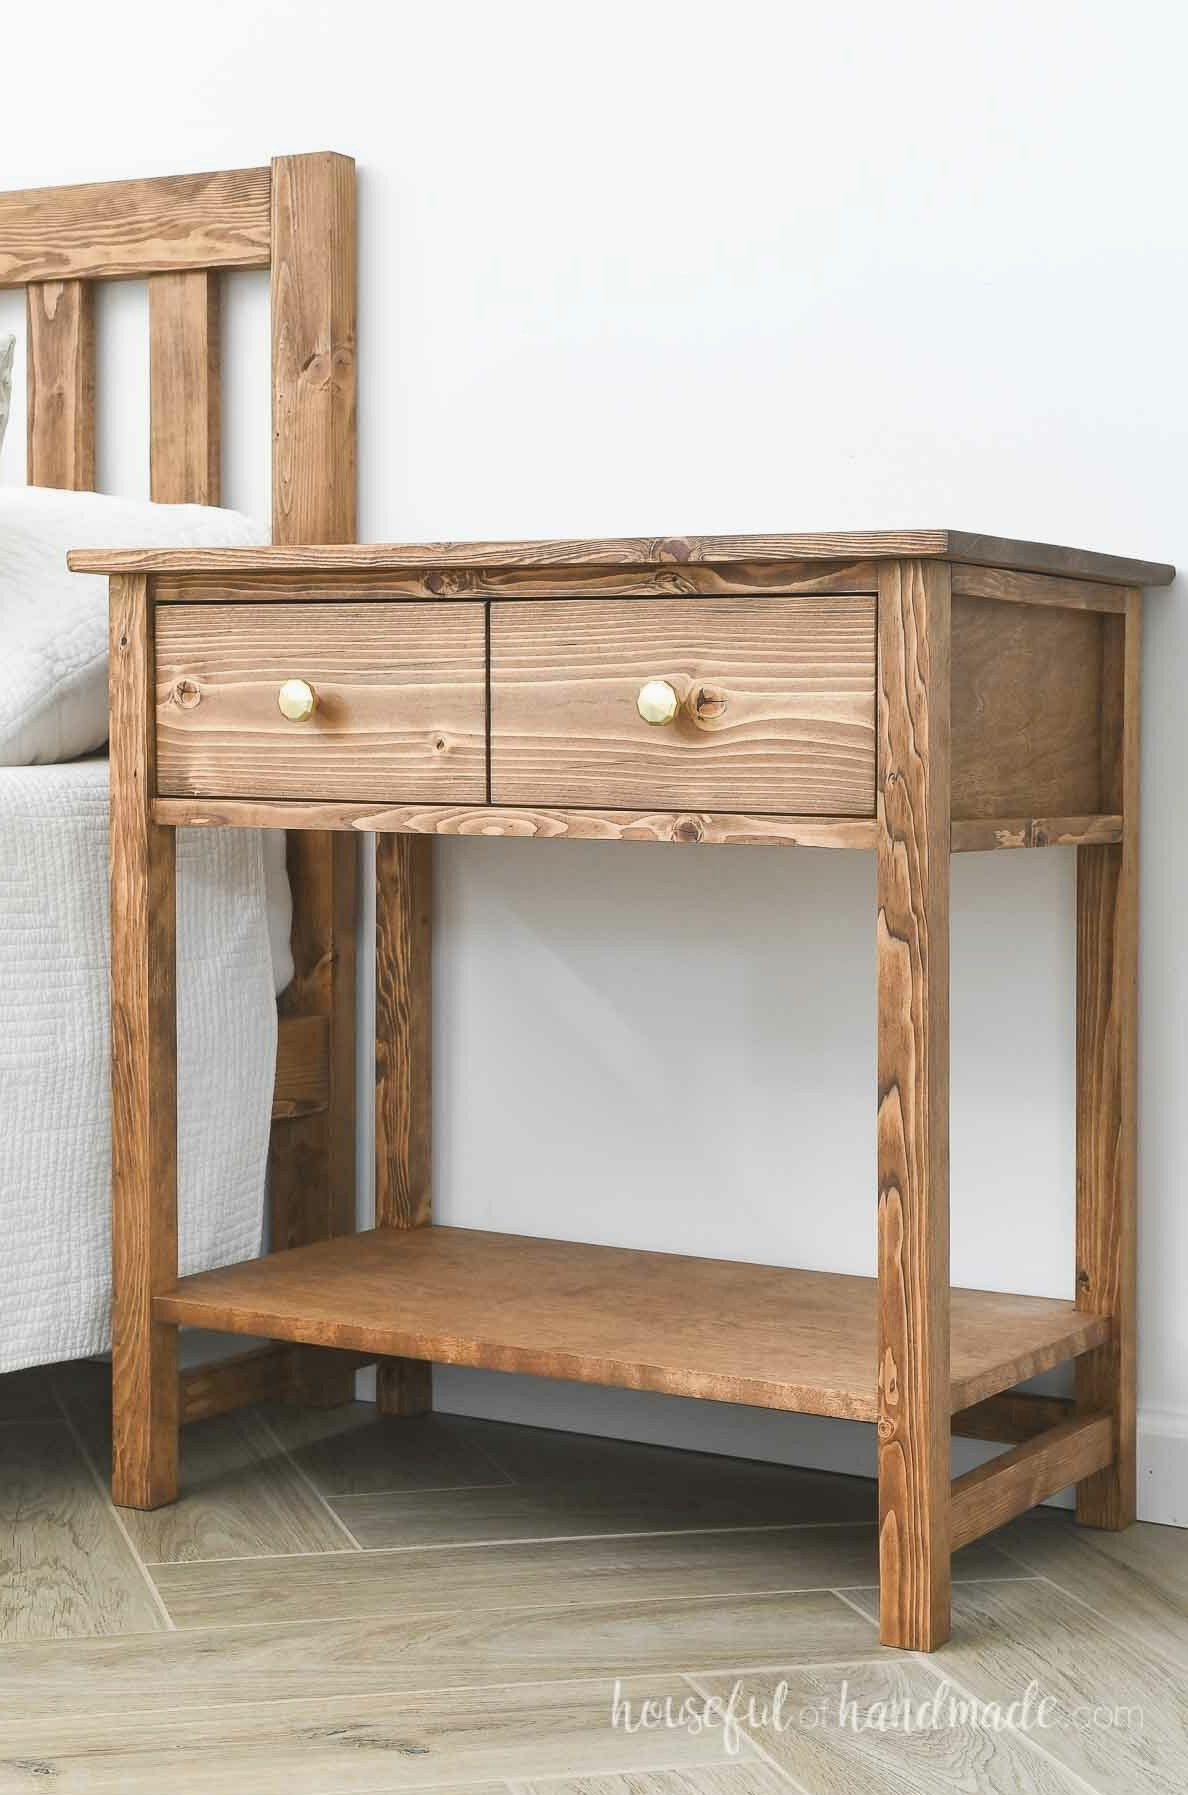
PB Farmhouse Nightstand Lookalike
This roomy nightstand with an open shelf resembles the Pottery Barn Farmhouse Nightstand. However, rather than including 2 narrow drawers, this version features one spacious drawer.
I used a straightforward woodworking technique to make the single drawer appear like two. Simply cut a shallow groove into the drawer front so it resembles 2 separate sections without reducing the usable drawer capacity.
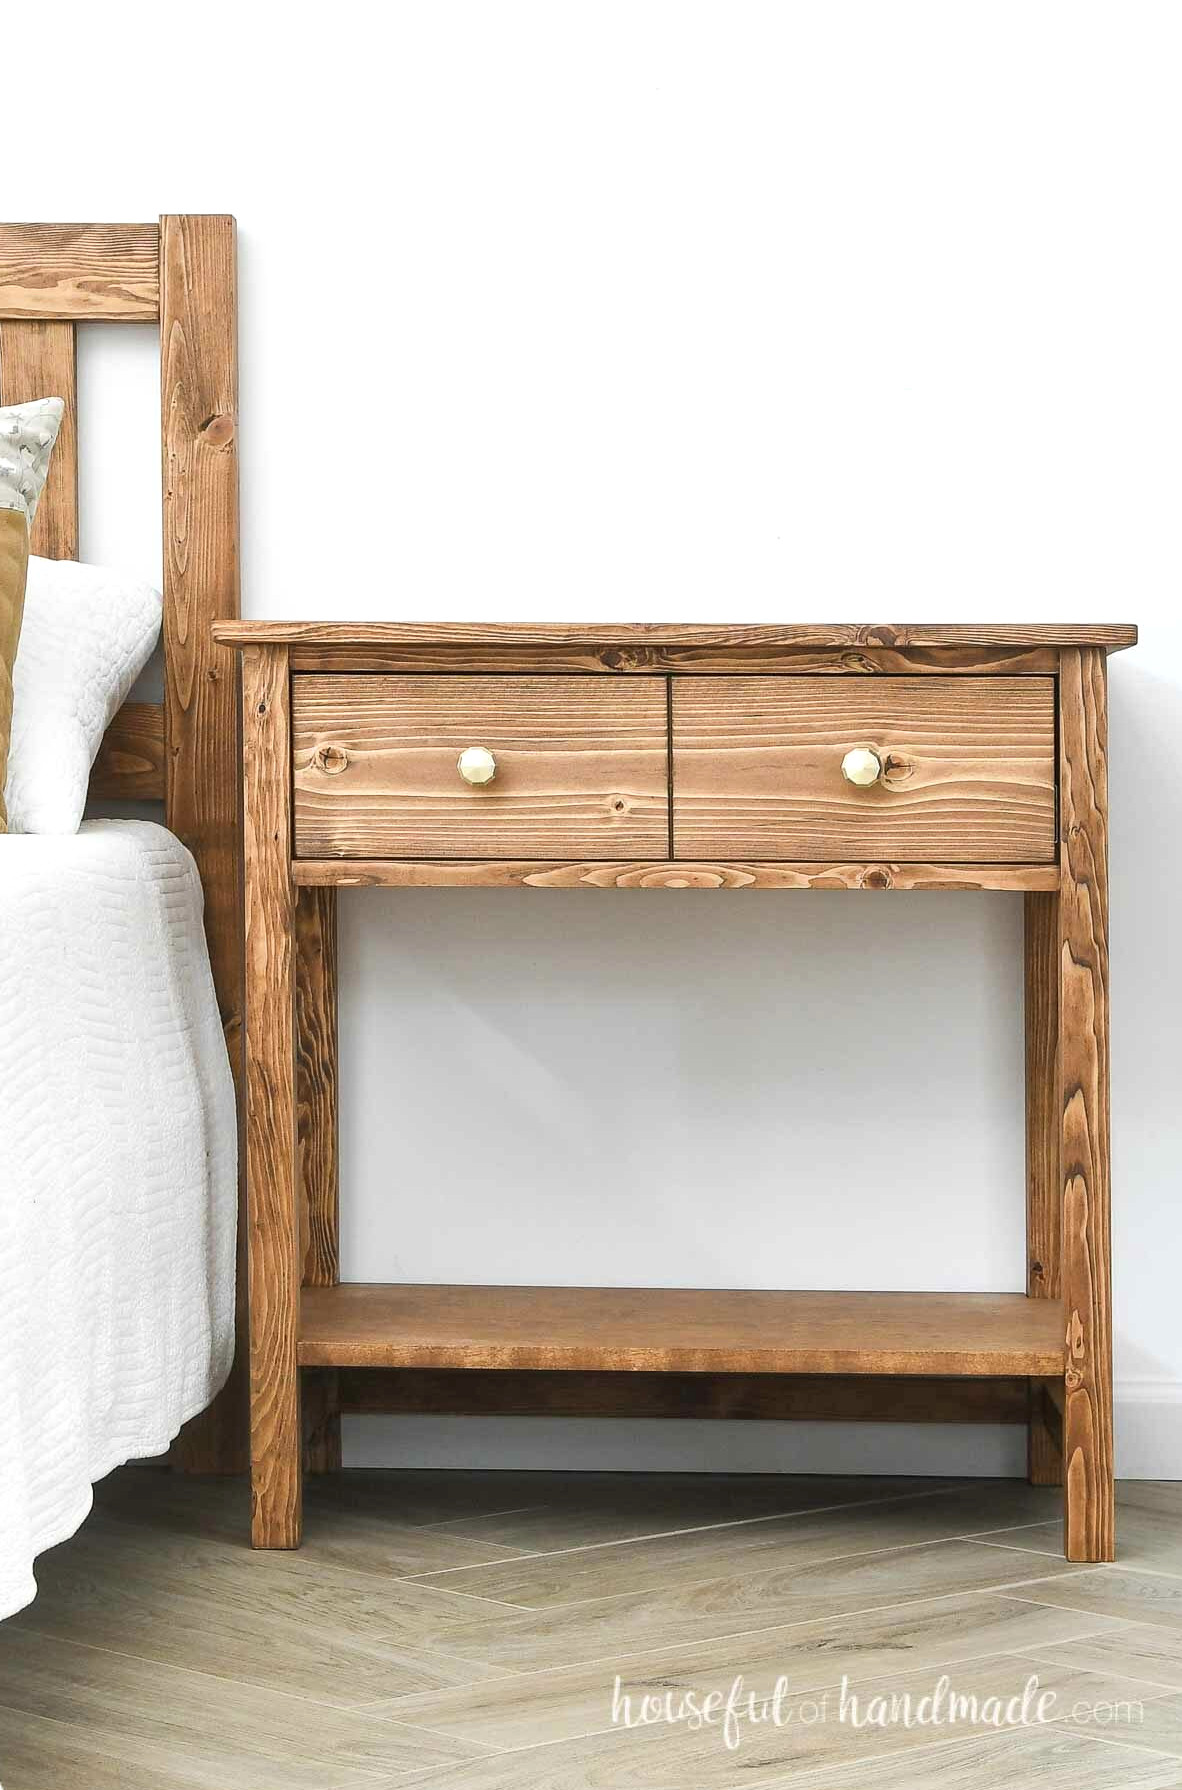
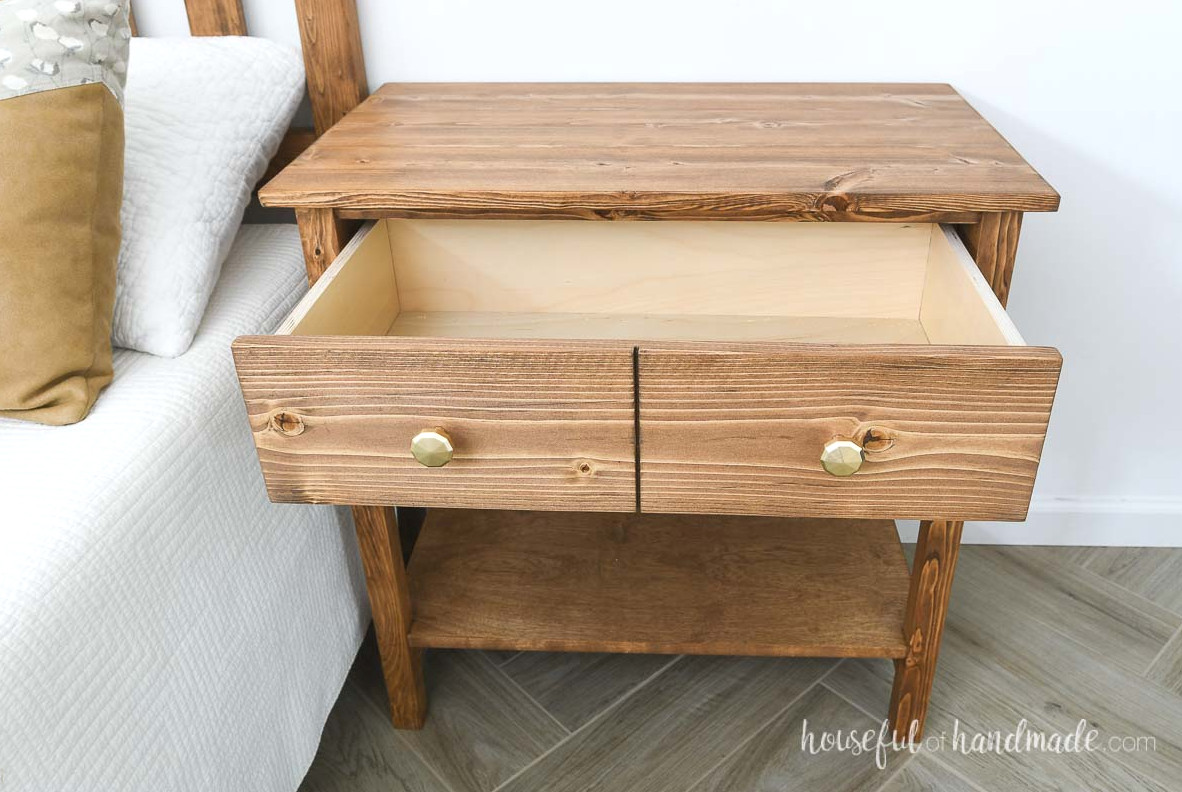
If you would rather have 2 compact drawers, you can adjust your DIY nightstand design. Personally, I like the extra room provided by 1 large drawer.
You can also install drawer dividers to give the drawer the function of 2 compartments while preserving a little more usable space.
Beneath the generous drawer is an open shelf, which is excellent for storing spare blankets, books, and other items.
Coordinating Bedroom Collection
Add plenty of bedroom storage with a coordinated group of dressers and nightstands. Each of these plans was created to form a matching set.
How to Make a Nightstand with a Shelf
Tools & Supplies
Finished Dimensions
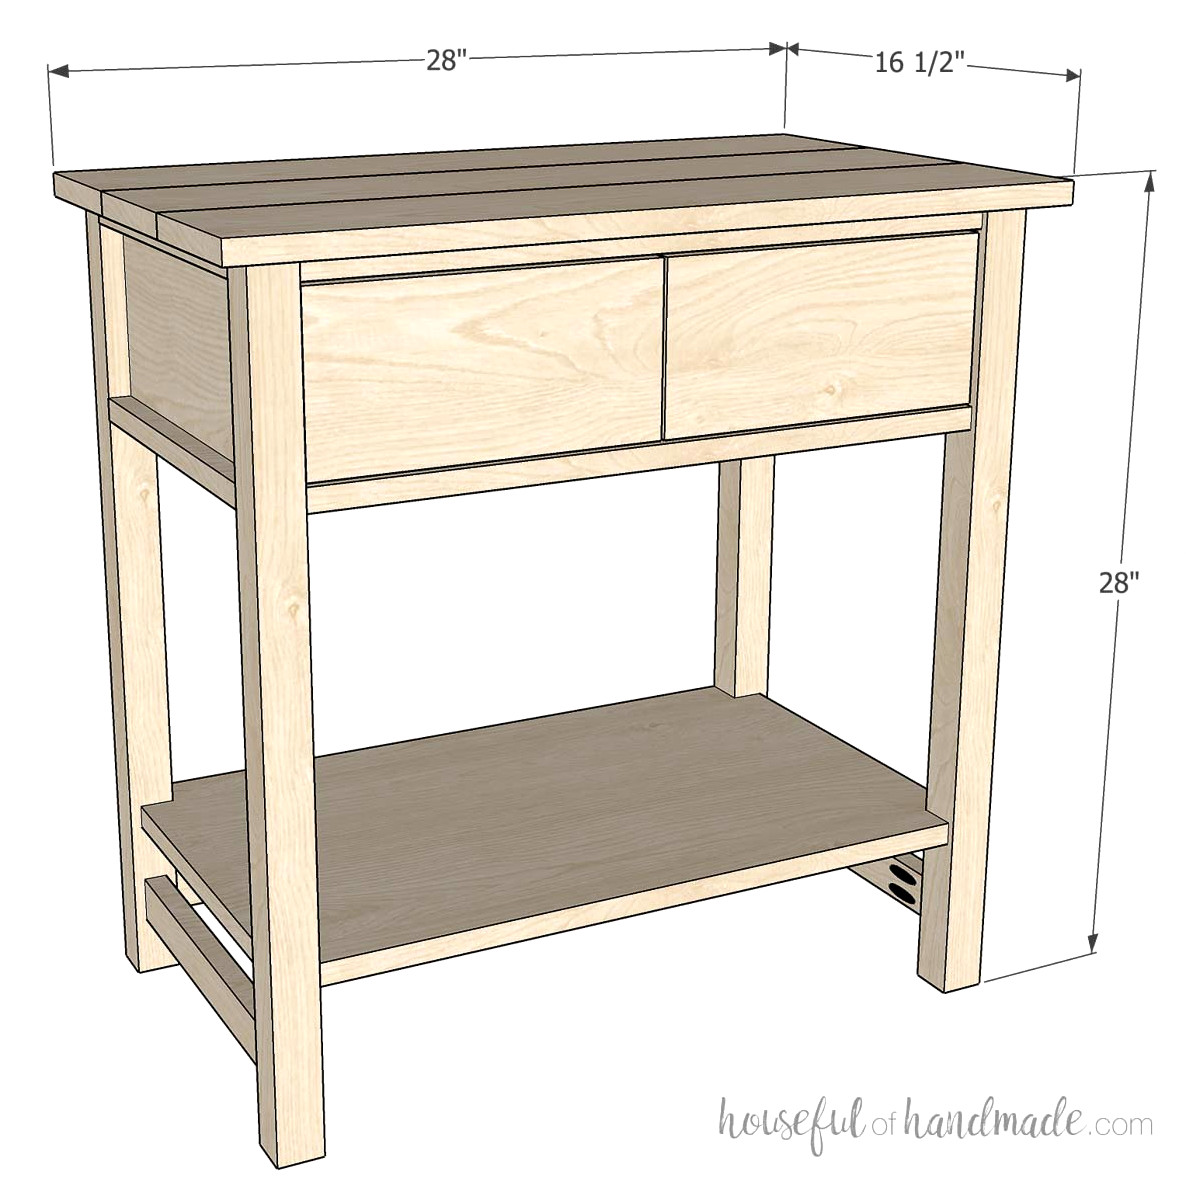
The completed nightstand measures 28″ wide, 16 1/2″ deep, and 28″ tall. The drawer measures 12″ deep by 22″ wide.
Cutting Guide
Prepare the components by following the simple-to-read table & illustrations included in the PDF plans.
Download the Premium PDF Woodworking Plans
PDF plans contain- Easy to Follow Cut List, Shopping List, Suggested Tools, Detailed Instructions with 3D illustrations, & Useful Resources
BONUS- 3D SketchUp Model

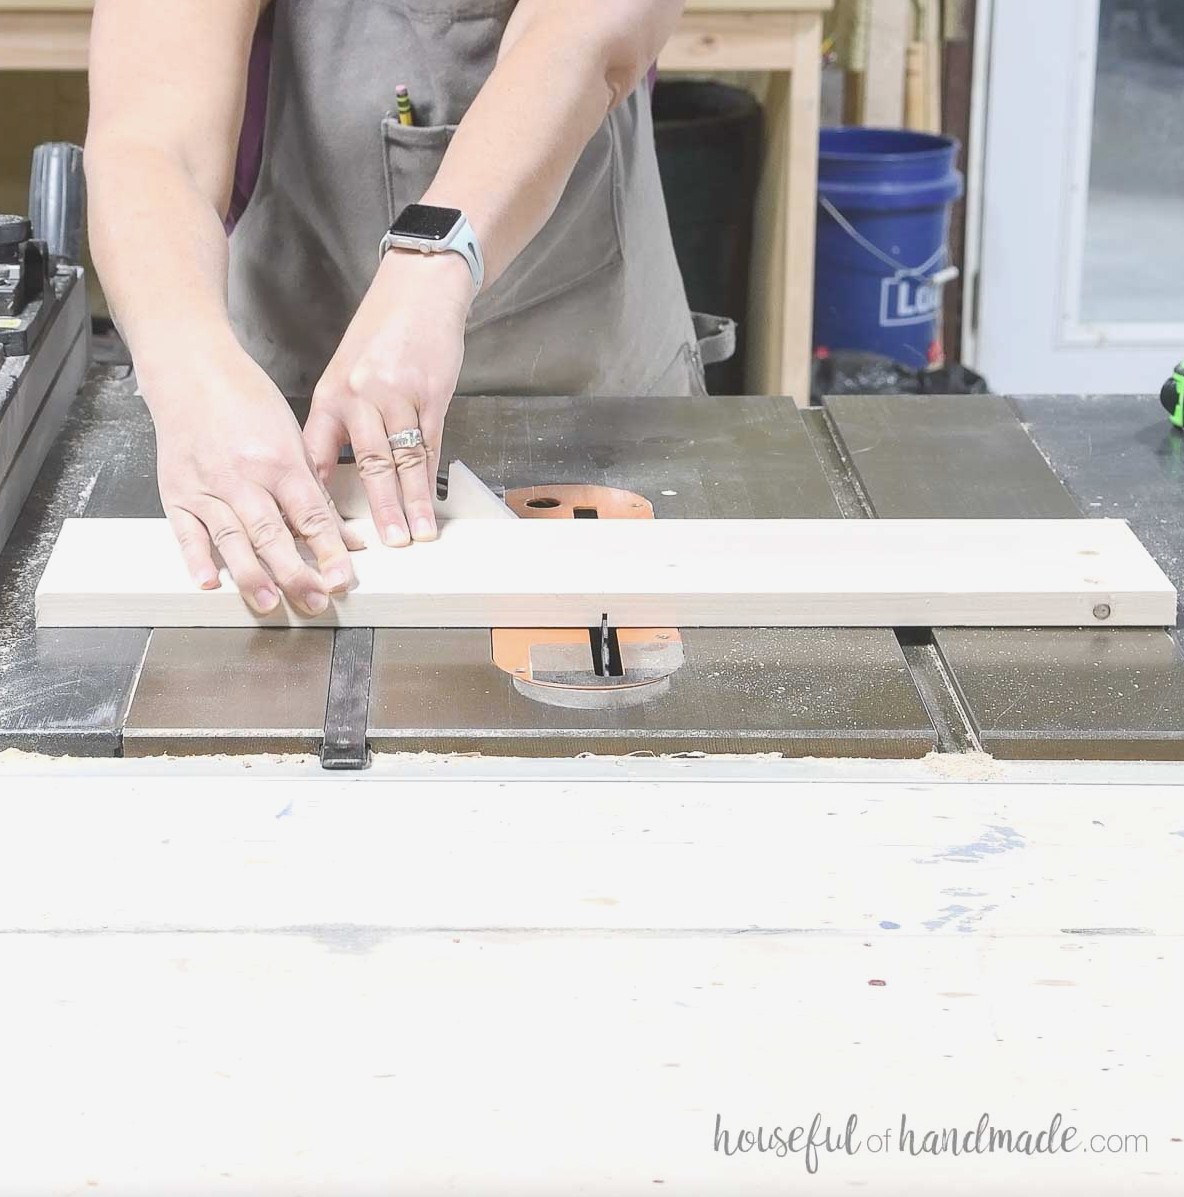
To create the appearance of two smaller drawers, cut a 1/4″-deep channel down the middle of the drawer-front board.
I made this cut with my table saw, though a circular saw will work just as well.
STEP 1- Assemble the sides
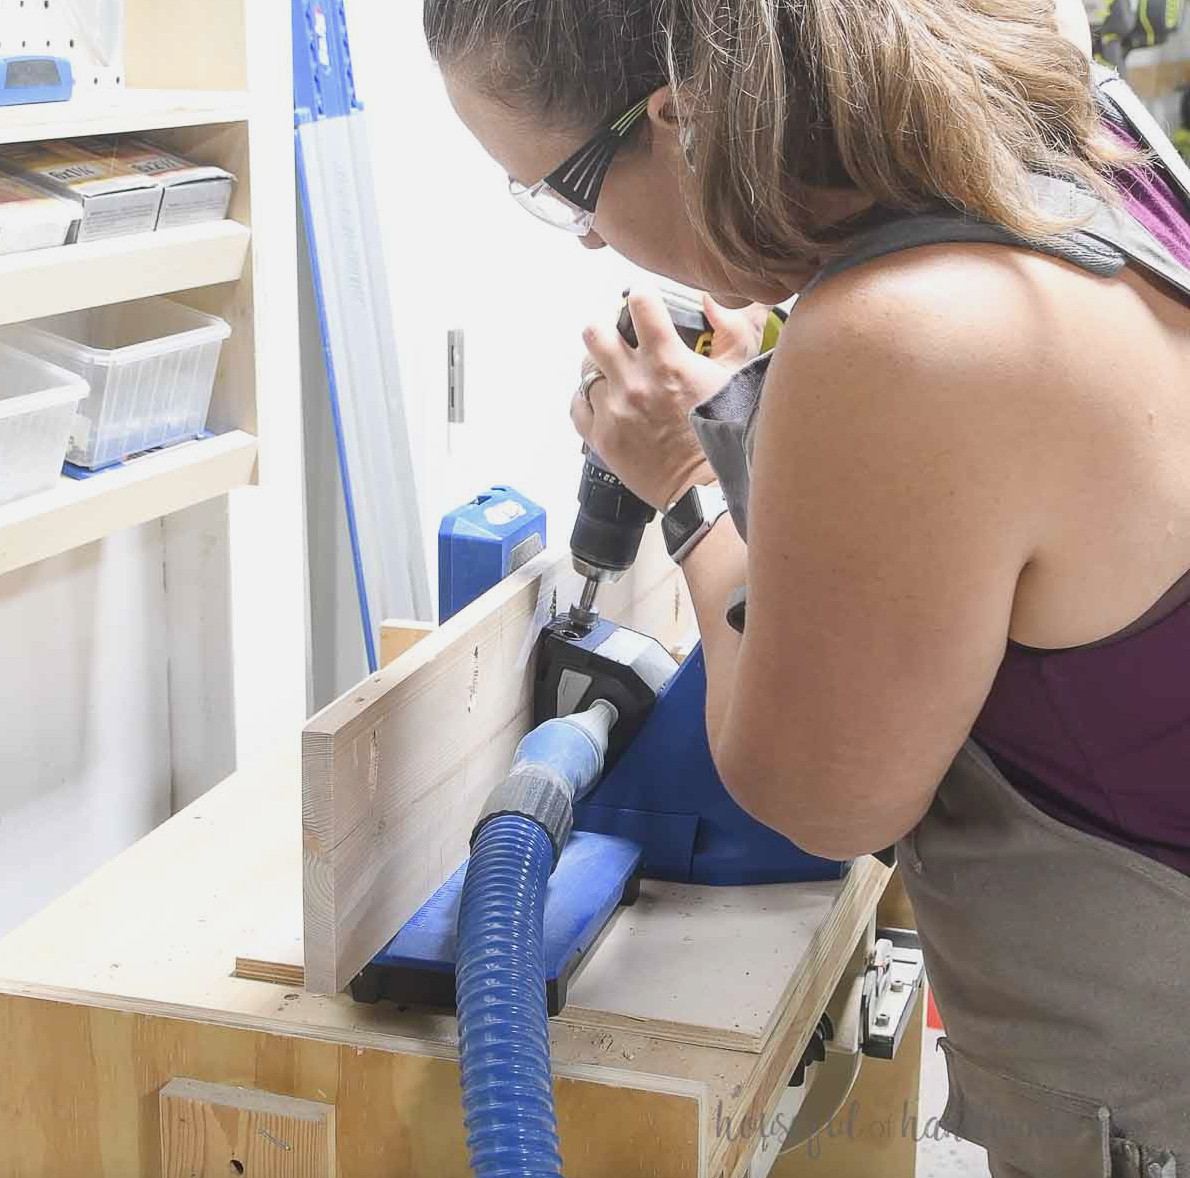
Set your pocket hole jig to drill into 3/4” material, then make pocket holes along the side edges of the side-panel pieces.
The outside pocket holes interfered with the pocket holes required in the following step. For that reason, I suggest using only 2 pocket holes rather than 3. Position each pocket at least 3” away from the ends so they do not overlap.
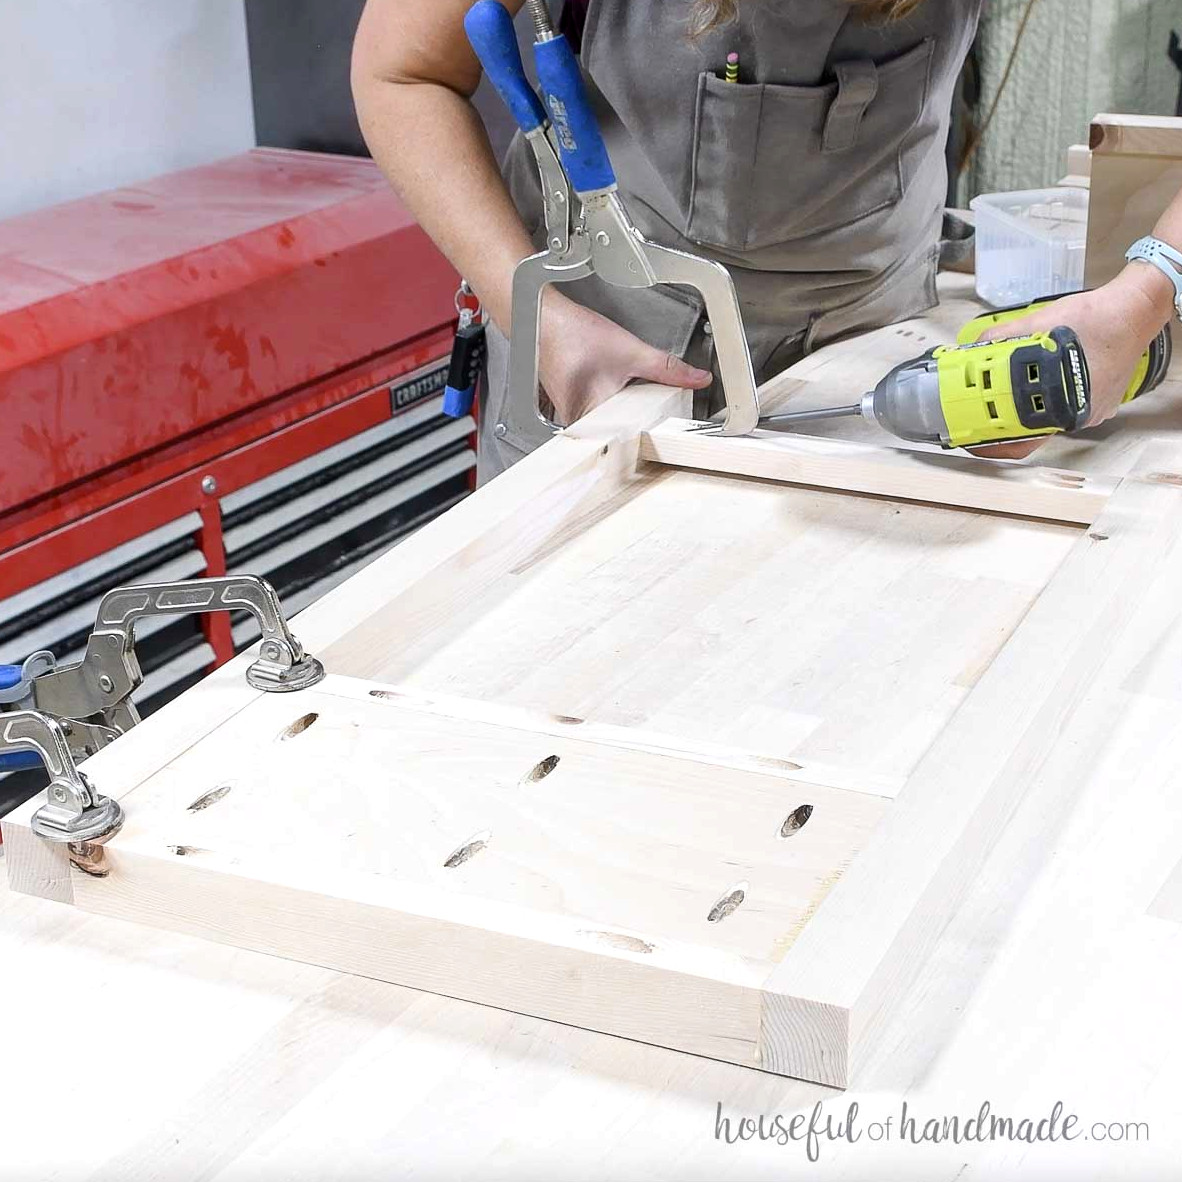
Position the side panel between two side rails, keeping everything flush along the back. Fasten the assembly with 1 1/4” pocket hole screws and wood glue.
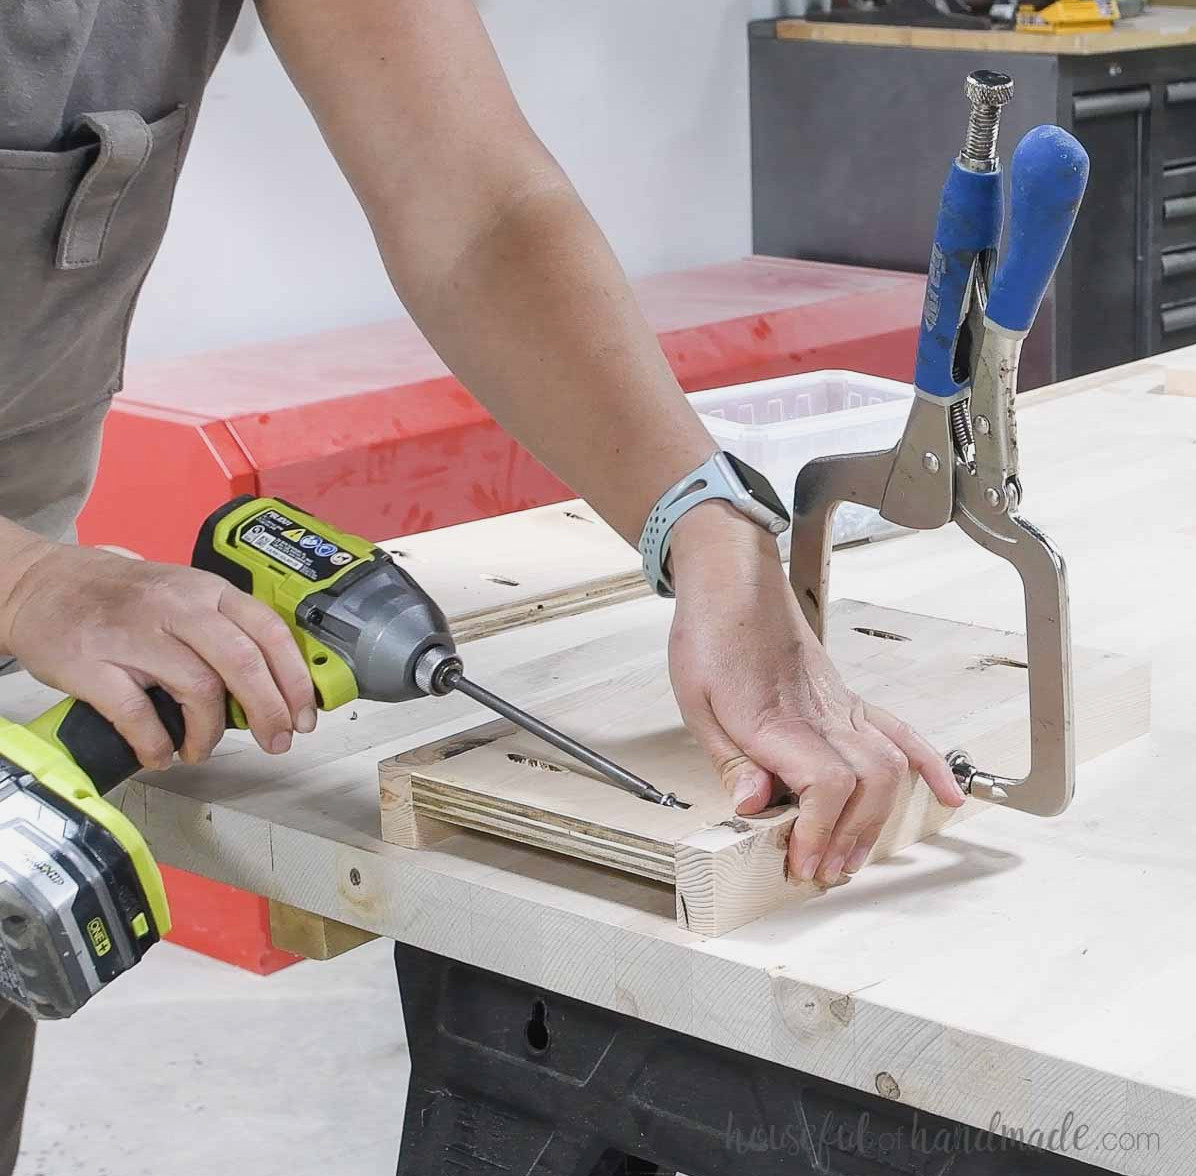
Next, adjust the pocket hole jig for 1 1/2” thick lumber and drill one pocket hole into each side rail.
You can complete this step before putting the side panel together, but I find clamping the 1×2 is simpler after it has been installed.
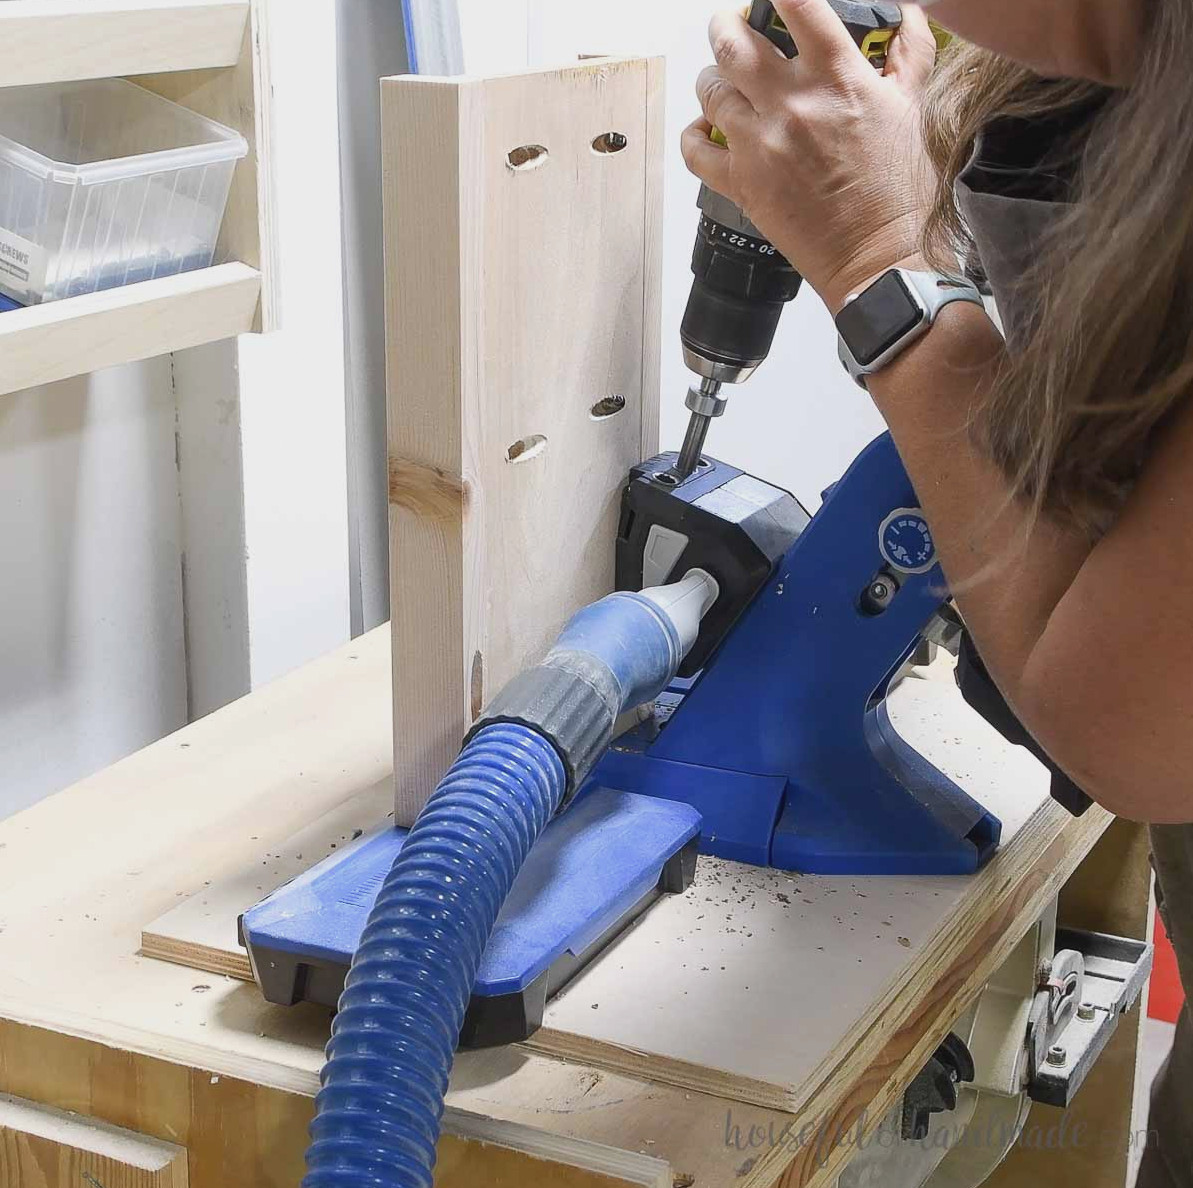
Make pocket holes for 3/4” material at both ends of the remaining two side rails.
Next, position the assembled side panel between two legs, keeping it flush with the top and back. Apply wood glue, then drive 2 1/2” pocket hole screws through the rail holes.
Install the third side rail between the legs near the bottom, centering it across the legs. Set it back 3/8” from both the front and back, and position it 2” above the bottom edge.
Fasten it with 1 1/4” pocket hole screws and glue.
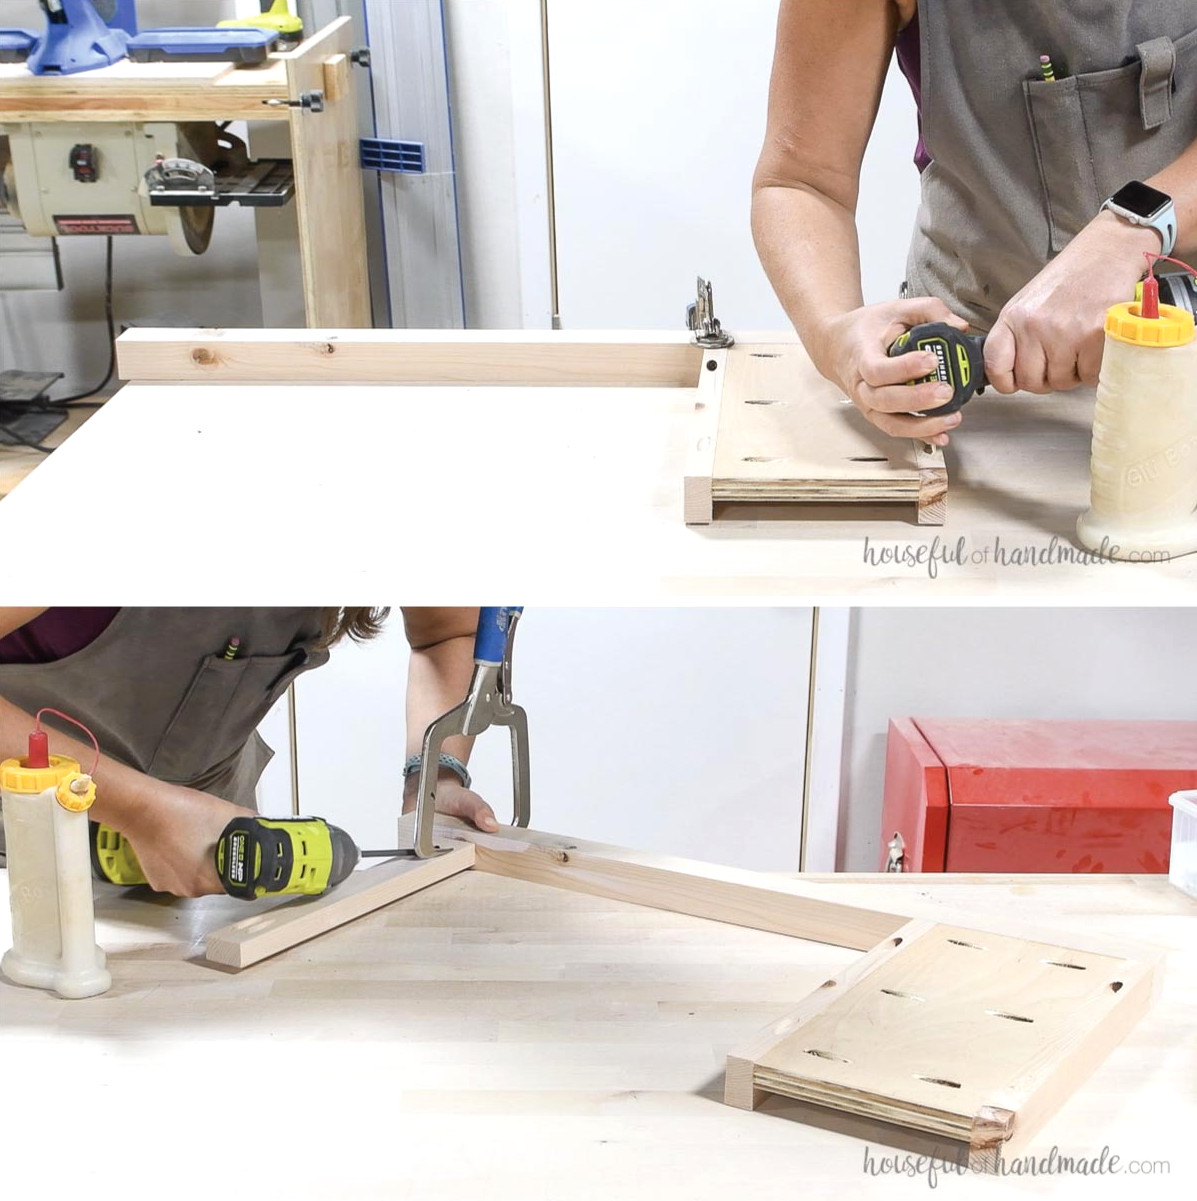
Attach the completed assembly to the second leg.
Be sure to use 1 1/4″ pocket hole screws for the lower rail and 2 1/2″ screws for securing the upper rails.
Complete the same process for the opposite side.
STEP 2- Prepare the shelf
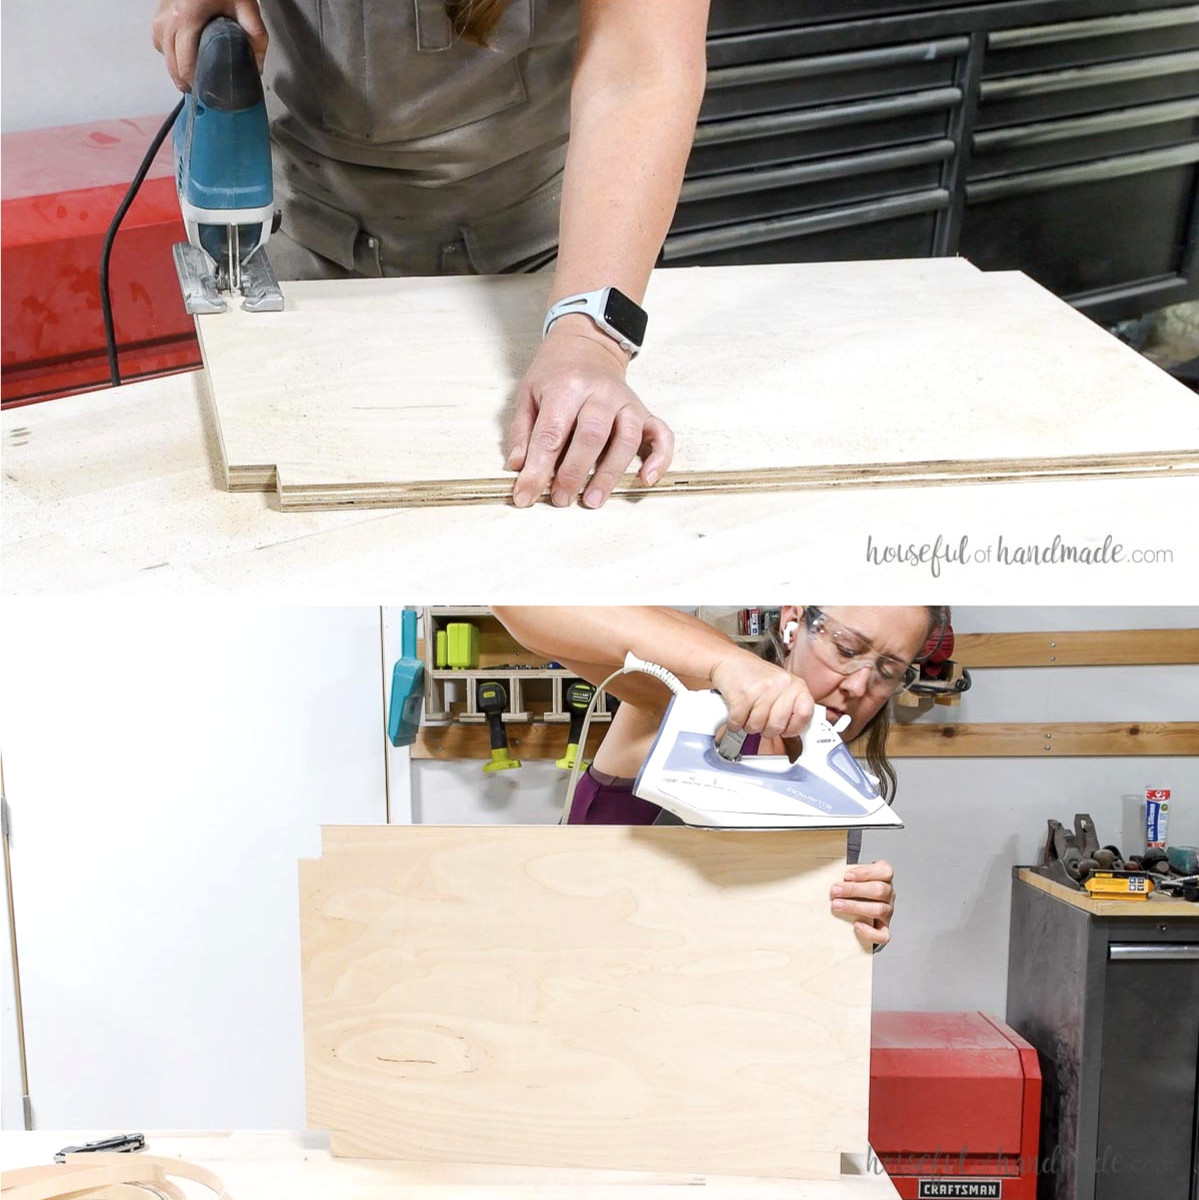
Using the jigsaw, cut notches in the bottom shelf piece as shown in the plans diagram so it can fit around the legs.
Make the back notches 1 1/2” deep, allowing the shelf to sit flush with the back of the legs. Cut the front notches 1 1/4” deep so the shelf sits 1/4” back, matching the slight inset around the drawer.
If desired, apply edge banding to all four exposed edges.
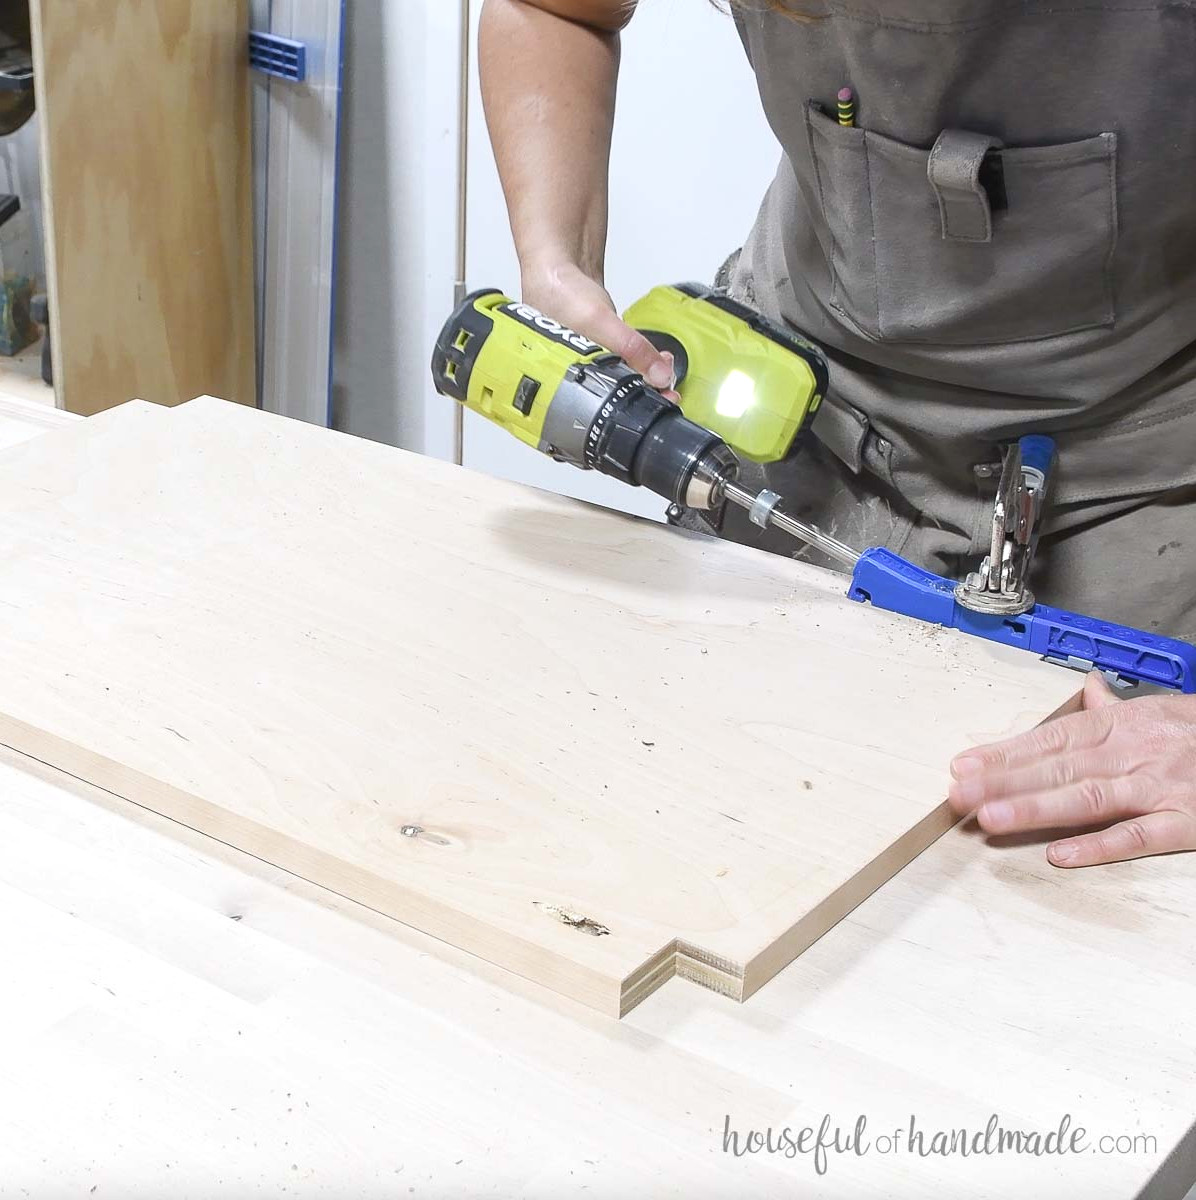
Next, place one pocket hole screw, set for 3/4” thick lumber, in each notch.
STEP 3- Assemble nightstand base
In both ends of the center rail pieces and back piece, drill 2 pocket holes configured for 3/4” thick material.
Fasten the two center rails to the front of one side piece, keeping them flush with either the top or bottom of the side rails and positioned 1/4” back from the front.
Use 1 1/4” pocket hole screws and wood glue to hold them in place.
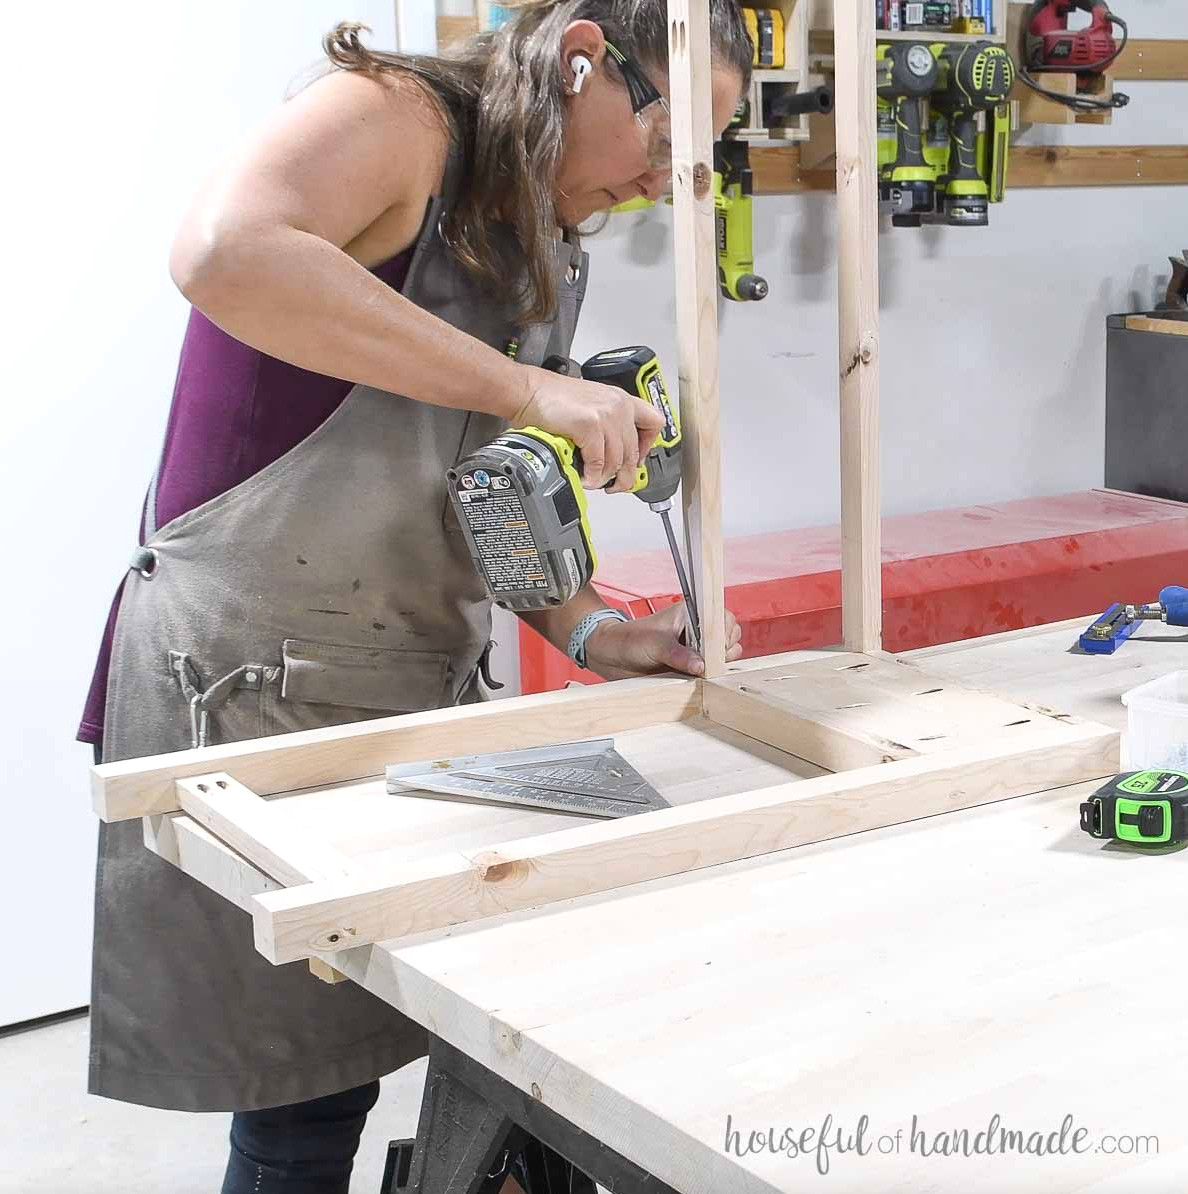
Position the third center rail in the middle of the back leg, 2” above the bottom.
Install the back piece so that it aligns flush with the top and rear edges of the sides.
Fasten it using 1 1/4” pocket hole screws and wood glue.
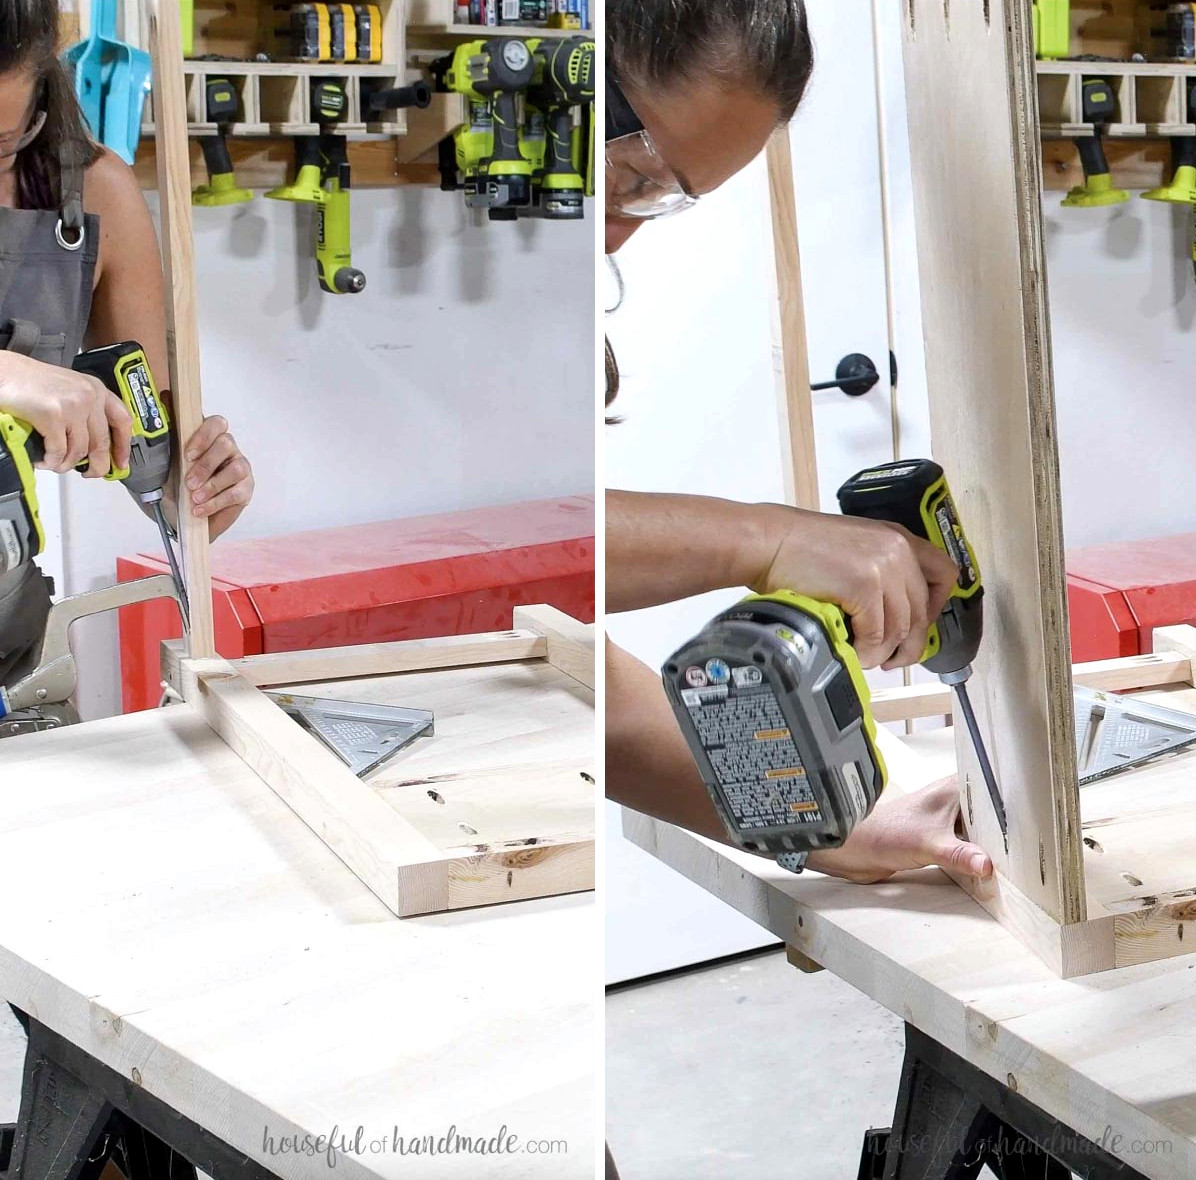
Next, install the shelf 5 1/2” above the bottom.
Installing the shelf first may be simpler; otherwise, a right-angle drill adapter might be necessary to fit the drill between the bottom rail and shelf while driving the screw.
Secure it with 1 1/4” pocket hole screws and wood glue.
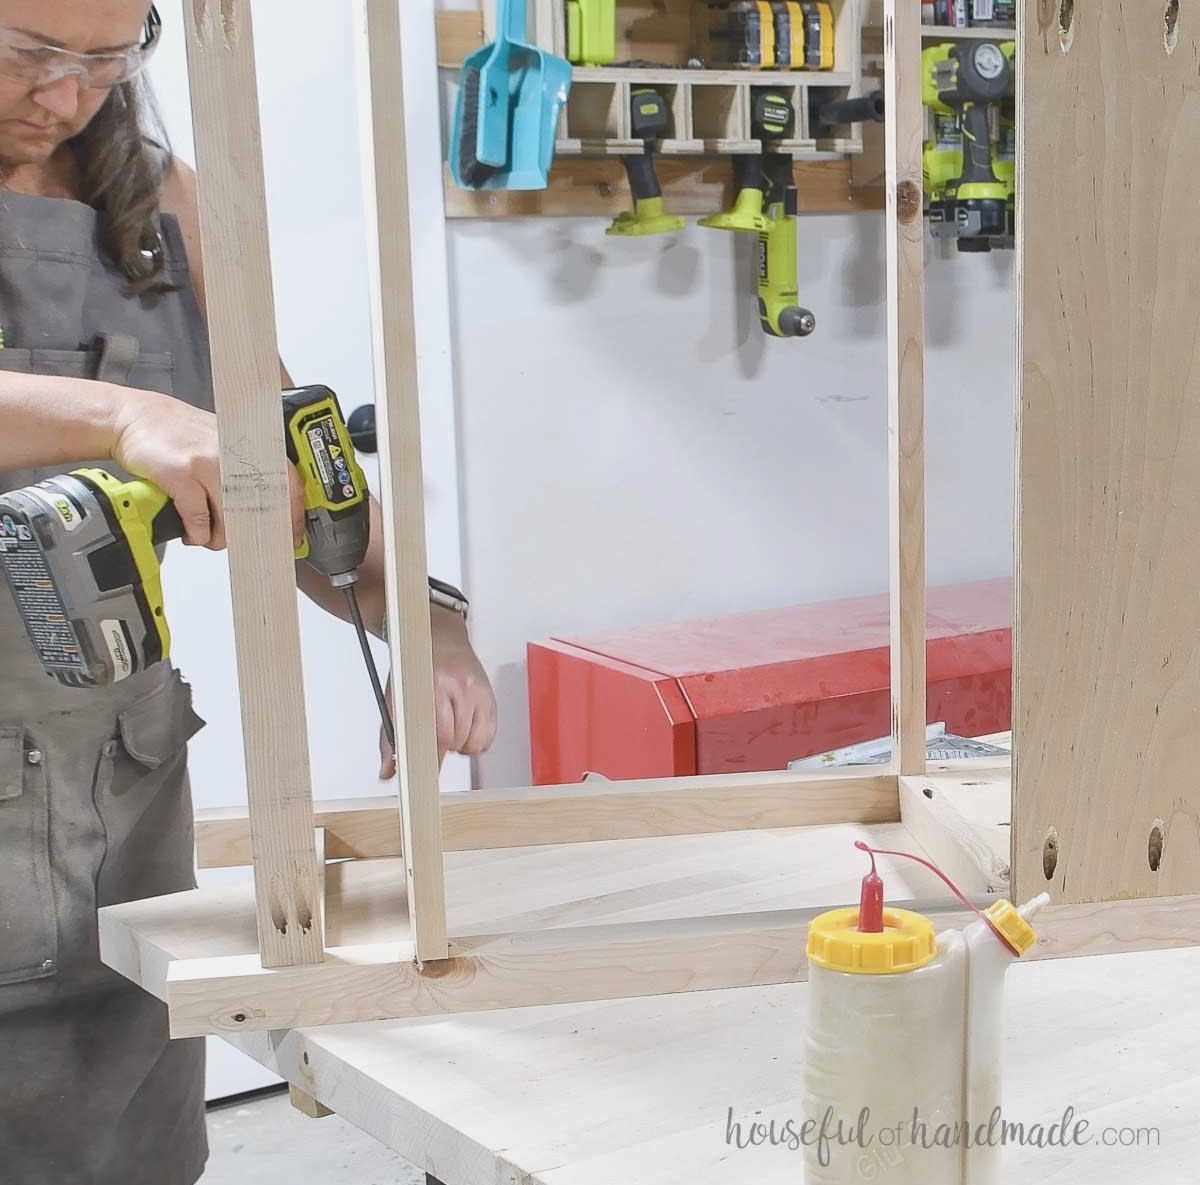
Repeat the process by attaching all of the same components to the other assembled side piece.
Align the components carefully and fasten them in the same manner as on the opposite side.
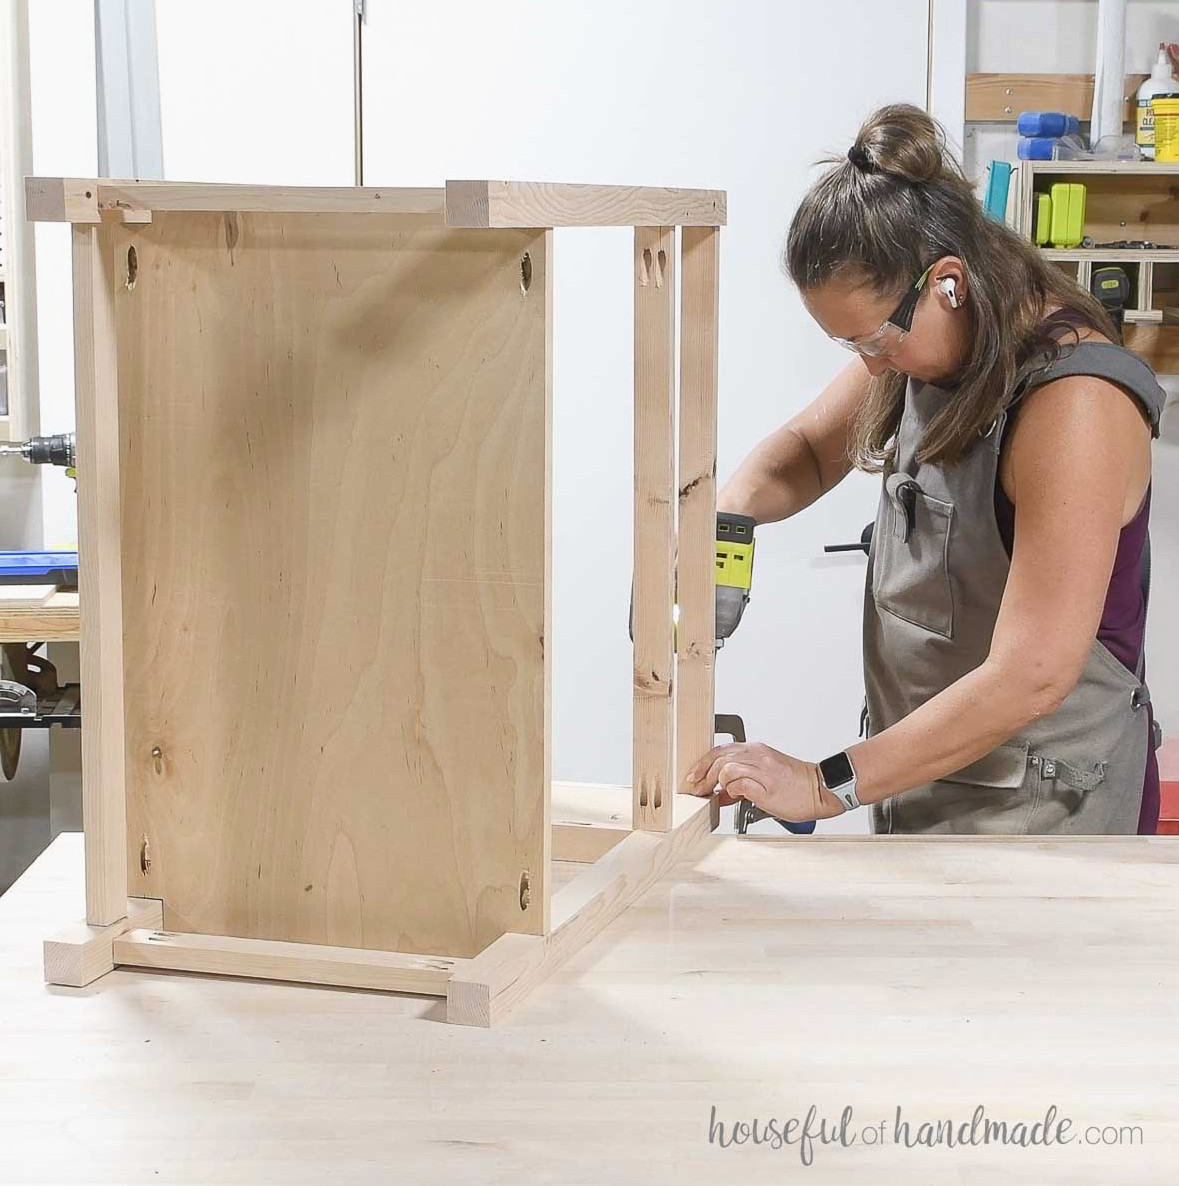
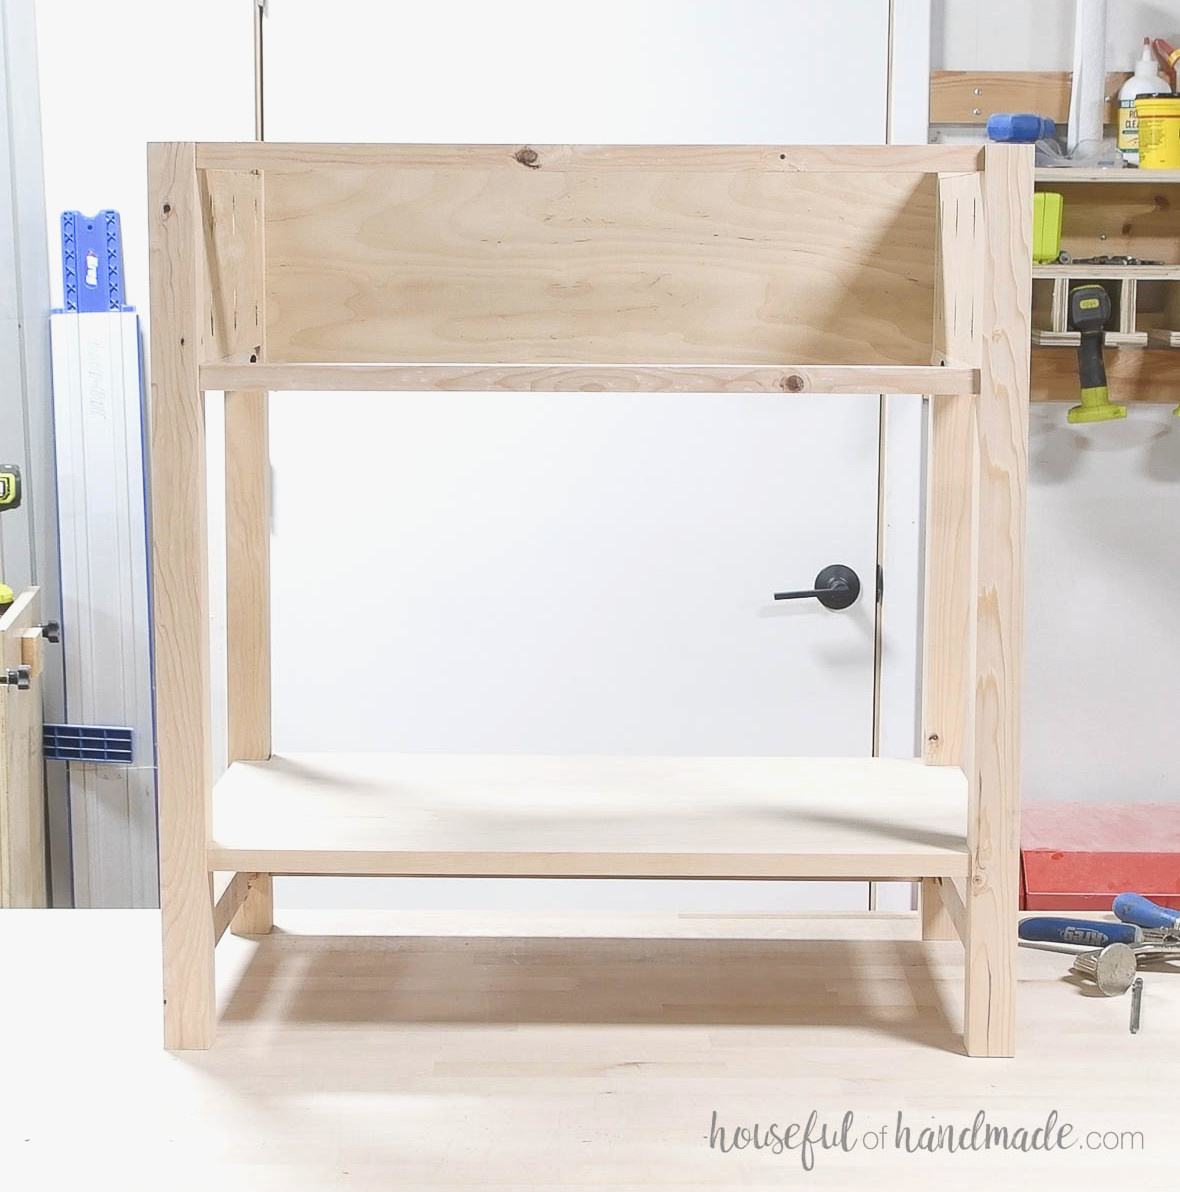
Your nightstand base is now complete and ready for finishing.
You may wish to fill the pocket holes on the lower side rails because they are somewhat visible beneath the shelf.
The remaining pocket holes will be well concealed after installing the top and drawer.
STEP 4- Build nightstand top
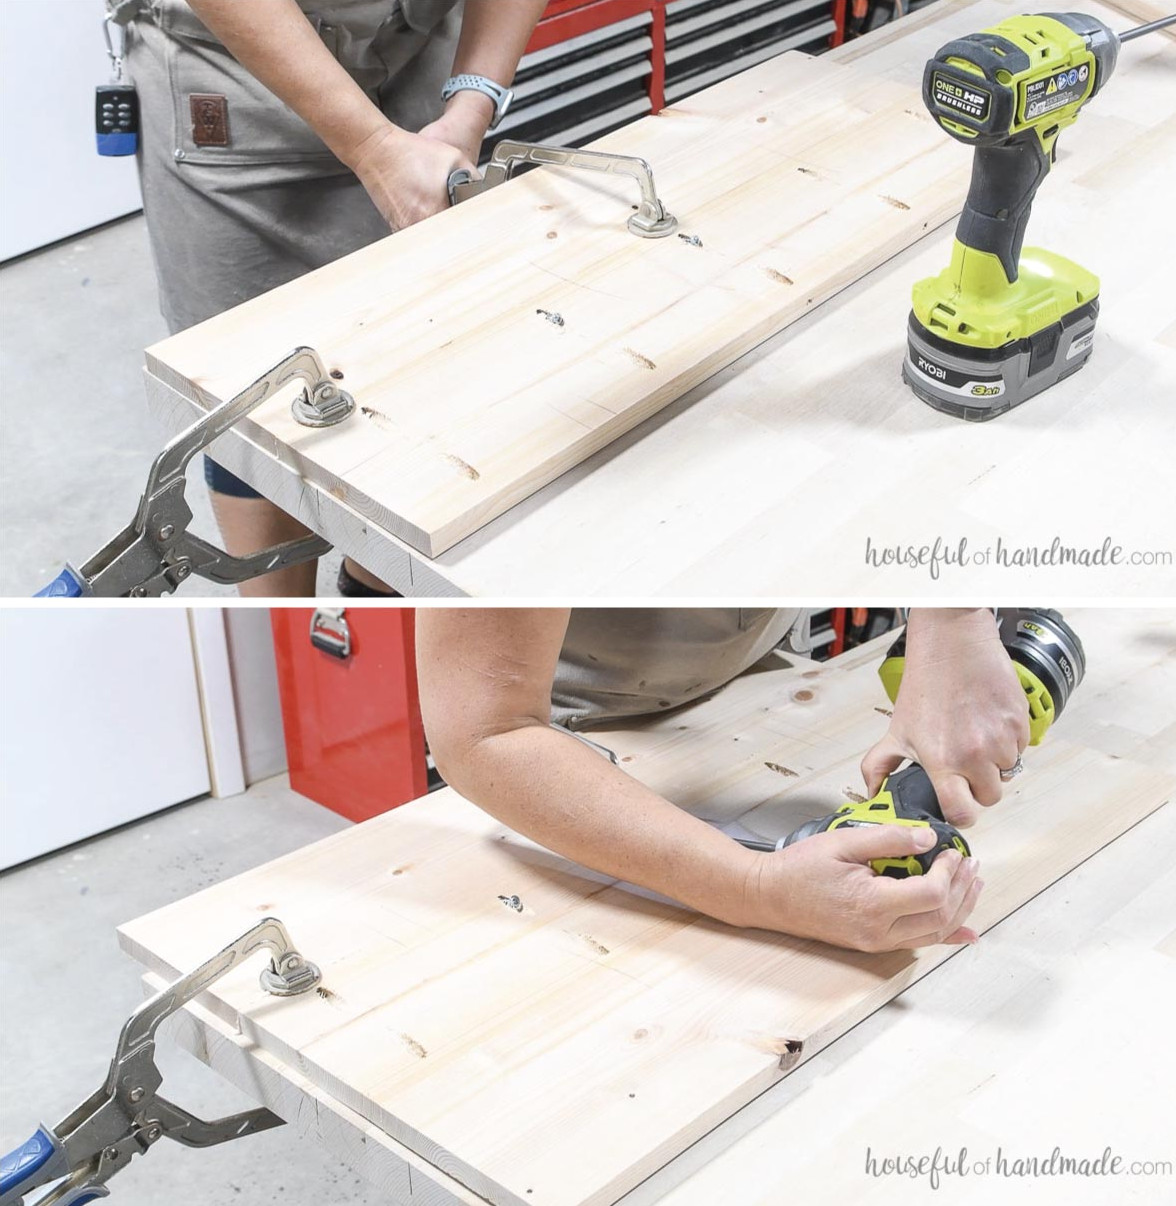
Set your drill for 3/4” material and make pocket holes in both sides of the center top piece.
Apply glue along the sides of the three pieces, then join them with 1 1/4” pocket hole screws to form the solid wood top.
Smooth the surface by sanding.
STEP 5- Build the drawer
In the two drawer box sides and the drawer box front, cut a groove measuring 1/4” wide by 1/4” deep, positioned 1/4” above the bottom.
Join the drawer box pieces with their top edges flush. Use glue along with either pocket holes or staples/nails.
Find detailed drawer-building instructions and all my DIY drawer tips here.
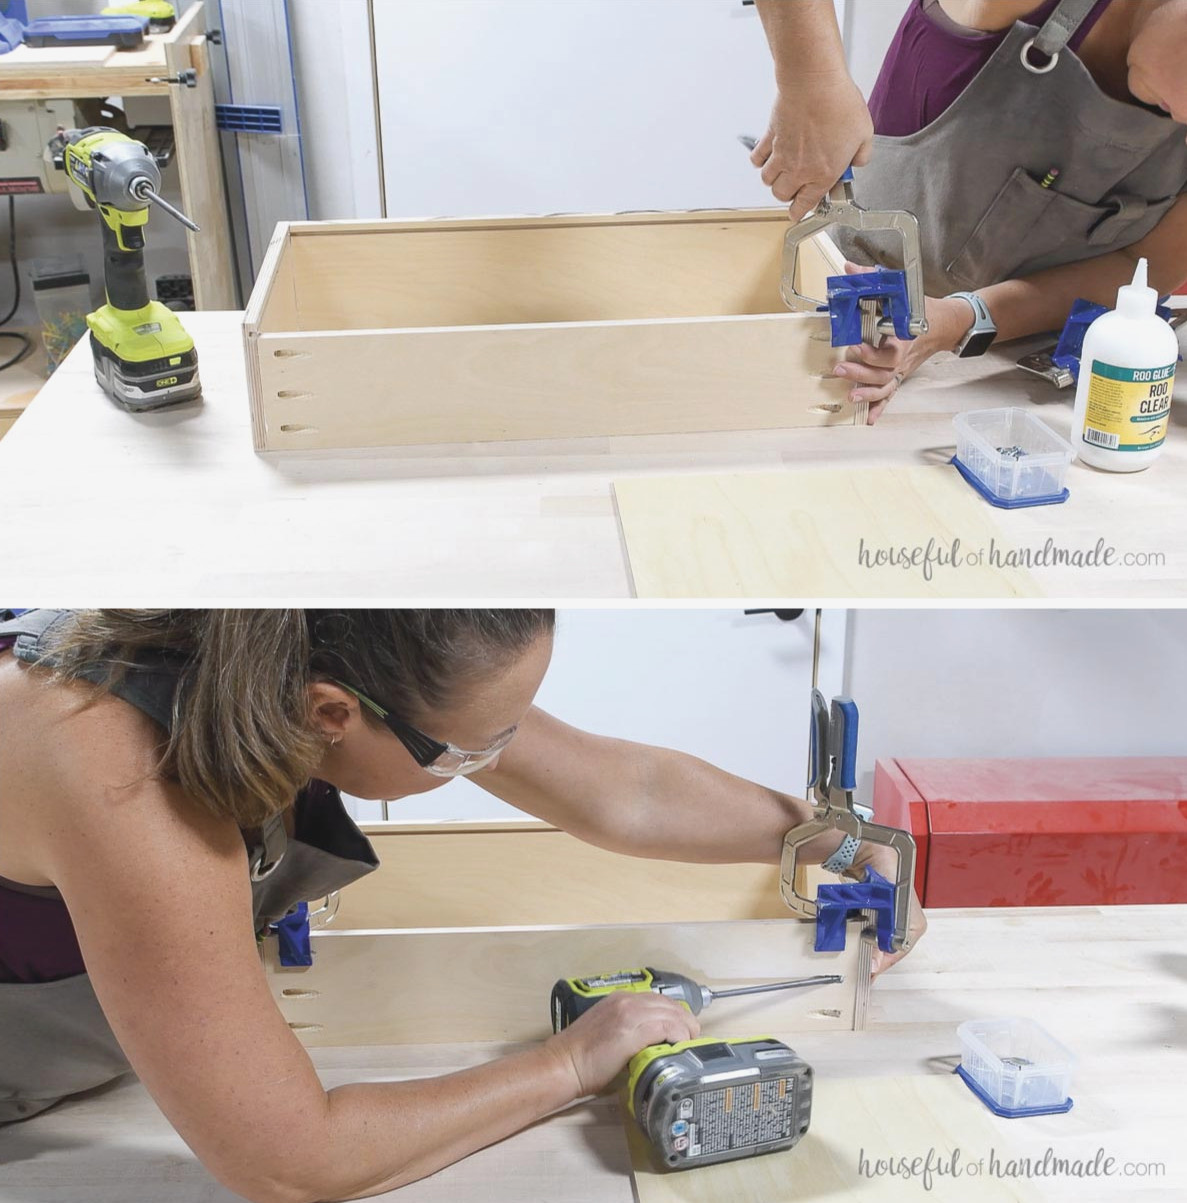
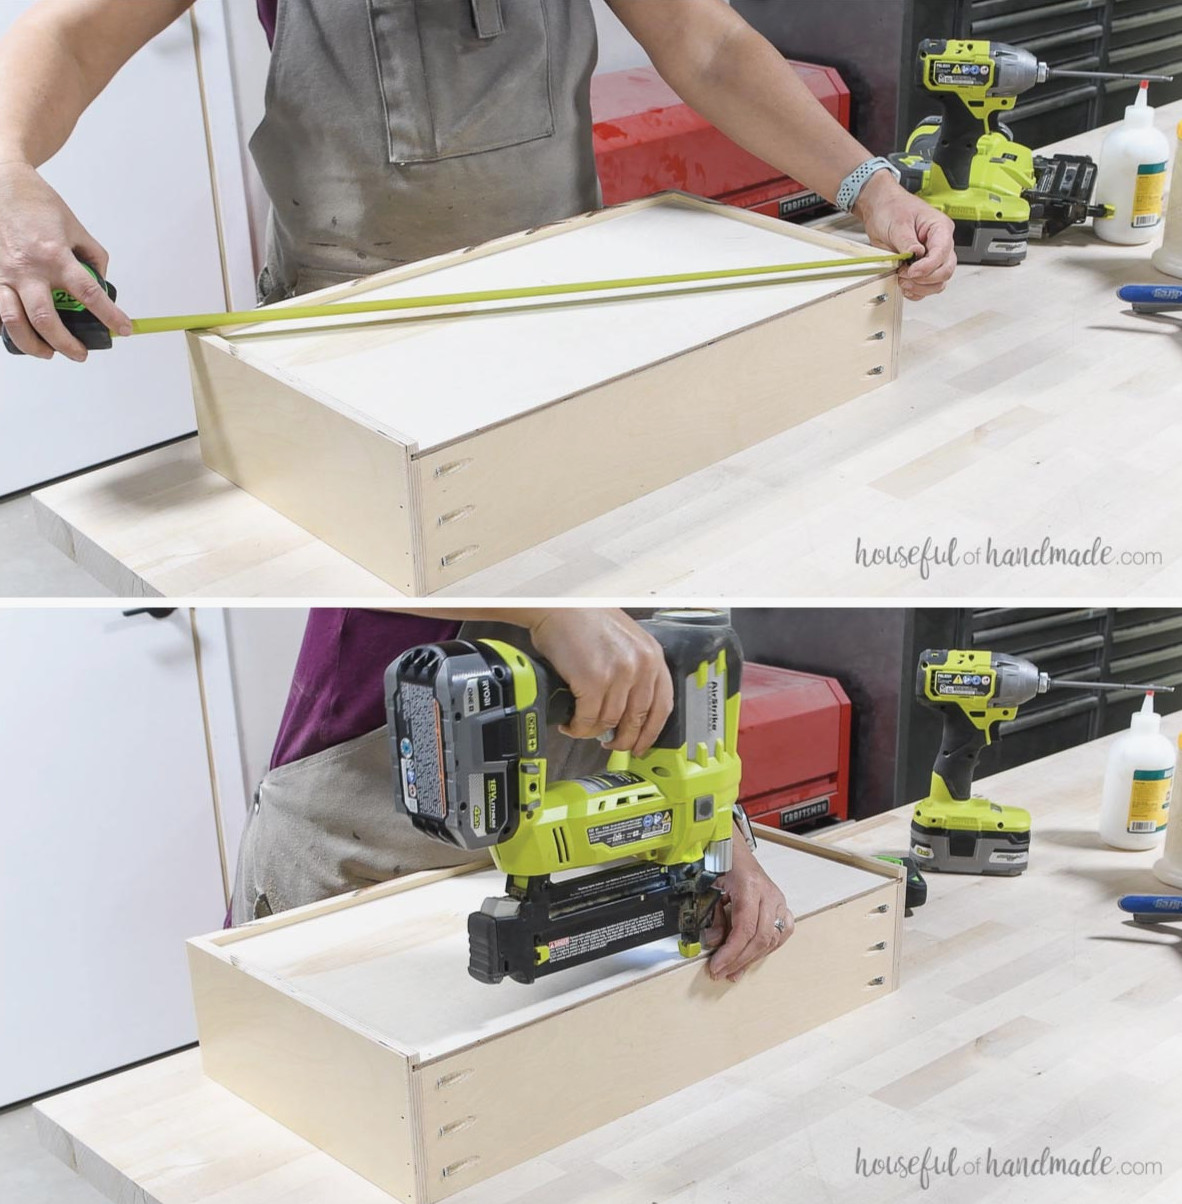
To check whether the drawer box is square, measure from one corner to the opposite corner in both directions. Equal measurements indicate a square box; if they differ, make adjustments before installing the bottom panel.
Insert the bottom panel into the groove, then attach it to the underside of the back piece with 5/8” brad nails.
STEP 6- Finish
Apply the desired finish to all of the pieces.
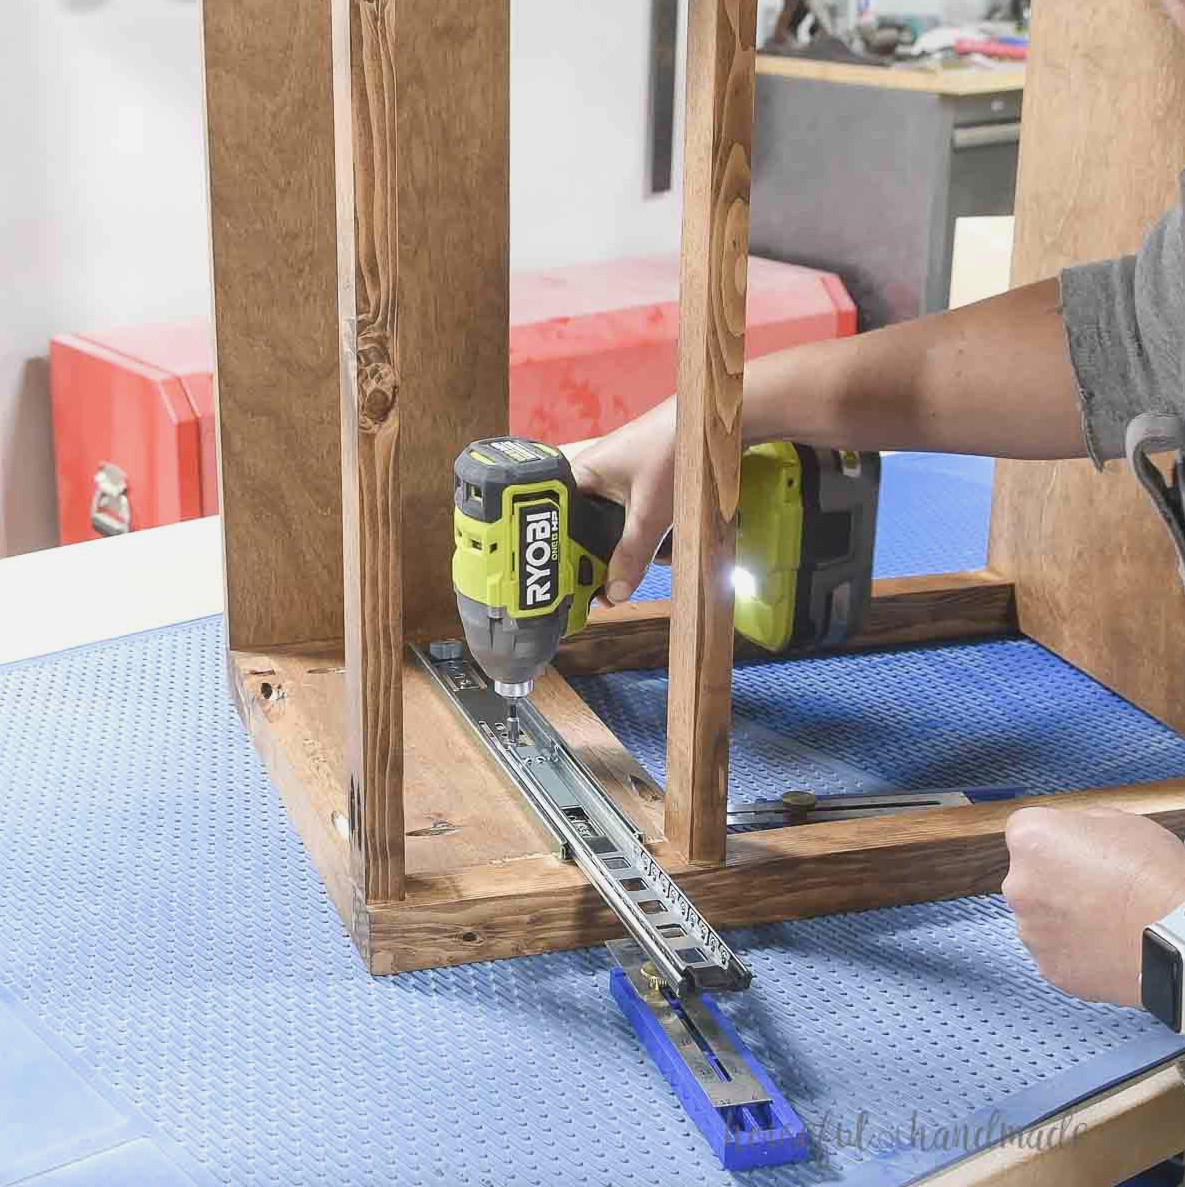
Position the drawer slides 1” back from the fronts of the legs. This placement will leave the drawer front flush with the center rails.
Find instructions for installing drawer slides here.
Center the drawer front within the opening when attaching it. Maintain a 1/8” gap on every side.
I prefer using the knob holes to fasten the drawer front from the outside.
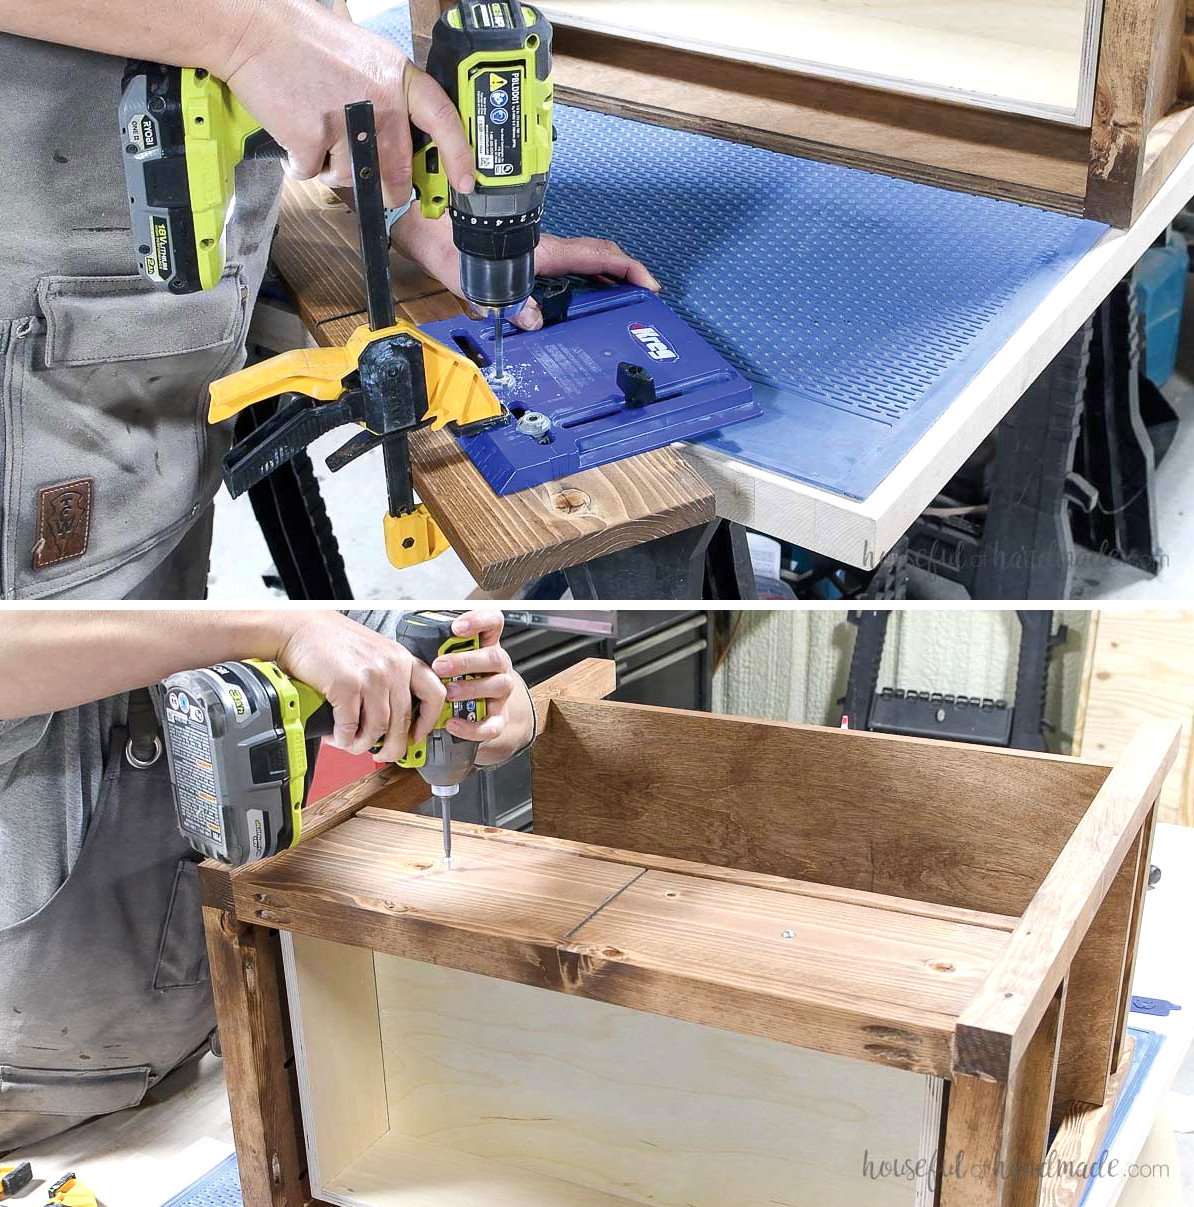
Afterward, fasten the drawer front from the inside with 1 screw before taking out the screws and installing the knobs.
Find helpful tips for attaching drawer fronts here.
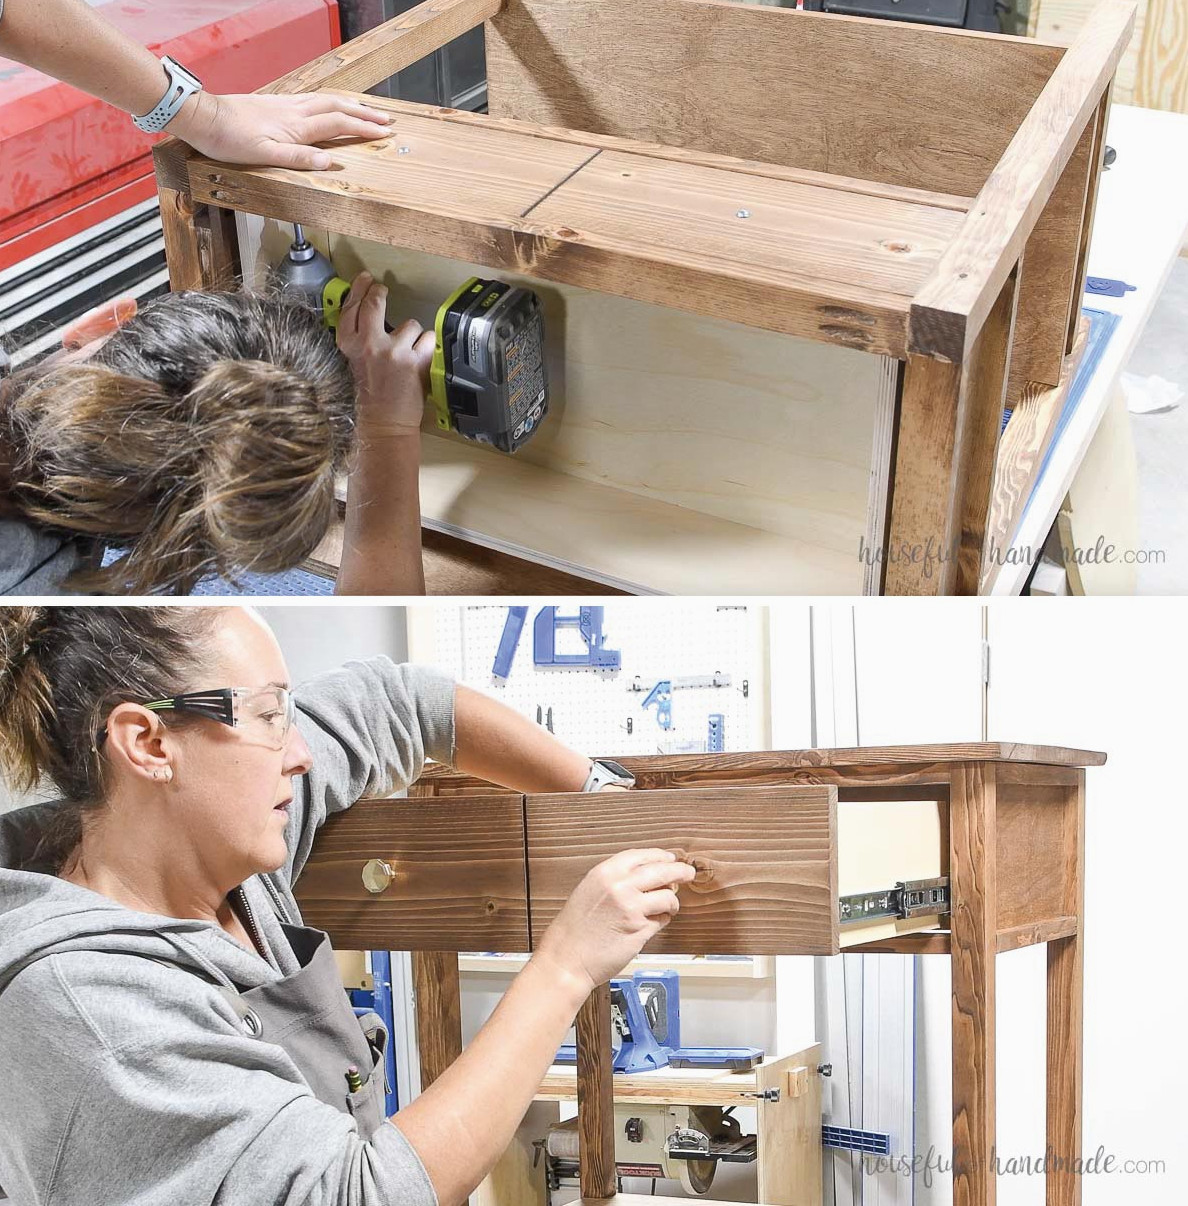
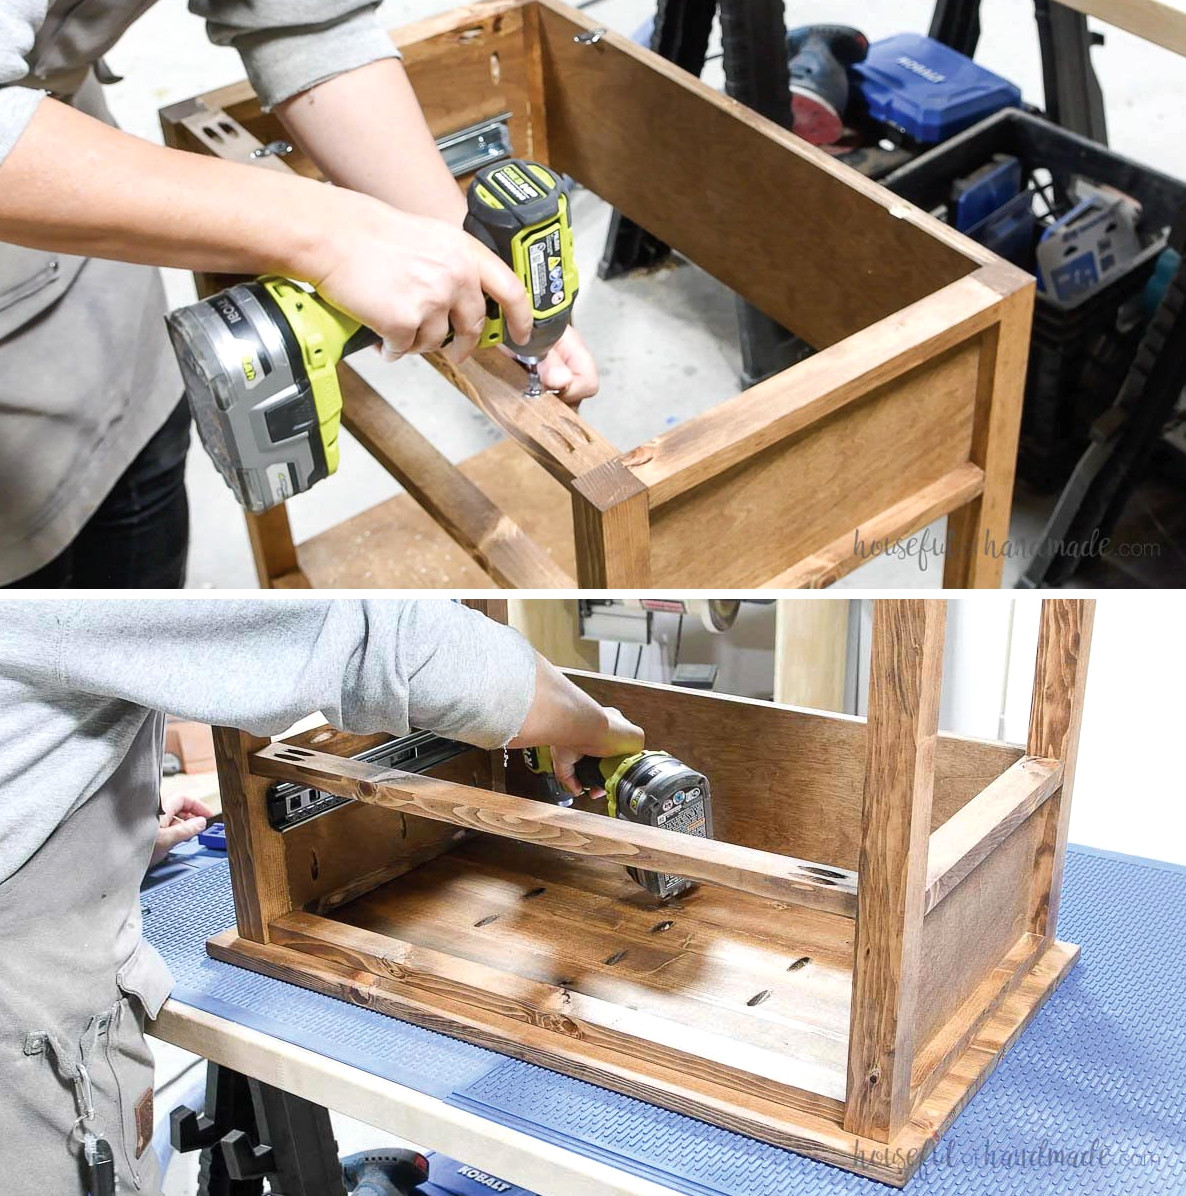
Secure the nightstand top using 4 figure 8 fasteners (2 on the front center rail and 2 on the back panel).
Center the top from side to side, leaving a 1” overhang on each side. It should sit flush with the back, creating a 1” overhang at the front.
You’re finished!
Remember to Get the Printable PDF Plans Here!
Premium plans feature:
- Suggested Tools
- Materials list
- Clear cut list chart
- Cutting diagrams
- Detailed instructions with 3D renderings
- Useful resources
- BONUS: 3D SketchUp file
You can now place your newly built large nightstand in your room and appreciate its storage and style.
Enjoy building!