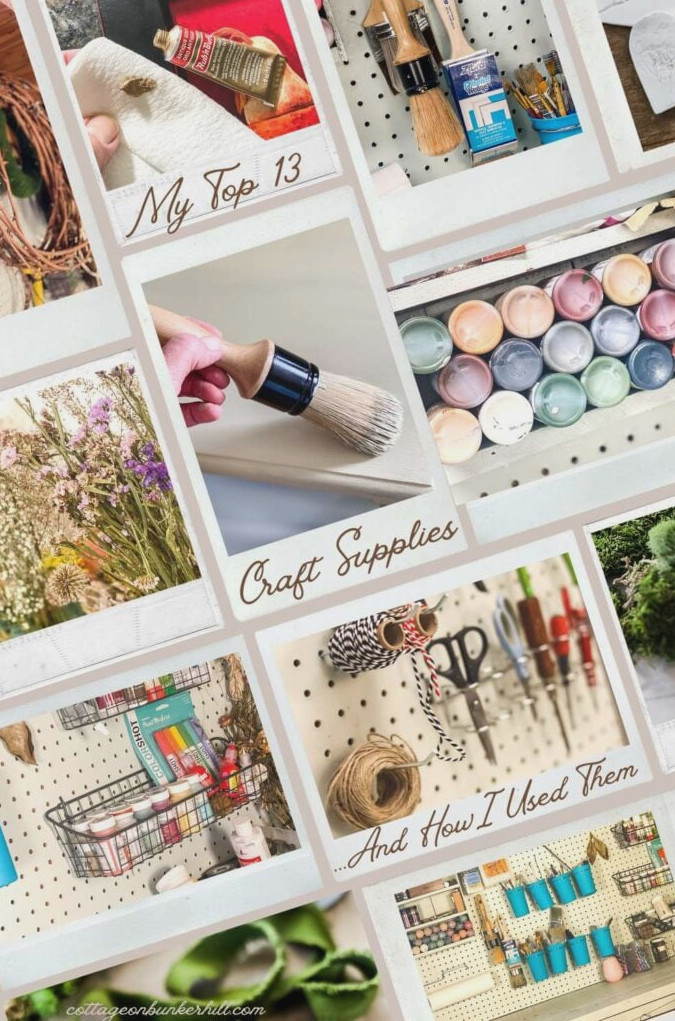
Because I enjoy creating as much of my home decor myself as possible, I’ve experimented with and used countless craft materials throughout the years. Below are my 13 favorite essential craft supplies and the ways I’ve incorporated them into DIY projects.
The 13 Craft Supplies I Always Keep on Hand
There’s no doubt that I enjoy making as much of my home decor as I can so I can share these ideas with you…after all, that’s my job!!
Over the last several years, I’ve tested hundreds of different crafting products. After experiencing both successes and failures, I’ve found a few dependable supplies that I never let run out.
Whenever inspiration suddenly strikes during the day, I can head straight to my workshop and begin creating, confident that I likely already have everything needed for the project. That means no time is lost driving to the craft store or placing an Amazon order.
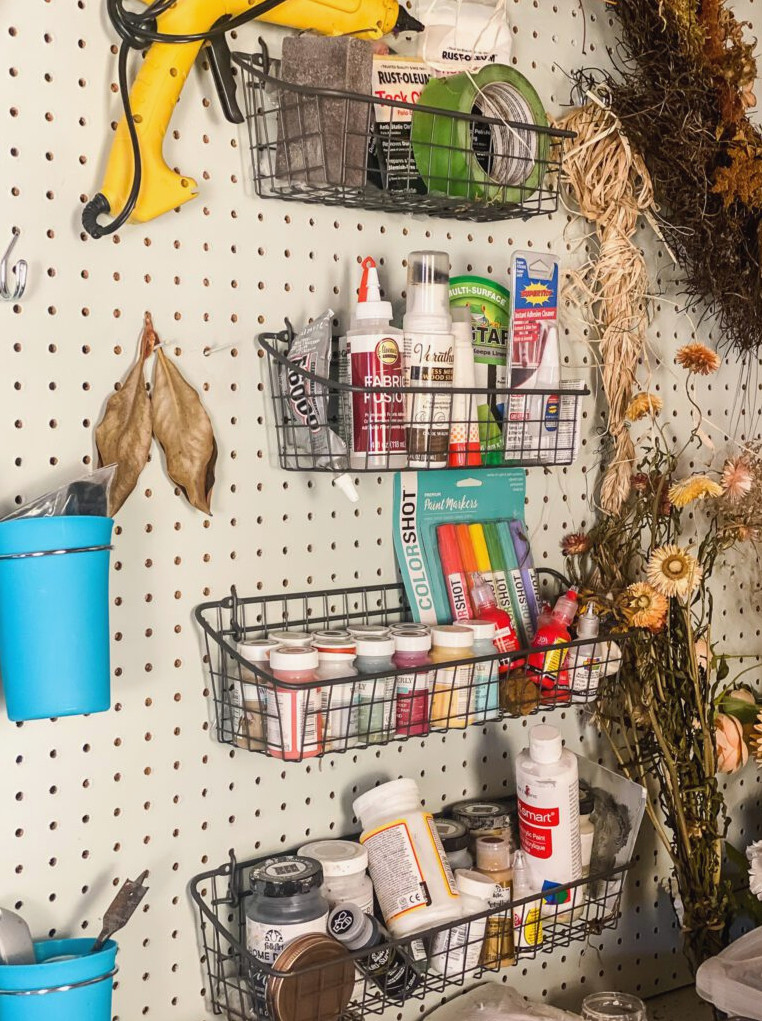
Here are the 13 crafting supplies I consistently keep in stock in my workshop. These photos also show my actual craft space… it’s located in our basement and is tidy, though definitely not spotless!!
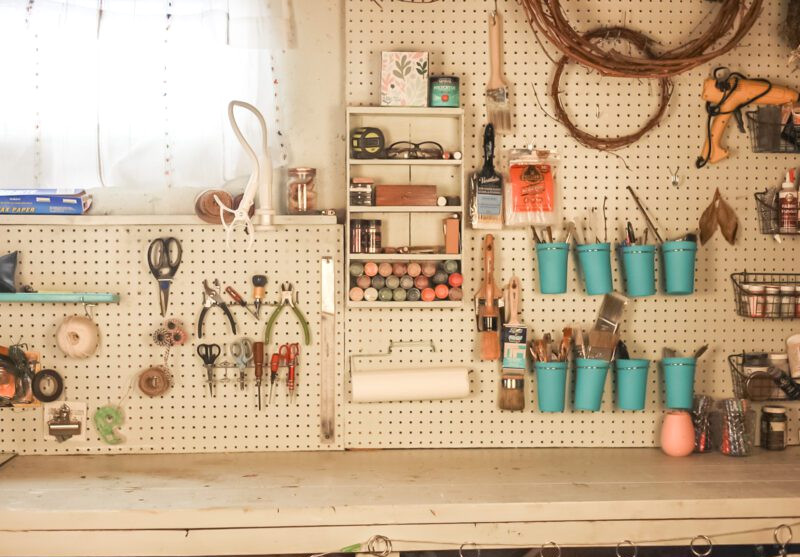
13 Essential Craft Supplies:
Paint
This one is pretty obvious!! Paint is part of nearly every craft and DIY project I make. Over time, I’ve gathered a substantial paint collection and experimented with numerous brands.
Acrylic Craft Paint
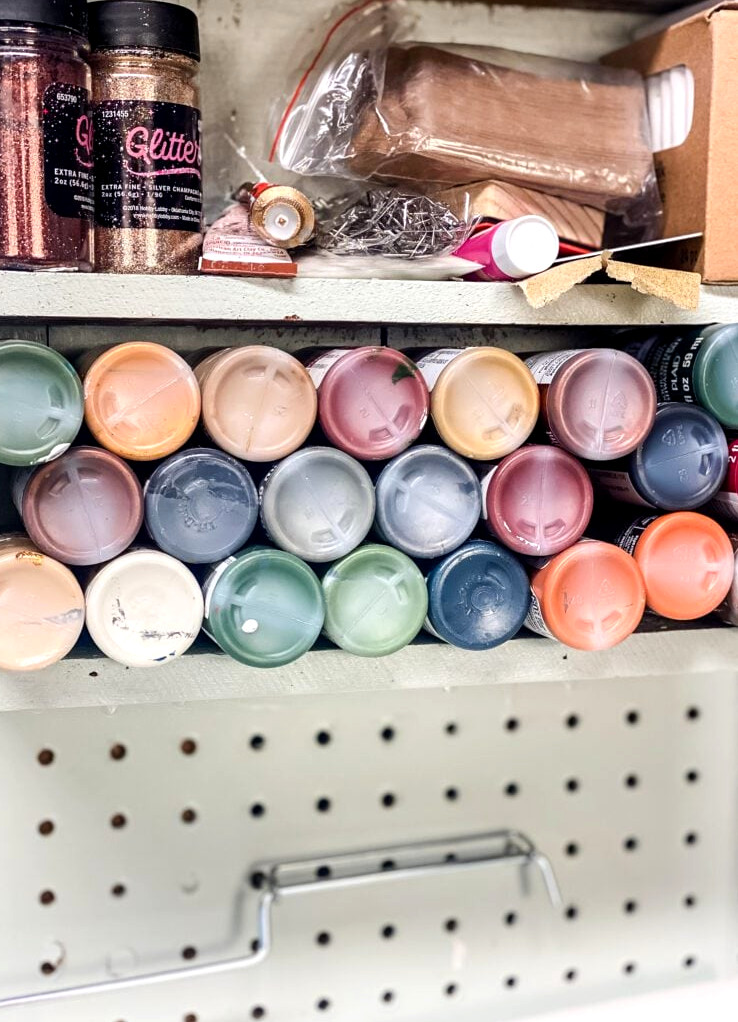
Acrylic craft paint is absolutely an essential material to have! This budget-friendly paint works well for decorating nearly any project. It provides wonderful coverage, and I’ve used it for everything from creating my own artwork to decorating Christmas ornaments. As an added benefit, it’s very affordable!
Among the acrylic paints I enjoy most are Folk Art Metallics, with antique copper being a particular favorite.
Projects Made With Acrylic Paint
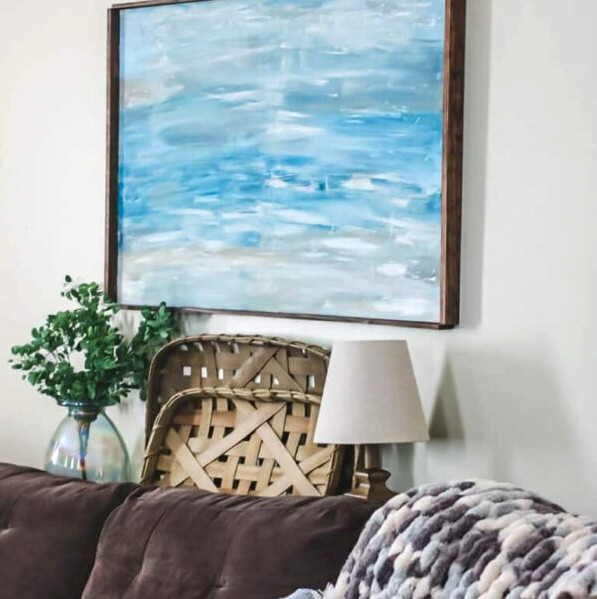
Abstract
DIY wall artwork
Create oversized wall artwork yourself…you don’t need to be an artist, either!
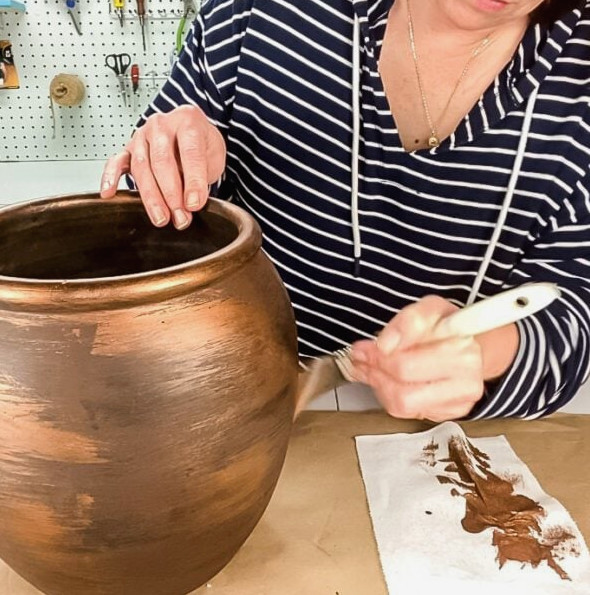
Pottery Barn
inspired vase
With a little paint, this unattractive thrifted planter became a beautiful decorative vase.
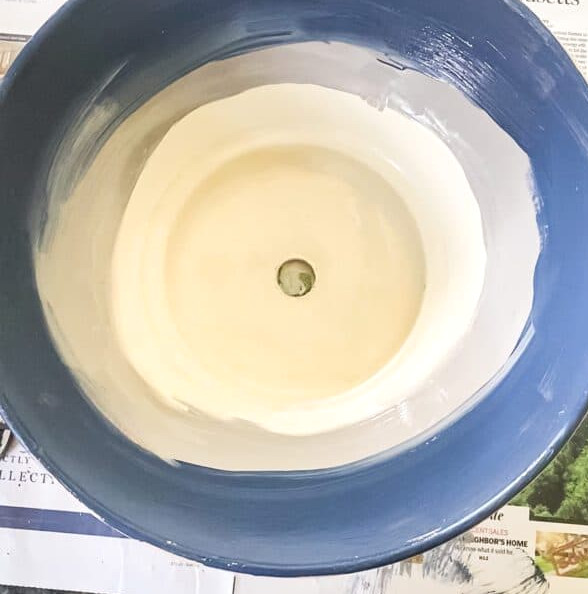
Terra Cotta
painted bowl
I transformed a simple terracotta planter from a discount shop with a coat of paint.
Chalk Paint
Have you tried chalk paint before?? What I especially appreciate is that it works on nearly anything!! It adheres to wood, glass, and just about every surface in between!
Chalk paint is exactly what its name suggests! It contains calcium carbonate init or another powdery mineral material, leaving behind a chalk-like matte surface once dry.
I once refinished a large amount of furniture with chalk paint and really enjoyed using it. These days, I take on fewer furniture makeovers and more small craft and decorating projects, yet I still appreciate the way chalk paint performs. The Waverly Chalk Paints available at Walmart are also wonderful to use.
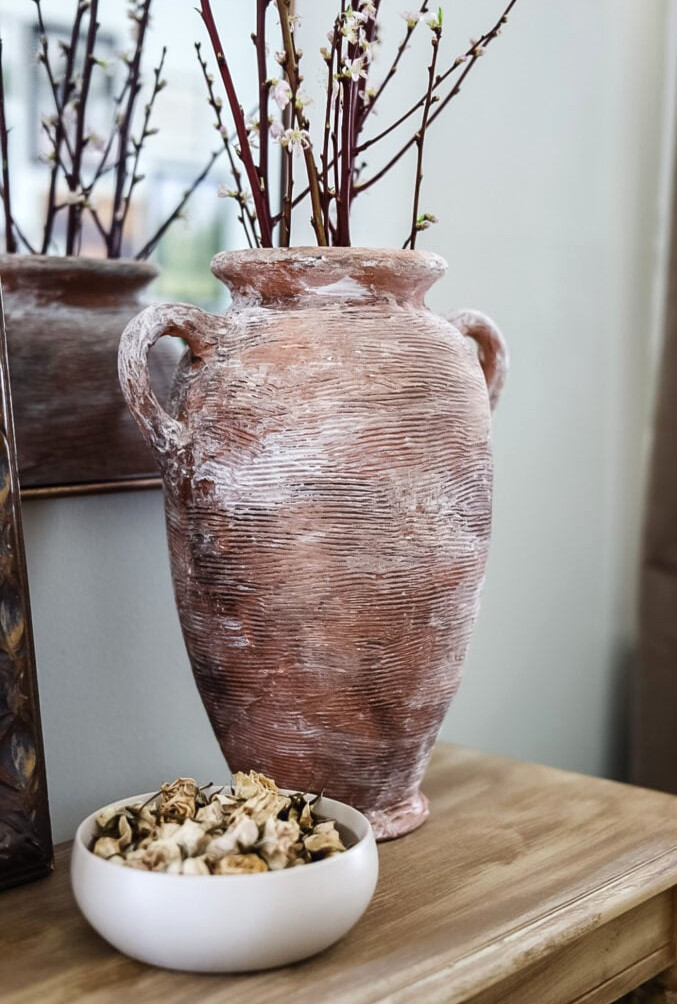
This is one of my favorite paint makeovers. Discover how I turned an unattractive $5 flea market purchase into a stylish, high-end-looking vase that I use constantly.
spray paint
Spray paint has improved tremendously over the last several years. Today, there is an impressive selection of colors and specialty formulas to choose from. My paint collection includes several shades of Rustoleum metallic spray paint.
The ones I enjoy most are “Oil Rubbed Bronze” and “Aged Copper“. I also consider Rustoleum matte black and satin white essentials—they are excellent paints to keep available for surprise projects.
garden tower
DIY
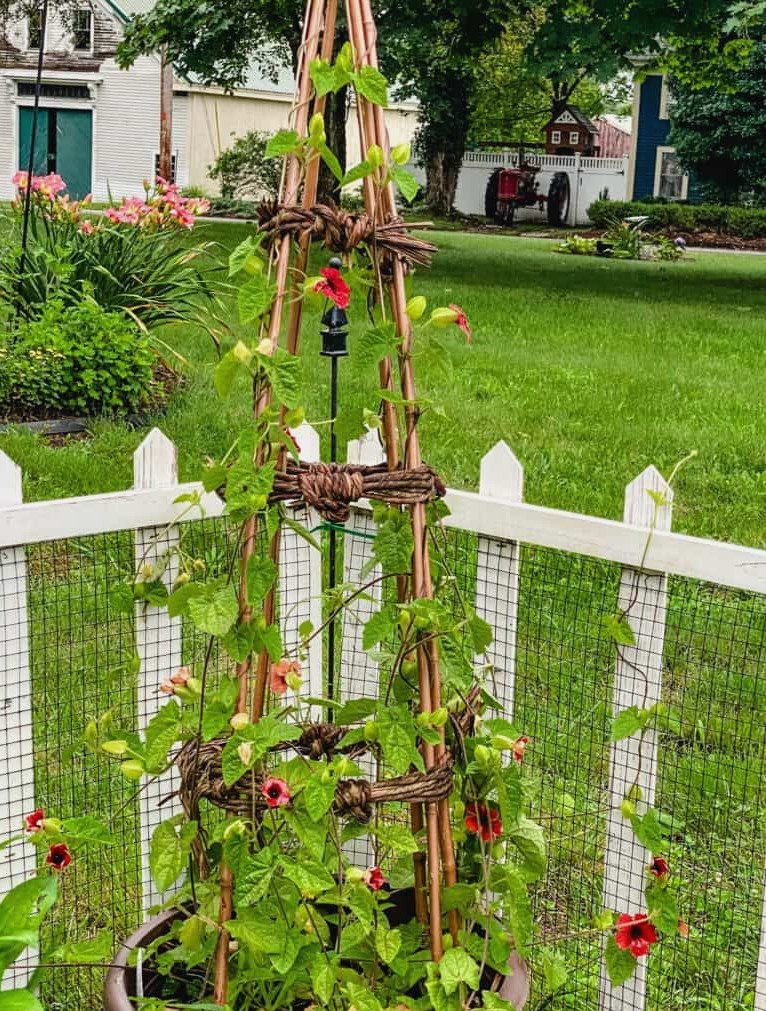
With an inexpensive tomato cage, bamboo supports, and copper spray paint, I created the most charming cottage-style garden tower for climbing blooms.
There are now specialty spray paints made specifically for DIY projects as well. They are not essential when you are first building your craft room supplies, but I really enjoy the results they create! The two varieties I own are Krylon Sea Glass Spray Paint and Krylon Looking Glass Paint.
Here are some projects I completed using those specialty paints:
For a glazed-pottery appearance, I reach for Krylon Triple Glaze. It recreates the glossy finish of costly pottery! I applied it to this Sea Glass Bird Bath to add shine and protect it for outdoor use.
Spray paint works for countless projects, but its durability makes it my preferred option for outdoor creations.
Moss
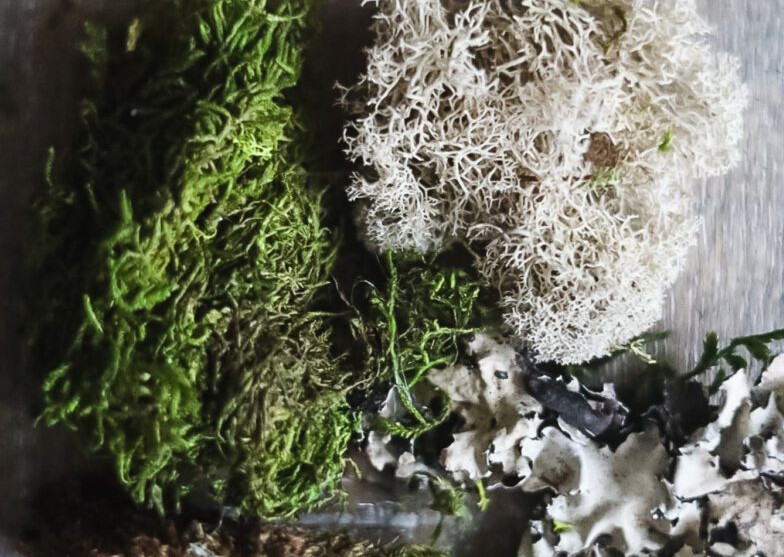
Moss can be used in countless ways around your home! It is useful not only for DIY creations but also for adding a subtle finishing detail to your decor.
I keep several varieties of moss in my craft collection, including preserved moss, mixed moss, and Spanish moss.
This may seem like an unusual “must-have,” but I use moss constantly! I simply enjoy bringing natural touches into my home, and moss is a wonderful way to do that.
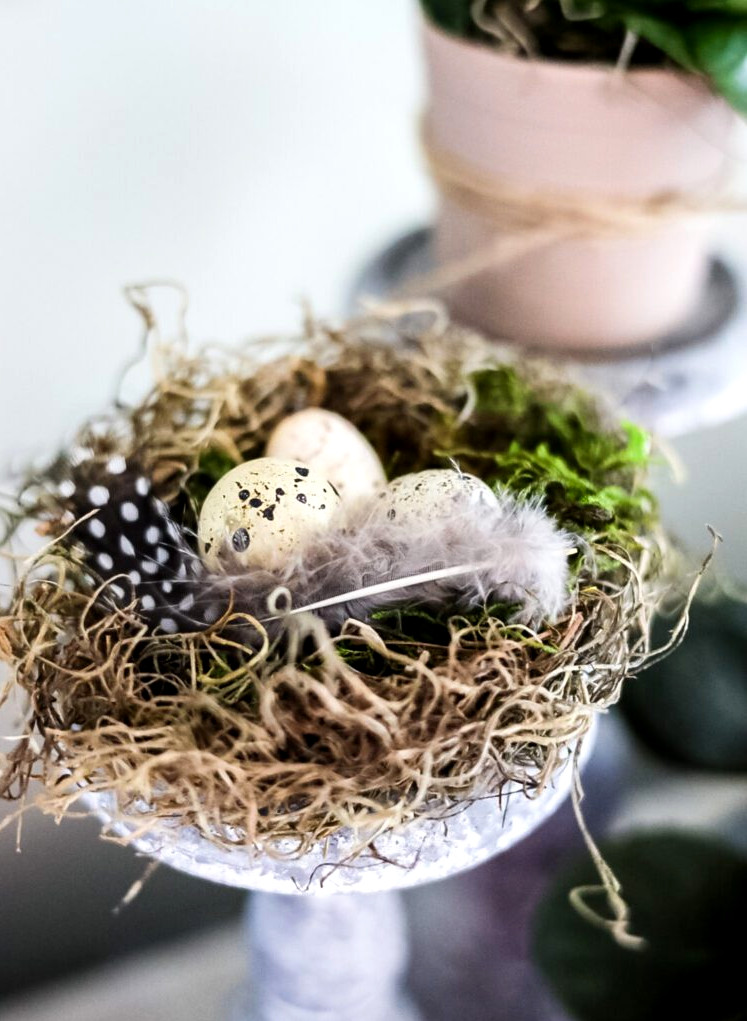
One of my favorite spring DIY projects is creating bird nests from Spanish moss, then embellishing them with a bit of green moss and tiny eggs. Since realistic little nests can be expensive at home decor stores, you can learn to make your own.
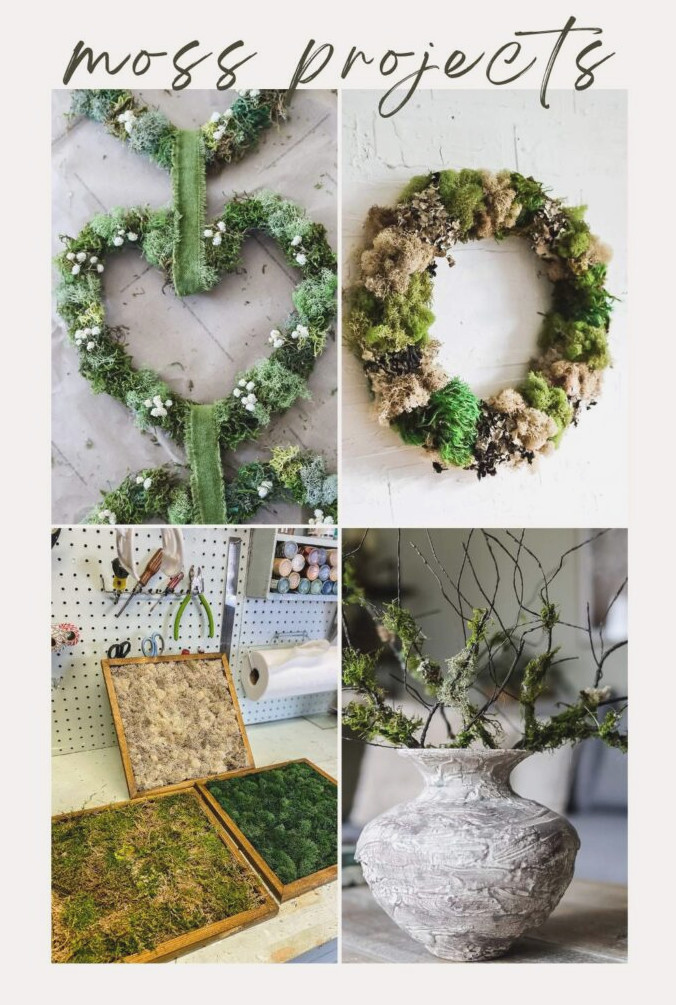
moss projects to try:
Jute Twine & Rope
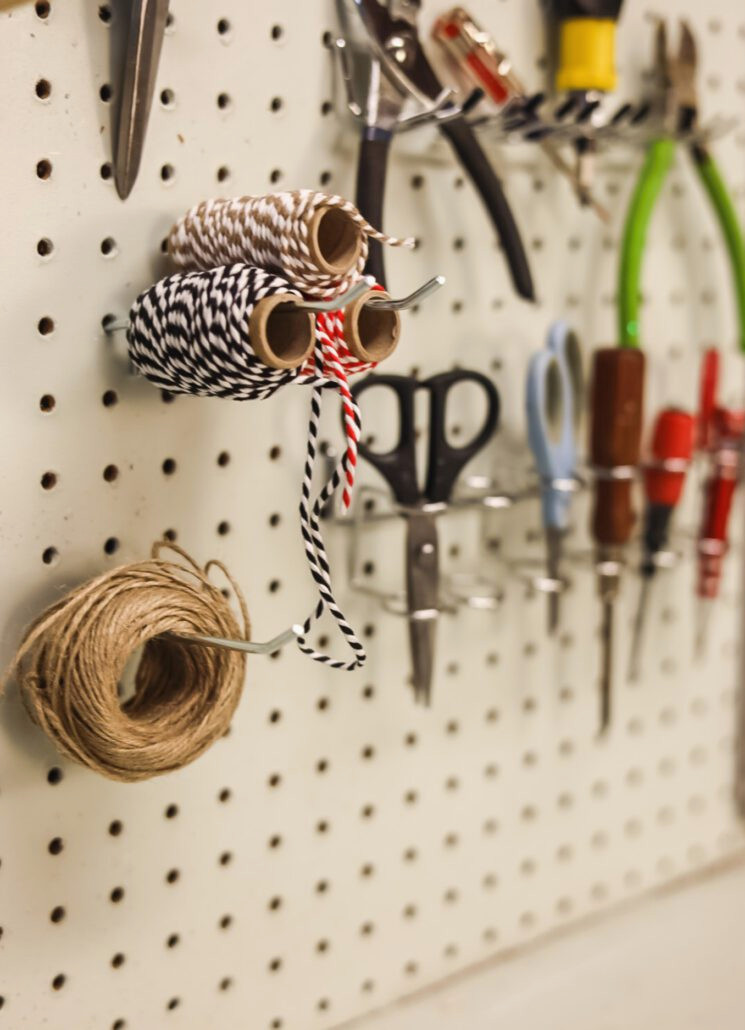
Jute twine has countless applications in crafting!! In my workshop, you’ll always see a few rolls of jute twine in varying thicknesses, along with jute nautical rope. The best part is that rolls of jute are available at Walmart, local craft shops, and naturally, Amazon. I usually head to Dollar Tree when I need to replenish my nautical rope.
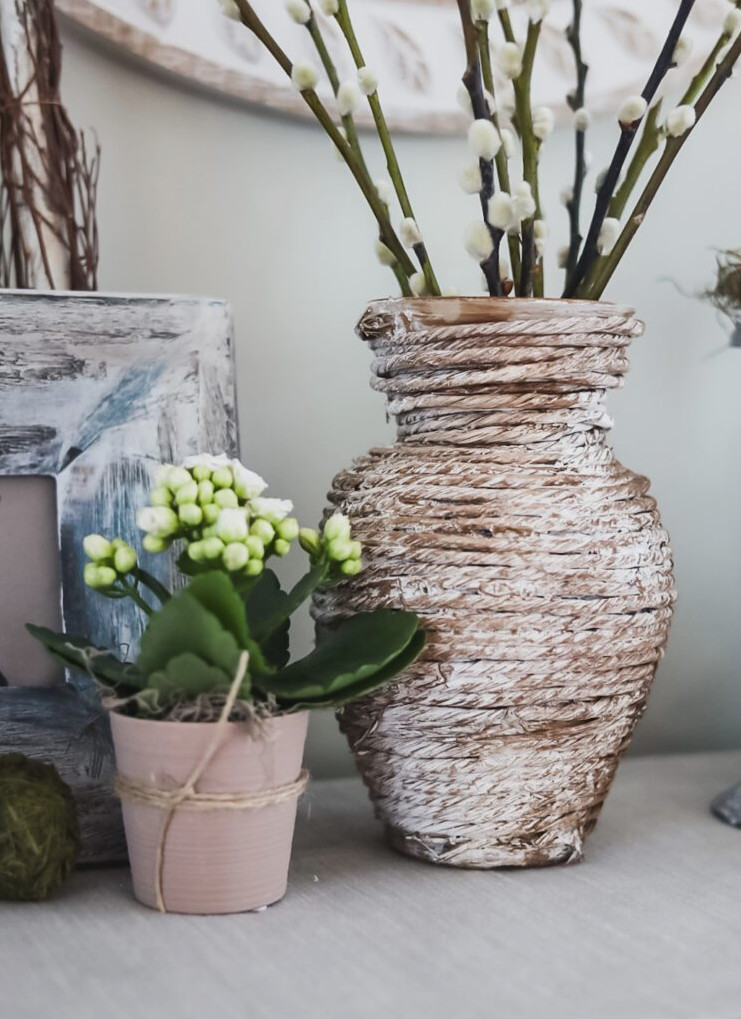
Create A Garland With Jute
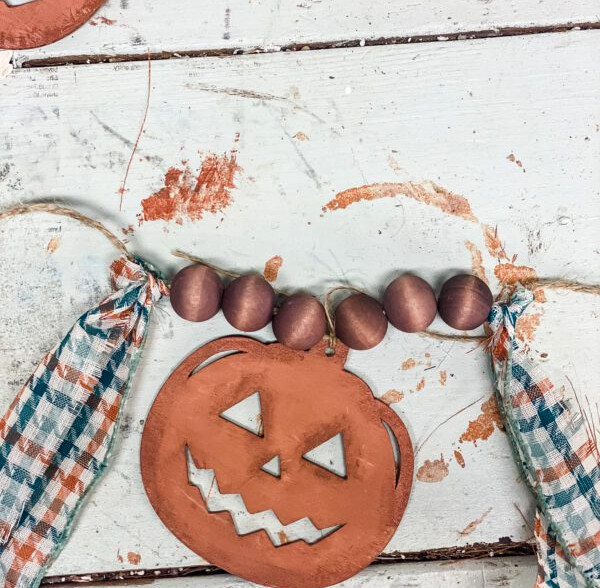
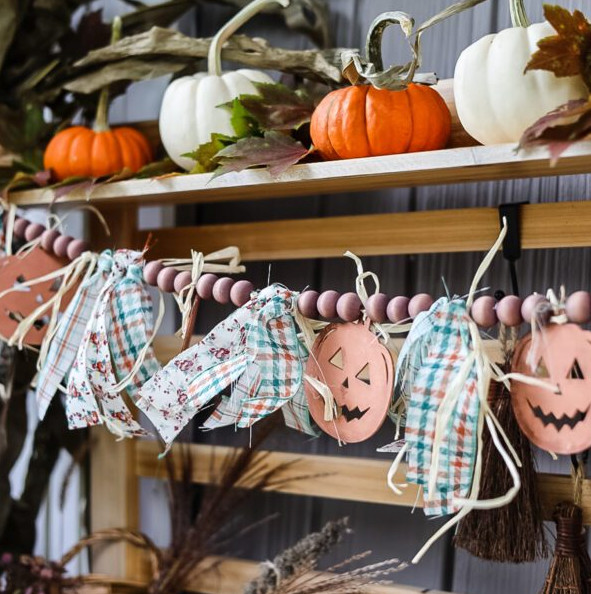
Jute is a sturdy foundation for making a custom garland. It holds up beautifully! One design I especially love is this Pumpkin Garland, which I displayed on my Fall Front Porch last year.
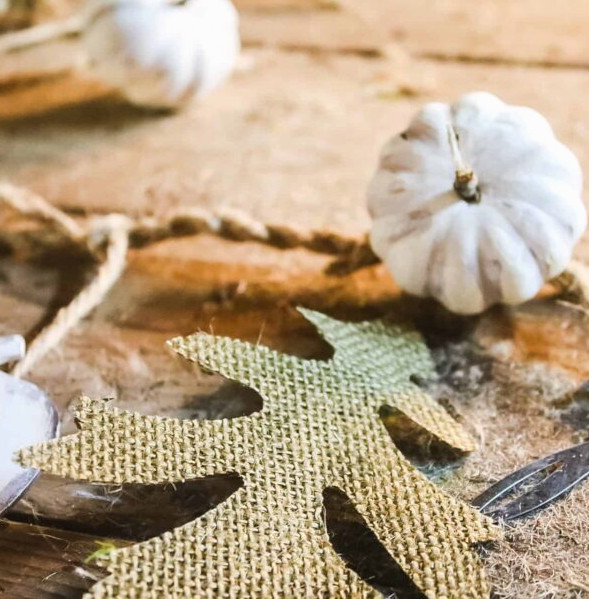
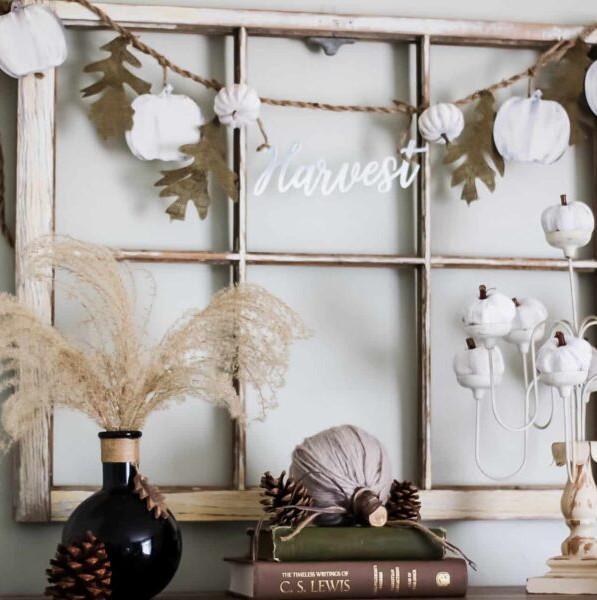
For this Fall Garland, I picked up the nautical rope and every decoration from Dollar Tree!
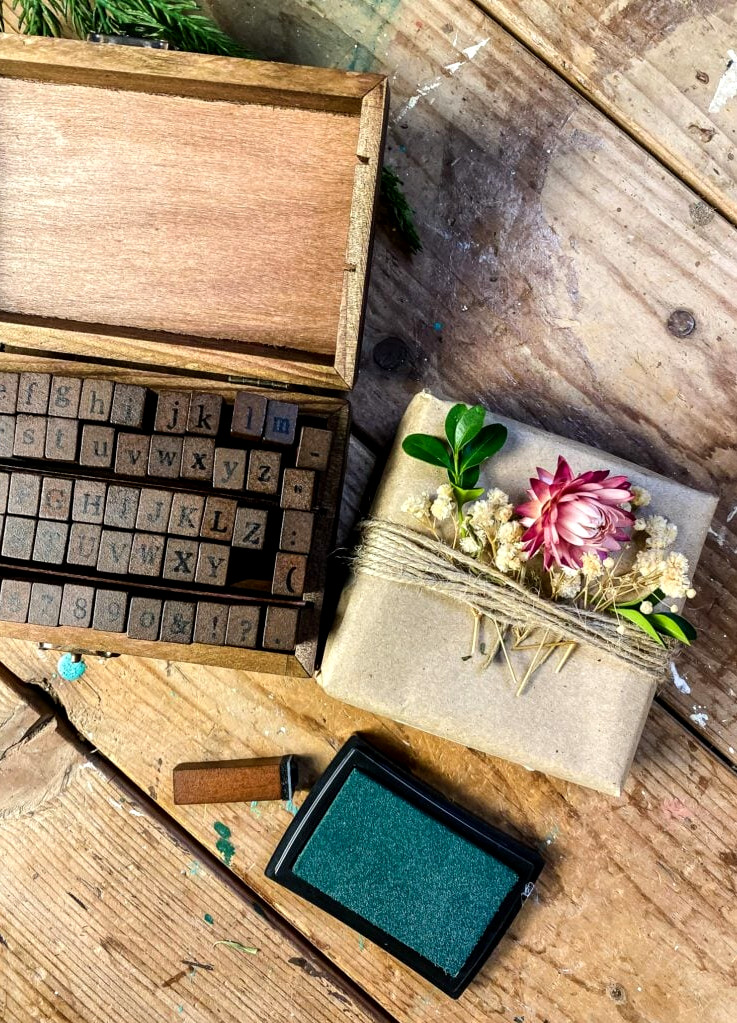
It’s also a charming substitute for ribbon when packaging gifts. Try pairing simple brown kraft paper wrapping with jute and dried flowers.
Mod Podge
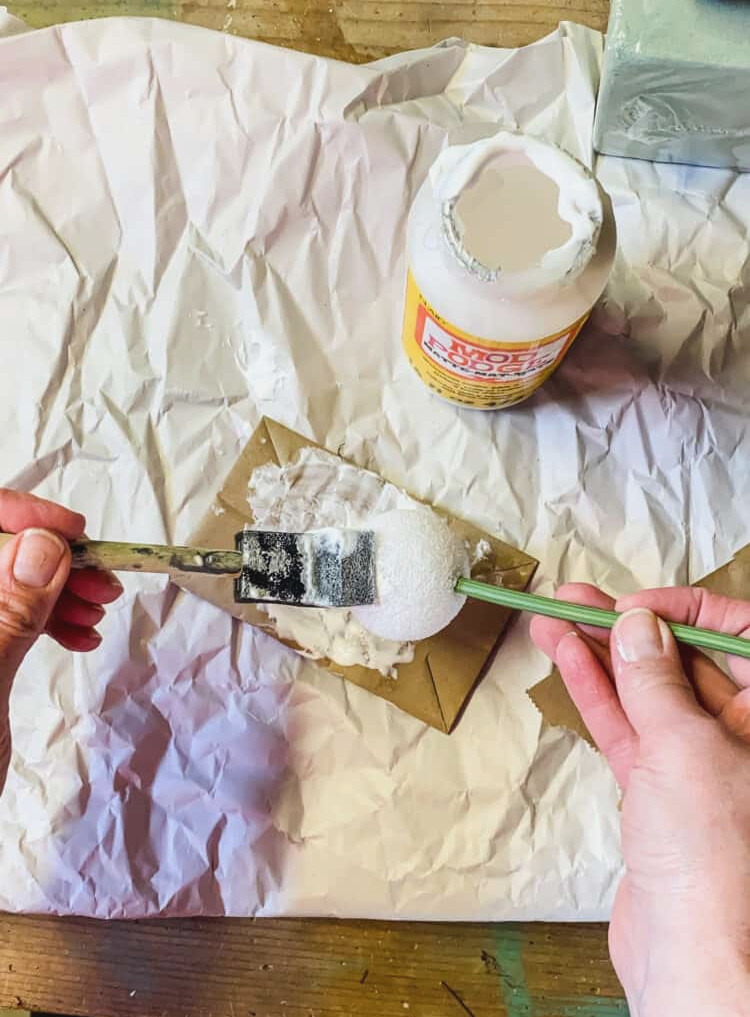
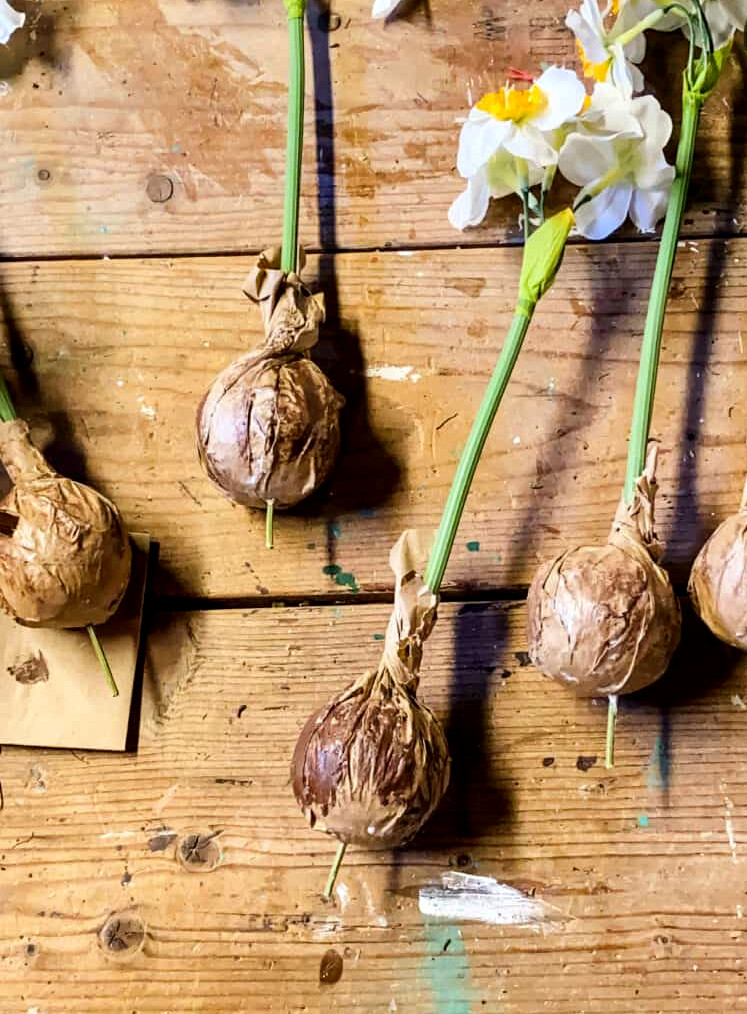
Mod Podge feels like bottled magic!! It works wonderfully for paper crafts and decoupage. Because I enjoy making my own seasonal artwork…it saves me so much money…I always keep a large bottle of Matte Mod Podge nearby!
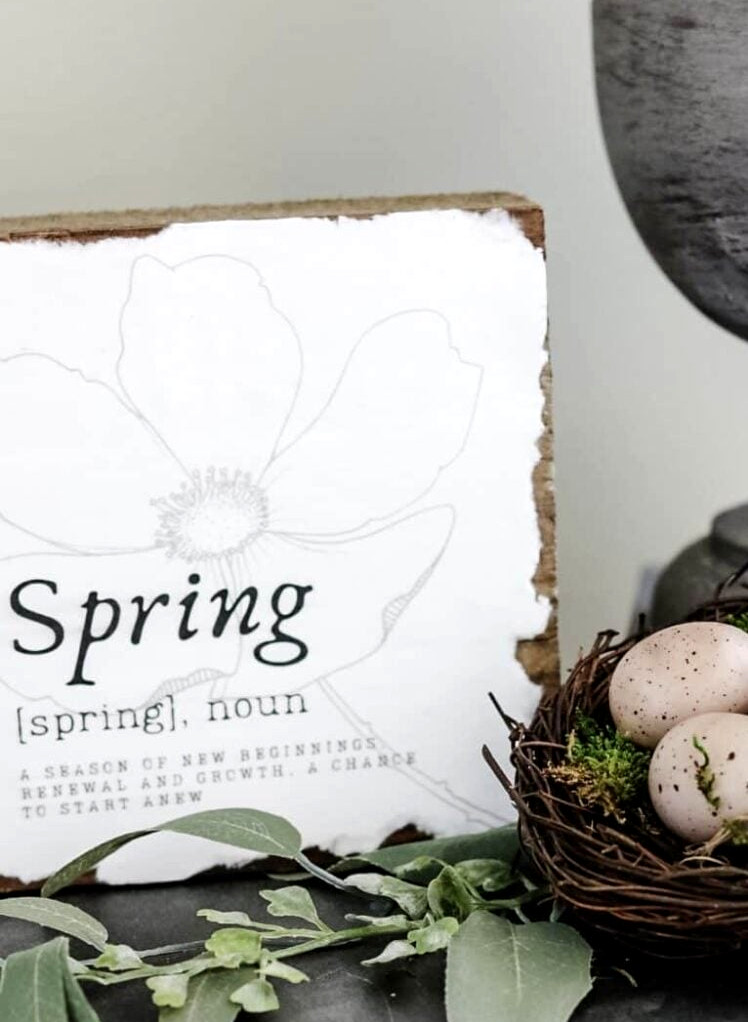
This Spring Sign with Free Printable makes an ideal fast springtime craft. It’s an easy, attractive addition to an entryway table or shelf. Once I printed the design onto cardstock, I distressed the edges and applied Mod Podge to attach it to a small rustic wooden square sign. I then brushed another coat of Mod Podge over the whole piece, taking care to remove any bubbles.
Joint Compound
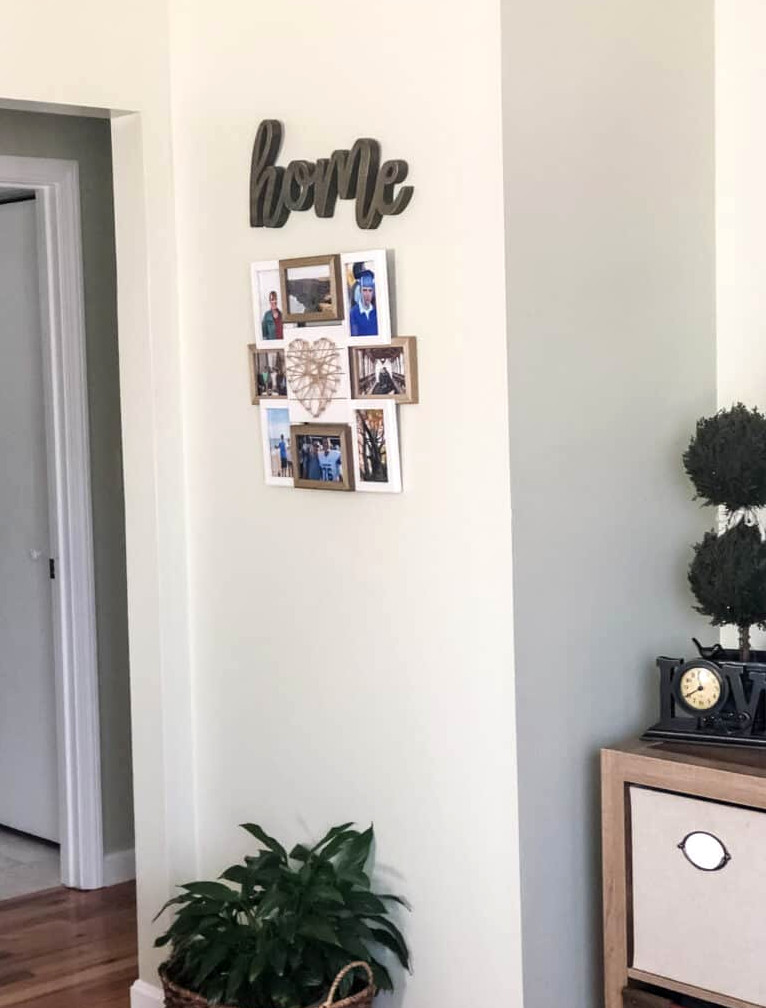
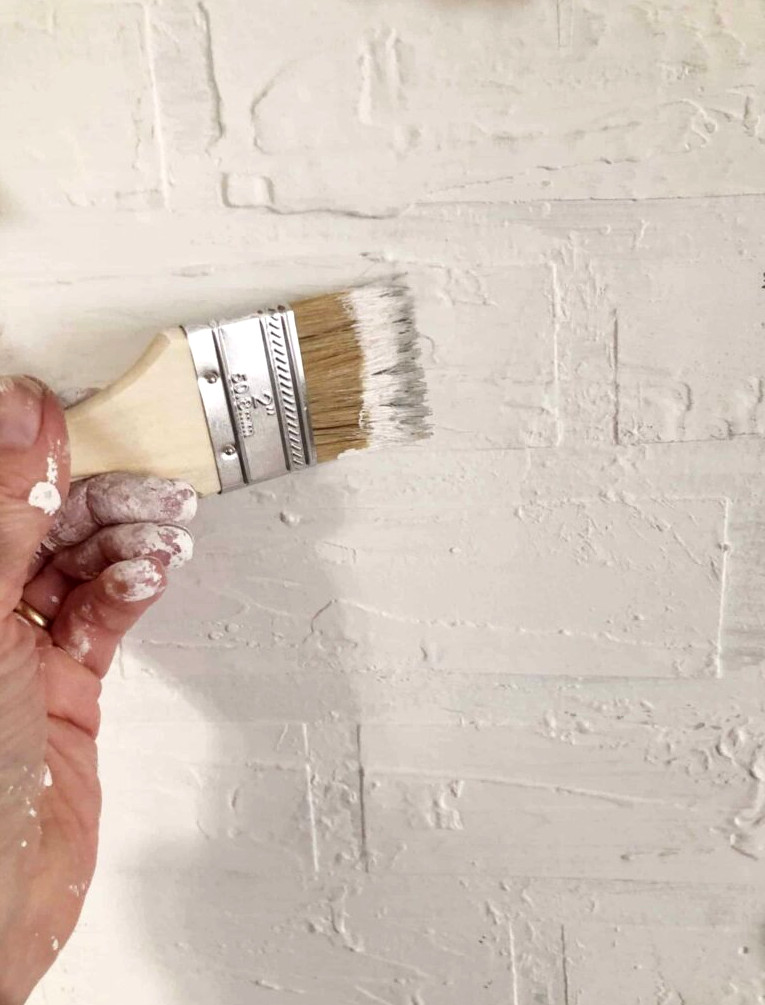
Over the years here at Cottage on Bunker Hill, joint compound has become an essential ingredient in many of my favorite projects (and yours)!
I first used it to transform a dull corner of the house into a small imitation brick wall. It remains one of my favorite handmade creations!
Ribbon
Many of the projects I create, particularly seasonal designs, need a hint of ribbon to complete them! This is especially true for the wreaths I make to share with all of you.
My top suggestion is to shop at the close of the season, when items are discounted by 50% or 75%! That’s the ideal time to fill up on ribbon rolls.
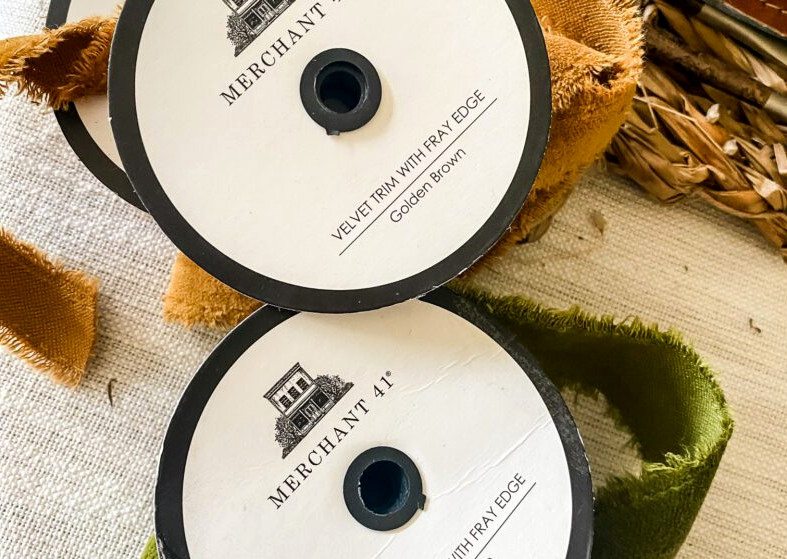
Recently, I have been drawn to 2 specific ribbons: frayed chiffon ribbon and frayed velvet ribbon. The most reasonable price I have discovered for frayed velvet ribbon is at Hobby Lobby, where the rolls cost $3.99 and $4.99 and come in a lovely range of colors. You can find the ribbon in the fabric department.
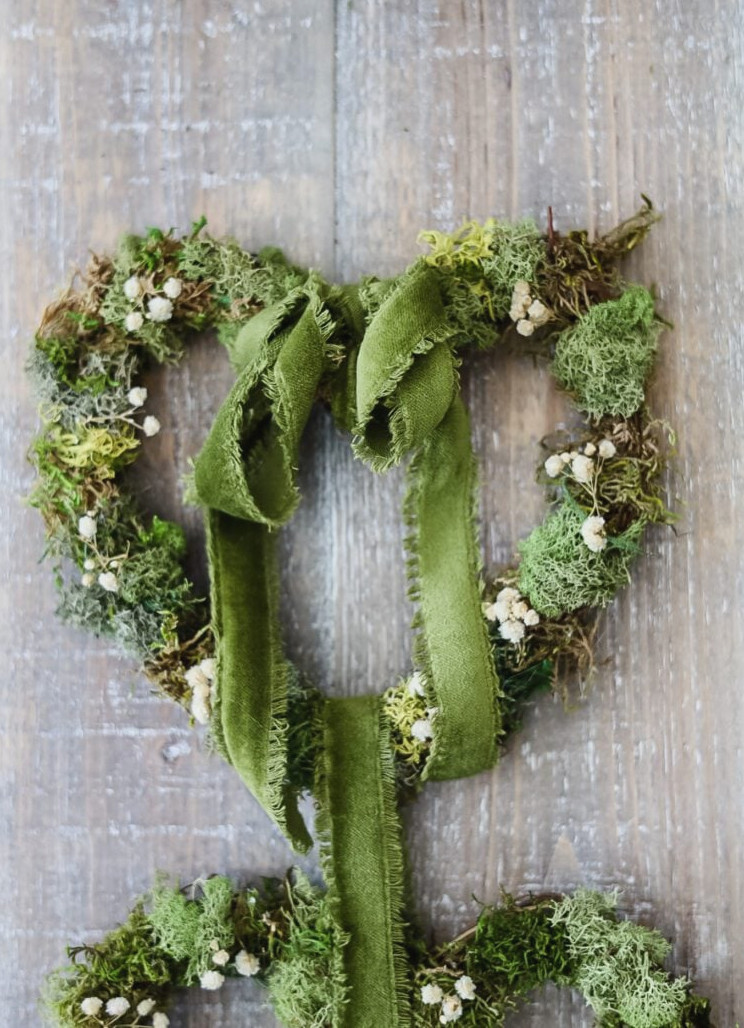
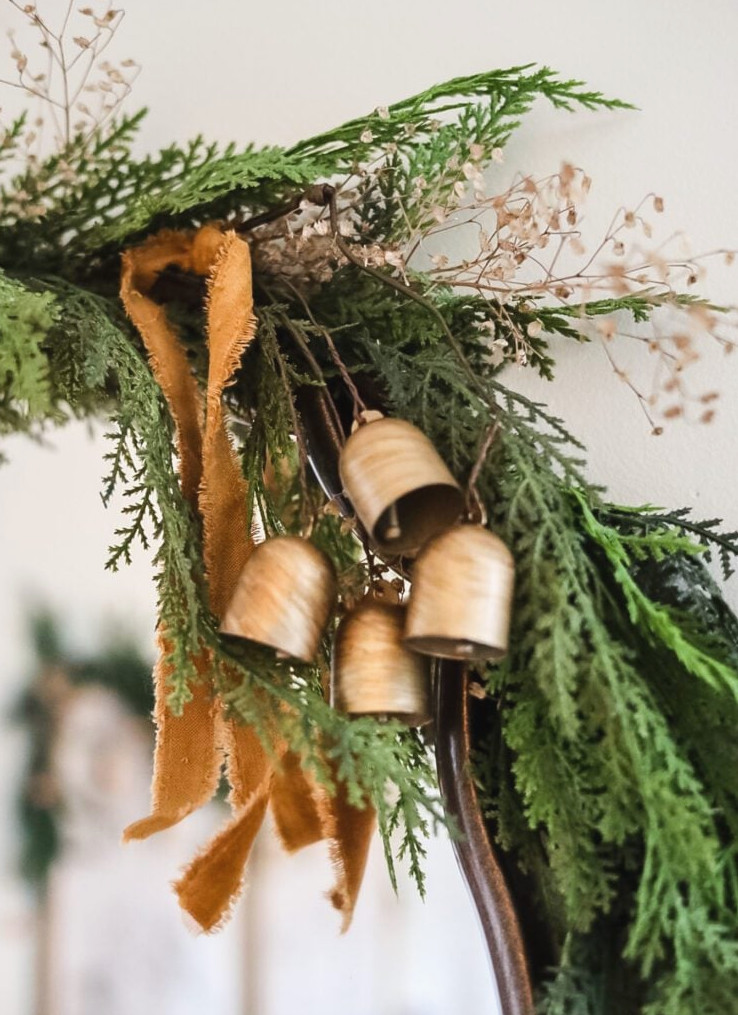
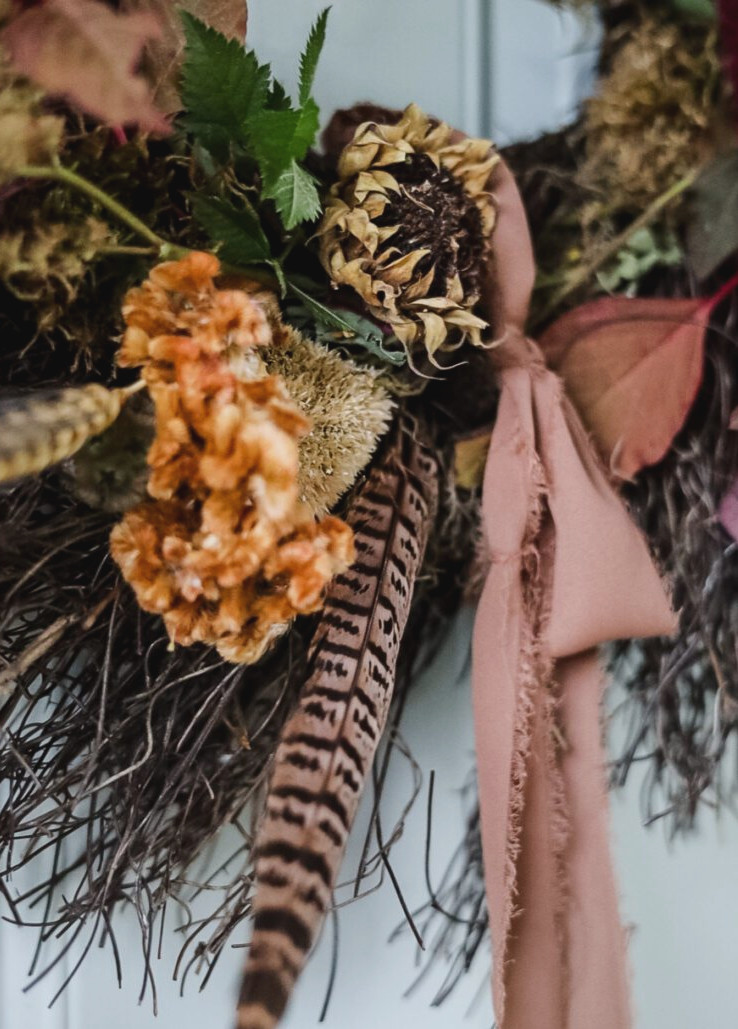
Chiffon ribbon was an ideal finishing touch for this Fall Garden Wreath on my front door. I love the way the ribbon hangs so gracefully.
Dried Flowers
A selection of dried flowers from my garden fills the corner of my workbench and pegboard. I cultivate several varieties specifically for drying, including statice, strawflowers, baby’s breath, & celosia.
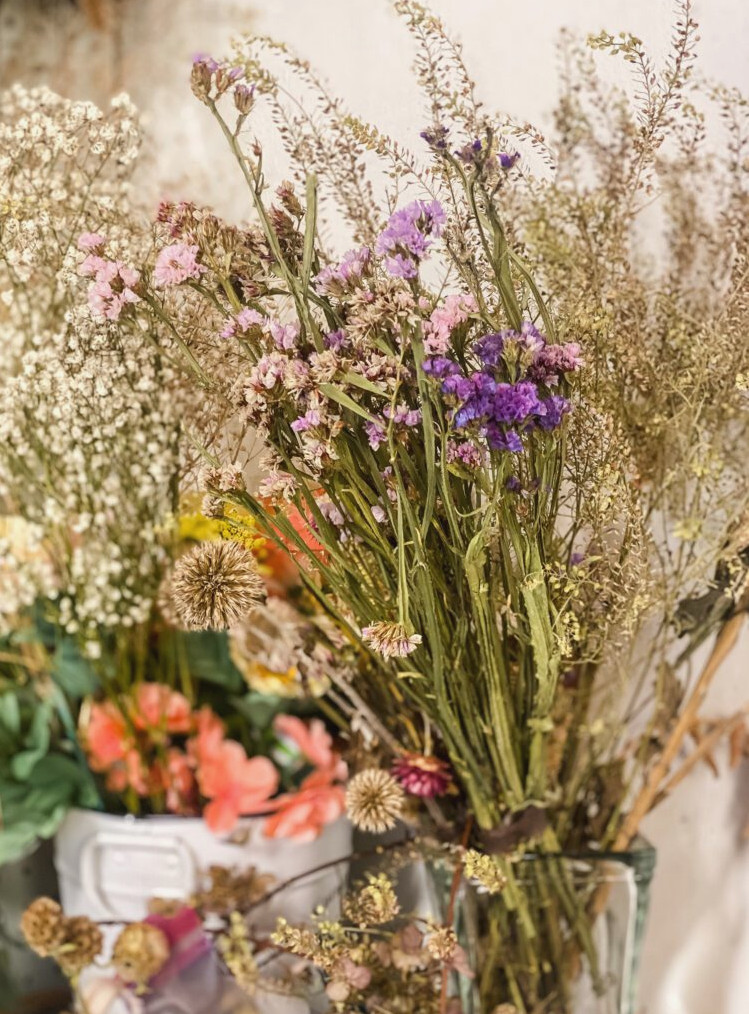
No need to worry, though—you can often purchase bunches of baby’s breath and several other flowers suitable for drying at the grocery store.
…However, if there is a Trader Joe’s near you, that would be my first choice!! They offer the finest, most budget-friendly flower selection, and they sometimes stock dried pods and stems as well!
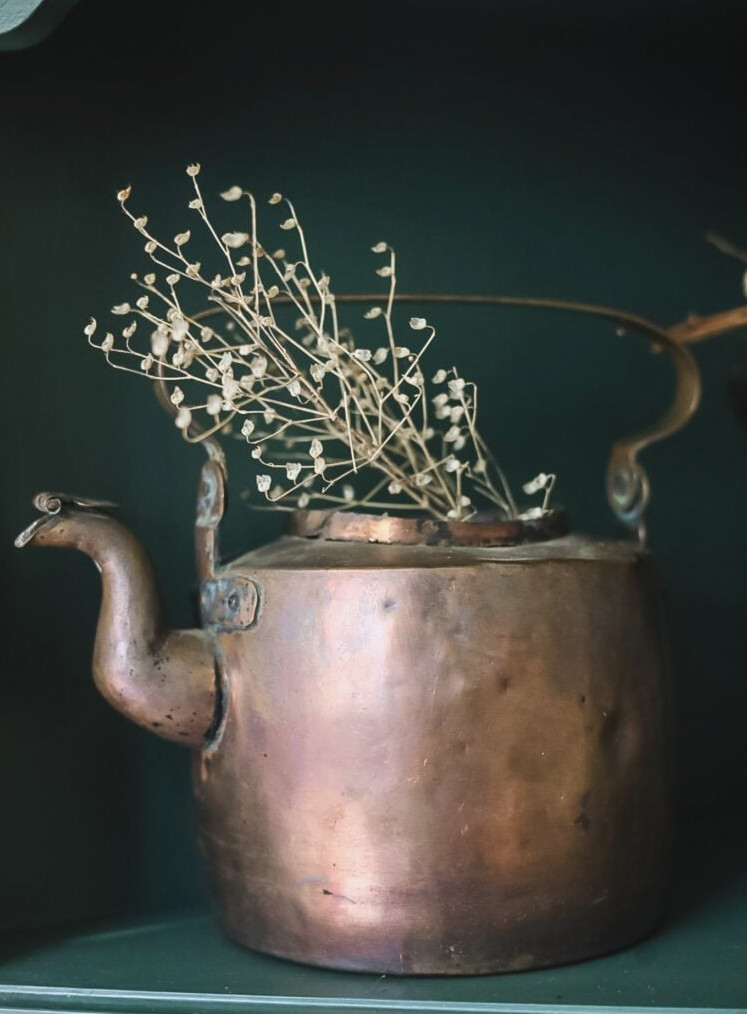
A petite cluster of dried blooms gives this vintage copper kettle an extra touch of charm (such a fantastic flea market discovery!!).
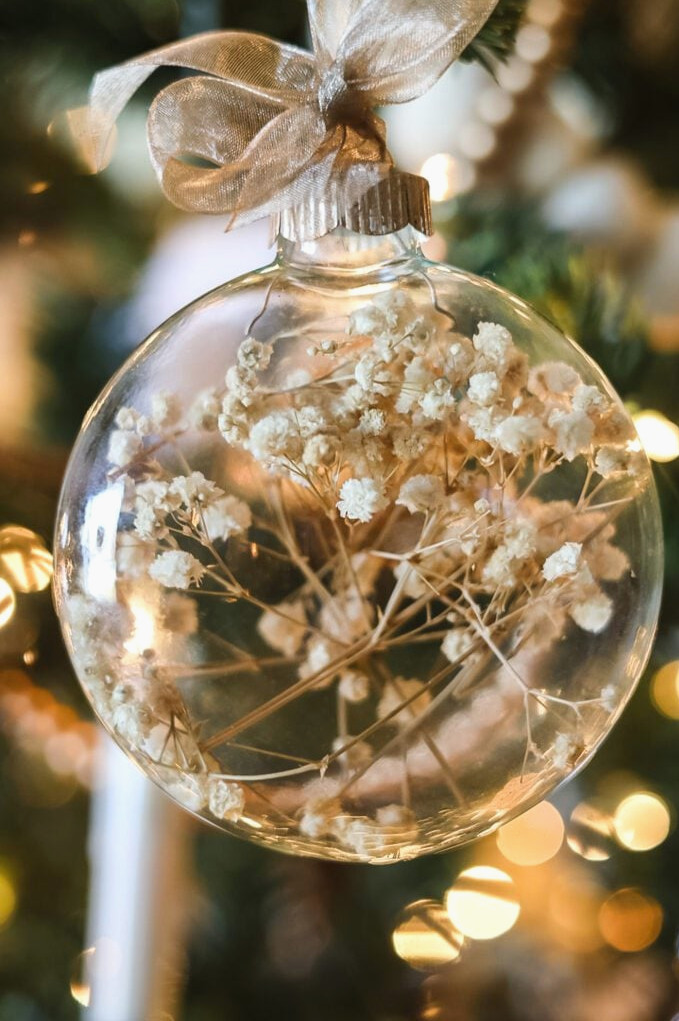
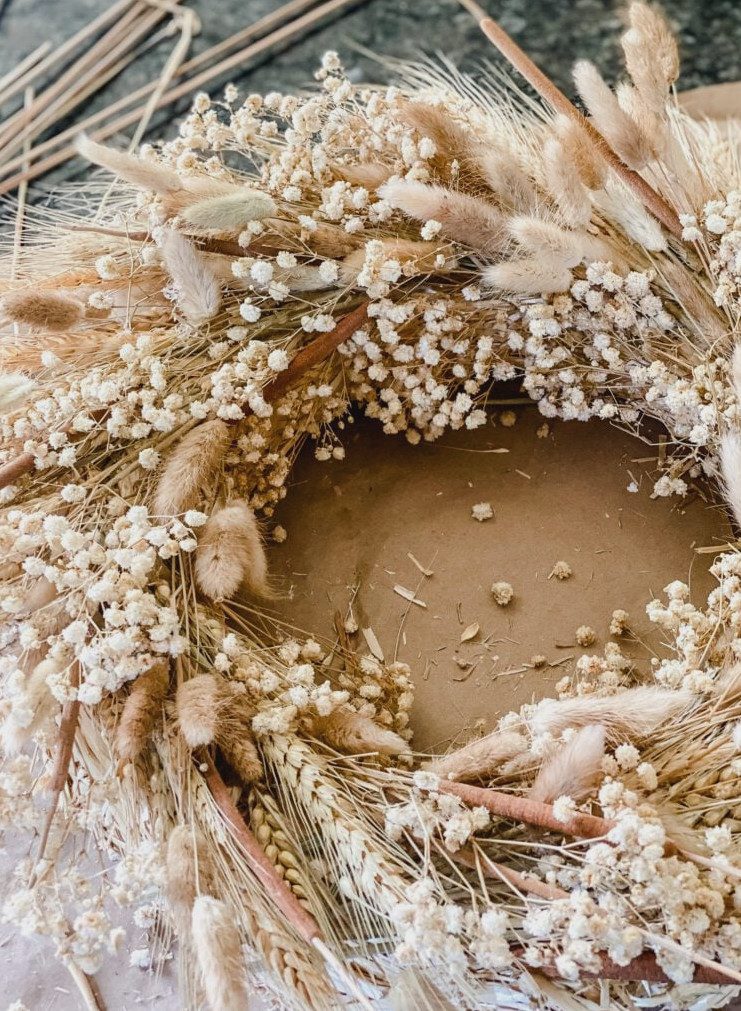
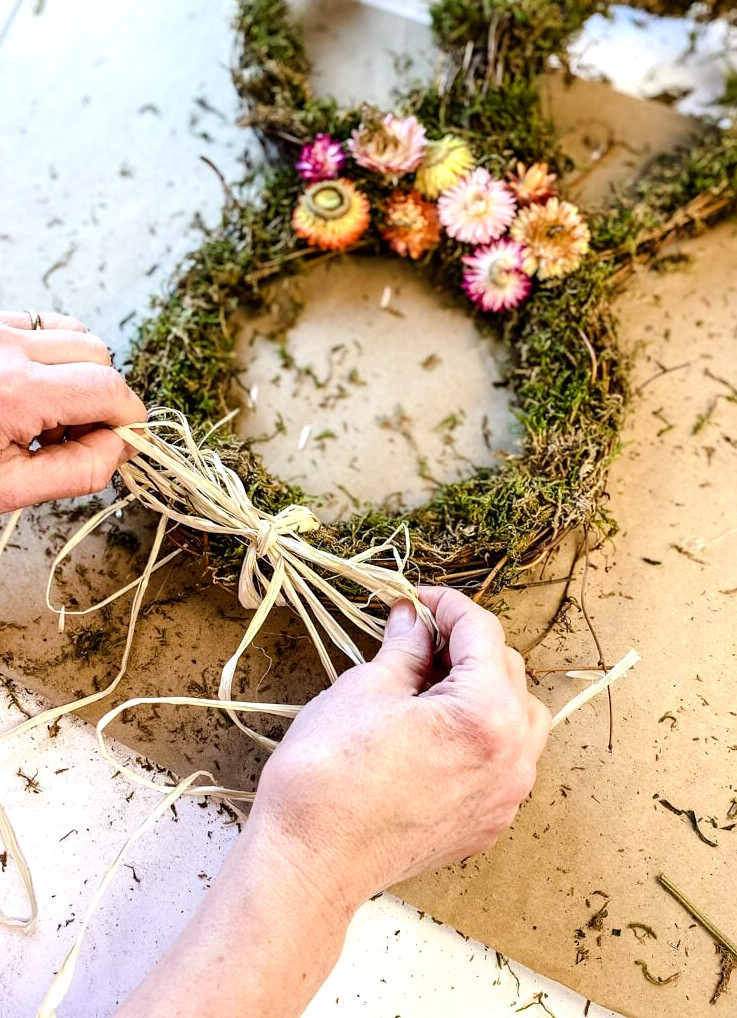
A handful of dried strawflowers made the ideal finishing touch for this adorable Spring bunny wreath. If you enjoy gardening, I strongly recommend planting strawflowers this year. They have become one of my favorite blooms in my cutting garden and, as an added benefit, they are incredibly easy and low-maintenance to grow!
Paintbrushes
This choice is obvious! Every craft collection needs a variety of paintbrushes in different sizes for both small and large DIY projects.
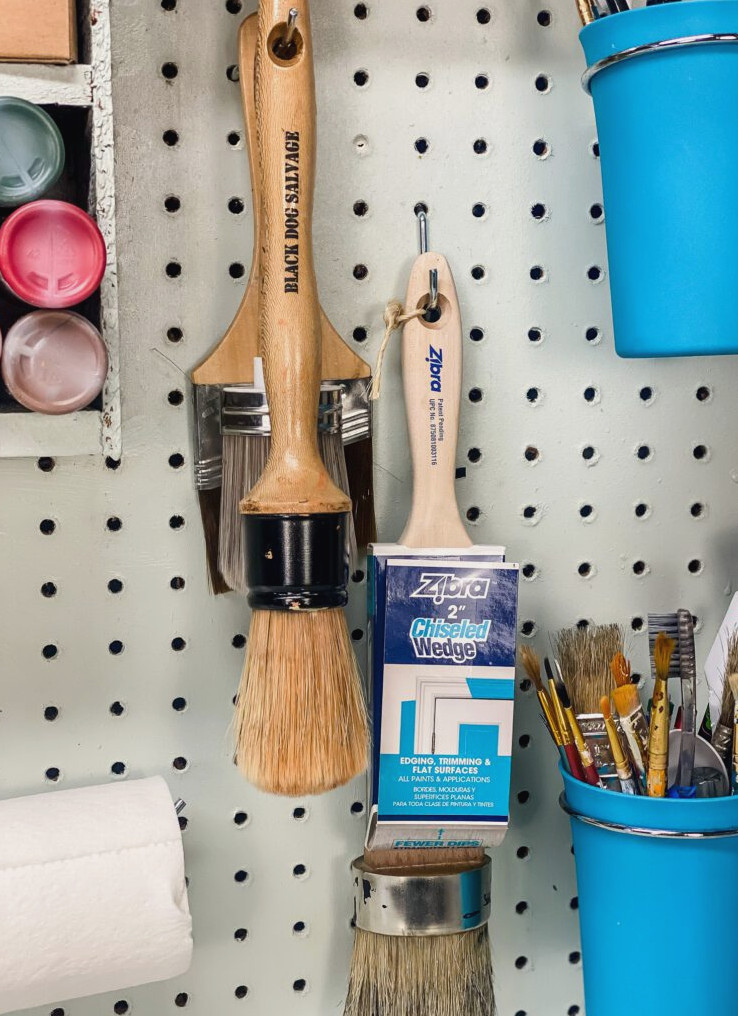
My workshop contains an assortment of small, inexpensive art brushes, sponge-ended brushes, chip brushes, angled brushes, and several pricier brushes designed for chalk paint and furniture.
Paint Brushes
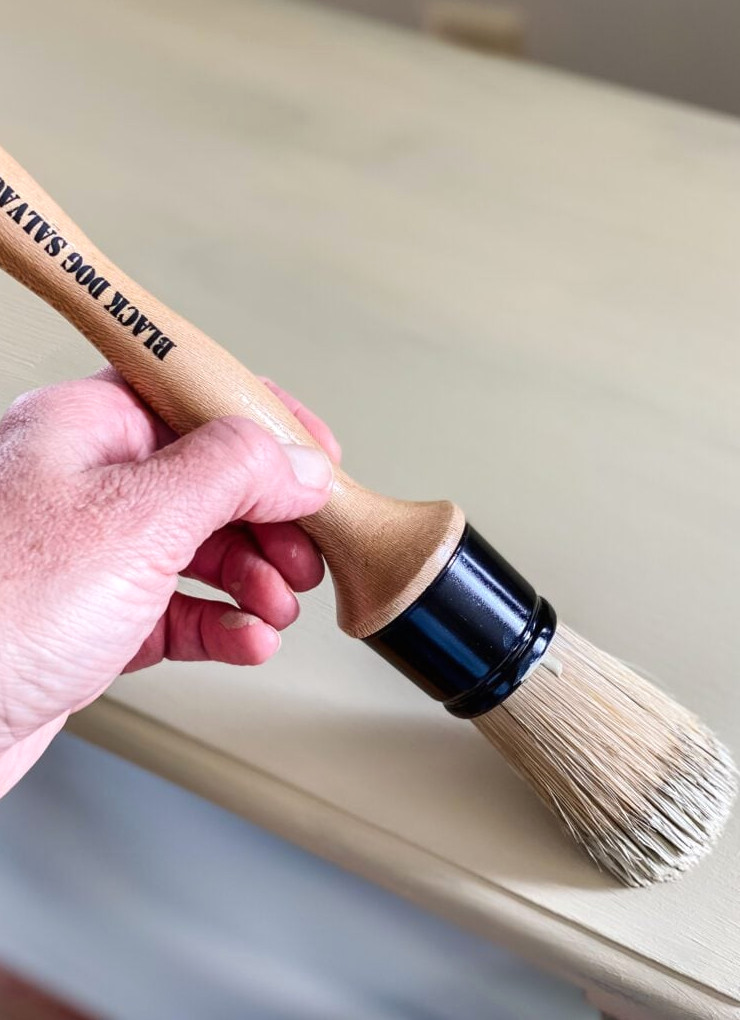
I refreshed a console table with chalk paint, wax, and a large brush, then styled it with a few thrifted treasures.
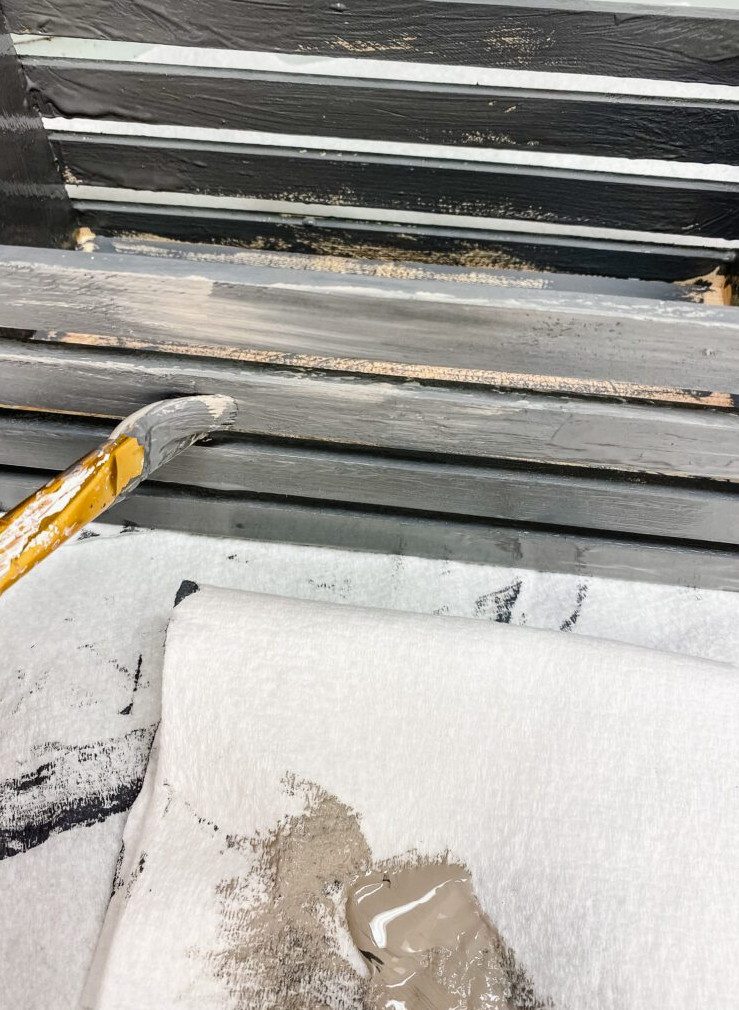
My petite art brushes come in handy for painting smaller projects or applying layers of different shades, just as I did for this Spring Flowers in a Wood Crate project. I first painted the wooden crate graphite gray, then brushed a taupe shade over it to add dimension.
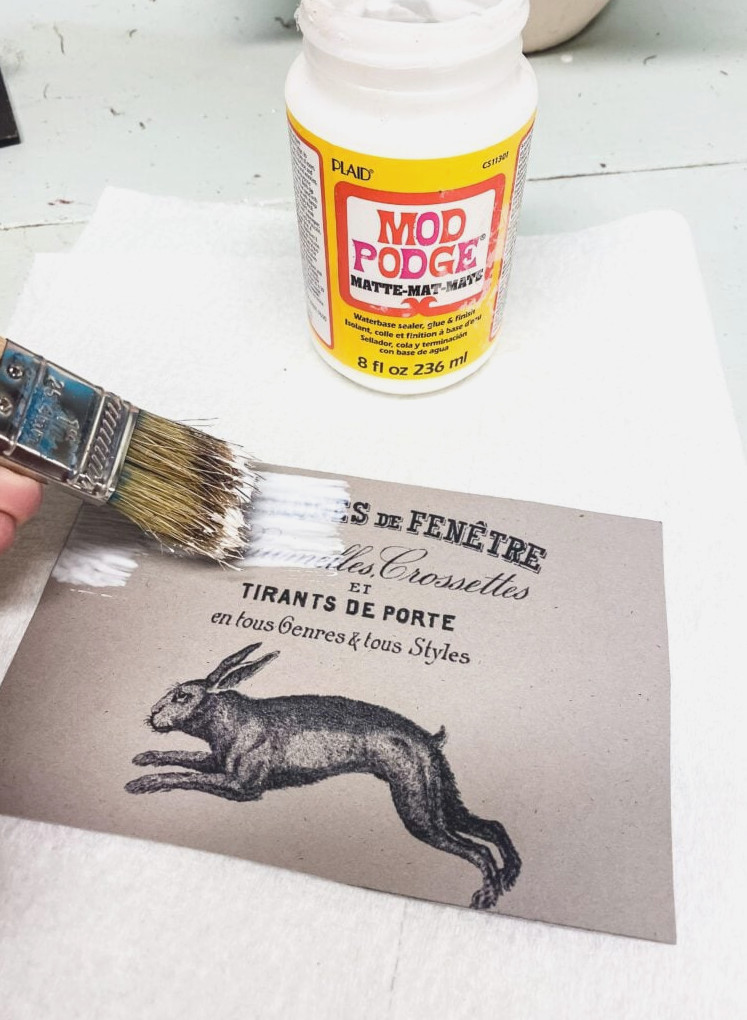
For Mod Podge projects, I typically spread it across the surface with either a foam sponge brush or a chip brush. This print was part of the décor for my Spring entryway table.
Clay
Crafting with clay is an especially enjoyable creative activity!
Perhaps it is because the material feels so tactile and lets you get your hands slightly messy, but I truly enjoy experimenting with it.
Crafters commonly use several varieties of clay, with air-dry and oven-baked being the most popular.
I also make a homemade version called salt dough, which is baked in the oven as well.
Here are some enjoyable clay project ideas to try!
Oven Baked Clay
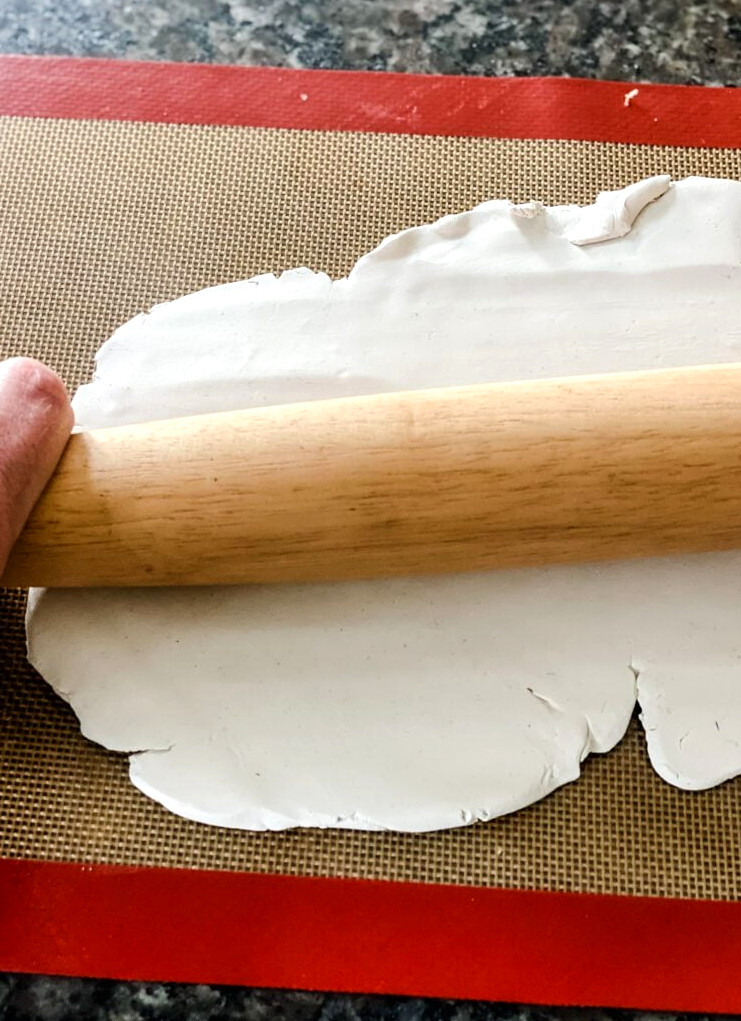
Sculpey oven bake clay issimple to use and ideal for creating small pieces such as ornaments or pinch pots.
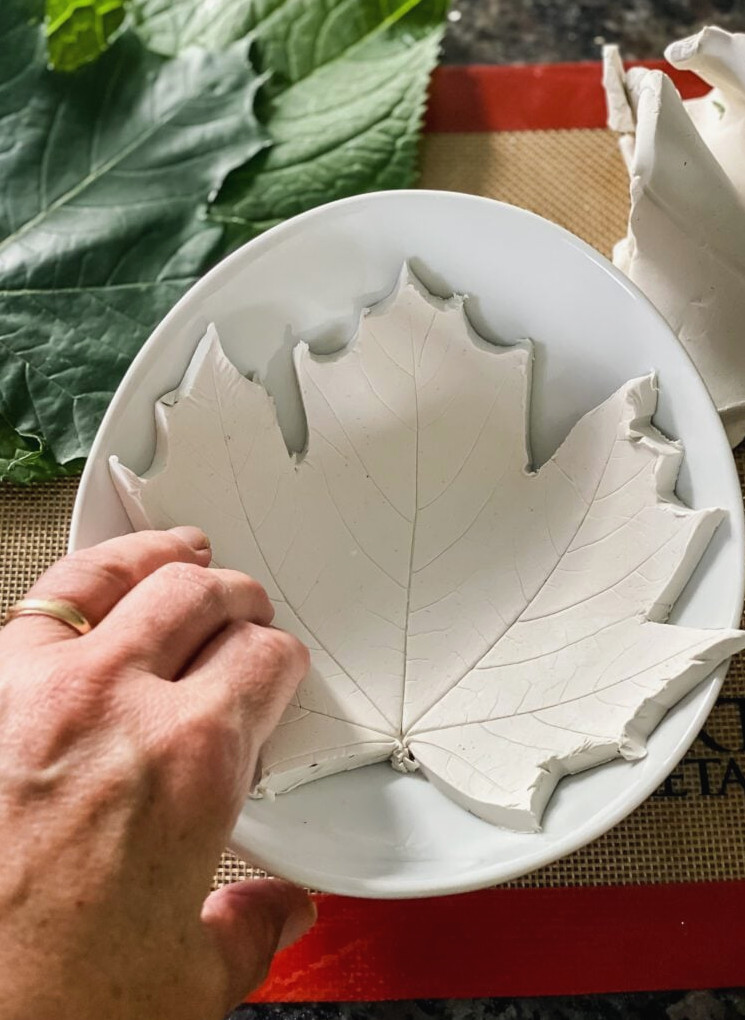
For this project, I crafted trinket dishes featuring leaf impressions…and they turned out soooo amazing!! This remains one of my favorite projects from the Fall, although you can enjoy making them throughout the year!
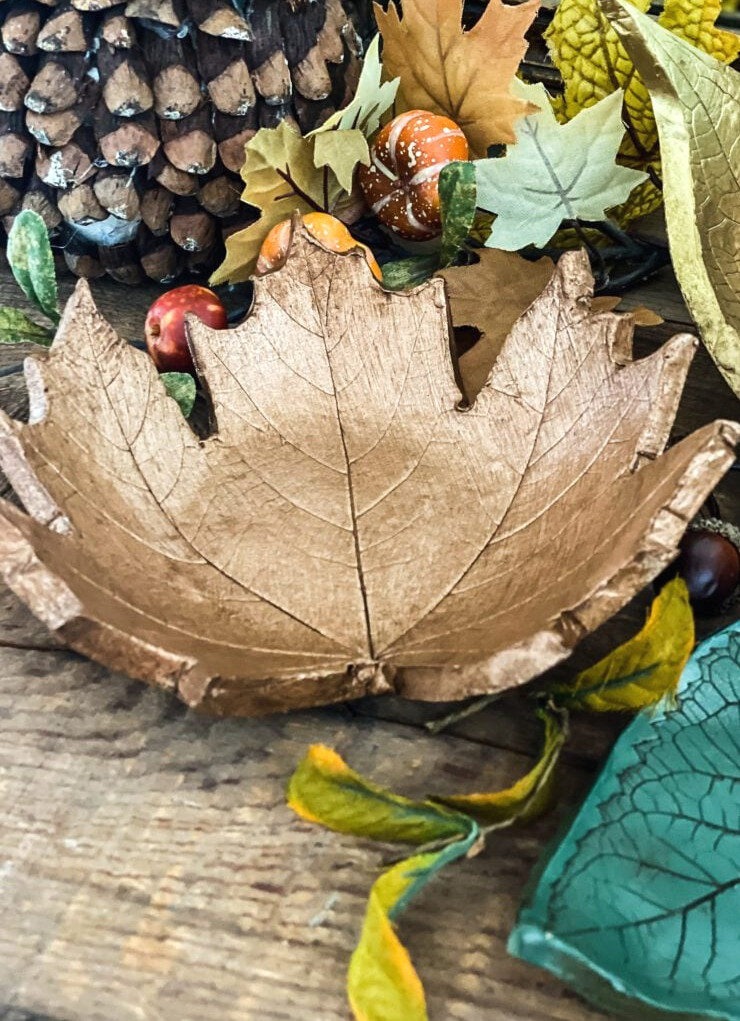
air-dry clay
Air-dry clay is used much like oven-bake clay, except it simply needs to sit out and dry naturally, which usually takes one or two days. In addition to white, air-dry clay is available in several shades, including terracotta and cement.
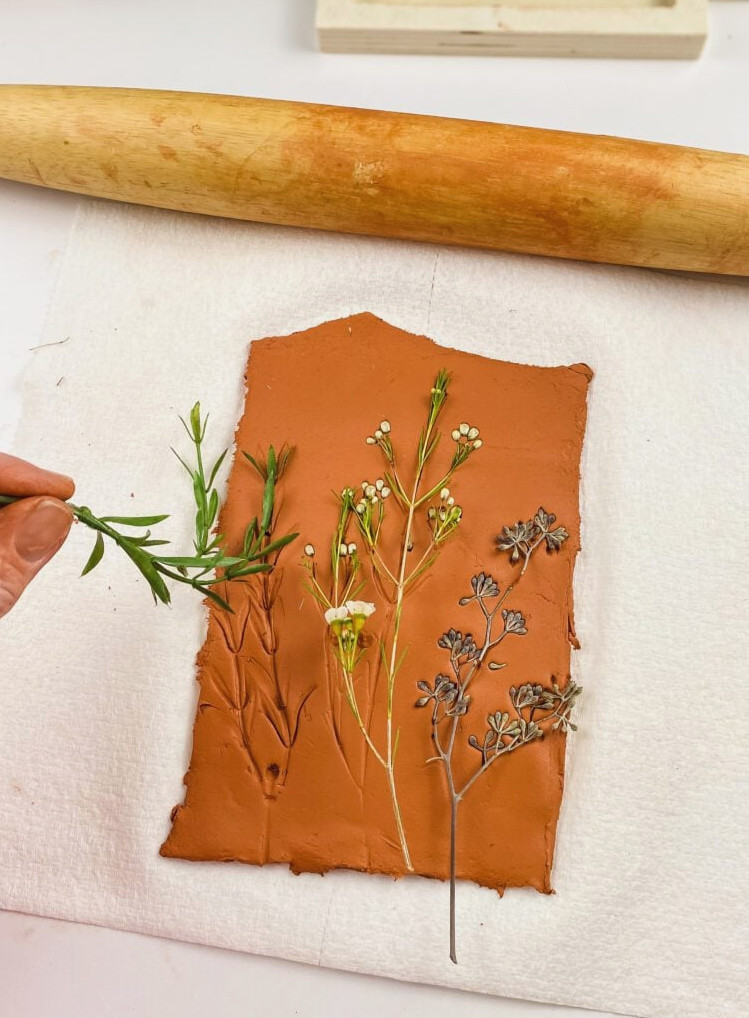
For this project, I chose DAS terracotta air-hardening clay to create plaques decorated with pressed flower impressions
Salt Dough Clay
Over the last two Christmas seasons, I have prepared a large batch of cinnamon salt dough and used it for crafting decorations and wreaths. It has the appearance of gingerbread…but requires fewer ingredients and costs less to make!!
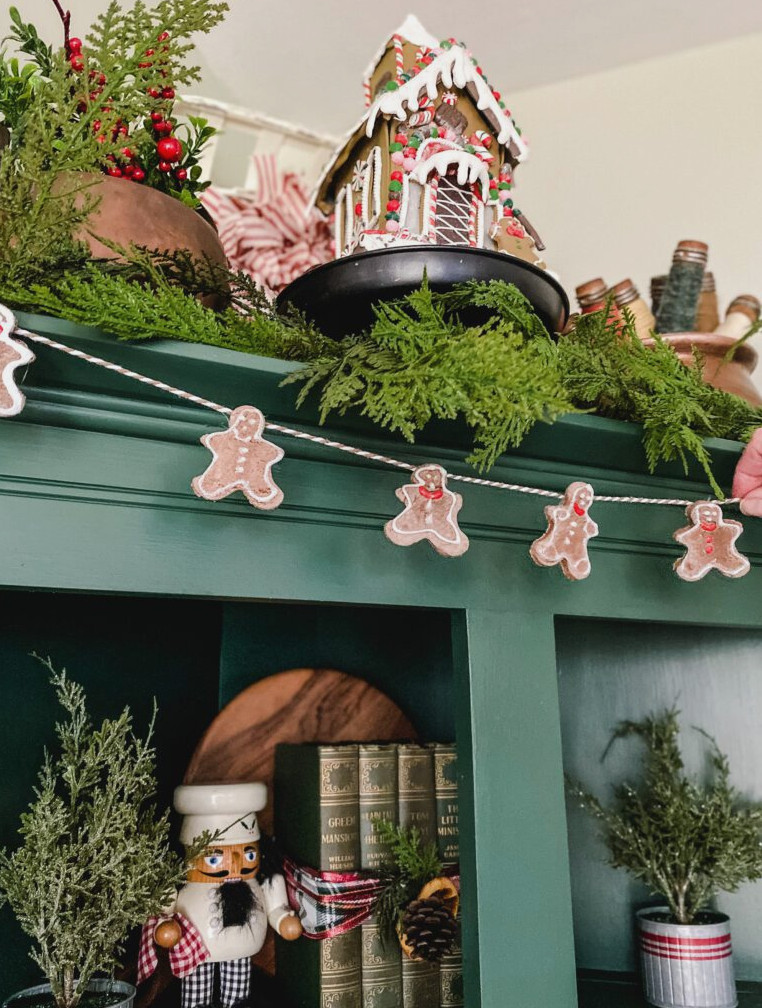
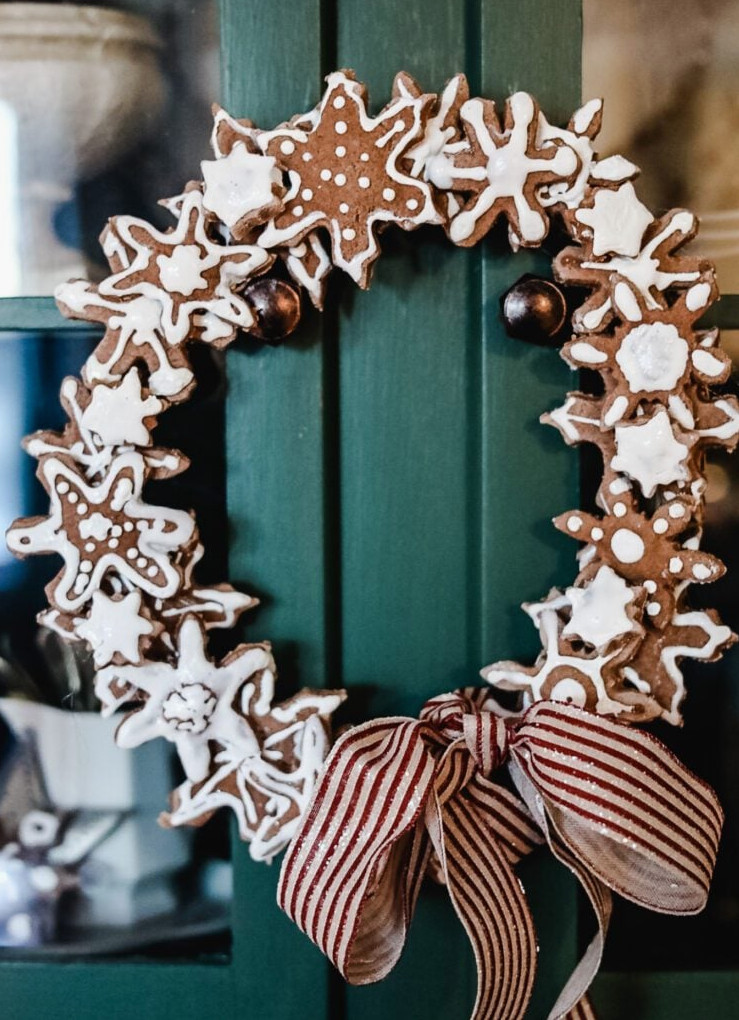
Wood Beads
On my craft supply shelf sits a basket filled with unfinished wood beads in various sizes, which are useful for adding detail to projects such as the clay heart ornaments and pumpkin bead garland mentioned earlier.
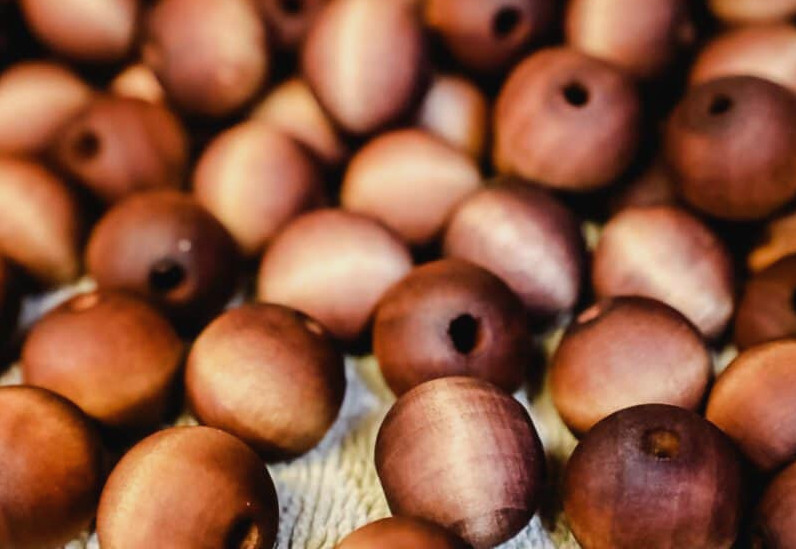
I have a simple shortcut for quickly “staining” wooden beads…I use fabric dye!!! It is far easier than attempting to stain them traditionally.
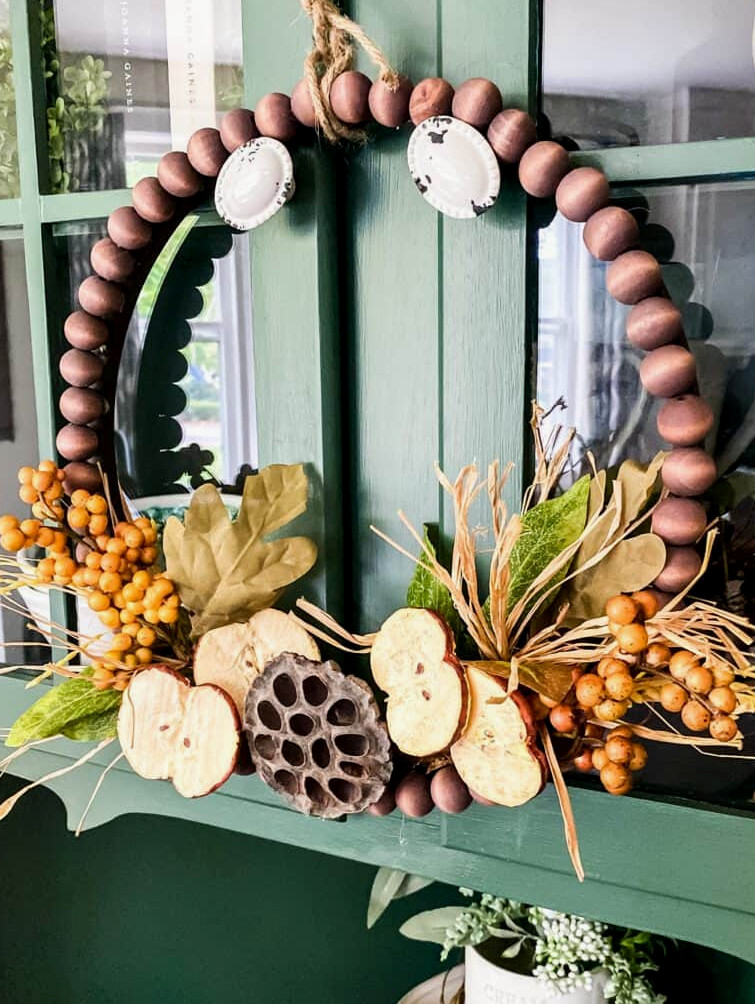
Take a look at my Rit dye bead-coloring method and learn how to create your own bead wreath; this version was made for Fall, but seasonal floral picks can be swapped in to customize it.
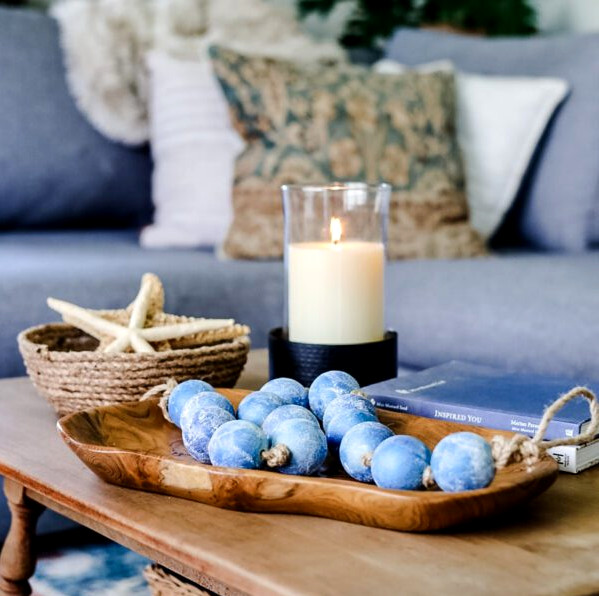
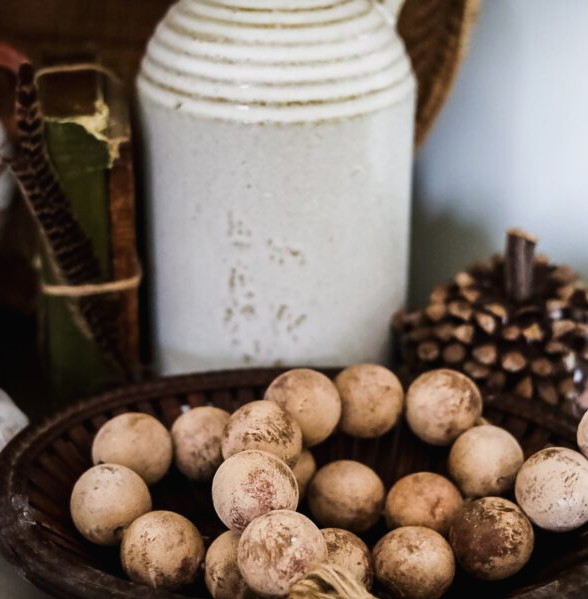
Using some of the larger unfinished wooden beads, I created two unique garlands…each one was based on pieces I noticed in the Pottery Barn catalog.
Seasonal Wooden Shapes
I’ve yet to encounter a holiday I didn’t enjoy!! Honestly, I adore decorating, so any reason to do it works for me!!
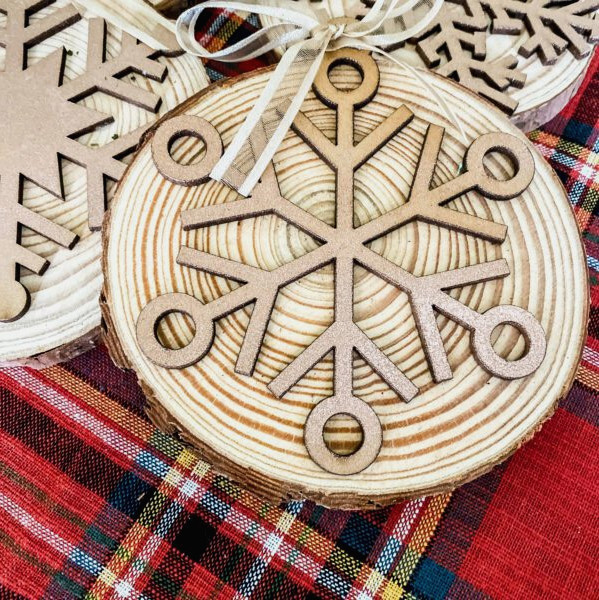
Seasonal wooden shapes are one of the craft supplies I regularly purchase, typically from Dollar Tree or Hobby Lobby. That way, whenever inspiration strikes, I have materials ready to create something.
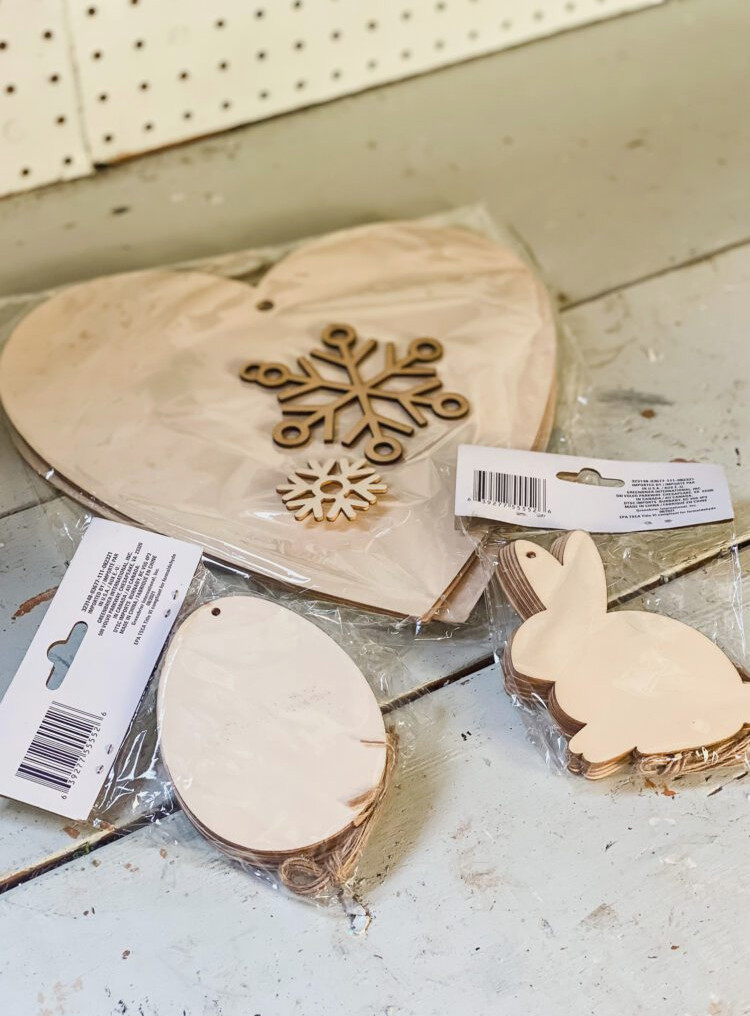
They’re ideal for creating a garland or giving an item an additional seasonal accent.
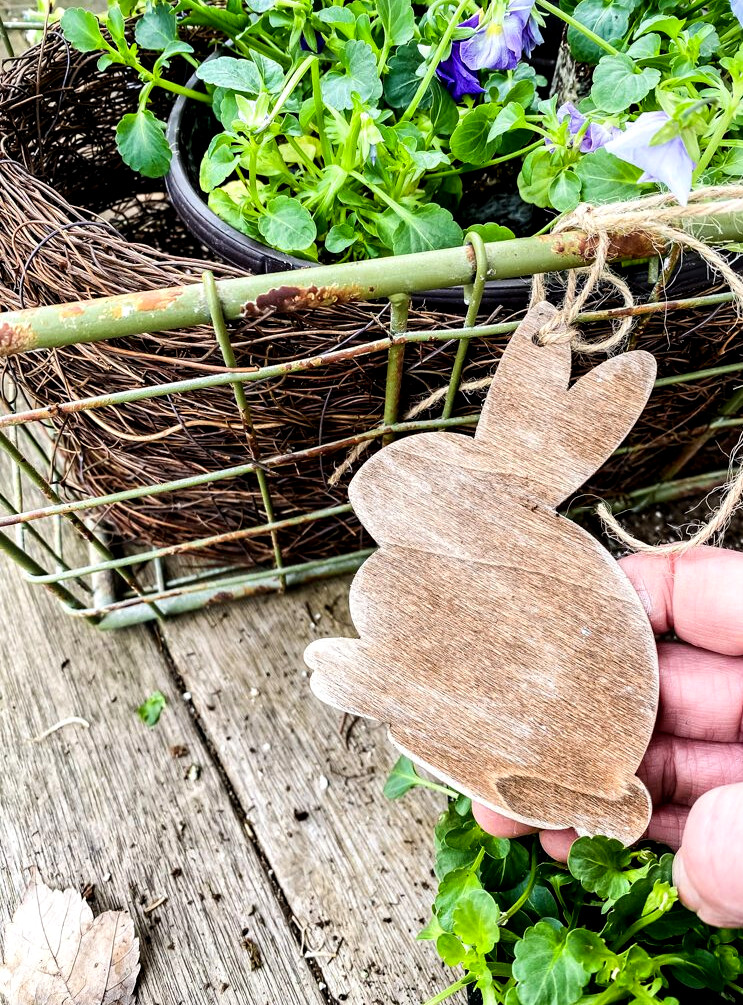
For example, I fastened a small bunny ornament to a wire basket overflowing with Spring pansies on my porch.
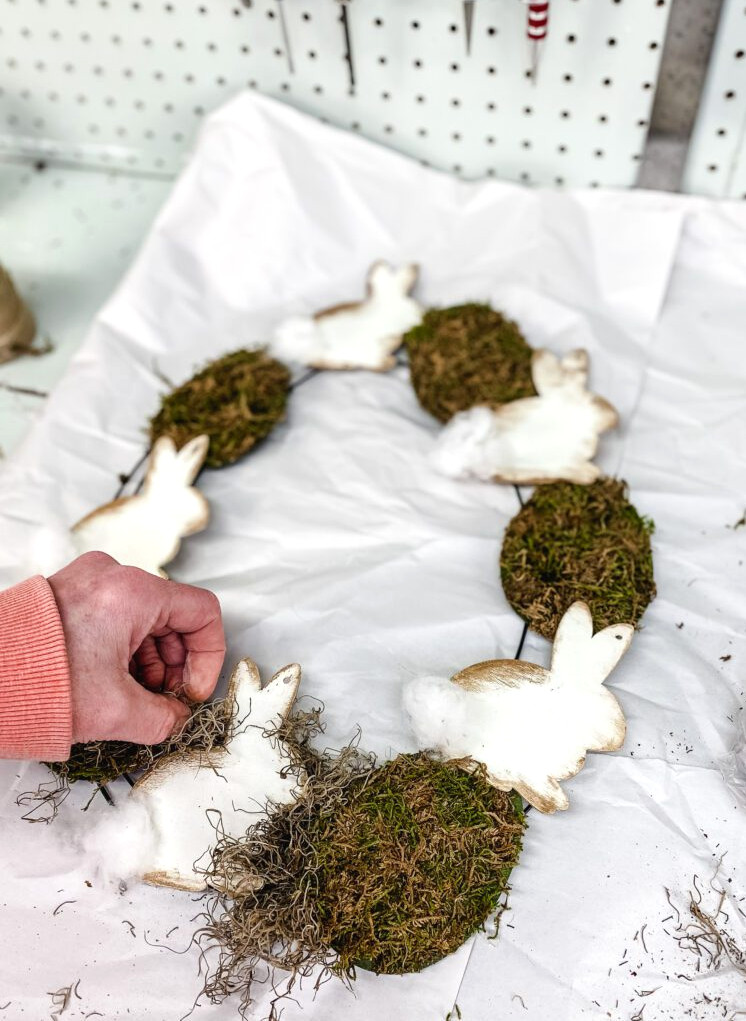
I created this Spring wreath with items purchased mostly from Dollar Tree!! It features a wire egg-shaped frame, wooden bunnies & eggs, and moss. It turned out so adorable!!
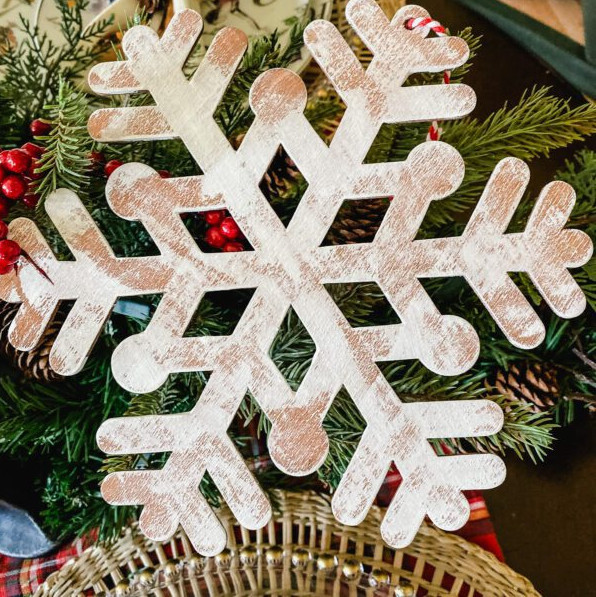
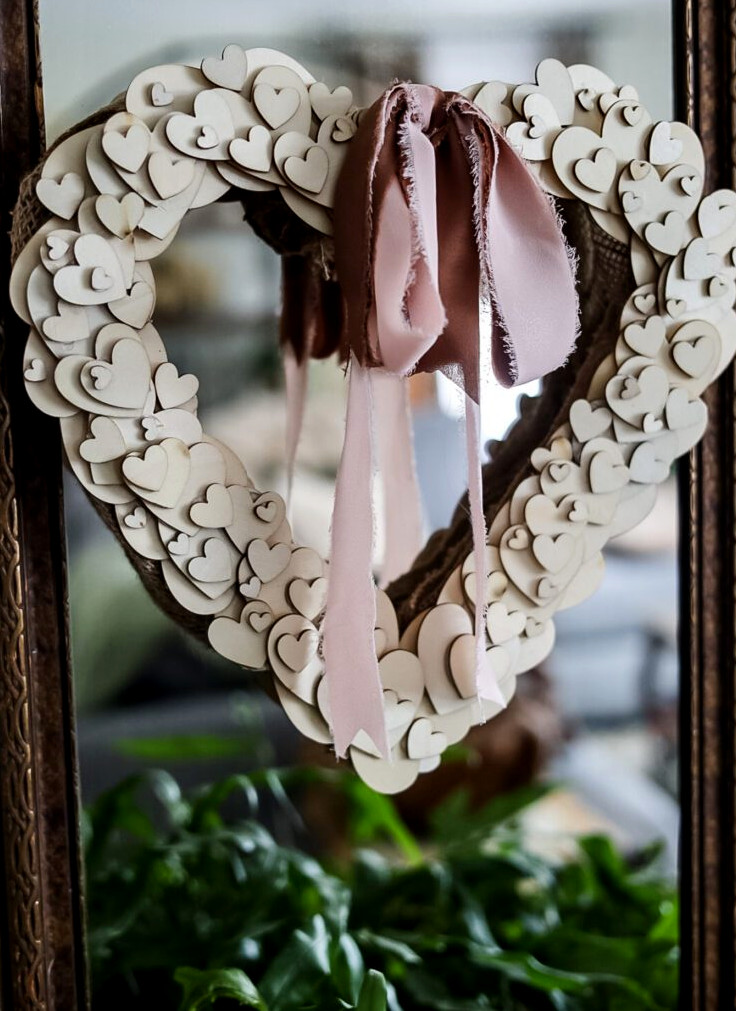
For my most recent wooden-shape project, I made this Heart Shaped Wreath by stacking hearts in various sizes for a dimensional effect.
Rub n Buff
Rub n Buff is a tiny tube filled with wonder!!! Go grab the Antique Gold and you’ll be glad you did!! This product is incredibly fun…and believe it or not, I only started using it last year!! OMG, I couldn’t understand the excitement until I finally used it on one of my projects!
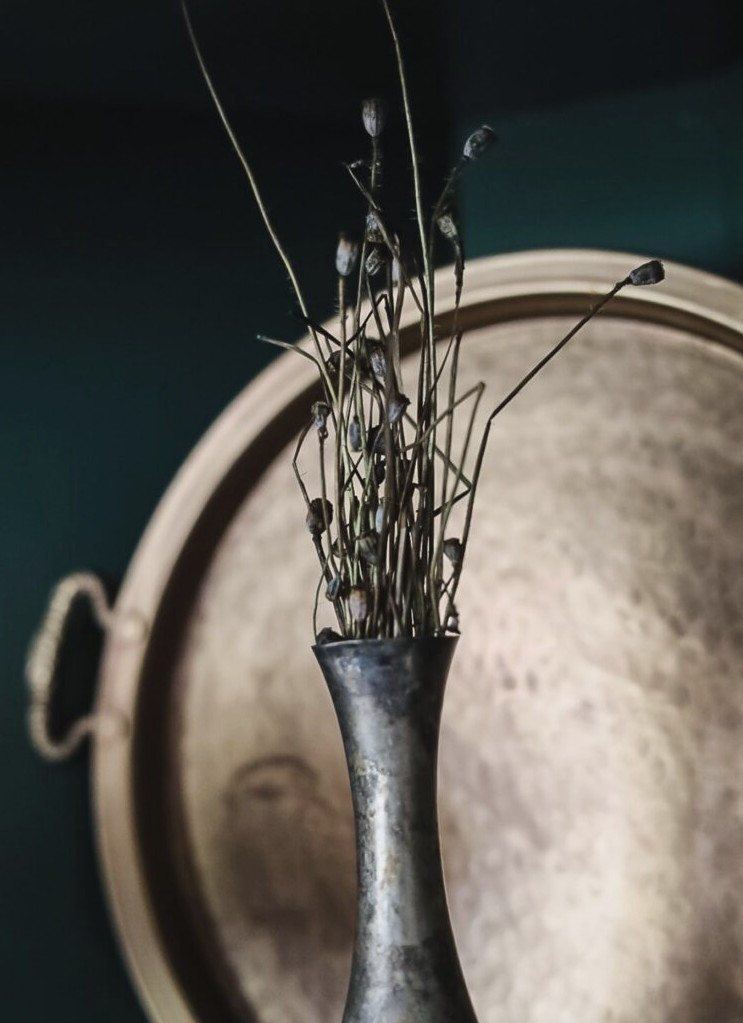
In roughly two minutes, Rub n Buff gave a worn thrift store treasure a complete makeover!
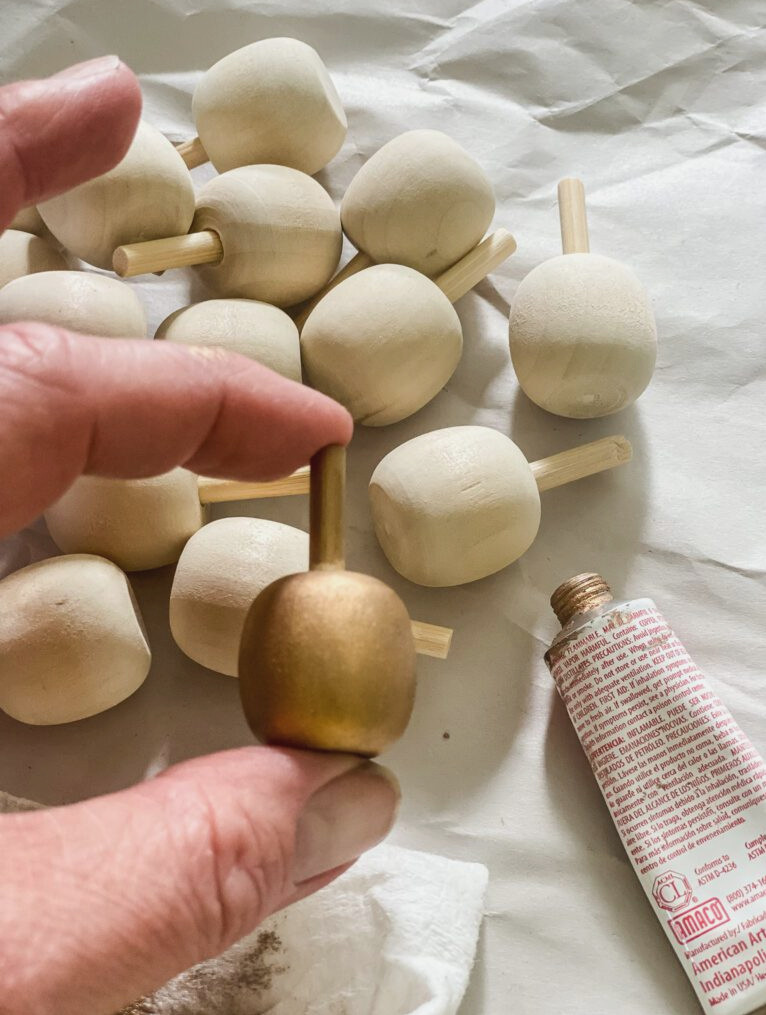
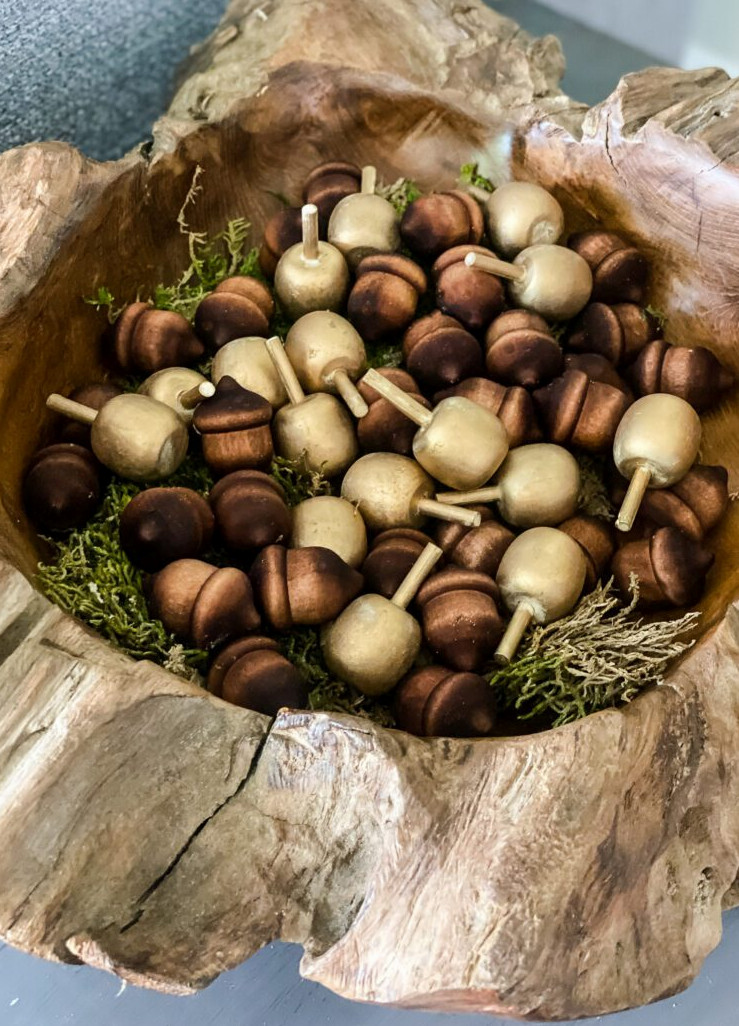
During the Fall, I crafted a collection of bowl fillers from wooden acorns & pumpkins. I applied Rub n Buff to the pumpkins, while using my Rit dye technique on the acorns.
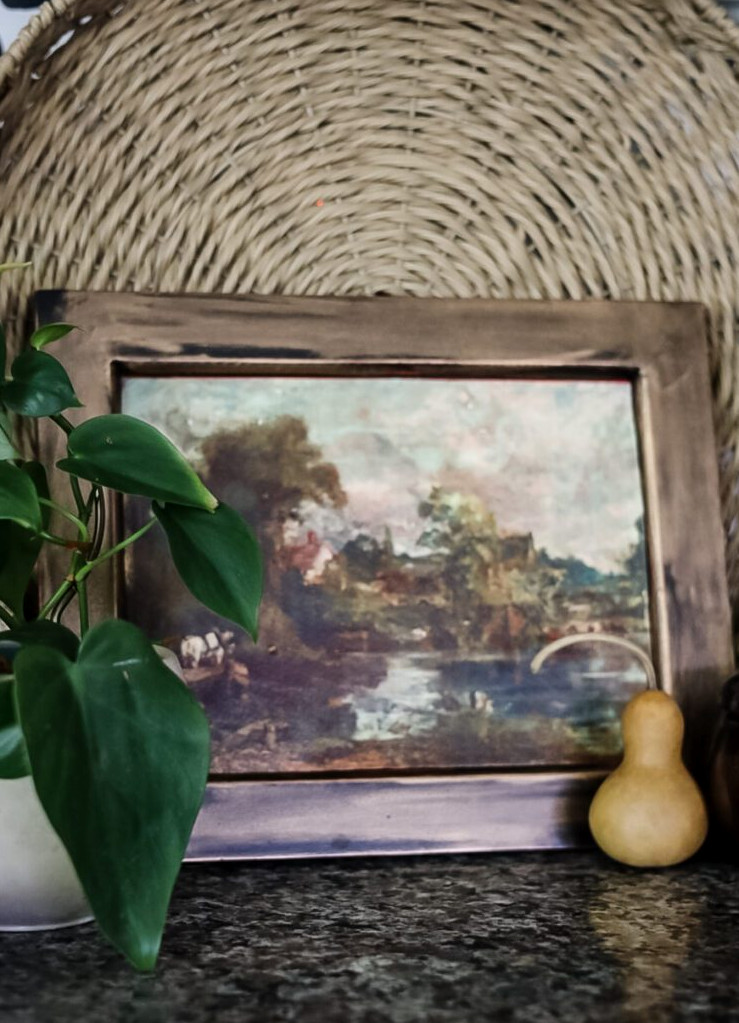
With a touch of Rub n Buff, this black-and-red frame took on a more vintage appearance that complemented the DIY artwork beautifully.
Wreath Frames
OK…I absolutely LOVE creating wreaths!!! And even if you don’t consider yourself especially crafty, I’m here to tell you that making your own wreaths is completely doable!!
To begin with, you’ll spend less since some ready-made, store-purchased wreaths can be quite costly, particularly the attractive ones!!
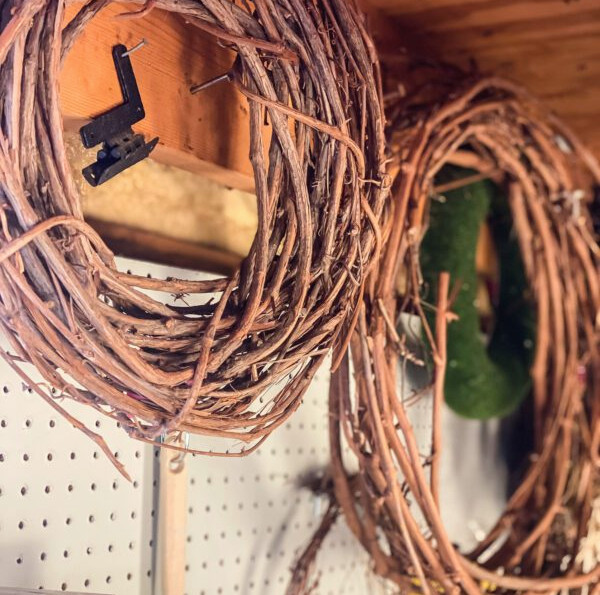
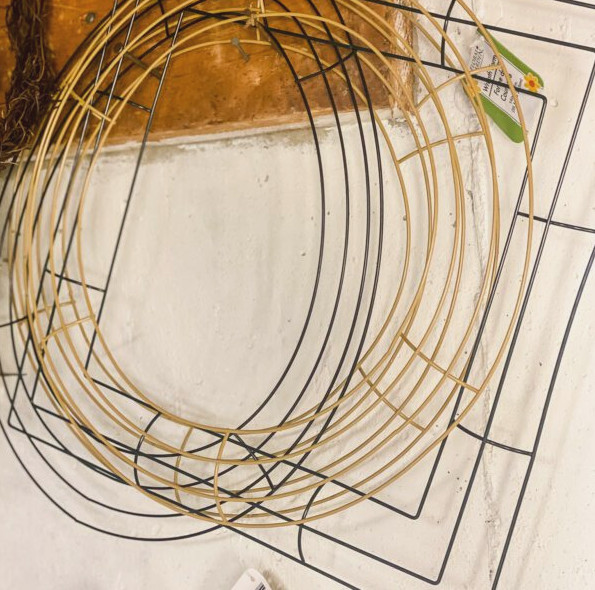
Since I create several kinds of wreaths each year, I pick up wreath forms whenever they go on sale or whenever I spot them at Dollar Tree.
The metal seasonal wreath forms at my Dollar Tree disappear quickly, so I usually buy a few of every style to keep on hand. I store the extras on high nails along my basement workshop wall, keeping them out of the way while still visible…because I will 100% forget which ones I already own.
I’ve also collected grapevine wreaths in several sizes, ranging from 24″ all the way down to tiny 3″ versions!
For Christmas, I used the smaller ones and chiffon ribbon to create charming vintage angel ornaments.
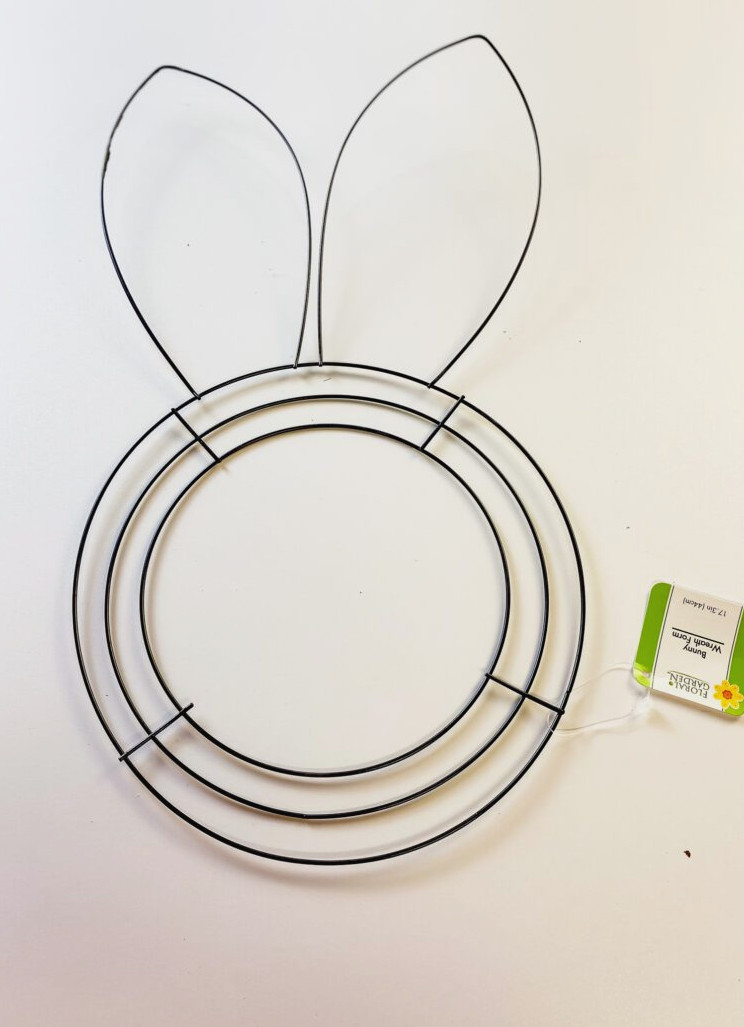
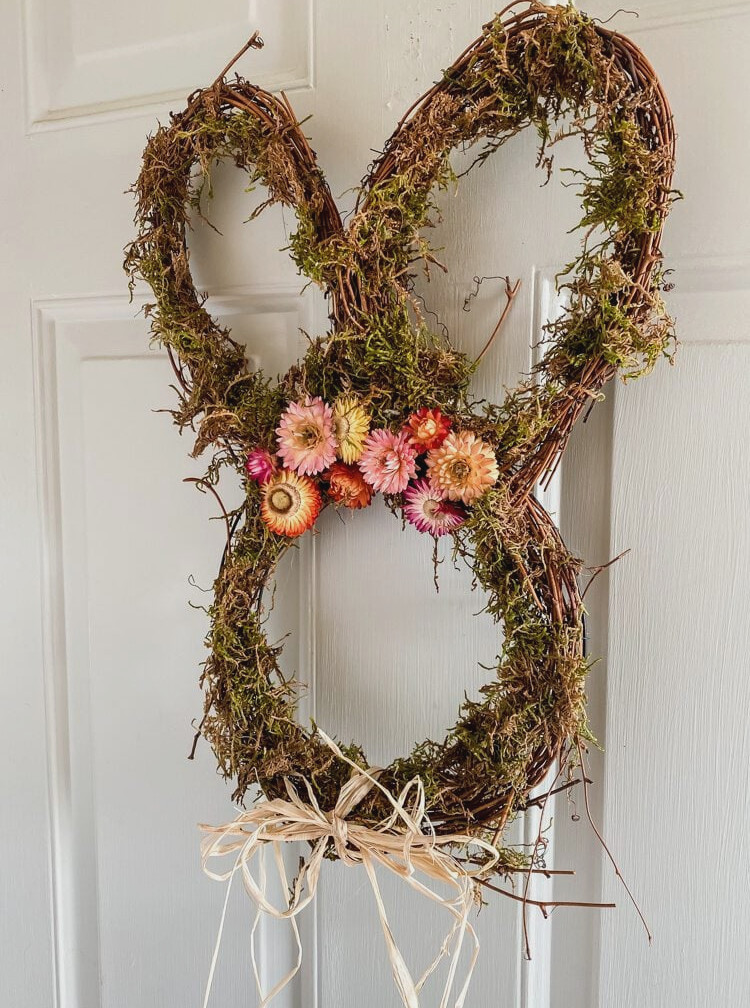
So, if you happen to find the bunny head wreath form at Dollar Tree…snag it!!!! Then use it to create this lovely Bunny Head Wreath, a more refined Easter decoration without the overly cute look.
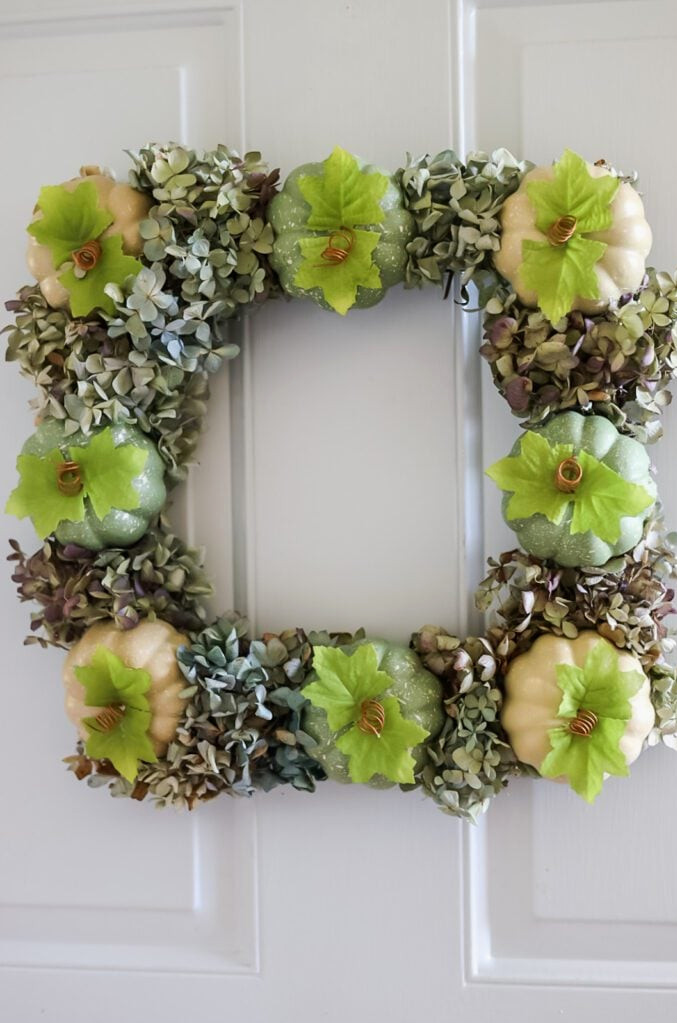
This was another budget-friendly wreath project, made with a square metal wreath frame, $1 foam pumpkins, and dried hydrangeas from my garden. Besides costing less than 10 bucks…it required only around 10 minutes to assemble!!! That’s my kind of project!
And there you have it—those are the essentials that keep my craft studio running smoothly!! Having the basic supplies stocked and ready makes everything so much simpler!!
It saves so much time…even when Amazon offers speedy delivery, being able to start a project immediately whenever inspiration strikes is wonderful!!
I hope I’ve inspired you with a few new ideas to test out using products you may never have considered before!!
xo, Jennifer
Newest Decorating Project Inspiration
Save for Later