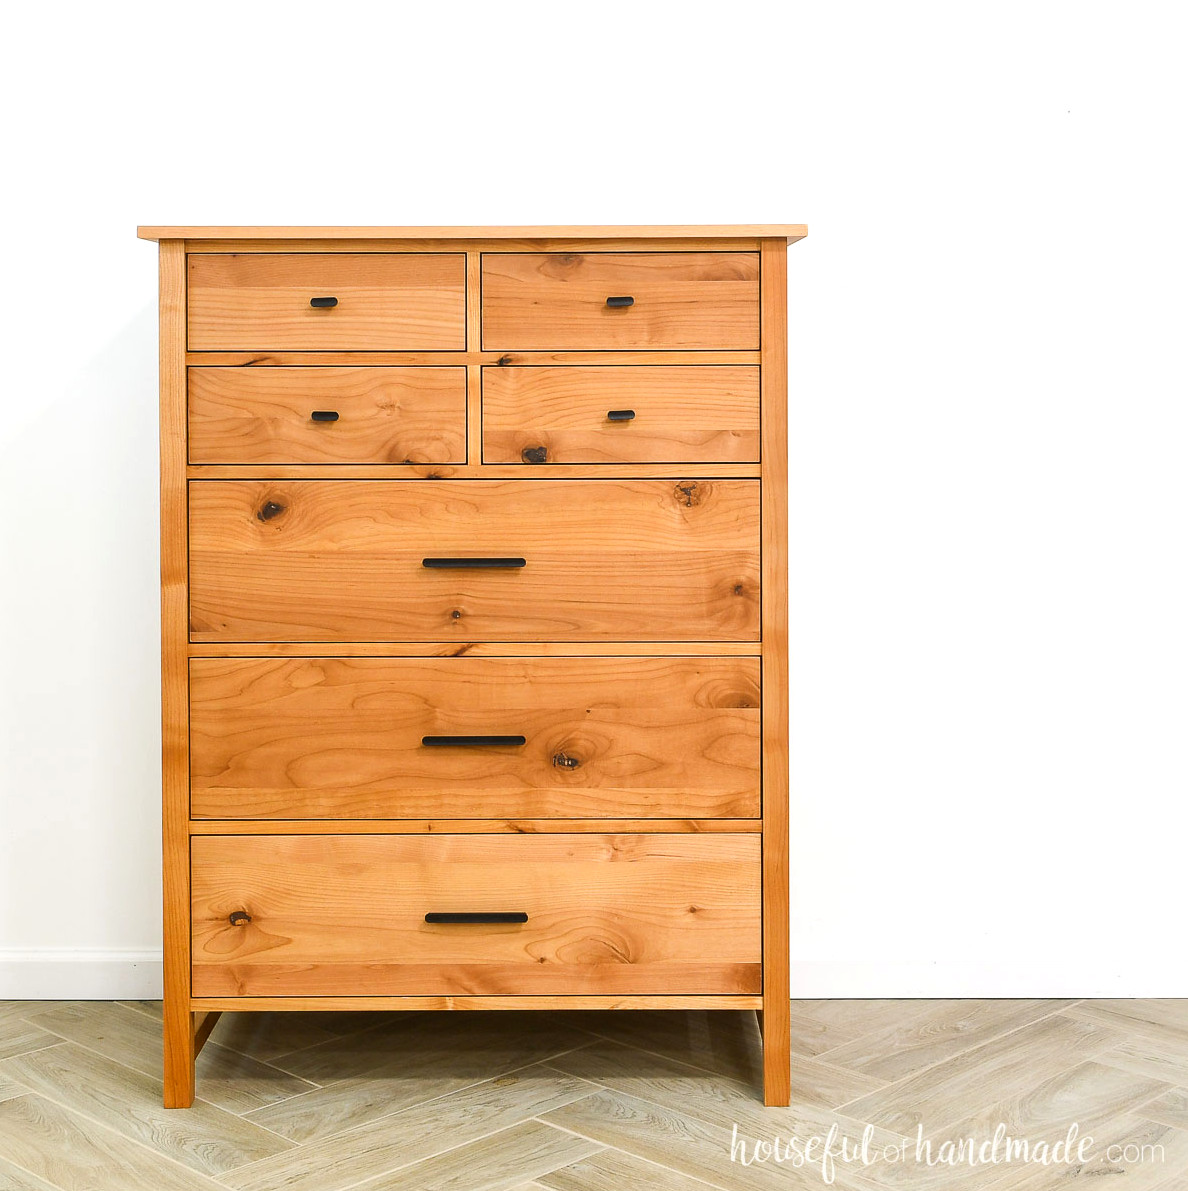
Learn how to make a tall 7-drawer dresser with this straightforward tutorial.
If space is limited but storage is essential, this tall DIY dresser is a great solution. The dresser measures only 38″ wide, yet its extra height gives it more capacity than a wider design.
It features 4 compact drawers at the top, ideal for smaller garments, along with 3 spacious drawers below. Thanks to its added height, you can fit more belongings into a smaller area.
This tall 7-drawer dresser is one piece of a coordinating bedroom collection. I’ve already shared the matching6 drawer dresser plans, 4 drawer dresser plansand1 drawer nightstand plansalready. A 3 drawer nightstand is coming soon to complete the collection.
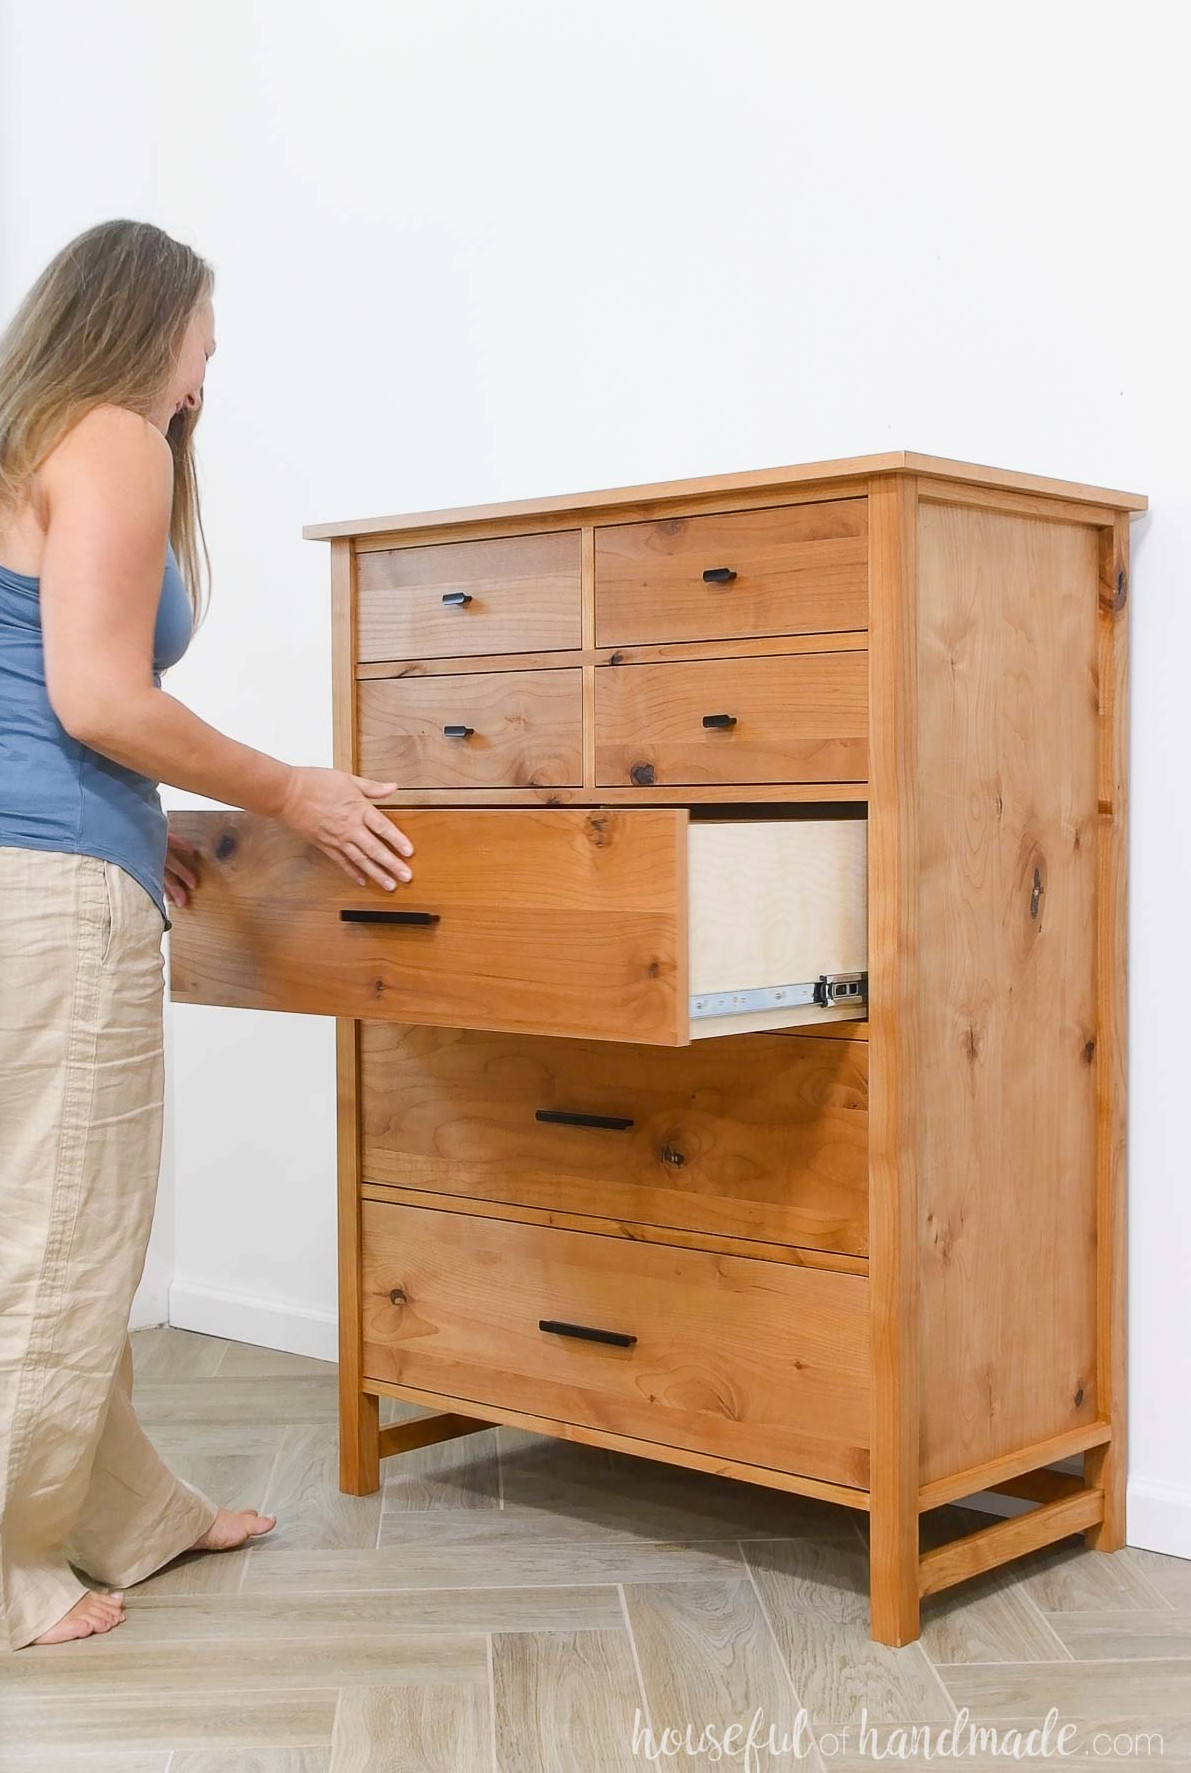
PB Farmhouse Dresser Alternative
The inspiration for this 7-drawer dresser came from Pottery Barn’s tall Farmhouse series dresser. The complete Classic dresser collection delivers an upscale appearance without the premium price tag.
The best part for me was purchasing enough lumber for 3 dressers and 1 nightstand for less than the price of a single Pottery Barn dresser.
I could also build them using whatever type of wood I preferred, creating a completely personalized dresser.
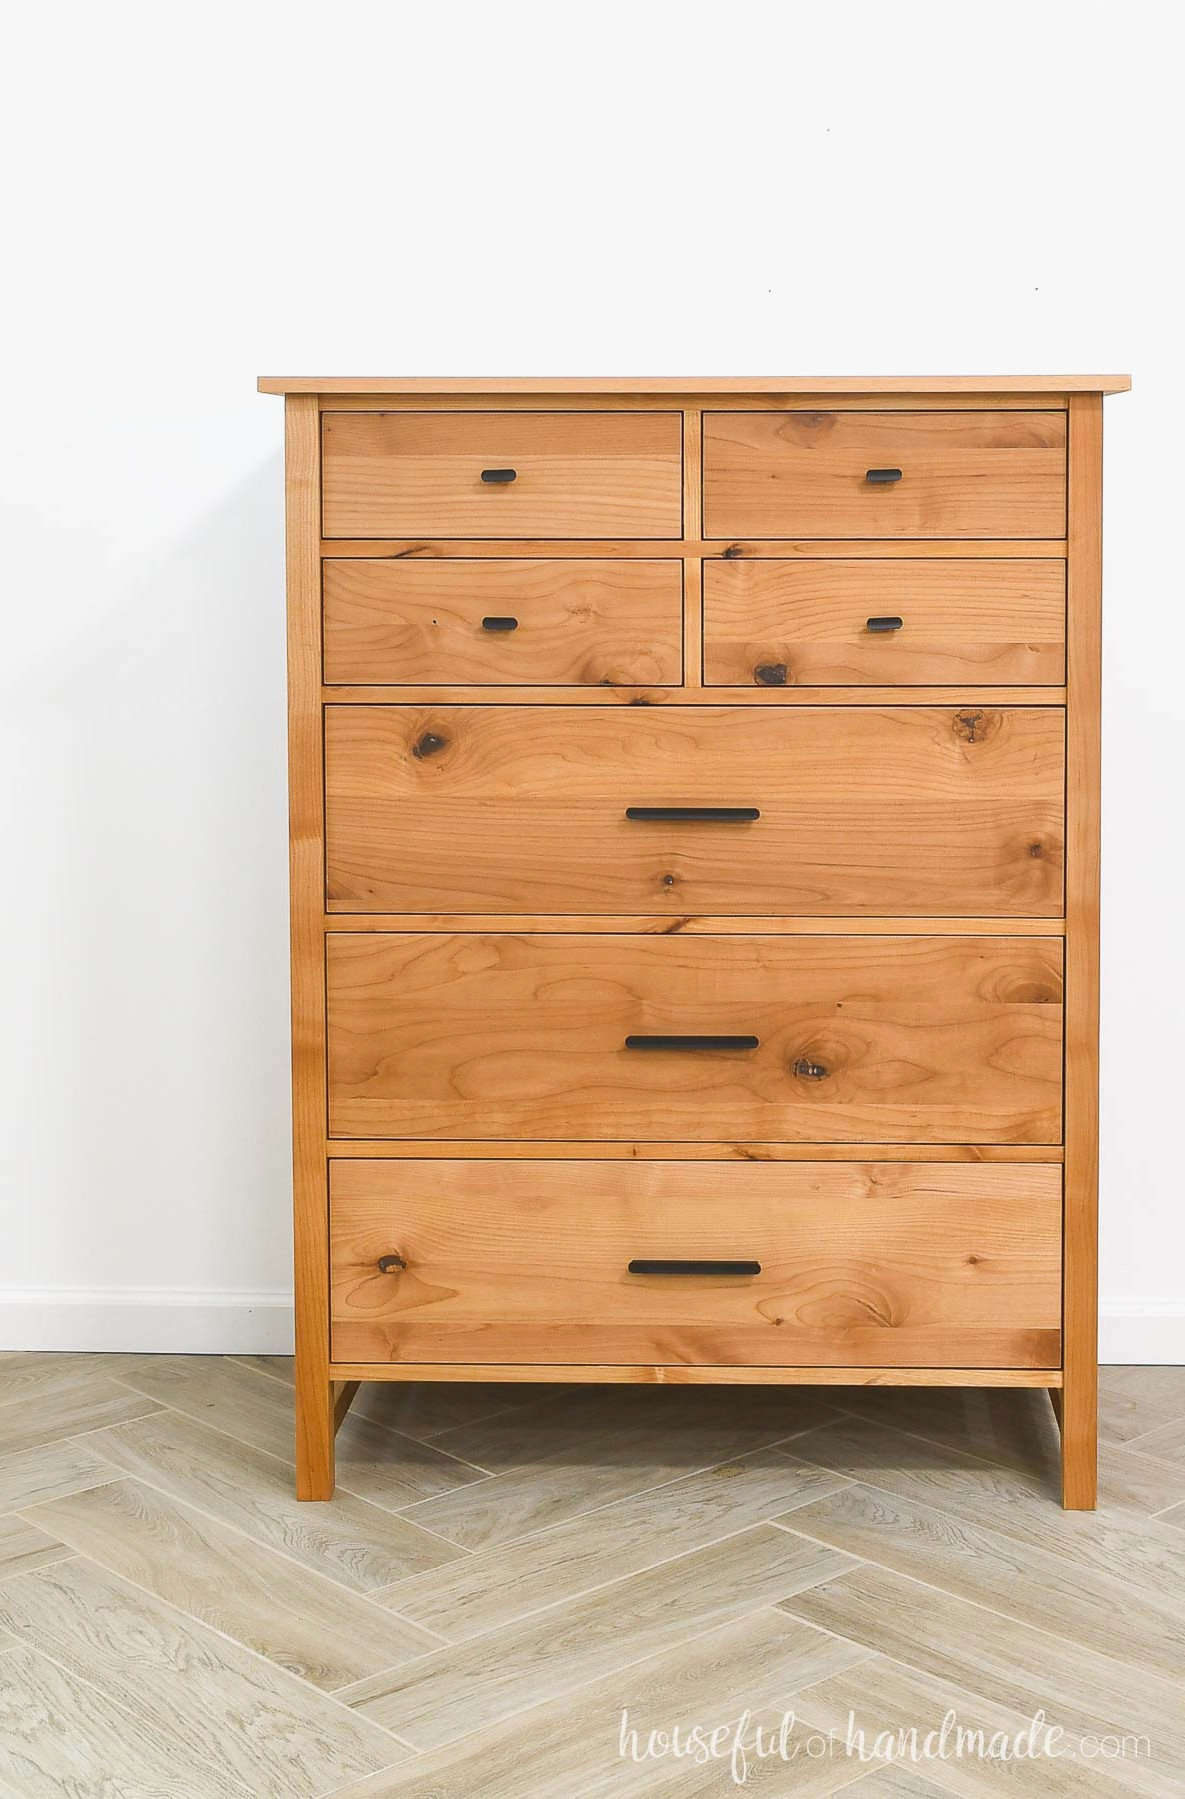
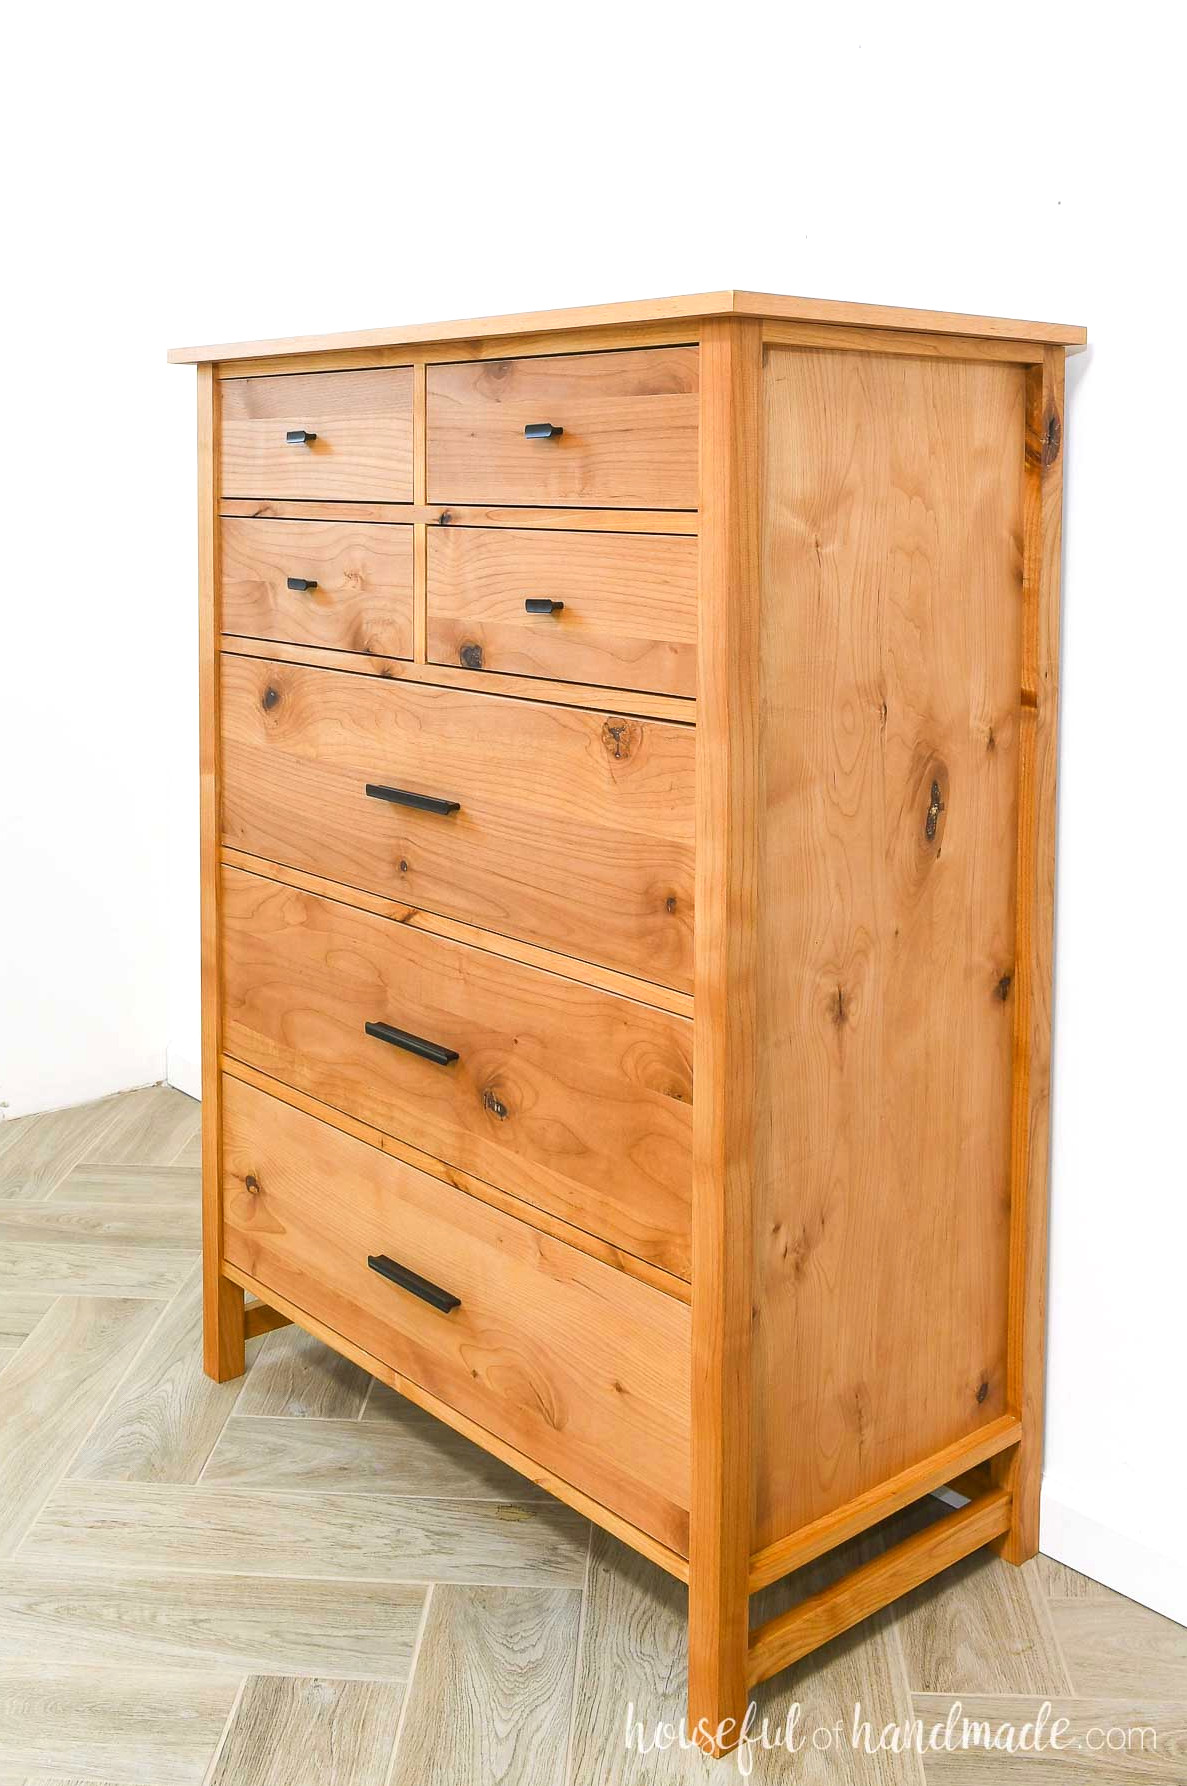
For all 3 dressers in the collection, I chose alder wood, and I really enjoy its appearance. Alder has a naturally cozy tone that resembles cherry while costing less.
The knots throughout the alder are another feature I appreciate. They bring personality to the dresser’s clean, uncomplicated style.
To complete the dresser, I constructed all the drawers from 1/2″ Baltic birch plywood. A single 4×8 sheet provides enough material for all 7 drawers.
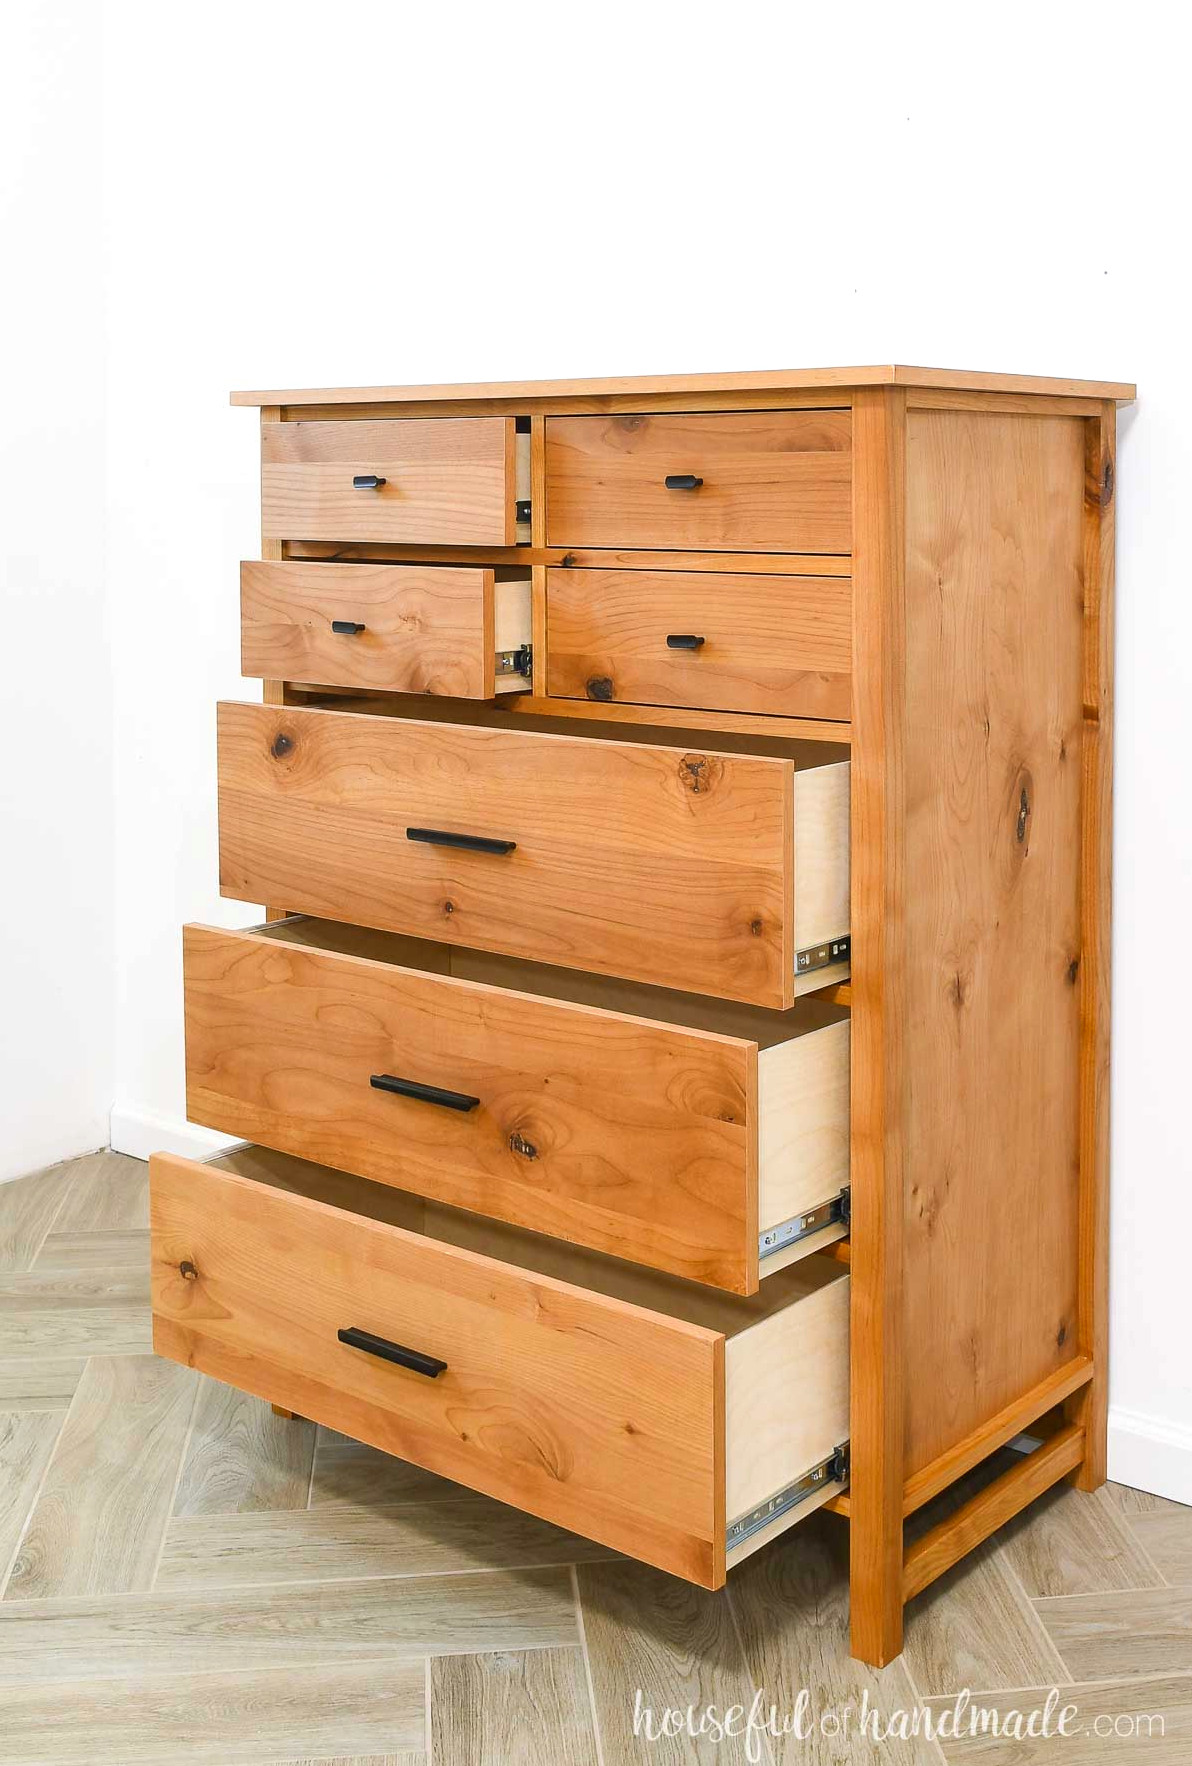
Coordinating Dresser Collection
Like this dresser? A full matching set is available, including a 4-drawer dresser, wide 6-drawer dresser, tall dresser, and coordinating nightstands.
How to Make a Tall 7-Drawer Dresser
Tools & Supplies
Overall Measurements
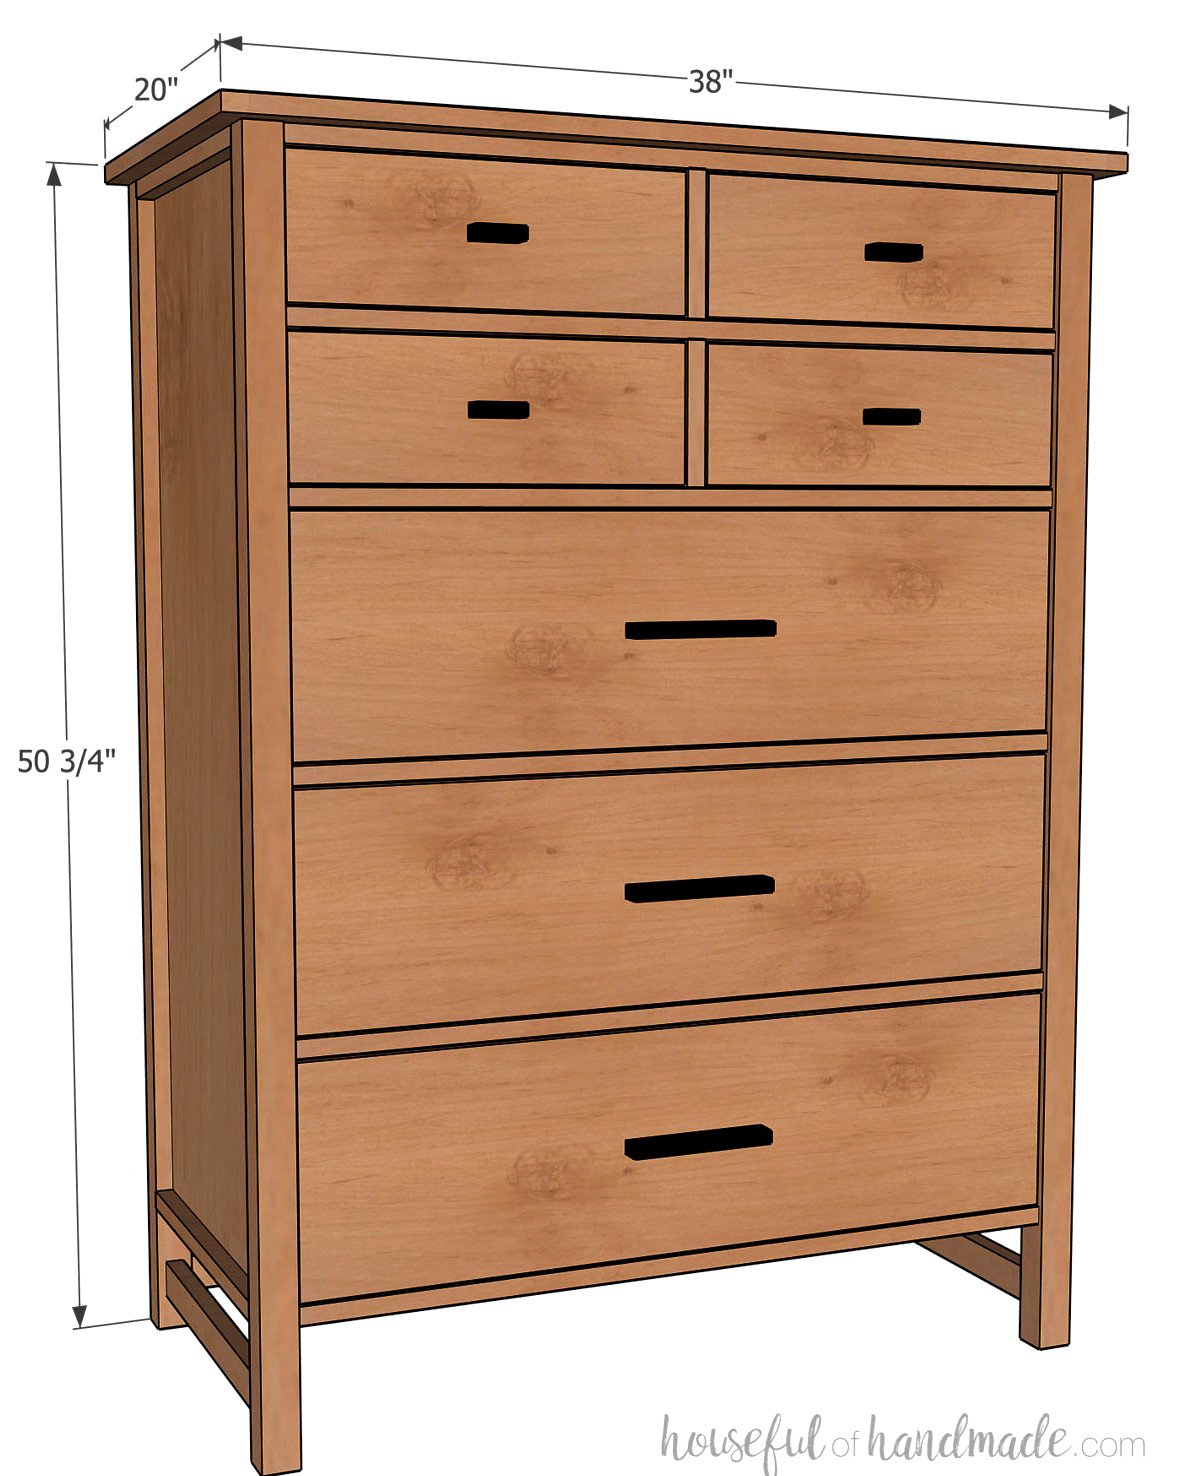
Once completed, the dresser measures 38″ wide, 20″ deep, and 50 3/4″ tall.
The top section contains 4 smaller drawers (16″ x 15 1/8″ x 4 3/4″ deep), while the lower section includes 3 oversized drawers (16″ x 32″ x 8 1/2″ deep).
Lumber Cut List
Use the easy-to-follow table and diagrams in the PDF plans to cut each piece to size.
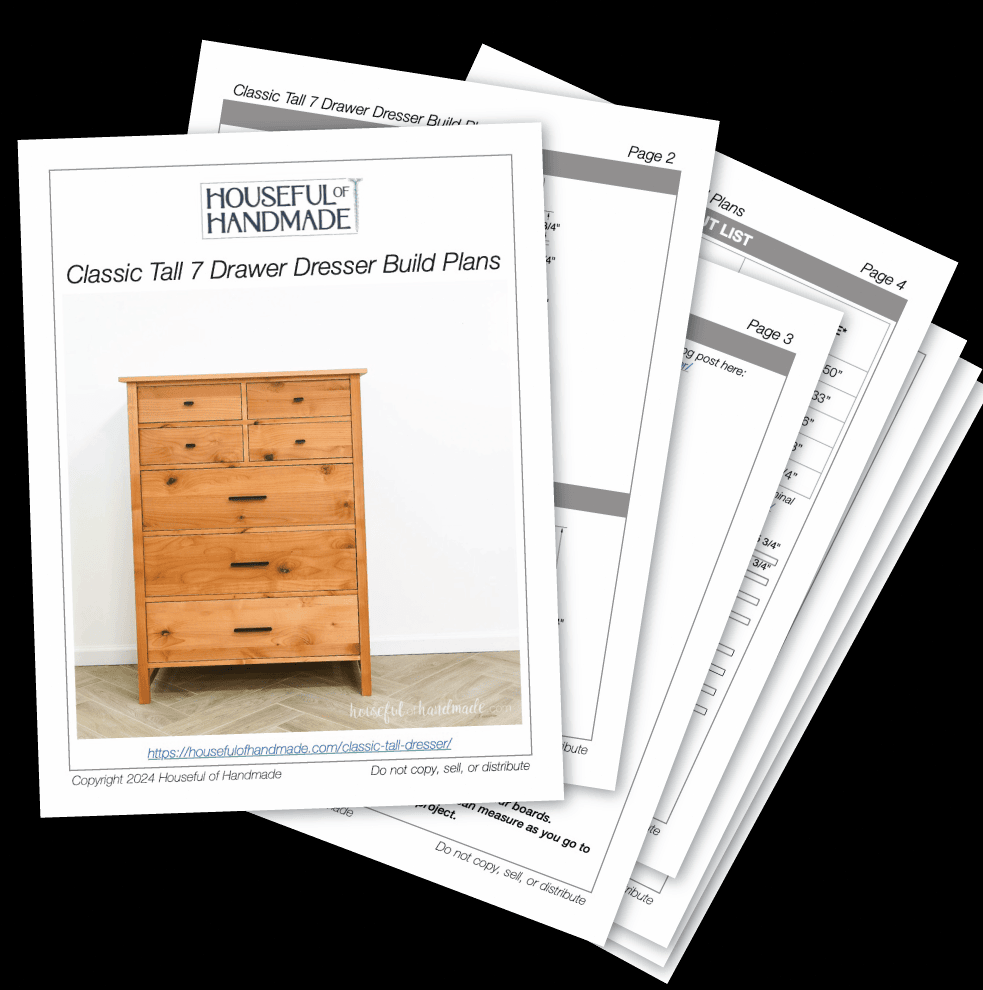
Download the Premium PDF Woodworking Plans
PDF plans contain- Easy-to-Read Cut List, Shopping List, Suggested Tools, Step-by-Step Directions with 3D illustrations, & Useful Resources
BONUS- 3D SketchUp Model
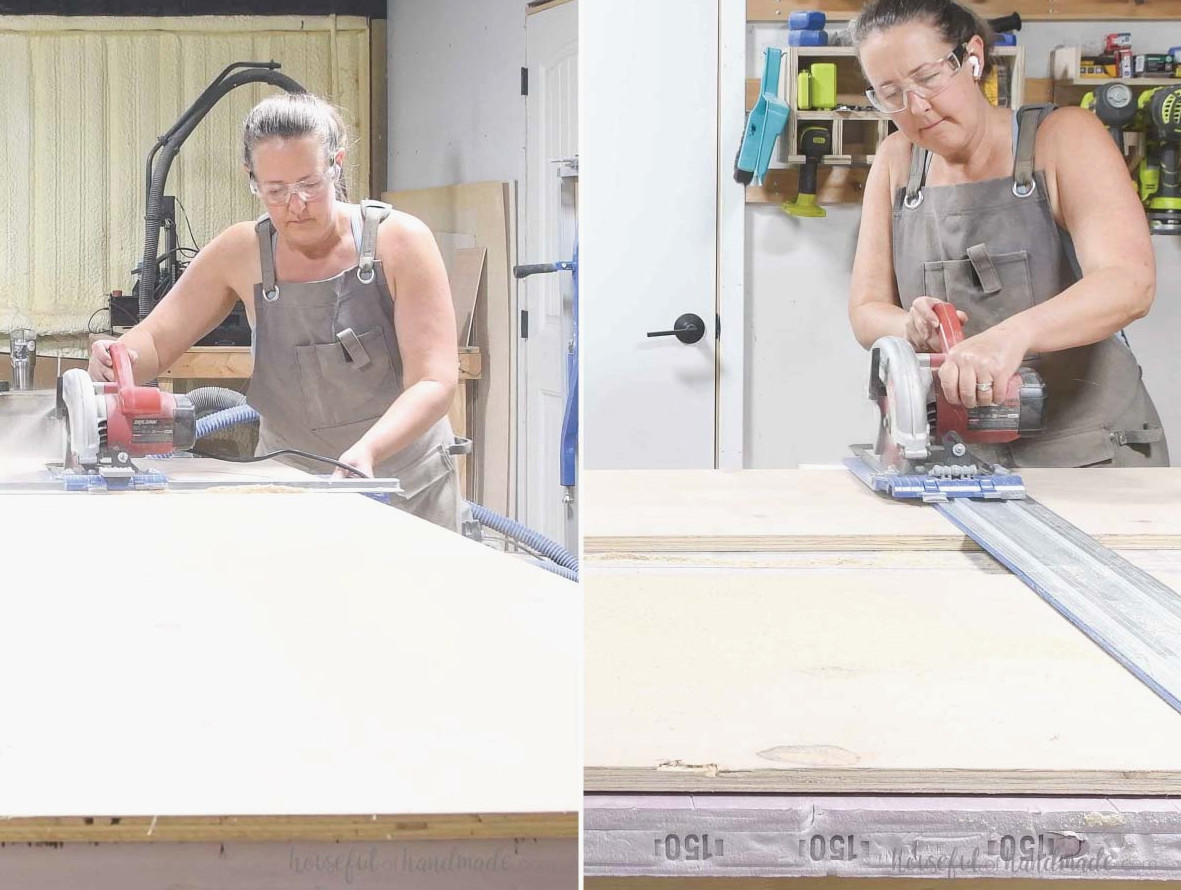
Begin breaking down the plywood by ripping it into strips with a RipCut guide. Afterward, crosscut each piece to its required final length.
The PDF plans also include a simple plywood cutting layout.
You can find all my advice for breaking down plywood sheets easily with a circular saw here.
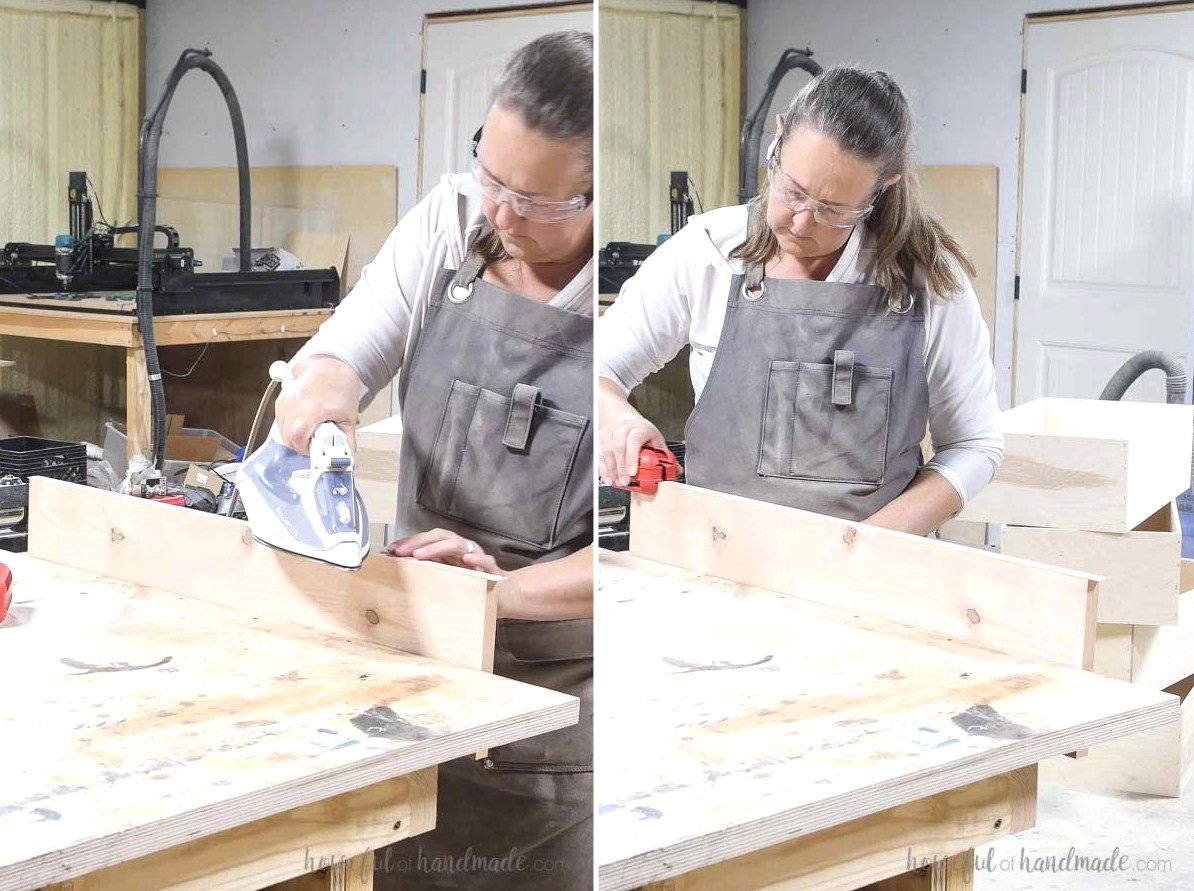
Apply iron-on edge banding around the edges of the drawer fronts and top to conceal the exposed plywood.
I prefer installing the banding on the sides first, followed by the top and bottom, so the upper edge of the drawer front remains solid when it is opened.
If you want solid wood drawer fronts, you can instead make them from 1×6 boards (actually 5 1/2” wide) and 1×10 boards (actually 9 1/4” wide).
STEP 1- Assemble the sides
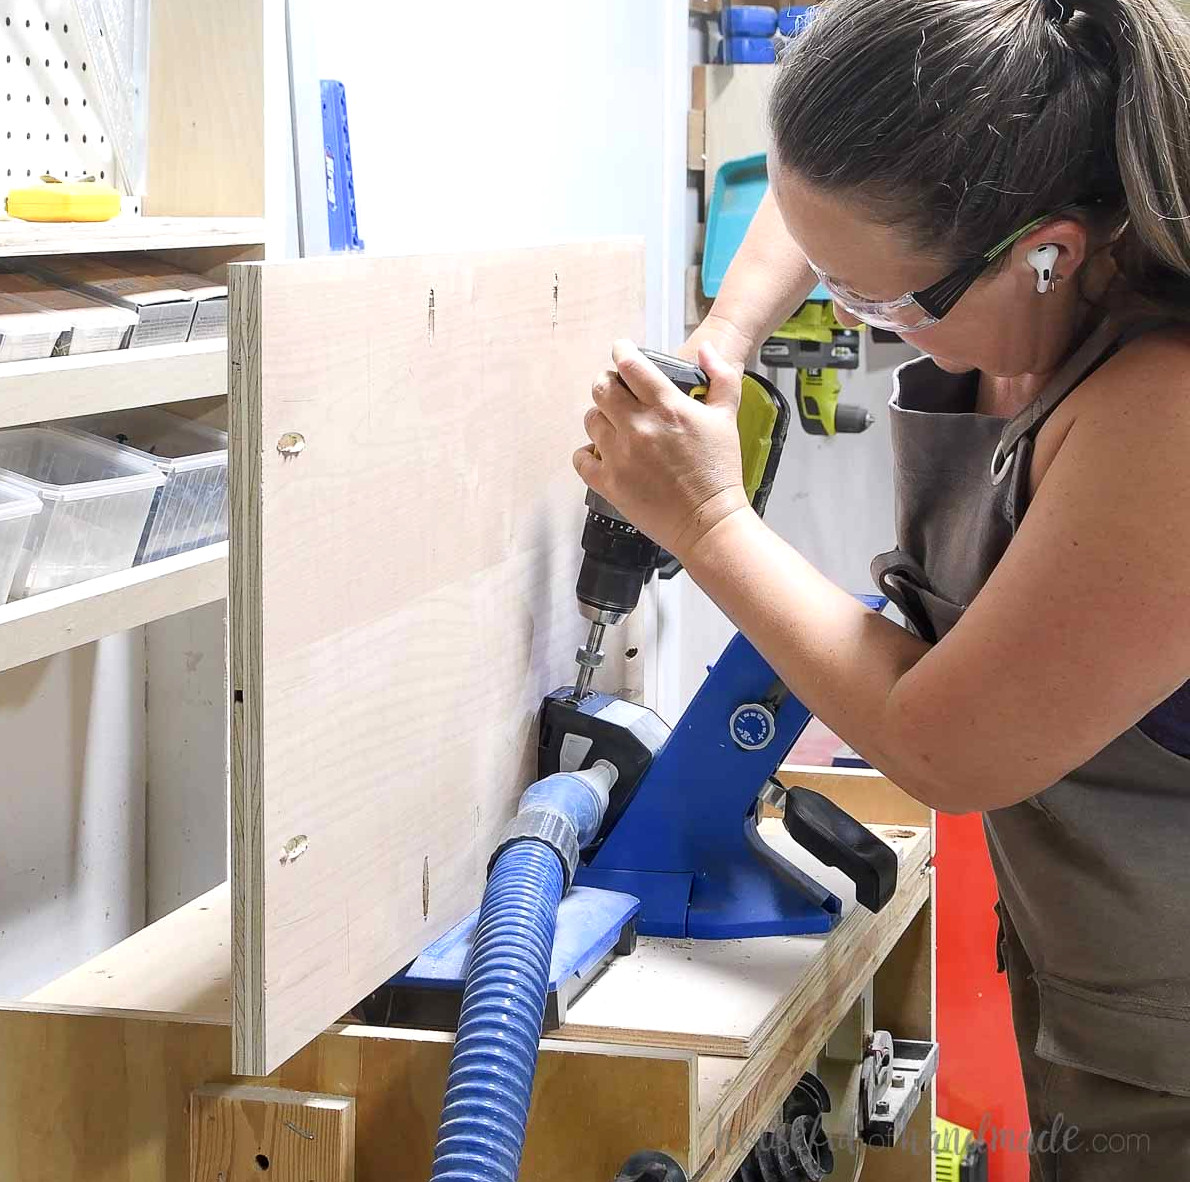
Using your pocket hole jig, make one pocket hole in each end of the 3/4” wide edge of the side trim pieces, with the jig adjusted for 1 1/2” thick material.
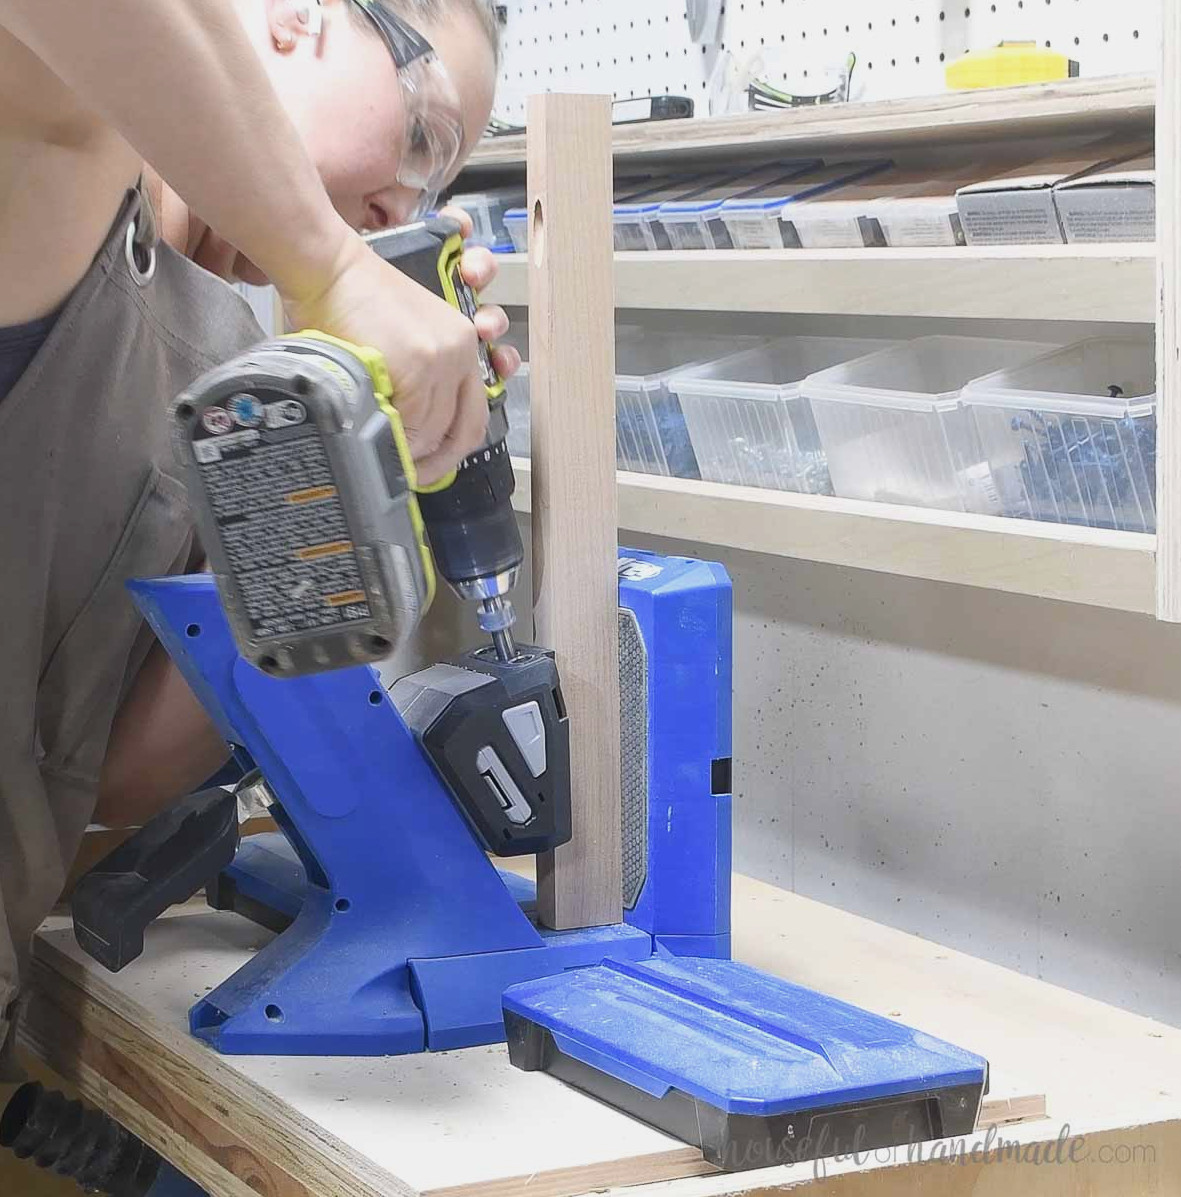
Set the jig for 3/4” plywood and drill pocket holes around the edges of the side panel pieces.
At the top and bottom of each side panel, position the pocket holes far enough from the edge so they do not interfere with the holes in the side trim pieces.
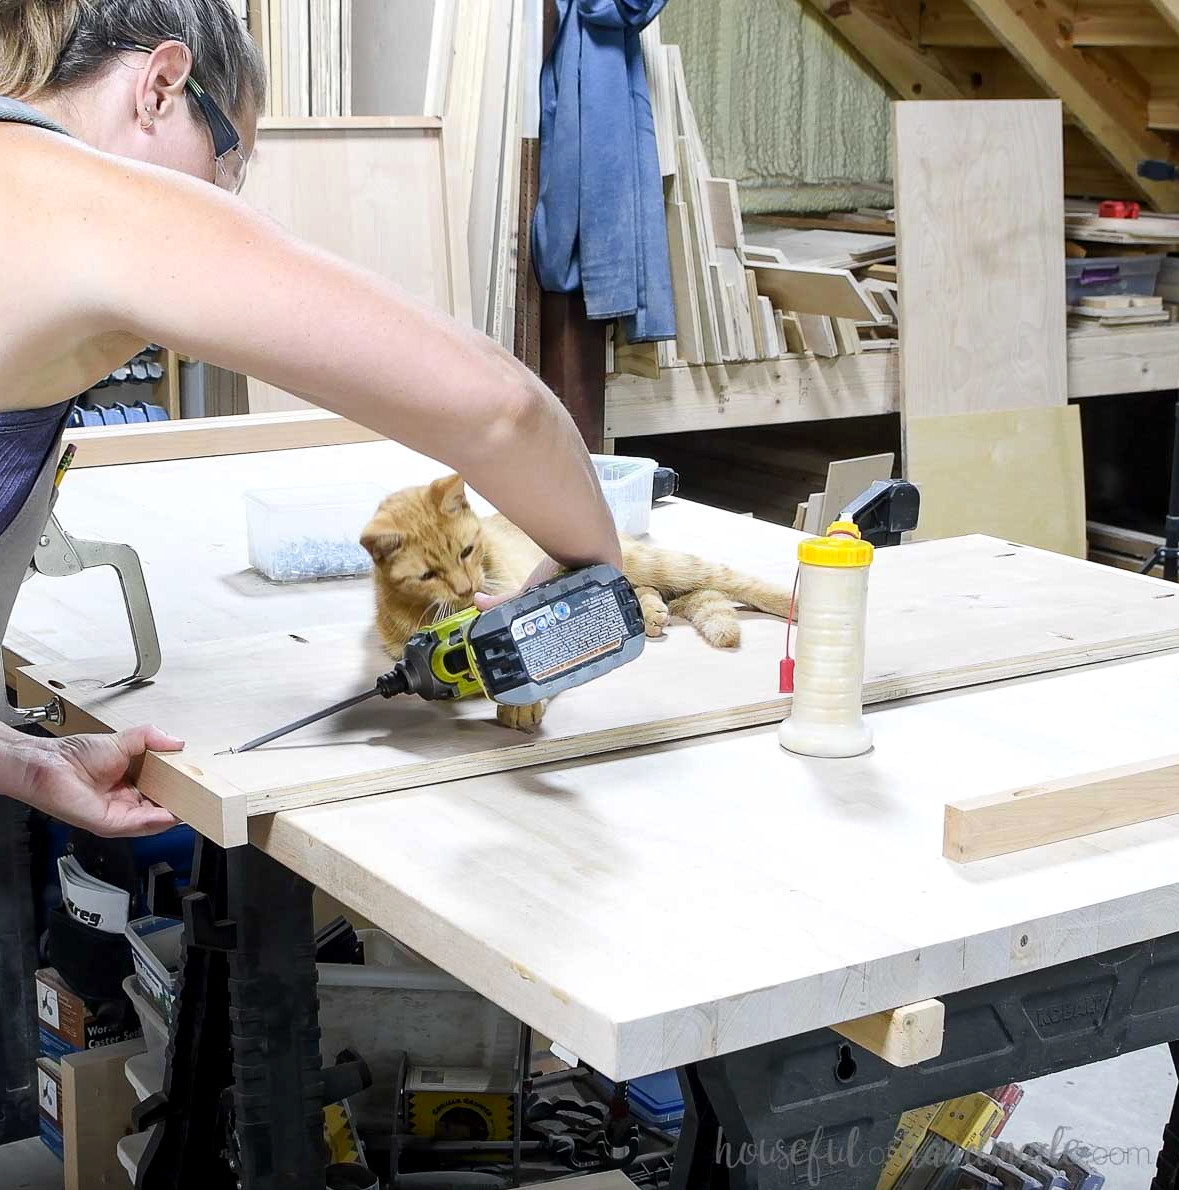
Fasten the side trim to the panel’s top and bottom, keeping the panel aligned flush with the rear edge of the trim board.
Use 1 1/4” pocket hole screws along with wood glue for a secure connection.
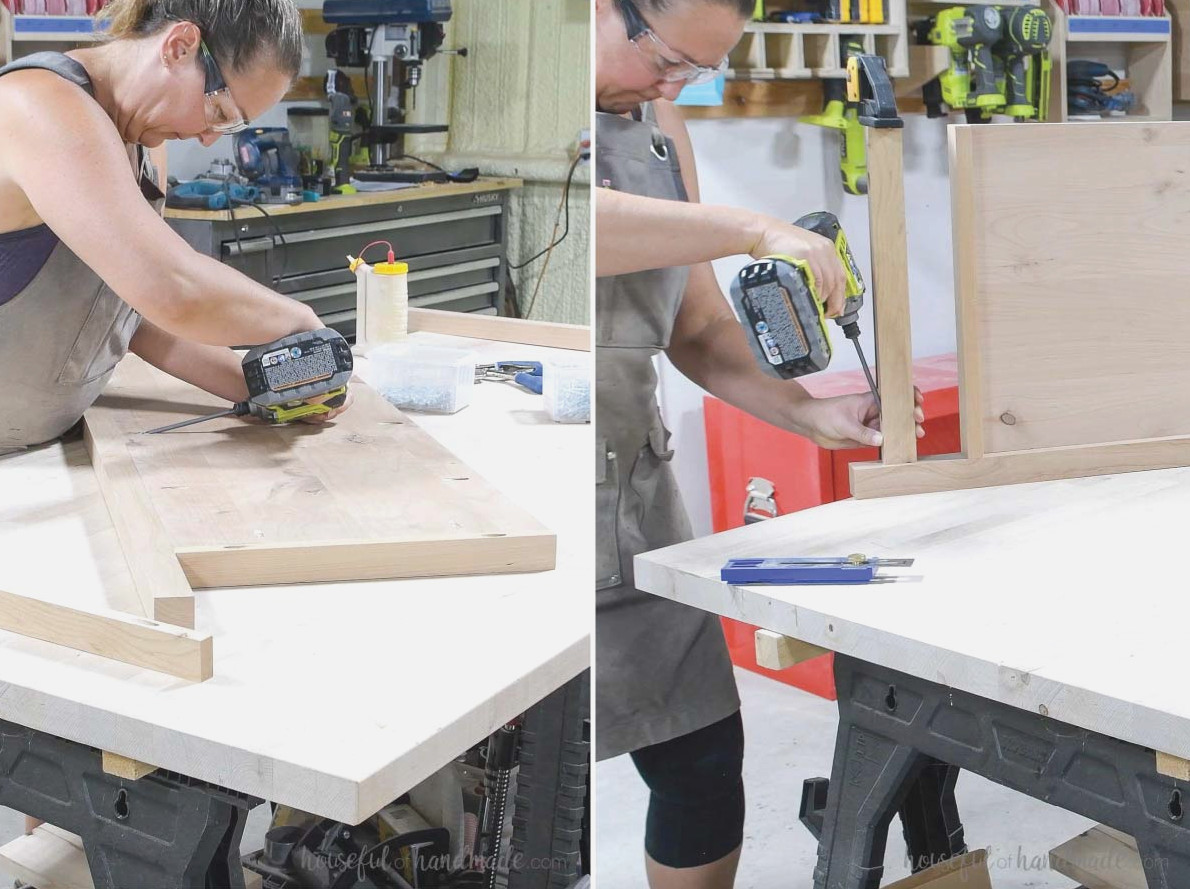
Fasten the side panel to one leg piece using wood glue and screws, keeping it flush with the top and the panel flush tothe rear of the leg.
- Fasten the trim pieces to the leg with 2 1/2” pocket hole screws.
- Attach the panel to the leg using 1 1/4” pocket hole screws.
Position the third side trim piece at the bottom of the leg, 1 1/2” above the leg’s lower edge and centered across it (3/8” from both the front and back).
Place the pocket hole underneath to keep it concealed. Apply glue, then secure it with 2 1/2” pocket hole screws.
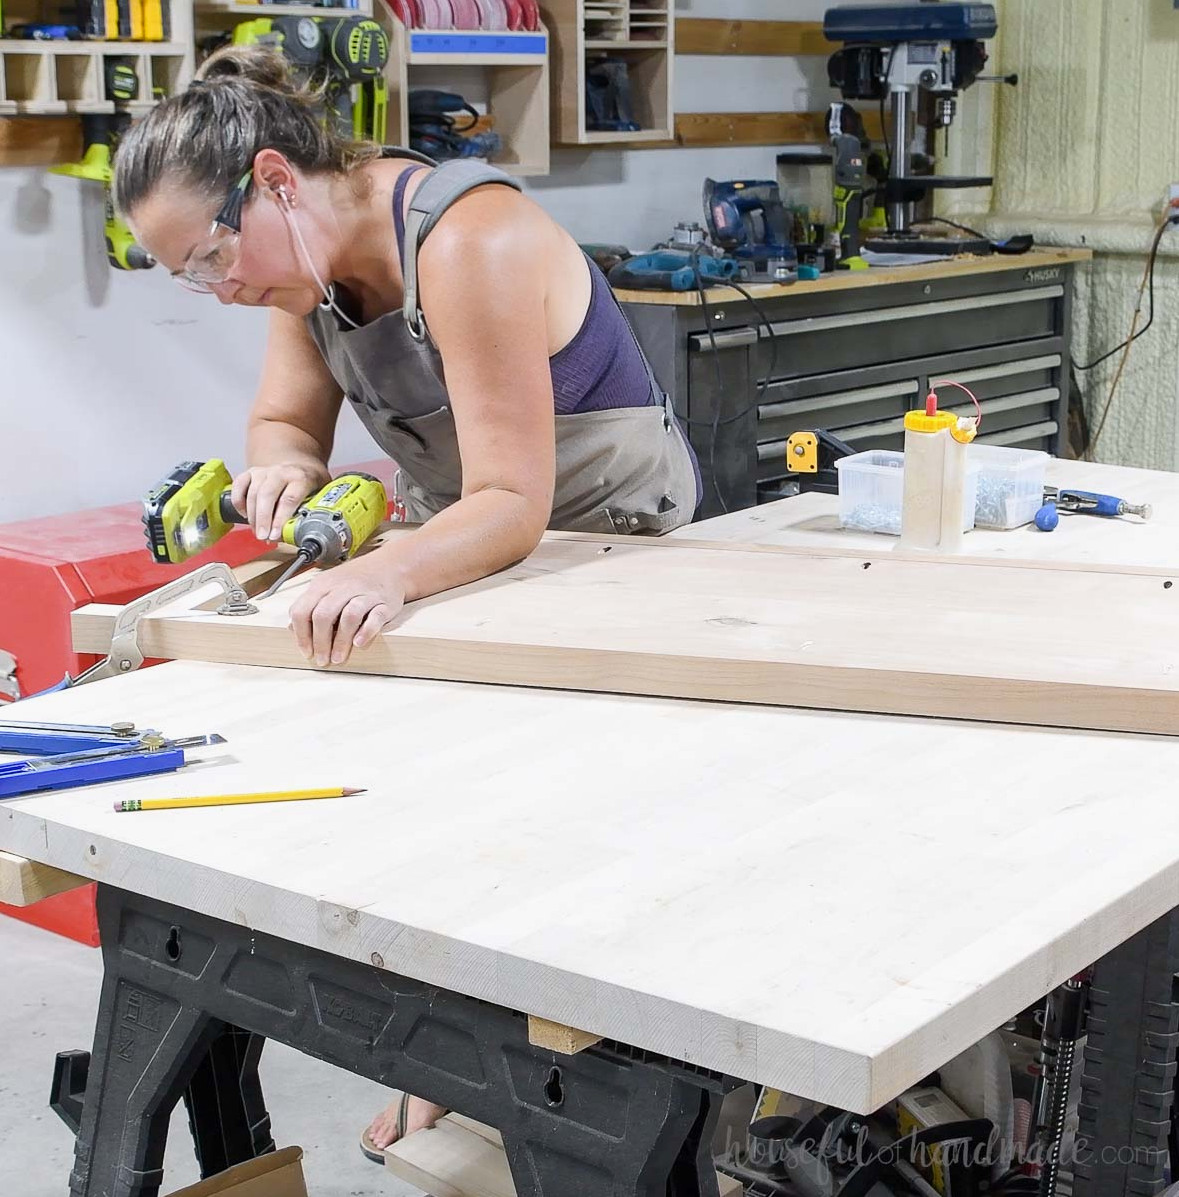
In the same manner, fasten the second leg to the opposite side.
Repeat these steps to create the second side.
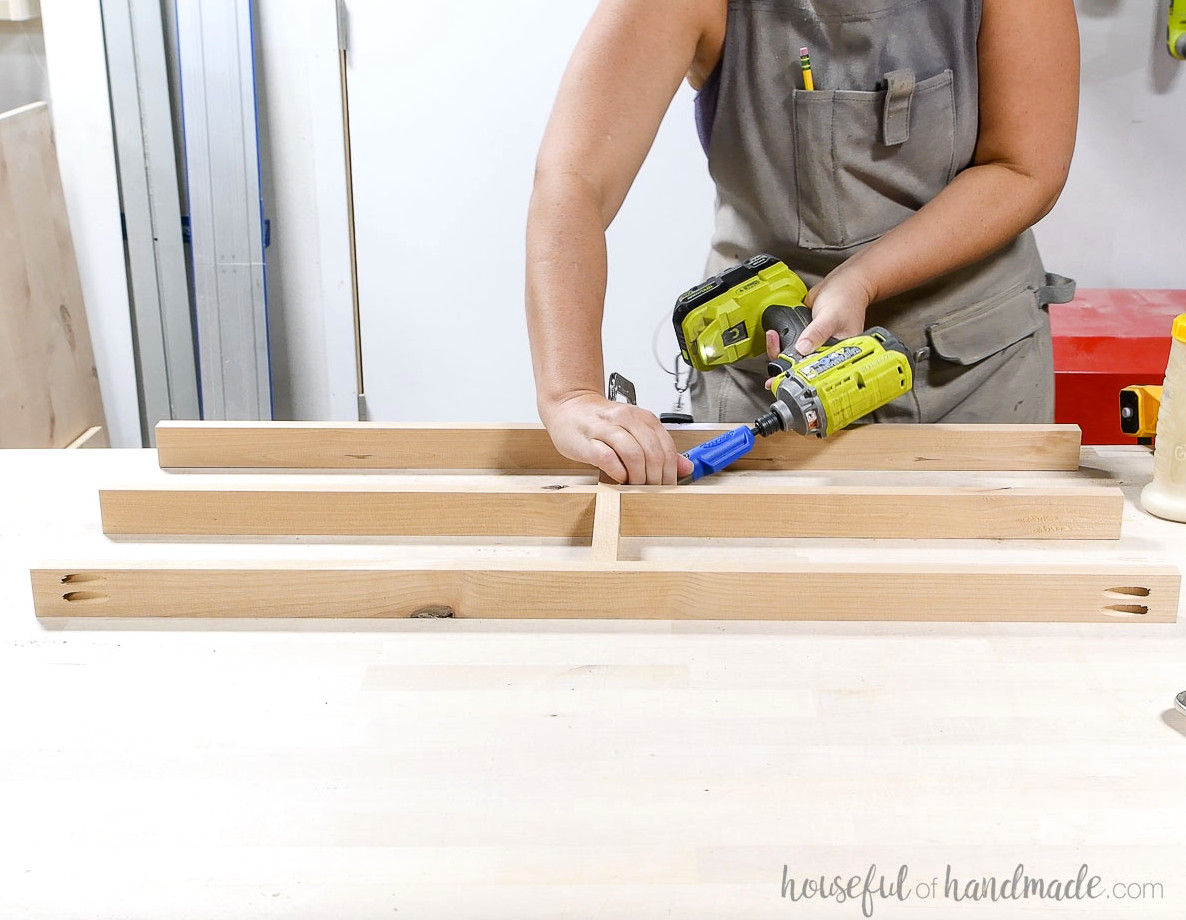
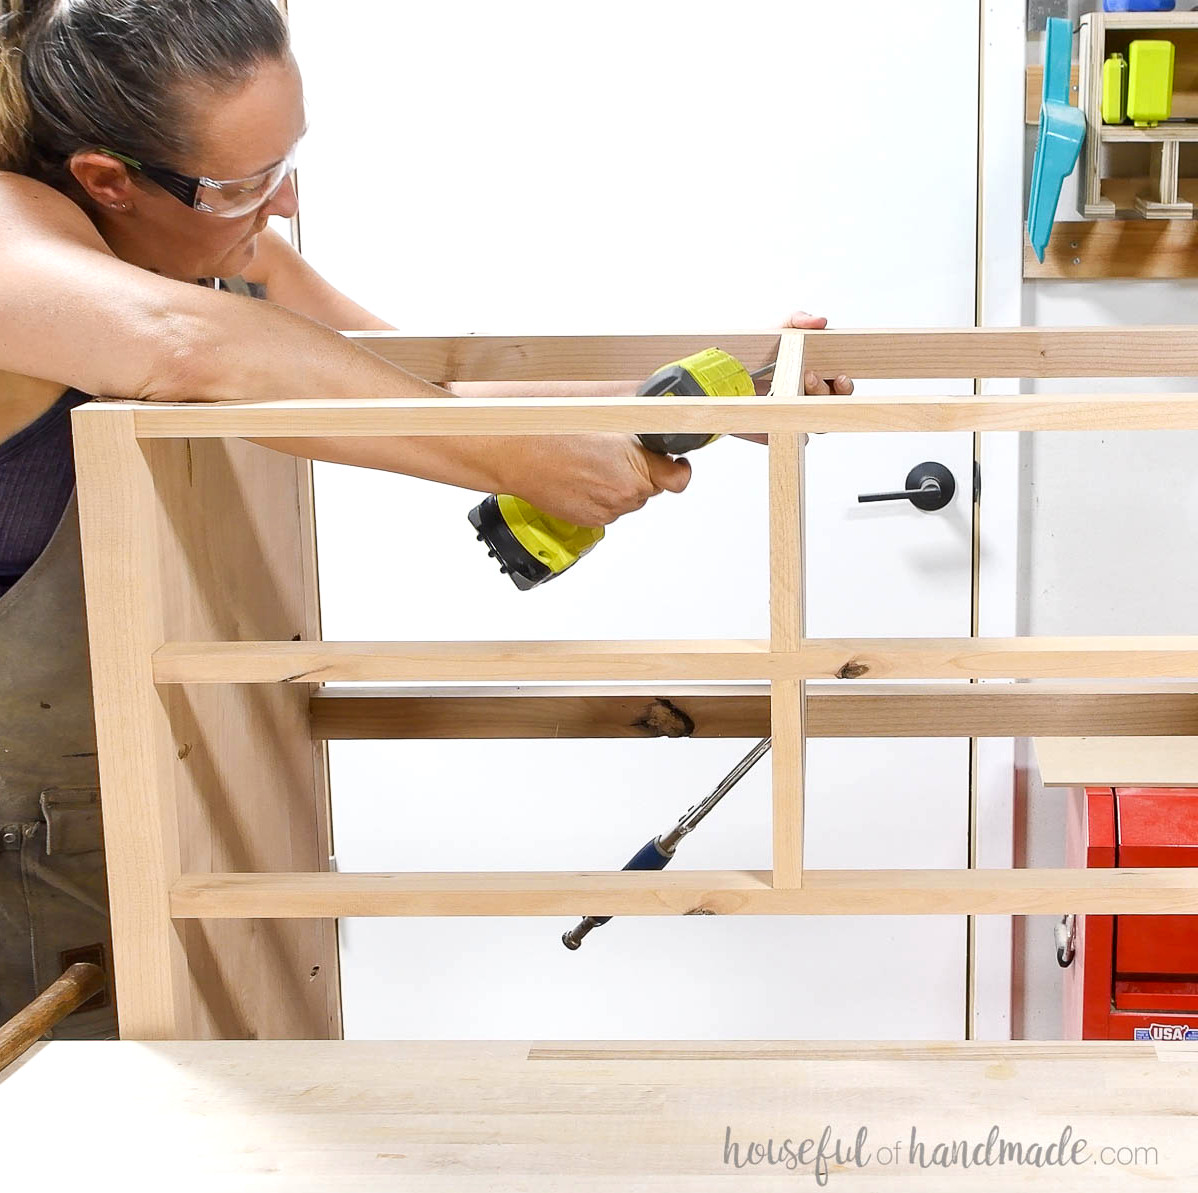
STEP 2- Assemble the front frame
Create pocket holes for 3/4” thick material at both ends of the front and back trim, dividers, and center pieces.
Center the dividers between the three trim pieces and attach them. This forms the frame for the smaller upper drawers.
Join the boards using wood glue and 1 1/4” pocket hole screws.
EXPERT TIP:
For concealed pocket holes, position those in the top trim facing upward so the top covers them, and direct the holes in the bottom trim downward toward the floor.
STEP 3- Put together the dresser frame
Use the pocket holes previously drilled in the ends of the front trim pieces to secure the frame between the two sides.
Position the front frame 1/4” behind the side’s front edge and level with the top.
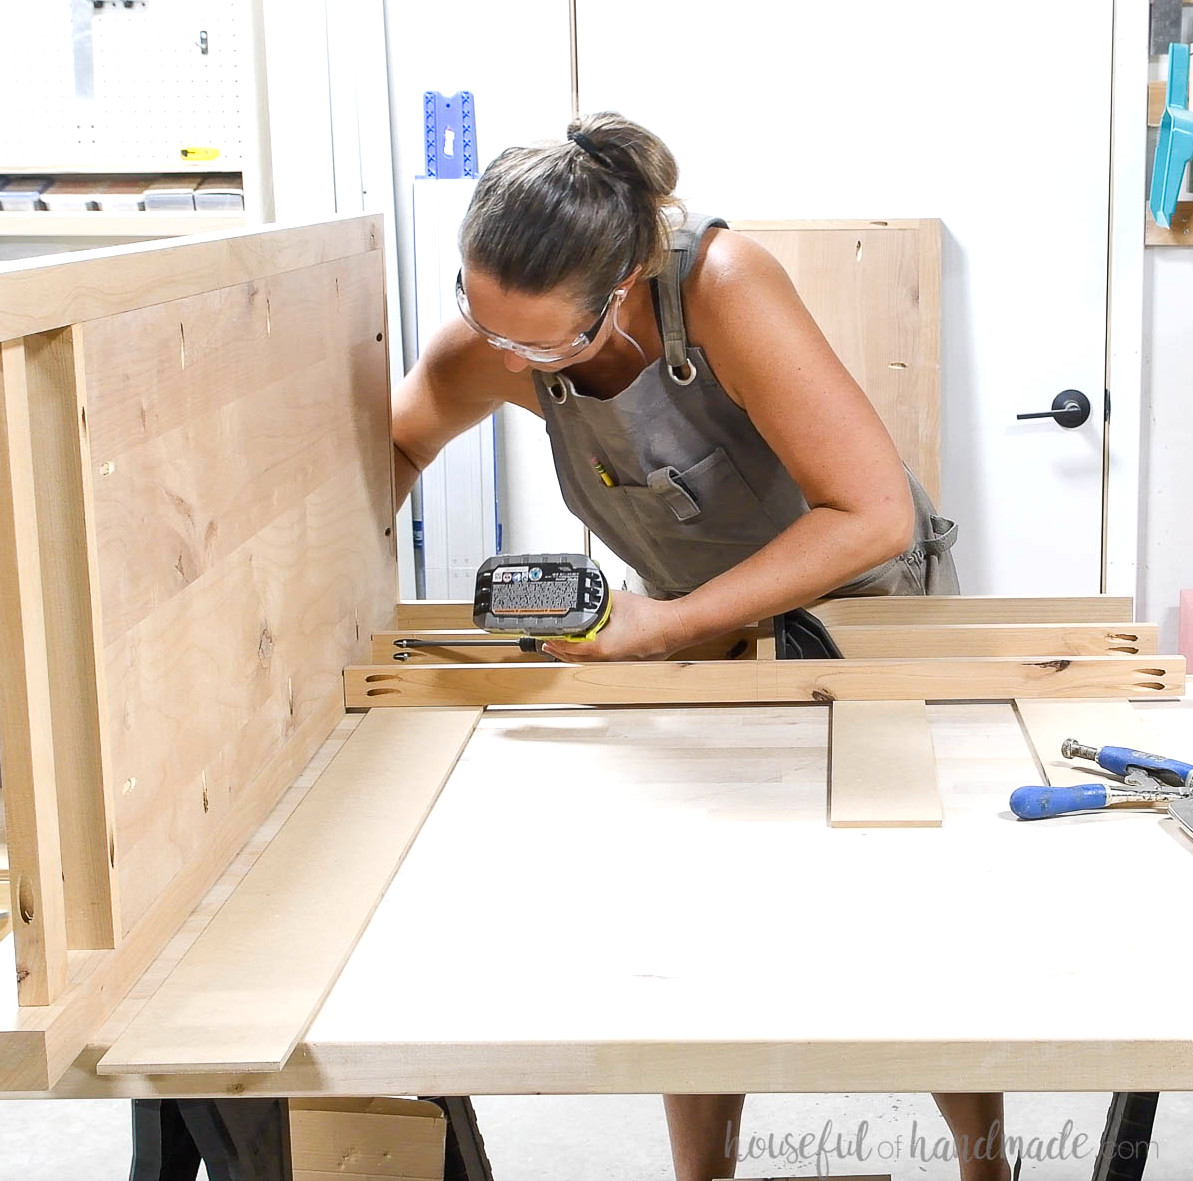
Install the other three trim pieces based on the spacing shown in the plans’ diagram. As before, place them 1/4” behind the front of the legs.
EXPERT TIP:
Place several 1/4″ plywood scraps beneath the front frame to achieve the required 1/4″ setback.
Fasten everything with wood glue and 1 1/4” pocket hole screws.
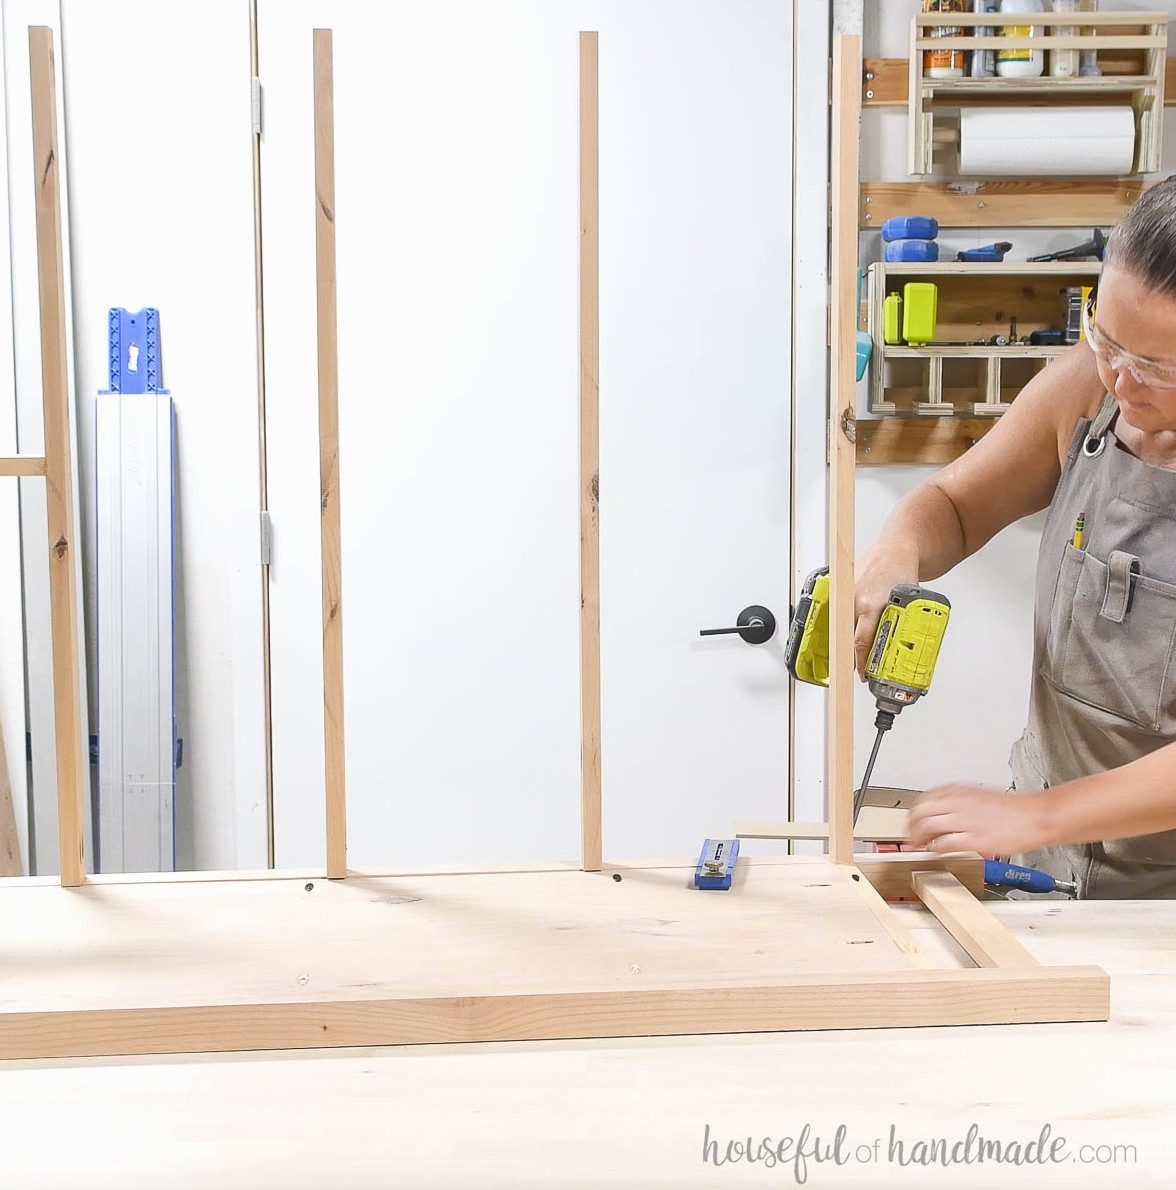
Make pocket holes for 1 1/2” thick material in both ends of the back pieces, as well as along the 3/4” wide edge of the back trim piece.
Following the 3D illustration in the PDF plans, fasten the back pieces to the sides with 2 1/2” pocket hole screws.
Position the back trim between the sides, 1 1/2” above the bottom and centered on the legs (3/8” from each edge), with the pocket hole facing downward so it remains hidden.
Apply wood glue and secure the piece with 2 1/2” pocket hole screws.
NOTE: The dresser’s back is now finished. To conceal it, you may cut a piece of 1/4” plywood to fit over the back, although this is not structurally required. I also prefer leaving the back open so items do not become trapped behind the drawers.
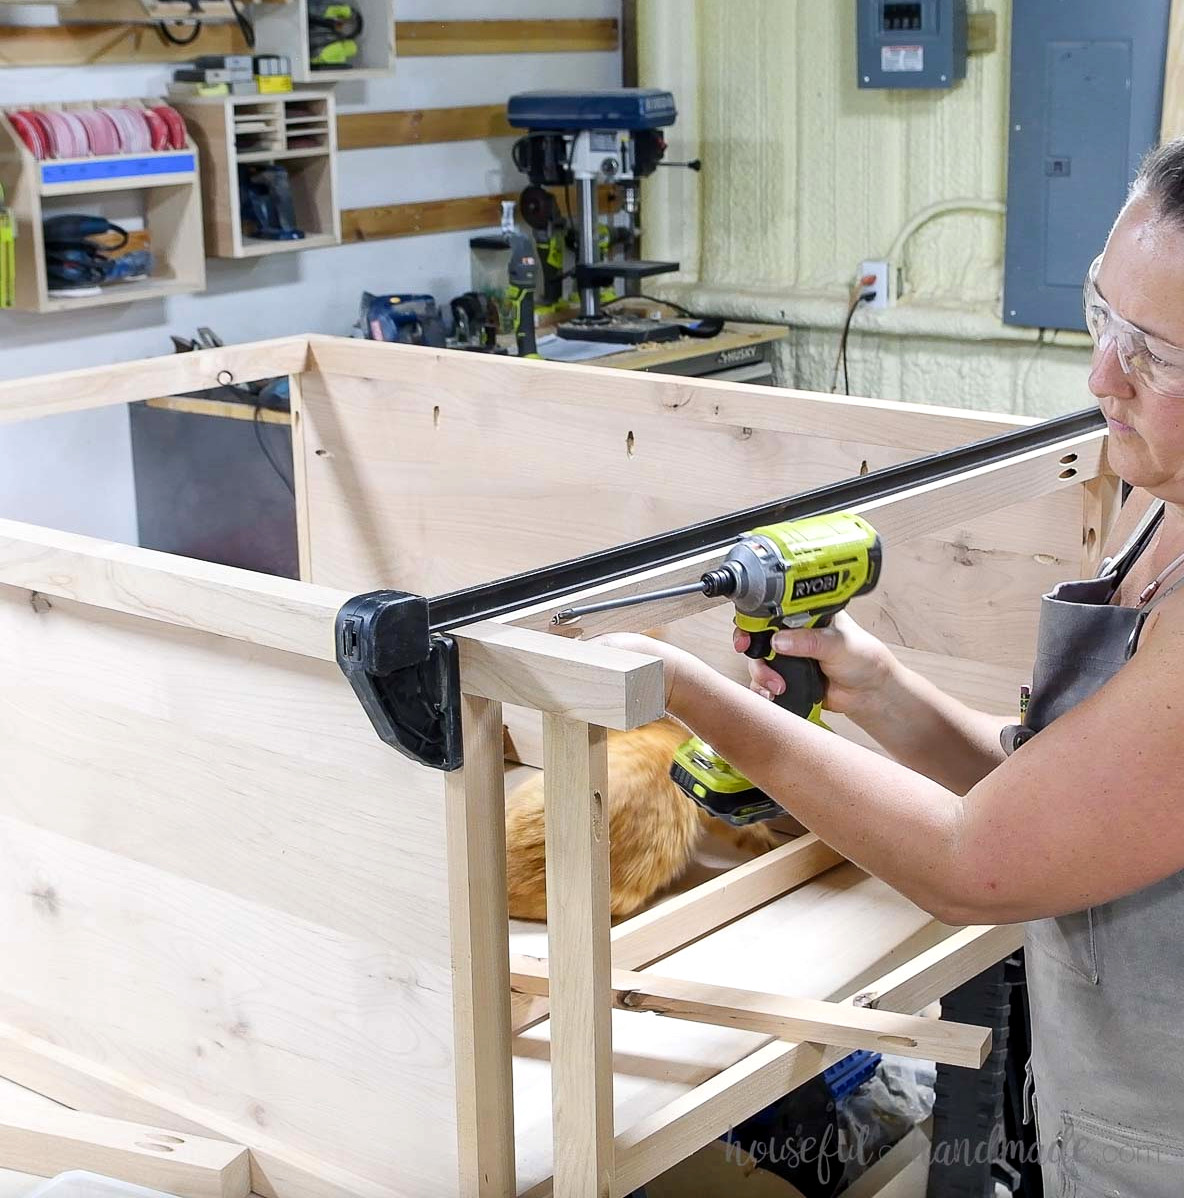
Drill pocket holes for 3/4” thick plywood on the front and rear of the center support piece. On the back, place holes only where the plywood joins the back pieces.
Center the plywood support inside the dresser, then attach it with wood glue and 1 1/4” pocket hole screws.
STEP 4- Construct the drawer boxes
Cut a groove measuring 1/4″ wide and 1/4″ deep along the inside of each drawer box piece, positioned 1/4″ above the bottom.
I made these grooves by running the pieces through my table saw several times. A circular saw or router could also be used for this step.
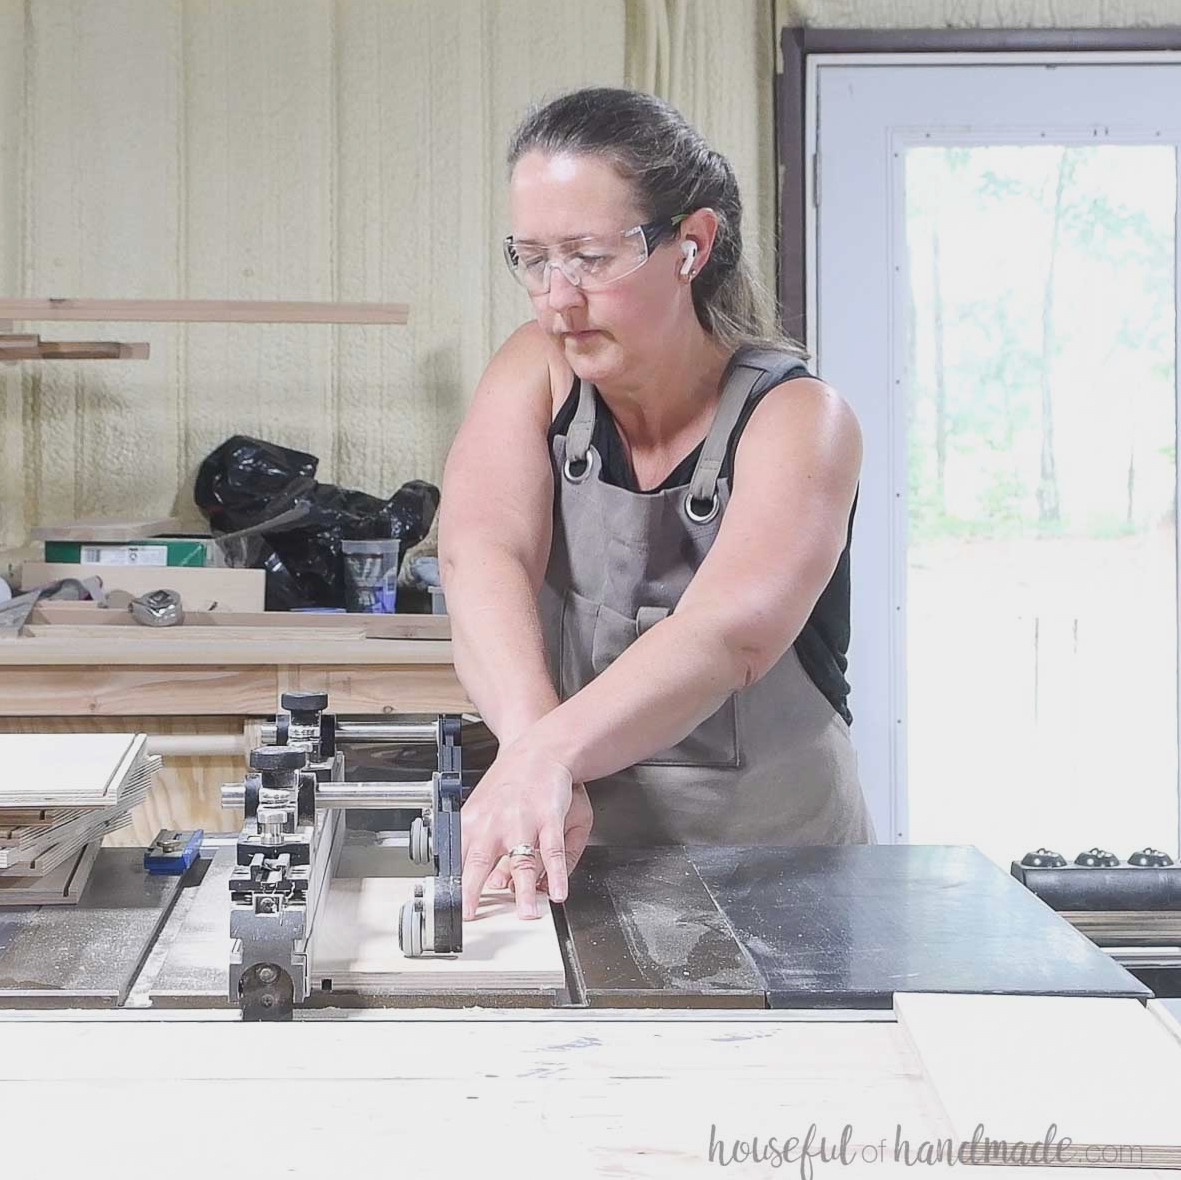
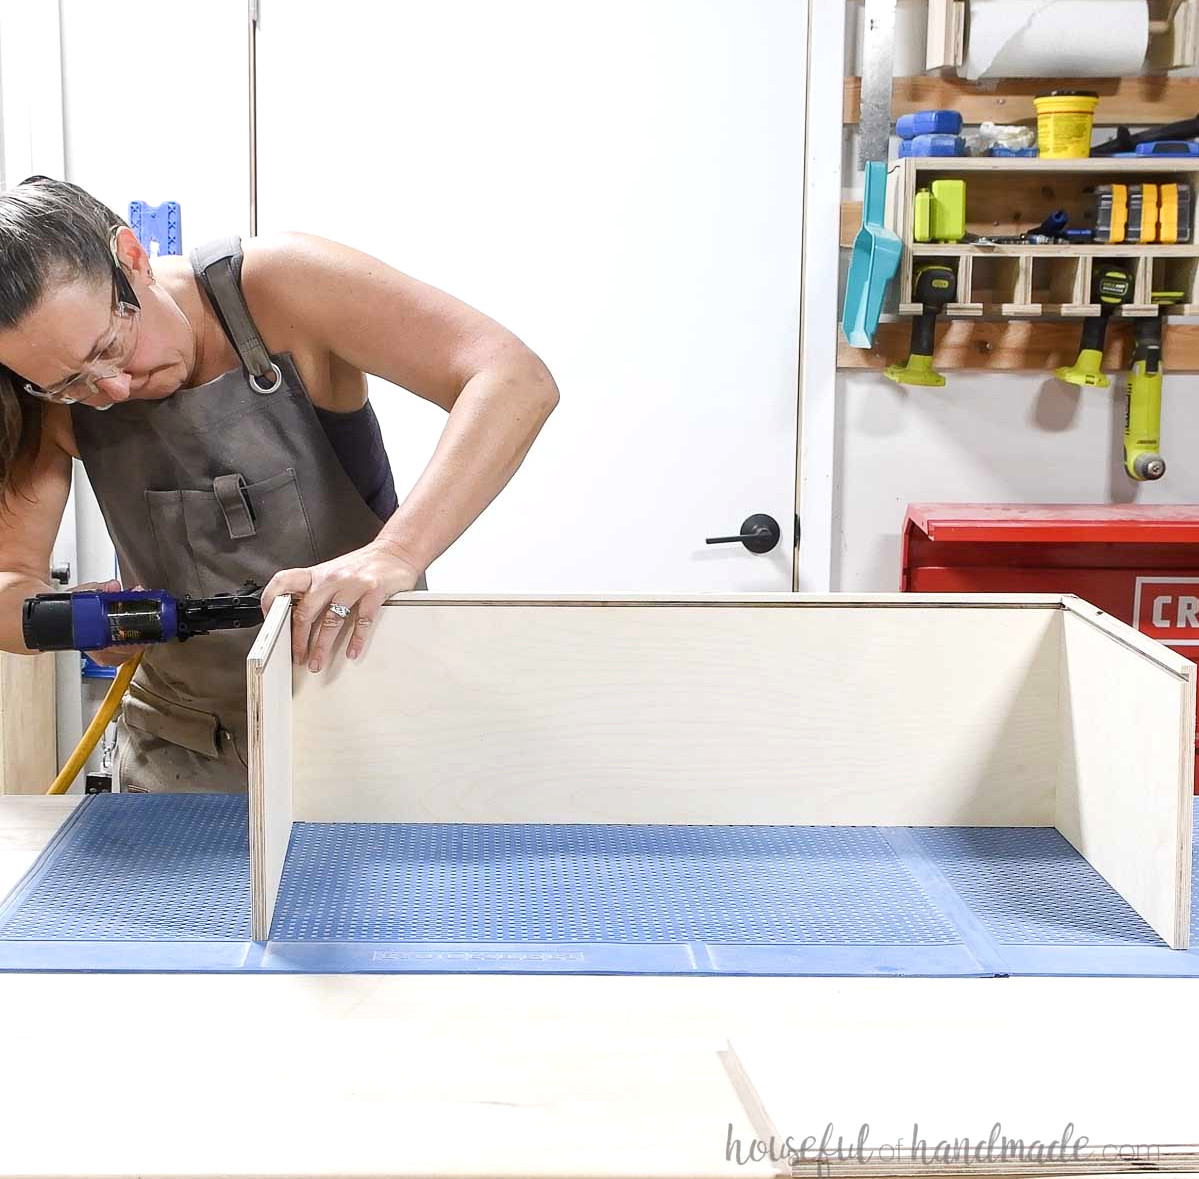
The drawers may be assembled with pocket holes or pneumatic staples. When using pocket holes, drill them for 1/2″ material on the outer sides of the drawer box’s front and back pieces, avoiding the side with the groove.
To assemble each drawer box, glue the side pieces to the front piece and fasten them with 1″ staples or pocket hole screws.
Check that the upper edges of all drawer box pieces are flush.
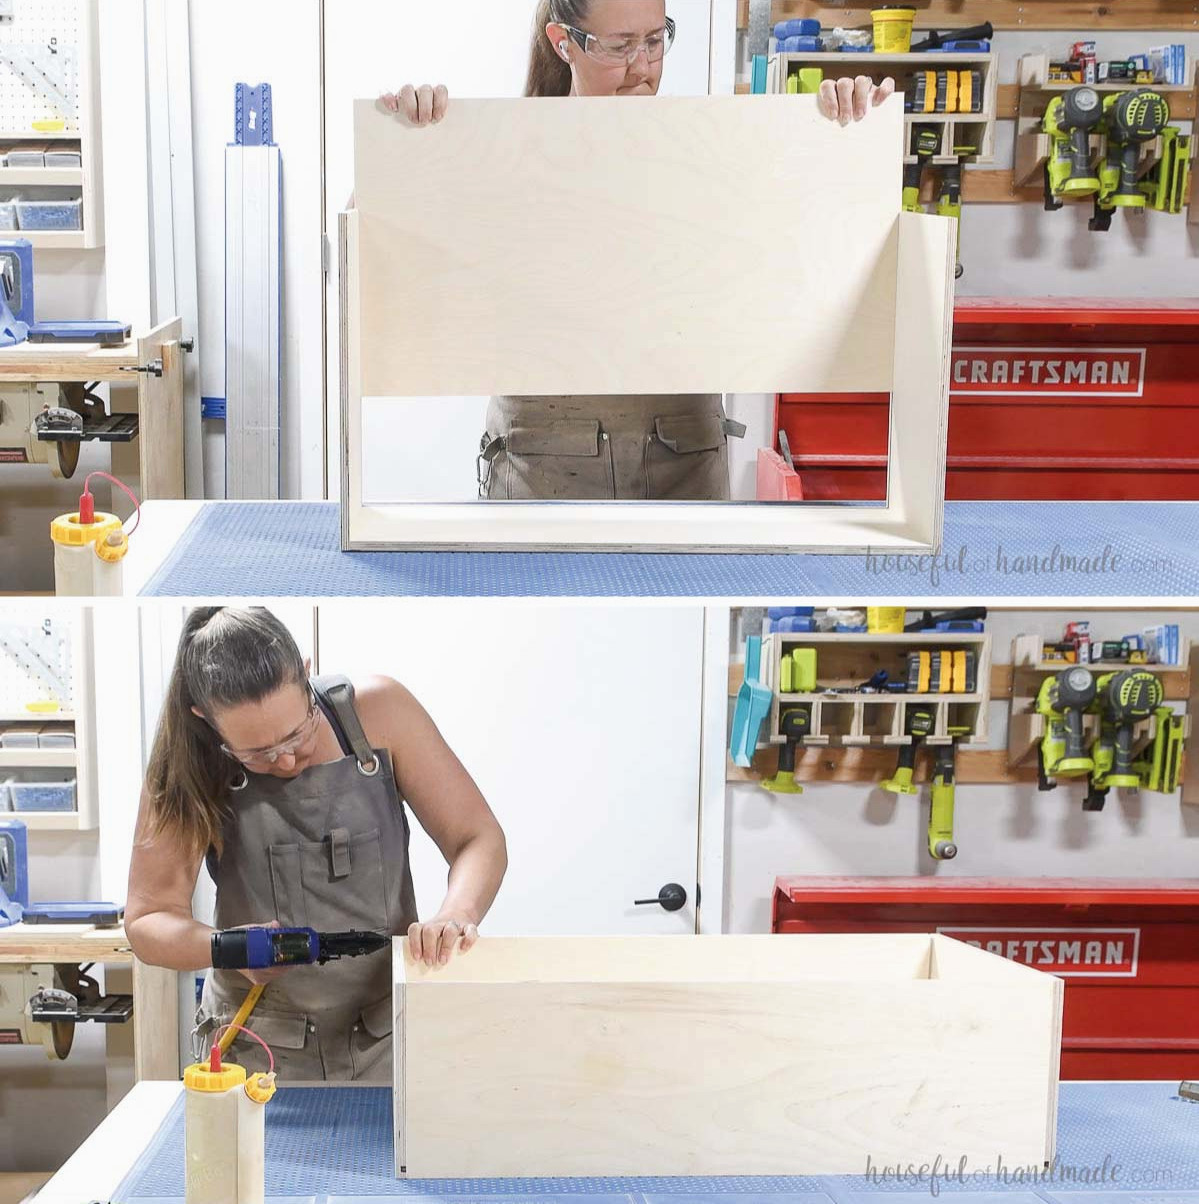
Fit the drawer box bottom into the grooves in the side and front pieces. Attach the back piece in the same manner as the front to close the box.
Repeat the process for all (7) drawer boxes.
Find additional drawer box-building methods and helpful tips here.
I prefer rounding over the inside edge of the drawer box to eliminate the plywood’s sharp edge. Although optional, this is simple to do with a basic trim router and round-over bit.
Alternatively, use a sander to smooth the interior edge.
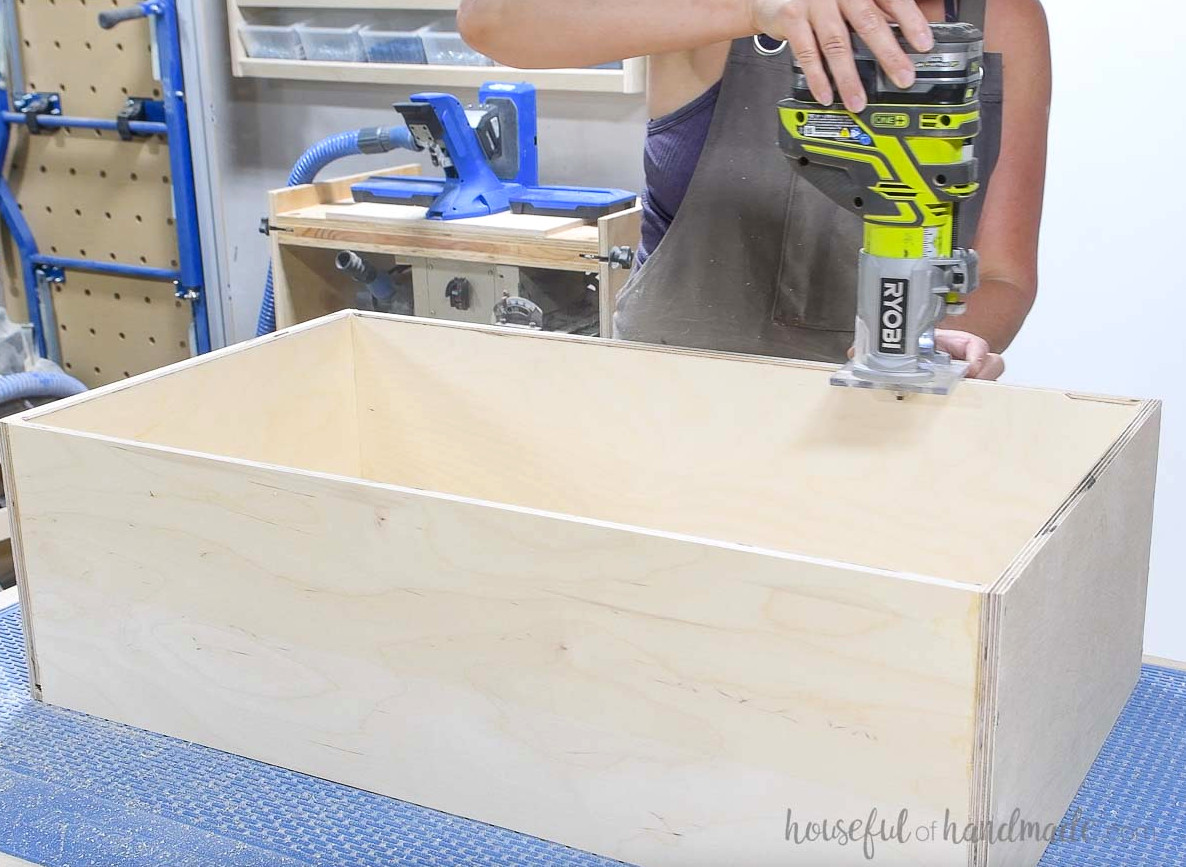
STEP 5- Fit the drawer boxes and fronts
Install the drawer boxesusing the side-mounted drawer slides, position the drawer boxes 3/4” behind the front of the front frame (1” behind the front of the legs).
Set the drawer boxes 1/4” above the bottom of the drawer opening, leaving 3/4” of space at the top.
Find out how to fit drawers with ball bearing slides here.
EXPERT TIP:
Secure a scrap piece of 3/4″ plywood across the top of the front frame. Check that it is level, then clamp it to the back of the dresser. Rest your drawer slides on top of the plywood as you fasten them in place. This helps keep the slides level inside the dresser.
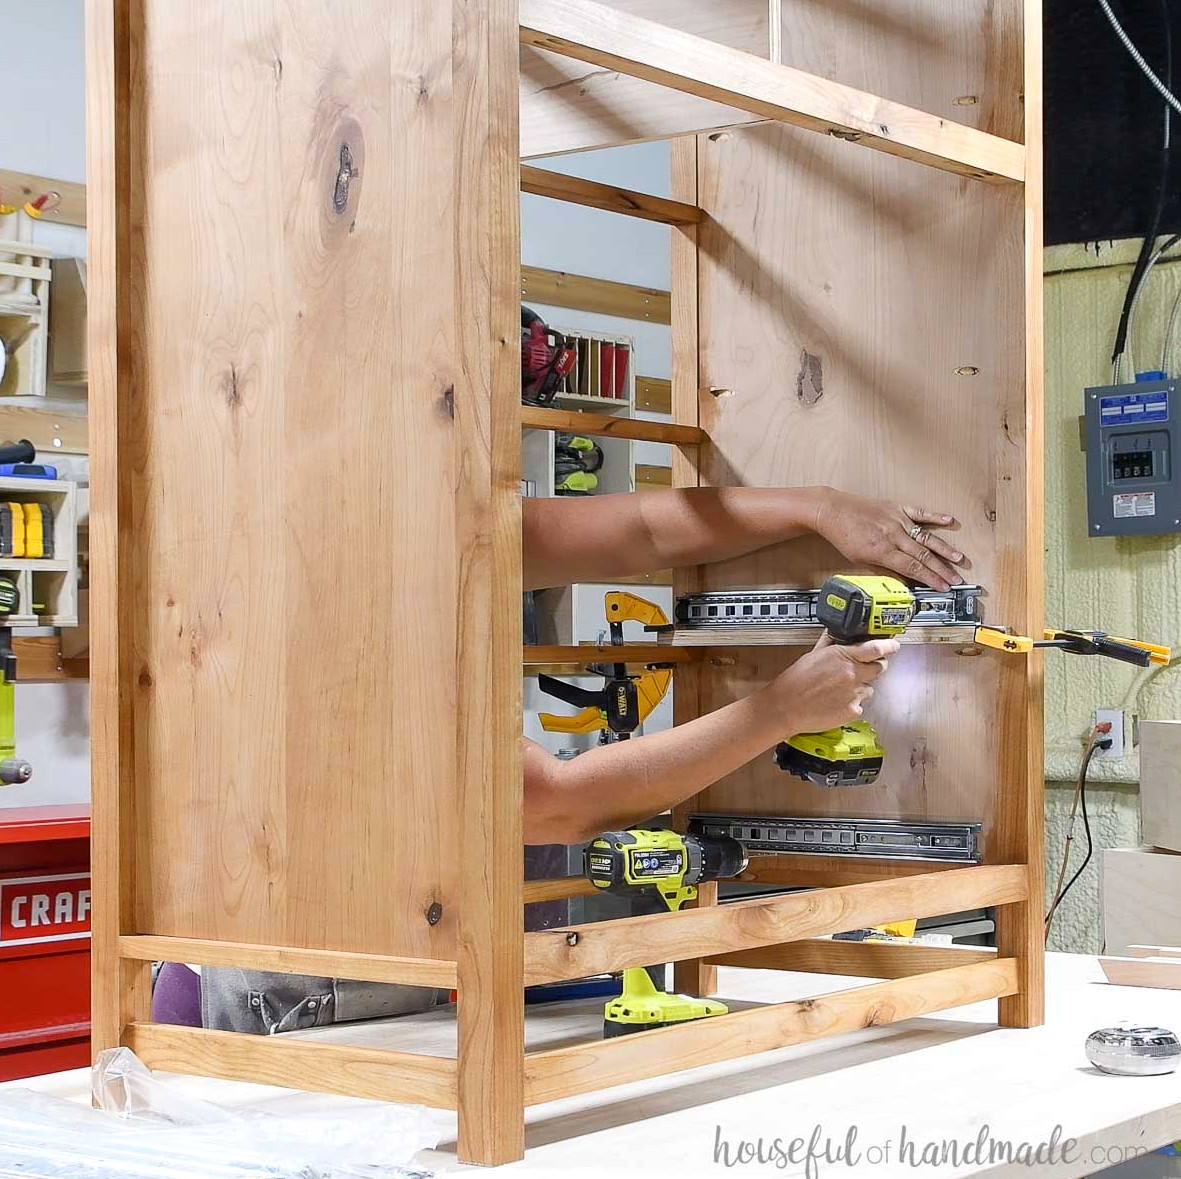
Fasten the smaller section of the drawer slides to the drawer box sides.
I positioned them 7/8″ above the bottom of the box to achieve the proper clearance after installation. Be sure to measure and modify this placement for your particular drawer slides.
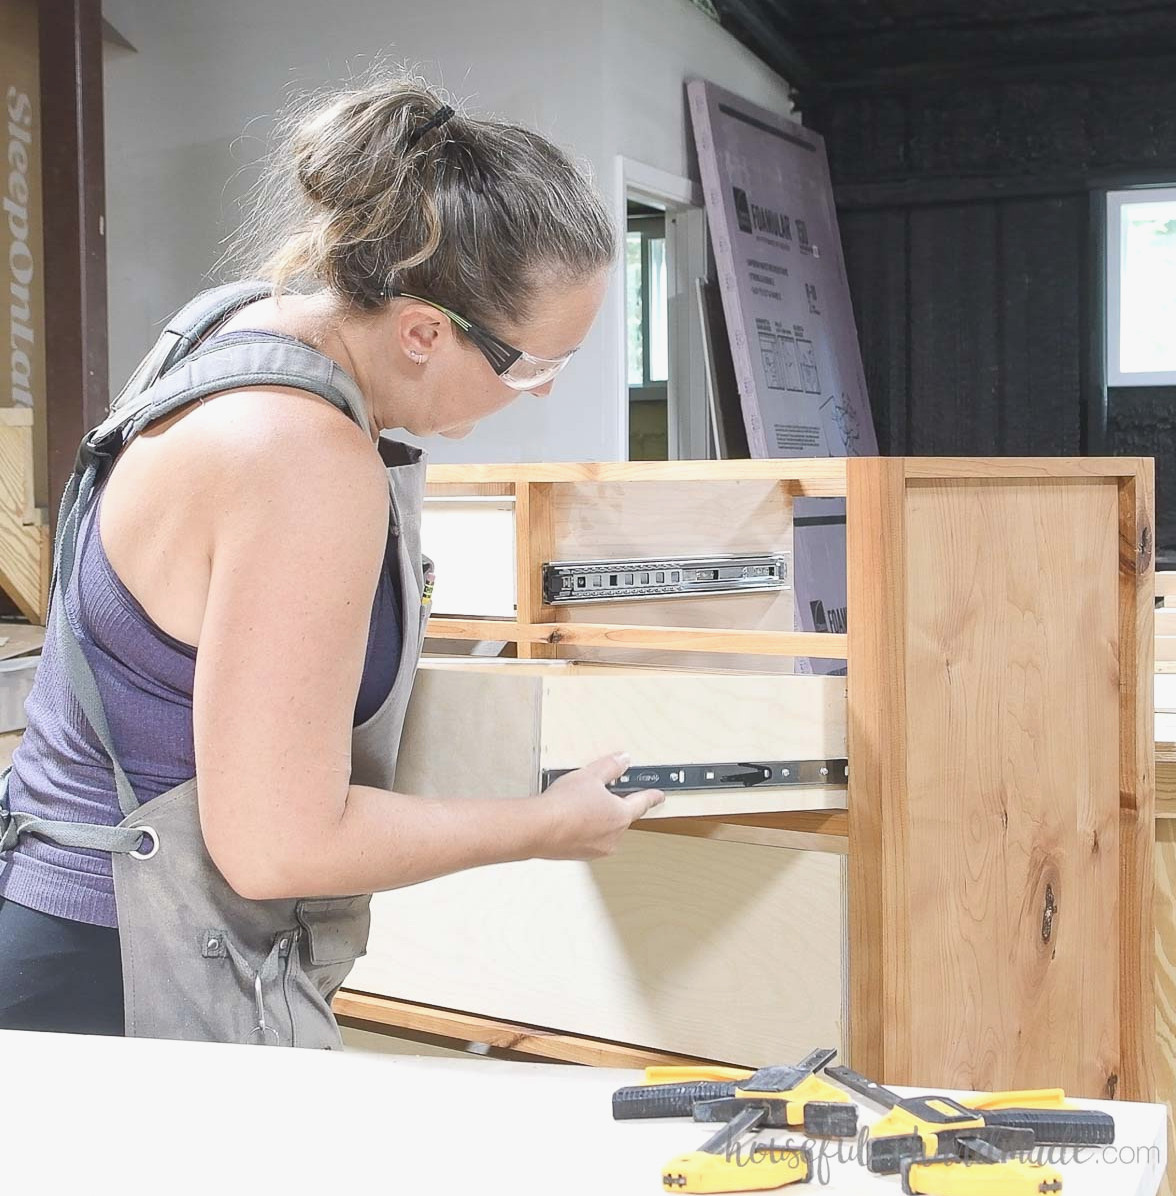
Mount the drawer fronts inside the frame, keeping them flush with the front. Leave a 1/8” gap around each drawer front.
After aligning the drawer front (use 1/8” spacers or playing cards to create an even reveal), I used a brad nailer and 1” nails to temporarily secure it from inside the drawer.
Alternatively, try my method for fitting drawer fronts with the drawer pulls.
Next, secure the drawers permanently with 1” wood screws driven from inside the drawer. Use (4) screws for each drawer, placing one screw at every corner of the drawer box front.
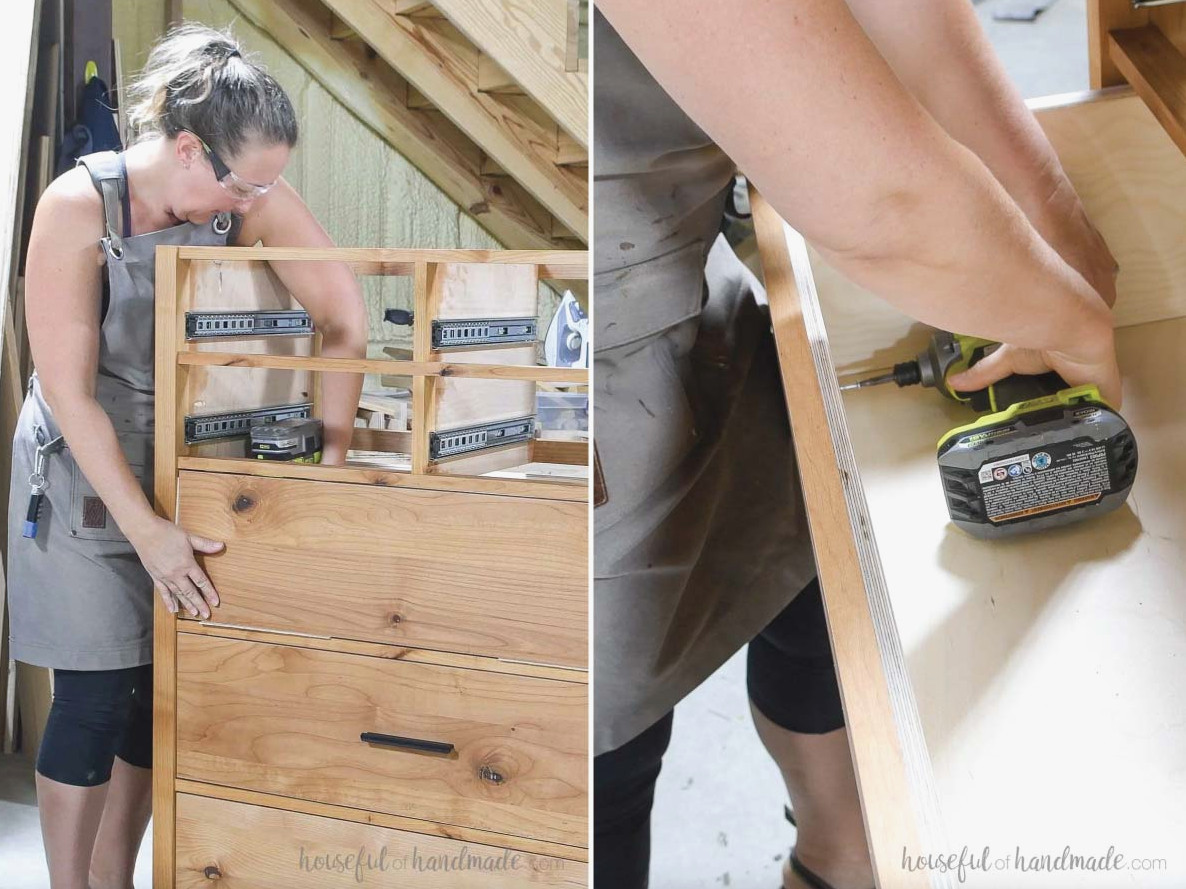
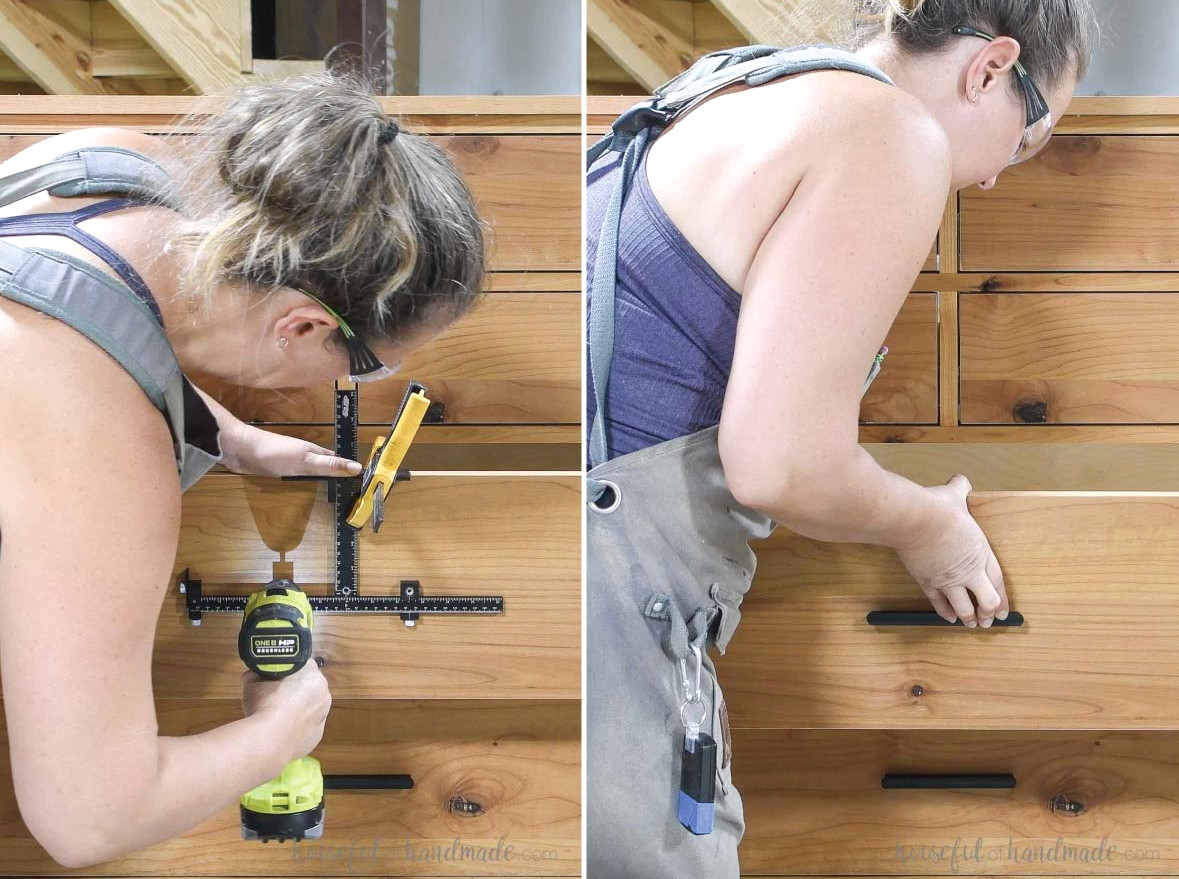
Install the drawer pulls you prefer. I chose a small 1” black pull for the smaller drawers and a large 5″ drawer pull for the lower drawer fronts.
STEP 6- Attach the top and complete the finish
I like to install the top at the end so the inside of the drawers remains easy to reach during installation. Begin by removing every drawer and labeling them. I noted each drawer’s position on the back of its box.
Set the top on your workbench, then turn the dresser frame upside down and place it over the top. Align the top flush with the back of the dresser frame, allowing it to extend 1” past the sides and front.
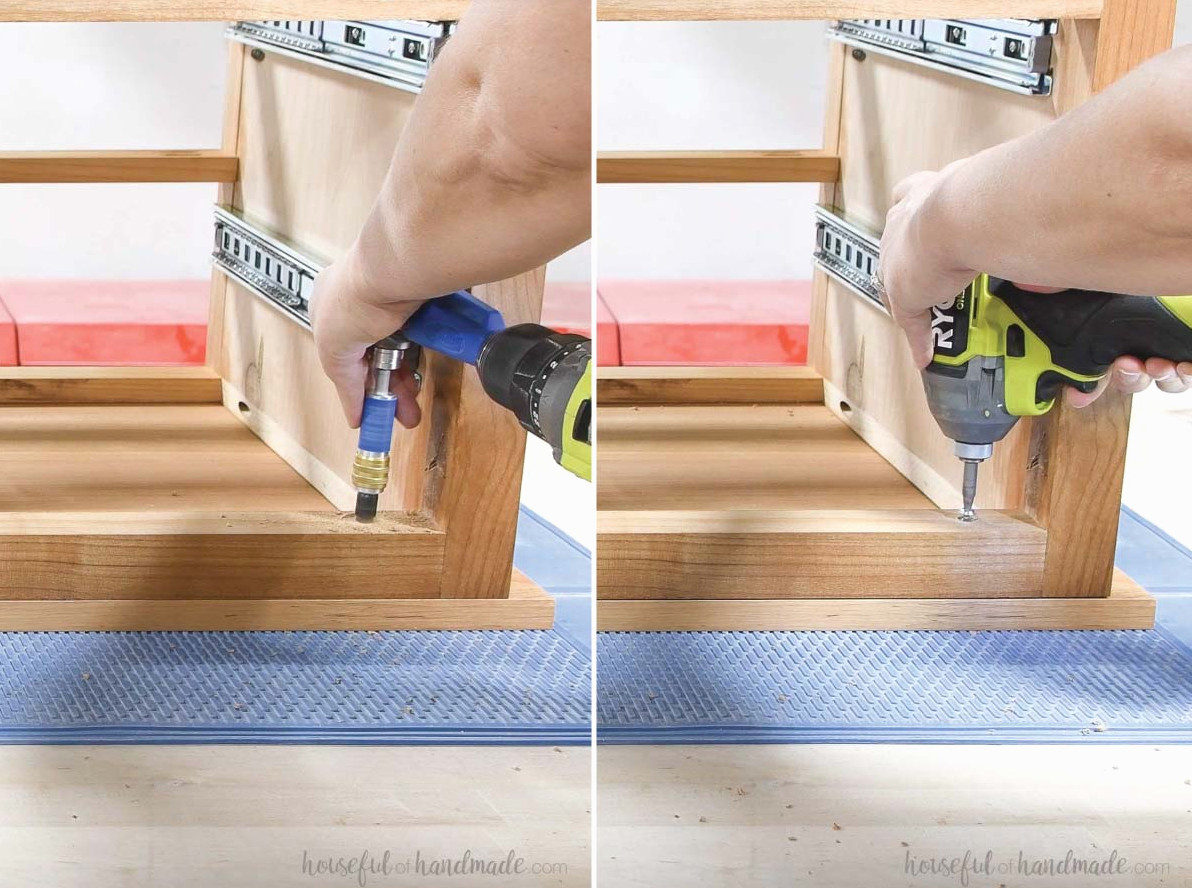
Make 1/4” deep countersunk holes in the frame’s top. Drill 3 holes along the front and 3 along the back.
Fasten the top using 1” screws in the front holes and 2” long wood screws in the rear holes.
Slide the drawers back in, and you’re finished!
Stain, seal, or paint your new tall dresser. I applied a matte finish to protect the alder wood without introducing color. It simply enhances the shade of the natural wood.
You made it!
Don’t Forget to Get the Printable PDF Plans Here!
Premium plans feature:
- Suggested Tools
- Materials list
- Simple-to-read cut list table
- Cutting diagrams
- Detailed instructions with 3D renderings
- Useful resources
- BONUS: 3D SketchUp file
You’ll have fun filling your new dresser with clothes. Hopefully, you’ll be just as amazed as I was by how much additional storage you’ve gained!
Enjoy building!