Create straightforward closet cabinets to turn your closet into a tidy retreat.
Cabinets may look challenging, but I’m here to assure you they aren’t! These closet cabinets are even simpler to make.
For this closet storage system, I built 4 separate closet sections. Each one was compact enough to assemble on my workbench, though you can also construct them on the floor (I’ve done that plenty of times).
Choose the sections that suit your needs, or make all of them! Either way, you’ll end up with a gorgeous custom closet that provides abundant storage in a limited area.
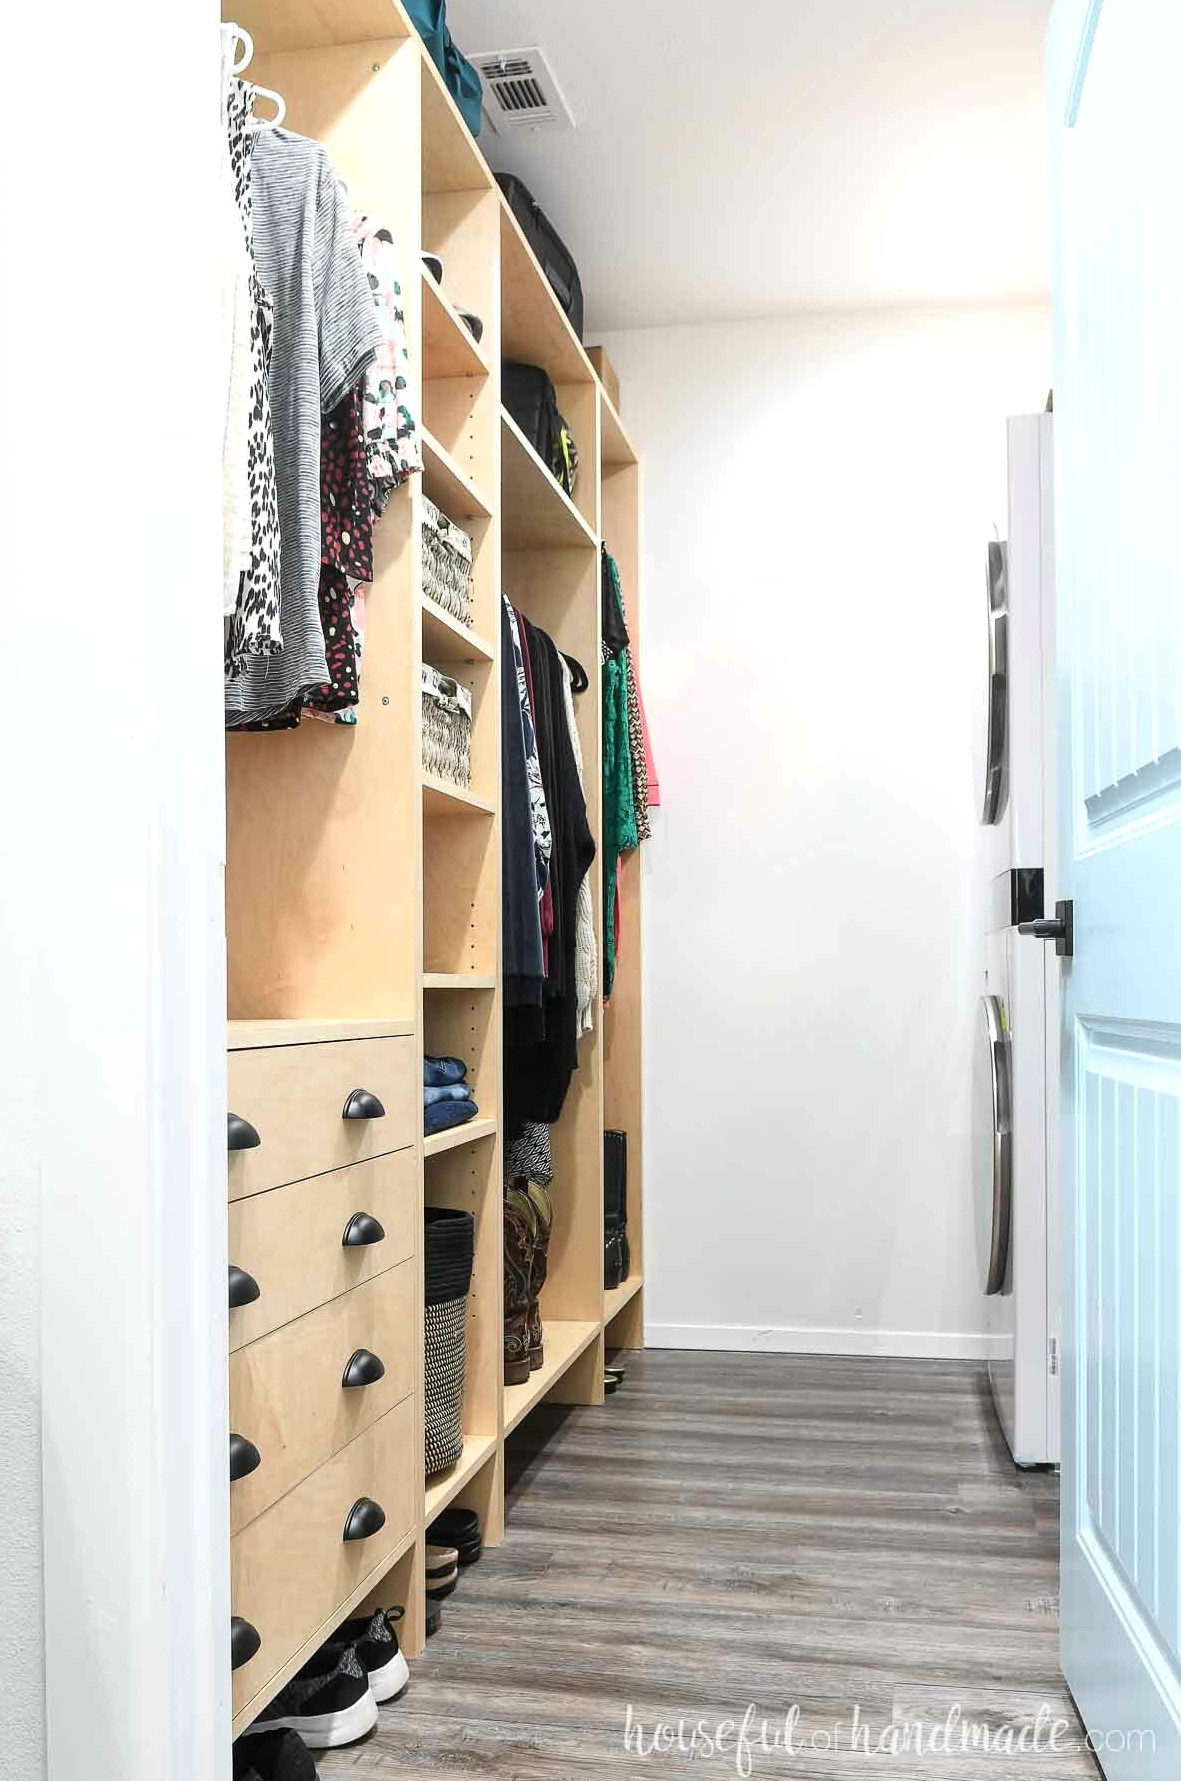
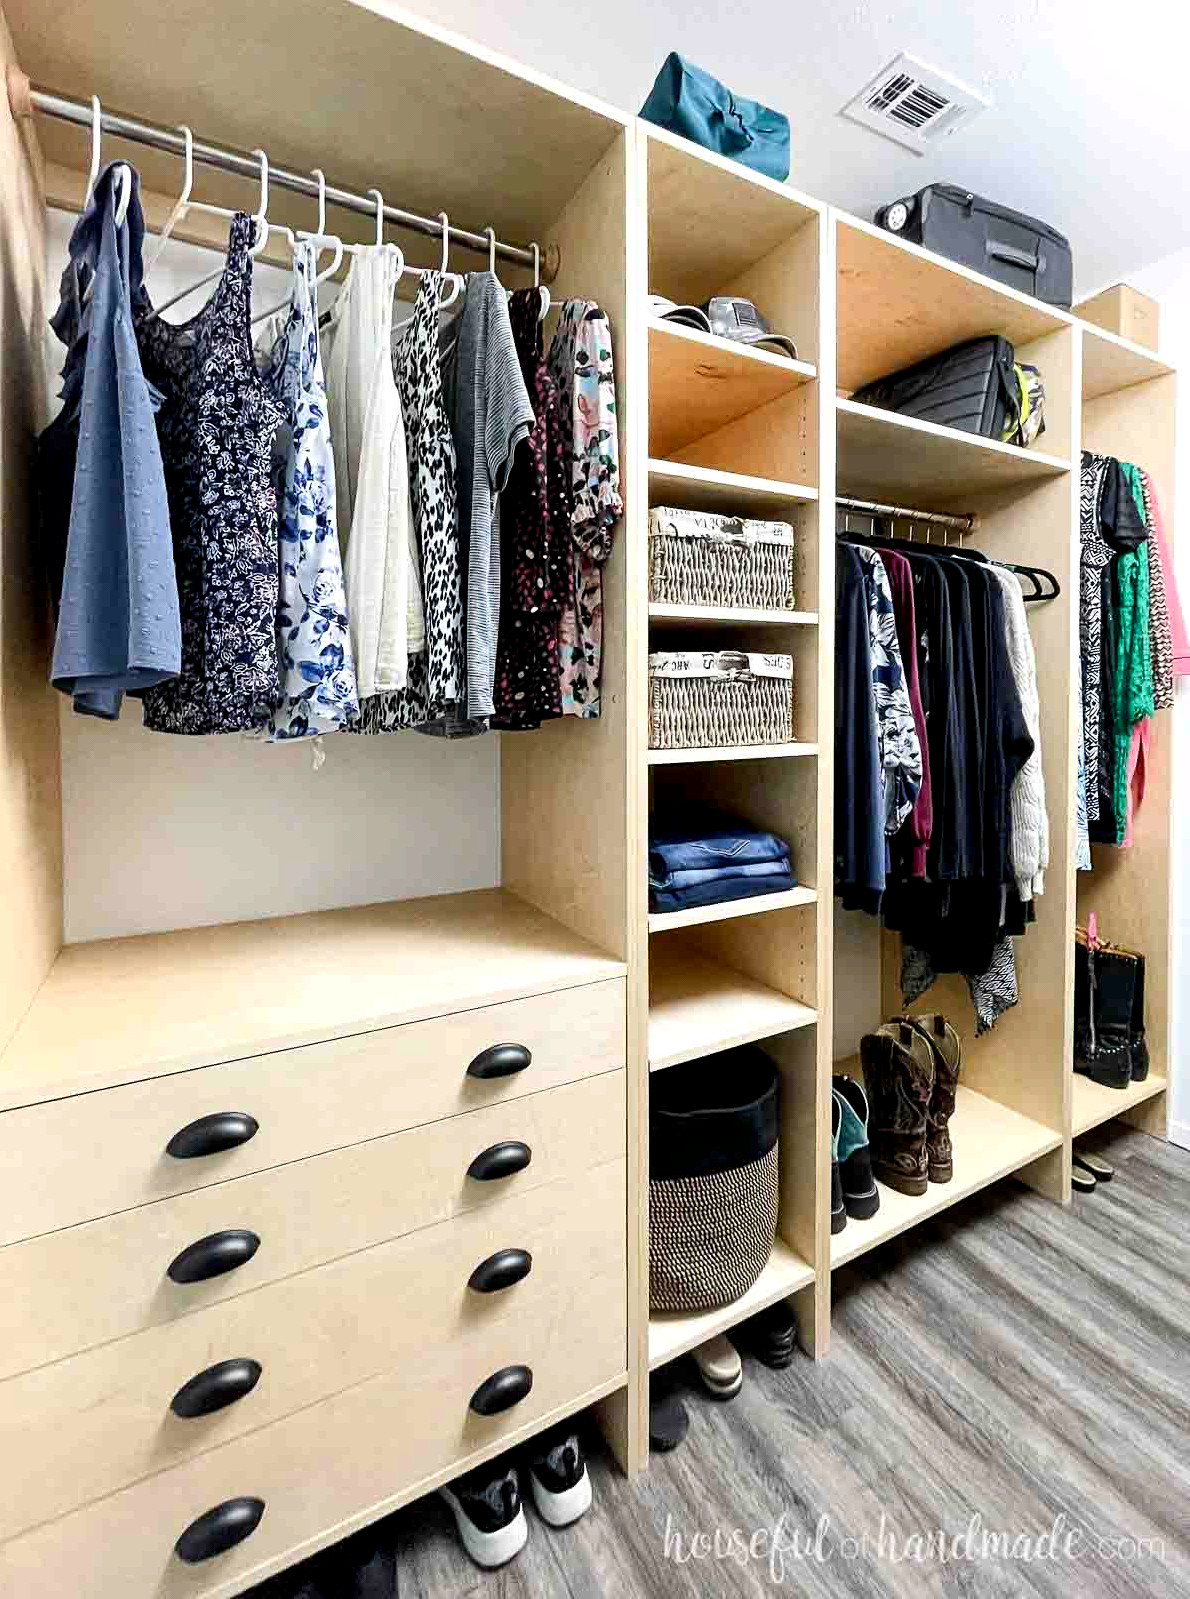
Wood Closet Storage Unit with Drawers
Drawers are one of the most flexible storage options! Nothing works better for creating convenient access to stored items, even in deep spaces.
That’s why I knew the closet needed one section with drawers. The 4 spacious drawers are 18″ deep and slightly under 30″ wide.
The bottom drawers are deeper to hold bulkier clothing. The top drawers are shallower for smaller or more fragile pieces (yes, it’s an underwear drawer).
You can also dedicate the drawers to accessories. Install drawer dividers to make the storage even more efficient.
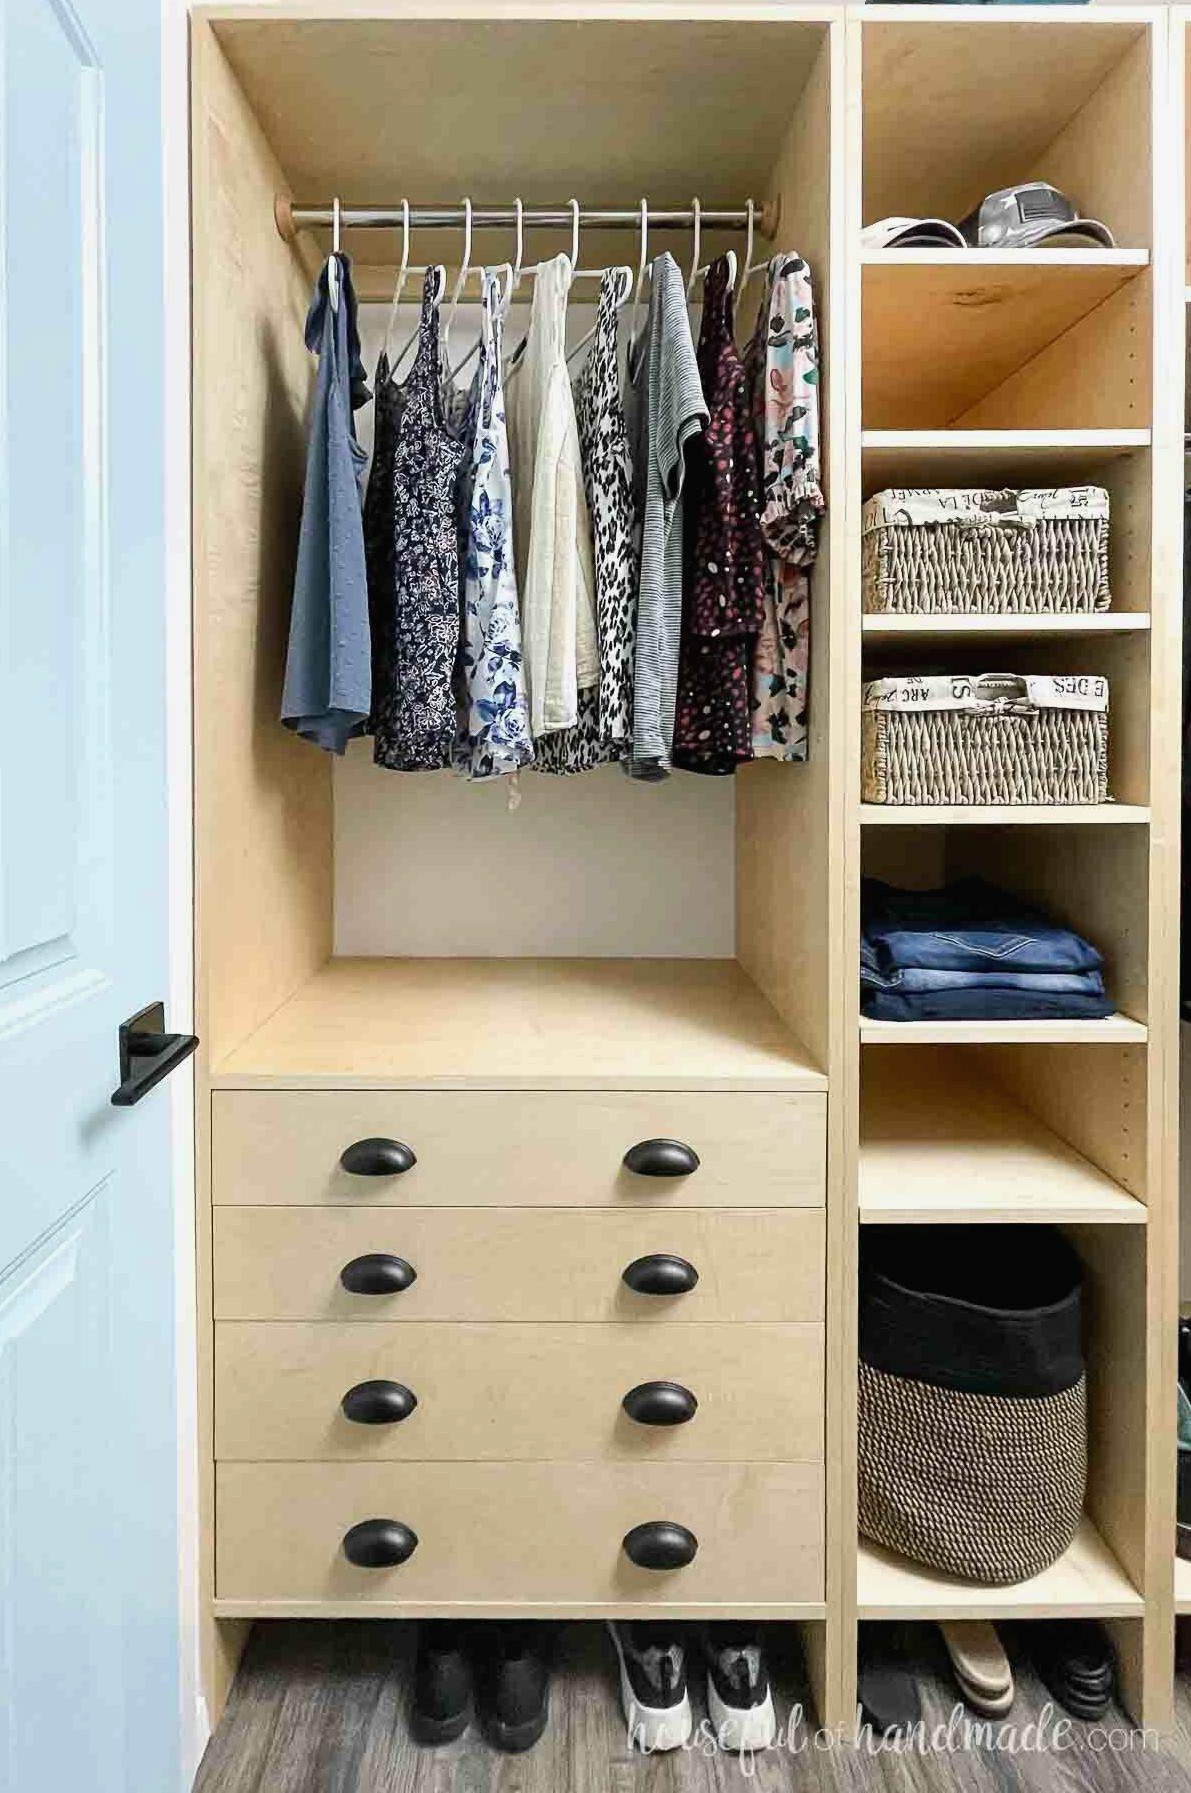
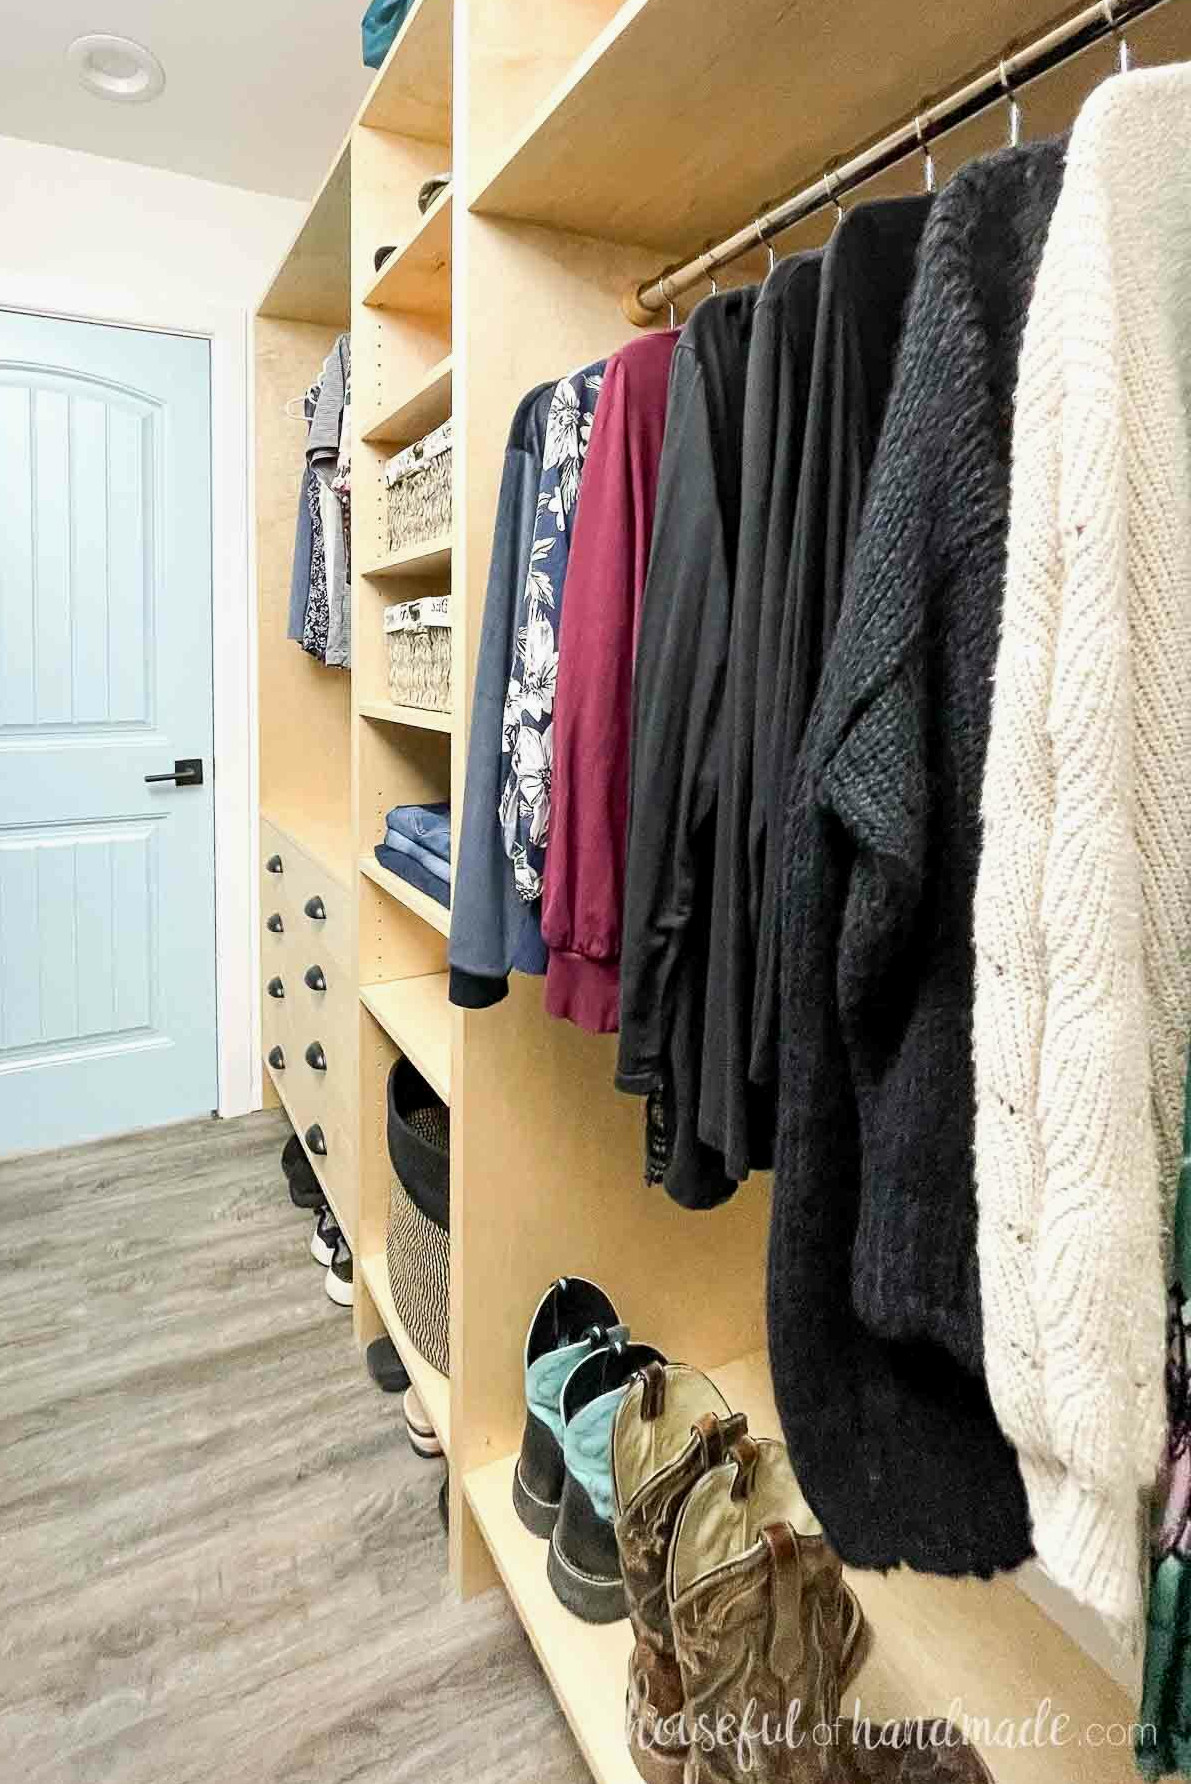
There is still ample space for hanging garments above the drawers.
This closet belongs to my mother-in-law, and she is tall. Even so, there is plenty of clearance for longer clothing.
You could also install one more shelf in the section with the plywood scraps to increase the available storage.
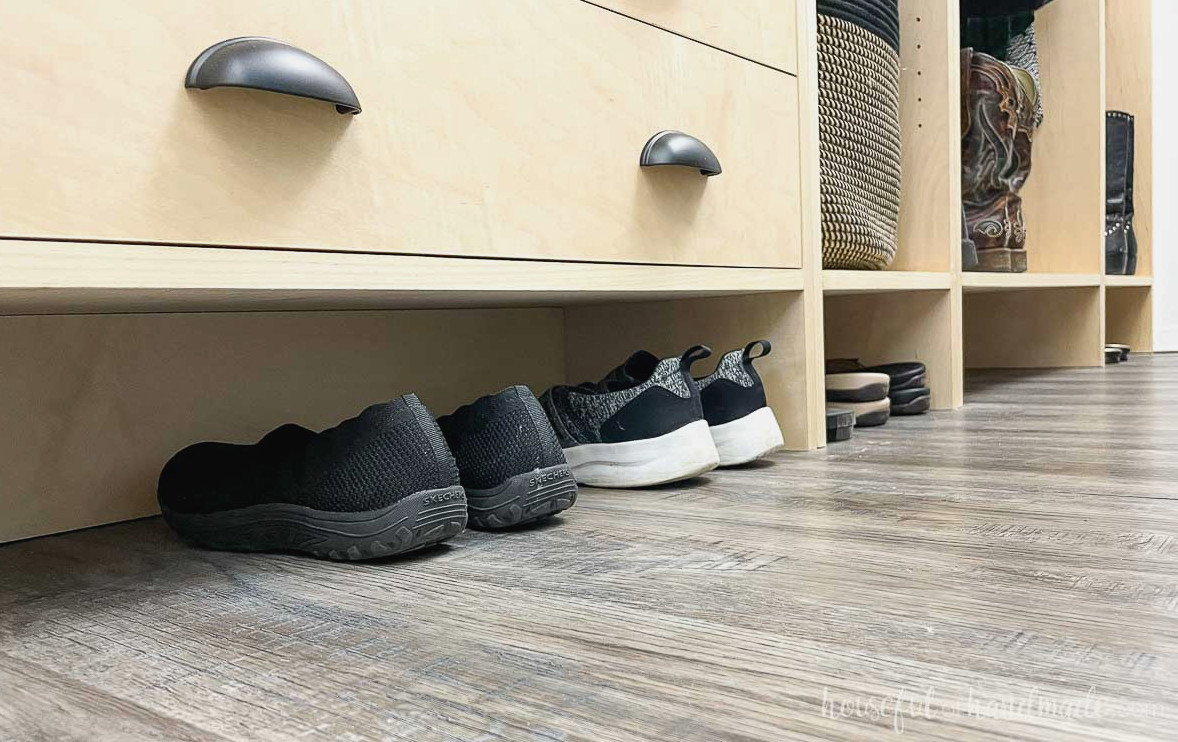
Toe-Kick Shoe Storage
Shoe storage was one of the requirements for this closet design. However, she didn’t want to sacrifice much clothing space for footwear.
Instead, we created the simplest shoe storage possible!
Raise the toe kick a few inches and make it deep enough, and you can quickly slip your shoes beneath the closet unit after taking them off.
A board inside the toe kick keeps the shoes from sliding too far back, so you won’t need to worry about them disappearing.
She also wanted a place for her boot collection. Therefore, we kept plenty of space beneath the other closet rods for conveniently storing the boots.
If you don’t require the extra shoe area, you’ll have enough leftover plywood pieces to install another shelf or two in these sections.
Position the shelves at either the top or bottom, based on the belongings you want to put away.
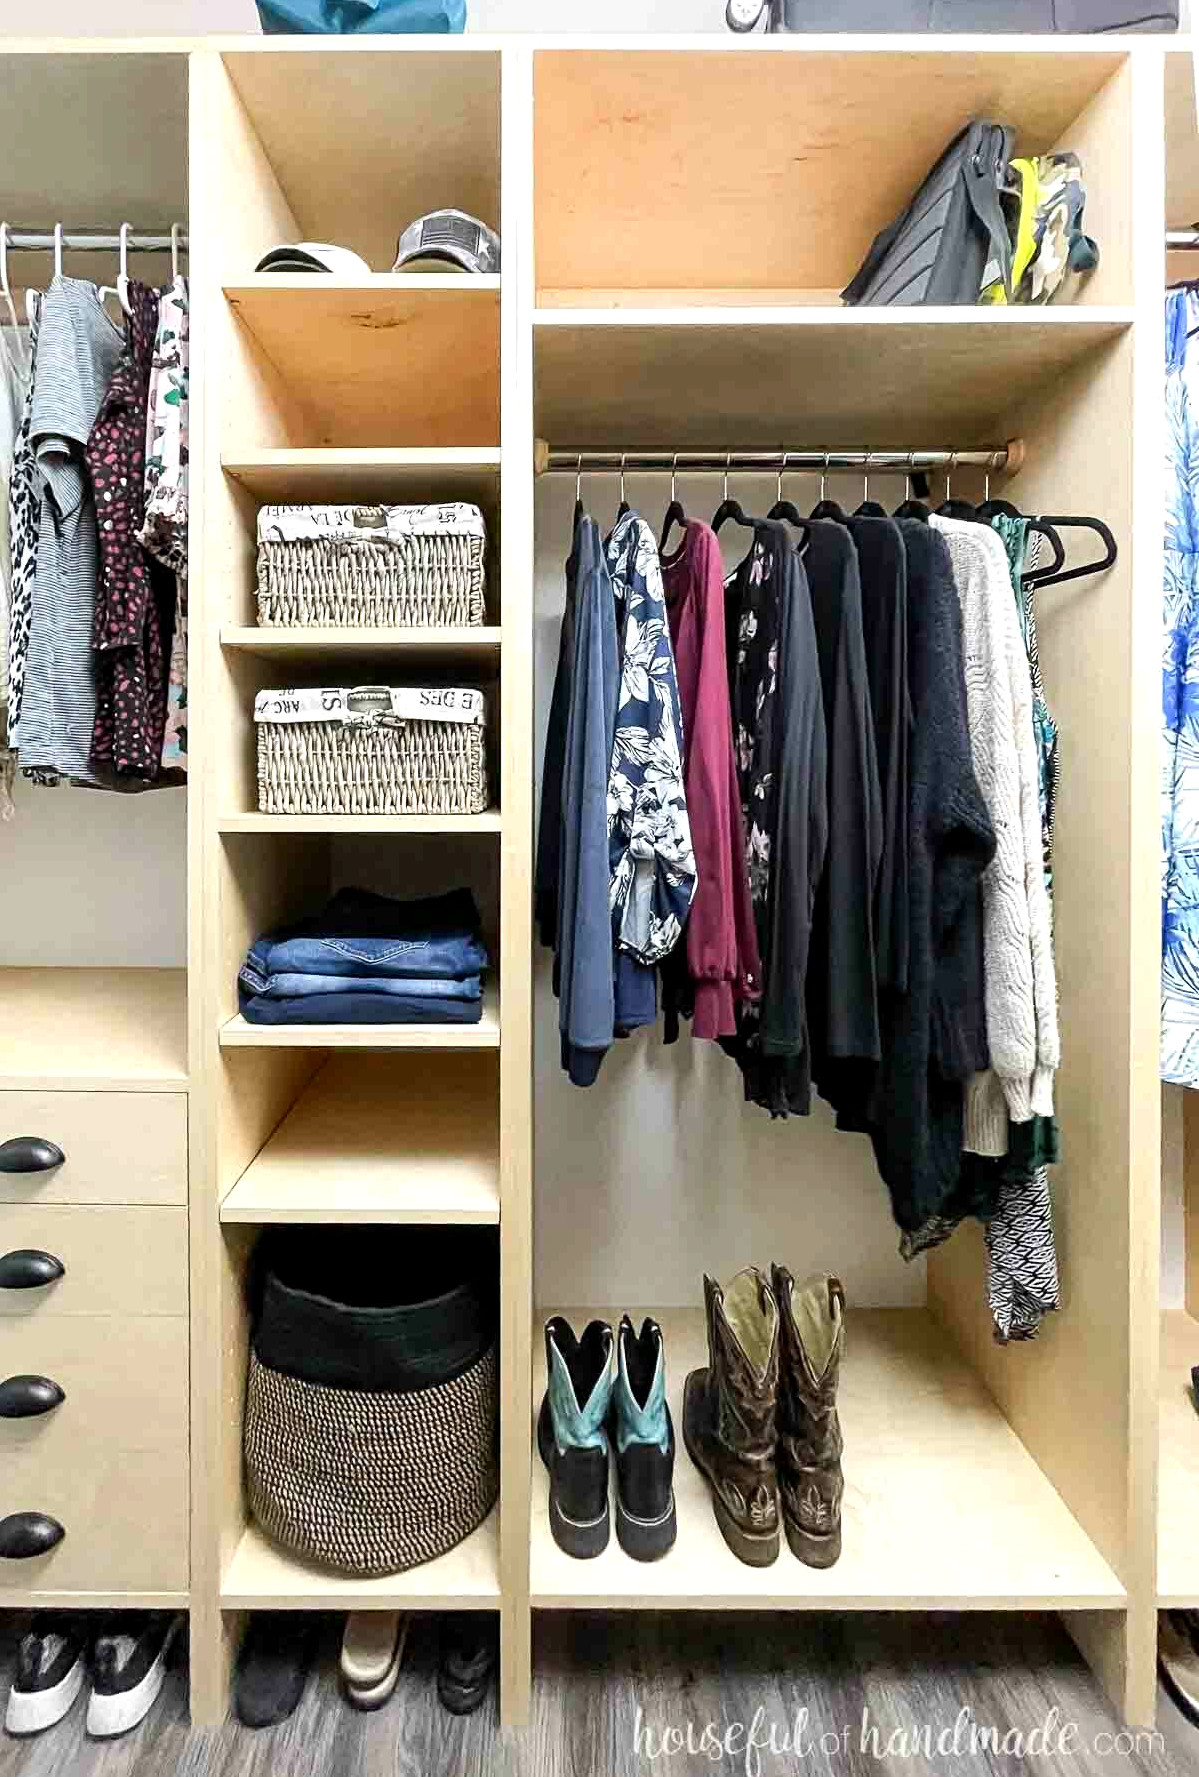
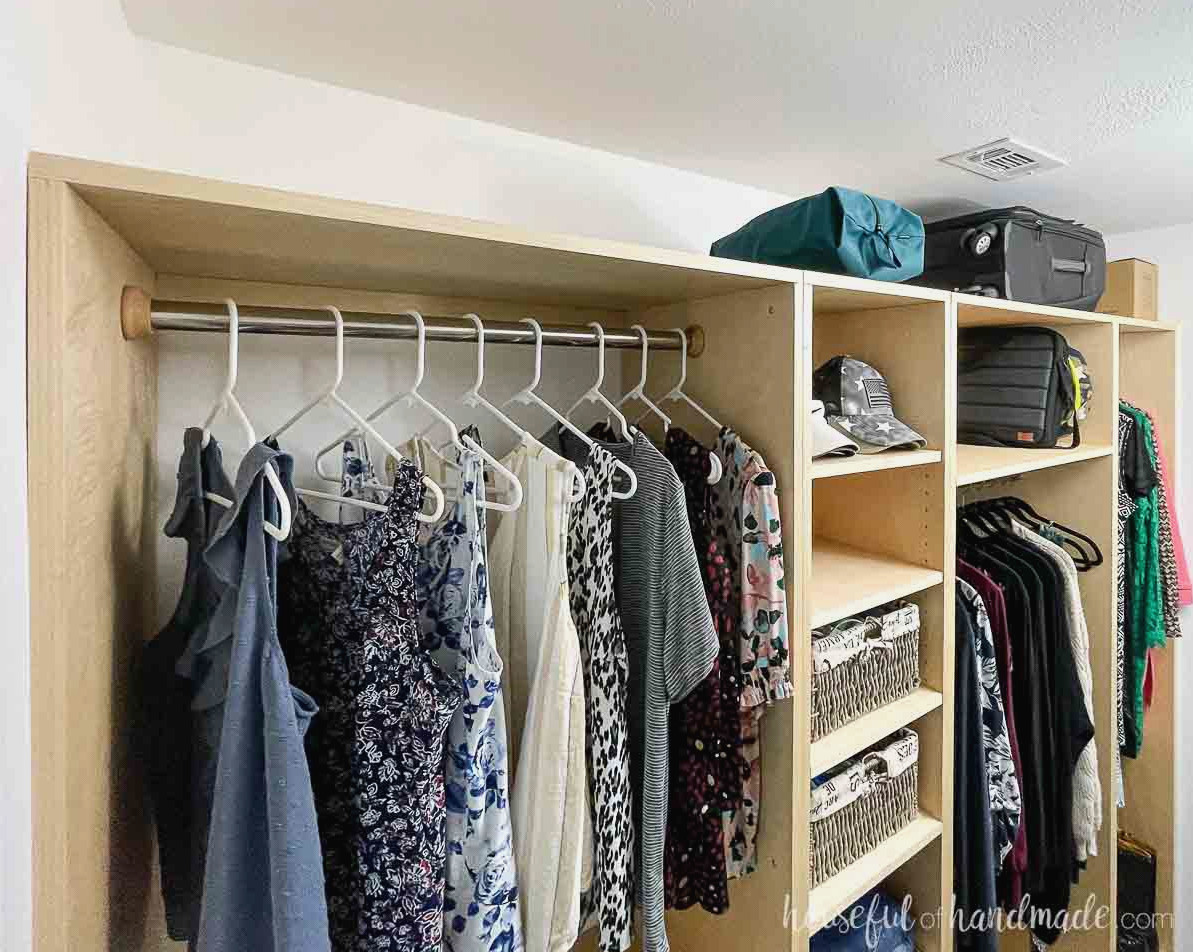
Top Storage Space
To make the closet organizer cabinets easier to build and set in place, they had to be lower than the ceiling.
We turned that limitation into an advantage! The top of the closet system is ideal for relocating seasonal belongings and opening up closet space.
There is also enough room for storing smaller pieces of luggage. This carry-on bag fits there and still leaves unused space.
For additional cabinet construction advice, see my cabinet-building guide.
How to Make a Custom Closet
Tools & Supplies
Overall Measurements
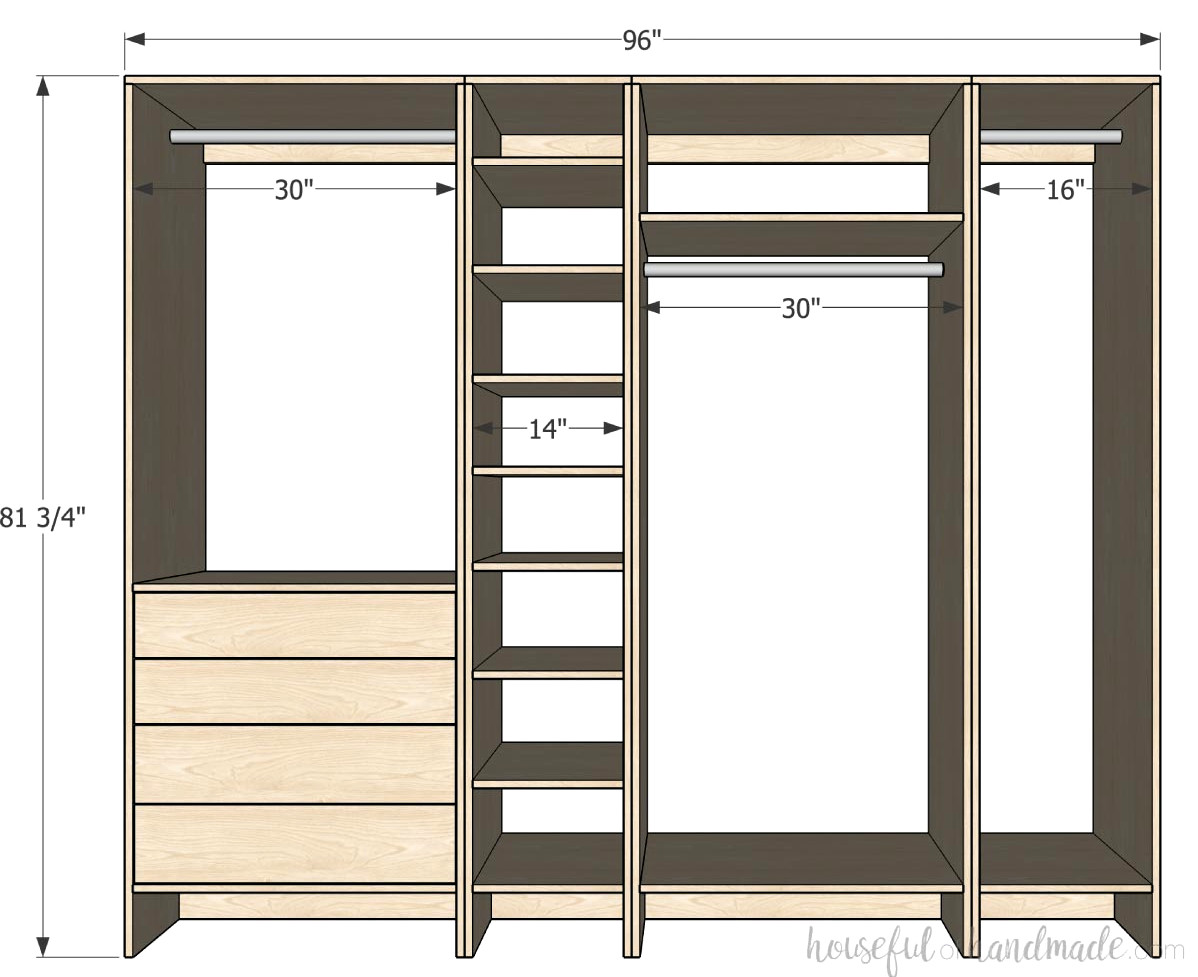
Once completed, the closet organizer measures 8′ wide, 20″ deep, and 81 3/4″ tall, with 76″ of closet rod for hanging clothes.
The cabinets provide roughly 16″ of space above the closet for extra storage and allow you to move the unit into position with ease.
It’s easy to modify the width of each section to match your own closet dimensions.
Cutting List
Use the cut diagrams and charts in the PDF plans to cut the components to the correct sizes.
Download the Premium PDF Woodworking Plans
PDF plans feature- Simple Cut List, Materials List, Suggested Tools, Detailed Instructions with 3D illustrations, & Useful References
EXTRA- 3D SketchUp Model
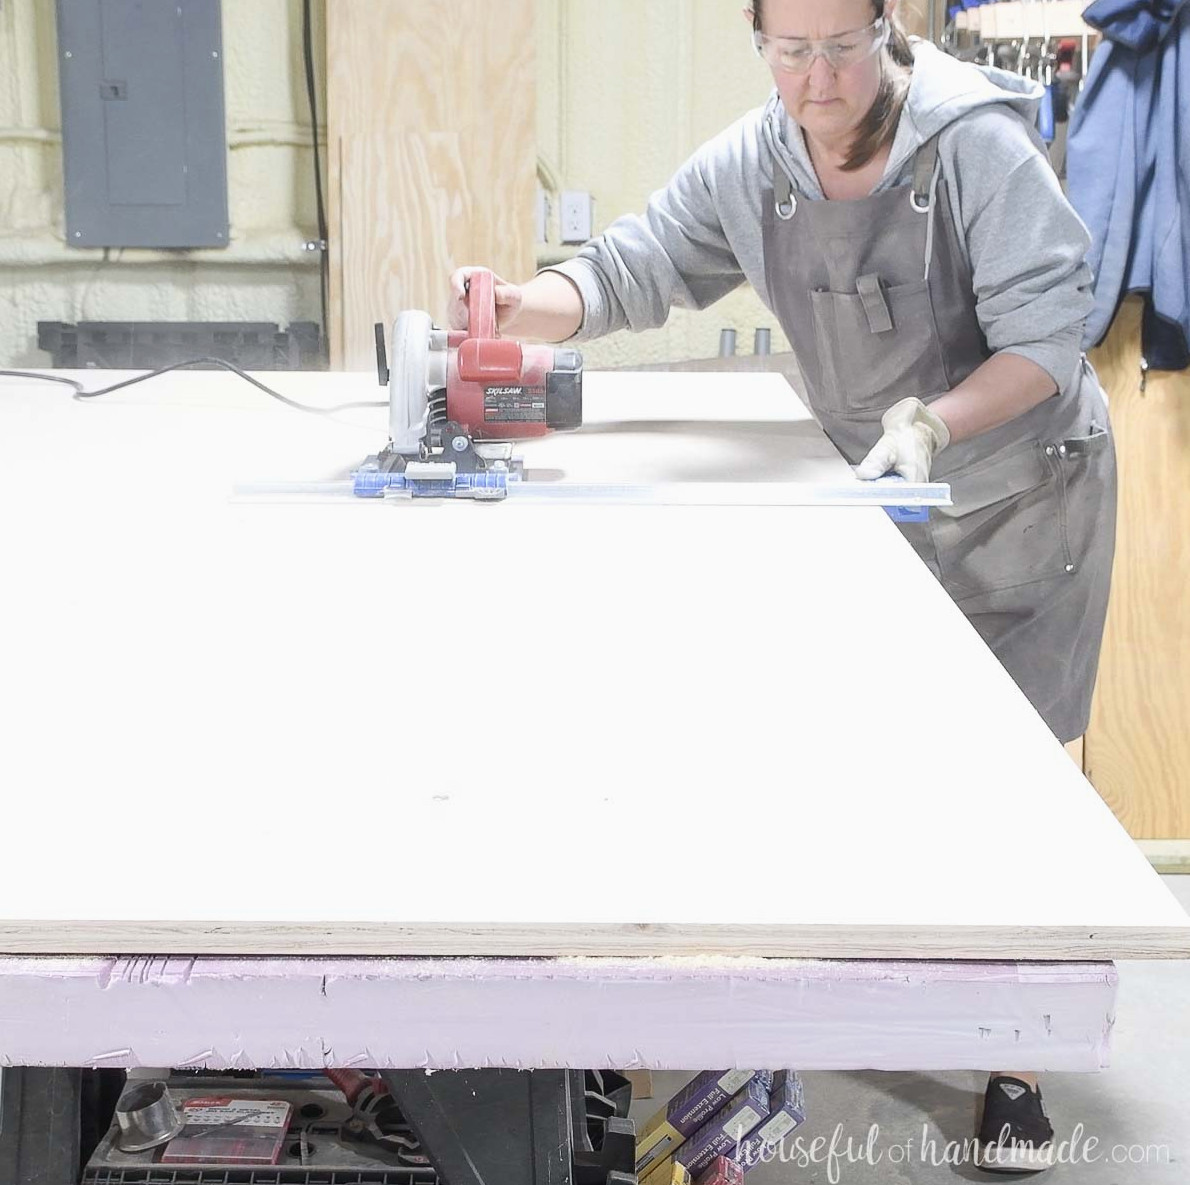
Begin by ripping the plywood sheets into two strips measuring 20″ wide. The Kreg Rip Cut is my favorite tool for this task.
Next, crosscut each piece to the required length.
Discover my methods for quickly breaking down a plywood sheet with a circular saw here.
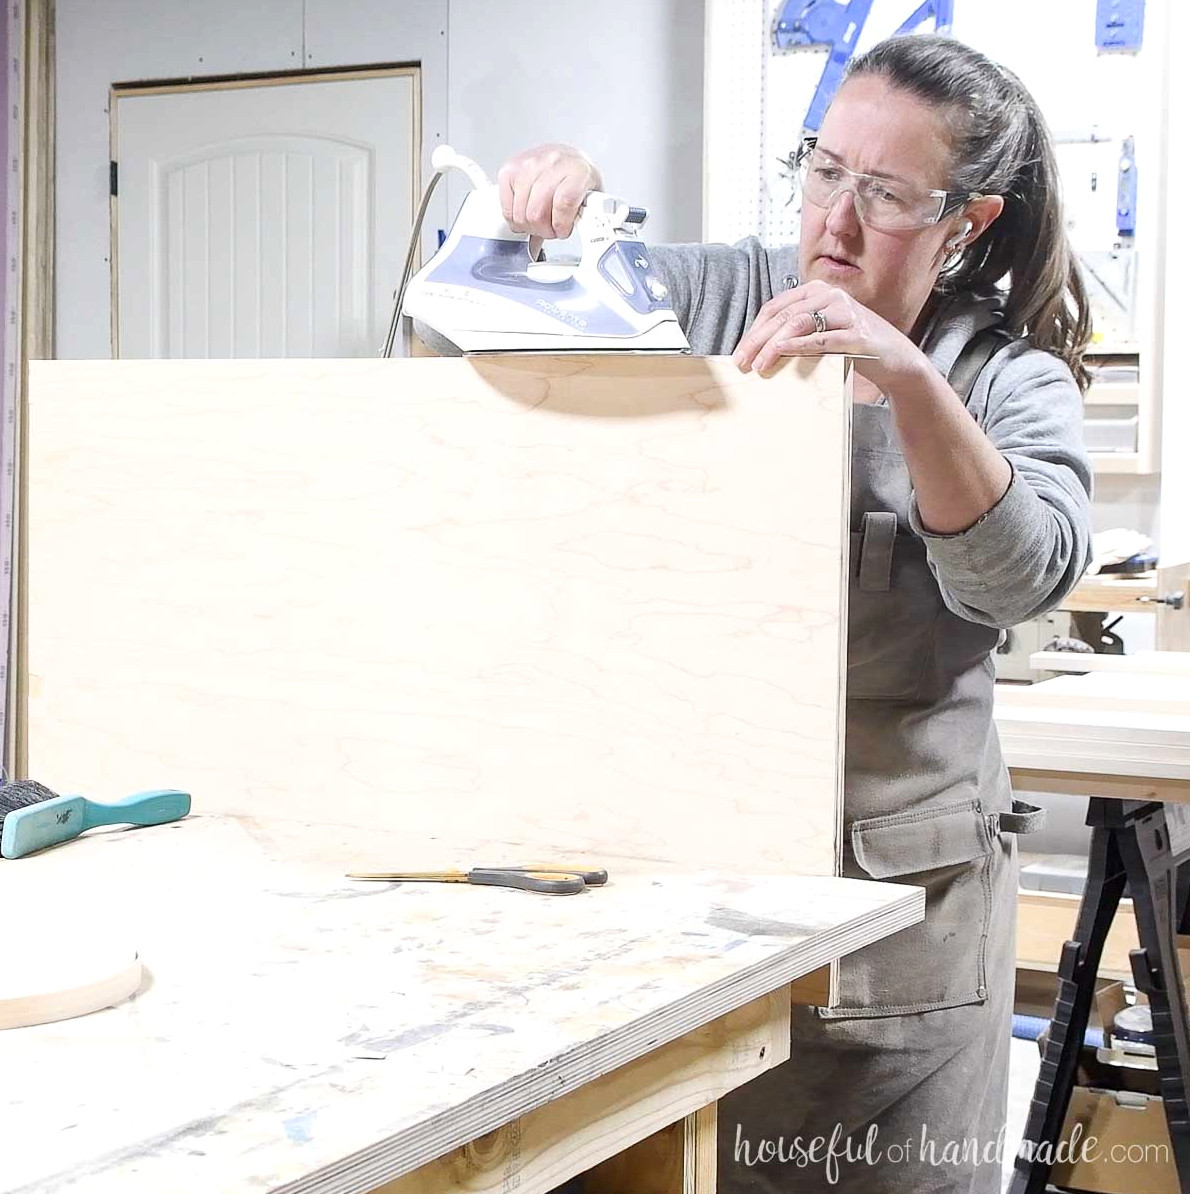
Before putting everything together, apply iron-on edge banding to the front edges of every cabinet component except the toe kick pieces. Then cut the banding flush.
Be sure to edge-band one long edge of the support pieces as well, because it will be visible at the rear of your closet.
STEP 1- Construct toe kick and bottom
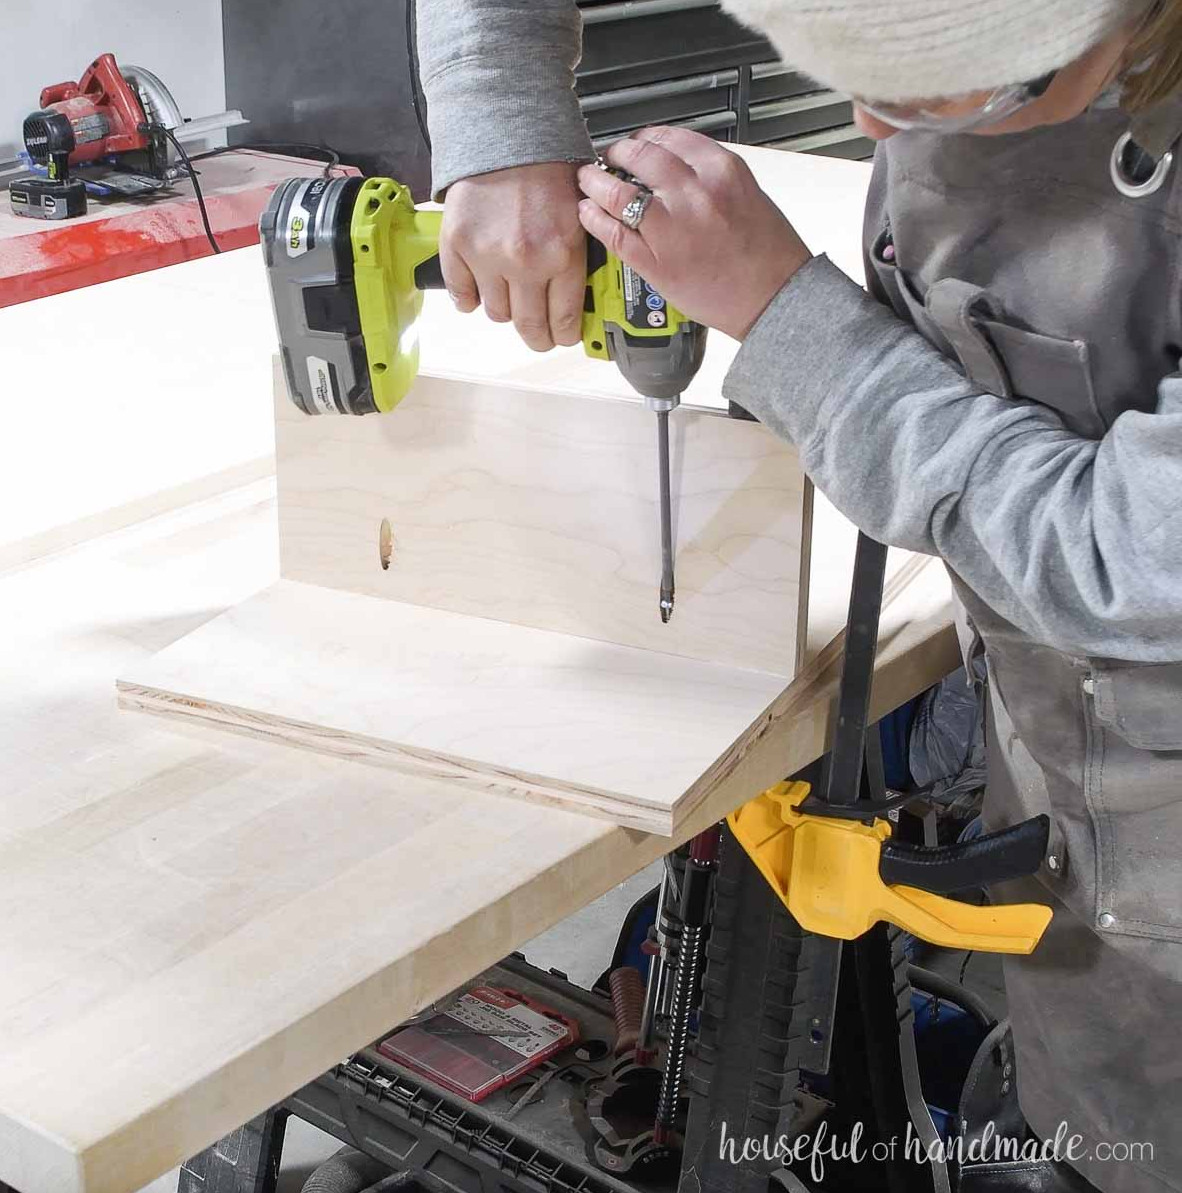
Create pocket holes for 3/4” thick material along the top of each toe kick component.
Position them against their matching bottom piece, setting them 12” back from the front (modify this distance if you prefer additional or reduced shoe space).
Apply wood glue and fasten with 1 1/4” pocket hole screws. After assembly, confirm that the pocket holes face the back of the piece.
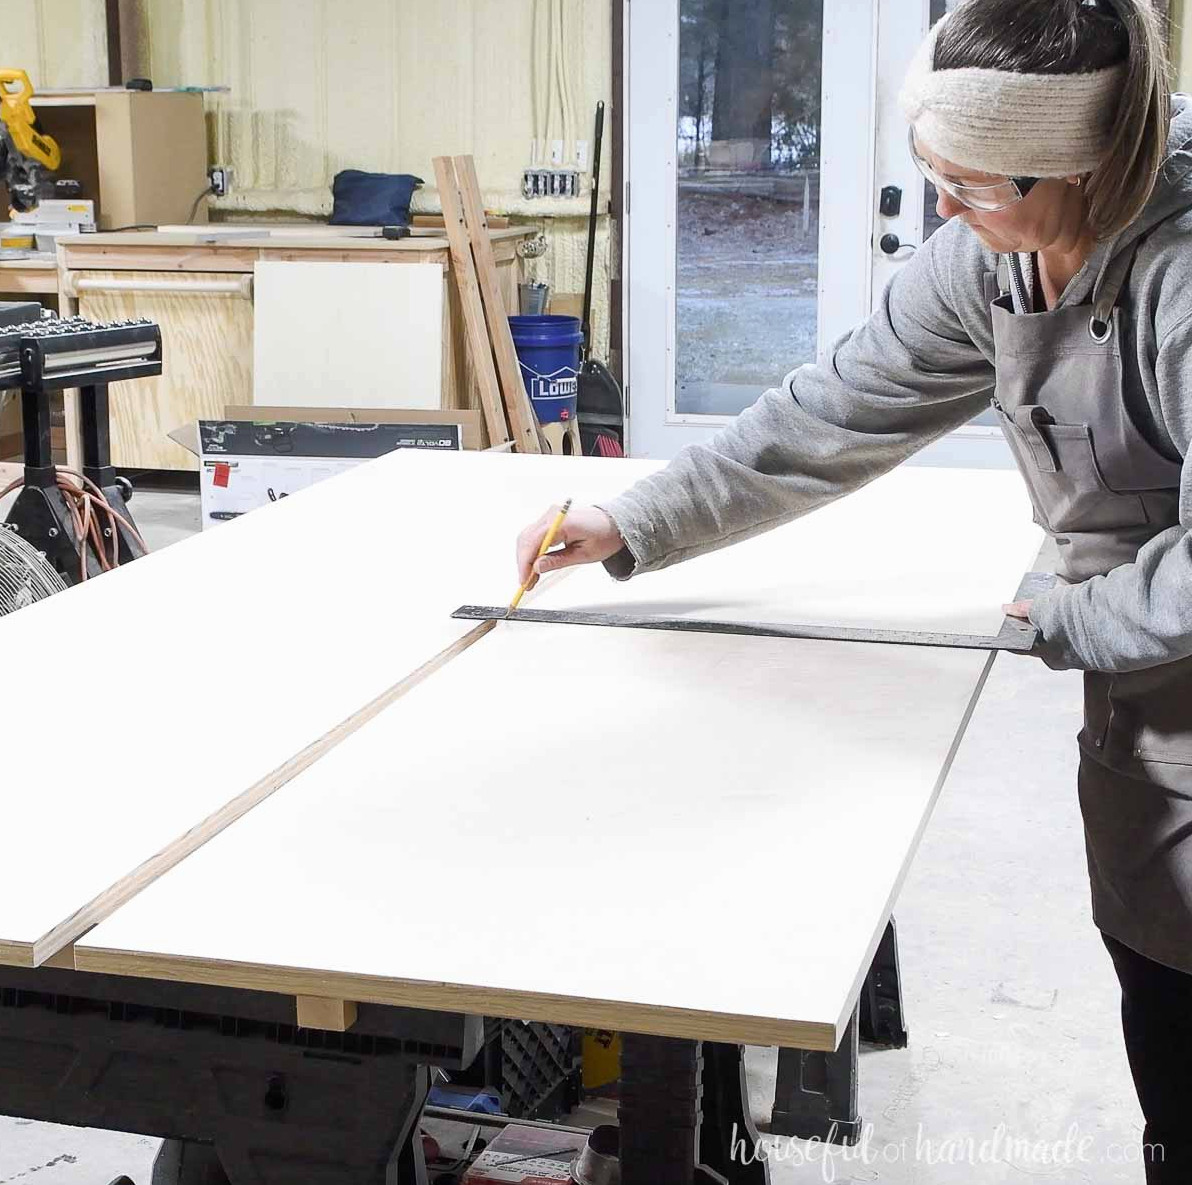
On the side boards, indicate where the centers of the toe kick and bottom components will sit.
In addition, mark the center locations of any fixed shelves.
Apply wood glue along the side of the assembled bottom/toe kick unit. Next, position it against one side panel, keeping it even with the front and bottom edges.
Hold the pieces temporarily with 1 1/4” finish nails.
On your marked line, bore countersunk holes through the side panel for the screws. Finish securing the pieces with 1 1/4” pan head screws (I used the pocket hole screws).
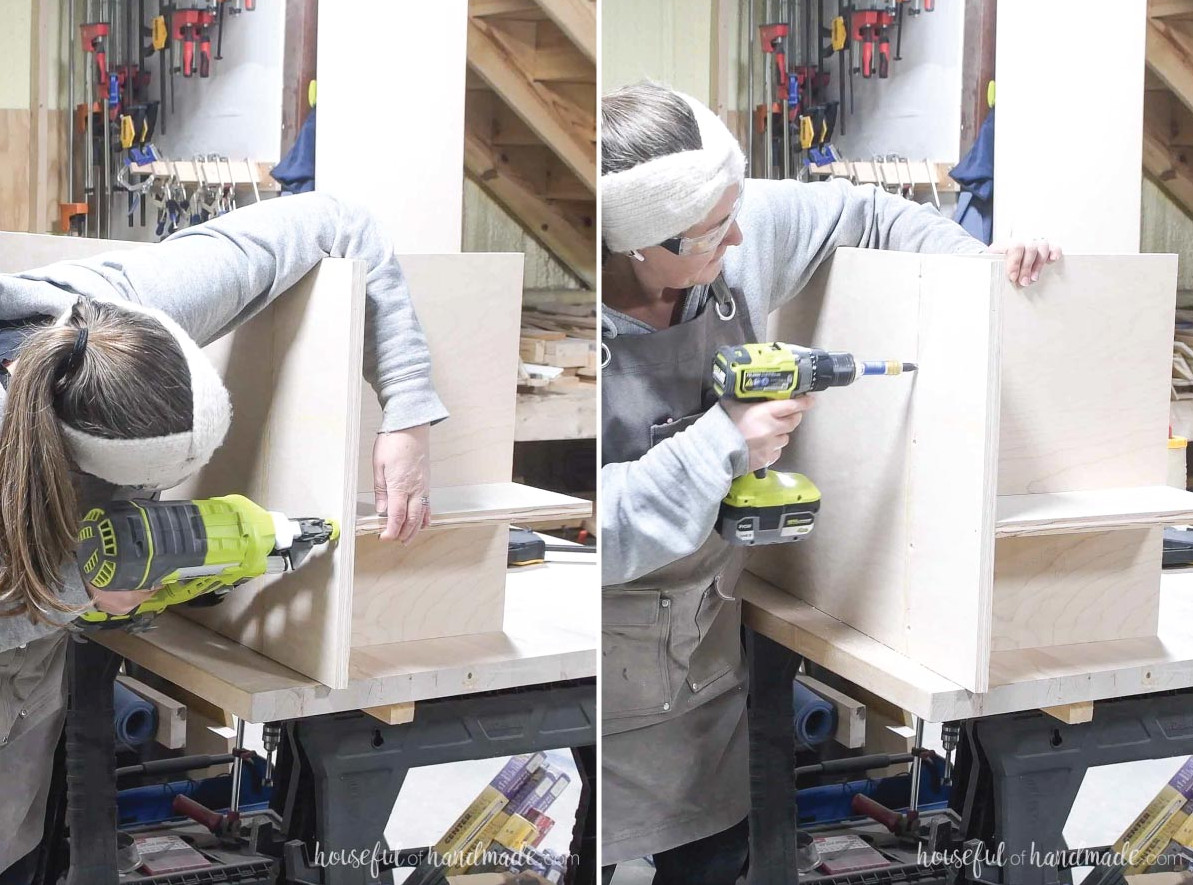
Continue the process for each bottom/toe kick assembly.
STEP 2- Install fixed shelves and second side
Fasten the fixed shelves to the two 30” (inside dimension) compartments and the 14”(inside dimension) compartment using the same method as for the bottom/toe kick assembly.
With the drawers sized according to these plans, position the shelf in one 30” compartment 27 1/8” above the bottom.
Place the remaining shelves at any height you prefer. The PDF plans diagram indicates the locations I selected for my closet.
You can also install a fixed shelf in the 16” (inside dimension) compartment, if desired, using the leftover plywood pieces.
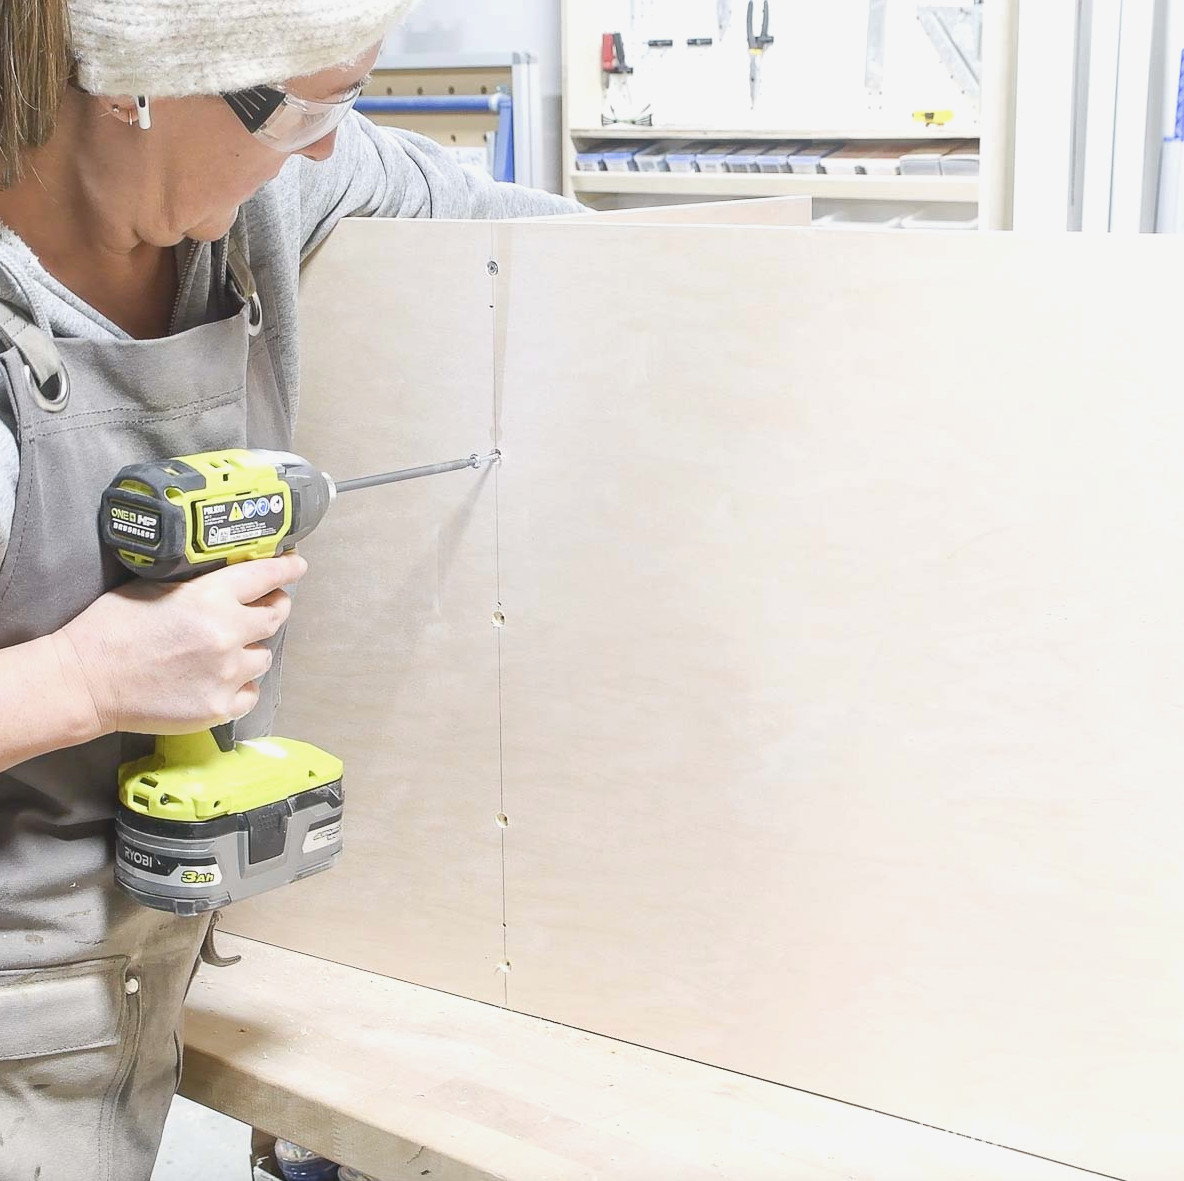
Turn the cabinet box onto its side so the attachment side rests on your workbench or floor. Spread wood glue across the tops of the bottom/toe kick and fixed shelf pieces.
Place the second side panel over them and align it. From the outside, mark the center of the boards.
Attach the side panel to the bottom/toe kick and shelf as before: begin with brad nails, then add countersunk 1 1/4” screws.
Perform the same steps for every compartment. Where the upper end has no support, lay the cabinet’s back or front flat against the work surface.
STEP 3- Install top
You will need supports to fasten the closet organizer to the wall.
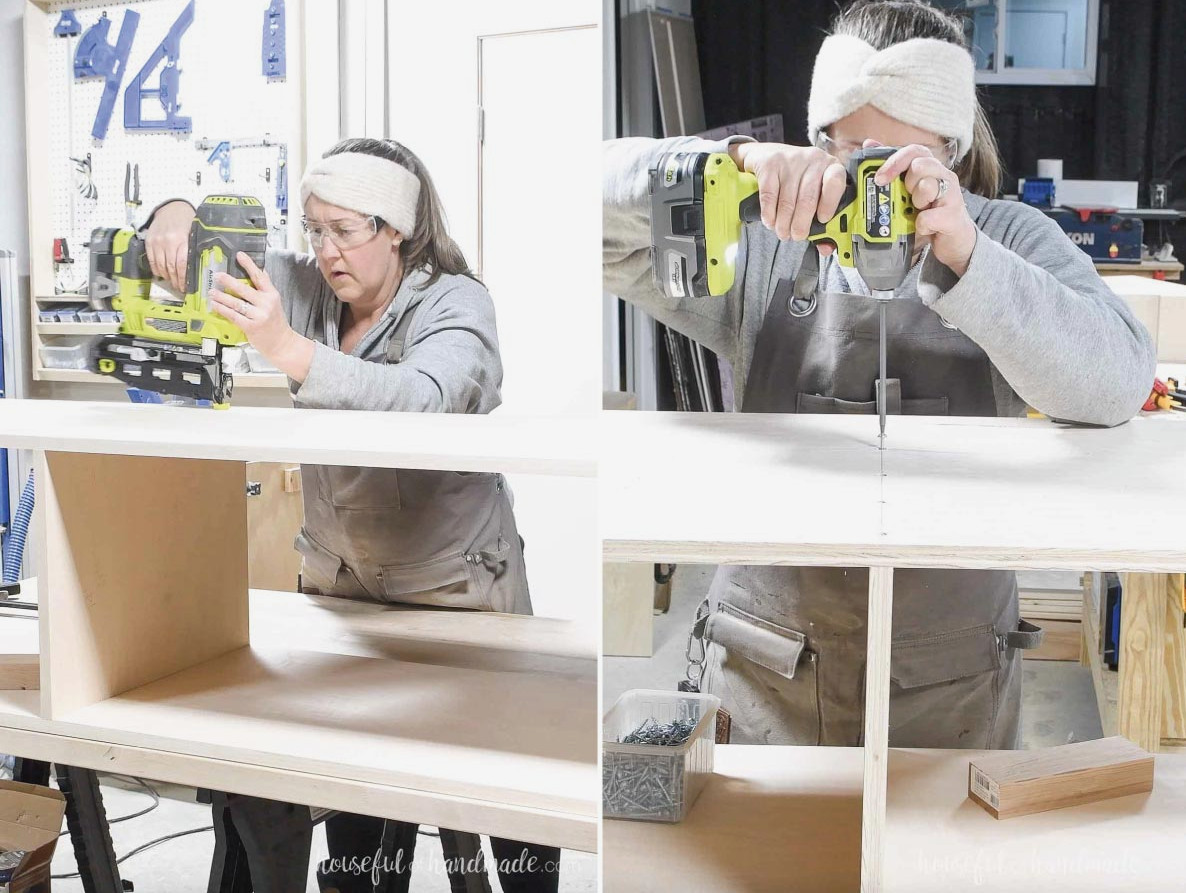
Place the support between the two side panels along the cabinet’s upper rear area. Ensure the edge with the edge banding points downward.
Drive two countersunk 1 1/4” screws into each side to hold it in place.
Repeat these steps for every closet compartment.
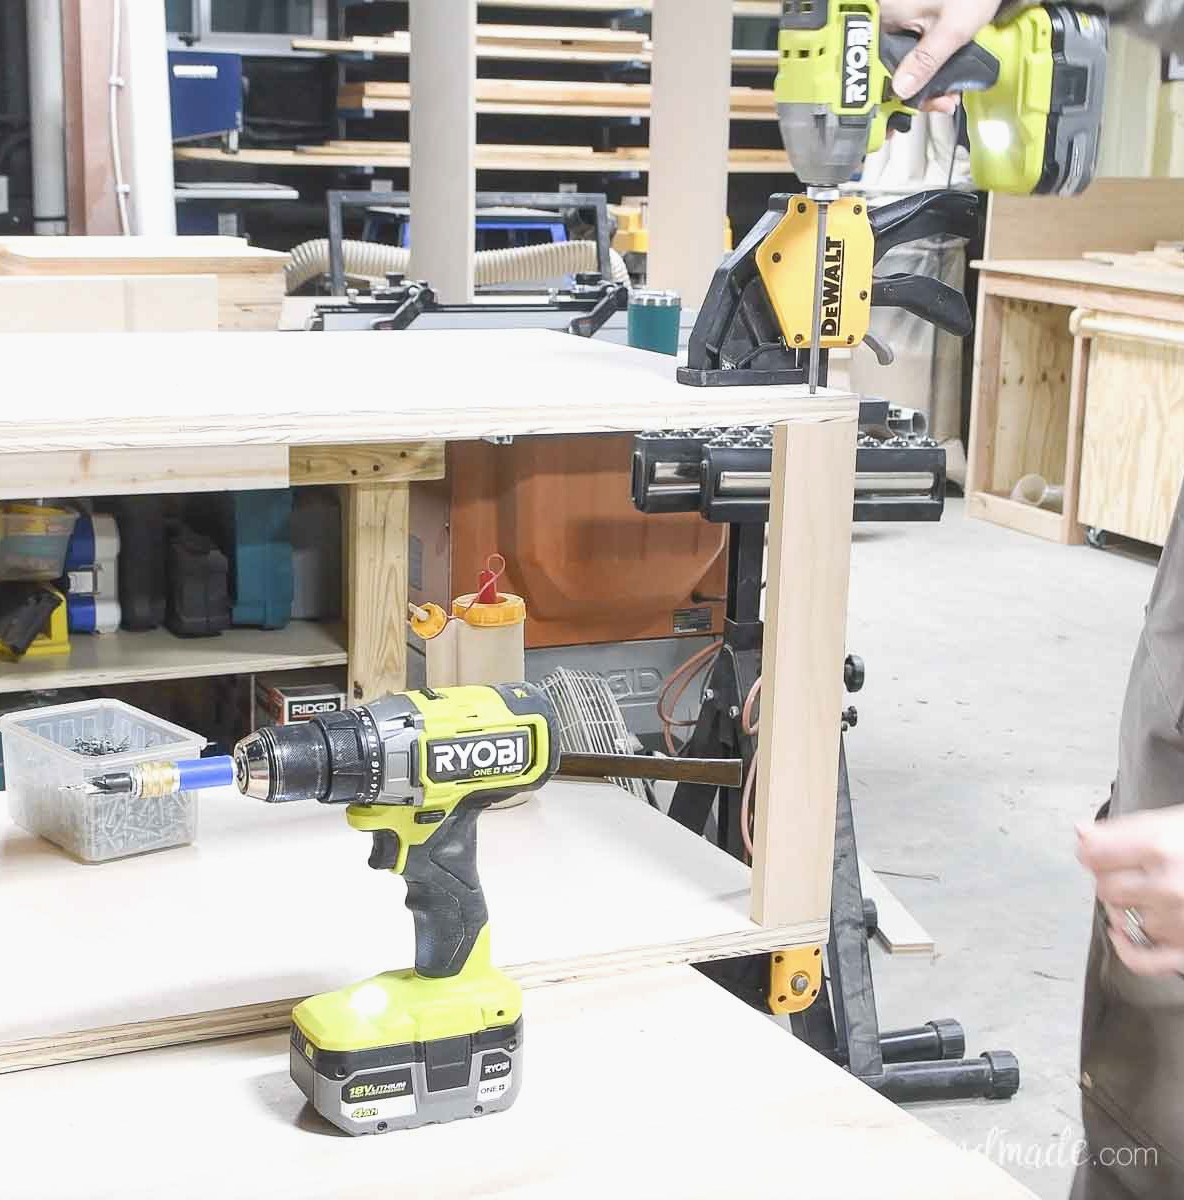
Make pocket holes for 3/4” thick material along the upper outside edges of the side panels.
Spread wood glue over the tops of the boards. Position the top panel so it sits flush with every edge.
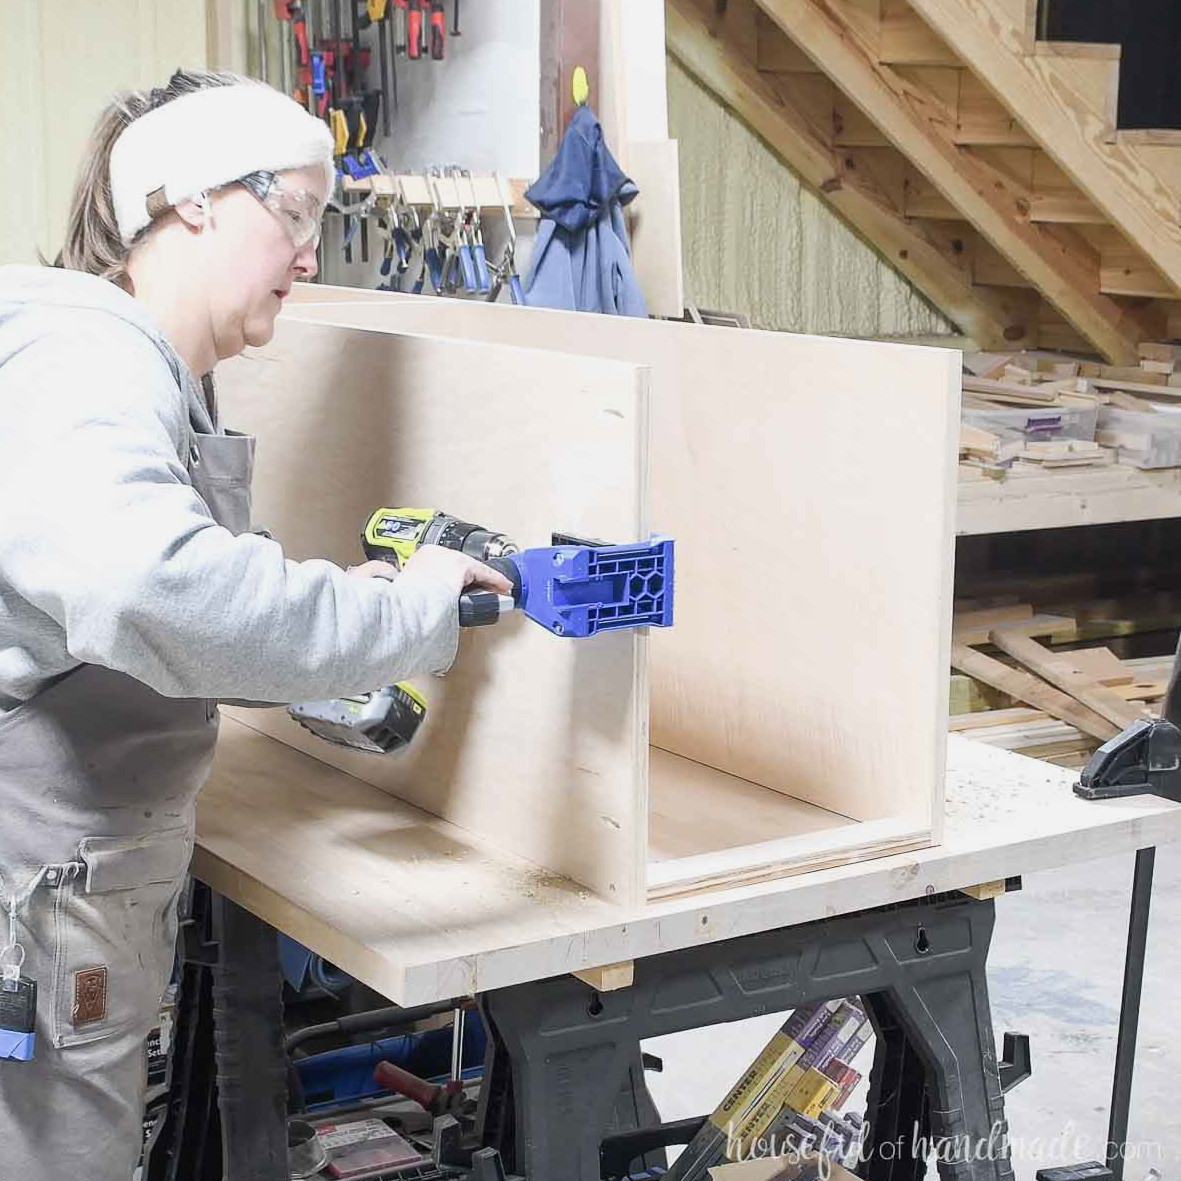
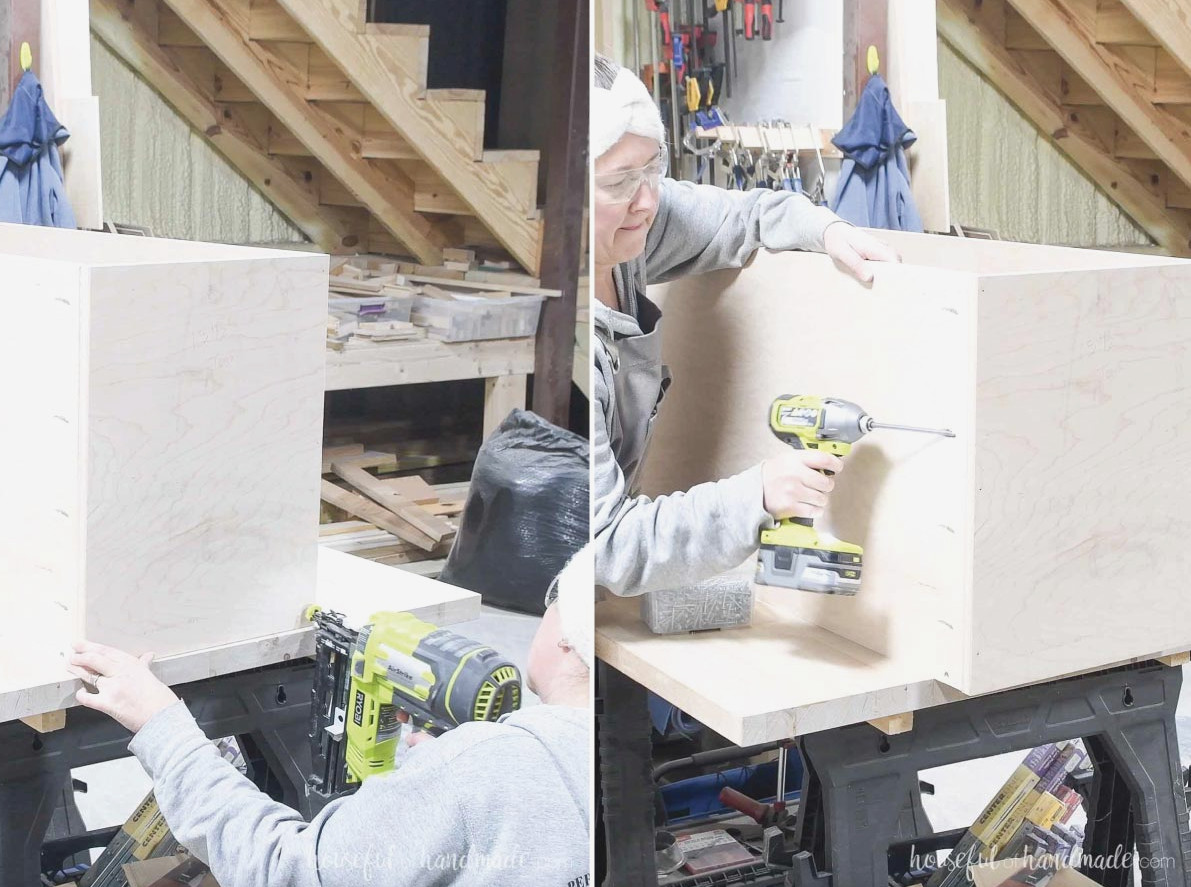
Hold the top temporarily with brad nails, then attach it permanently using 1 1/4” pocket hole screws.
Repeat the procedure for each closet compartment.
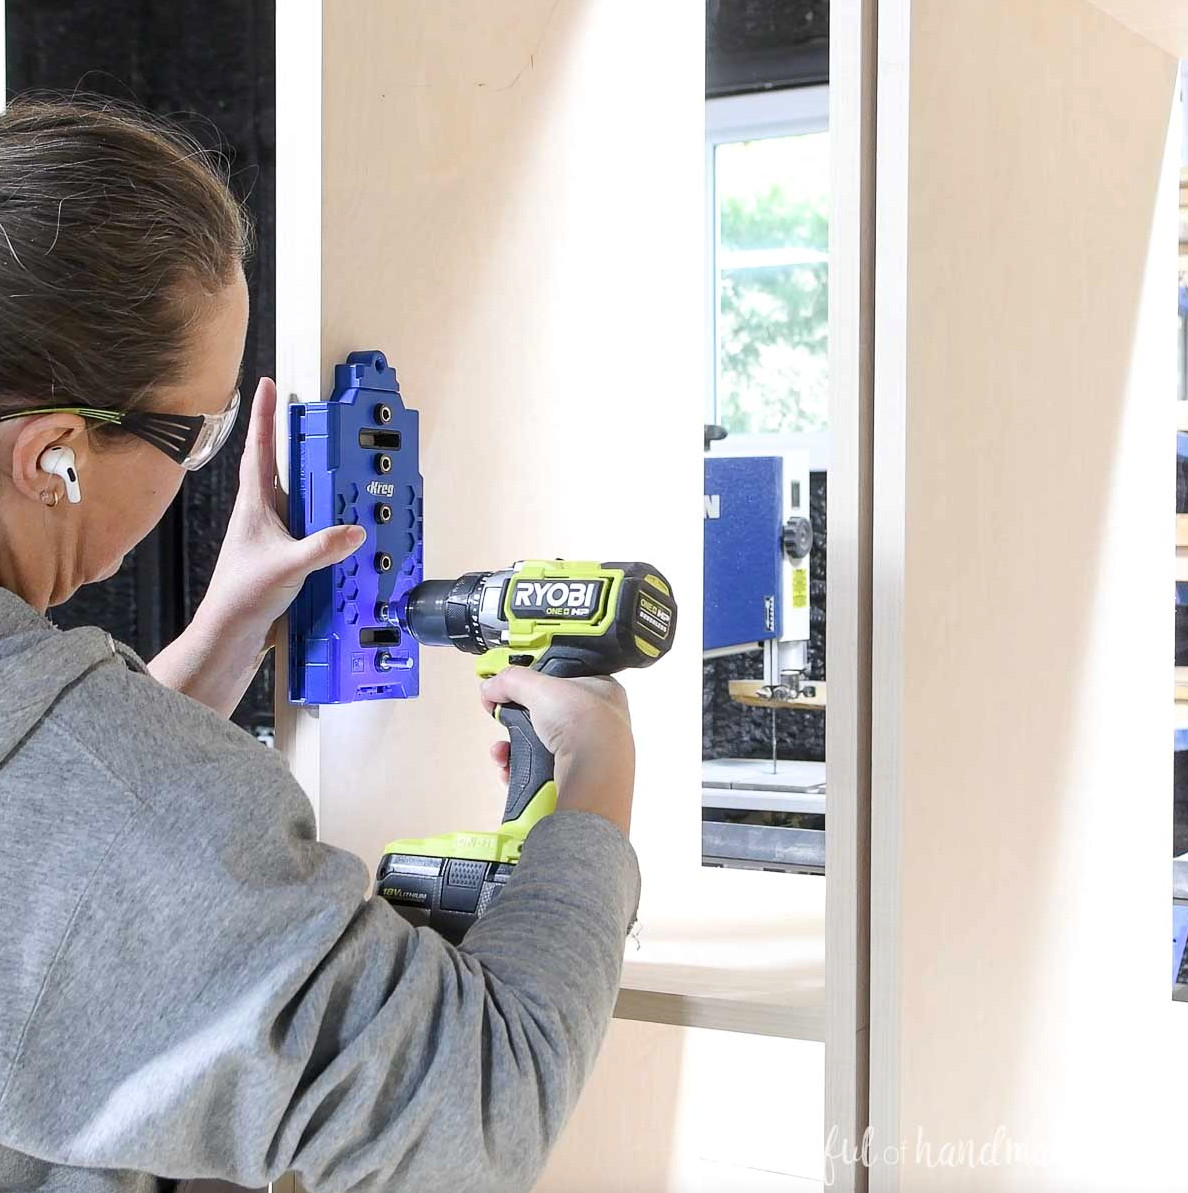
Wherever adjustable shelves are planned, use a shelf pin jig to bore holes near the front and rear of both side panels.
Trim the shelves so they fit snugly between the shelf pins. Apply edge banding along the front edges of the shelf boards.
STEP 4- Set up closet boxes
Take off the baseboard along the wall where the closet organizer will be installed.
Carry the closet compartments into position. Assistance from another person may be helpful.
Arrange the compartments in your preferred sequence. Clamp the side panels together, aligning them flush at the front and along the top.
Join the compartments with (4) 1 1/4” pan head screws (I used the pocket hole screws again). Install two near the upper section of each side and two near the bottom.
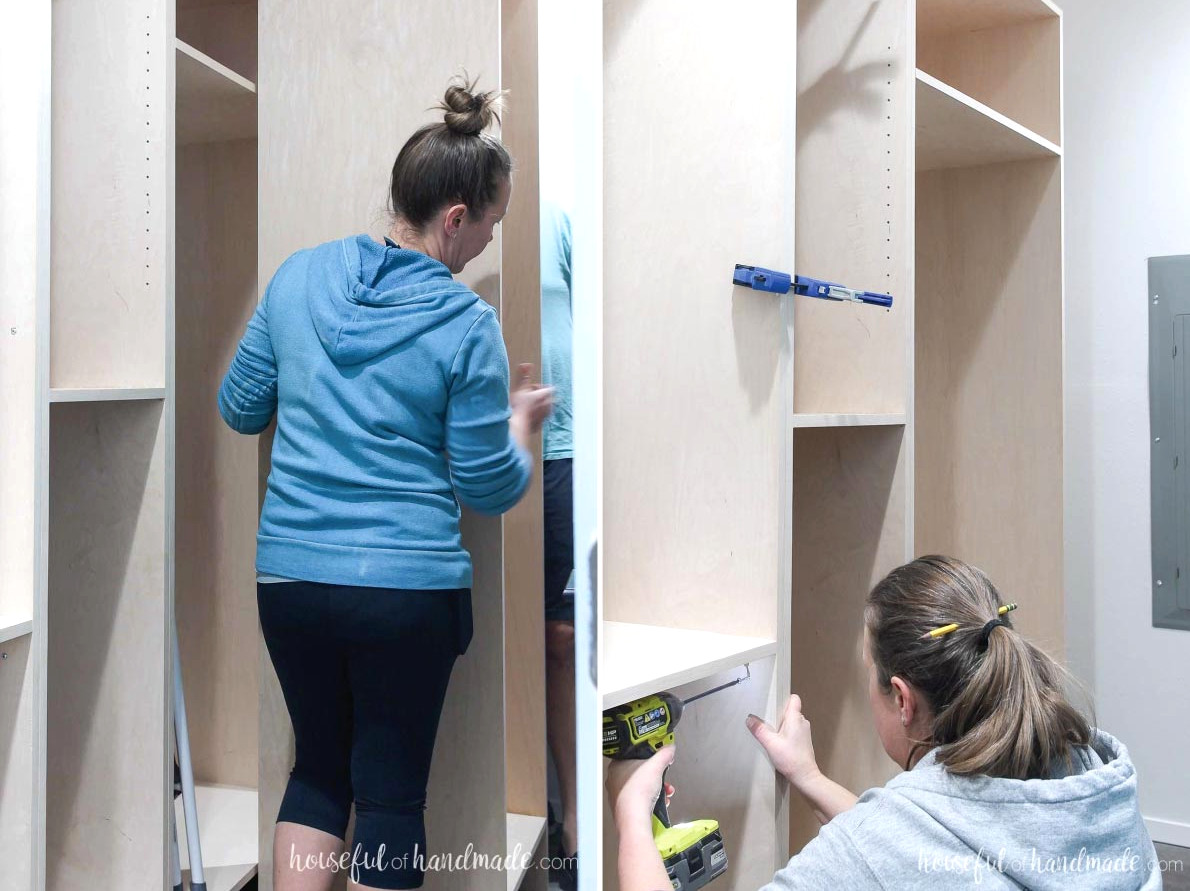
Verify that the boxes are plumb.
Insert shims beneath the sides and toe kicks wherever necessary to make them plumb.
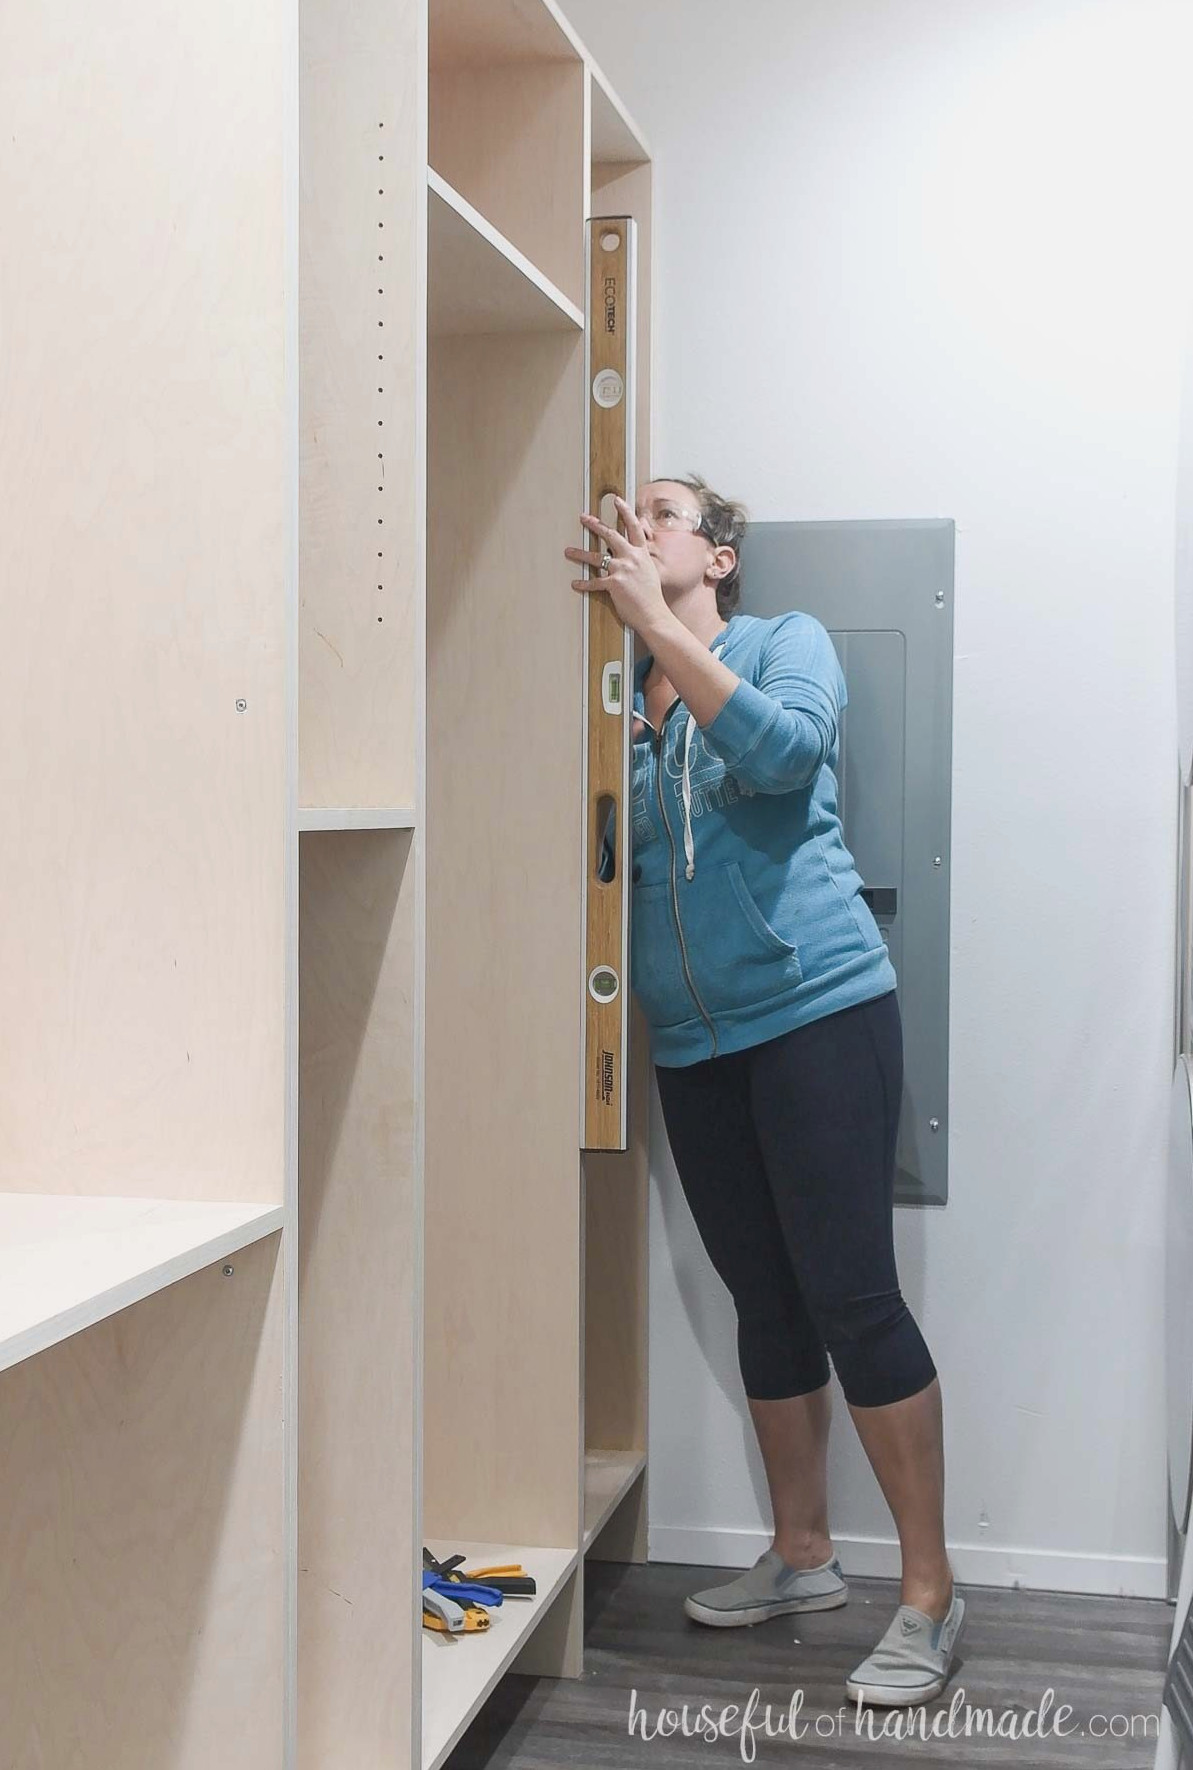
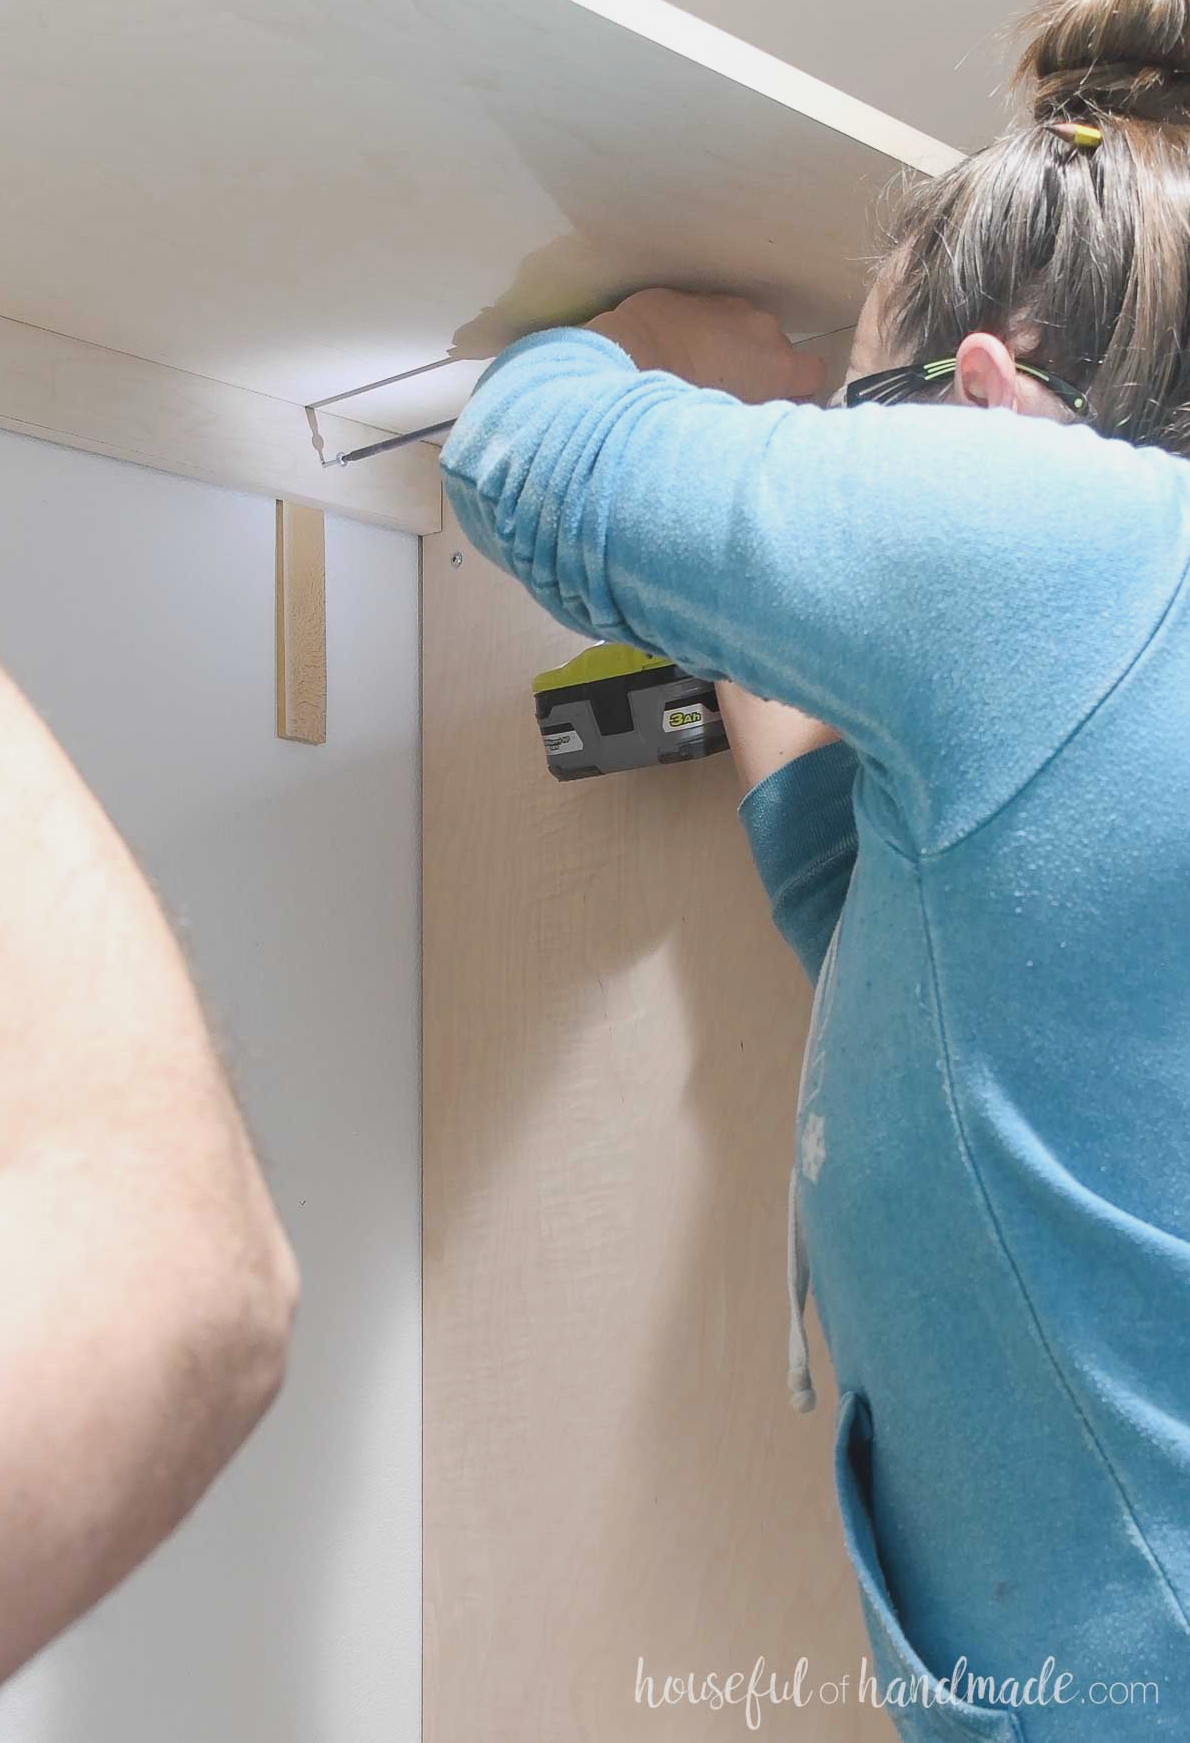
Next, fasten the boxes to the wall with 2 1/2” screws driven through the supports and into the wall studs. If a gap remains, place shims behind the supports.
Finally, cut the shims flush with the support edges to conceal them.
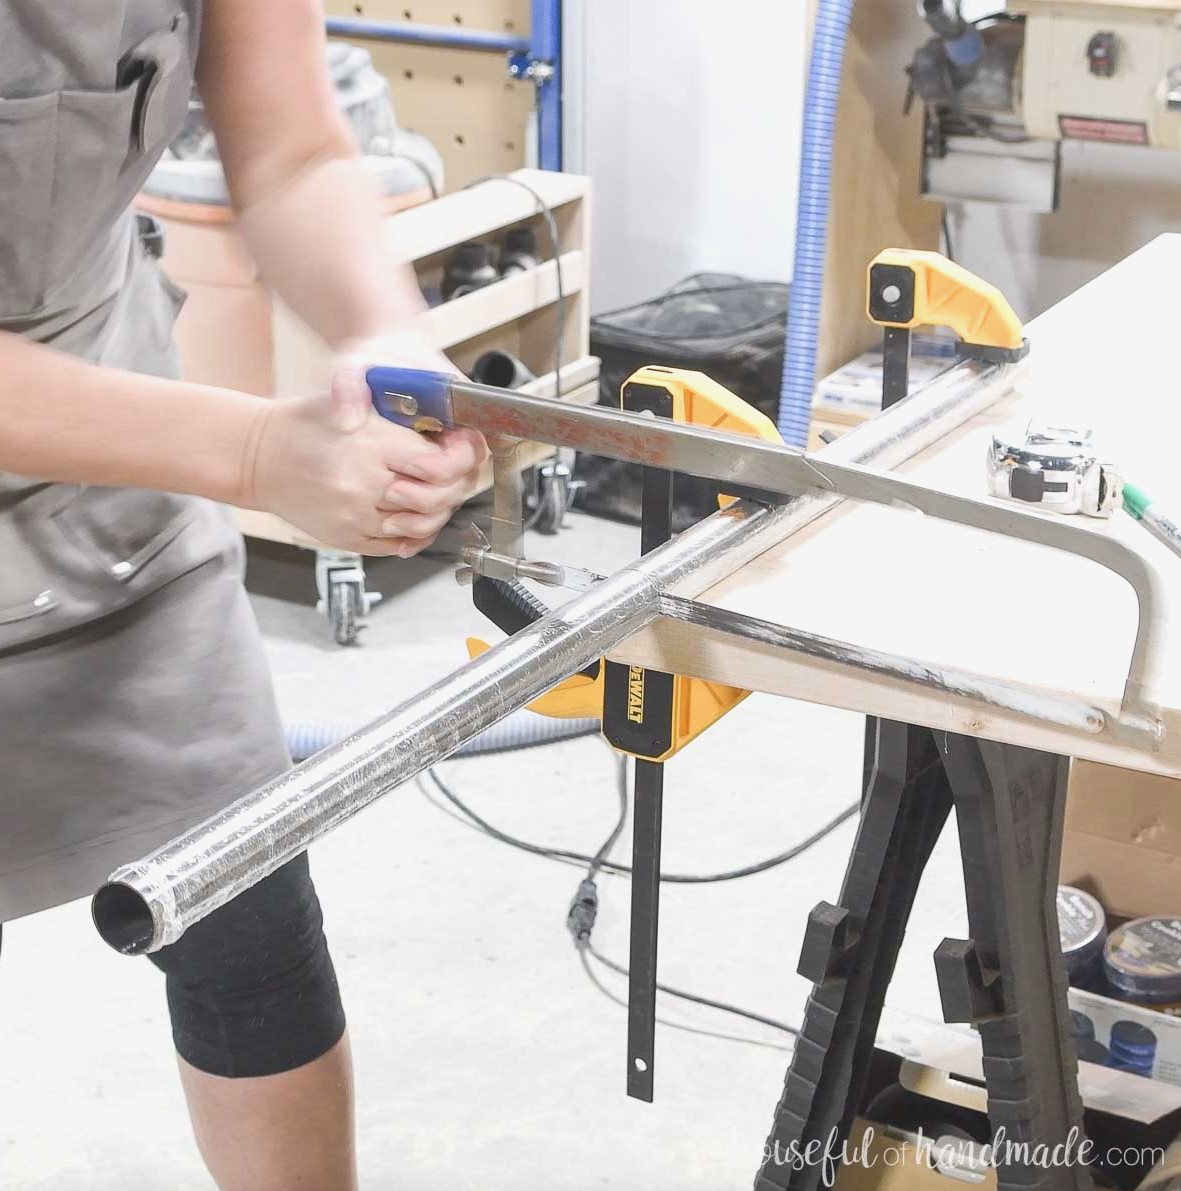
Cut the closet pole so it fits between the brackets. Make the rod approximately 1/8″ shorter than the complete distance between the brackets to allow a little flexibility.
I chose a metal closet rod, which was simple to trim to the correct length using a hacksaw fitted with a metal-cutting blade.
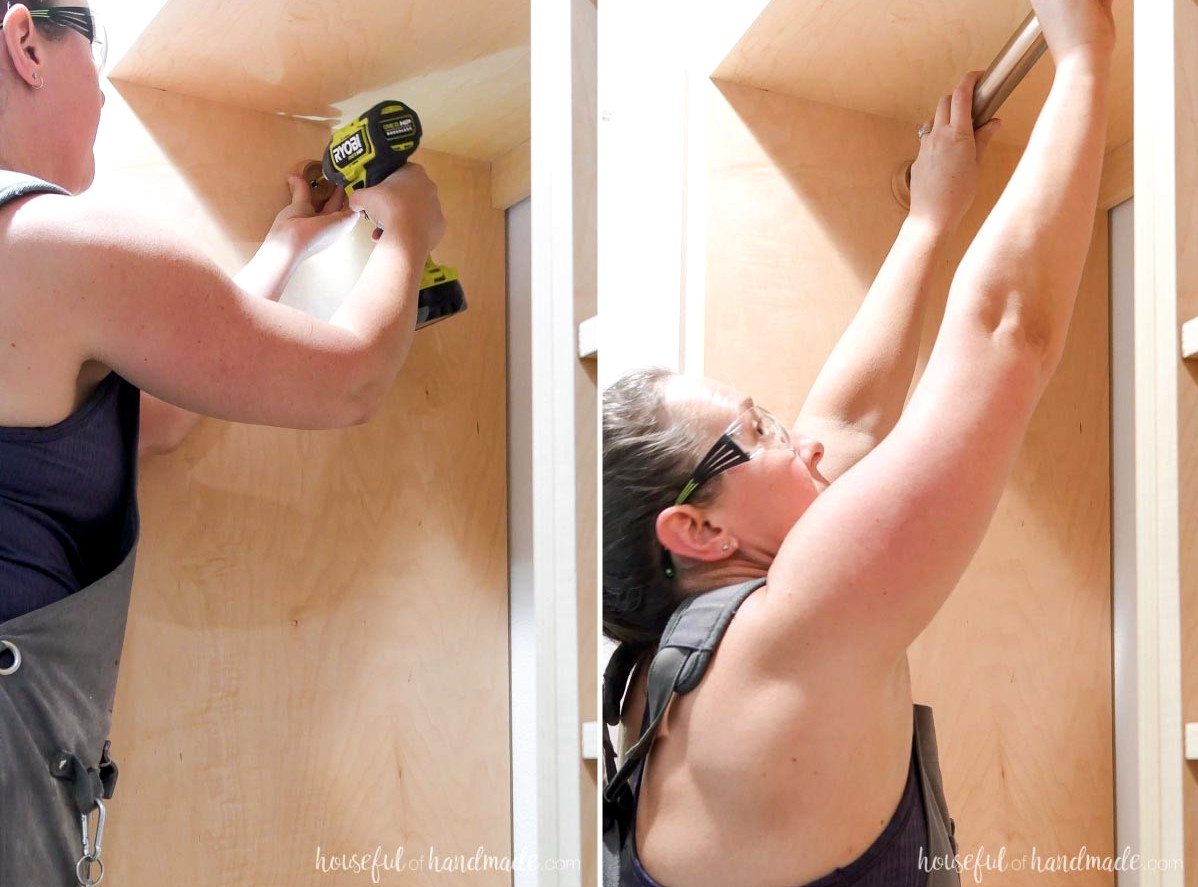
Mount the closet rod brackets, then place the shortened closet rods into position.
Position the bars 10 1/2” from the back and 2” beneath any shelf.
STEP 5- Assemble drawers
Create a 1/4″-wide by 1/4″-deep channel on the inside of the front and side drawer-box components, positioned 1/4″ above the bottom. A table saw, circular saw, or router can be used to make the channel.
If you cannot cut a channel, discover several alternative drawer-building methods here.
Make pocket holes for 3/4” material in the back and front components, on the side opposite the channel.
Position the front between the side pieces and fasten it. Next, place the back components between the sides, keeping the bottom level with the top of the channel.
Apply wood glue and secure everything with 1 1/4” pocket-hole screws.
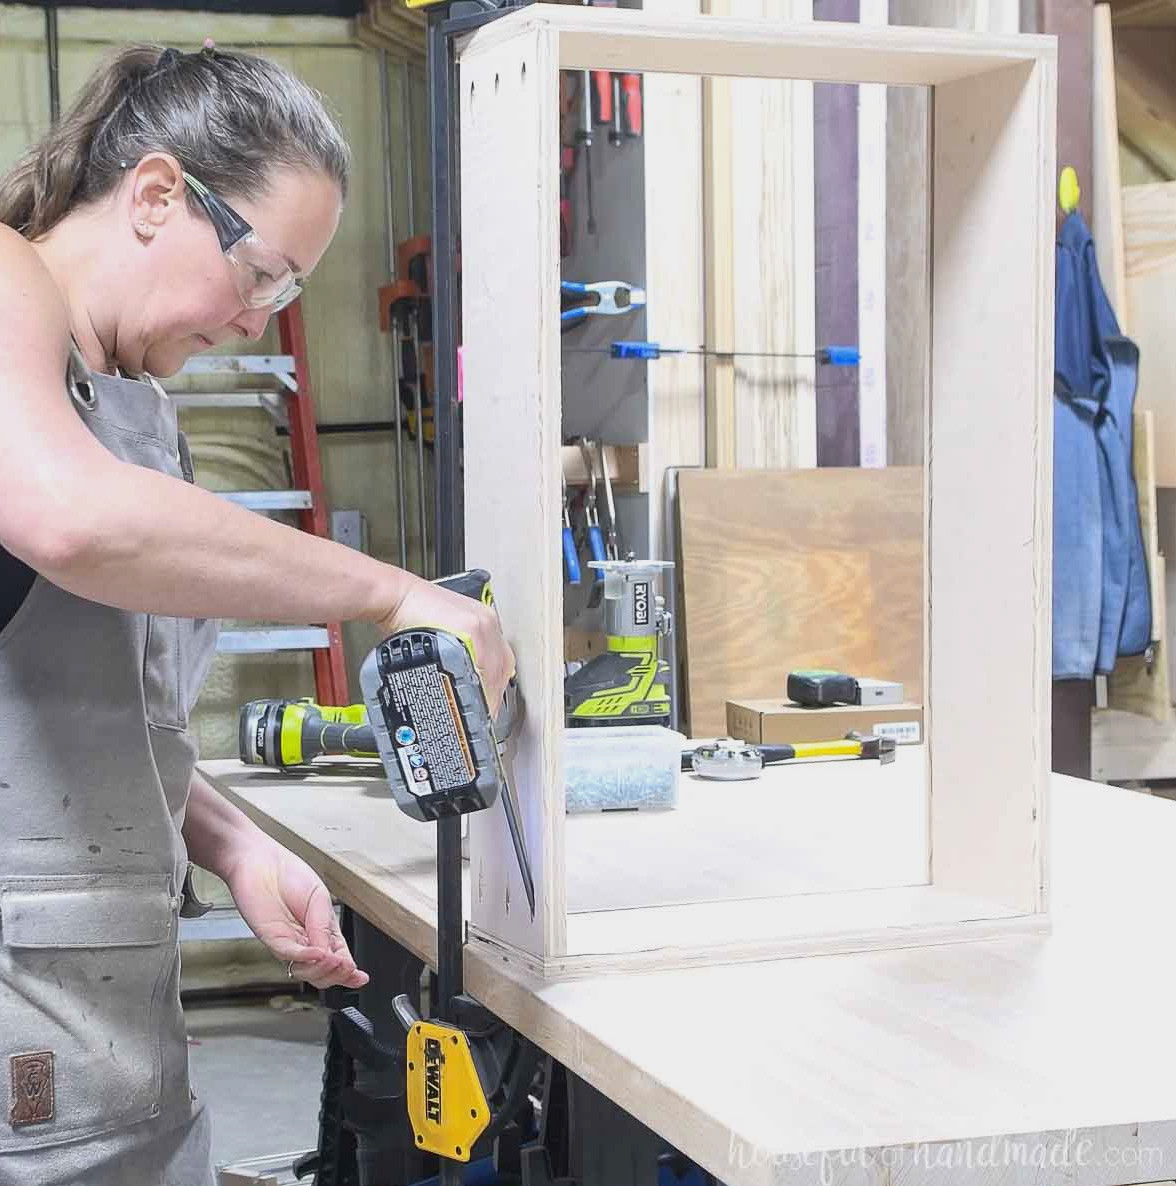
Slip the bottom beneath the back piece and into the channels in the sides and front.
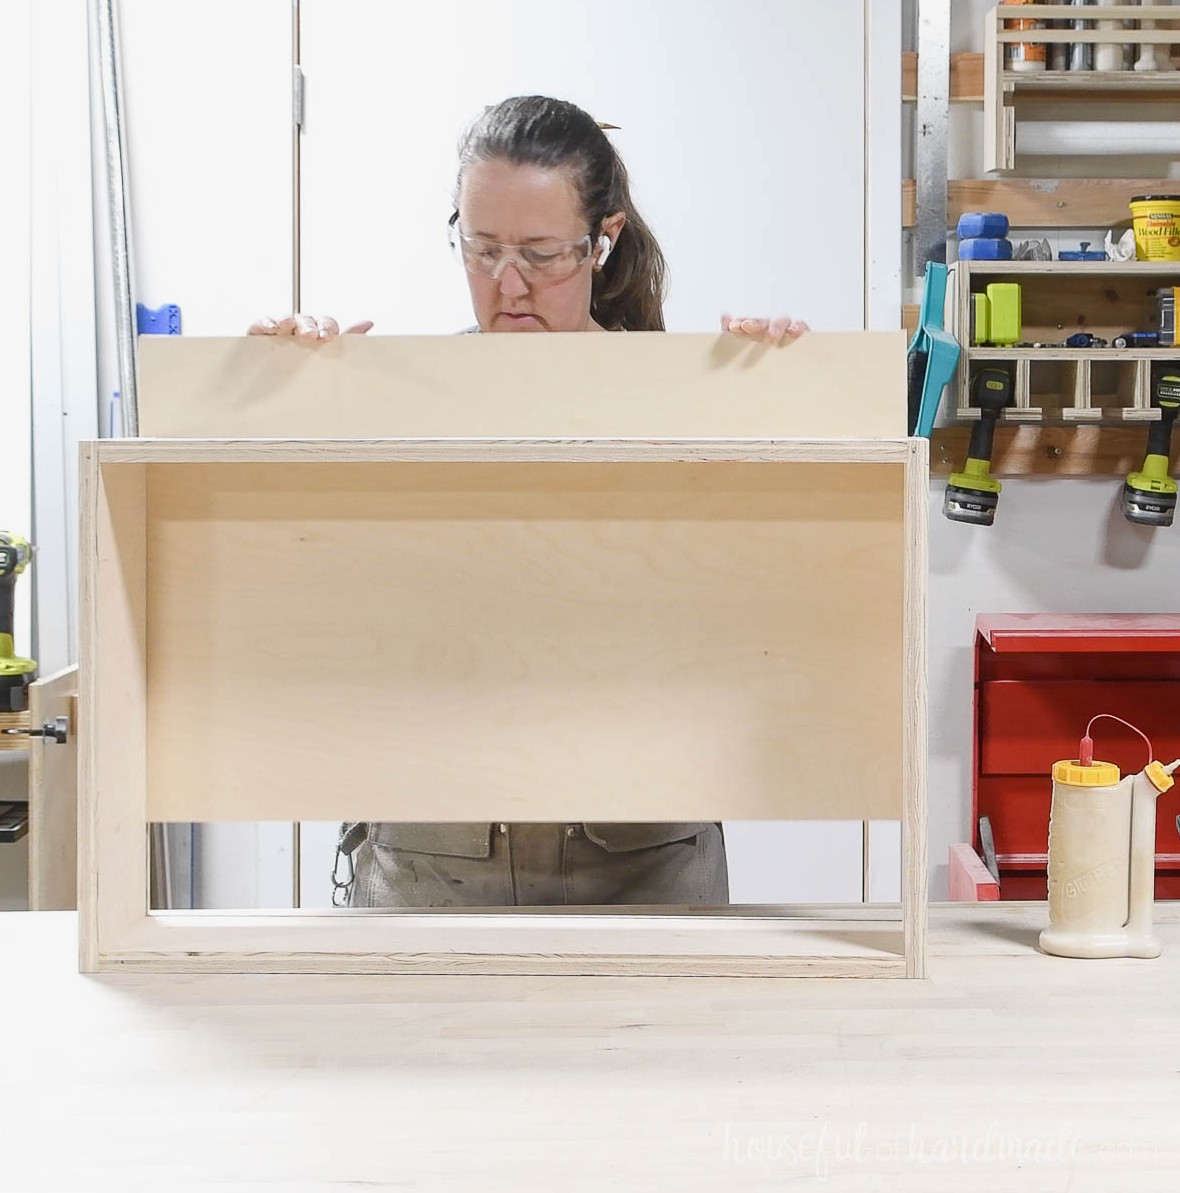
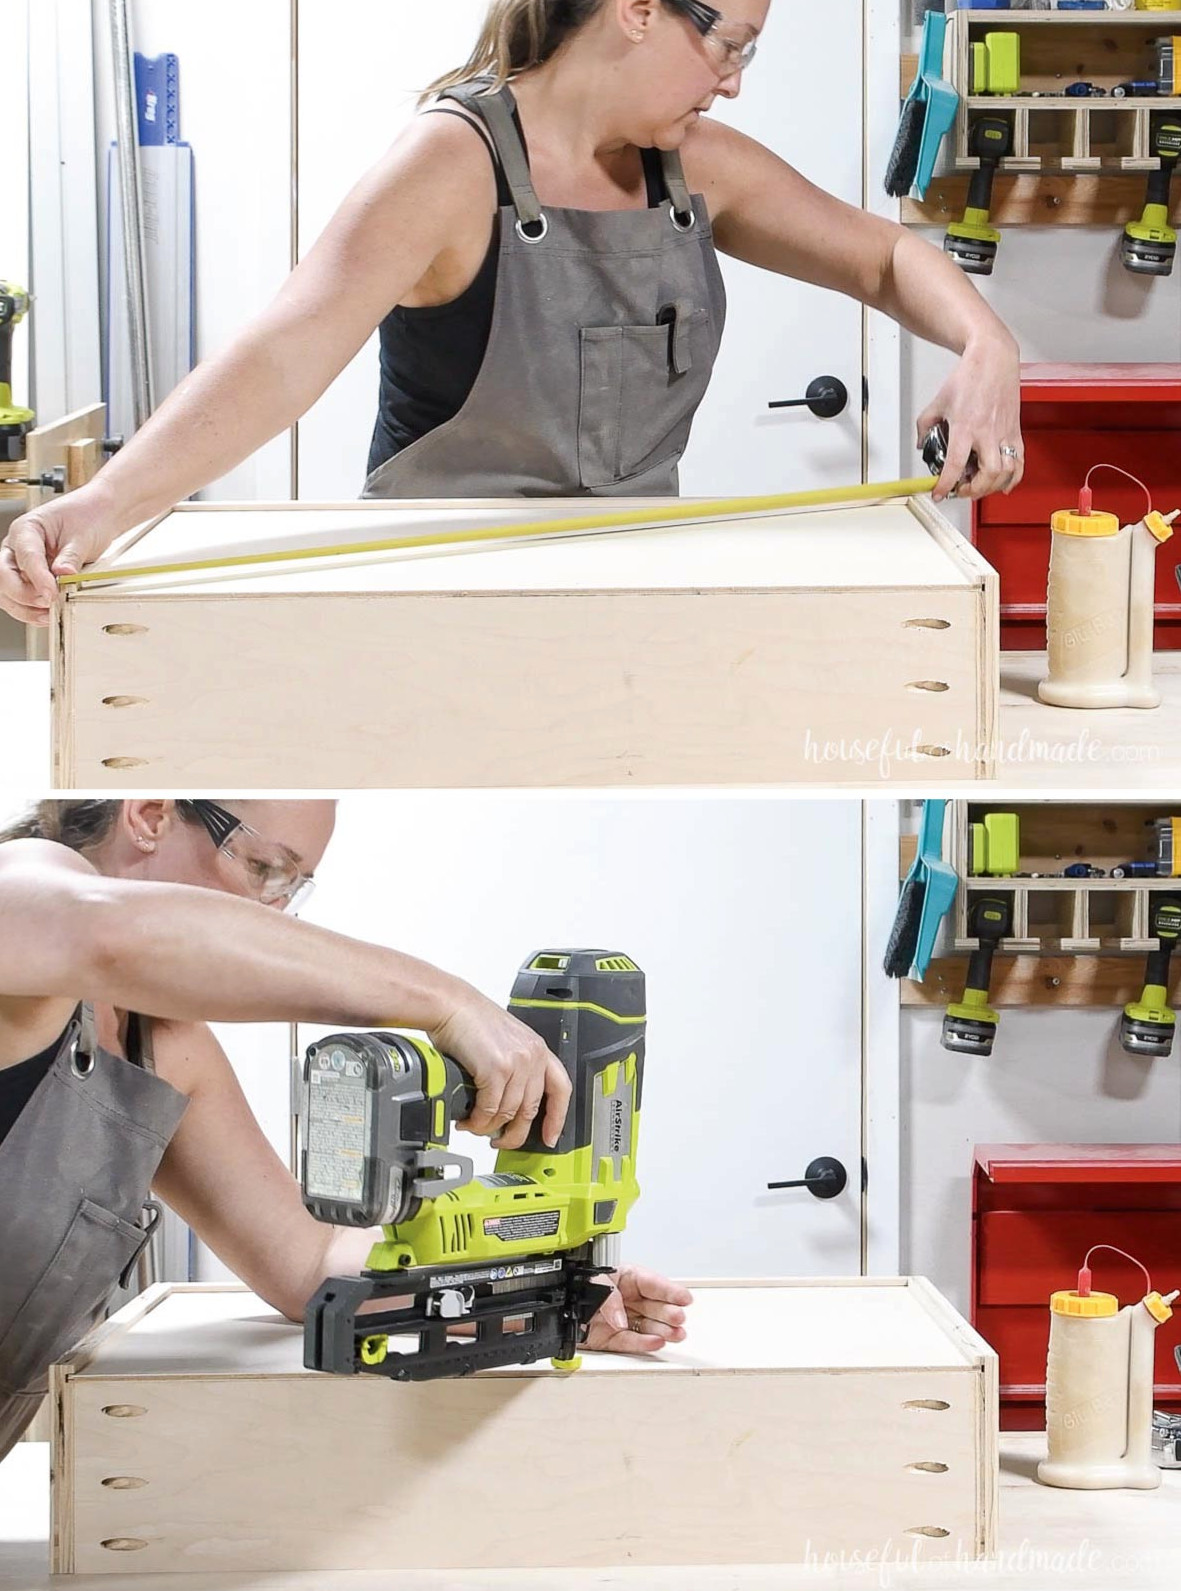
Check that the drawer box is square, making corrections where necessary.
I prefer measuring from one corner to the opposite corner and then checking the other pair of corners. Matching measurements indicate that the box is square.
Fasten the drawer bottom to the back piece with 5/8″ nails.
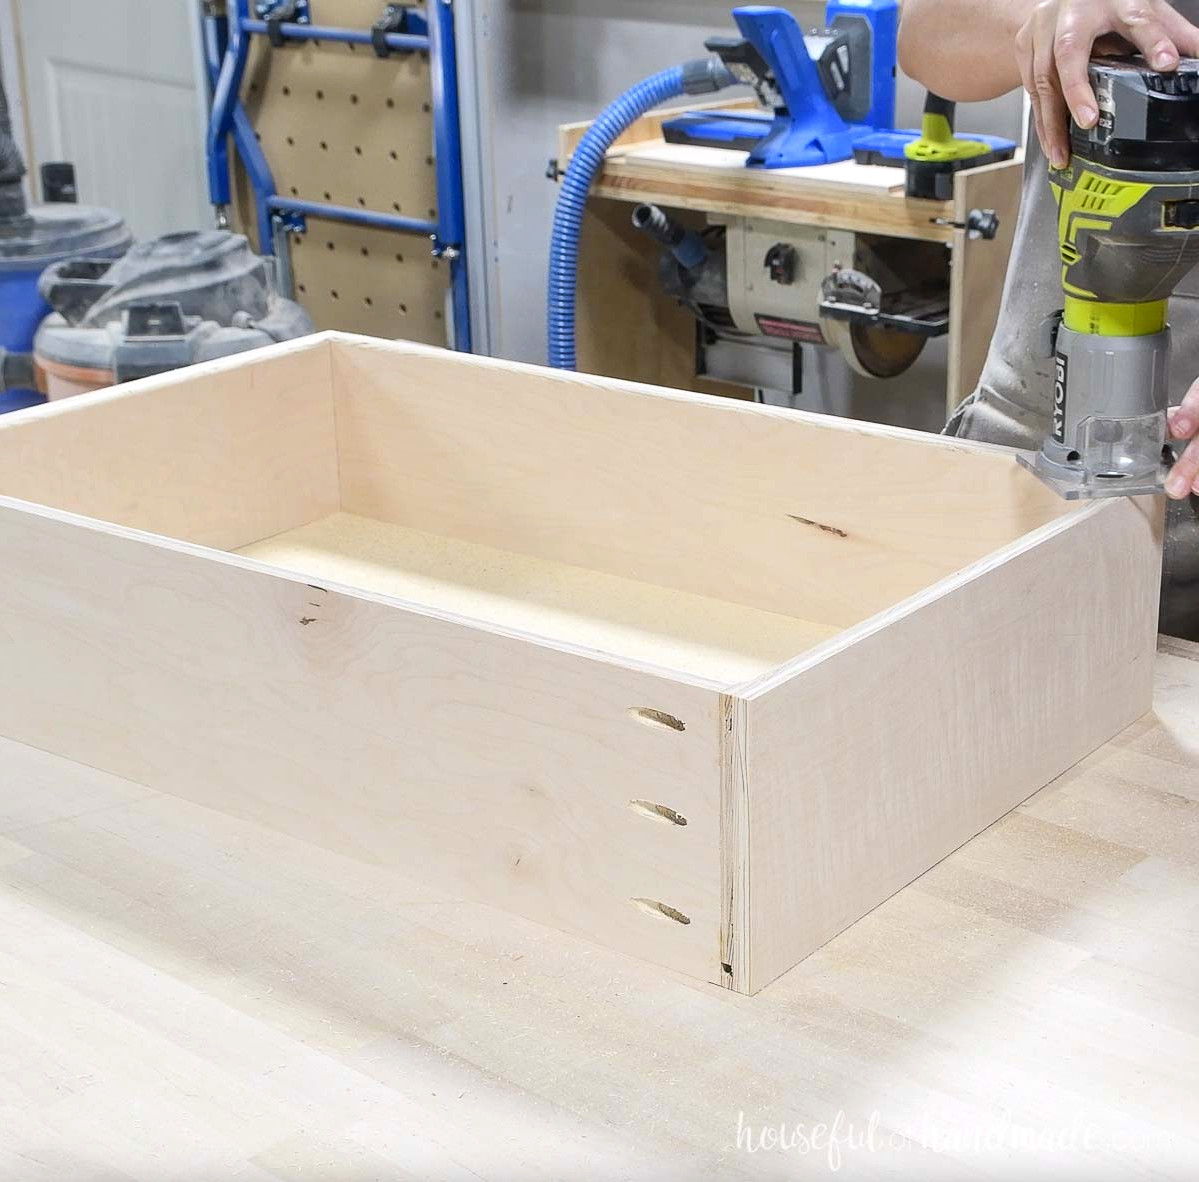
To soften the edges, I used a trim router with a round-over bit along the drawer box’s inside edge. A sander can accomplish the same task if you do not own a router.
Do the same for all 4 drawer boxes.
STEP 6- Fit drawers and shelves
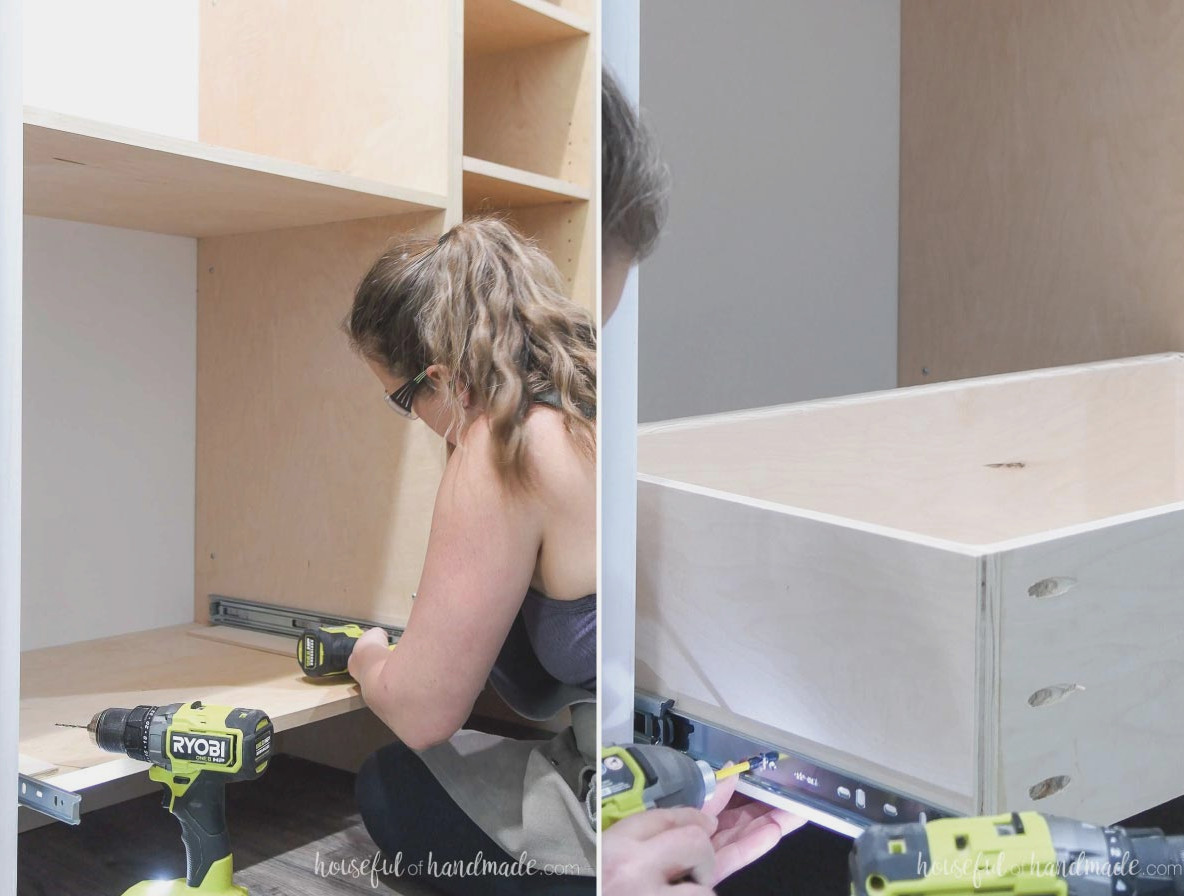
Place the drawer boxes in the 30” section using side-mounted drawer slides that require 1/2” of clearance on both sides. Learn how to fit drawers here.
Raise the bottom drawer box 3/8” above the bottom panel. Leave 1 1/8” between the drawer boxes, creating a 7/8” space at the top.
Set the drawer boxes 3/4” behind the cabinet front.
Apply edge banding around every side of the drawer-front pieces.
Mount the drawer fronts inset, leaving an 1/8” space on each side and between adjacent fronts. Learn my simple drawer-front installation trick here.
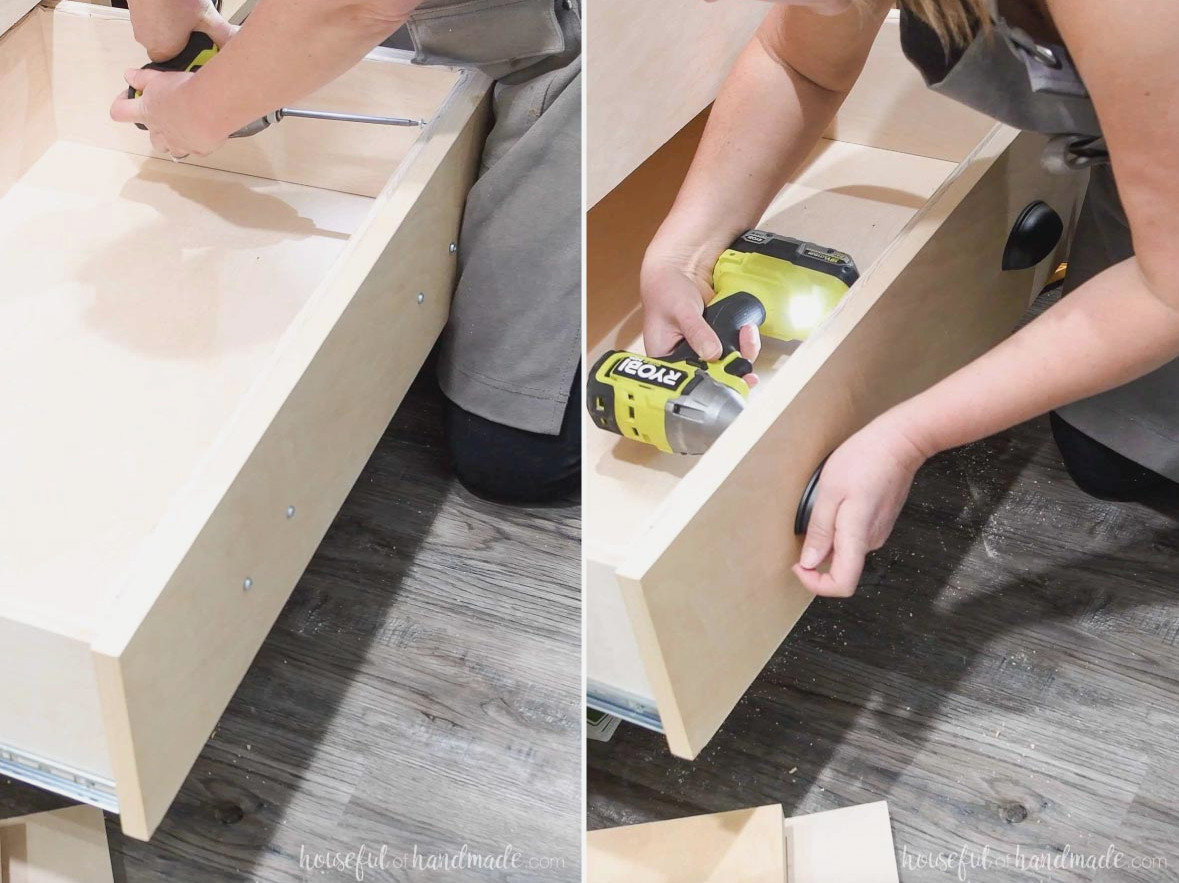
If one side of the closet will remain exposed, fill the holes with wood filler.
Another option is to use pocket holes for securing the bottom and shelves from the visible side. The drawback is that they may then show inside the closet.
Sand your new closet, then apply stain or paint. If you like, caulk the seams where the edges meet the wall.
What is the price of a closet organizer?
Everyone is curious about the cost of constructing a project. I decided to outline what I spent on this closet.
PLEASE NOTE: These amounts reflect what I paid; expenses differ by location, and prices may change frequently. Use them as a starting point.
I purchased paint-grade maple plywood from a nearby hardwood supplier rather than a big-box store. I finished the closet with homemade wipe-on polyurethane made from equal parts poly and mineral spirits.
The final cost came to $560.50. That is a great price for an attractive custom wood closet featuring drawers, shelves, and abundant storage.
Be Sure to Get the Printable PDF Plans Here!
Premium plans feature:
- Suggested Tools
- Materials list
- Simple-to-read cut list chart
- Cutting diagrams
- Detailed instructions with 3D renderings
- Useful resources
- BONUS: 3D SketchUp model
You made it!
Enjoy arranging your new closet and making the most of all the extra room.
Enjoy building!