
With summer just around the corner, it’s time to tackle another outdoor construction project! A few years back, I built these cozy outdoor lounge chairs, but I still needed a place to stretch out too…
That’s why I teamed up with Kreg Tools to create coordinating chaise lounge chairs. Although they might appear complex, they’re simple to assemble—even with the moving components—thanks to the Kreg Pocket Hole Jig.
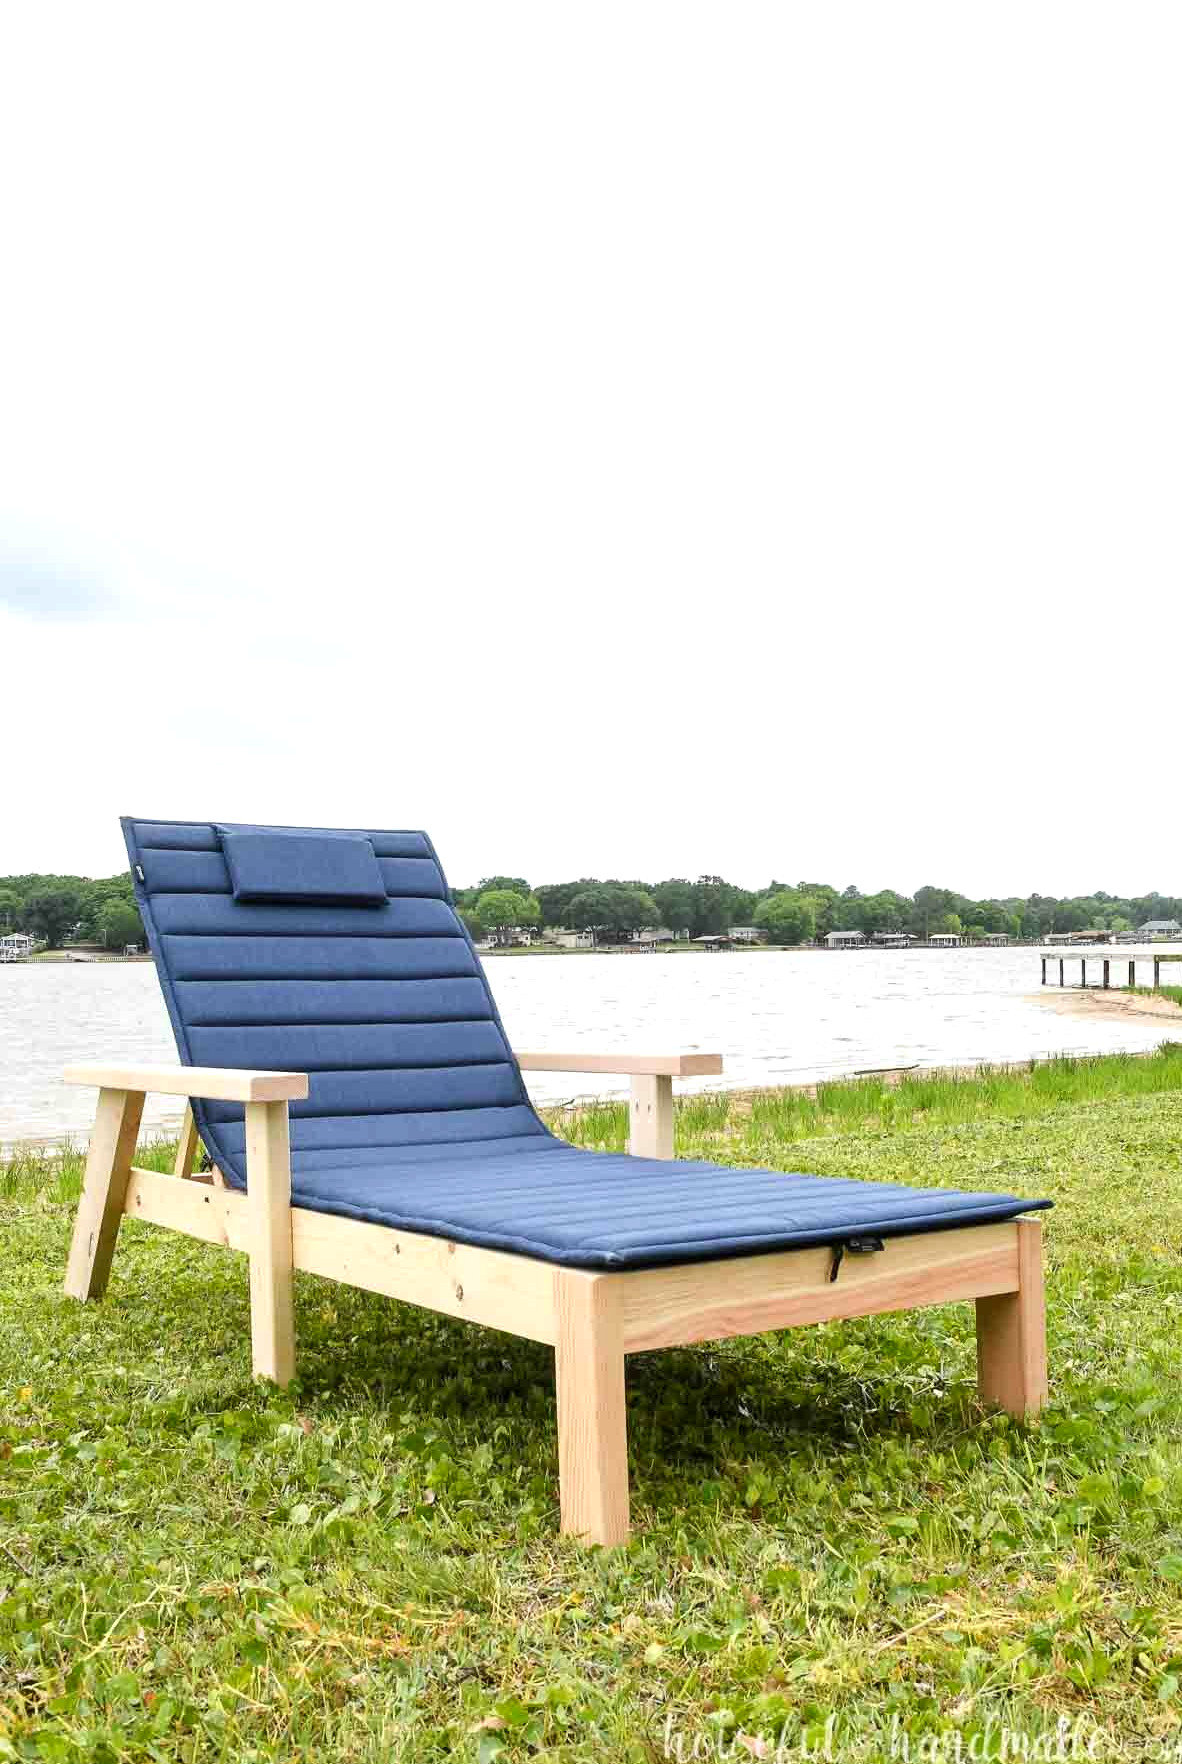
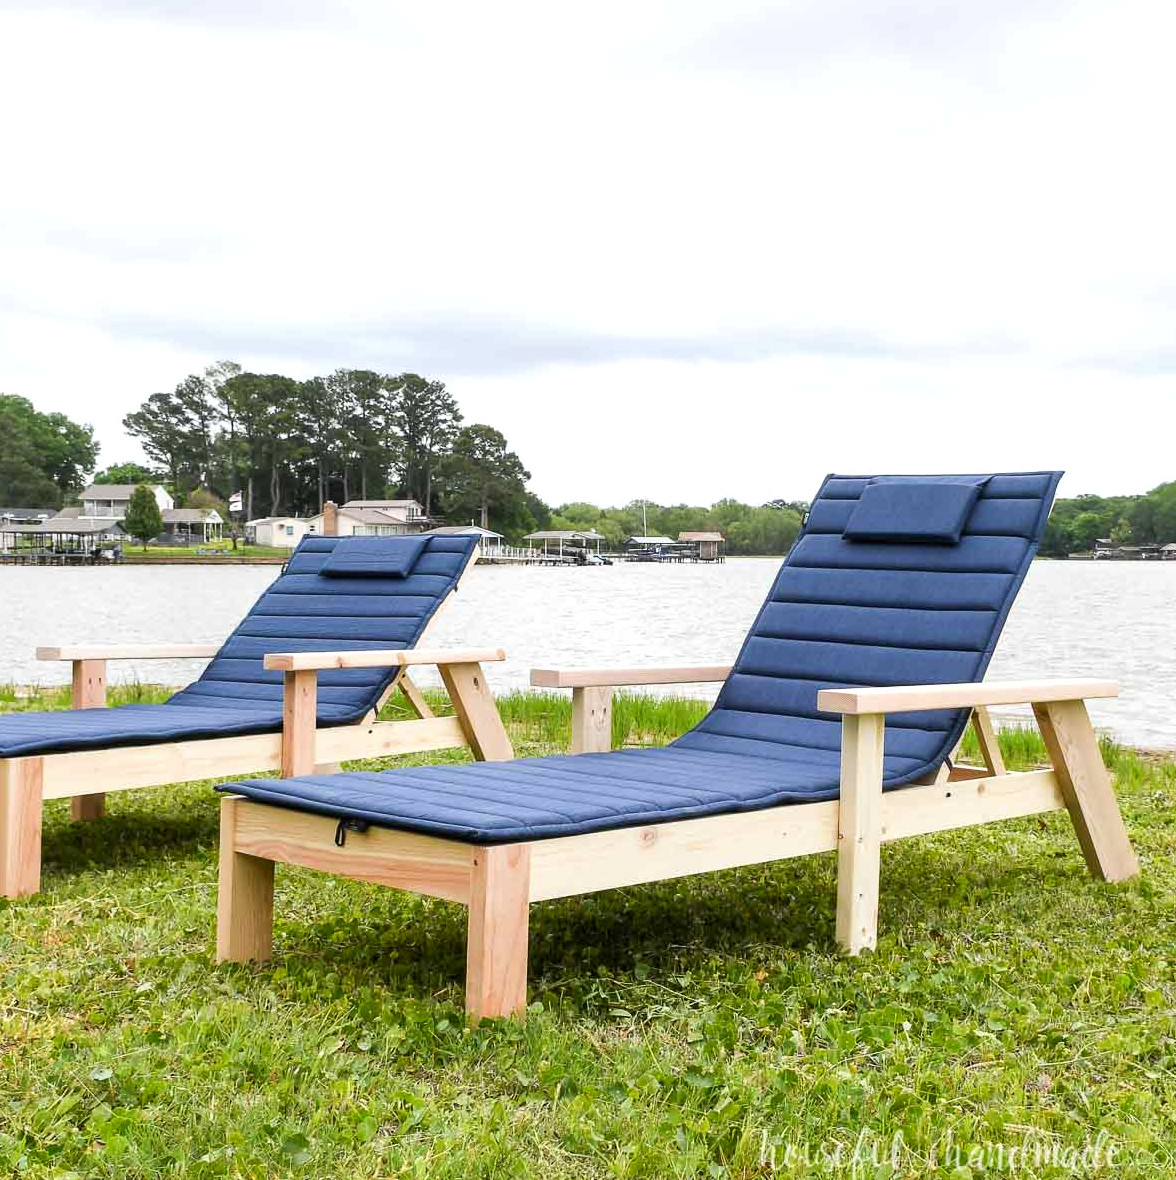
These patio loungers are ideal for the yard, beside the pool, or, in my case, next to the lake. The back adjusts effortlessly to 3 different positions or folds completely flat for the perfect tan.
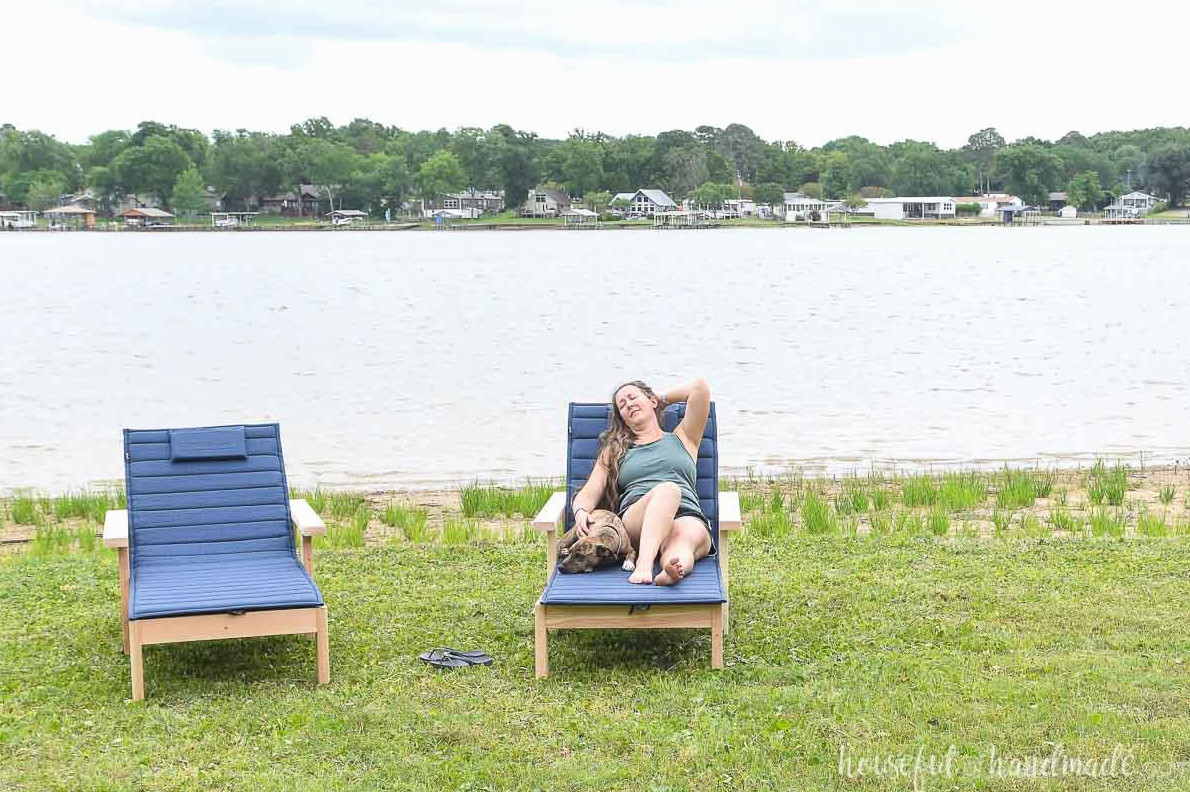
Adjustable back lounge chair
The adjustable back is my favorite feature of a chaise lounge chair. Keep it raised while reading or watching the kids play, then recline it for unwinding or lower it completely flat when you want to lie on your stomach.
That’s why I knew these DIY chaise loungers had to include the same adjustable back found on store-bought versions!
It took some trial and error, and I had to take apart and rebuild sections of the first lounge chair a few times before getting everything right. Still, I refused to quit!
I kept working until I could provide you with the ideal lounge chair building plans. This design offers 3 back positions along with a completely flat setting.
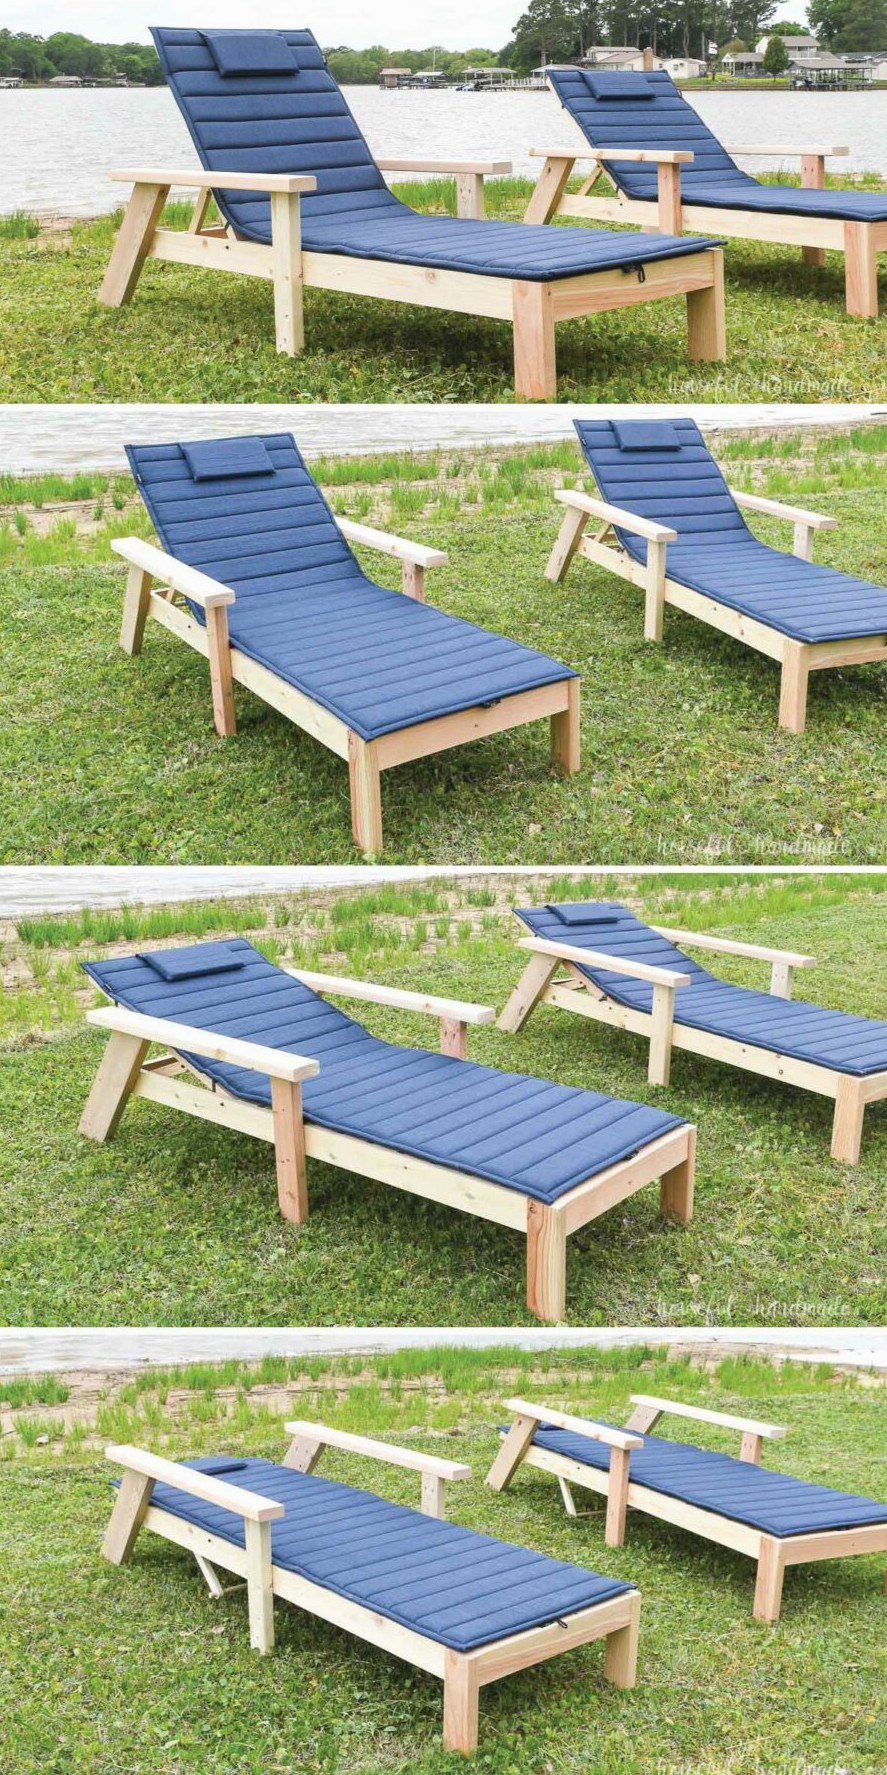
You might assume that adding an adjustable back makes these loungers a complicated DIY project… but it really doesn’t.
The chair has two pivot points that become movable with a couple of small shoulder screws. Each screw lets the piece rotate around a hole drilled into the wood. If you’re able to drill a straight hole, you can build this chair.
And if drilling a straight hole isn’t your strength, don’t be concerned. Kreg now offers a new, very simple drilling guide that makes it easier for anyone to create straight holes.
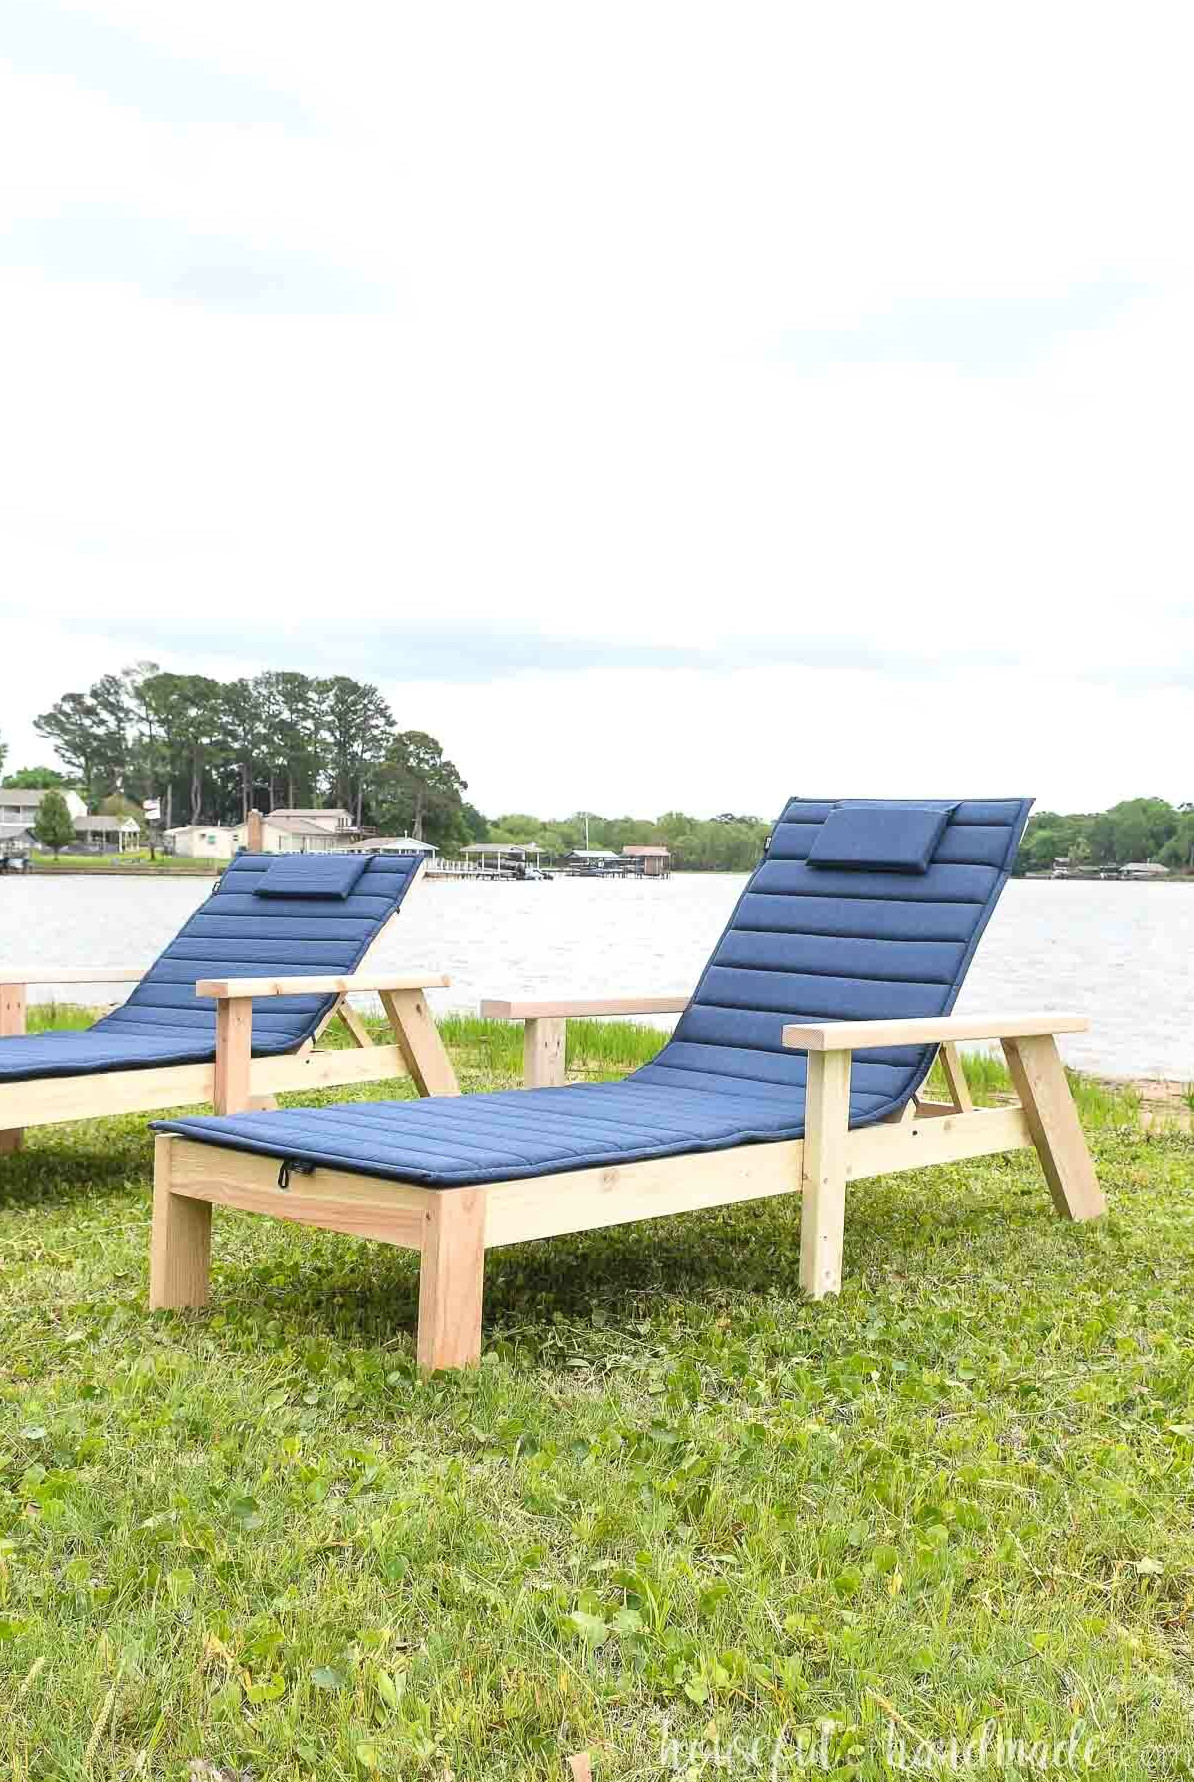
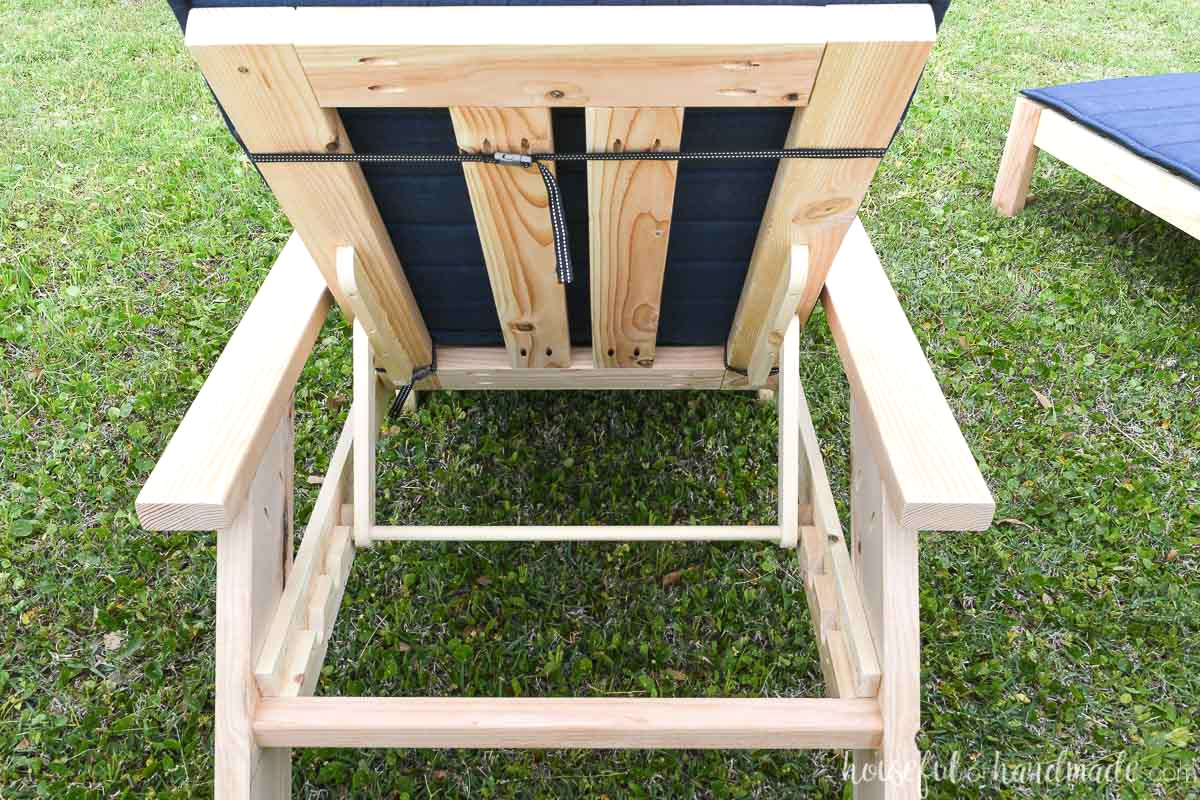
To secure the back of your chaise lounge chair at the preferred angle, you’ll cut notches where the backrest support can rest. These grooves are simple to create as well!
They also involve drilling a 1″ opening through the wood. Afterward, shape the area around the opening to improve its appearance and form a channel for the movable back section.
Best of all, I explain every step in the tutorial below, so you can build impressive adjustable chaise loungers too.
Wood Patio Lounge Chair
These chaise lounge chairs are constructed from wood. Any type will work, but I kept the cost low by choosing standard construction lumber (Douglas fir 2x boards).
This budget-friendly lumber is an excellent option for creating affordable outdoor furniture. Just be certain to protect it so your outdoor projects remain attractive for many years.
Apply an outdoor sealer to protect the wood. Penetrating sealers that soak into the wood without leaving a surface film must be renewed routinely. Film-forming sealers need another coat once the protective layer begins to deteriorate.
Slow down sealer wear by placing covers over your lounge chairs whenever they aren’t being used. Covers will also shield any cushions from damage caused by sunlight and changing weather.
Painting the chairs is another option if you’d rather have a solid-colored or white chaise lounge. Be sure to select exterior paint and cover the chairs when they are not in use to help the finish remain durable for years.
Cedar, redwood, and teak are also excellent choices for outdoor furniture. While these varieties cost more, they stand up to rot and shrinkage and have a beautiful appearance.
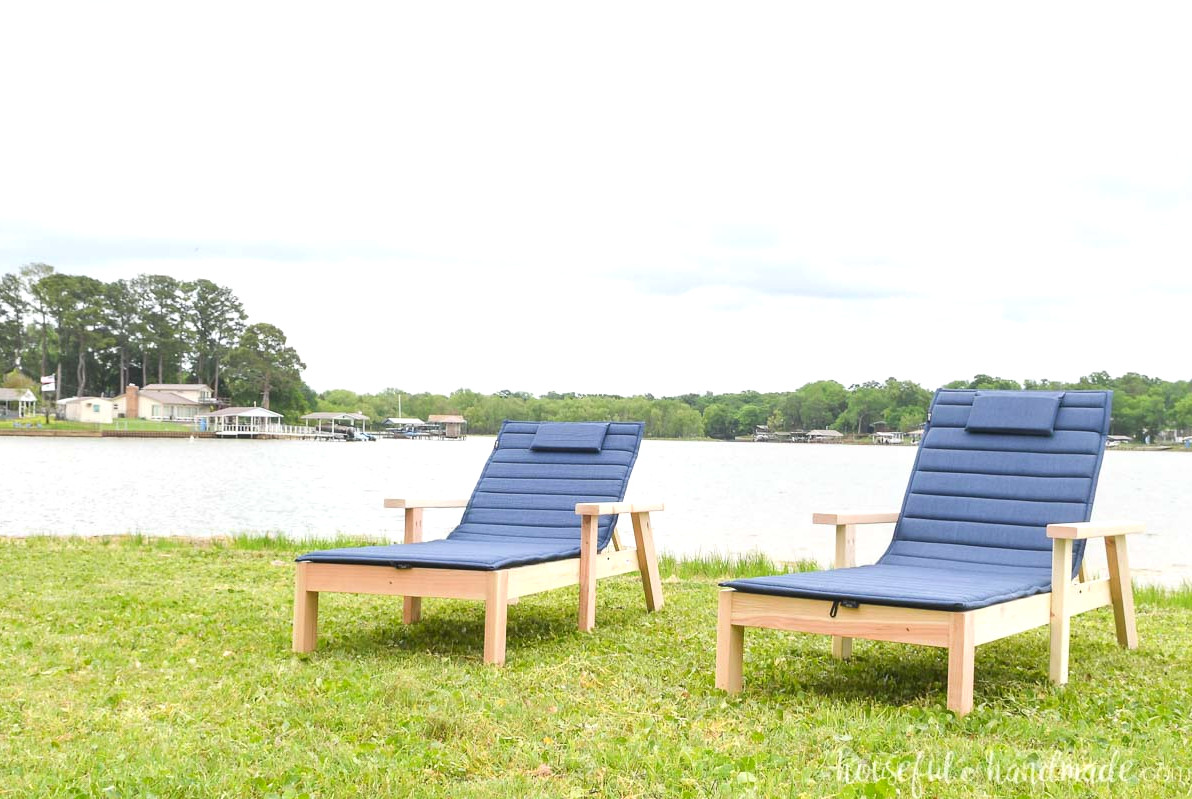
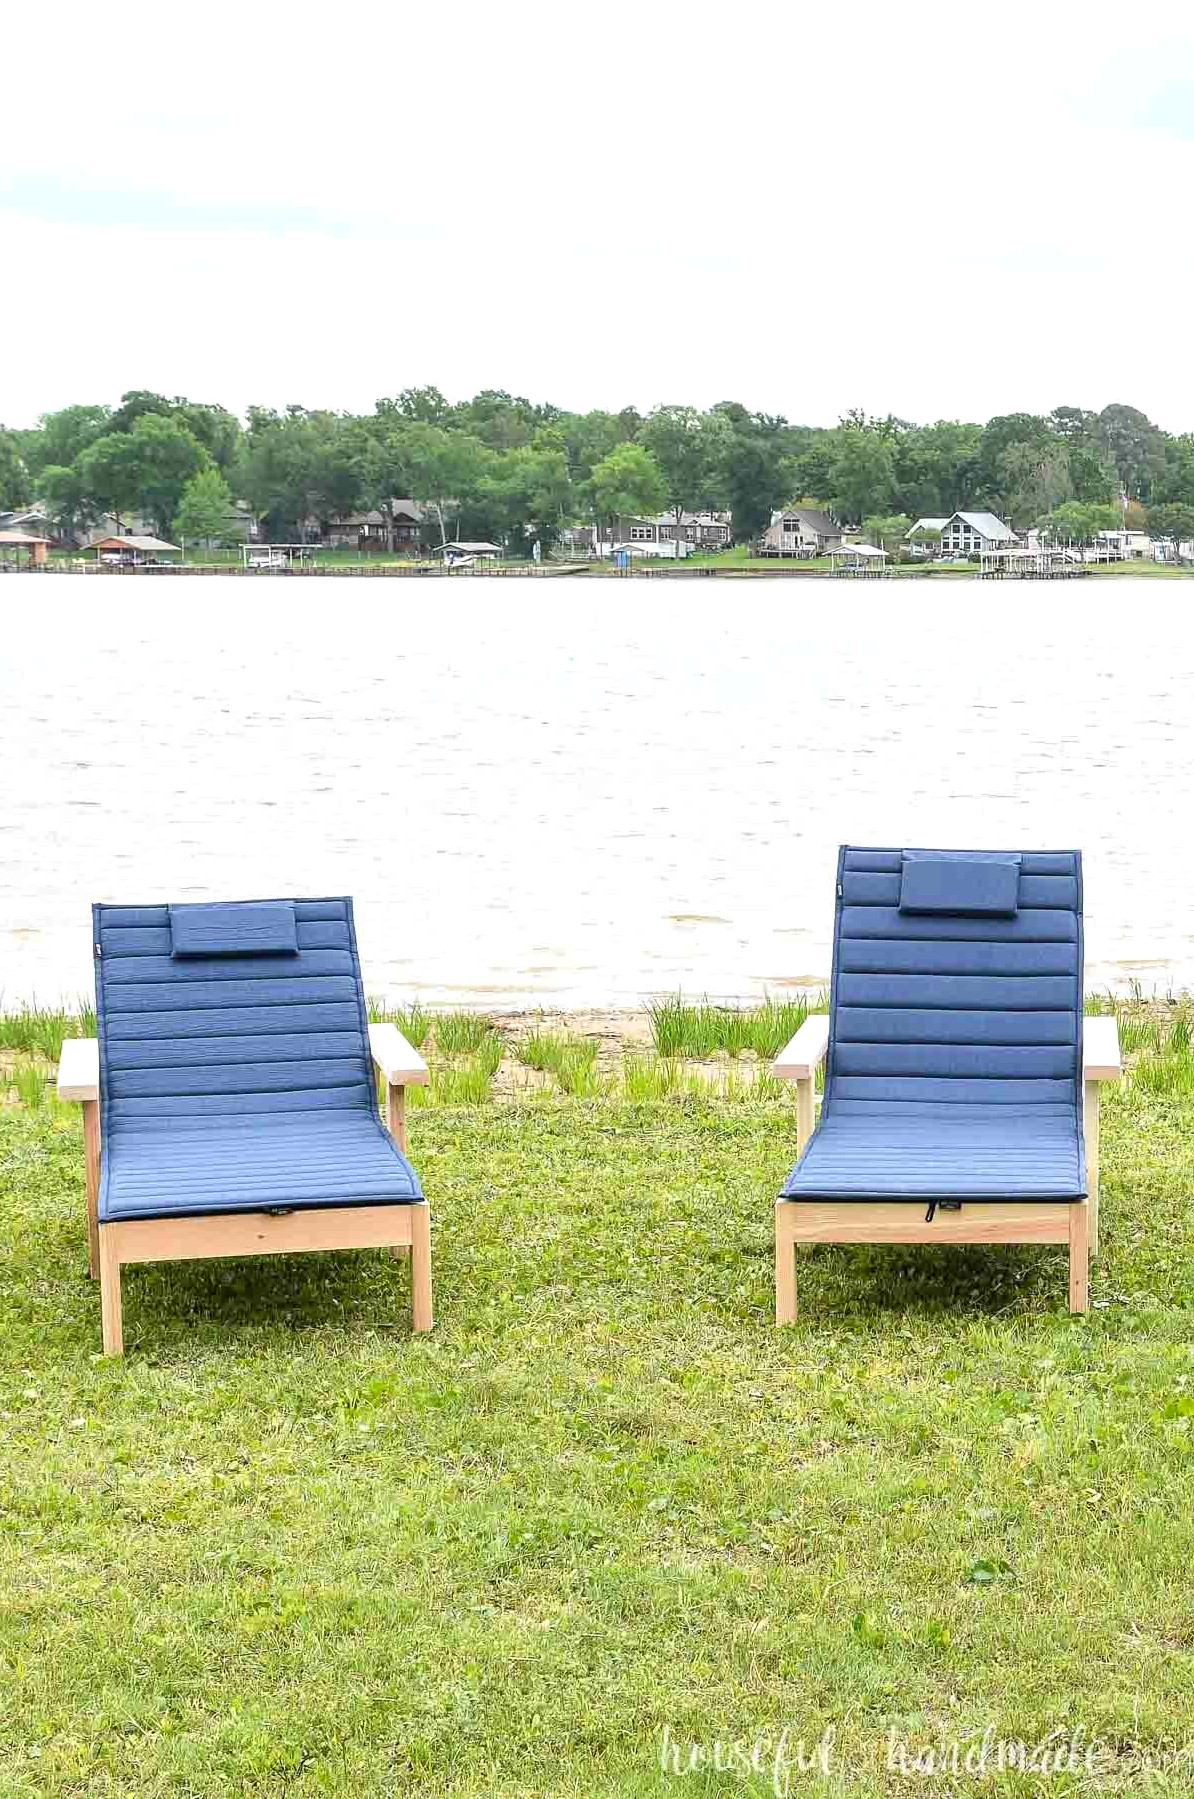
Since I like spending the entire day outdoors, I designed these lounge chairs to accommodate a standard lounge chair cushion for extra comfort.
Any 26″-wide by 80″-long chair cushion that suits your decor can be used. I chose these slimmer cushions because they can be rolled up quickly when they’re not needed.
My husband couldn’t believe how comfortable these attractive loungers became with the thin cushion. We’re ready for plenty of relaxing—and possibly napping—outside, along with a few sunburns!
Printable PDF Woodworking Plans
How to Build a Chaise Lounge Chair
Tools & Materials
Overall Dimensions
The completed chaise lounger measures 33″ wide x 82 1/4″ deep, with arms standing 20″ high. It accommodates a standard 26″-wide x 80″-long chaise cushion.
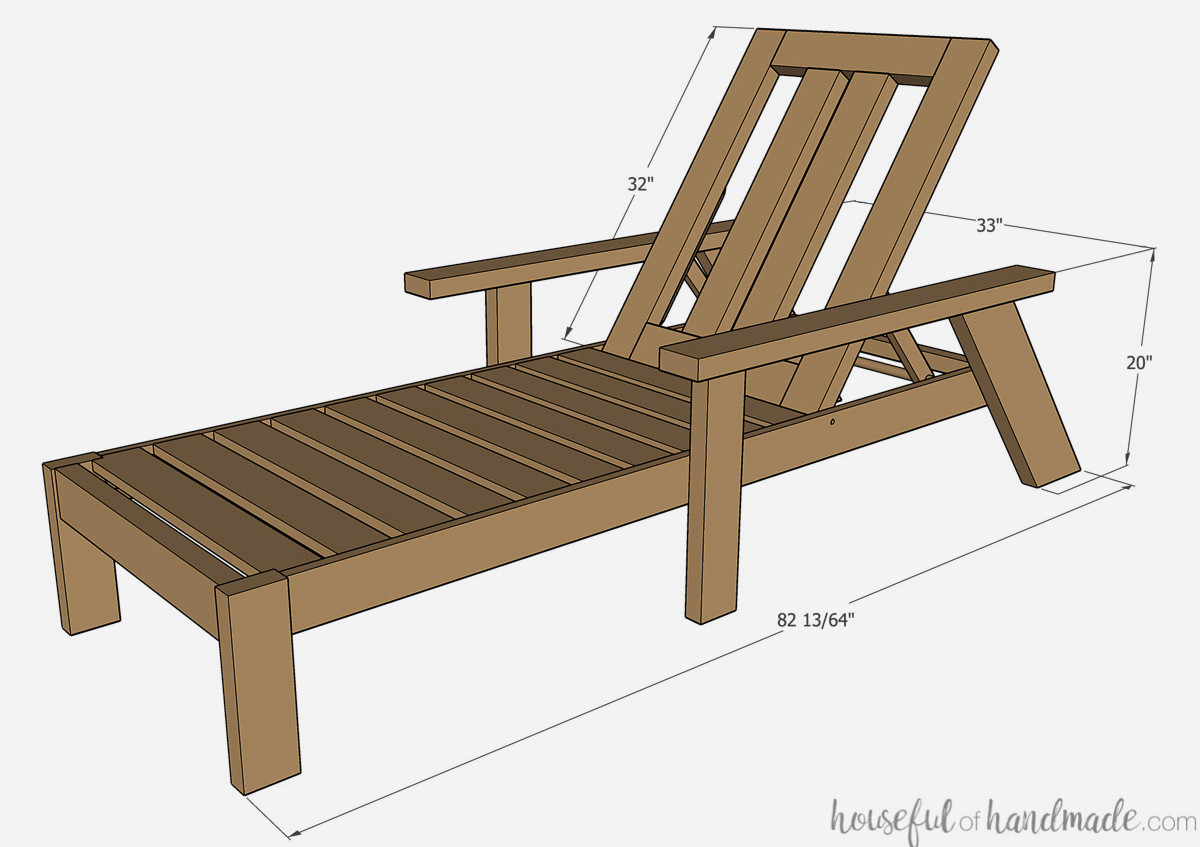
Cut List
Prepare the pieces by following the detailed cut list included in the PDF plans.
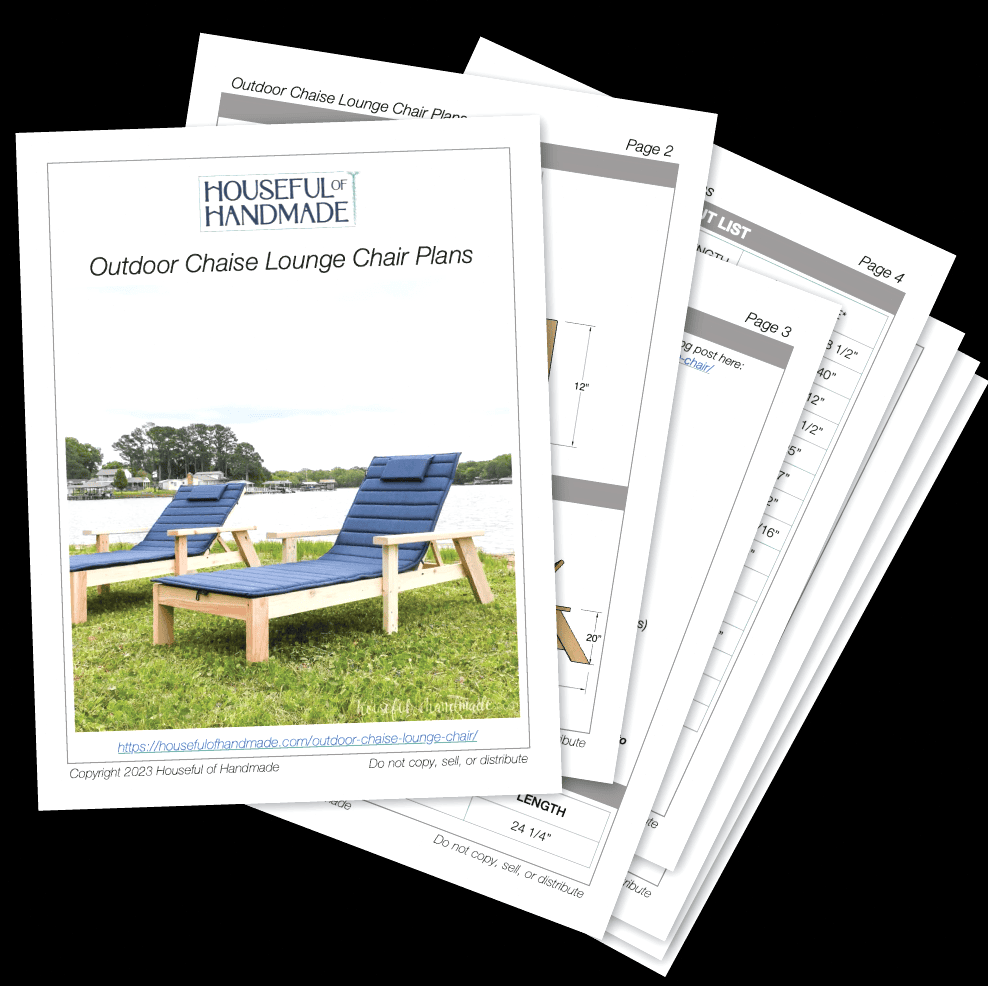
Get the Premium PDF Woodworking Plans
PDF plans include- Easy-to-Follow Cut List, Shopping List, Suggested Tools, Step-by-Step Directions with 3D illustrations, & Useful Resources
BONUS- 3D SketchUp File
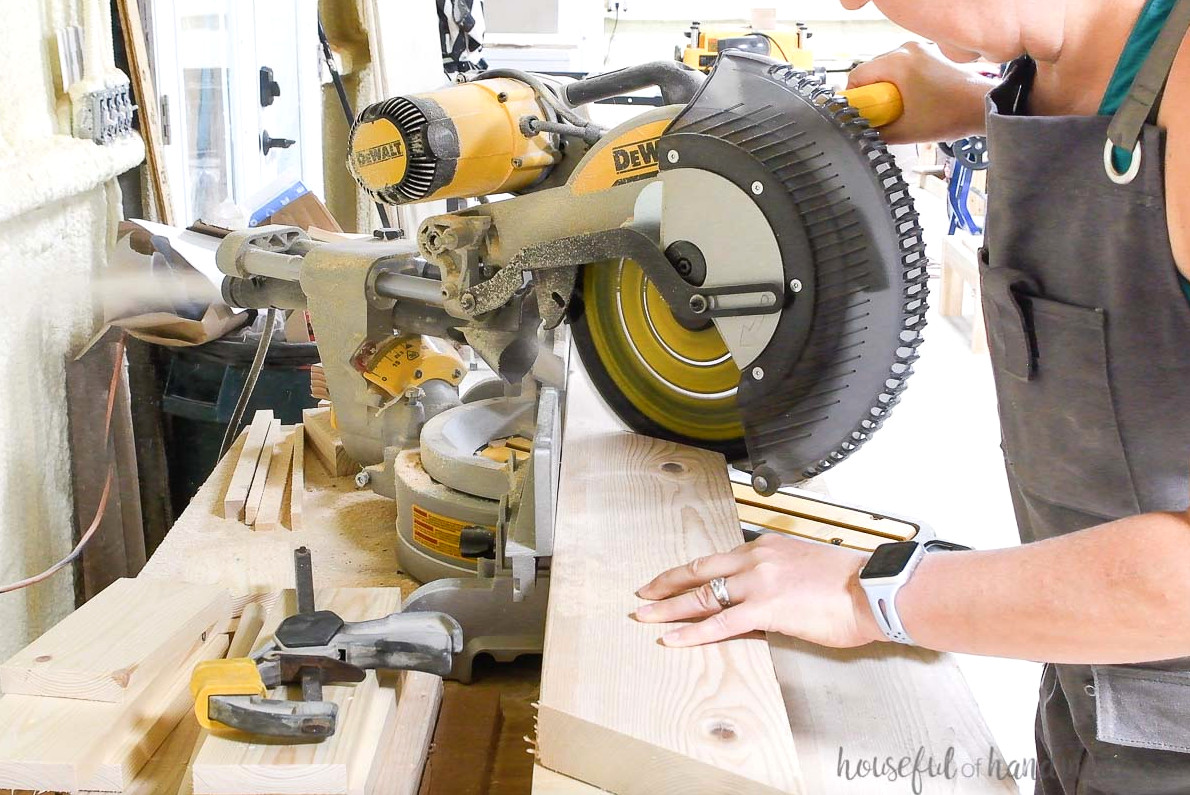
Cut both ends of the back legs at a 37 1/2 degree angle. Ensure that the two angles run parallel to one another.
Refer to the diagram in the plans for more information about making the angled cuts.
STEP 1- Assemble the legs
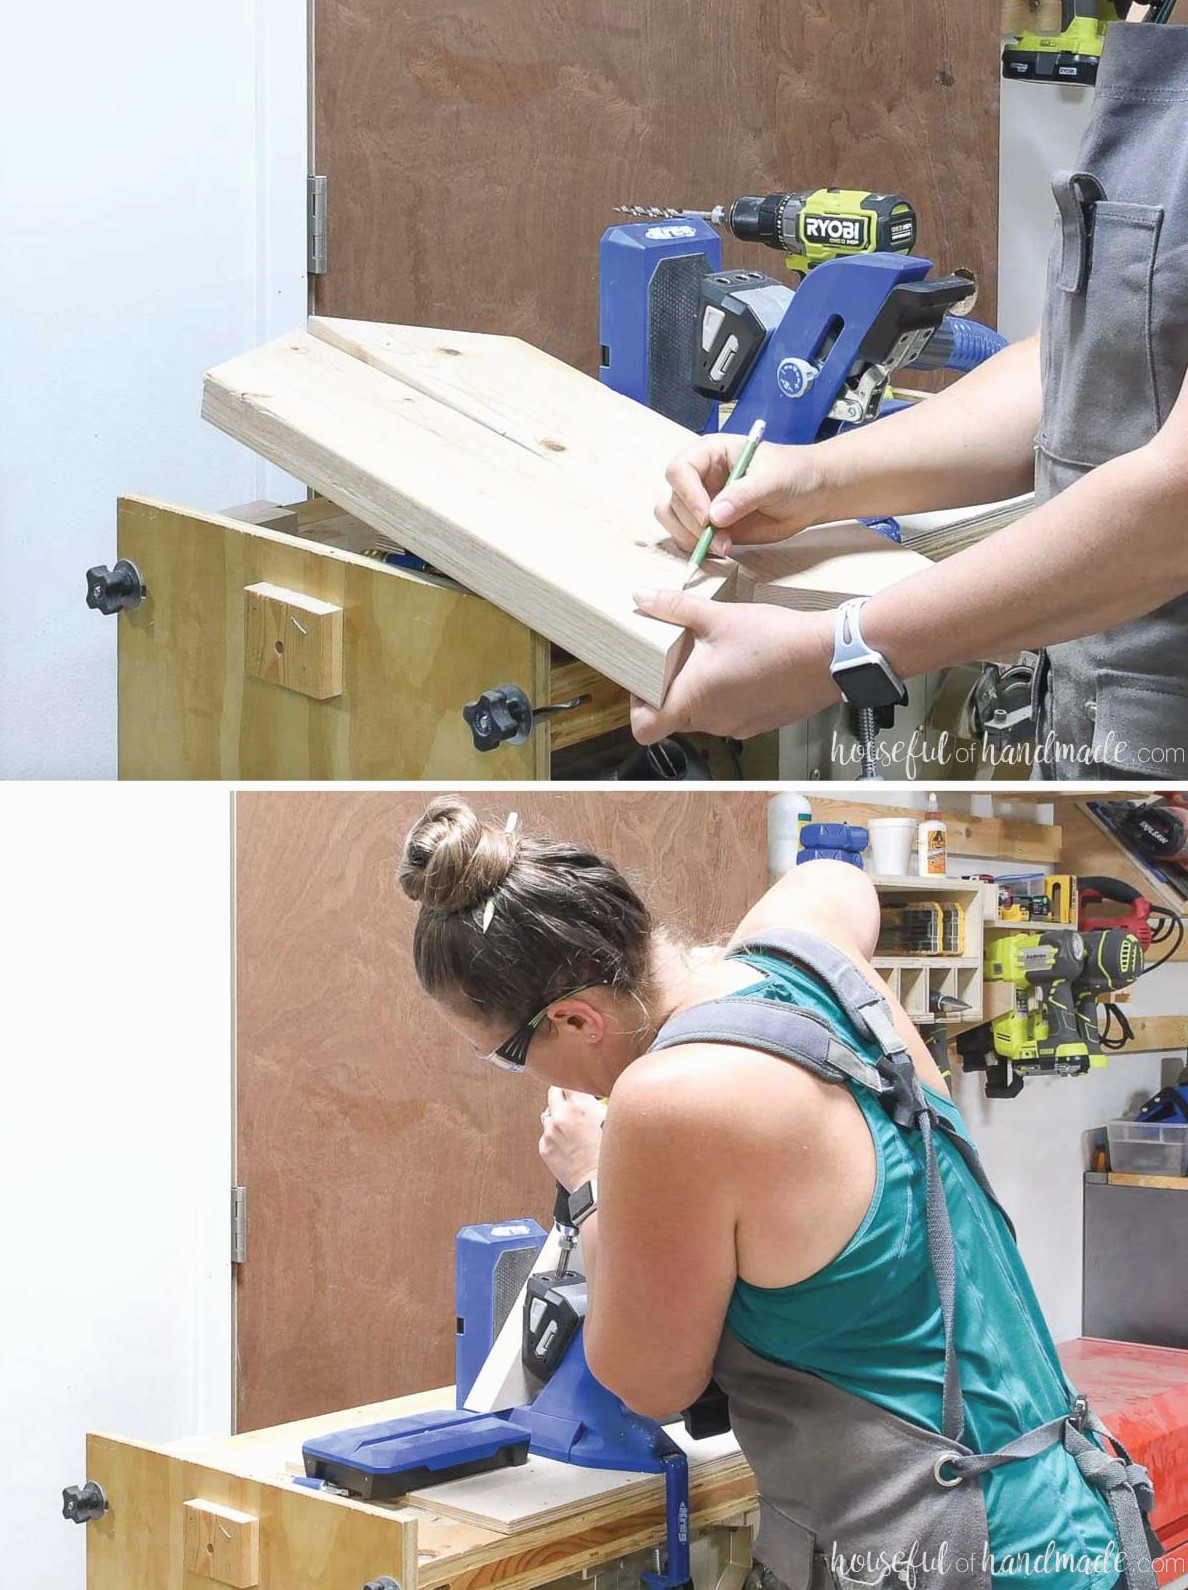
Set your drill for 1 1/2″ thick material, then make pocket holes in one end of each center leg piece and in both ends of the front brace.
Make pocket holes in one end of every angled back leg piece. Since the legs must be mirrored, confirm that the pocket holes are positioned on opposite sides of the boards.
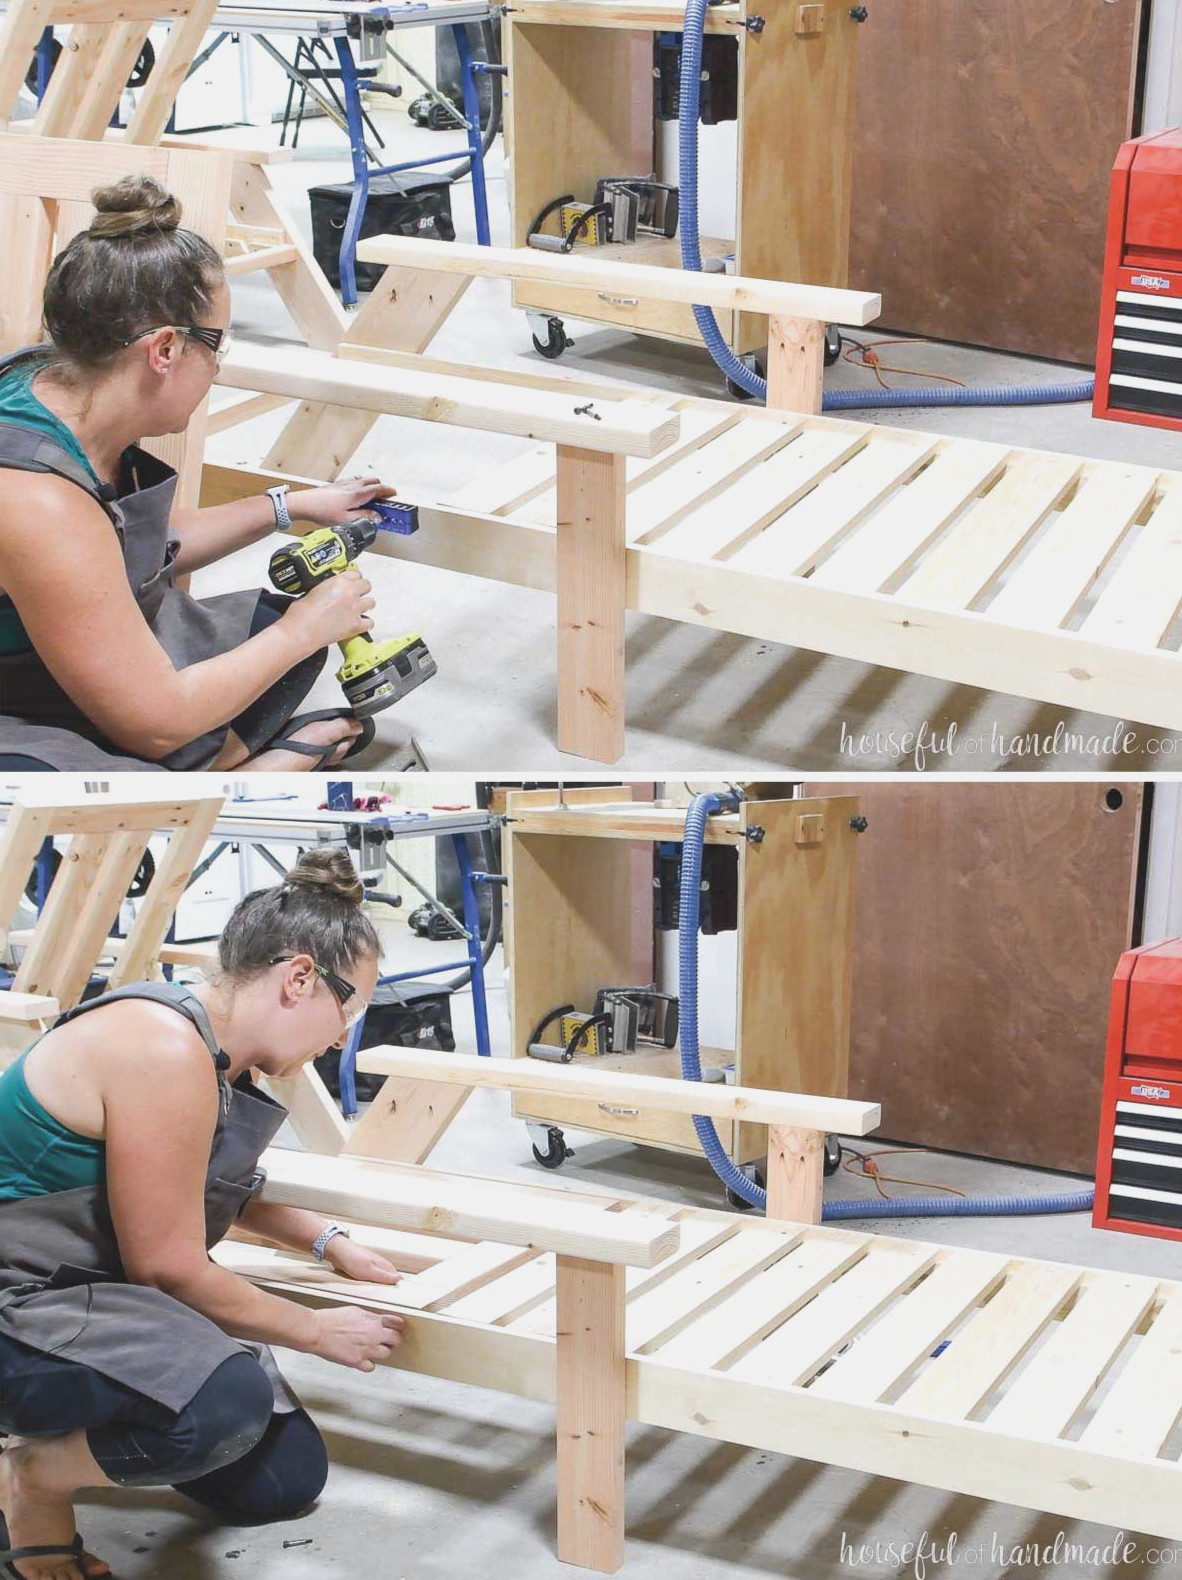
Mark a line 3″ from both the front and back ends of the arm pieces. At this 3″ mark, fasten the center legs to the front of the arms. Apply wood glue and secure them with 2 1/2″ pocket hole screws.
Position the back legs against the rear of the arm rest, angling the legs toward the back at the 3″ mark. Fasten them with wood glue and 2 1/2″ pocket hole screws.
Check that both boards are even with the inside edge of the arm. Be sure to mirror the legs so they face opposite directions rather than being identical.
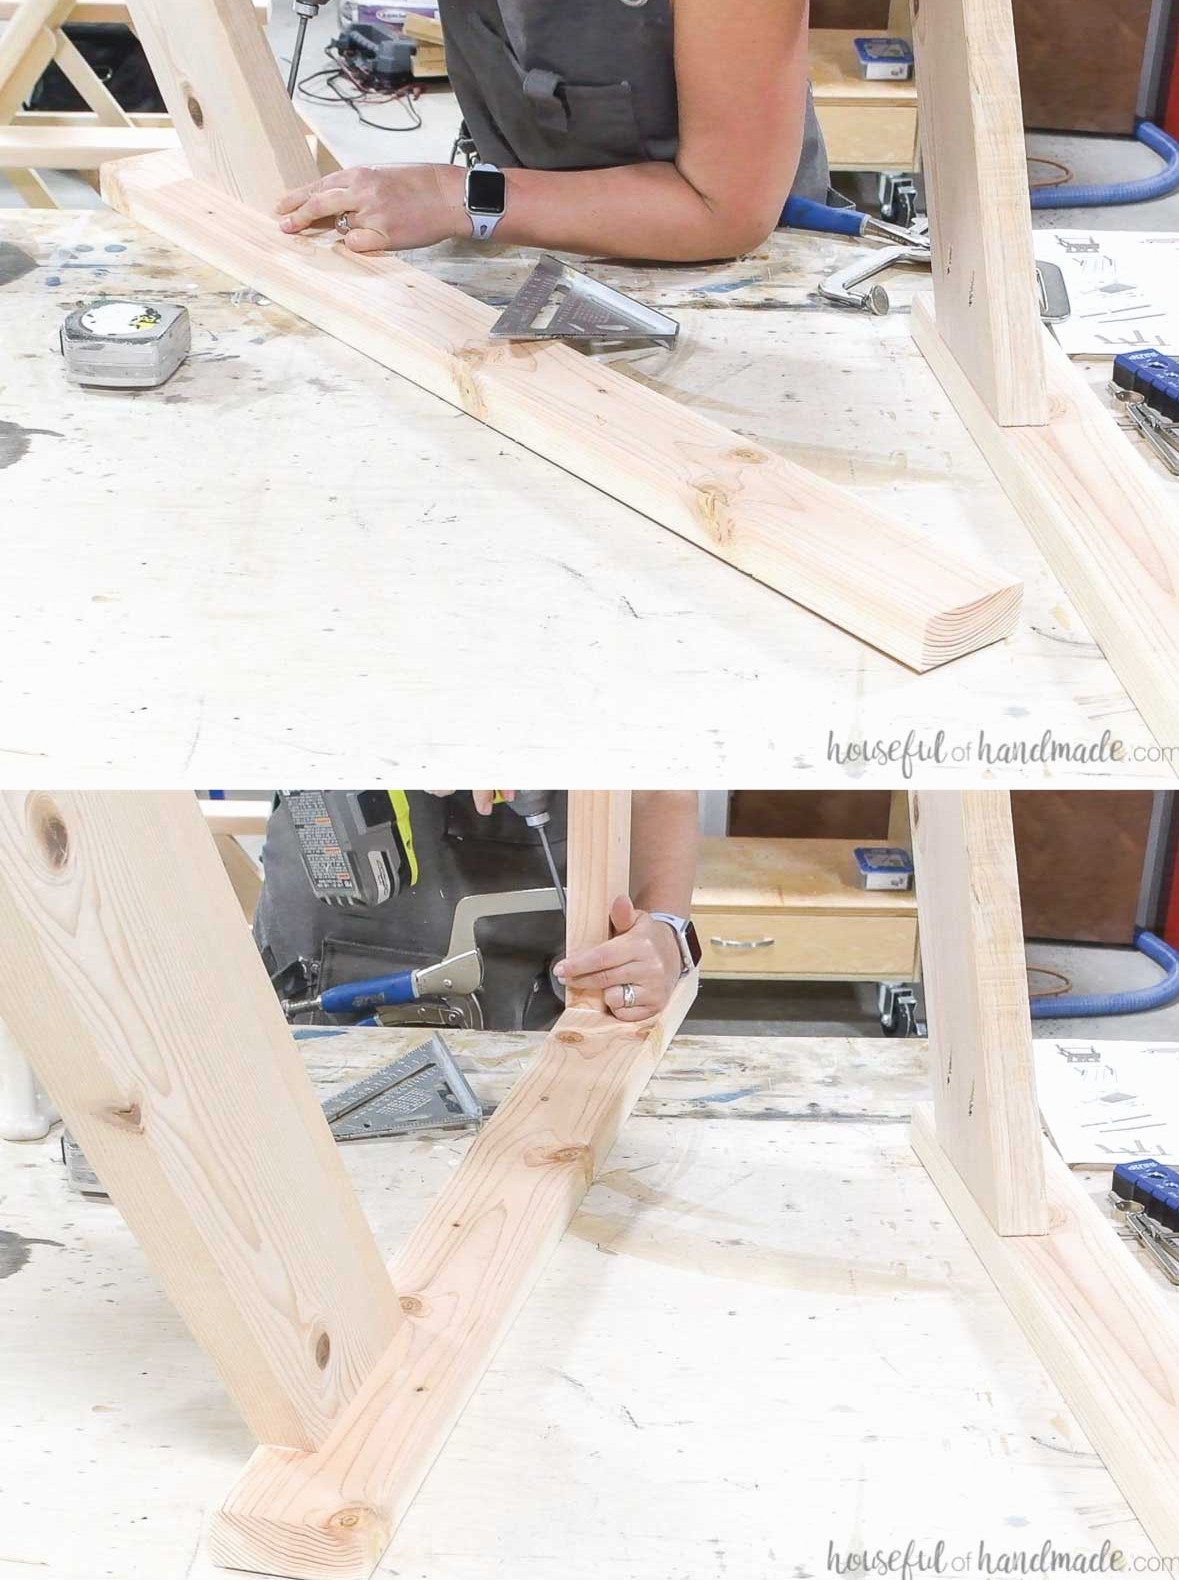
Install the front brace between the front legs, keeping it flush with their top edges. Recess the front brace 1/4″ and attach it with wood glue and 2 1/2″ pocket hole screws.
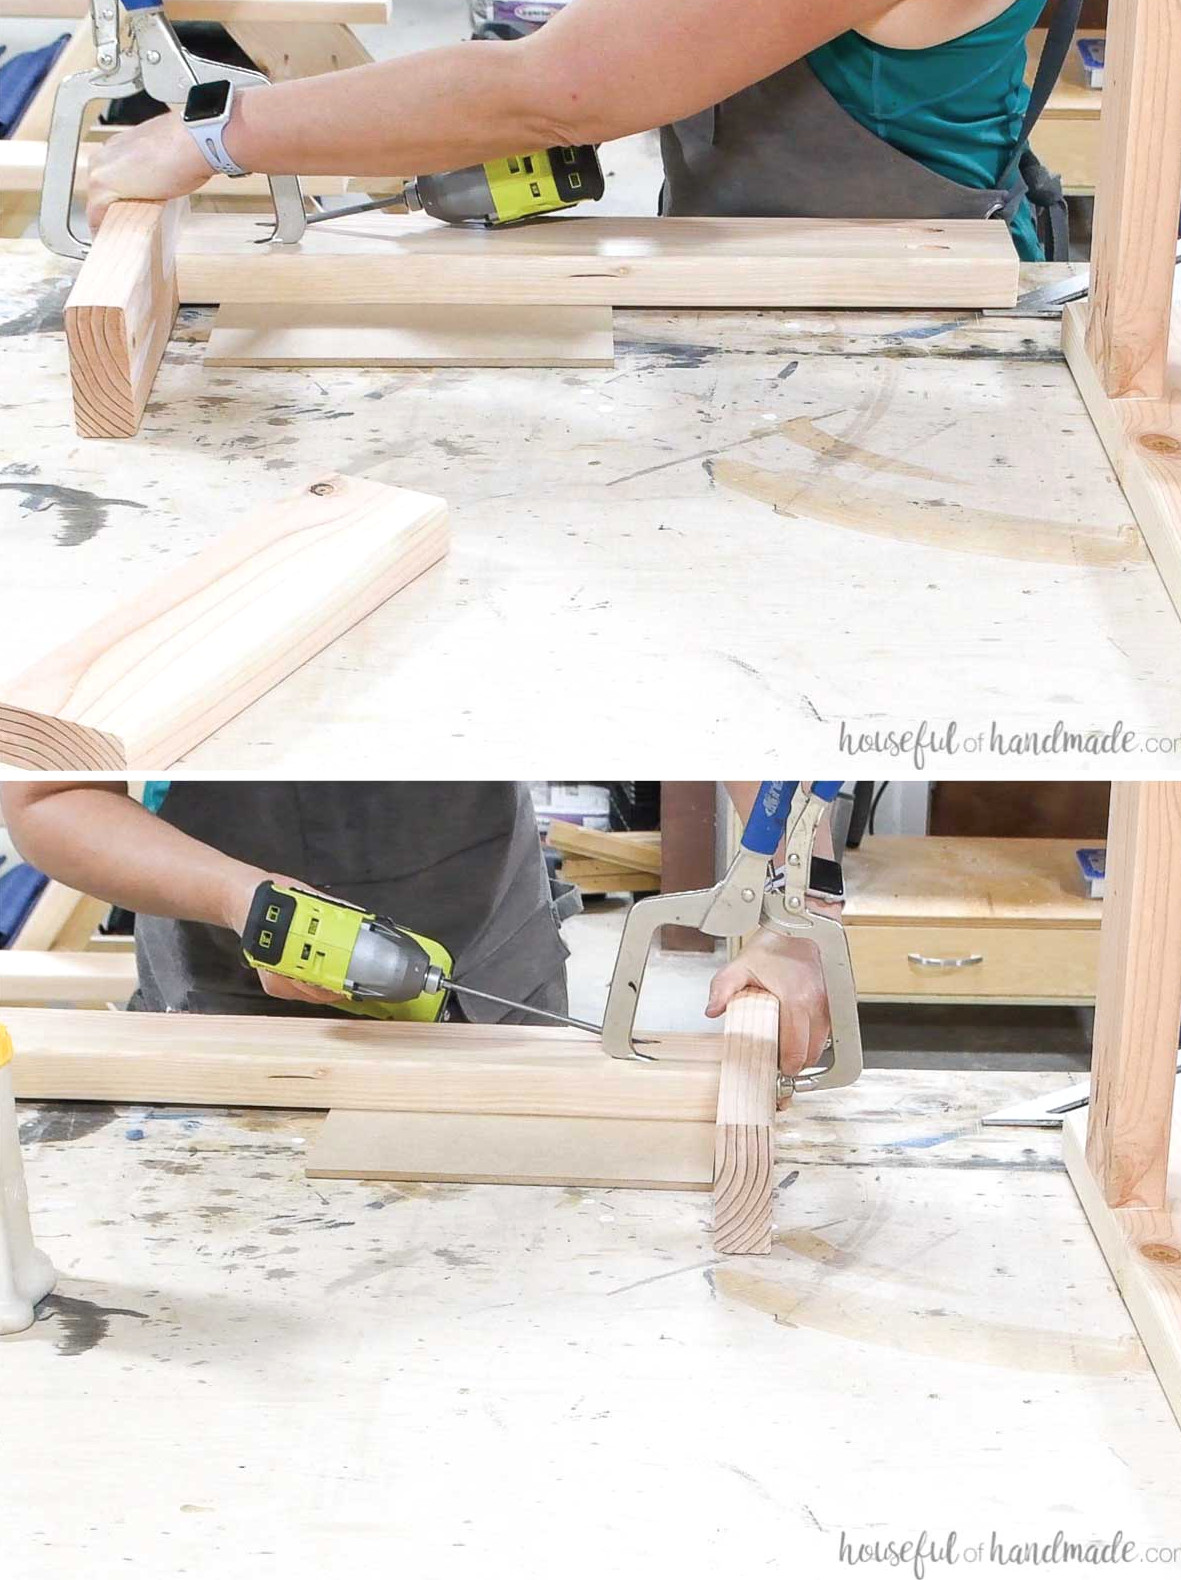
STEP 2- Install rails to form the frame
Adjust the drill for 3/4″ thick material and make pocket holes in one end of each side rail board.
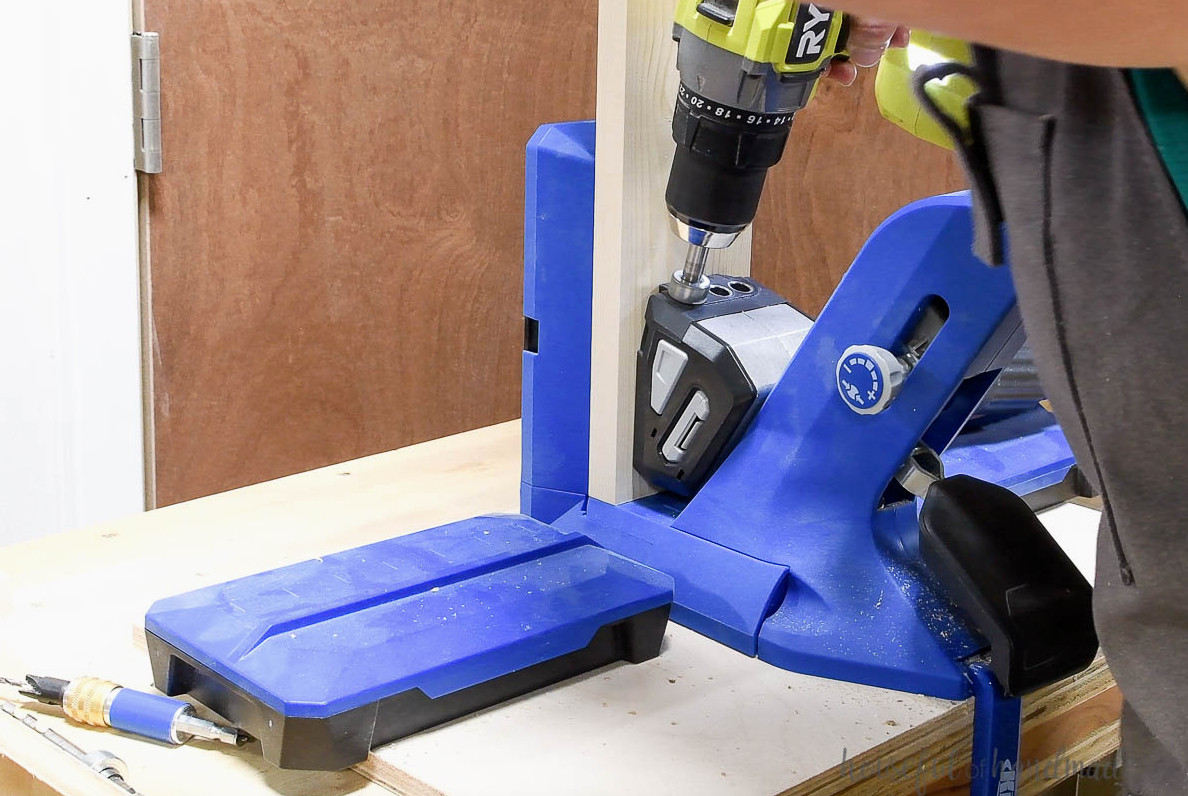
Measure 8 1/2″ upward from the bottom of the back and center leg boards. For the angled back legs, using a flat board as a measuring reference may make it easier to mark 8 1/2″ from the floor instead of from the angle.
Fasten the side rail to the inside of each leg assembly, leaving 30 1/2″ extending past the front of the center leg. The front is the side containing the drilled pocket holes.
Attach the rails with 1 1/4″ long blue-kote screws. Use the Kreg quick-flip to countersink each screw into the boards.
Position the screws 1″ above the bottom of the rail so they will not interfere with later steps.
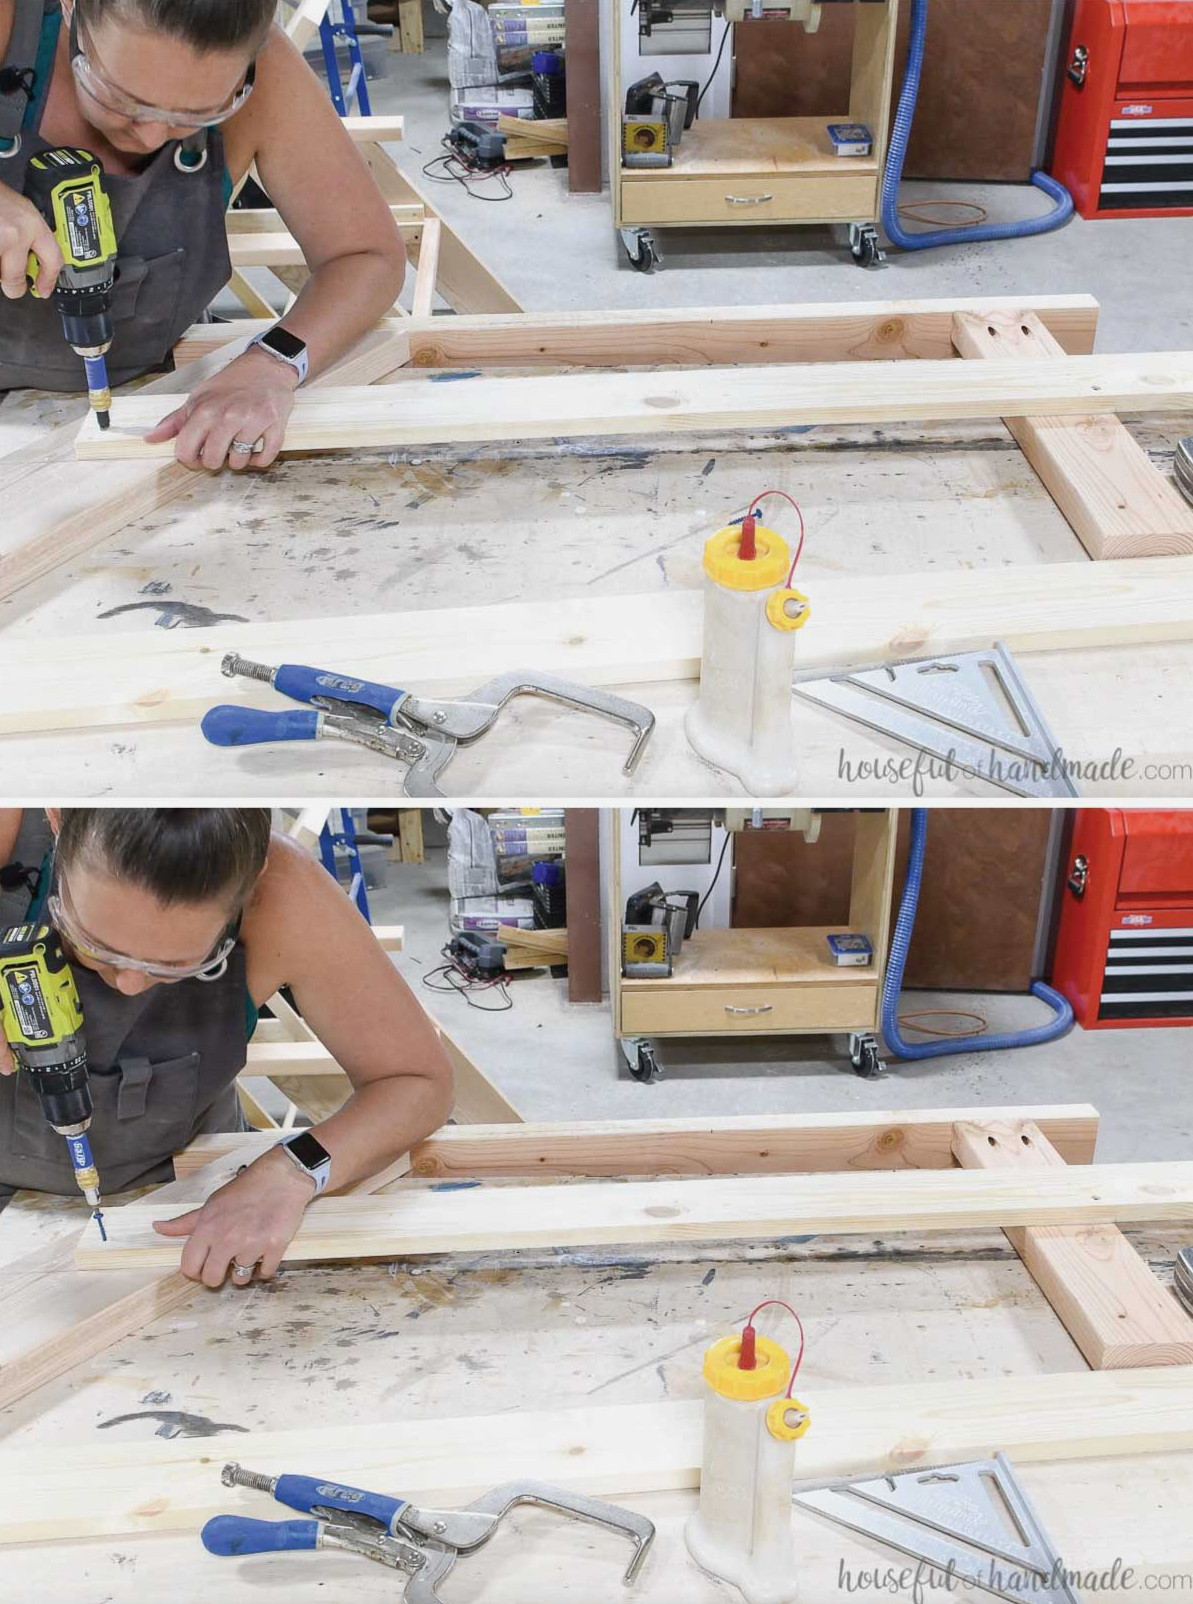
Make pocket holes for 1 1/2″ thick material in both ends of the back support piece.
Place it against the back legs, 1 1/2″ below the top of the rails and tight against their rear edges. Fasten it with wood glue and 2 1/2″ pocket hole screws.
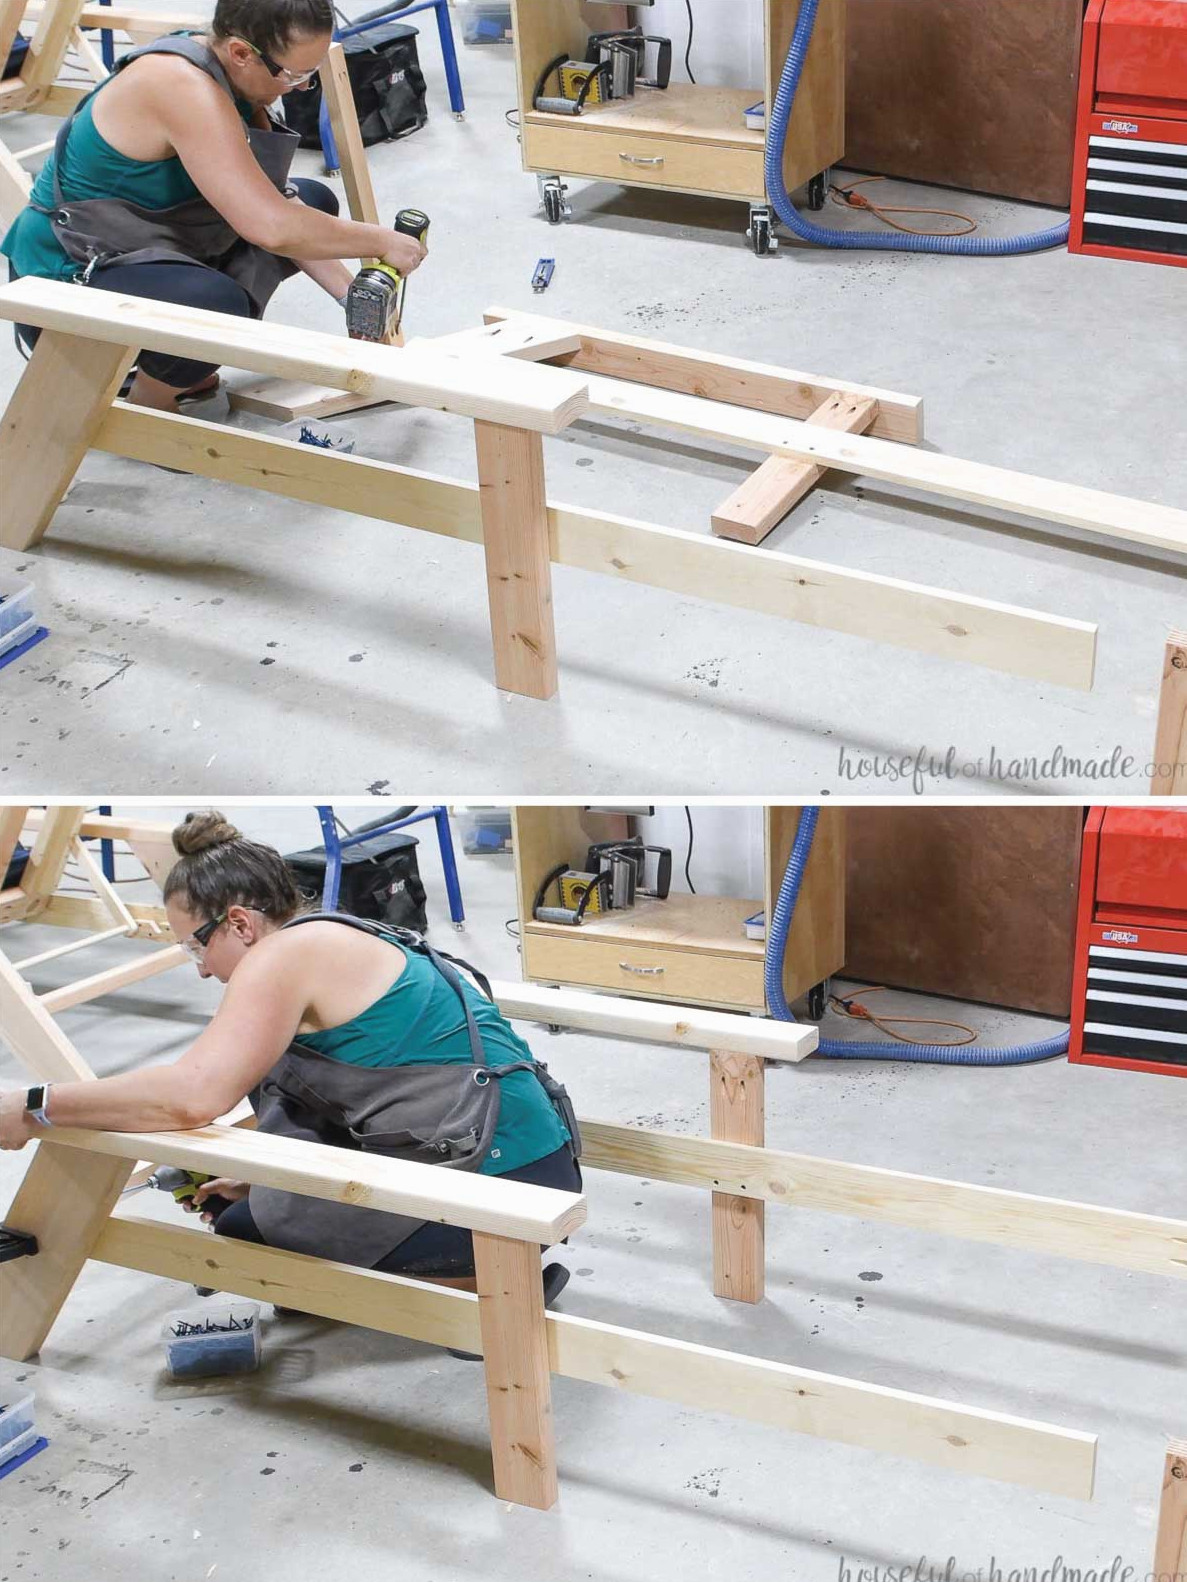
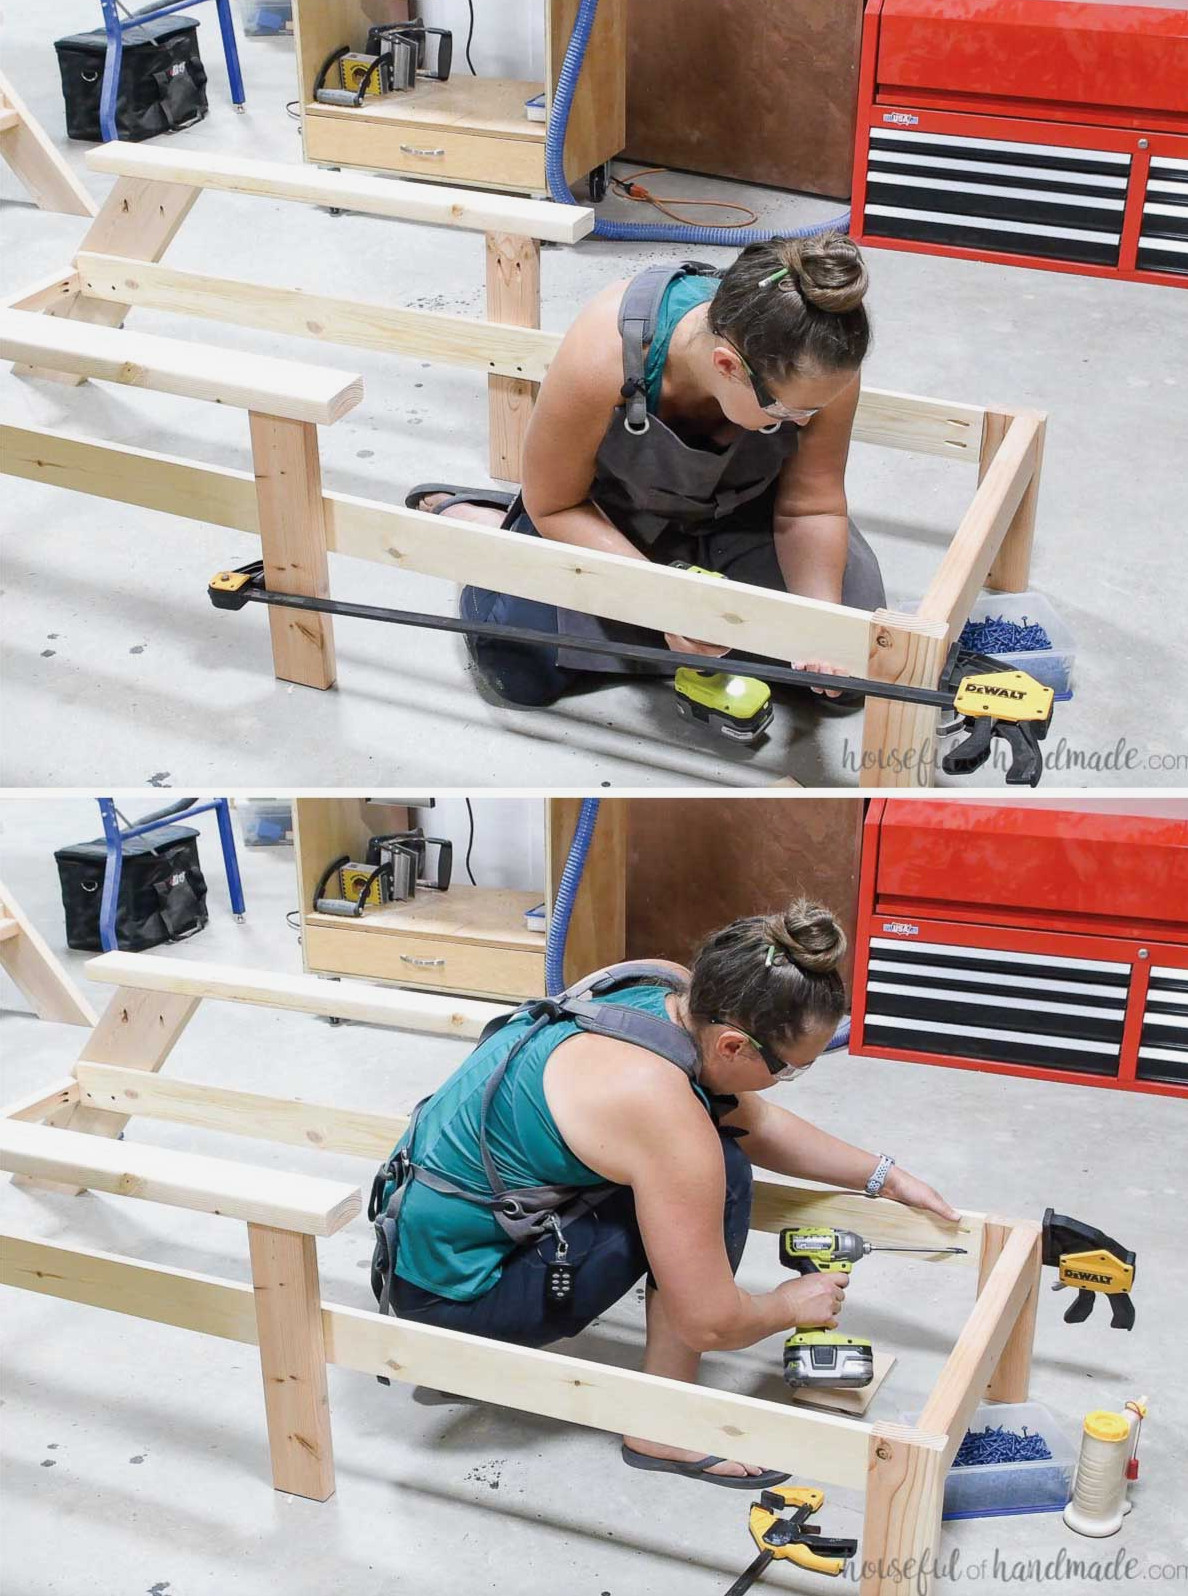
Use the predrilled pocket holes in the side rails to connect them to the front leg assembly. Apply wood glue and drive in 1 1/4″ pocket hole screws.
Position the side rails 1/4″ inside the legs and verify that their top edges are flush.
STEP 3- Install the seat slats
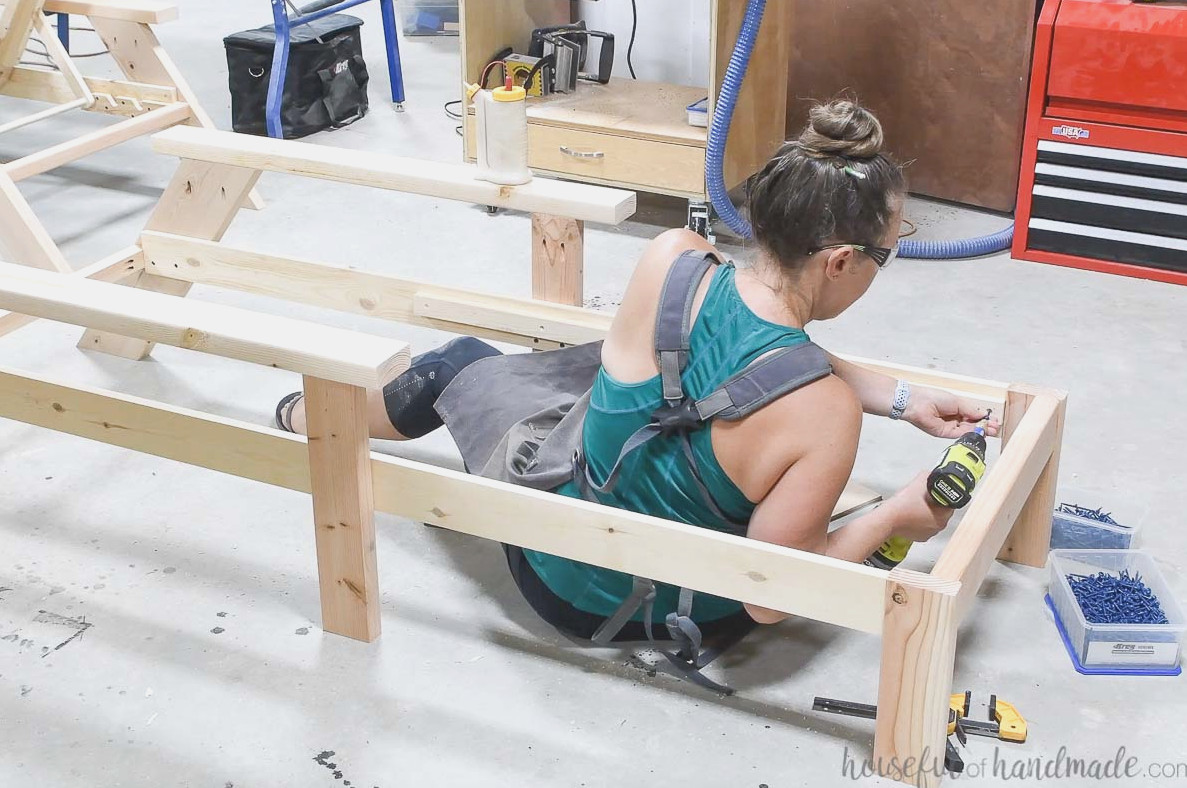
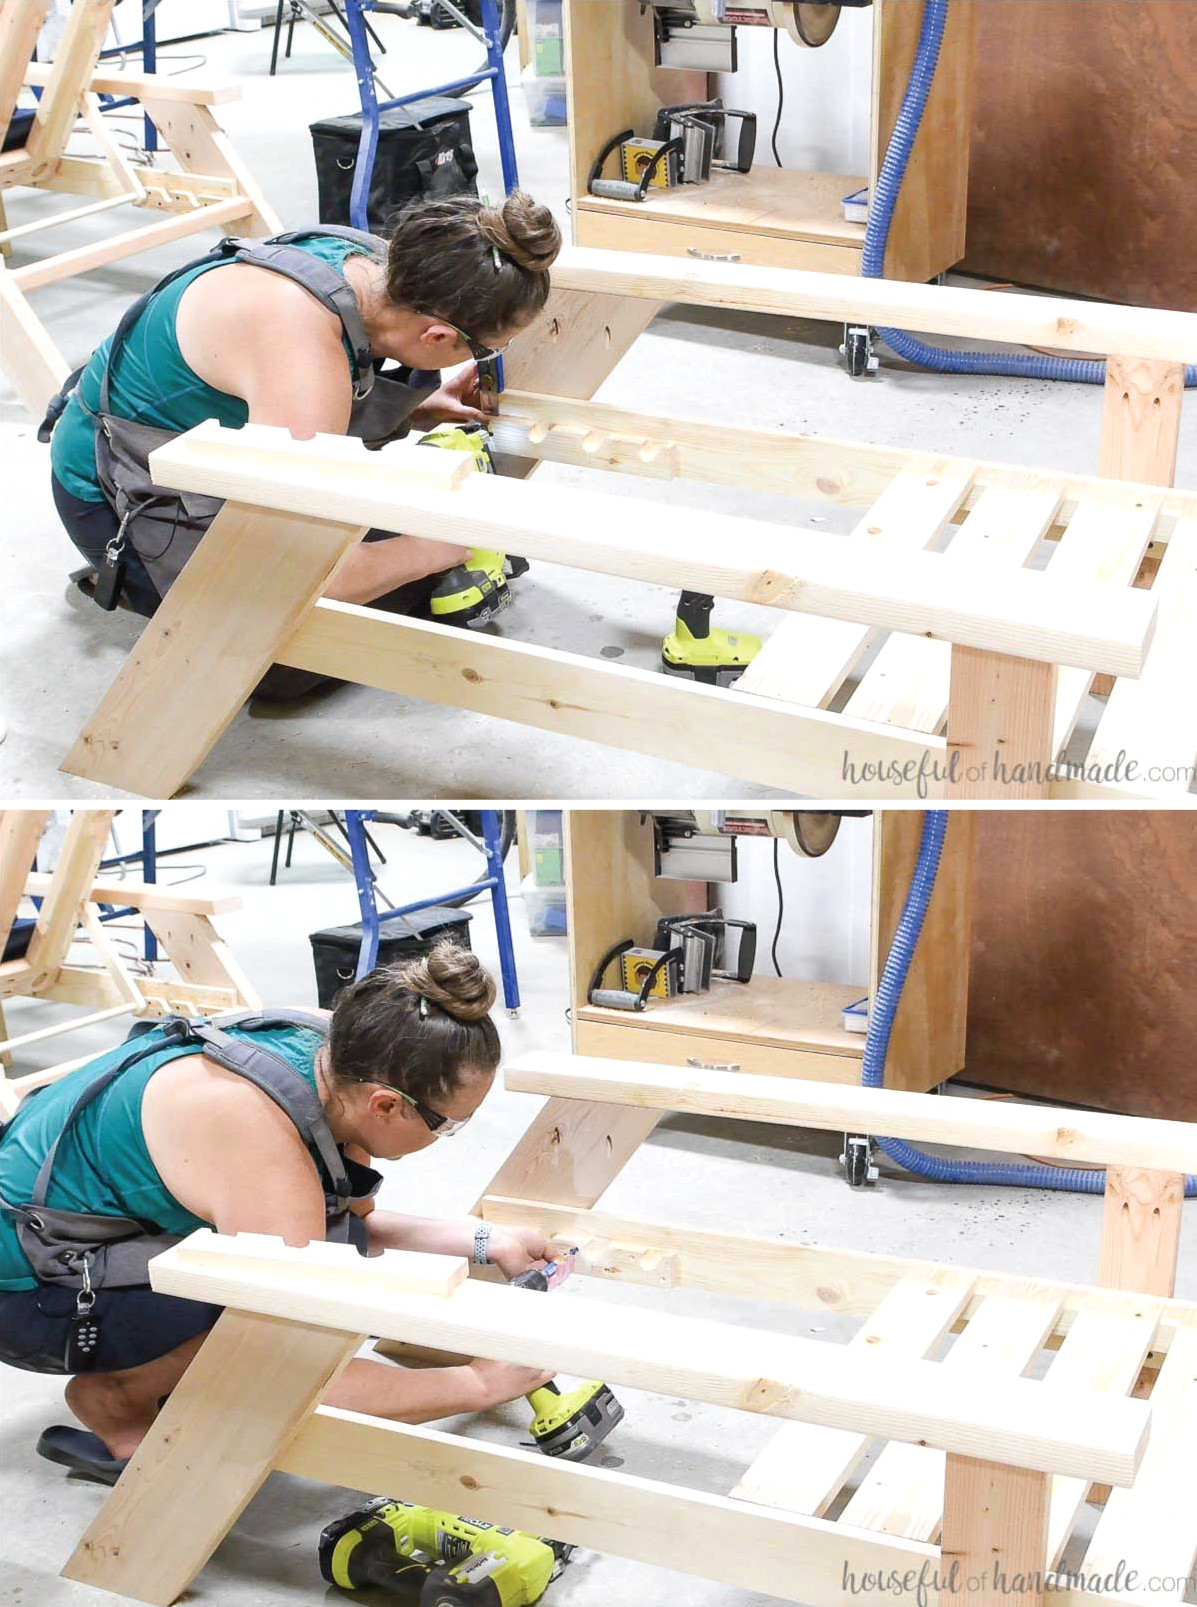
Fasten the slat supports inside the side rails, positioning them 3/4″ below the top edge.
Apply wood glue and temporarily hold them with 1 1/4″ finish nails. These are optional, but they help keep the supports in position during the next step. Then secure them with 1 1/4″ blue-kote screws using the Quick-flip.
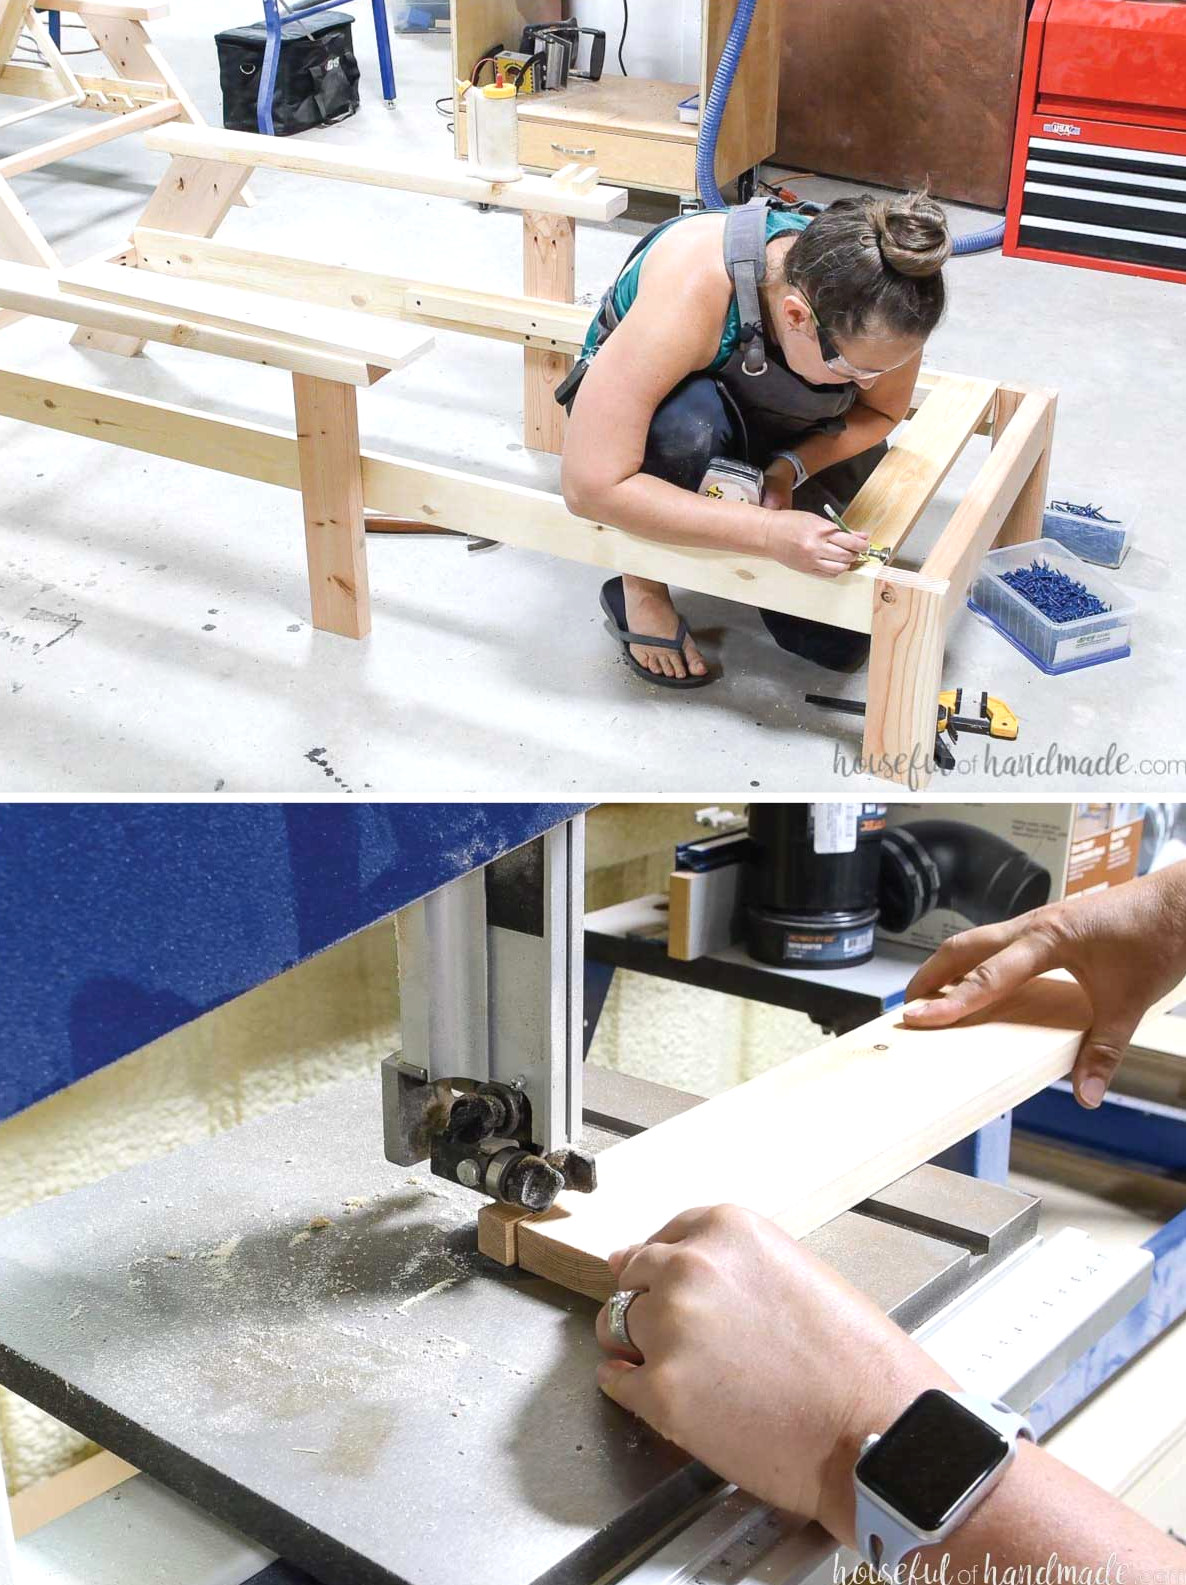
Measure the inside of your chaise lounge frame and cut 10 seat slats to fit. Be sure to take measurements before cutting, as the dimensions can vary slightly based on your boards and how far the rails are recessed.
Cut notches into the front corners of one seat slat, leaving just a 1″ gap between the front brace and the first slat. Use a jigsaw or band saw to make the notches.
Set the drill for 3/4″ thick material and make pocket holes in both ends of every seat slat board.
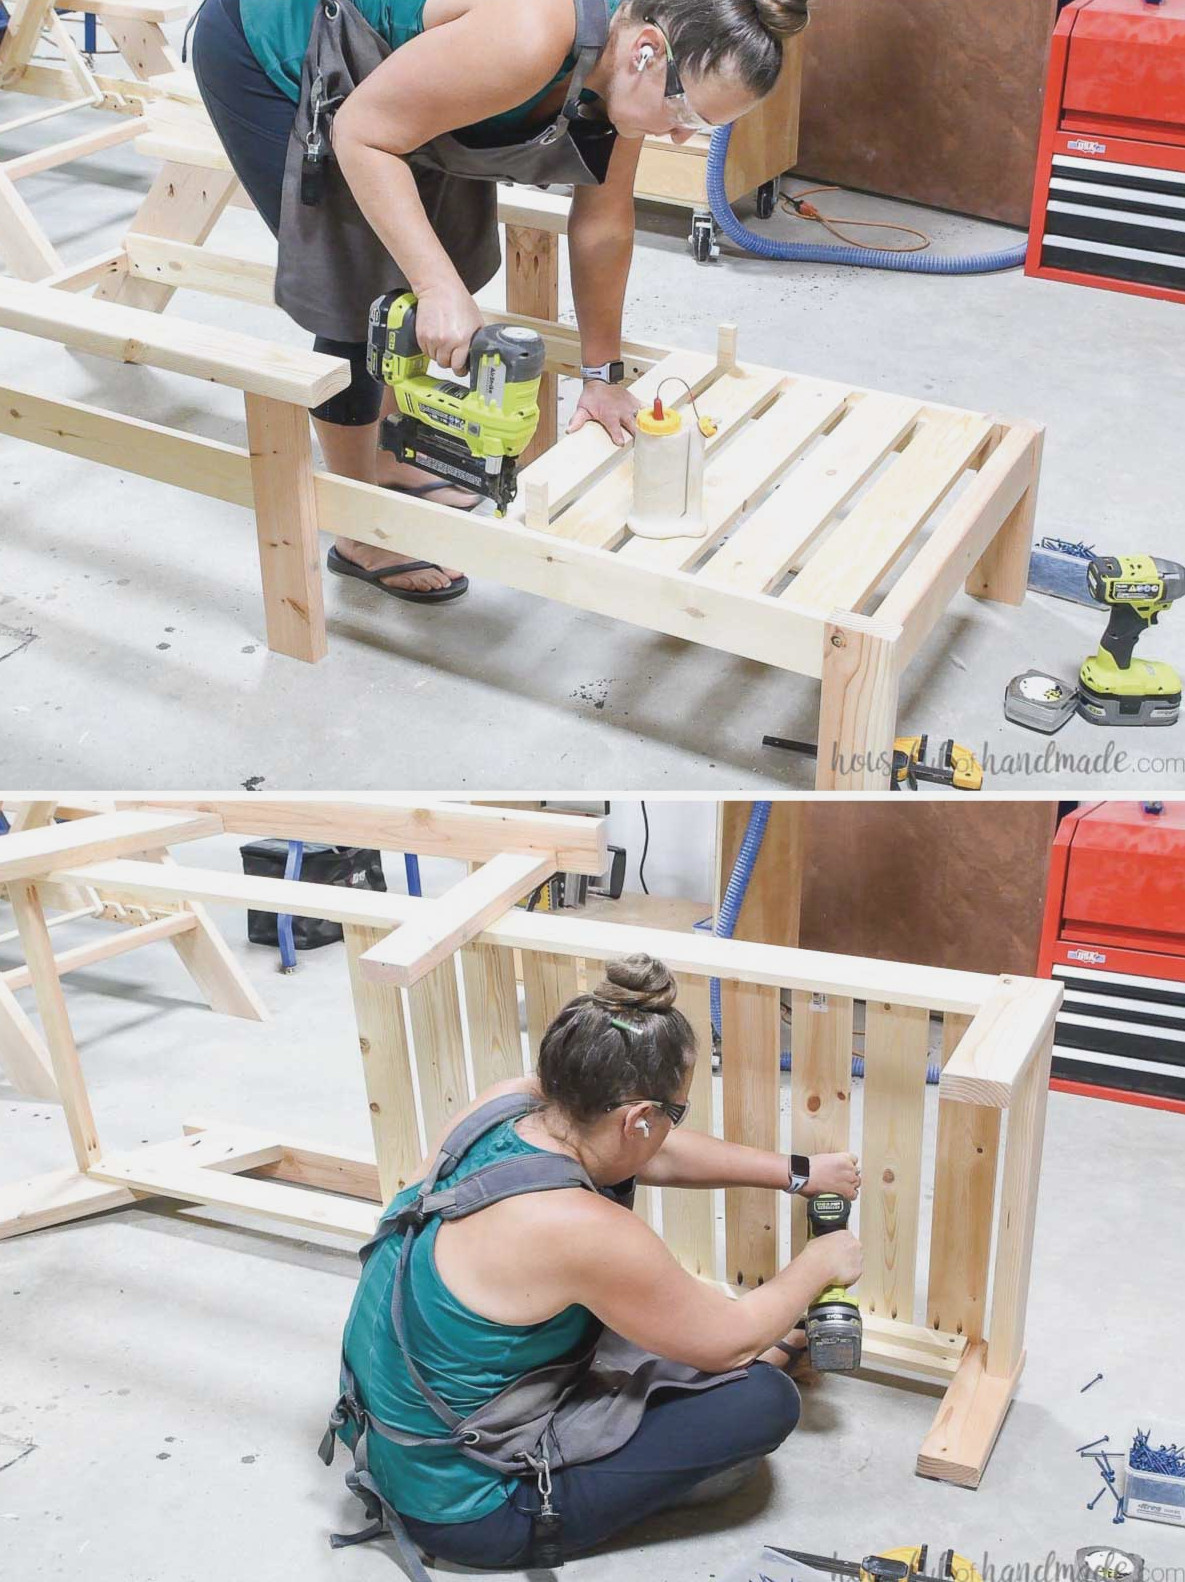
Arrange the seat slats on the support boards with 1″ gaps between them. Apply wood glue and drive one finish nail through the center of each board into the support. Ensure the nail does not interfere with the pocket holes at the back.
Next, turn the lounger onto its side and attach the seat slats to the side rails with 1 1/4″ pocket hole screws.
STEP 4- Make the adjustable back rest board
Using the 1×4 board, cut the adjustable back rest boards accordingto the premium plans. Afterward, rip the board to a thickness of 2″.
If reducing the board’s width is not possible, substitute a 1×2 board, though it may not provide as much strength.
Starting from one edge, measure and mark 1/2″, 1 1/2″, 4″, 5″, 7 1/2″, and 8 1/2″.
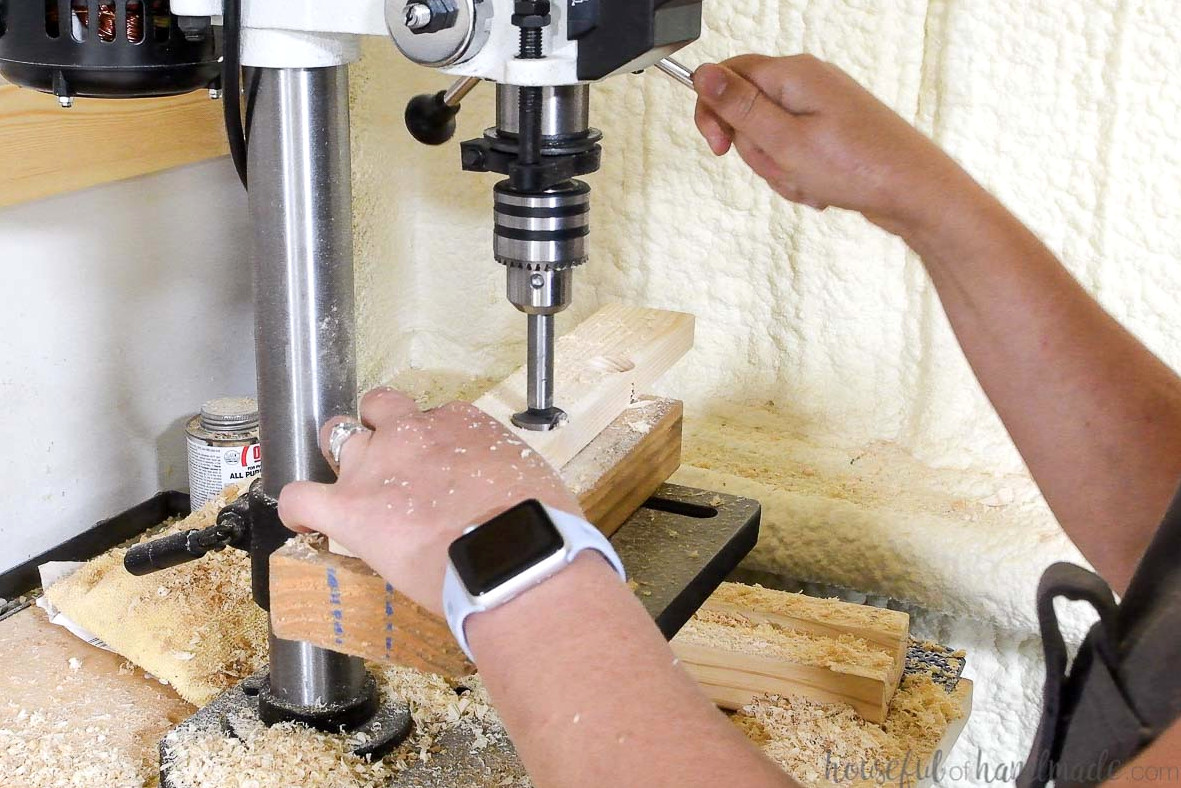
At the 1 1/2″, 5″, and 8 1/2″ marks, draw a line, then mark 1/2″ down from each one. These points will serve as the centers for drilling the 1″ holes. I used a forstner bit to bore cleanly through the boards.
Be sure to duplicate the layout and holes on both pieces.
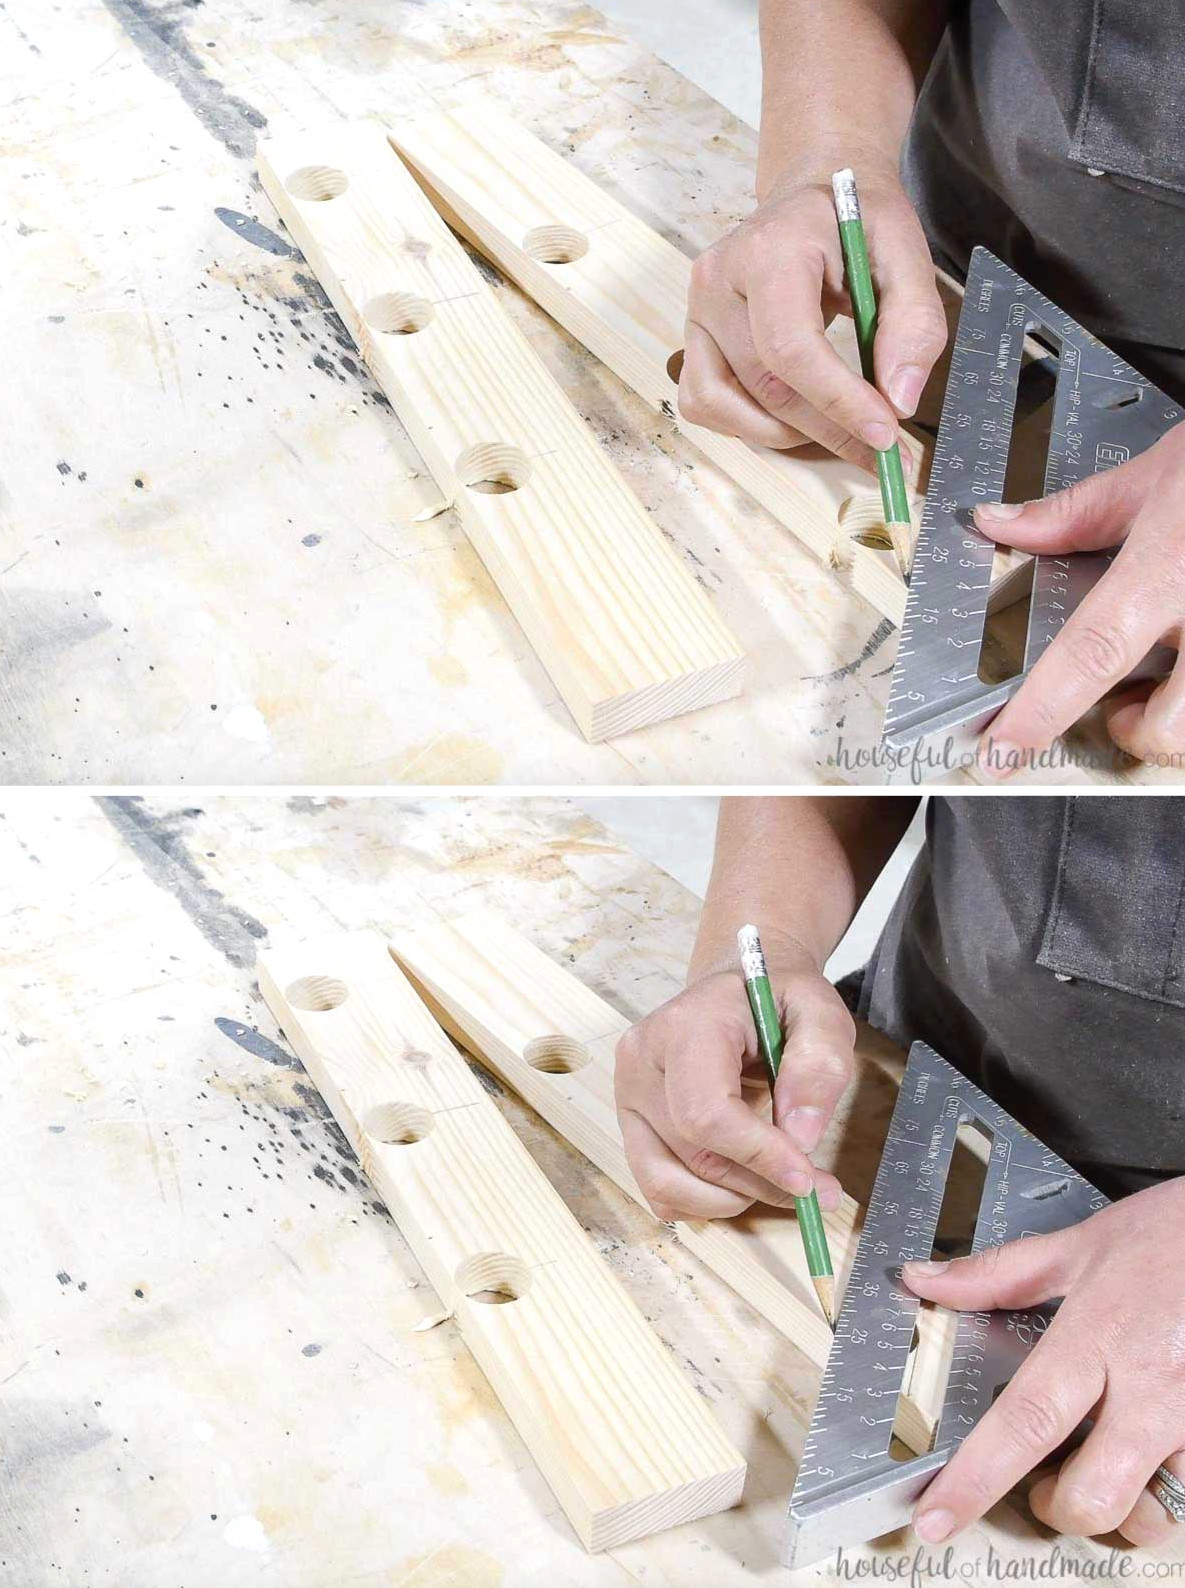
Using the remaining marks, draw a line toward the side of the drilled hole. Repeat the same angle from the opposite side of the hole to complete the outline.
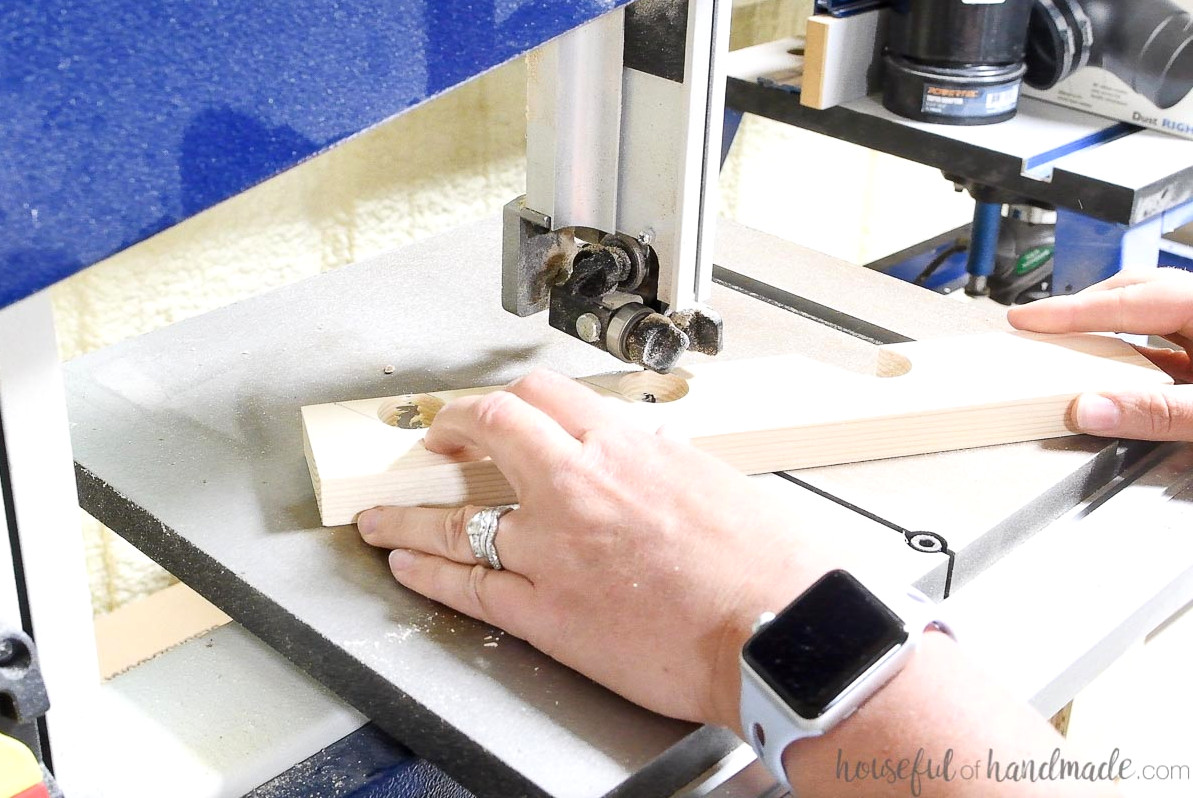
Use a bandsaw or jigsaw to cut along these lines, forming notches where the seat-back dowel will rest.
Fasten the adjustable seat-back rest board to the rear of the side rails. Position its top 1 1/2″ below the tops of the side rails.
Hold it temporarily with finish nails, then fasten it securely with blue-kote screws using the Quick-flip.
Place the screws 1/2″ above the bottom and 1/2″ below the top so they do not interfere with the screws that were previously used to secure the side rails.
Where the board overlaps the 2×6 leg pieces, use 2 1/2″-long screws. These will extend into the rear leg for added stability. Where it attaches only to the rails, use 1 1/4″-long screws.
STEP 5- Build back rest
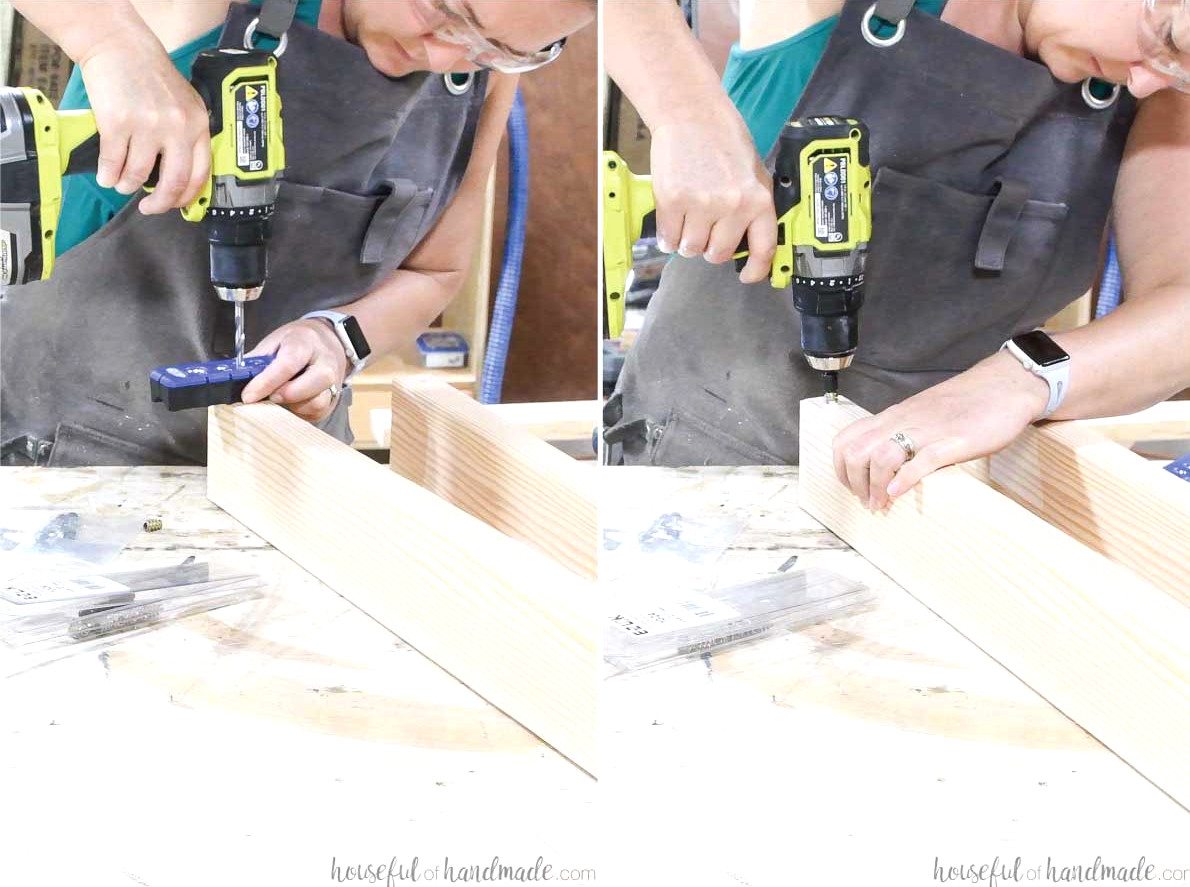
Install one threaded insert in each rear side piece, positioning it 3/4″ above the bottom and centered across the board’s width.
Keep the drill aligned by using the drill guide. Even when the required hole is slightly smaller than the guide opening, the guide will still help maintain a reasonably straight path.
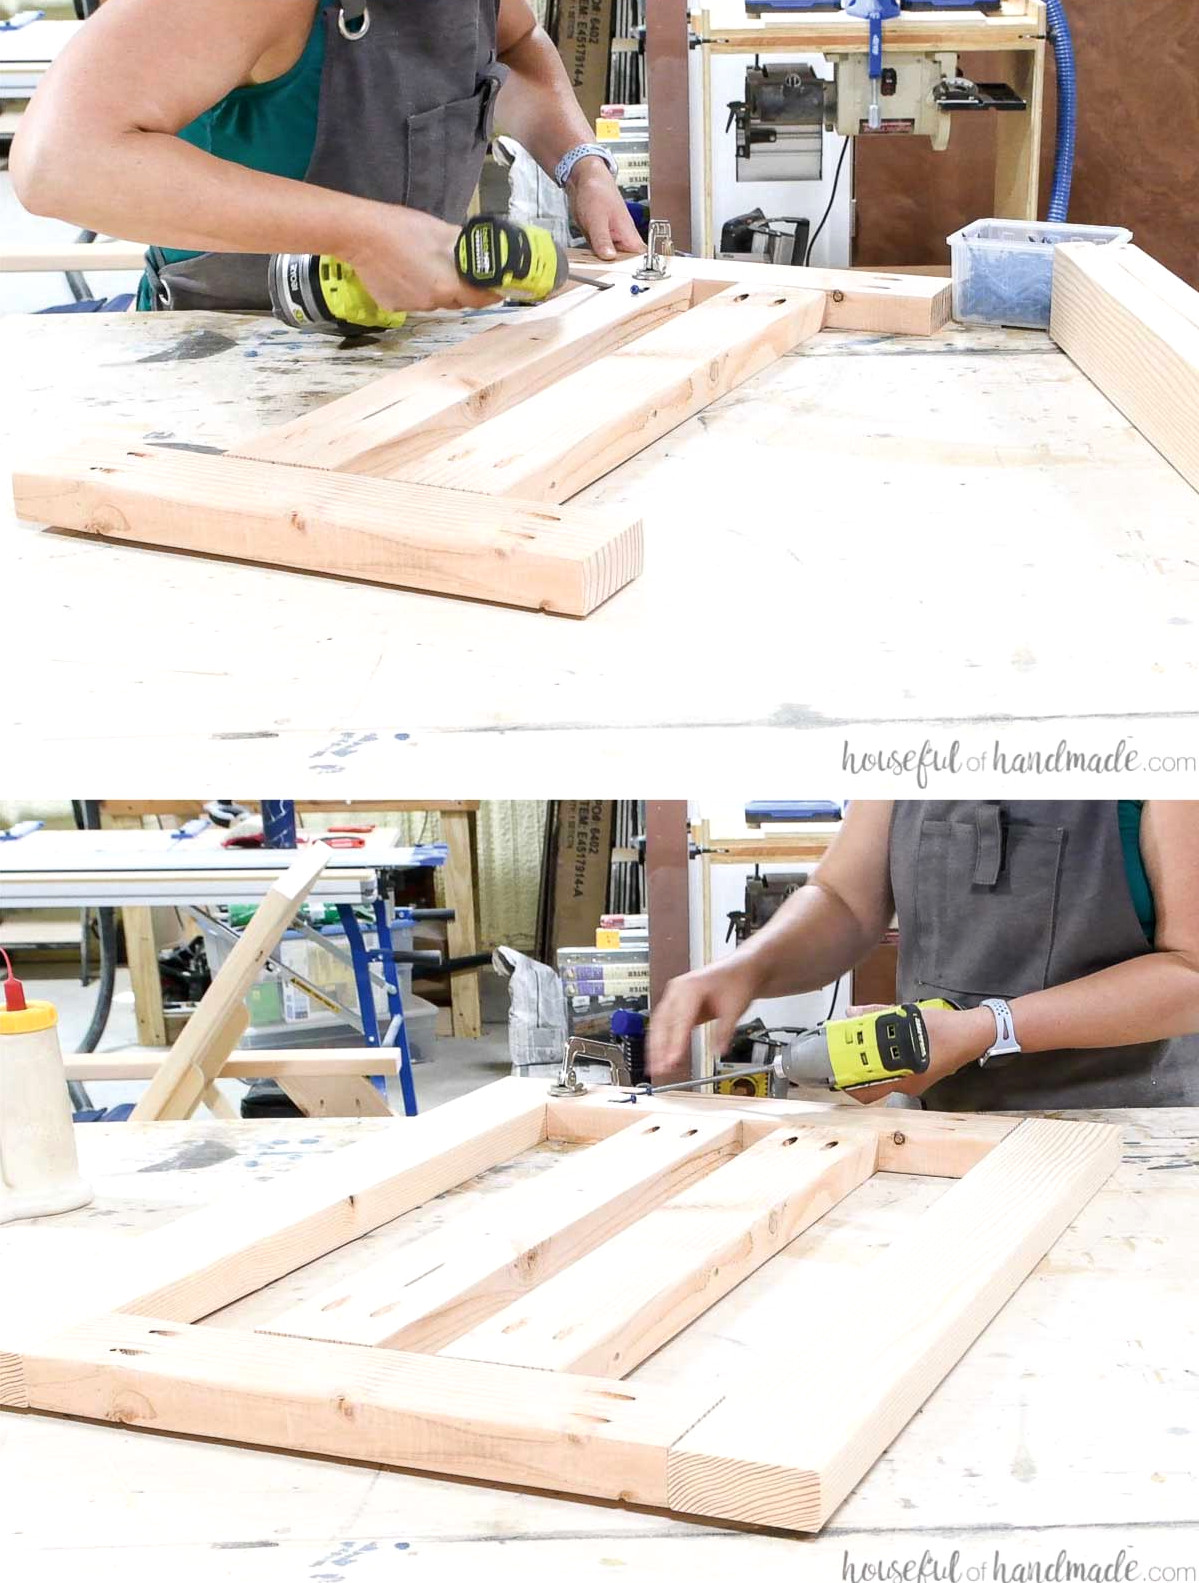
Set the pocket holes for 1 1/2″-thick material and drill them into both ends of the back center and back top/bottom boards.
Assemble the back by fastening the center pieces to the top and bottom pieces, placing them 4 1/4″ in from each side. Use face clamps to keep the boards level and flush.
Apply wood glue and secure the joints with 2 1/2″ pocket-hole screws.
Next, fasten the side pieces to the assembly in the same way. The threaded inserts should face downward and toward the outside of the completed back.
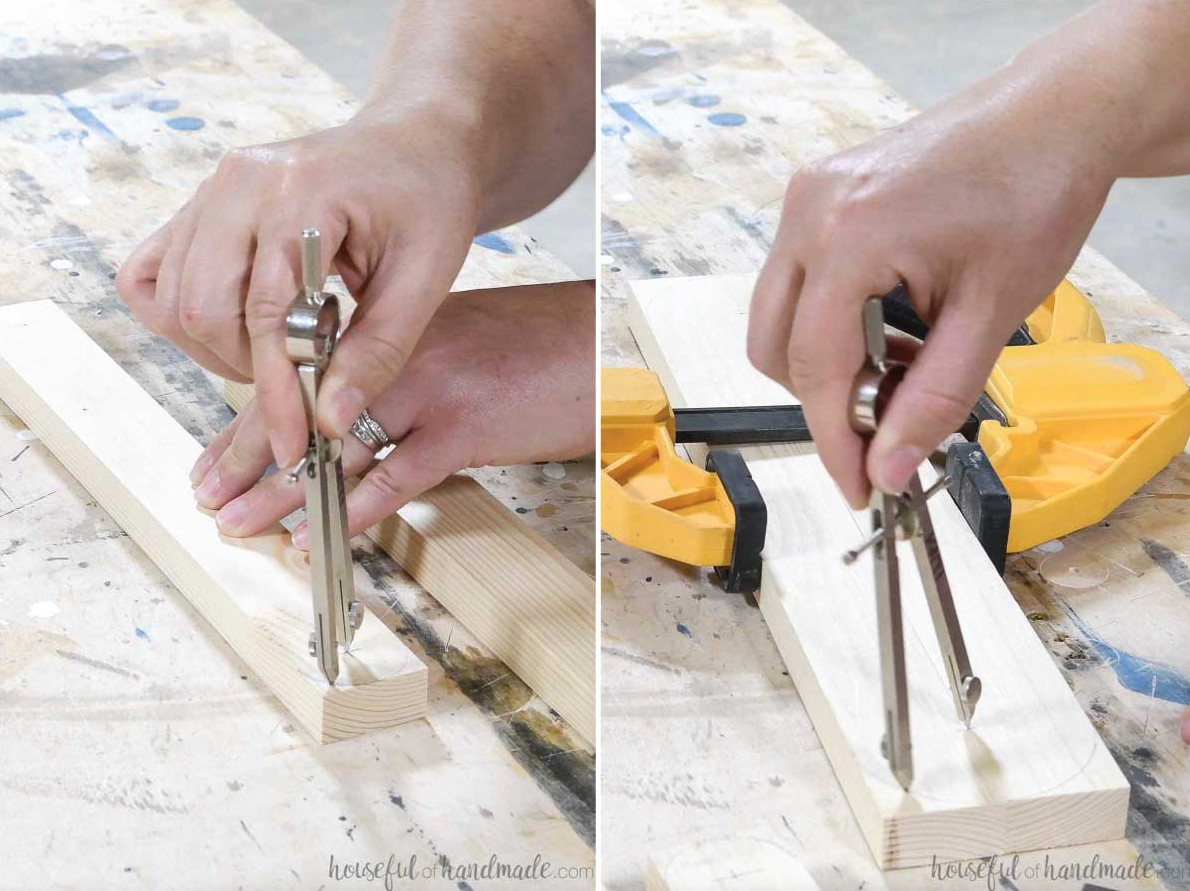
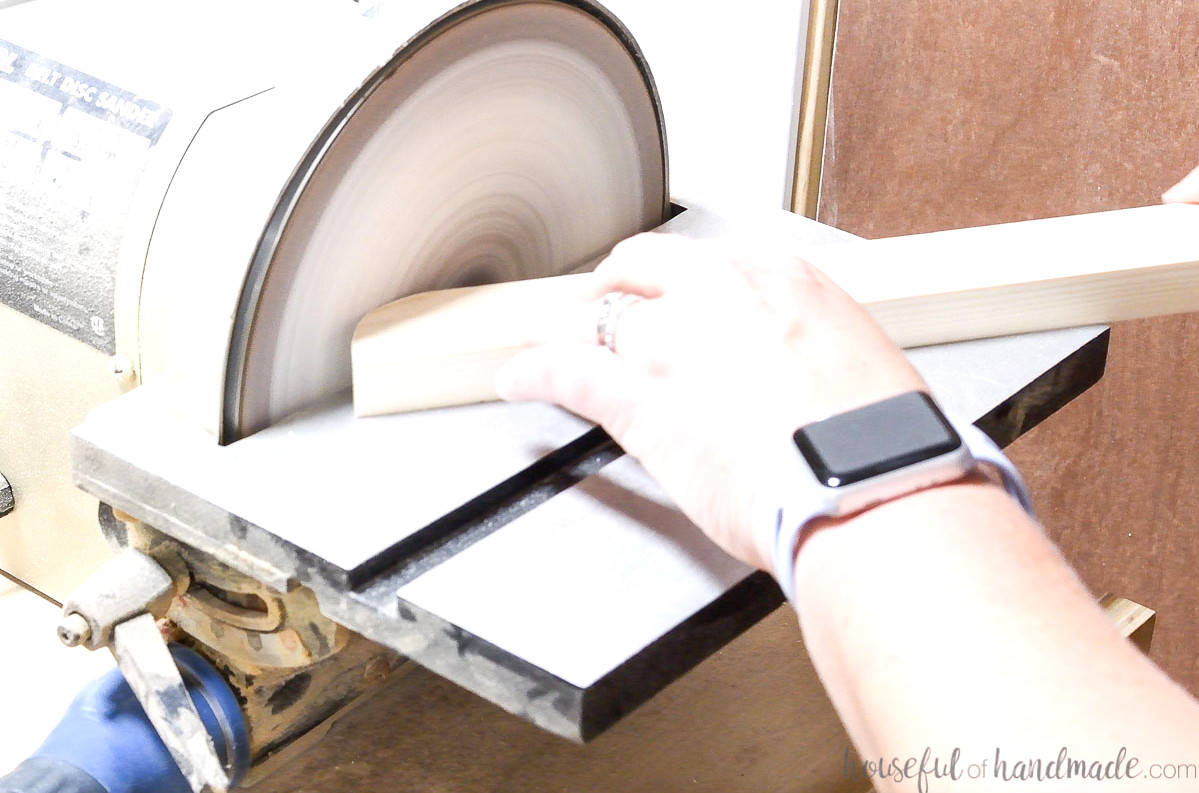
Following the diagram in the plans, round over both ends of the dowel-holder boards. Measure 3/4″ from the edge and draw a 1 1/2″-wide arc across the full end.
For the pivot pieces, sketch a 1 1/2″ arc, leaving one side of the board straight while rounding the other.
The simplest method I found was to clamp the two boards together, mark 1 1/2″ from their ends, and use a compass to draw a 3″ arc across both pieces.
Separate the boards afterward to expose a half-curve.
Shape the curves in the boards by cutting or sanding them.
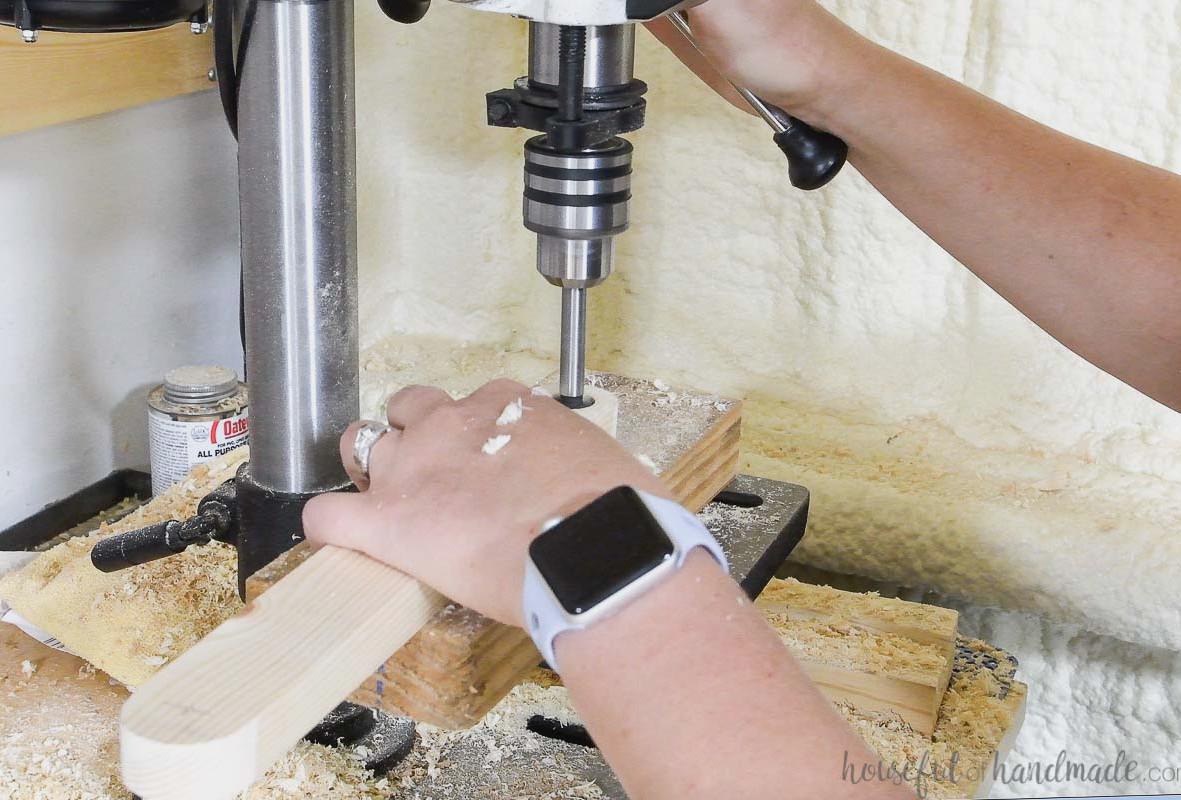
In each dowel-holder board, bore a centered 3/4″ hole into one end. At the opposite end, drill a hole matching the diameter of the shoulder on your shoulder screw.
For the pivot boards, drill a hole in the side of each piece and install a threaded insert.
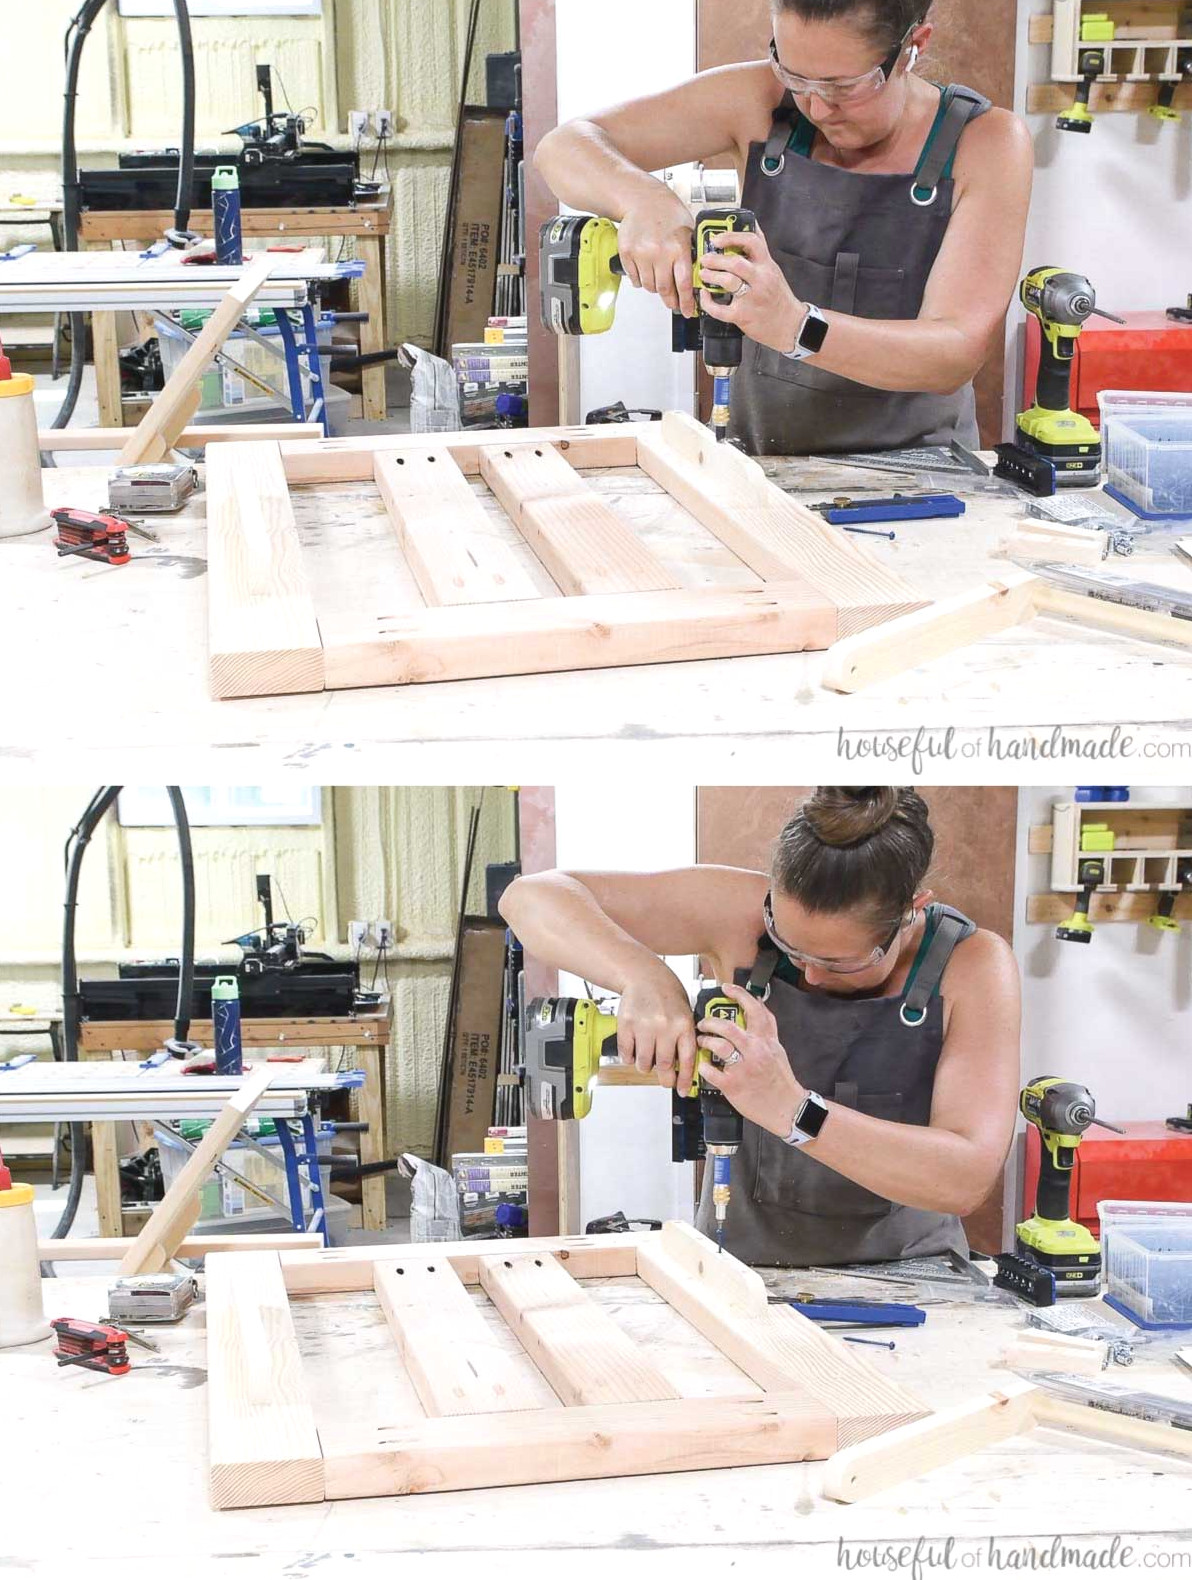
Position these pivot boards upright on their edges against the rear of the chaise-lounge back. Set each board 3 1/2″ above the bottom of the back and 1 1/2″ in from the side. The threaded insert must face outward.
Apply wood glue and fasten them with 2 1/2″ screws using the Quick-flip. Do not place a screw in the center, where the threaded insert is located.
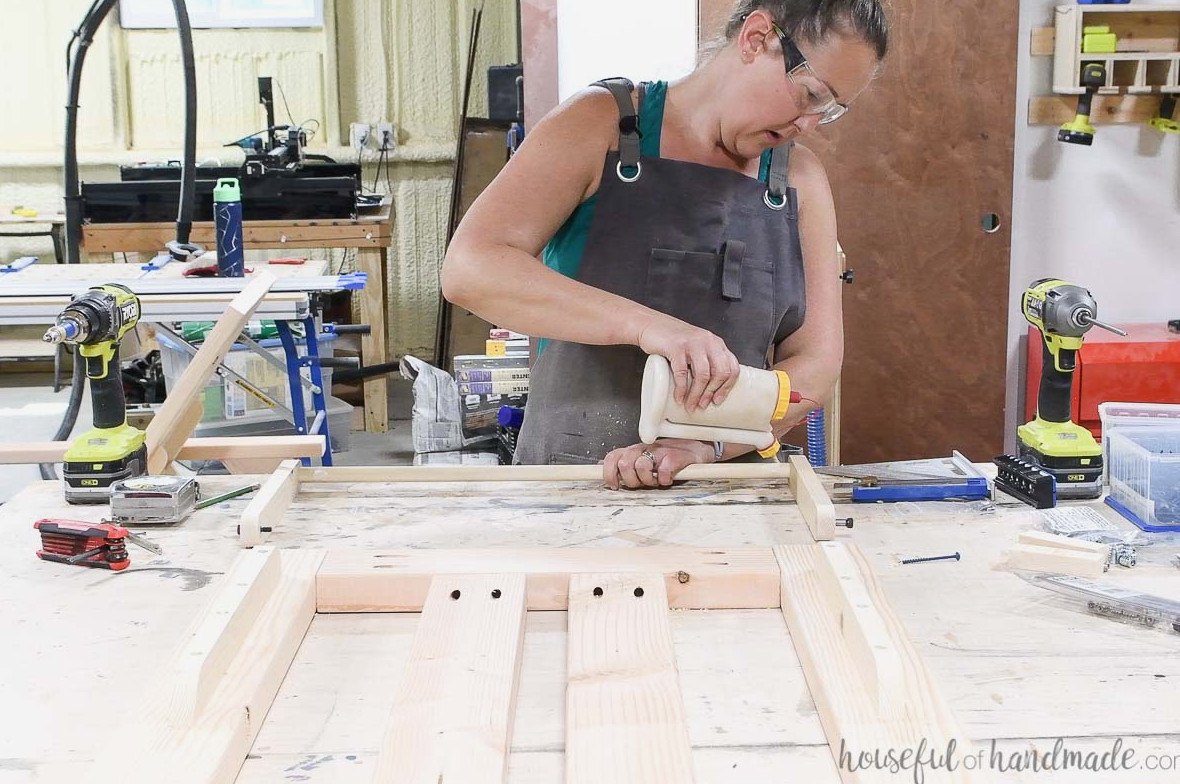
Take the measurement from the outside face of one attached pivot piece to the outside face of the other.
Position the dowel holders so the dowel is centered between them, with the measured distance representing the section of dowel between the pieces. Glue the dowel in place, then leave the assembly flat until dry.
STEP 6- Attach back rest
On the side rails, measure 48 3/4″ back from the front of the lounger and make a mark. At that location, measure 3/4″ down and mark it. Drill through the rail using a bit sized to the shoulder of your 1″ shoulder screws.
Use the Kreg drill guide to help keep the holes properly aligned.
Set the assembled backrest onto the chair frame. It should rest directly on the adjustable back piece and align flush with the rail tops.
Push the 1″ shoulder screws through the holes and screw them into the threaded inserts on the sides of the back piece. Do the same on the opposite side.
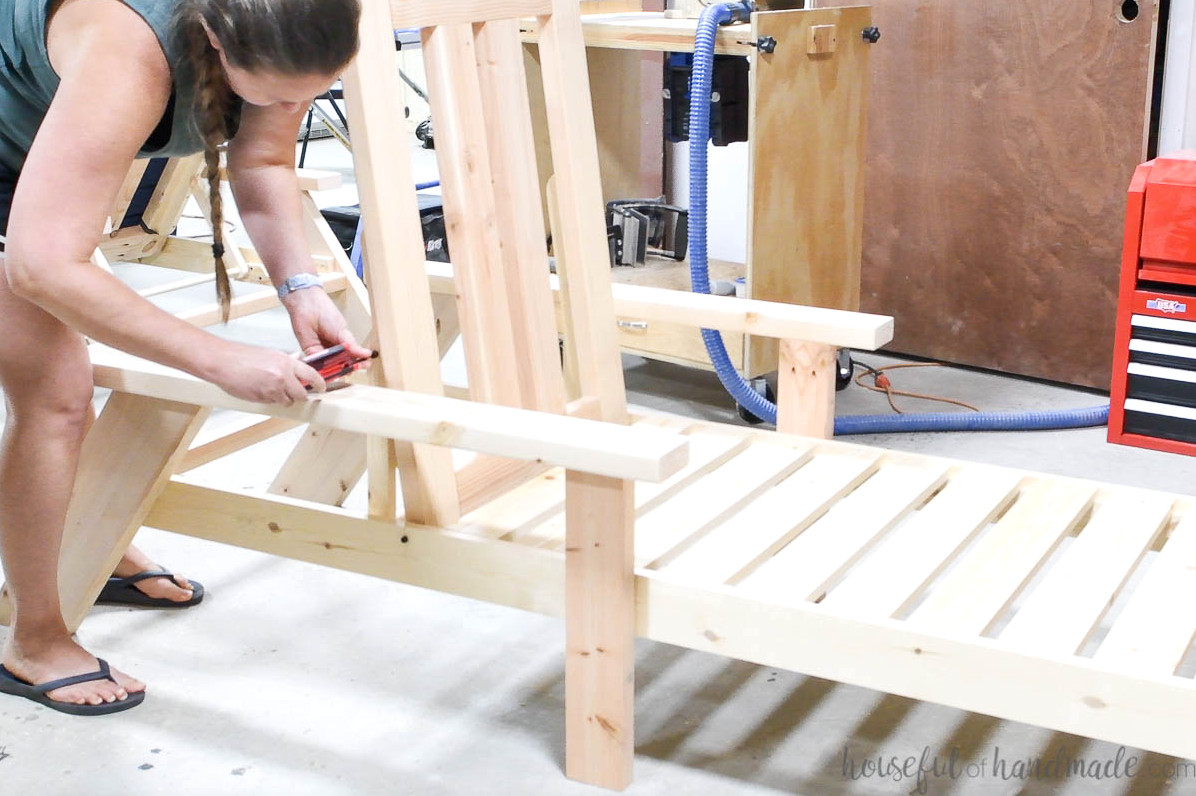
At this stage, the chair back can pivot.
After the glue has fully dried on the dowel, insert the 3/4″ shoulder screws through the holes in the dowel holder pieces. Then tighten them into the threaded inserts located on the pivot boards at the rear of the back section.
Place the dowel into any notch on the adjustable back board to secure your chaise lounge chair at the desired angle. Raise the back and shift the dowel into another notch whenever you want to adjust the height.
The three sections can be taken apart for staining or painting your new chaise lounge chairs. Once finished, reconnect them with the shoulder screws and get ready to unwind!
You’ve completed it!
Remember to Download the Printable PDF Plans Here!
Premium plans feature:
- Suggested Tools
- Materials shopping list
- Simple-to-follow cut list table
- Cutting diagrams
- Detailed step-by-step directions with 3D renderings
- Useful resources
- BONUS: 3D SketchUp model
Place your cushions on the chairs, sit back, and enjoy the result.
Enjoy building!