Hello everyone, and welcome back to Cottage on Bunker Hill! I’ve been passionate about gardening for more than 20 years. You might say I was raised with soil beneath my fingernails, thanks to my Mom, who had a special talent for understanding plants.
This year, my desire to enlarge my green retreat won out, and I extended the garden by an additional 10 feet – creating more room for delicious vegetables and colorful blooms! Watching this garden season unfold has been wonderful, as everything has come alive, from delicate seedlings to the mature favorites in my perennial beds.
Today, I’m excited to take you on a virtual walk through my gardens, highlighting the growth of my vegetable patch, the flowers I’m raising for cutting, and the plants currently flowering in my perennial beds.
Expanding the Garden Once More!
During those chilly New England winters, I sometimes stand at my bedroom window and gaze at my enclosed garden, which houses all of my vegetables, herbs, and cut flowers.
A few years ago, I enlarged it to create room for the cut flower garden. Although it measured 20 x 40, I continued to feel that additional space was necessary. I had no more areas available to rotate my tomatoes this year, and last year the garden felt overcrowded.
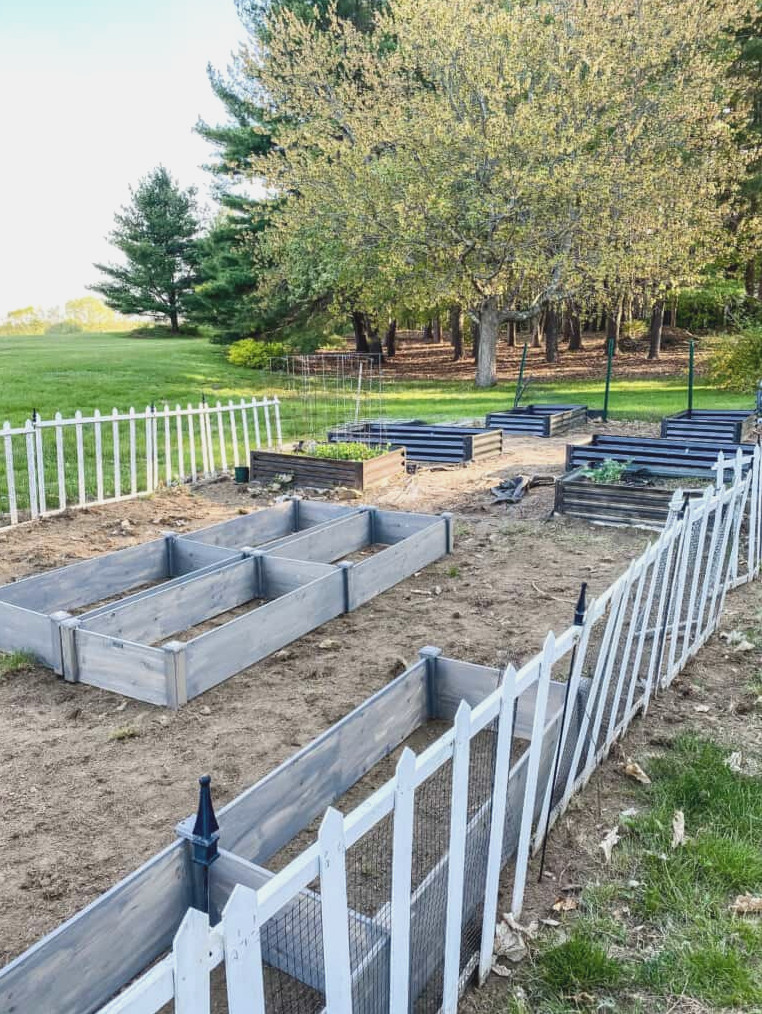
Can you believe this garden still wasn’t roomy enough!! This year, we extended it by another 10 feet.
It was no simple task! We began by moving the metal garden fence at the rear and taking out the green metal fence posts.
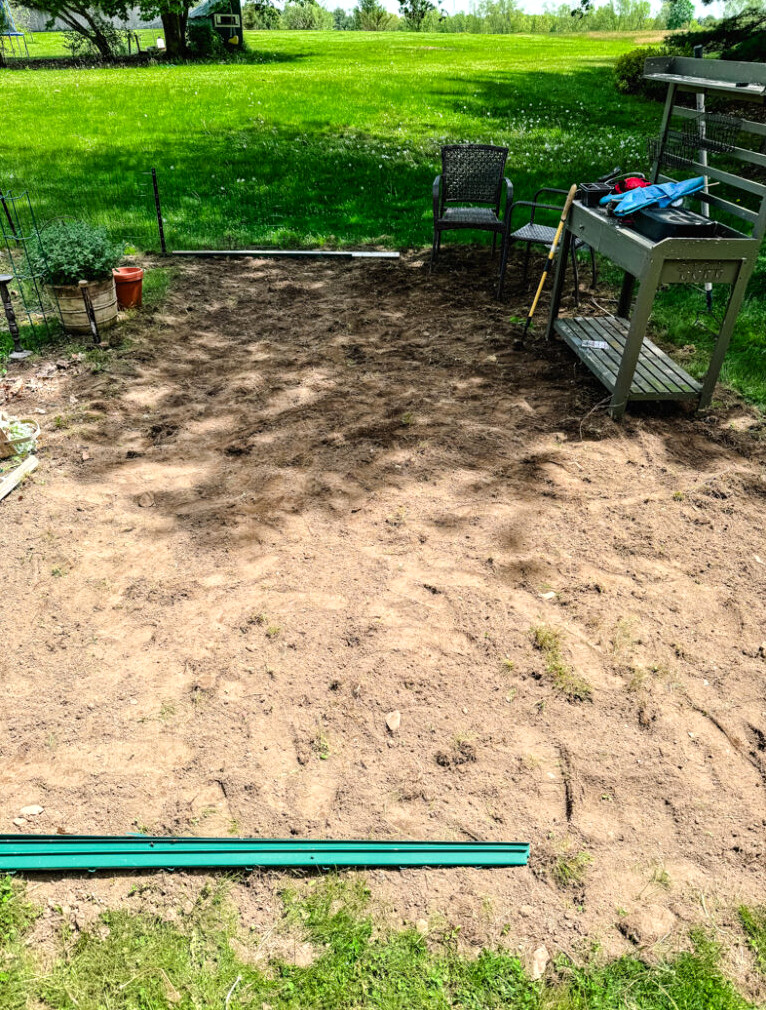
Next, we rototilled the new area. Then came the most challenging stage of the whole project!! We had to gather up the clumps of turf and haul them away. Once the grass had been removed and the space was clean, we put the green metal garden fence back in place.
Note: this type of fencing helps discourage critters, but it certainly isn’t a guaranteed way to keep them away.
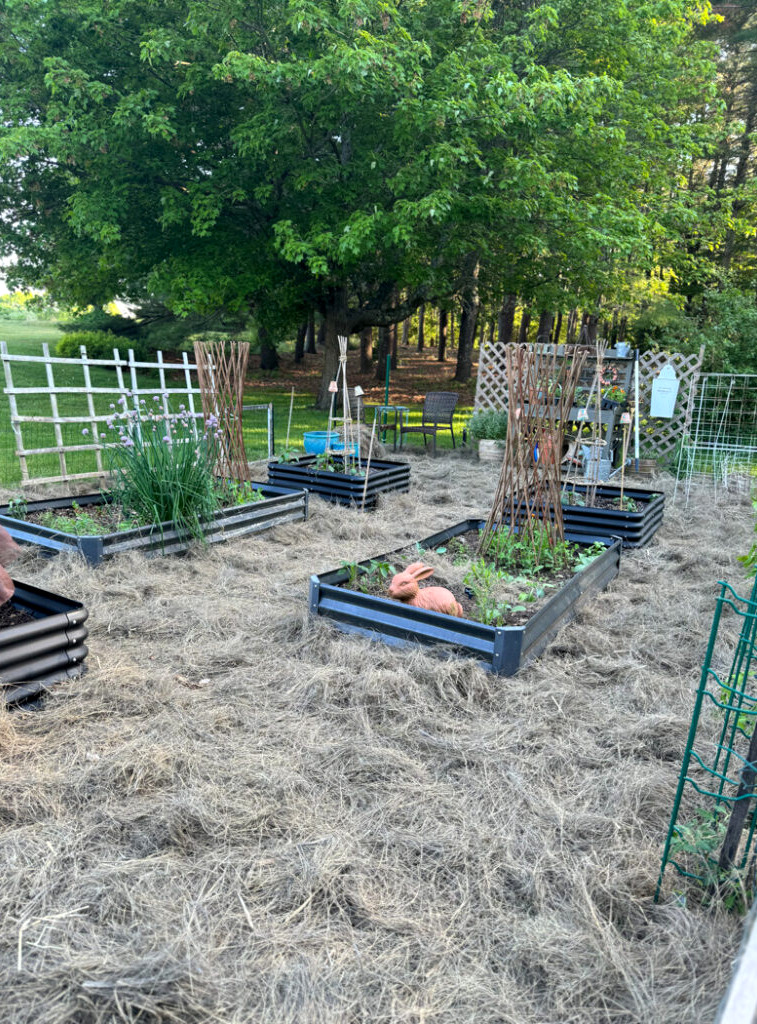
The completed expansion created a generous amount of extra room! The new portion begins behind the two 6x3ft beds shown in the photo. In that space, I added:
- 2 3x3ft beds positioned in the middle.
- Wooden trellises for mini pumpkins along the left side of the fence
- A DIY garden gate crafted from scrap wood and garden fencing
- A seating area
- Potting Bench (at the back center) w/ wood trellis along fence
- Metal Cucumber Trellis
- A row of tomatoes beside the fence on the right.
The Vegetable Garden
The rear portion of the garden is reserved for my vegetable crops. To give it extra charm, though, I weave flowers and herbs among the vegetables. Give this potager-inspired gardening approach a try! Having blossoms growing beside the vegetables is such a pleasure.
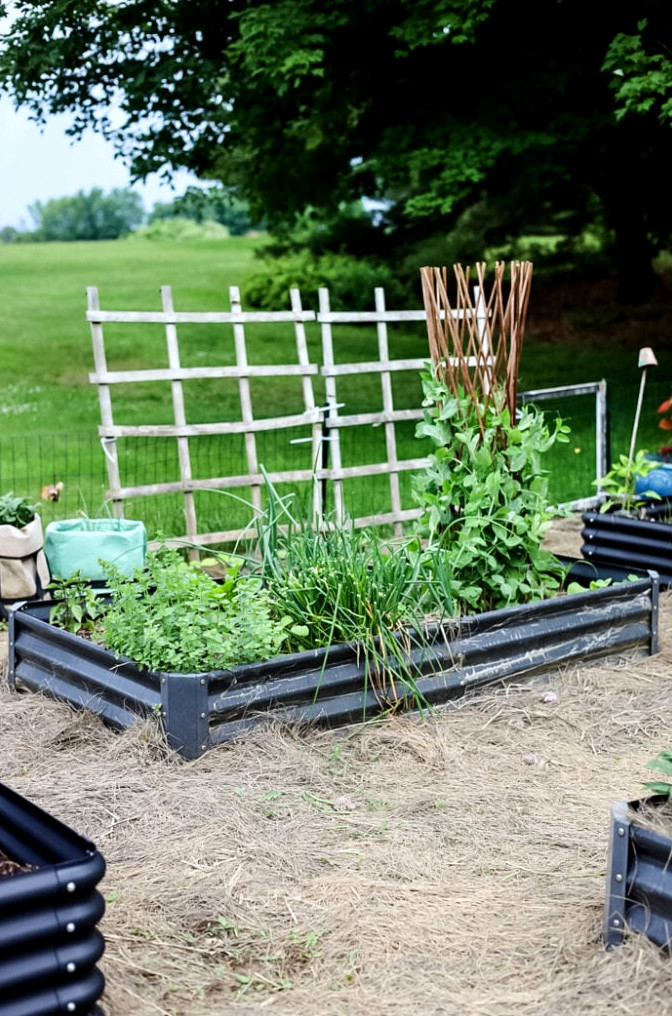
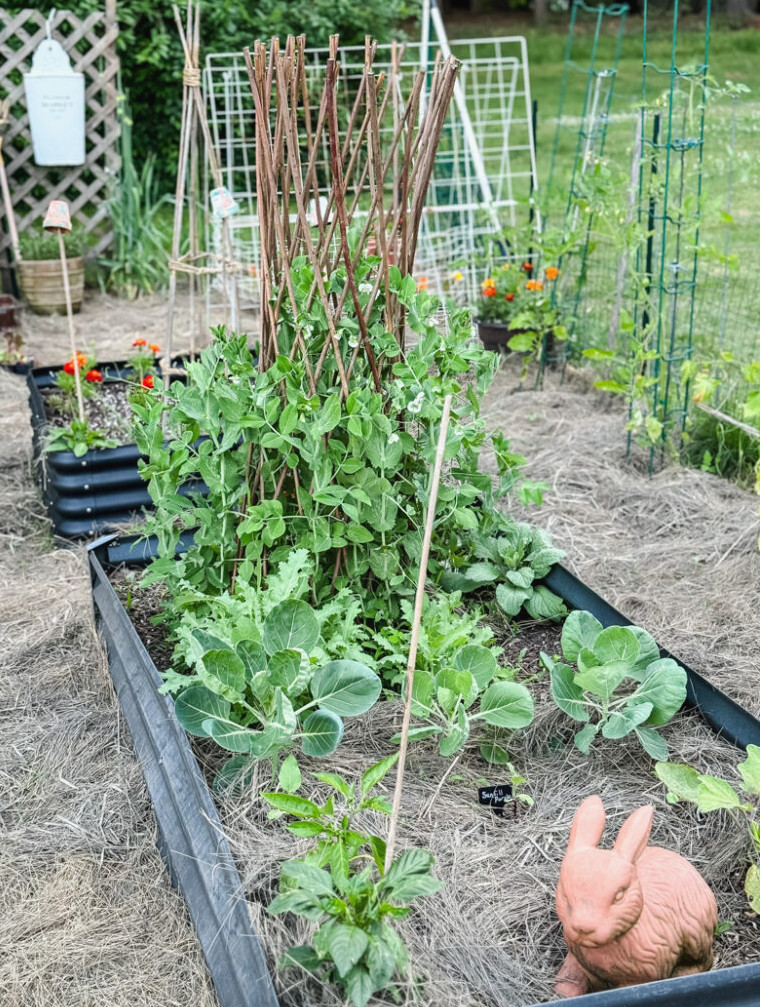
For instance, this bed features several culinary herbs at the front, a line of onions, and a willow tunnel covered with snow peas. I then planted zinnias, calendula, petite sunflowers, & nasturtium seeds throughout the remaining space.
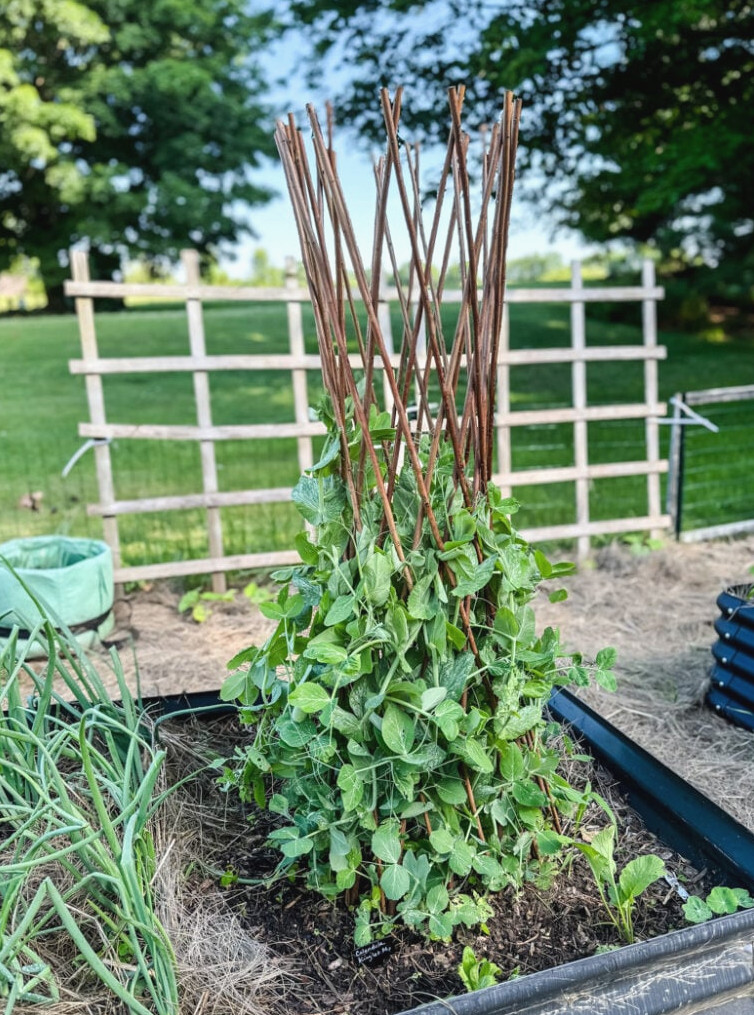
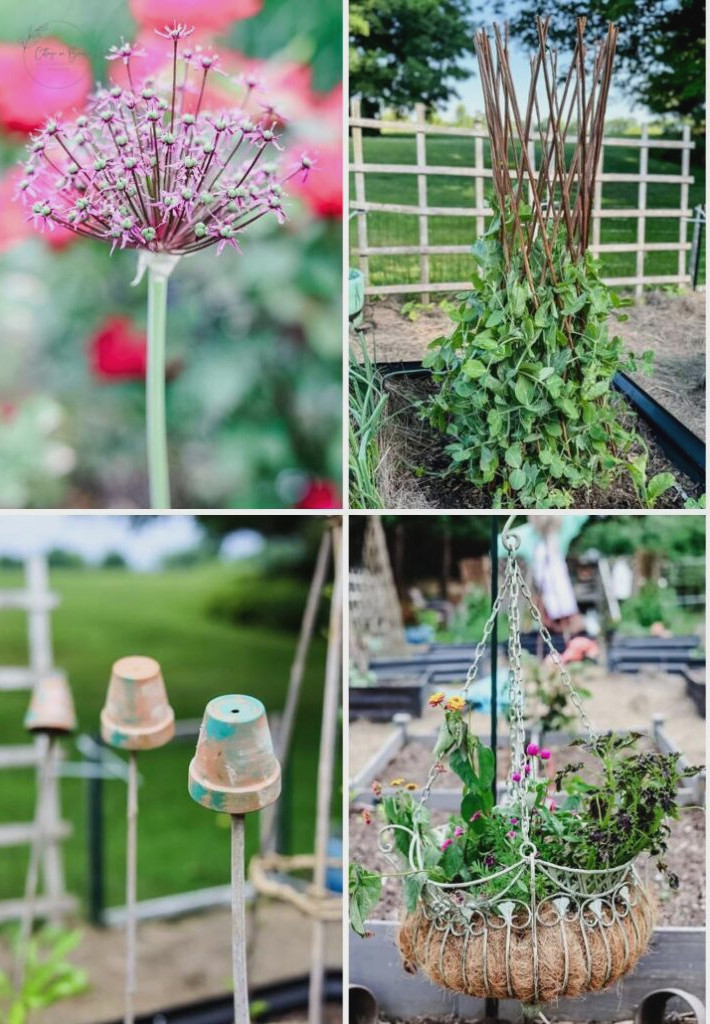
One simple, budget-friendly way to bring a cottage garden feel to the space is by placing willow trellises in different styles and dimensions throughout the raised beds. This willow tunnel costs under $17.
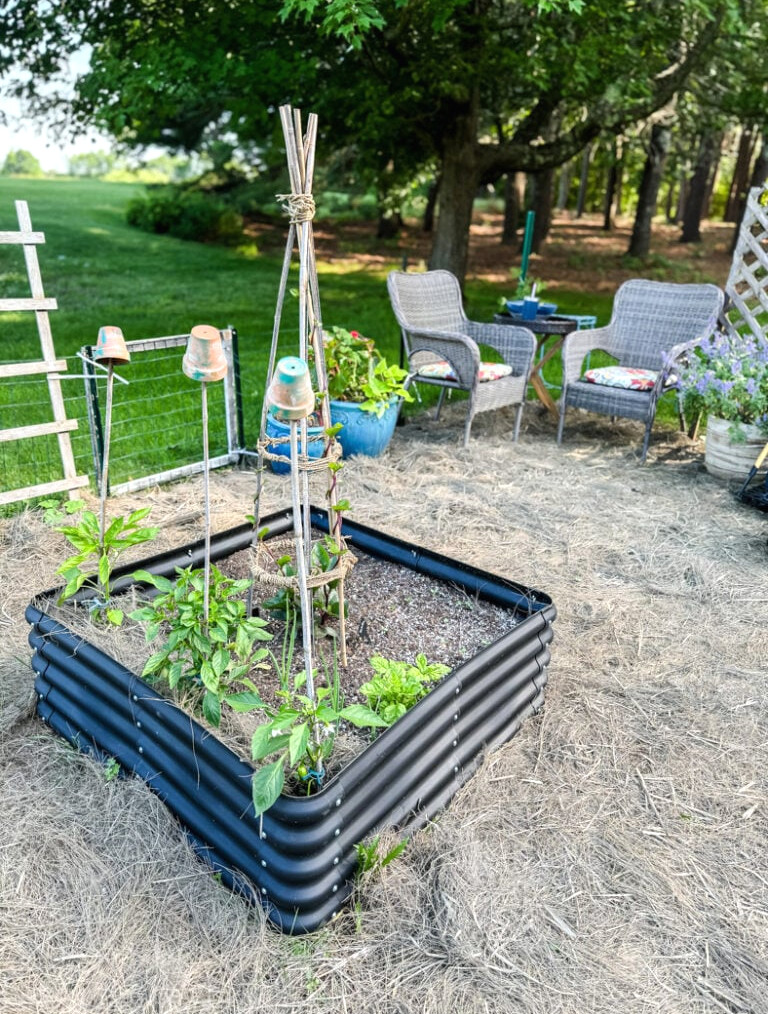
I put in two compact raised beds, each measuring 3 feet by 3 feet, which I purchased from Amazon for less than $24 each! What I hadn’t noticed when placing the order was that they were plastic. At first, I wasn’t certain I would appreciate that material, but from a distance, you really can’t see a difference, and they coordinate beautifully with my metal raised beds. Putting them together was straightforward, though somewhat tiresome due to the numerous screws and wingnuts.
This raised bed holds 3 pepper plants, Tuscan basil, climbing spinach,borage, zinnias, onions, scallions, and carrots.
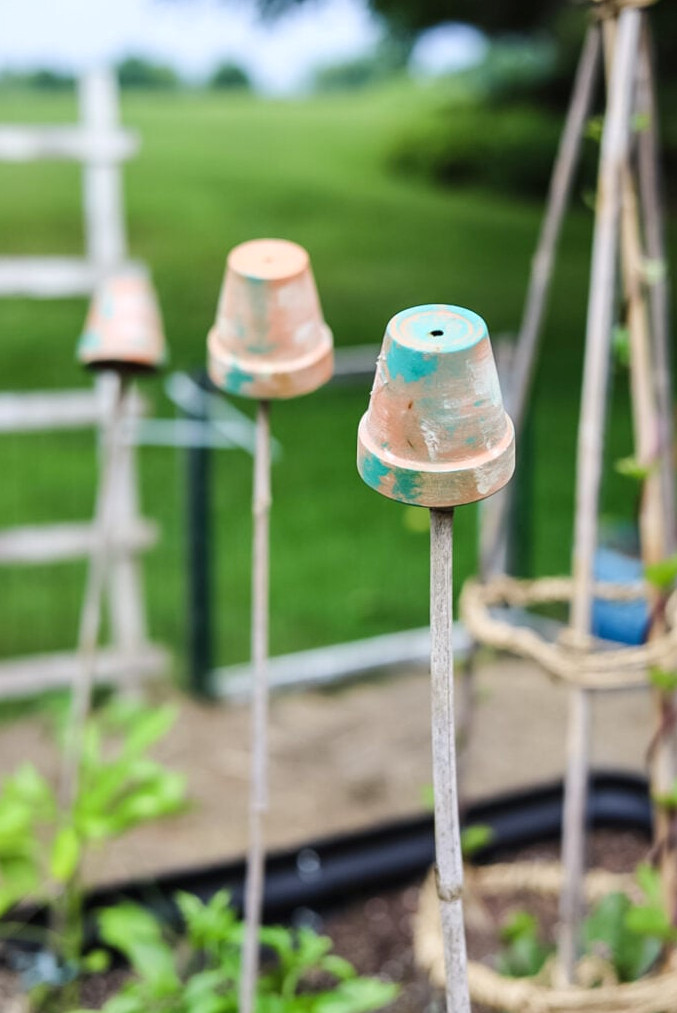
My friend Stacy, the creator of the Bricks n Blooms gardening website, has a smart idea for using garden stakes. She places little terracotta pots over their tips. Besides adding a charming touch, the pots are useful too! With a pot covering the end of the stake, there’s less chance of accidentally poking yourself in the eye.
I discovered this lesson firsthand! Once I installed bamboo stakes beside my pepper plants, I nearly scratched my face on one. So I hurried inside and found a few tiny terracotta pots to place over the ends, following Stacy’s example.
On the vegetable garden’s right side, the layout is a reflection of the left, featuring the 6x3ft raised bed with the 3x3ft bed positioned behind it.
Seven tomato plants line the fence, along with a metal cucumber trellis and a small area in the rear corner reserved for several types of summer squash.
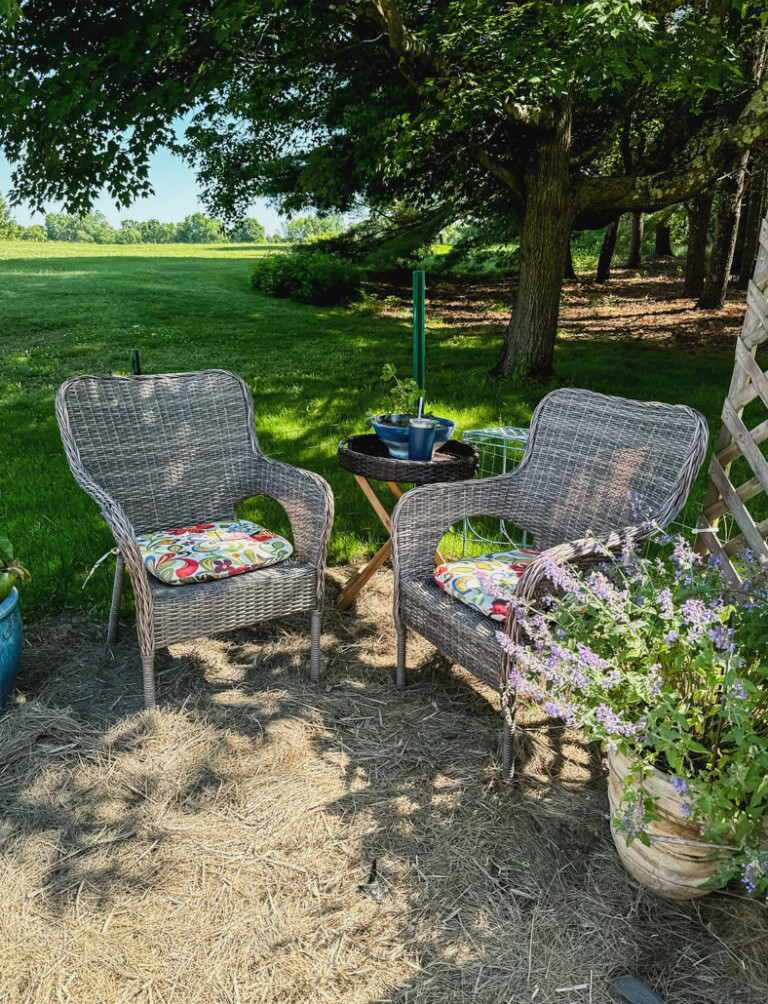
What is my favorite garden nook? Perhaps it’s the shaded seating area I created in the back corner! Beneath the maple tree, it’s an ideal spot to enjoy my iced coffee and relax for a while.
Cut Flower Garden: Still Taking Shape
At the moment, the cut flower garden portion looks rather bare, but wait until later in the Summer! I grew everything in this area from seed. Some varieties were started inside, while others were sown directly in the Spring.
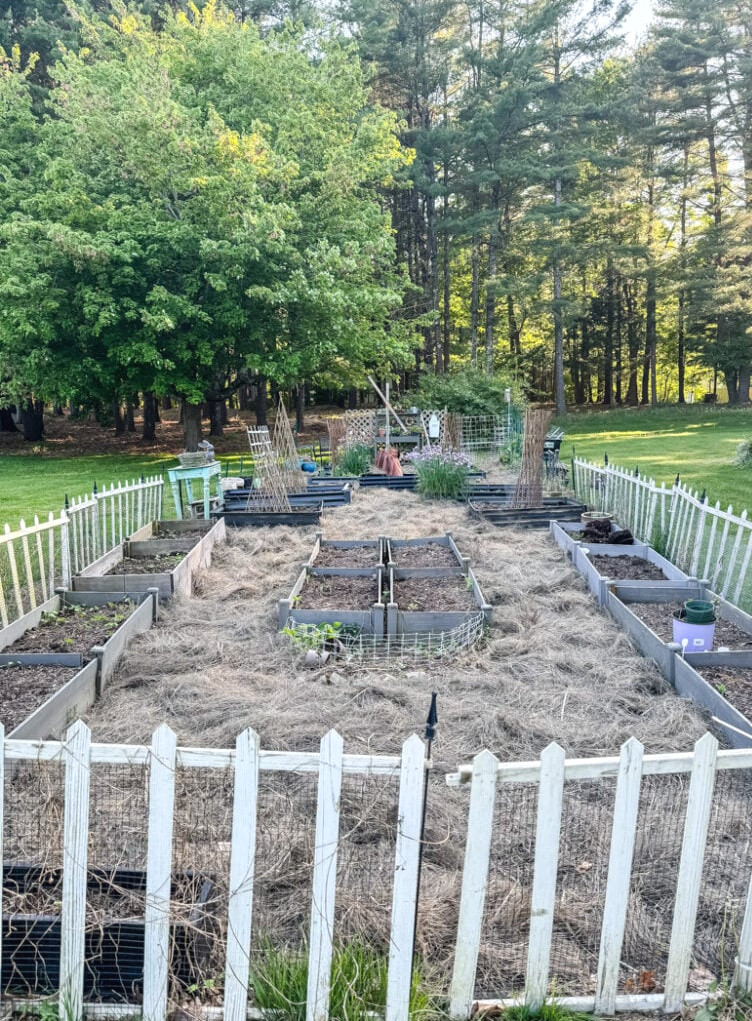
Perhaps you’re curious about the light, fluffy mulch spread across the ground. It’s salt marsh hay, a favored garden material in coastal New England. As its name suggests, it is harvested from the many salt marshes in our area. One advantage is that it requires salt water in order to reseed, and after rainfall it carries a subtle ocean scent. However, it did become flattened after a few rainstorms.
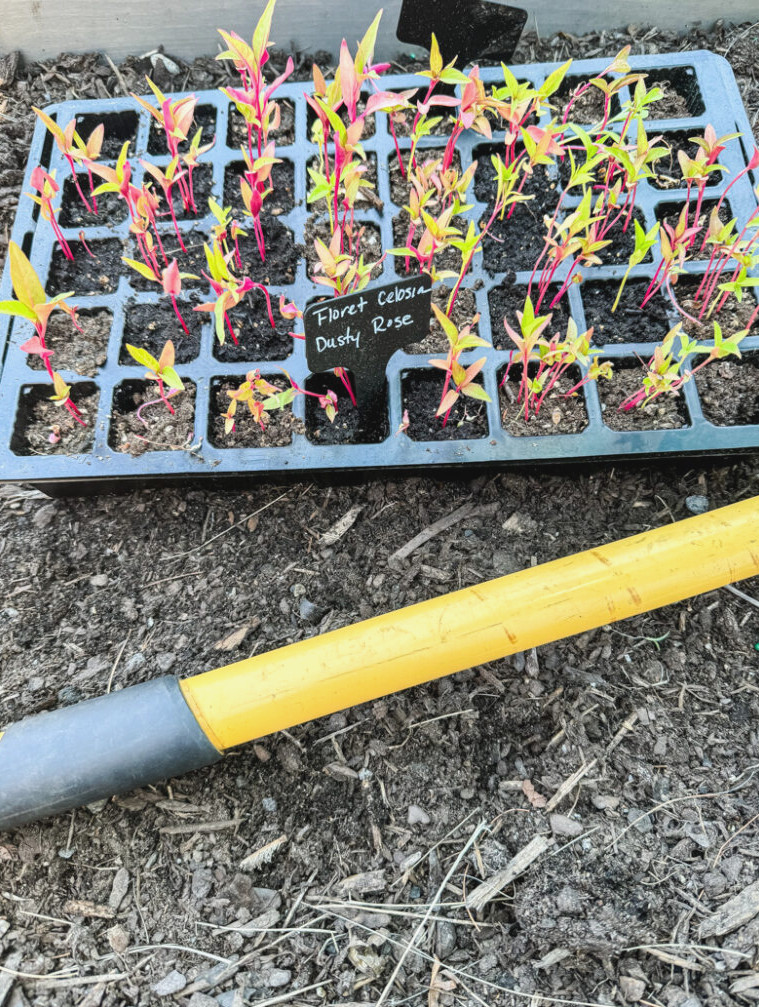
I planted an abundance of flower varieties in the cutting garden! As the season progresses, it should become filled with lovely zinnias, celosia, dahlias, cosmos, and strawflowers, to name only a few.
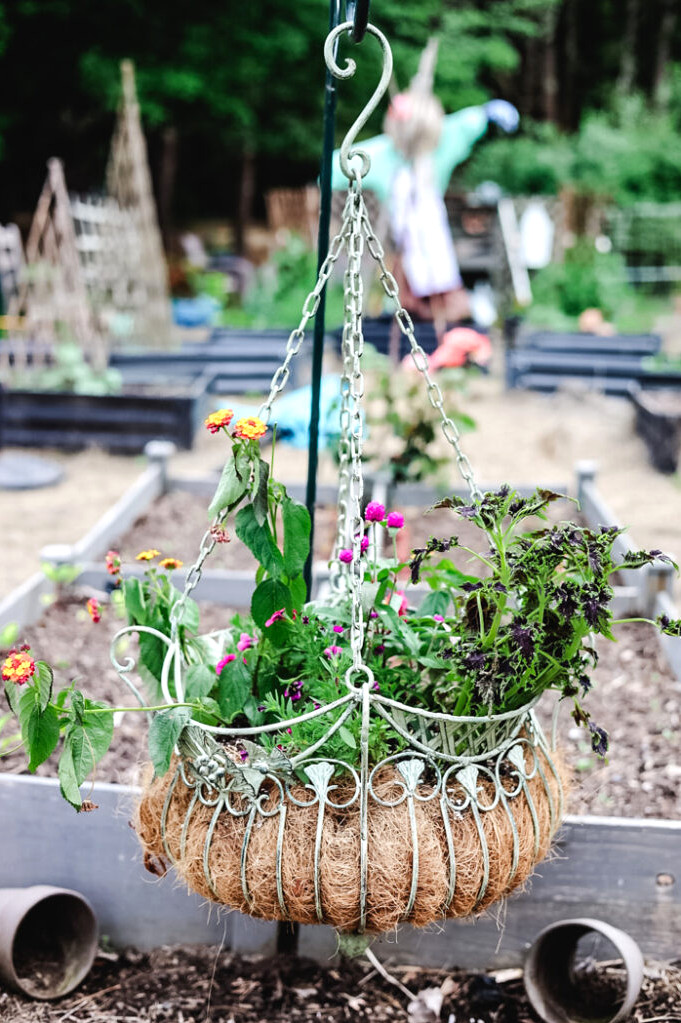
For now, the sole source of significant color is an elaborate vintage-inspired hanging planter by the entrance. I filled it with a collection of container plants purchased from White Flower Farm.
Perennial Gardens: Early Blossoms
The perennial beds extend around our home. Thanks to the warmer temperatures and sufficient rainfall, the plants have developed remarkably quickly this season.
By this stage in the season, the Spring-blooming bulbs have already faded back.
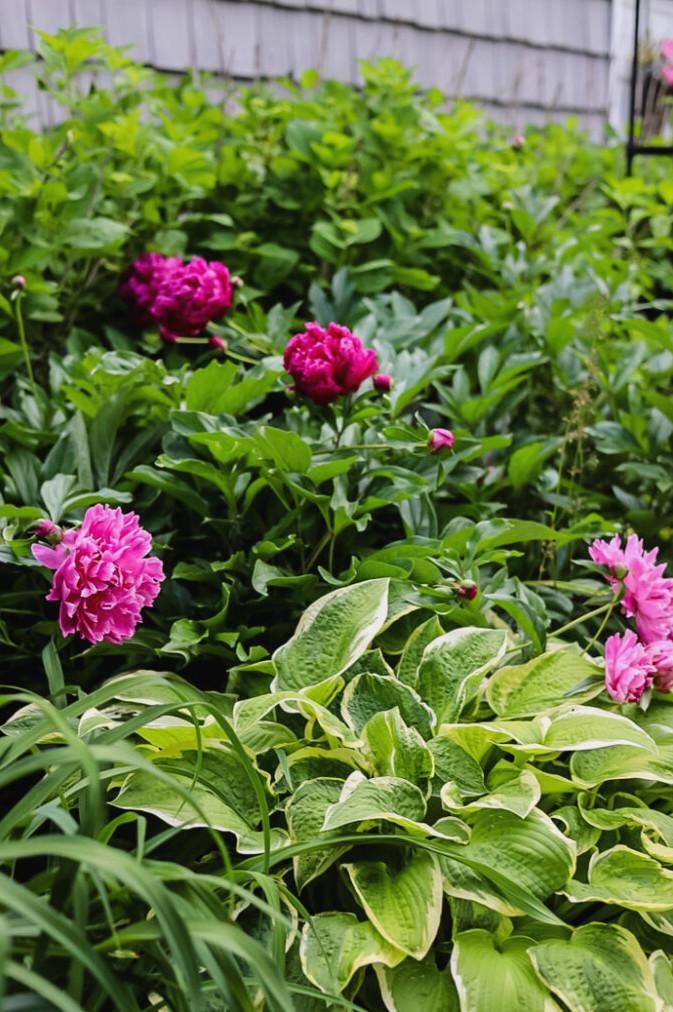
This week is actually my favorite time of the gardening season: all of my peonies are flowering!! Peonies may be my favorite blooms to photograph. Their ruffled edges are incredibly beautiful.
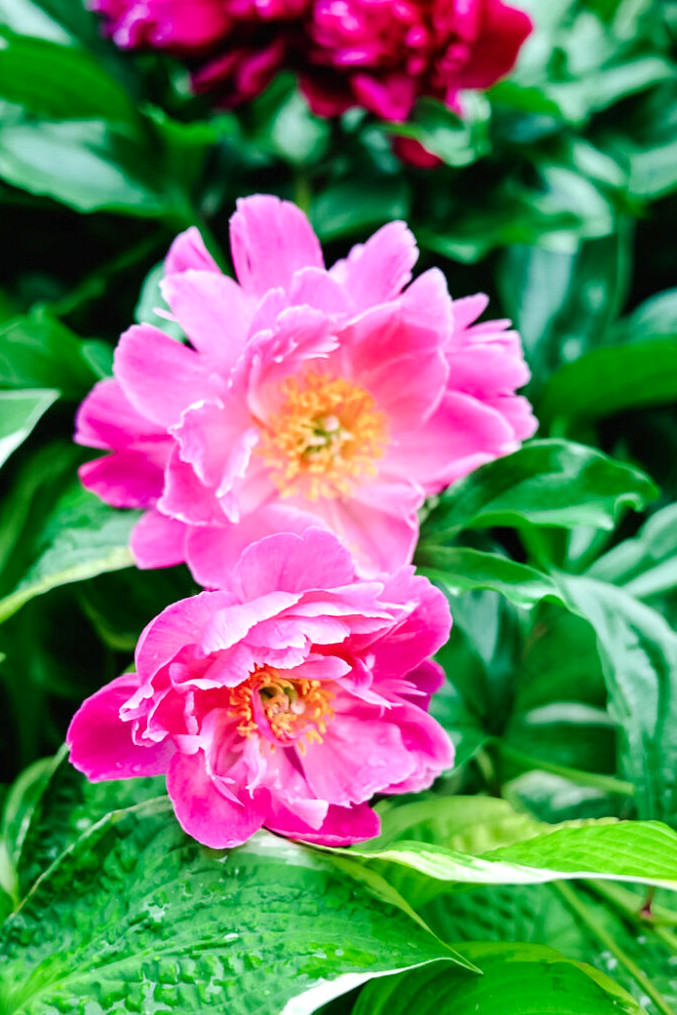
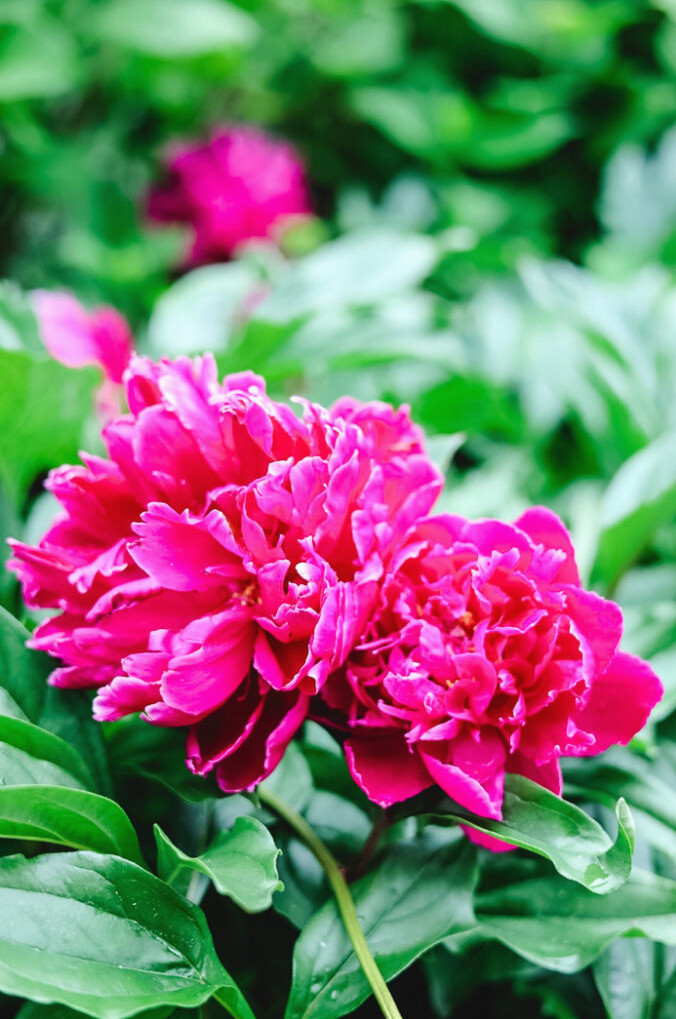
Unfortunately, peonies have such a brief blooming period that I enjoyed only one truly good week with them this year.
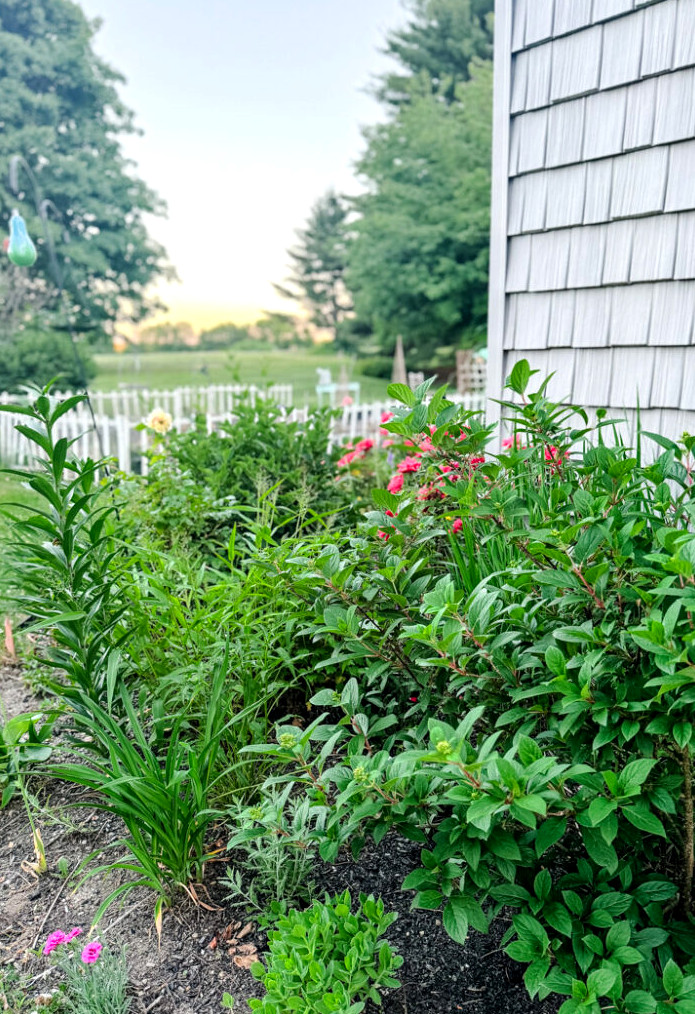
As we continue along the house, we reach the pollinator garden I expanded last year. This bed features roses, Quick Fire hydrangeas, and Asian lilies, along with pollinator-friendly plants such as coneflower, bee balm, salvia, and Shasta daisies, among others.
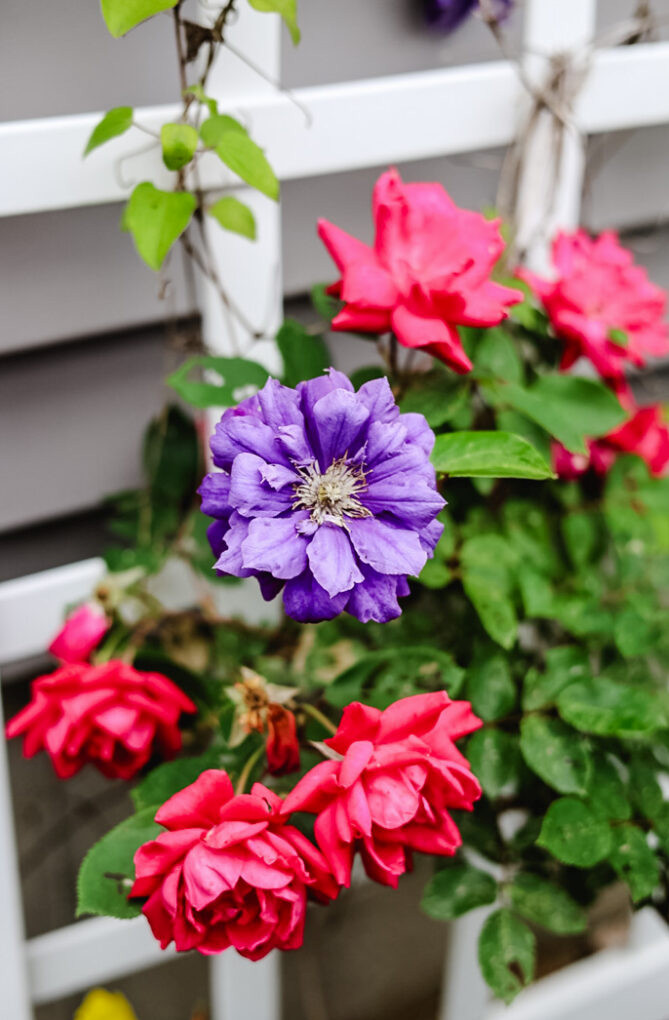
The clematis are starting to bloom. Positioned beside the vivid red Knock Out roses, this Franziska Maria clematis creates a wonderful contrast in color.
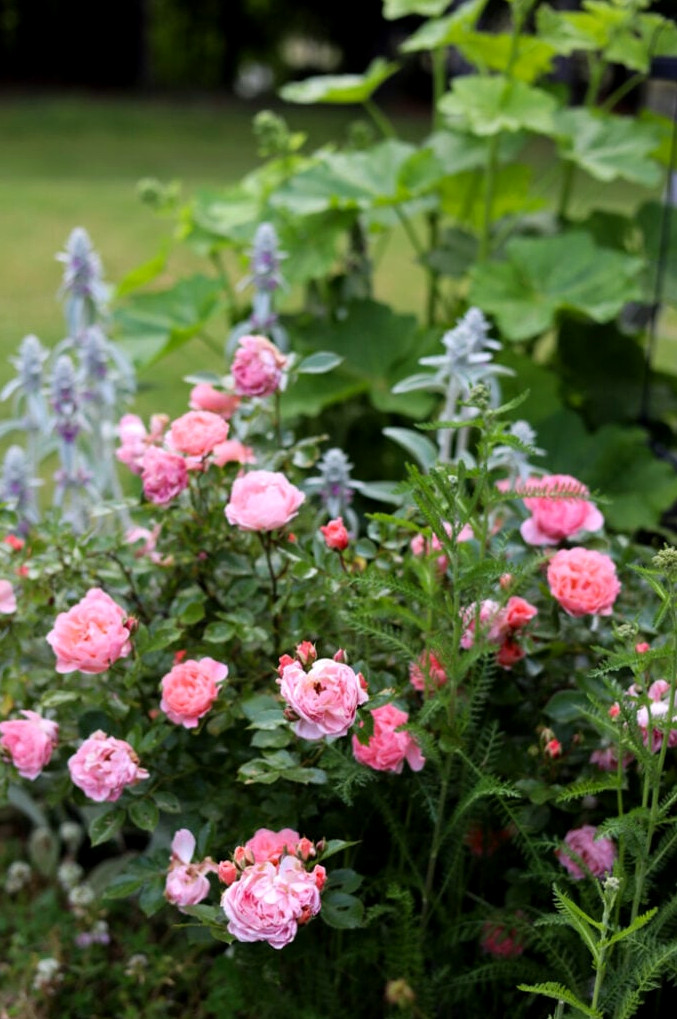
A grouping of traditional cottage garden blooms sits at the perennial bed’s far end, including hollyhock, lamb’s ear, roses, yarrow, and a petite butterfly bush.
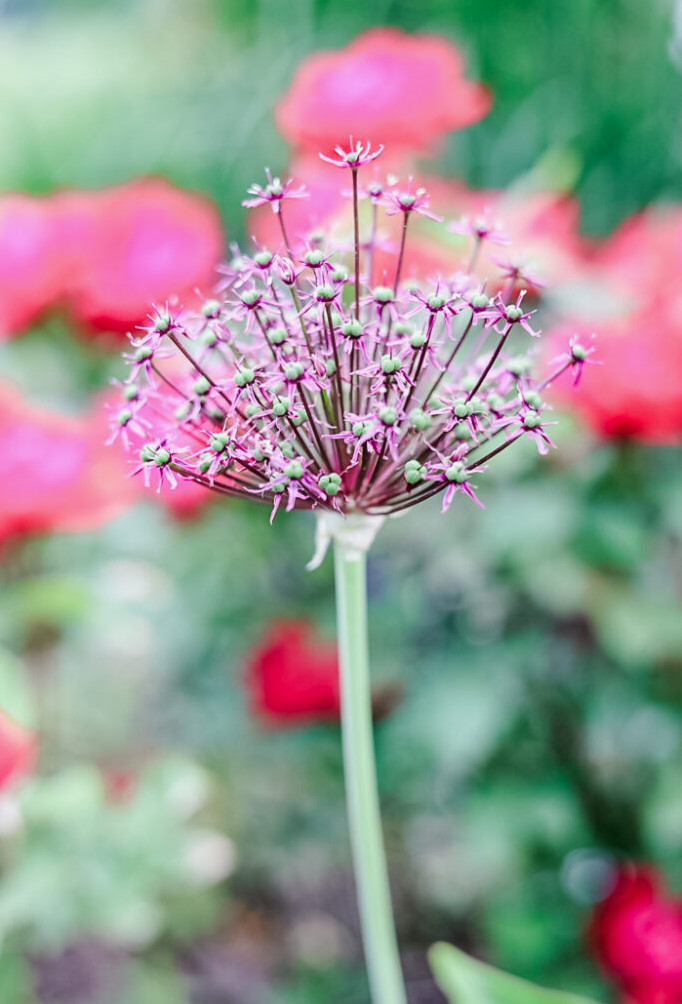
And that brings my garden tour to a close! It’s incredible to see how quickly everything has grown already, isn’t it? All those early mornings spent working outdoors have certainly paid off.
Considering creating a garden of your own? Don’t hesitate to dig in and get your hands dirty! Gardening is a relaxing, creative pastime that may even reward you with tasty homegrown vegetables and beautiful blossoms. I’ll continue posting updates throughout the season, so stay tuned and enjoy gardening!
Grow With Me Gardening Series
This belongs to the Grow With Me Gardening Series here at Cottage On Bunker Hill. My goal is to show you how to begin, care for, and enjoy gardening. I’ll pass along the advice & techniques I’ve picked up over the years while cultivating vegetable and flower gardens in the Northeast.
Let’s feature your projects! If this project or any of my other DIY ideas has inspired you, I’d be delighted to see your work and include it in the Reader’s Spotlight gallery. Email a photo to jennifer@cottageonbunkerhill.com
xo, Jennifer
Cottage Garden
Favorite Products
Discover my favorite gardening essentials! Raised beds, plant supports, & equipment to help your garden thrive.