
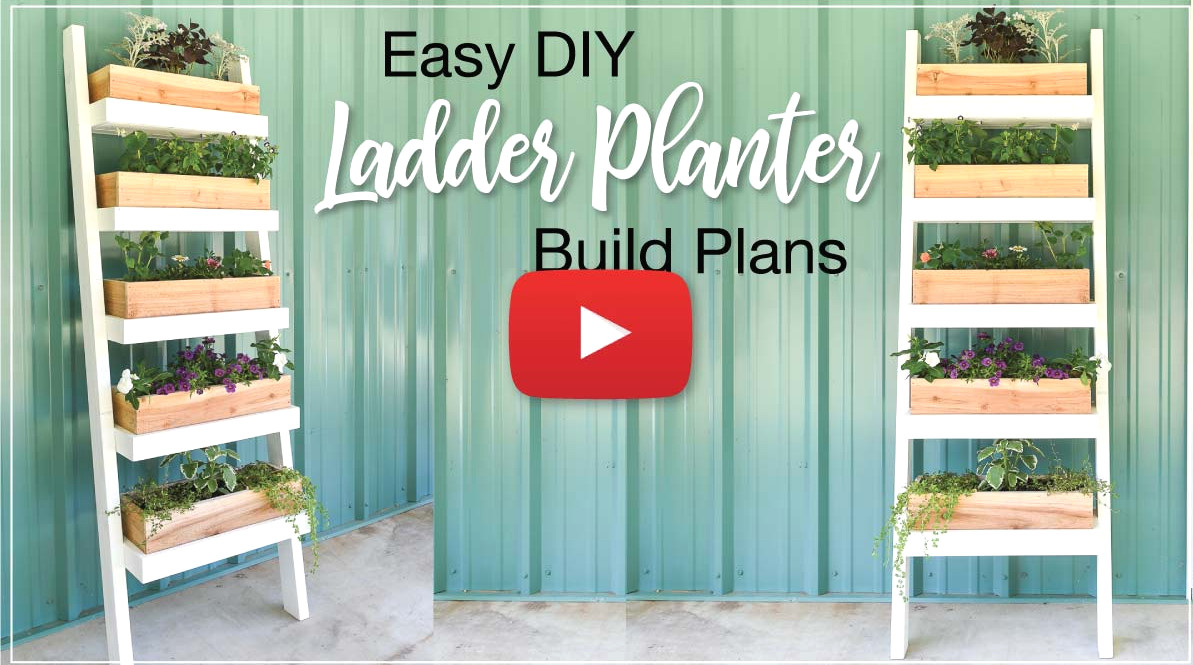
Grow herbs, flowers, or vegetables in a limited area with this vertical ladder planter.
You can never have too many plants! Whether you are hoping for colorful blooms or looking for a spot to grow fresh food, plants will immediately liven up your space.
With this attractive ladder planter, you do not need a large area to grow plenty. The planter boxes extend upward, providing ample growing room while taking up very little floor space.
I also teamed up with Kreg Tools to make this stylish outdoor planter quick and simple to assemble! The pocket holes form a durable ladder that can securely support all your favorite plants.
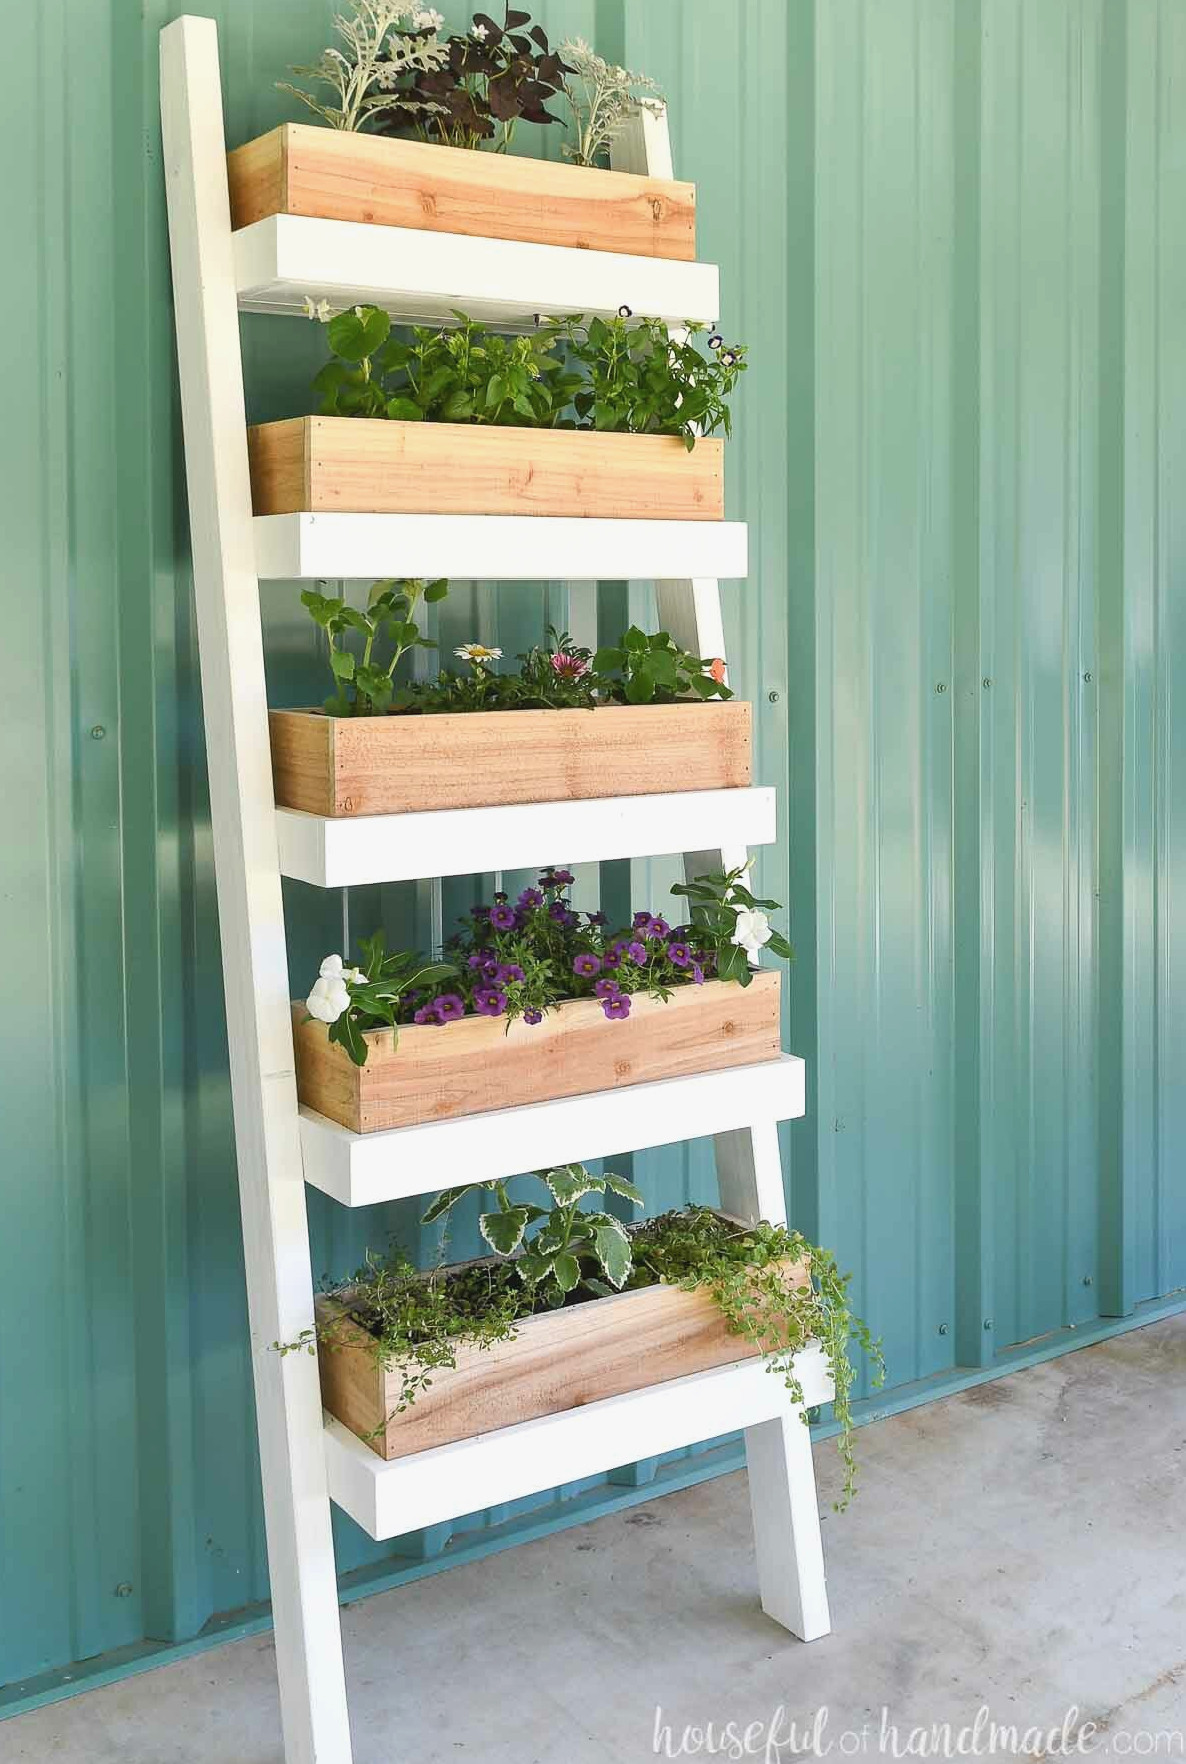
5 Tier Vertical Planter
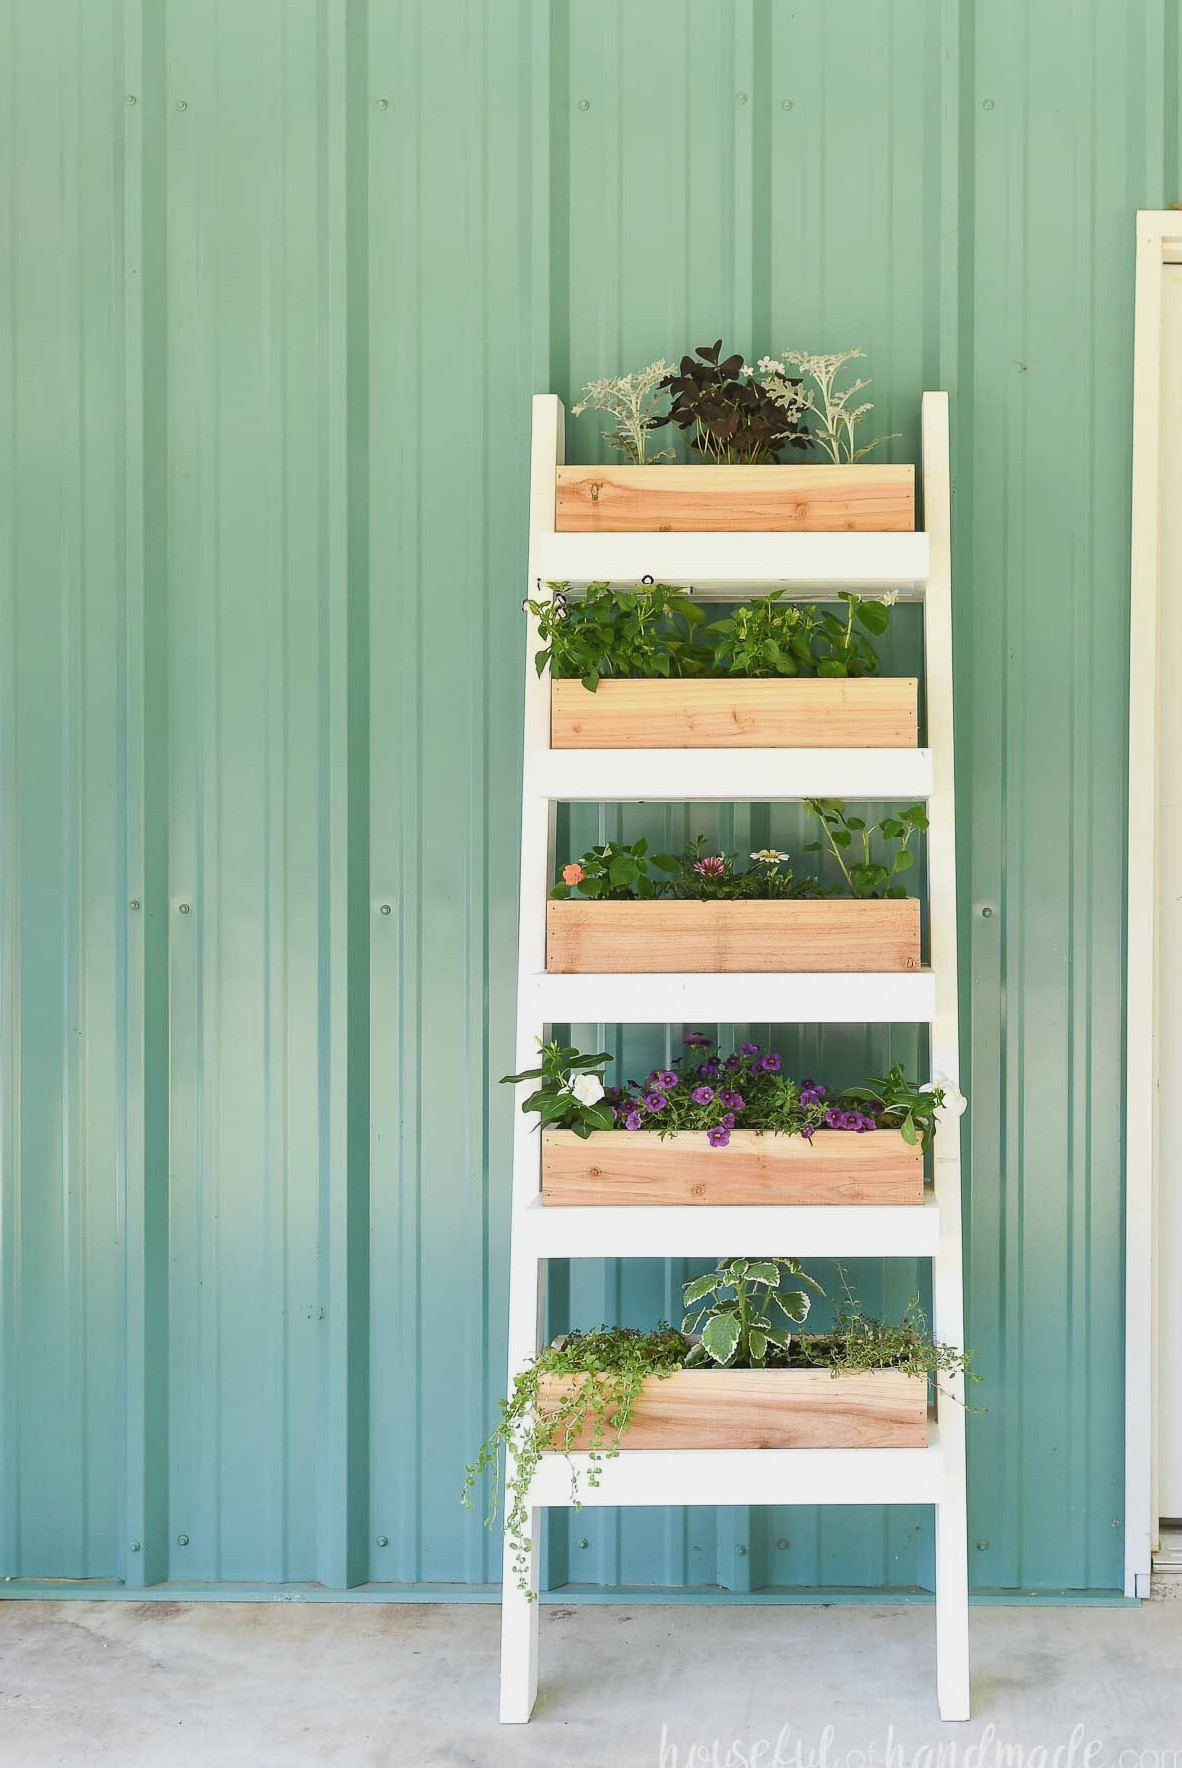
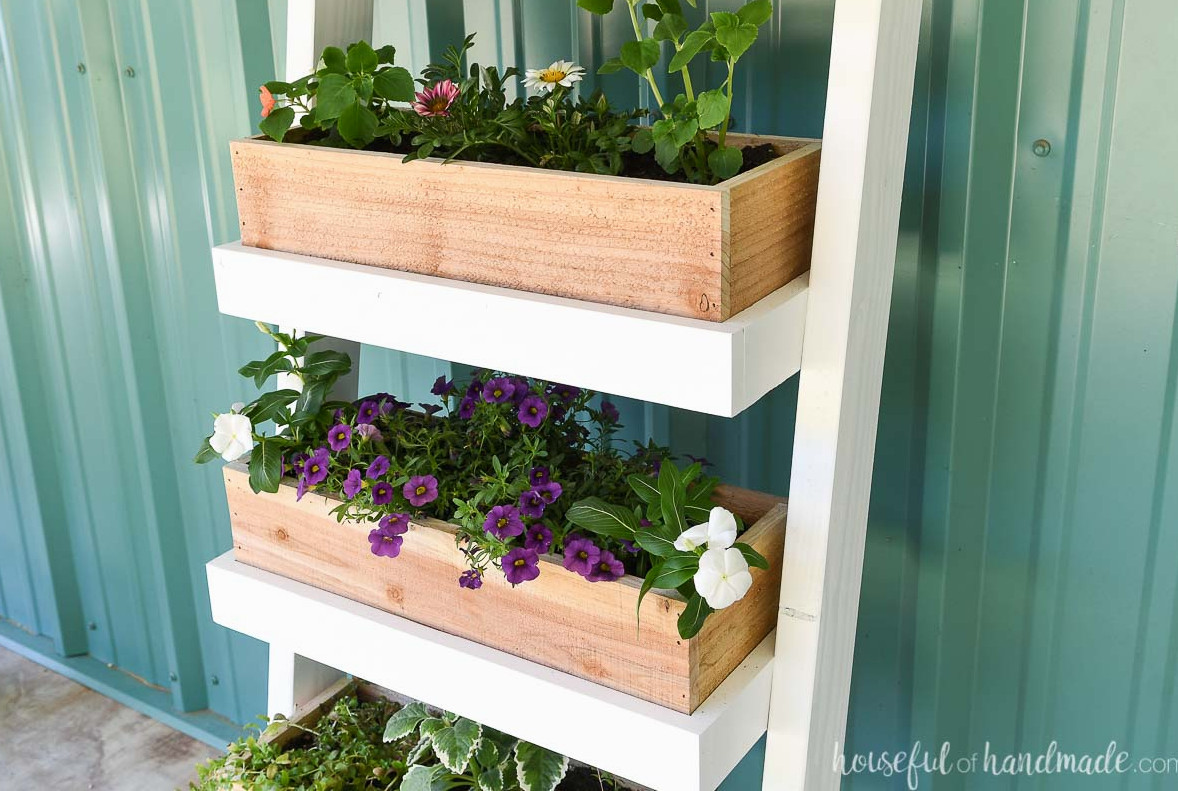
This vertical ladder garden features 5 spacious planter boxes. Each box measures about 20″ by 8″ and is 5 1/2″ deep.
There is roughly 6″ of room between the individual planters, making it ideal for compact or cascading plants.
For taller plants, simply construct the ladder with fewer planter boxes and leave more room between them. That is the advantage of DIY!
You can also turn this ladder into a plant display stand.
As described below, assemble the ladder without attaching the cedar planter box sides. This setup will provide solid shelves for displaying your plants.
Afterward, arrange attractive pots filled with your preferred plants across the shelves.
More Gardening DIYs
Head outdoors and grow something wonderful with these additional DIY garden and planter projects.
How to Build a Wooden Ladder Planter
Tools & Materials
Overall Dimensions:
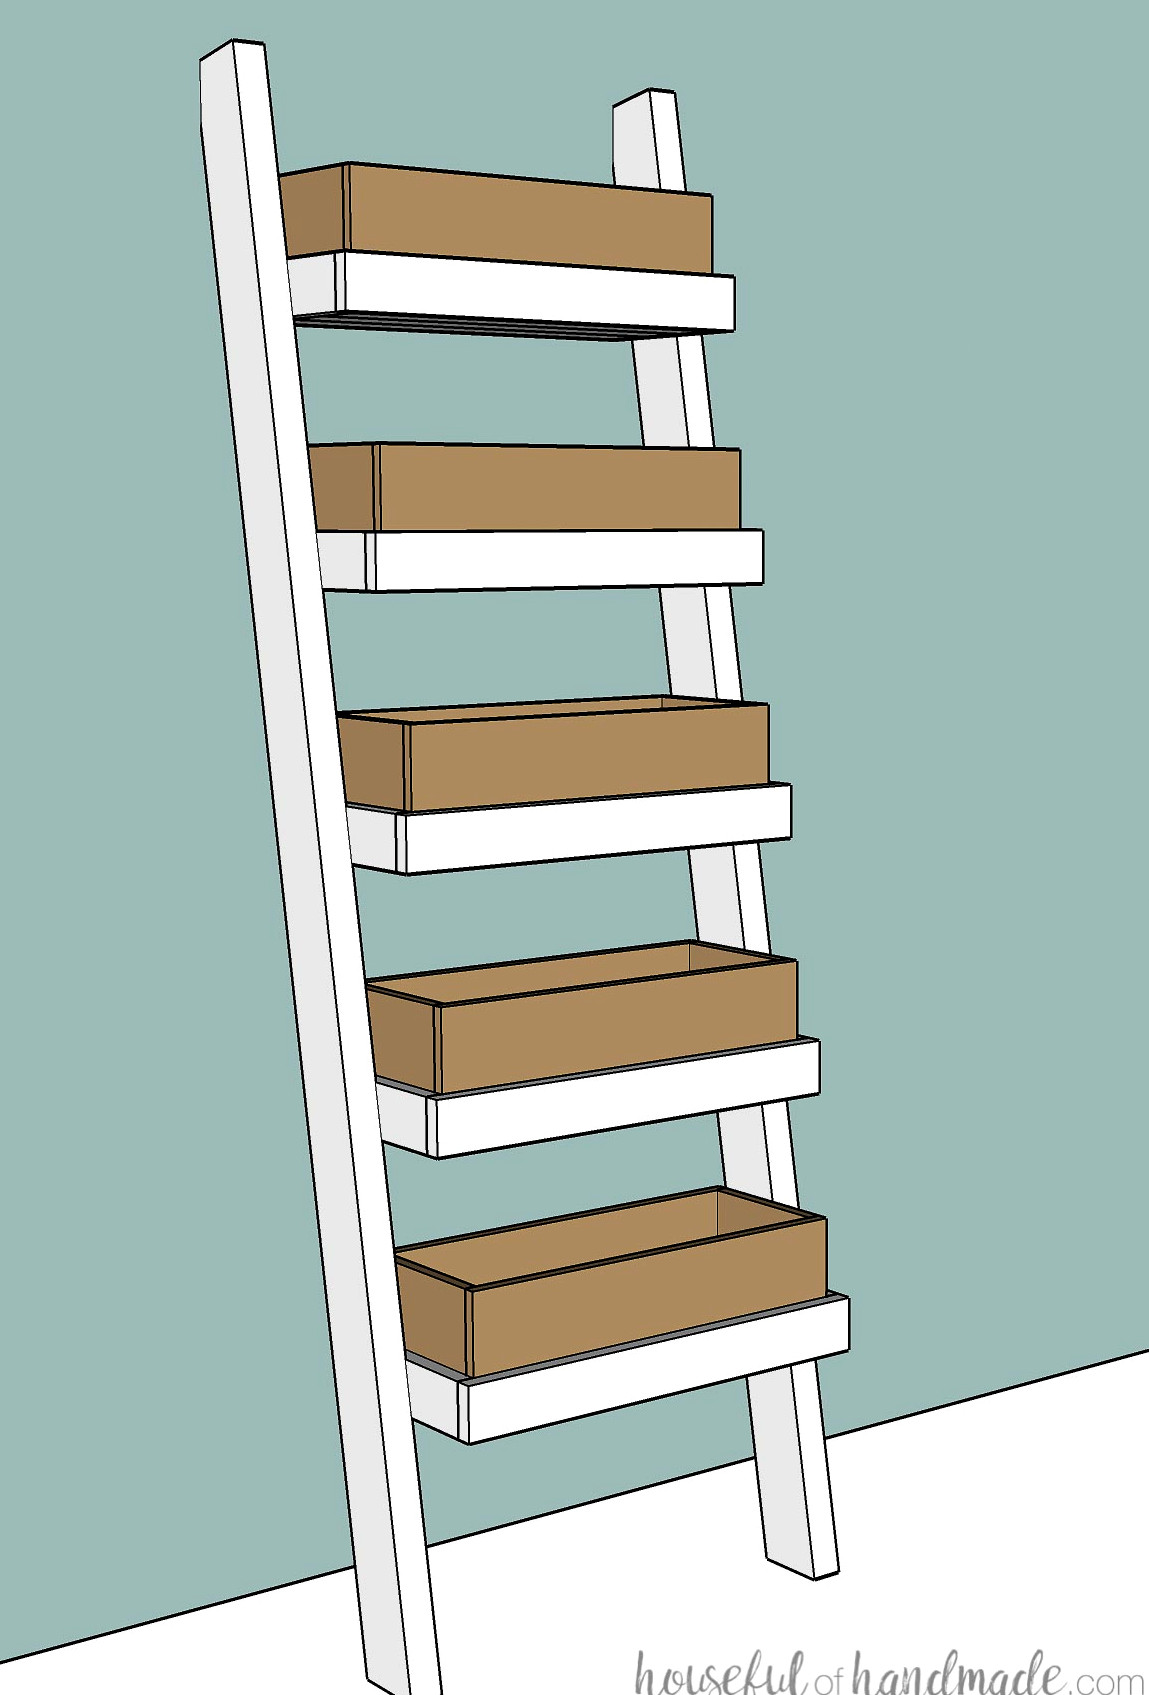
The completed ladder planter measures 24″ wide and 6′ tall.
At the base, it extends 15 1/2″ from the wall, while the widest section, the lowest planter box, reaches 18″ from the wall.
Prefer to Watch? Take a Look at the Video Below
CUT LIST
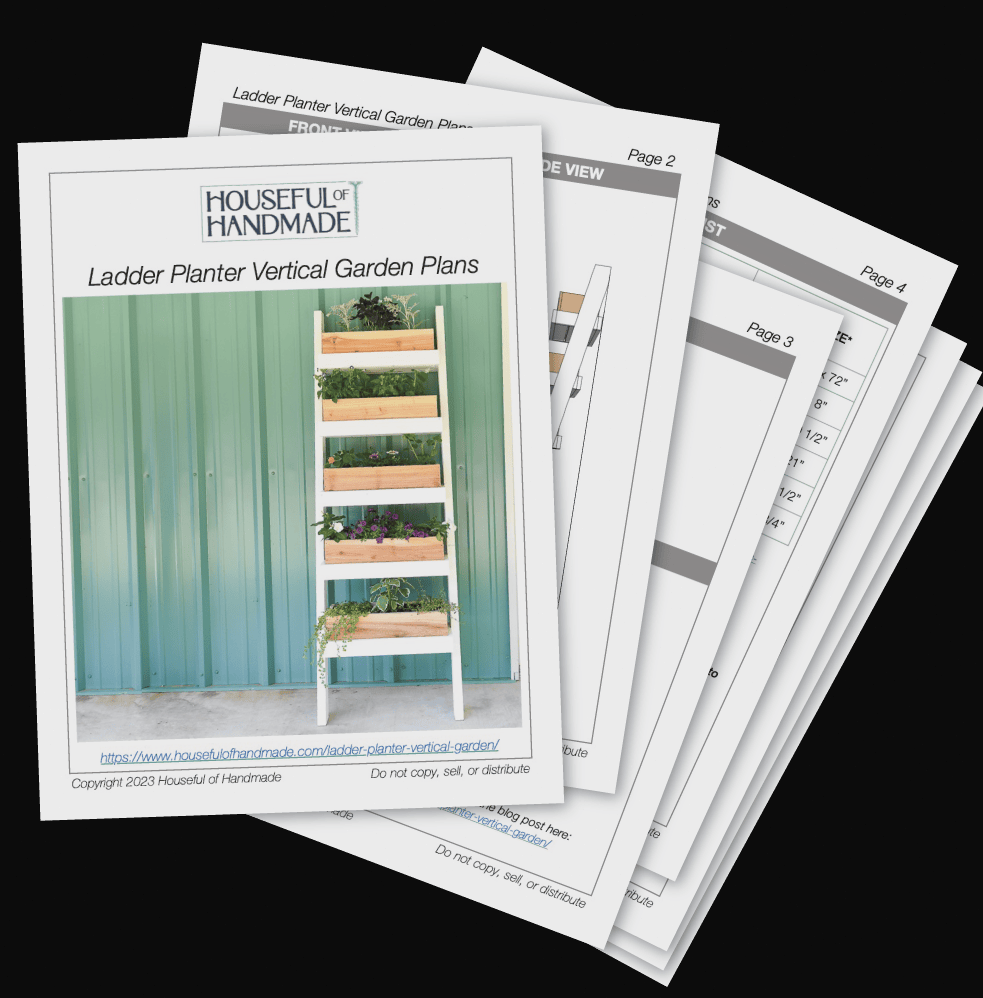
Cut the components following the easy-to-understand table included in the premium PDF plans.
Download the Premium PDF Woodworking Plans
PDF plans include- Easy-to-Follow Cut List, Shopping List, Suggested Tools, Step-by-Step Directions with 3D drawings, & Useful Resources
BONUS- 3D SketchUp Model
STEP 1 – Assemble the Planter Box Base
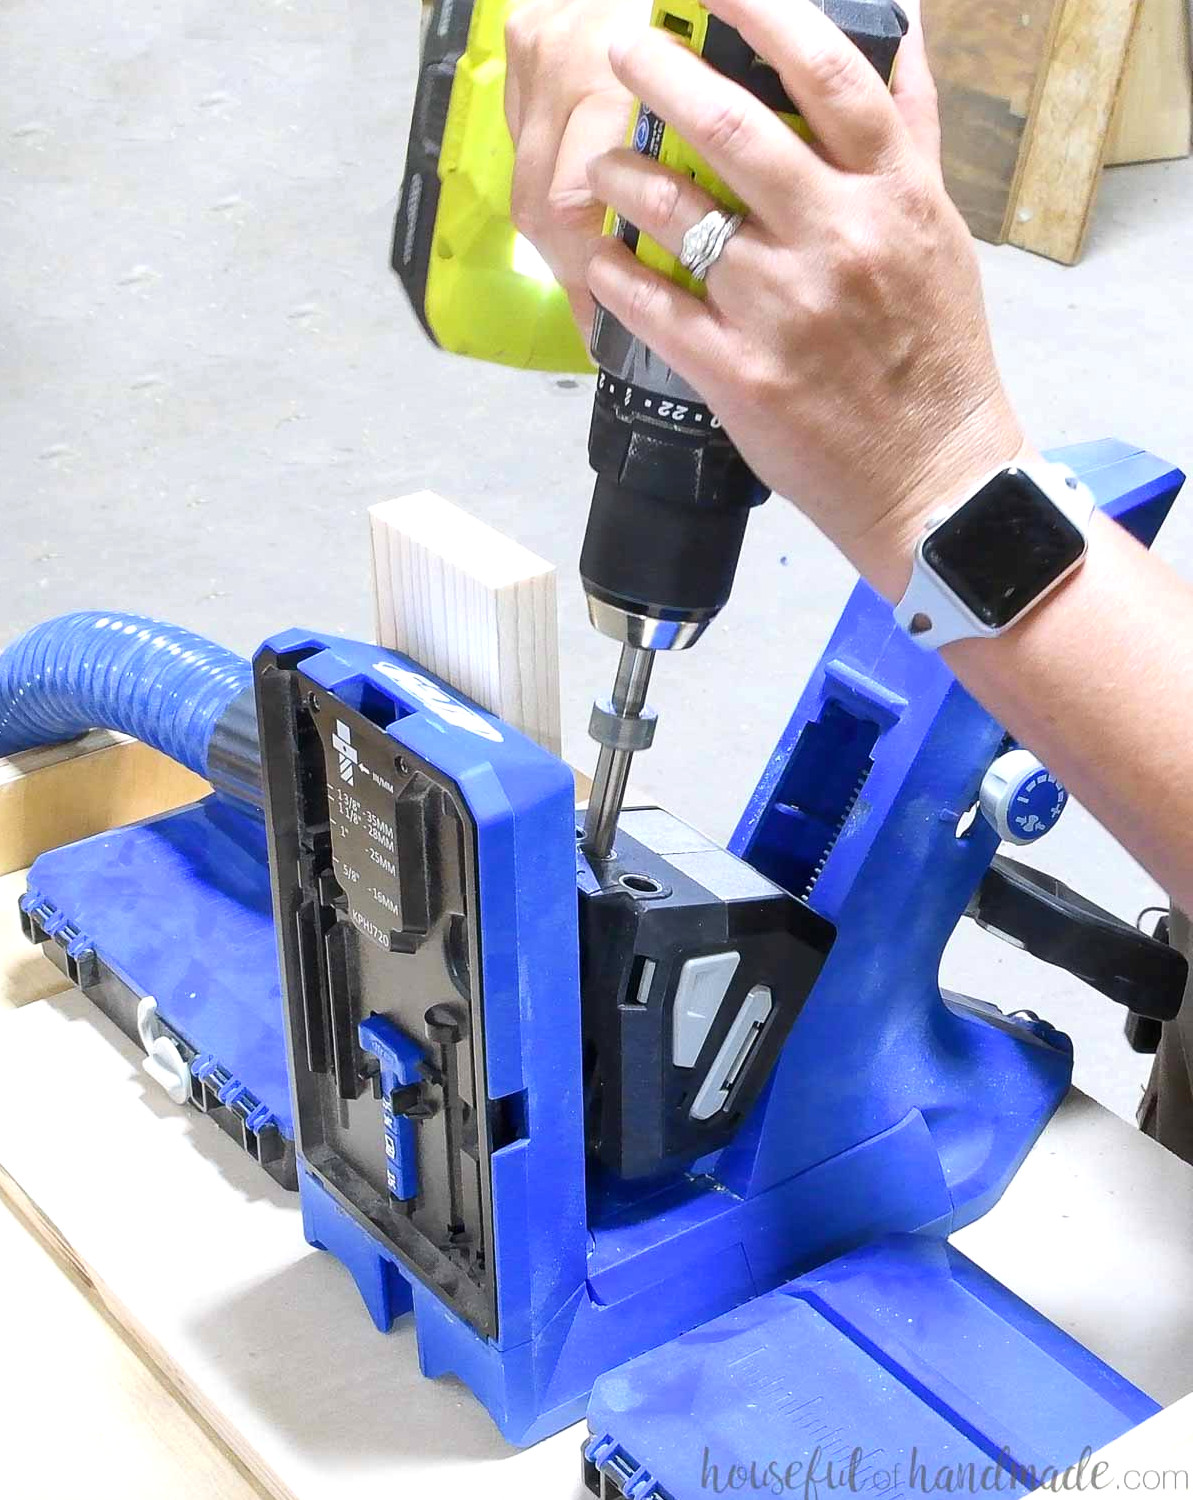
Create pocket holes designed for 3/4″ thick material at both ends of each shelf frame board. Learn how to use the Kreg Pocket Hole Jig 720 here.
On the 8″ side boards, avoid placing pocket holes in the bottom 3/4″ of the boards, since they will be concealed once the bottom boards are attached. These holes must remain reachable so the front and back can be secured afterward.
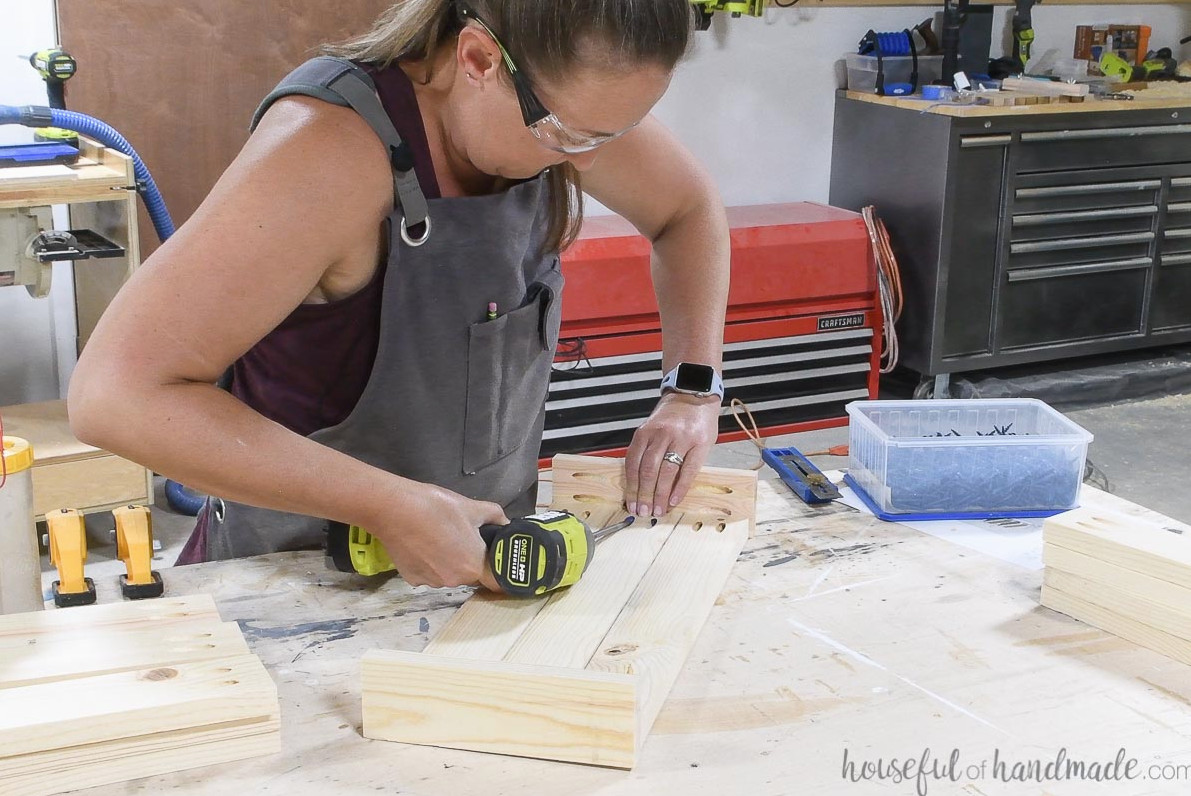
Use wood glue and 1 1/4″ pocket hole screws to join three longer boards between two shorter side boards. Position the center board evenly and leave a narrow opening on either side of the outside boards.
These openings between the bottom slats provide drainage for excess water.
To conceal the pocket holes, orient them upward on the bottom slats. They will then be hidden within the planter box.
If you intend to use the unit as a plant shelf instead, place the pocket holes on the underside.
Check the assembled section to determine the correct dimensions for the front and back pieces of the planter box frames. Then cut the boards.
EXPERT TIP:
Measurements listed in a plan may not always match the exact size required for your project because your boards may differ slightly from the specified thickness, unless you precisely mill your own lumber. Instead, measure the opening where the board will go and cut it to fit.
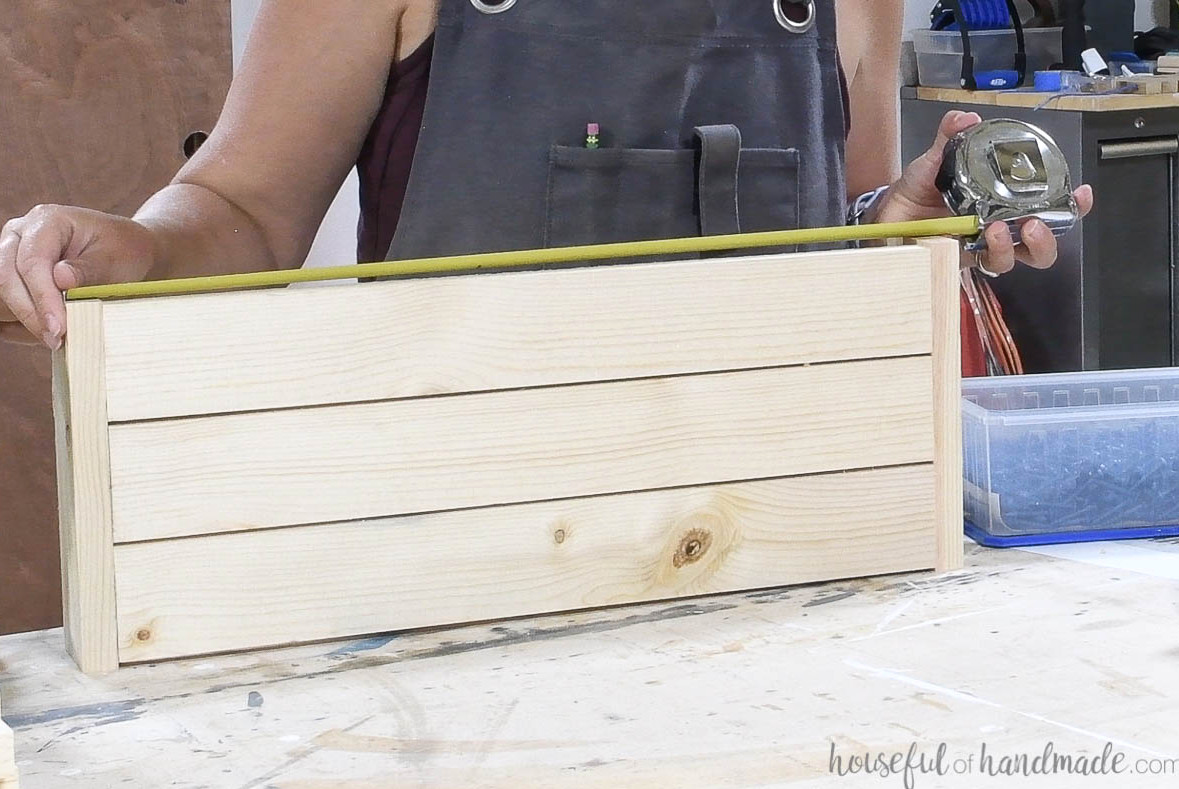
Secure the front and back pieces of the planter frames with wood glue and 1 1/4″ pocket hole screws, using the pocket holes already made in the side boards.
Because the frame interior is narrow, use the Kreg 90 degree bit to drive the pocket hole screws.
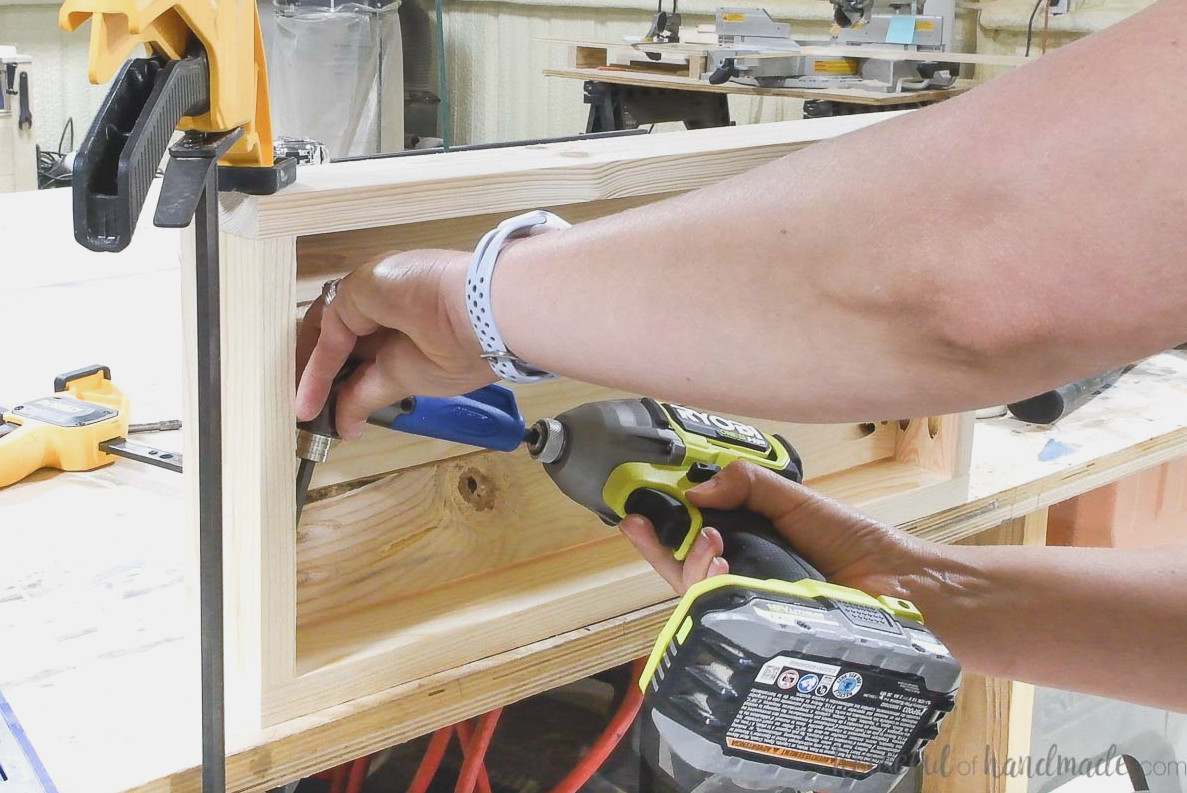
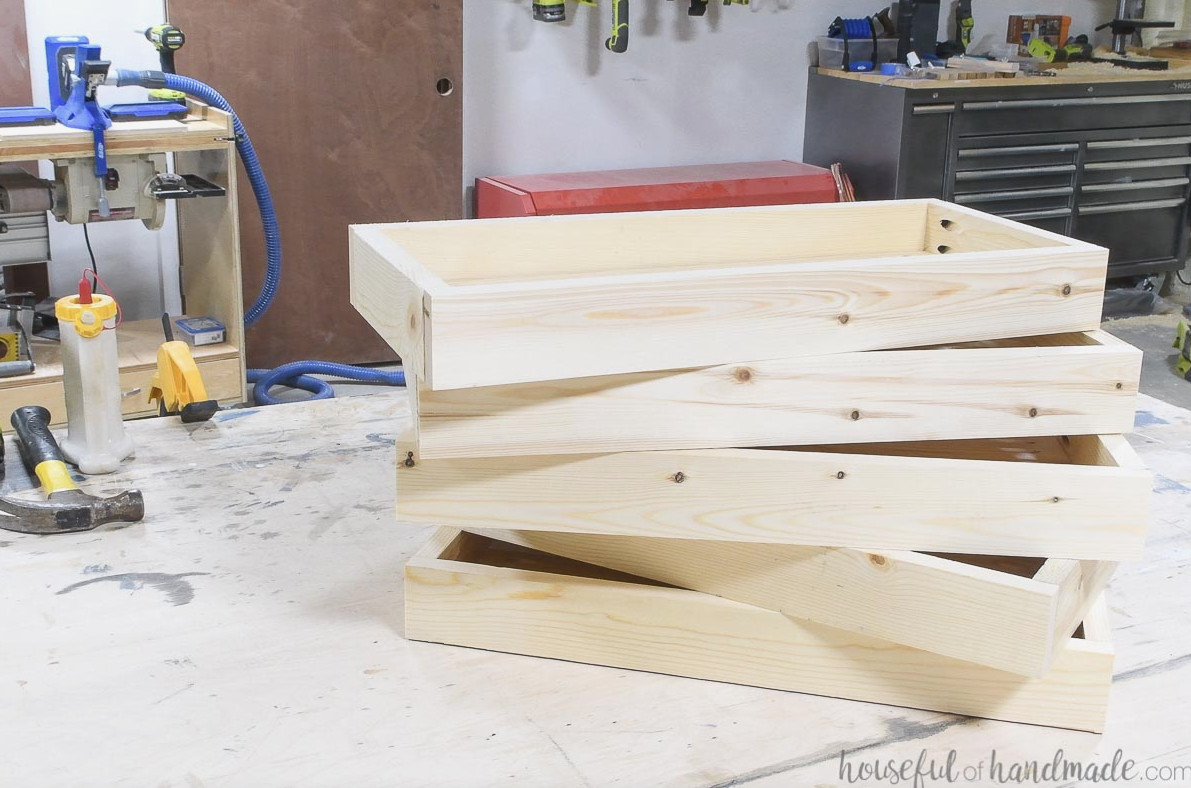
Continue this process until all 5 planter frames are complete.
STEP 2 – Trim the Angled Ladder Sides
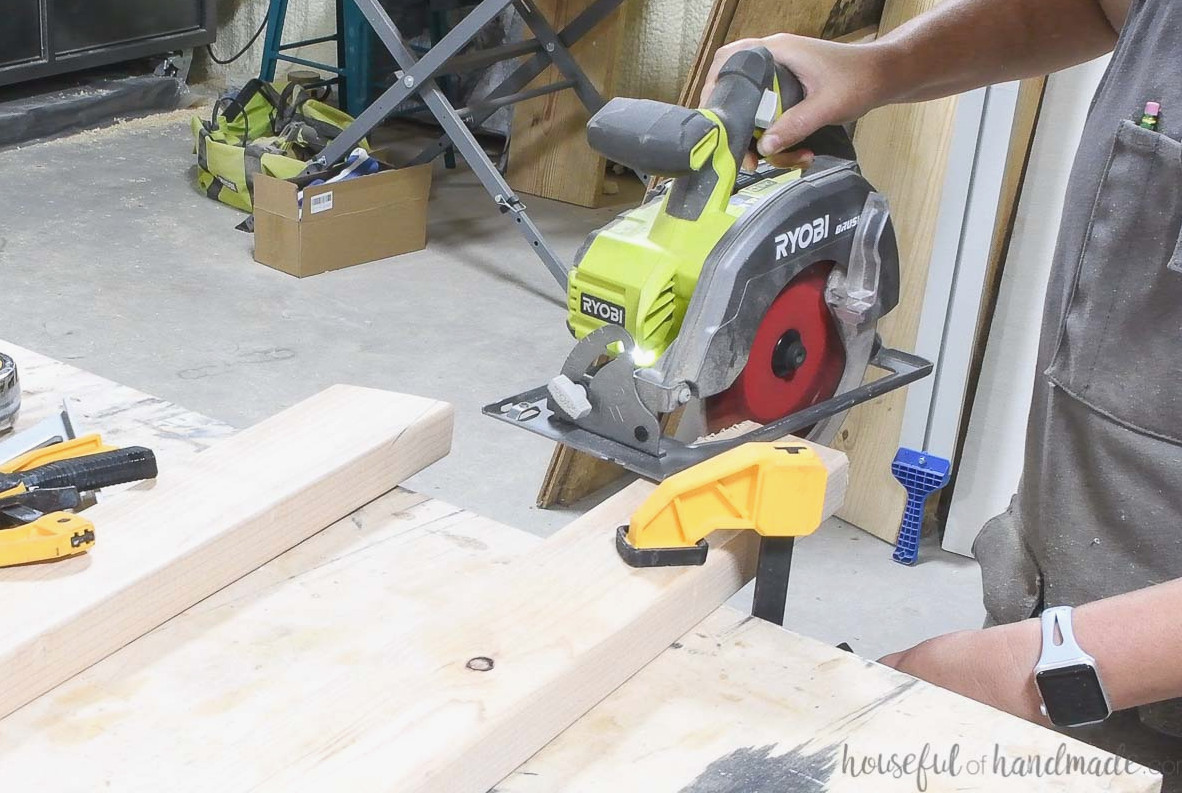
Cut two sections from the 6′-long 2×4 boards. Each end must be trimmed at a 10-degree angle, with both angles running parallel.
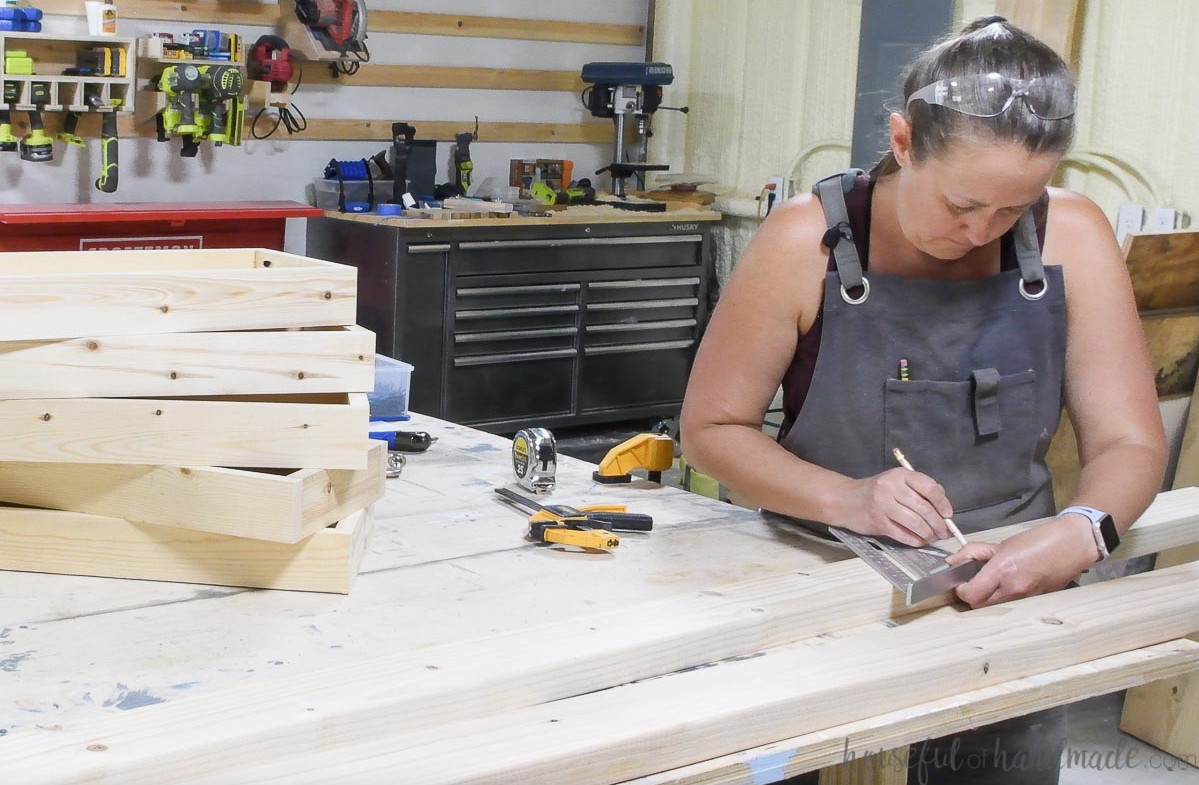
Position the boards as mirror images on your worktable. Starting at the upper end of the board from the front, or lower side of the angle, measure 3″ inward along the angled edge.
Next, use the speed square to mark a line 90 degrees from the angle. The line should extend off the back of the board a few inches below the top.
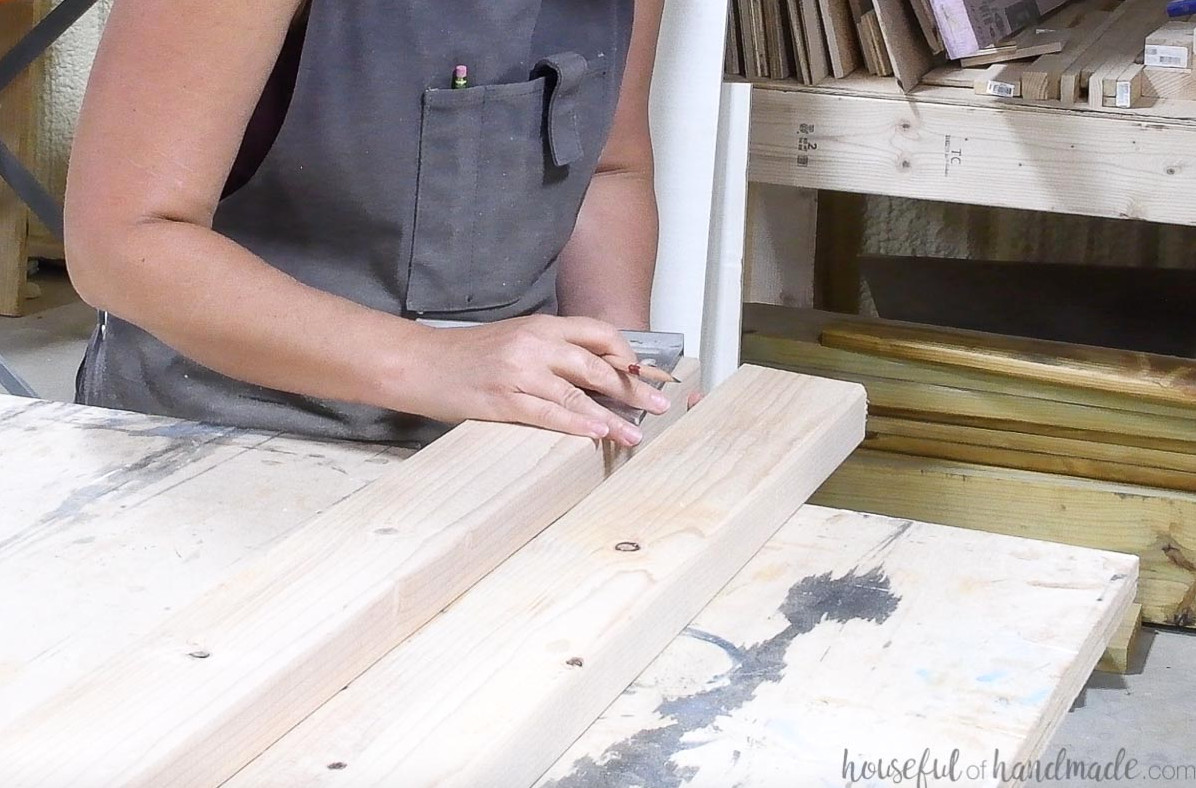
Trim the board along this line. This produces a flat section that allows the ladder’s back to sit against the wall.
Do the same on the opposite side, ensuring the two pieces remain mirrored.
STEP 3 – Fasten Box Bases to the Sides
Beginning at the front/bottom of the side boards, measure 12″ upward and mark the spot. Continue measuring and marking every 12″ along the board (there should be 5 marks).
With the speed square, draw a line from each mark across the board at a 10-degree angle, parallel to the bottom. These marks indicate where the base of each planter box frame will sit.
Measure 4 1/2″ inward from the front and mark both sides of the bottom of every planter box.
Align the planter box base with the line on the side board, placing the 4 1/2″ mark at the front edge of the 2×4.
Use the Kreg Quick-Flip to fasten the frame with 1 1/4″ pocket-hole screws driven flush into the wood.
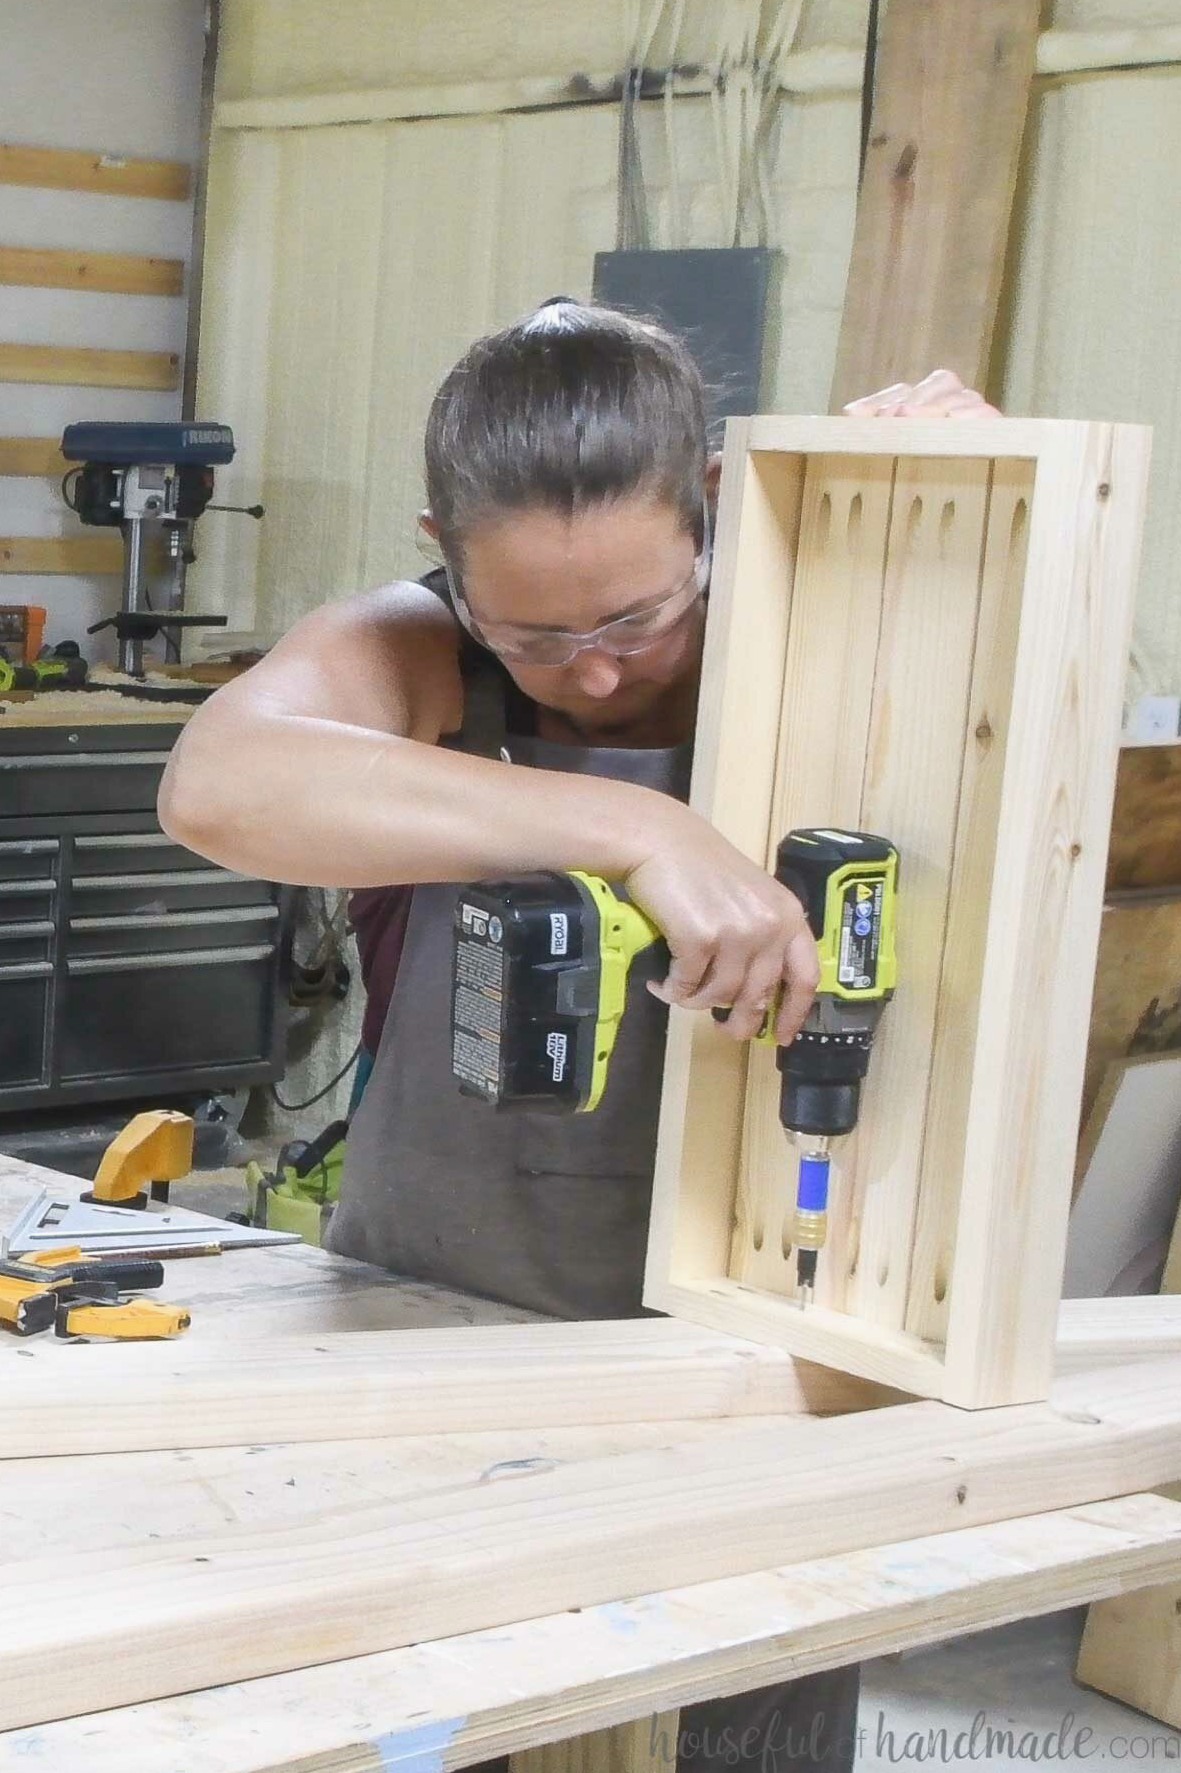
Continue until every frame is secured to one side piece.
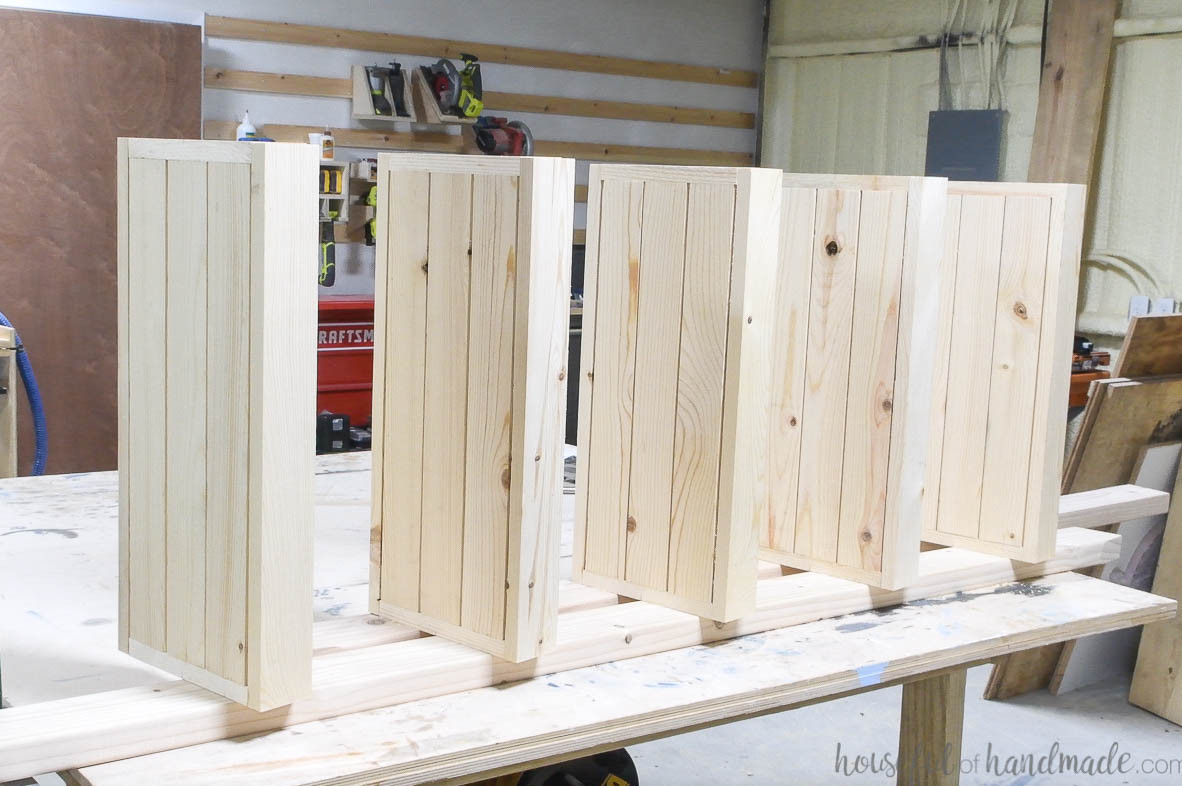
Next, turn the ladder planter onto its opposite side piece. A scrap section of 2×4 can help stabilize it on the side board.
Match the frames to the marks on the second side board and fasten them using the same method.
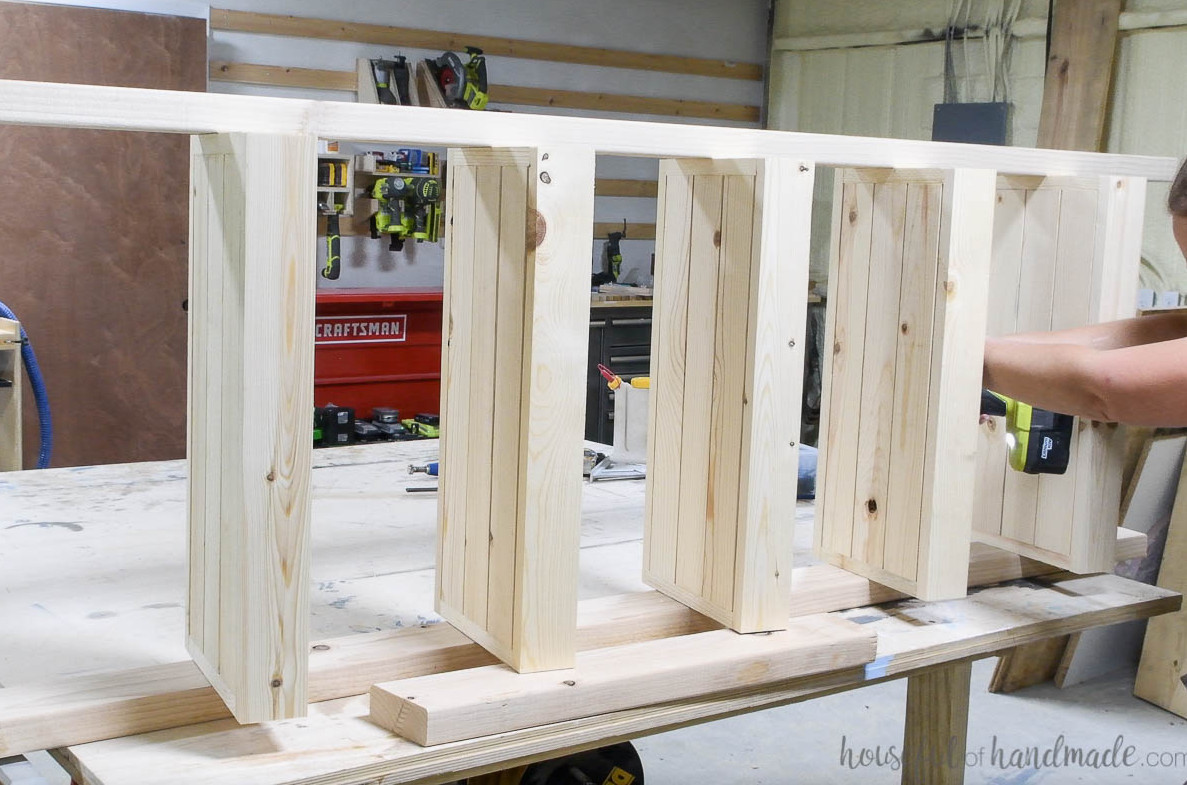
STEP 4 – Complete the Ladder Frame
If you would like the ladder planter to contrast with the cedar planter boxes, paint or stain the frame at this stage.
Sand the surface, then apply 2-3 coats of outdoor paint or stain.
STEP 5 – Add the Cedar Planter Boxes
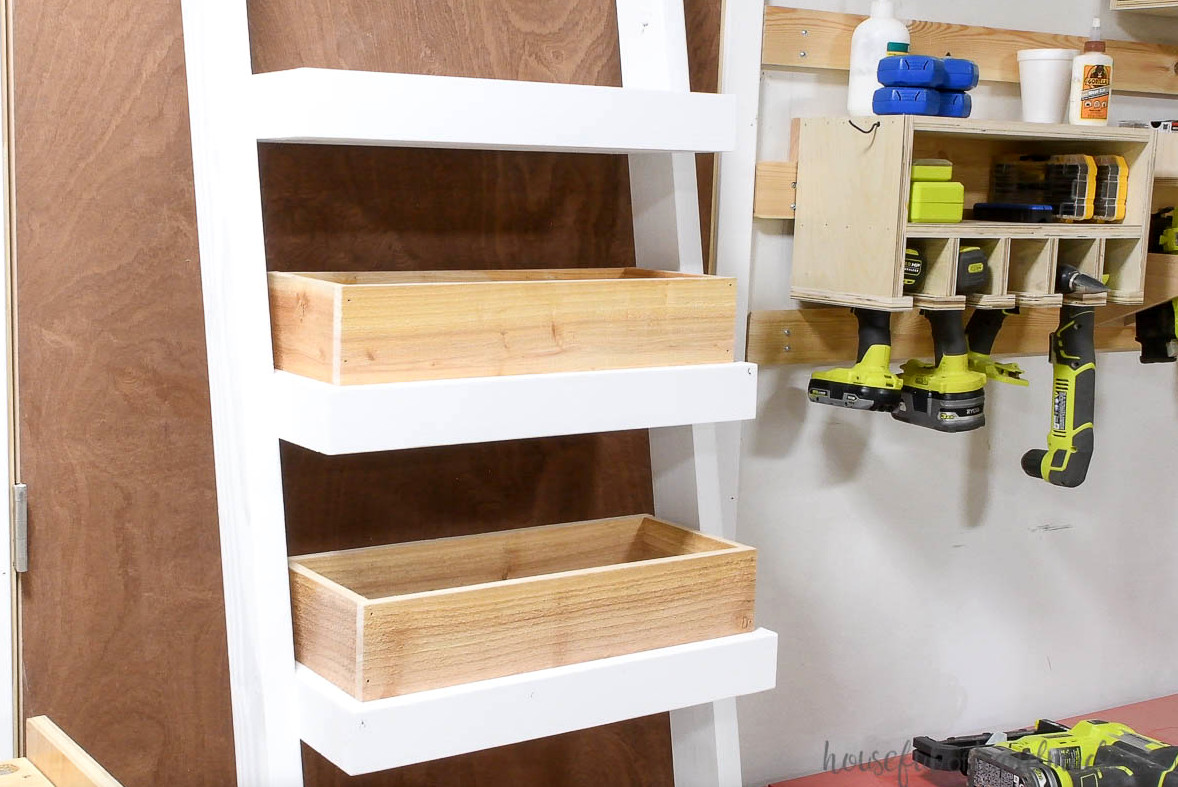
From the cedar fence pickets, cut ten pieces measuring 19 1/2″ in length. They should fit securely inside the planter box frames without being overly tight.
Fasten the rear piece to the frame using finish nails.
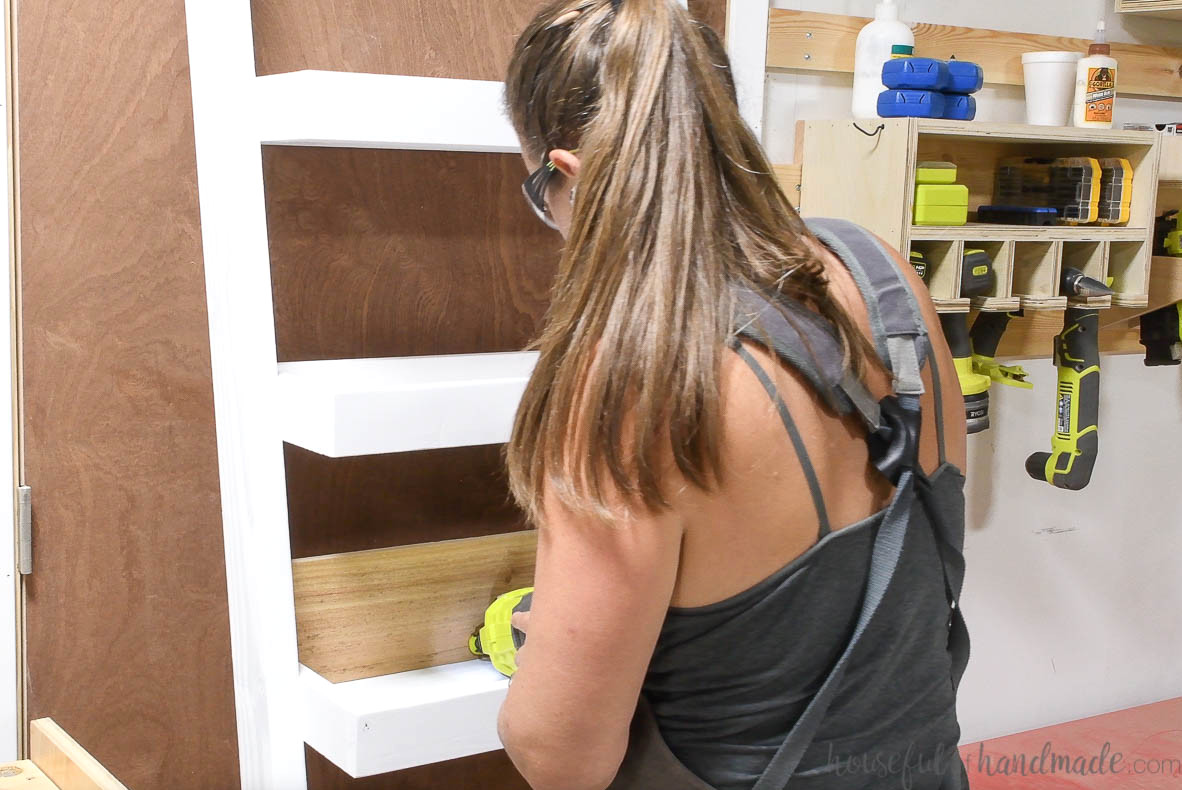
Set the front piece inside the planter. Since your nail gun likely will not fit inside the frame, attach this piece to the one that has already been secured.
Once the front and rear pieces are positioned in the frame, measure the side sections and cut them accordingly. They need to fit snugly between the front and back pieces.
Drive finish nails through the front cedar panel into the side pieces. Then turn the ladder over and fasten the rear panel to the side pieces.
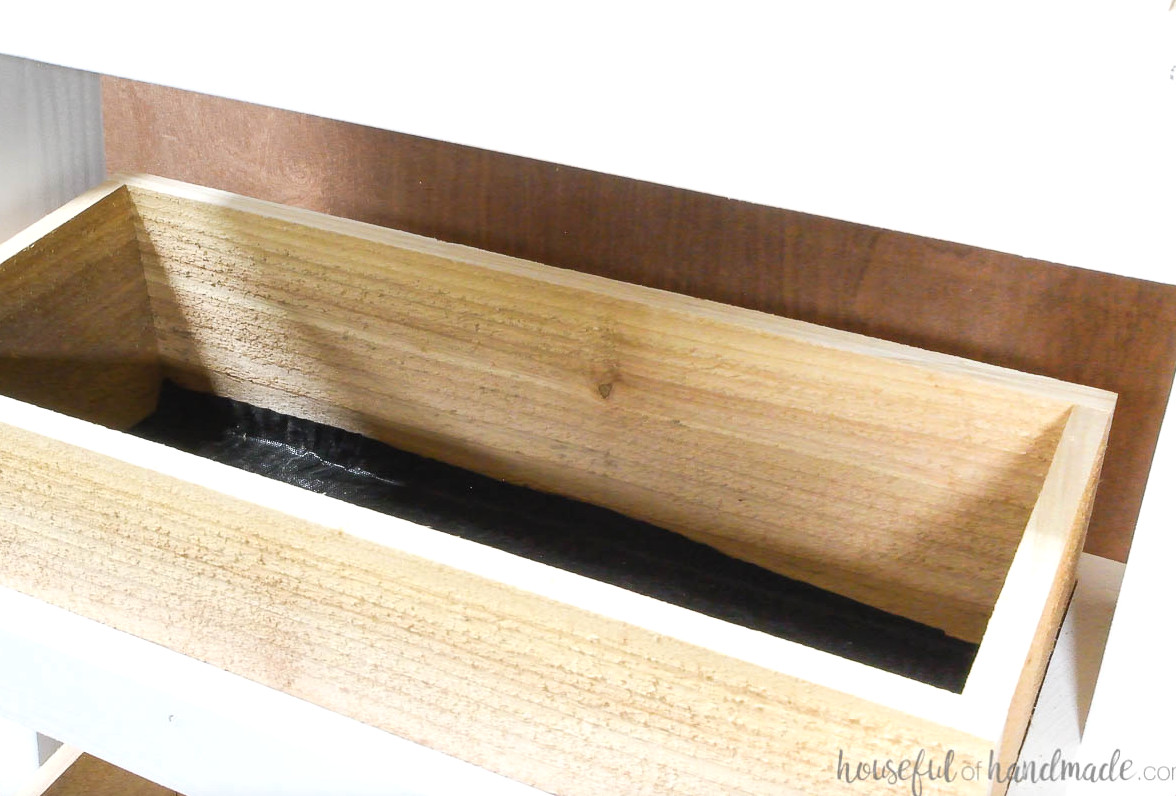
Cut a section of landscaping fabric so it covers the interior bottom. Make it slightly larger than the planter box base.
The fabric keeps soil and roots from escaping through the bottom while still permitting proper drainage.
That’s it!
Remember to Get the Printable PDF Plans Here!
Premium plans feature:
- Suggested Tools
- Materials list
- Simple cut list chart
- Cutting diagrams
- Detailed instructions with 3D renderings
- Useful resources
- BONUS: 3D SketchUp model
All that remains is filling your finished planter with soil and adding your favorite plants! Filling all 5 planter boxes required two 40 cubic foot bags of potting soil.
Set your completed ladder planter on the porch or patio, or simply rest it against your house and enjoy the greenery!
When the ladder is positioned at the correct angle against the house, the angled top cuts will sit flush against the wall, while the bottom rests evenly on the ground. This keeps the plant boxes parallel to the floor.
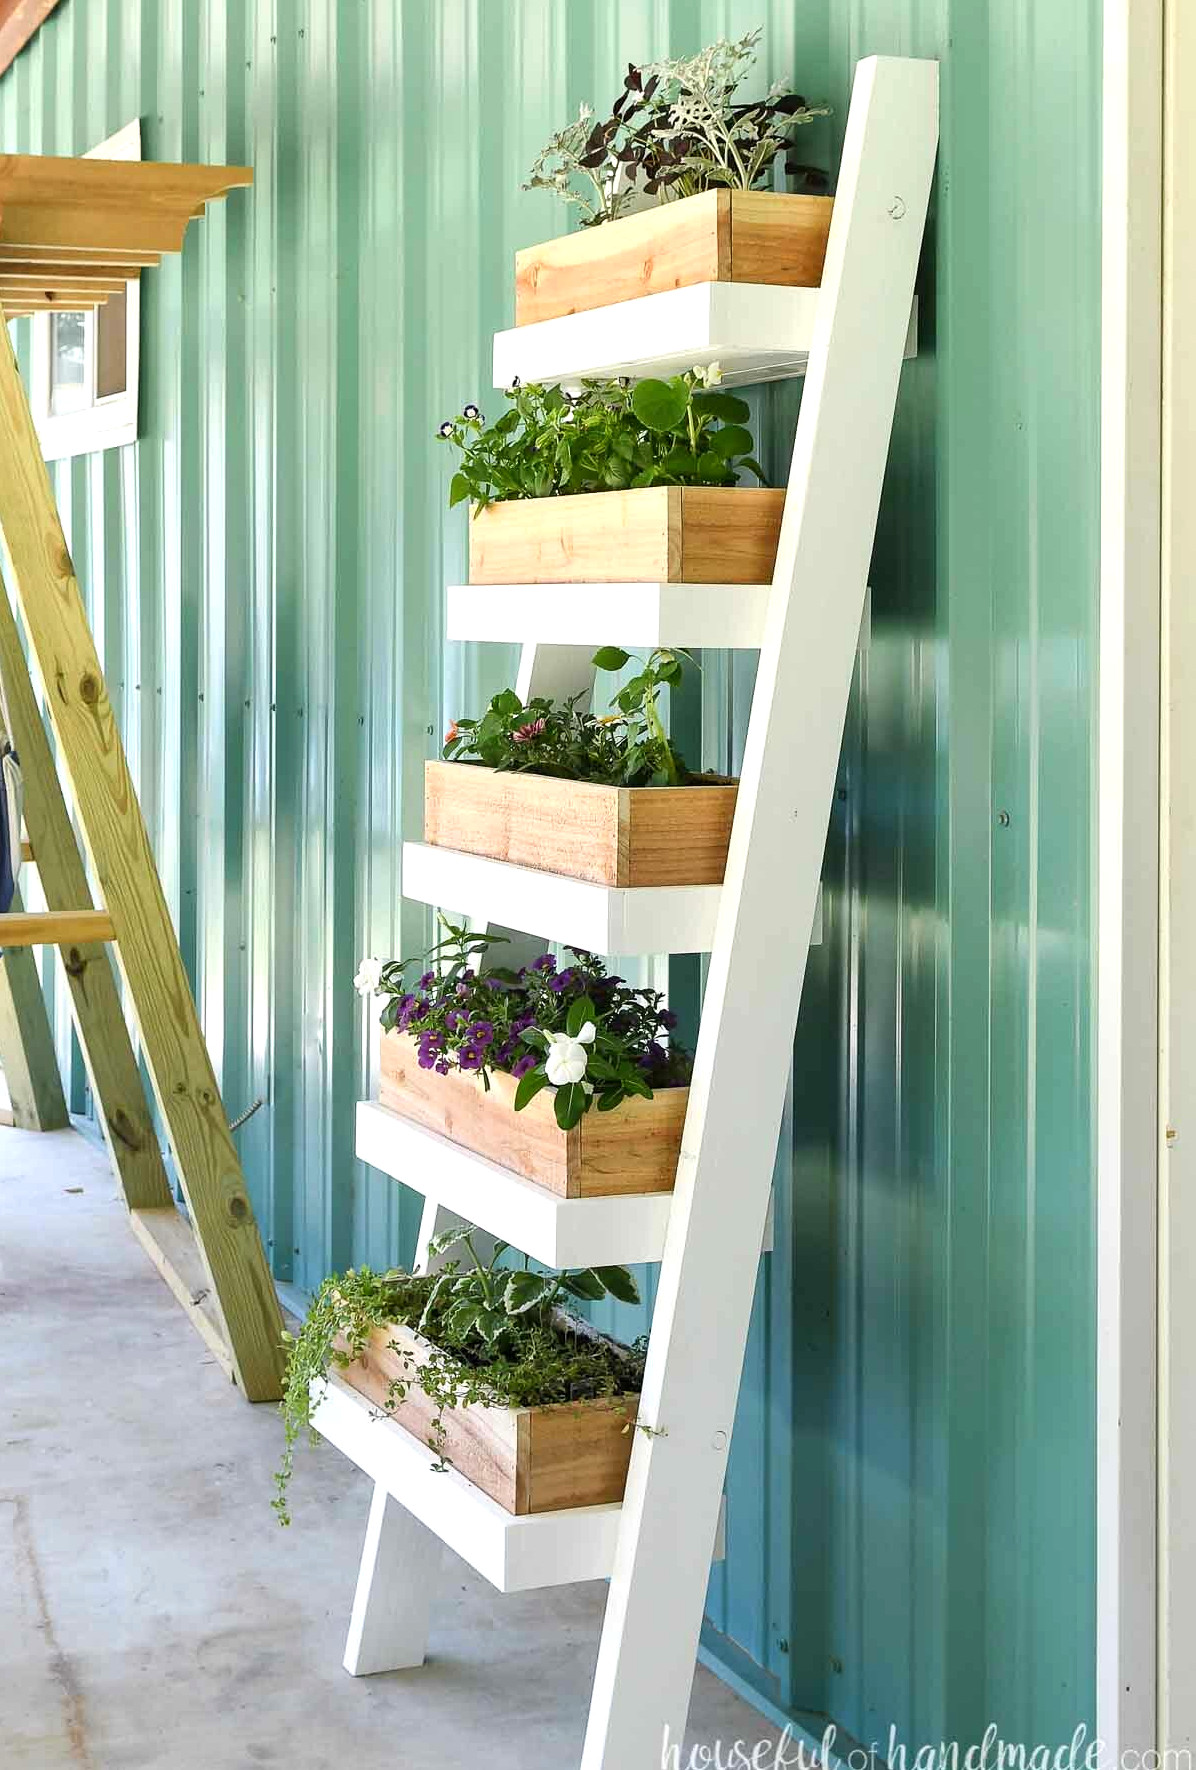
Just like that, my porch looks far more inviting and is ready for summer.
Enjoy building!