Refresh your bathroom affordably with these DIY bathroom vanity plans.
A bathroom vanity can become a major expense when you are updating your bathroom. However, building your own DIY vanity can help you save a significant amount of money!
Afterward, you can complete your budget-friendly vanity with one of these inexpensive DIY vanity tops.
This month, we are renovating our kids’ bathroom for just $100 as part of the $100 Room Challenge. Because the budget was so limited, I decided to construct a vanity.
I also created a DIY concrete vanity top to complete the project affordably!
To learn how we are completing an entire bathroom renovation on such a limited budget, take a look at the bathroom makeover plan here.
Last week, I installed this simple DIY board and batten wall. This week, it was time for the vanity!
Update: Our bathroom renovation is (mostly) complete! You can view the finished budget bathroom remodel here.
How can you cut costs on a bathroom vanity?
Even a conventional vanity can quickly become expensive.
Although I love the mission-style bathroom vanity and bottom-drawer vanity I built previously, neither one worked within the $100 budget.
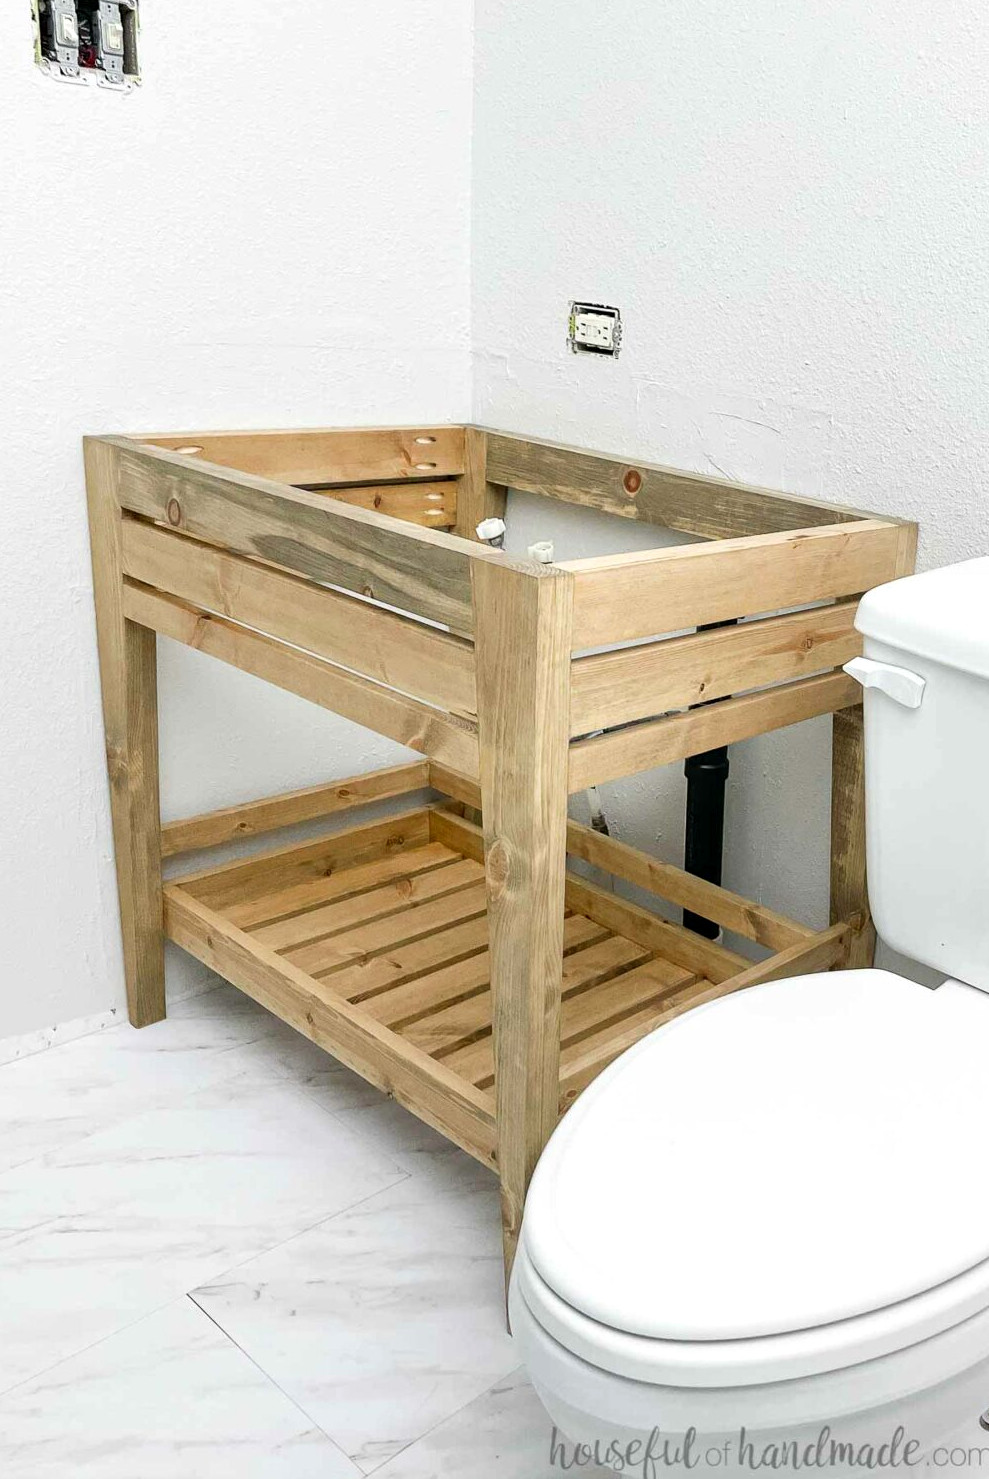
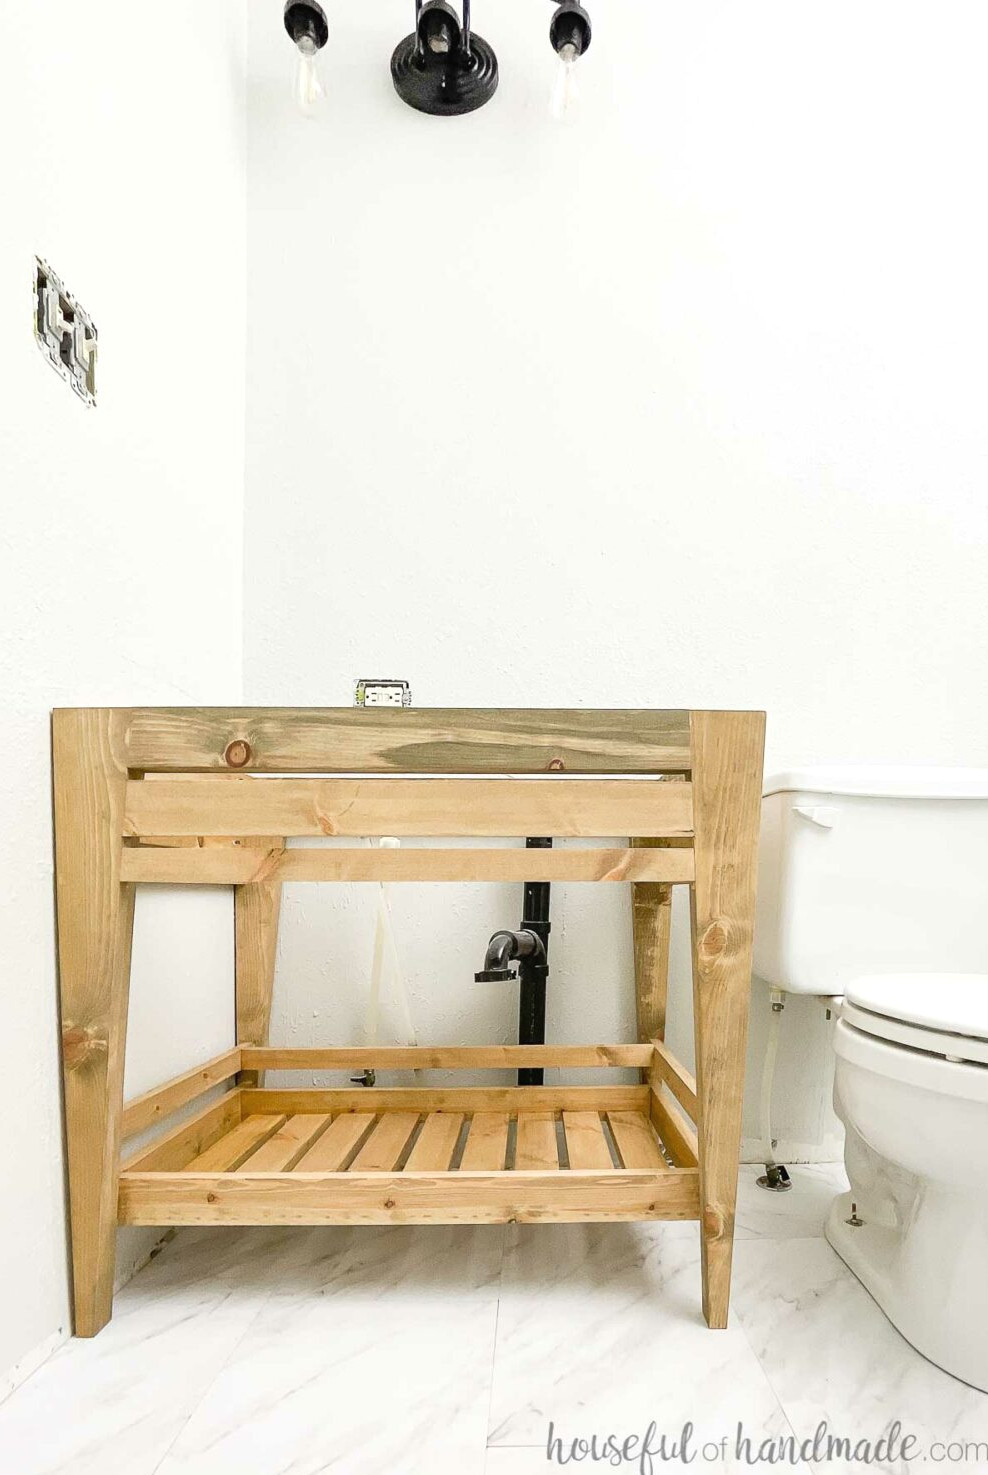
Therefore, rather than building a traditional vanity, I created a beautiful open-style vanity made with affordable lumber.
This vanity’s design is truly eye-catching! Nobody will notice the features that were excluded to keep the cost down.
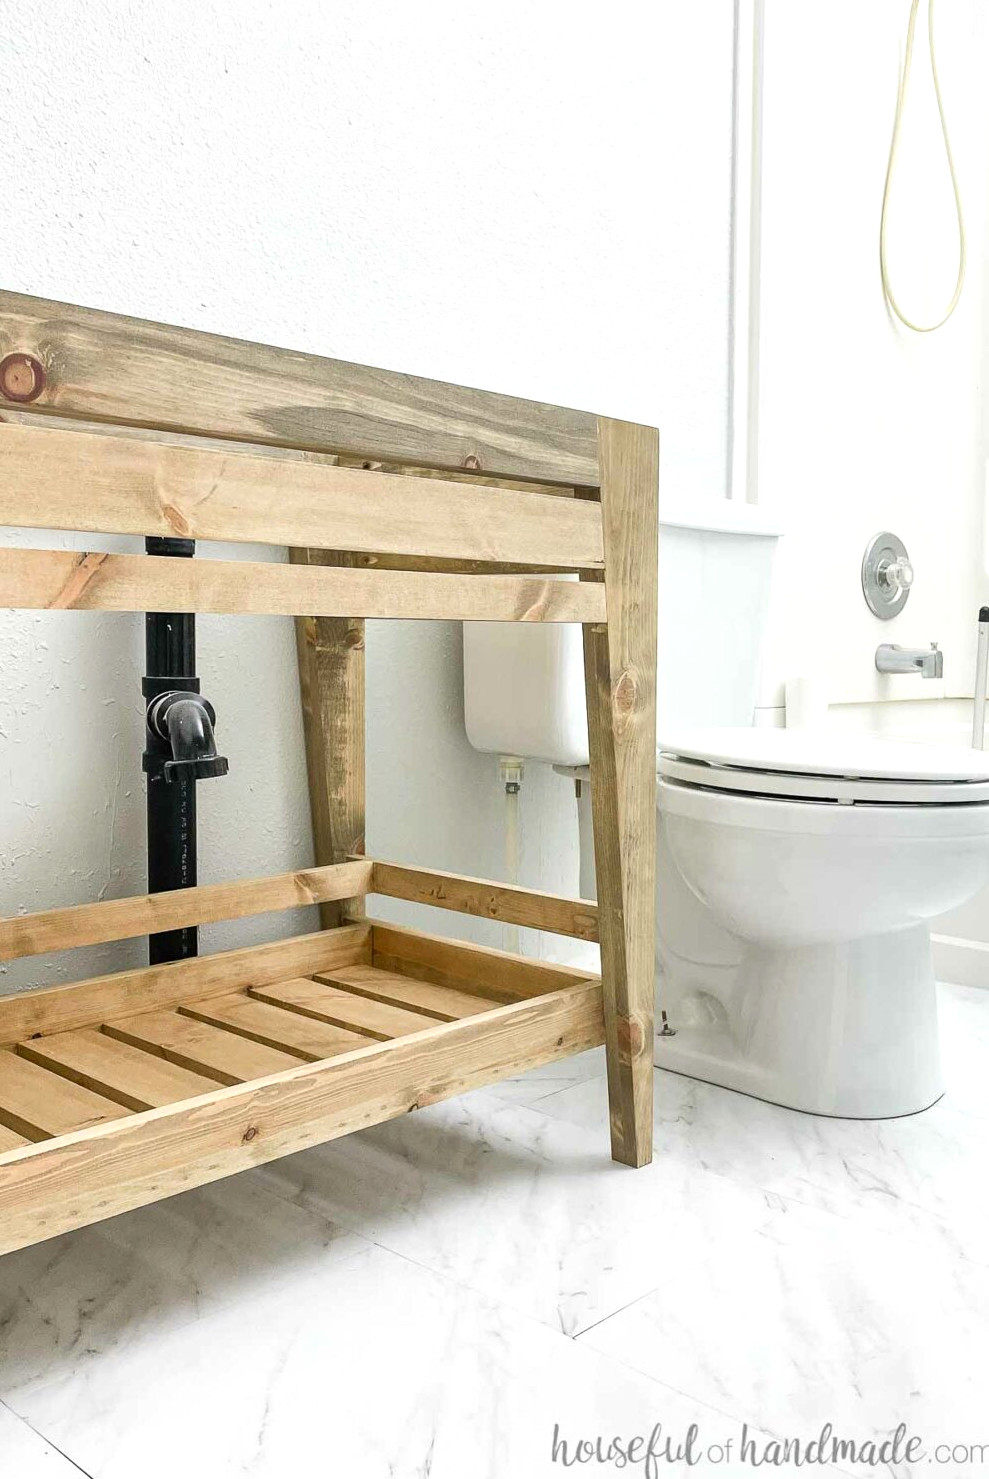
The first cost-cutting step was removing the drawers. Drawers are extremely handy, and I seldom suggest having fewer than possible.
However, a quality set of drawer slides may cost at least $15. You also need extra lumber to build the drawer itself.
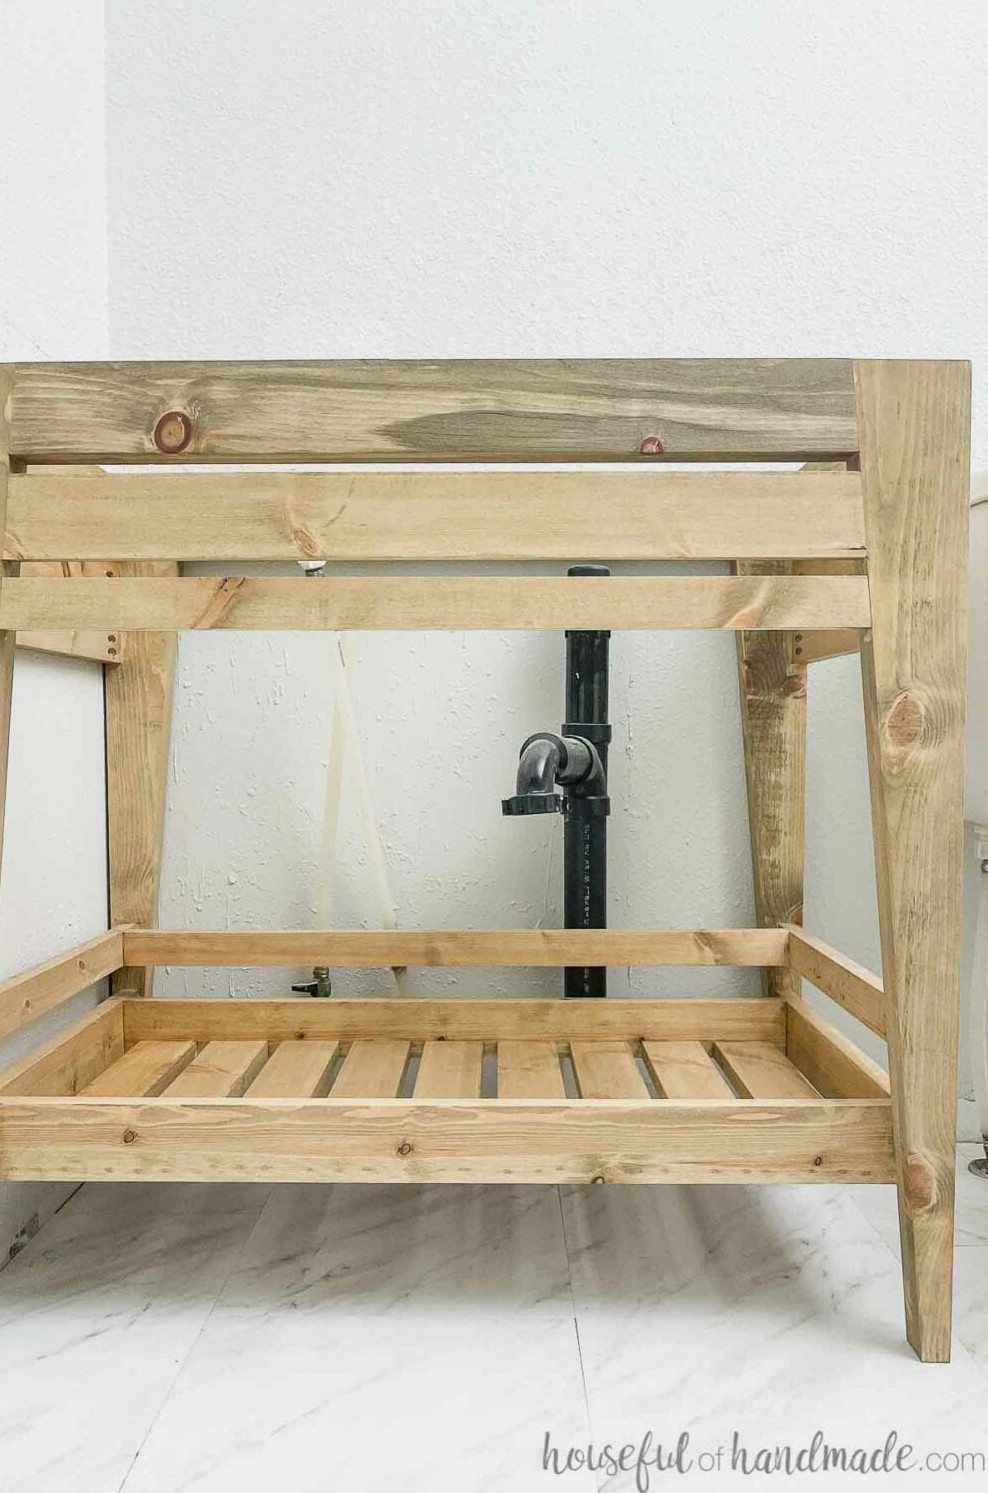
Rather than drawers, this bathroom vanity includes a spacious open shelf. It is an excellent spot for arranging items in bins or totes.
Because the shelf is open, it also encourages you to keep fewer items in the bathroom.
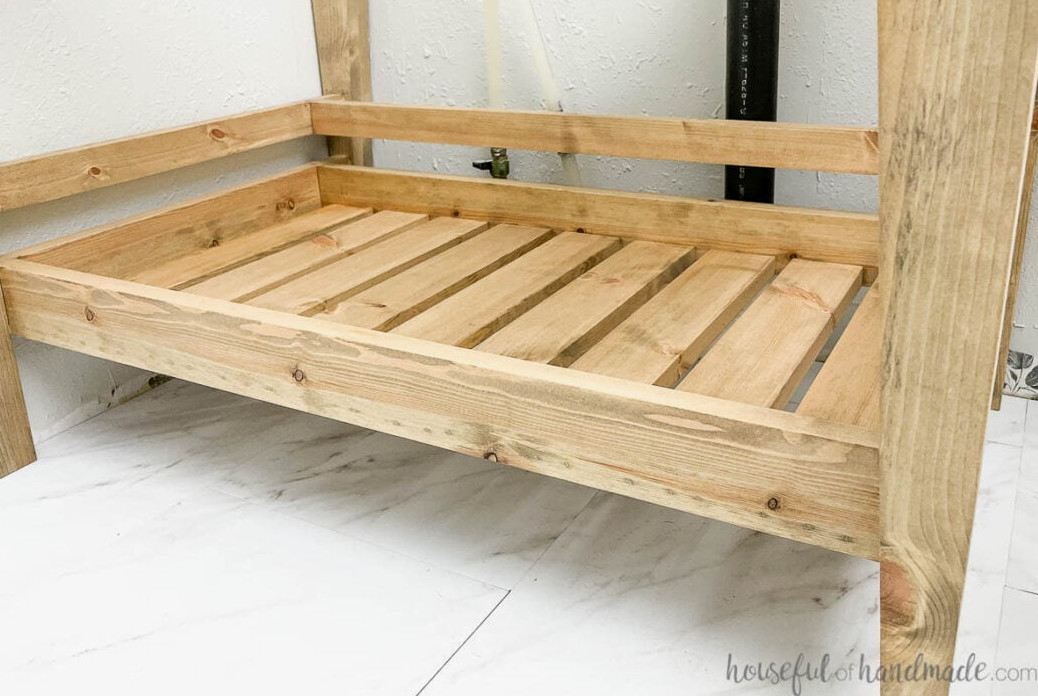
The open vanity style reduced expenses further by leaving out cabinet doors.
Doors can add considerably to the cost of a vanity because they require both lumber and hardware.
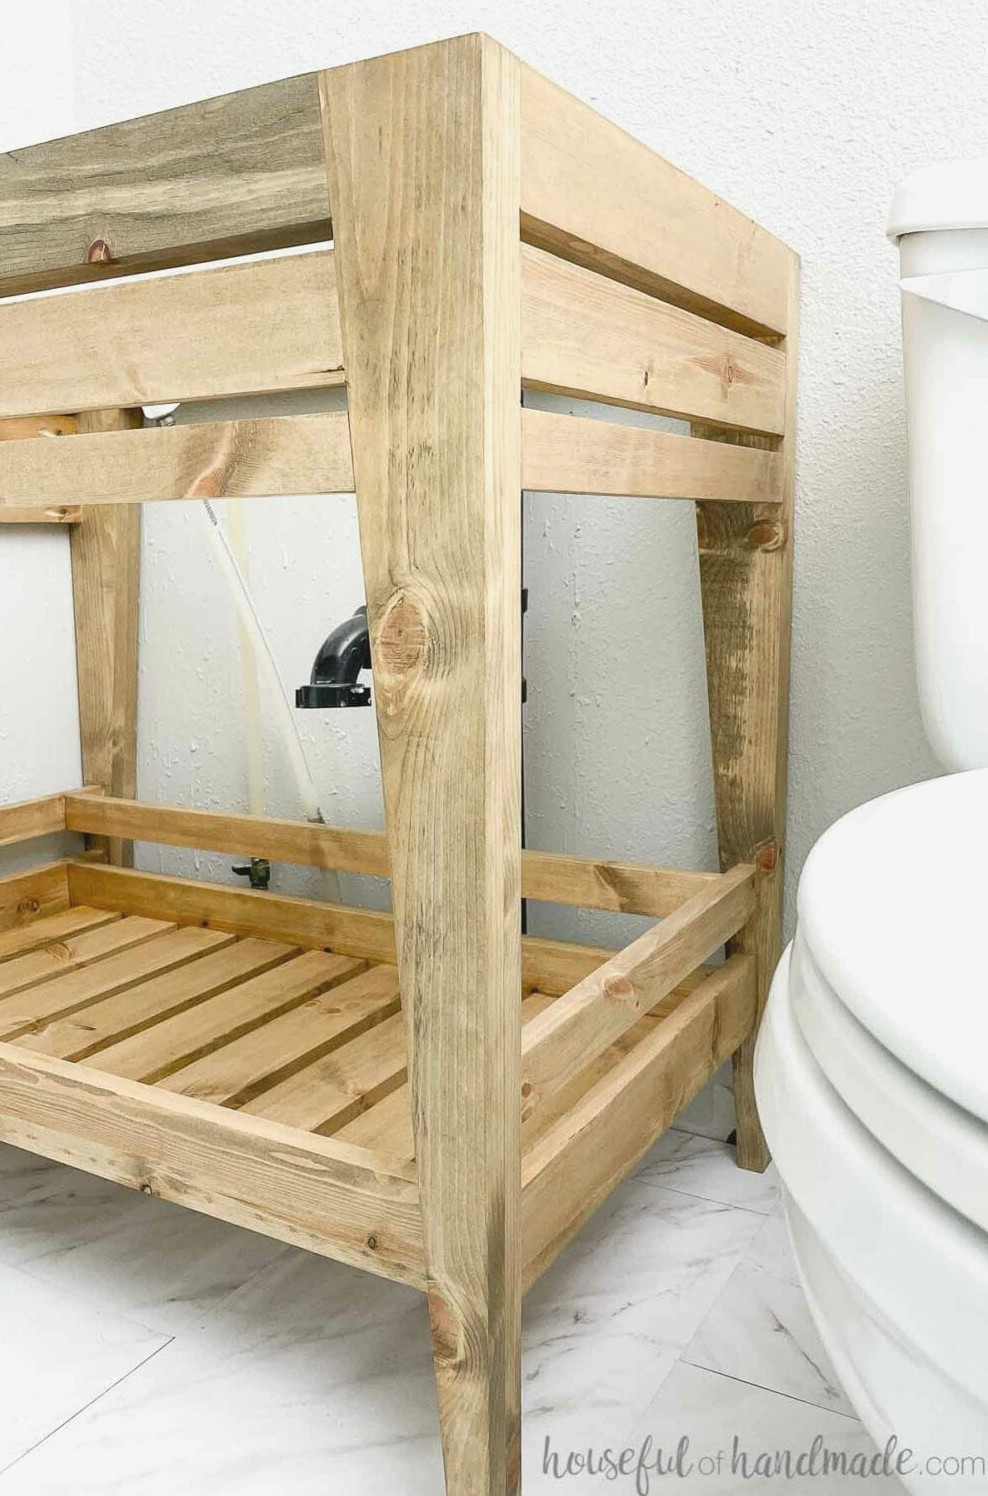
Finally, the open design removed the need for wood on the sides and back. Together, these small changes created substantial savings!
How to Save on Lumber
This attractive bathroom vanity was planned using only 2×4, 1×3, and 1×2 boards. You can find all of these boards at low prices in your local home improvement store.
Since I had only $100 available for the bathroom vanity project, I chose to reuse lumber left over from our DIY fire pit with benches.
At the last moment, I modified the fire pit plans and removed the backs from the two front benches. As a result, I had several 1×6 boards that had been occupying space in my workshop for six months.
I joined some of the 1×6 boards with glue to achieve the thickness required for the 2x boards. Then I used my table saw to cut everything to the proper dimensions.
I also trimmed the remaining boards on the table saw to create the 1×3 and 1×2 pieces required for the vanity.
Still, if you do not have spare lumber occupying room in your garage, there is no need to worry—the vanity plans remain inexpensive to build. All the wood needed can still be purchased for as little as $40.
Would You Rather Watch? See the Video Below
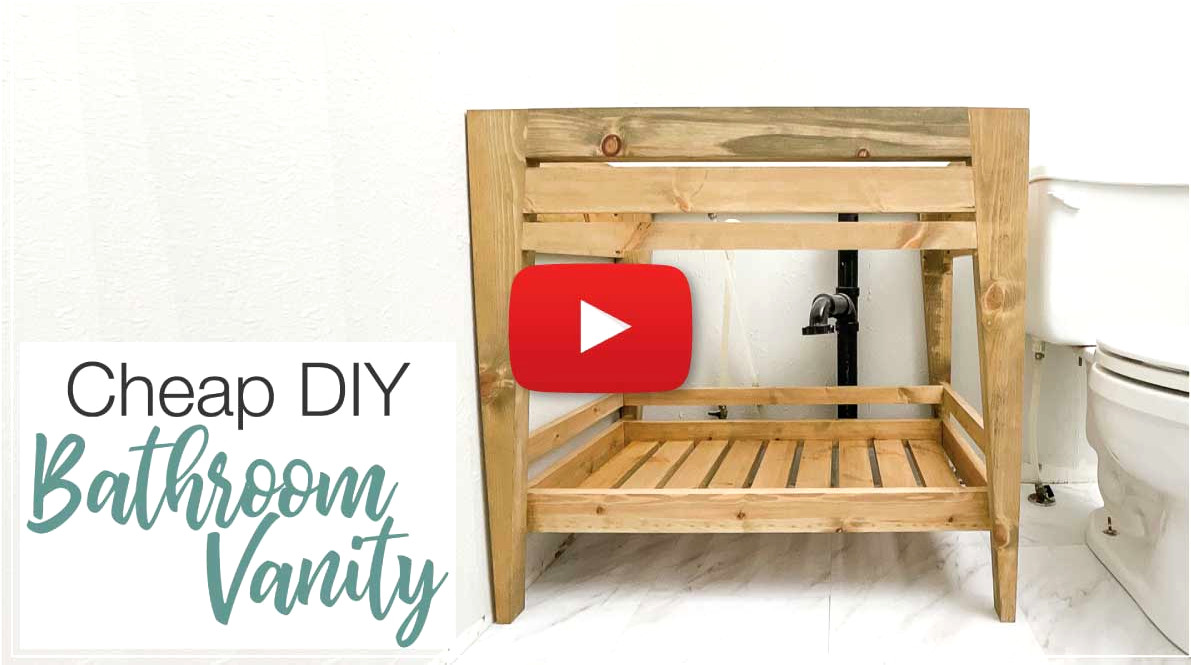
How to Make an Inexpensive Bathroom Vanity
Required Tools & Supplies
Finished Dimensions
Once finished, the vanity measures 30″ high, 21″ deep and slightly under 32″ wide.
Cutting Guide
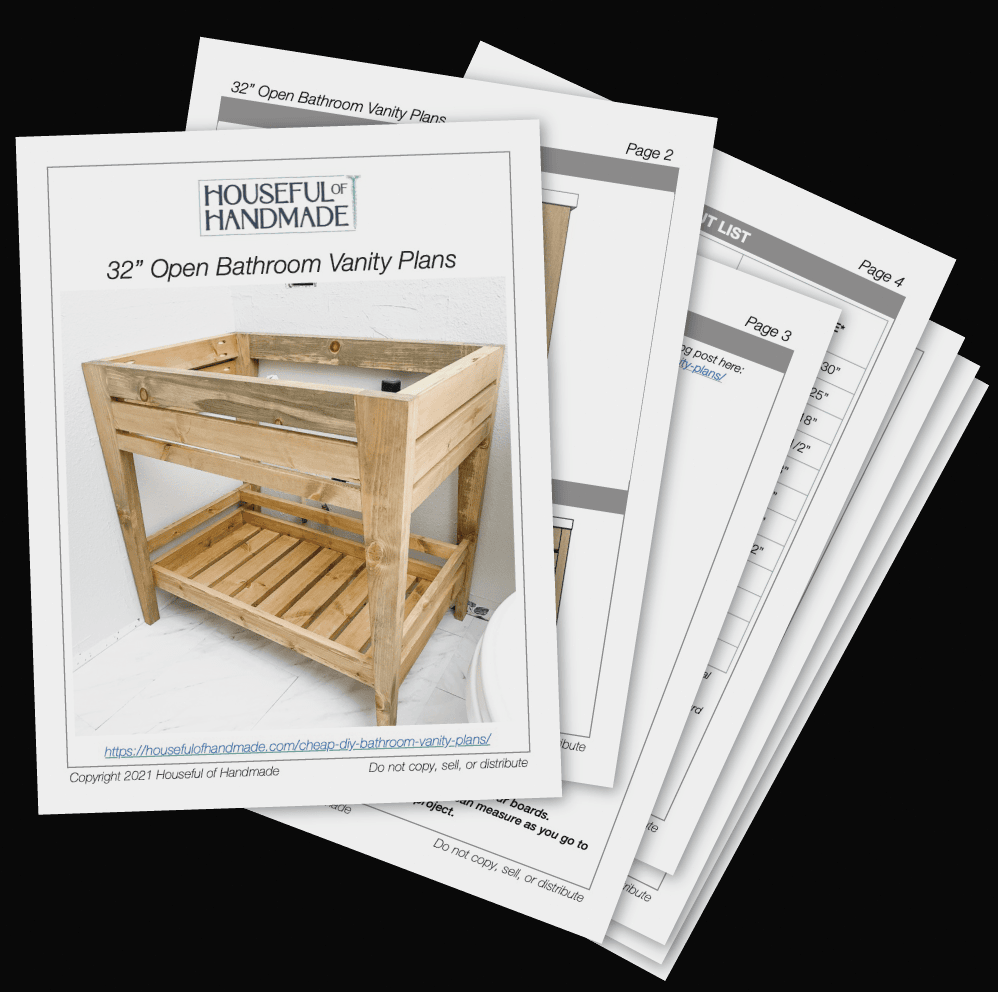
Follow the straightforward cut list in the premium PDF plans to trim all the pieces.
Download the Premium PDF Woodworking Plans
PDF plans contain- Simple Cut List, Shopping Checklist, Suggested Tools, Detailed Instructions with 3D illustrations, & Useful Resources
BONUS- 3D SketchUp Model
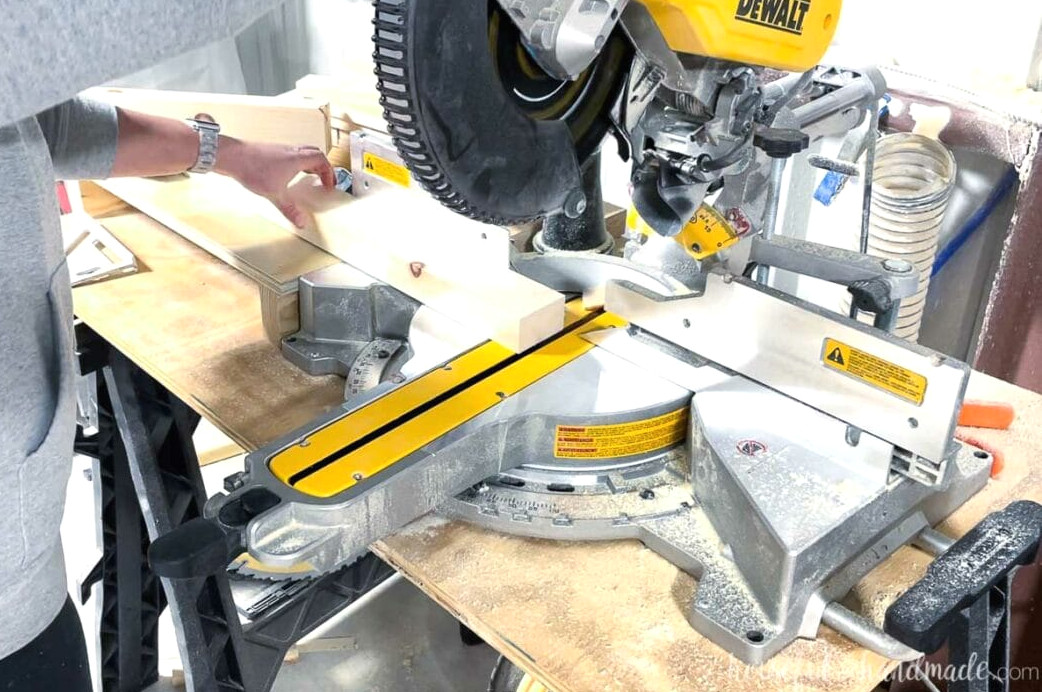
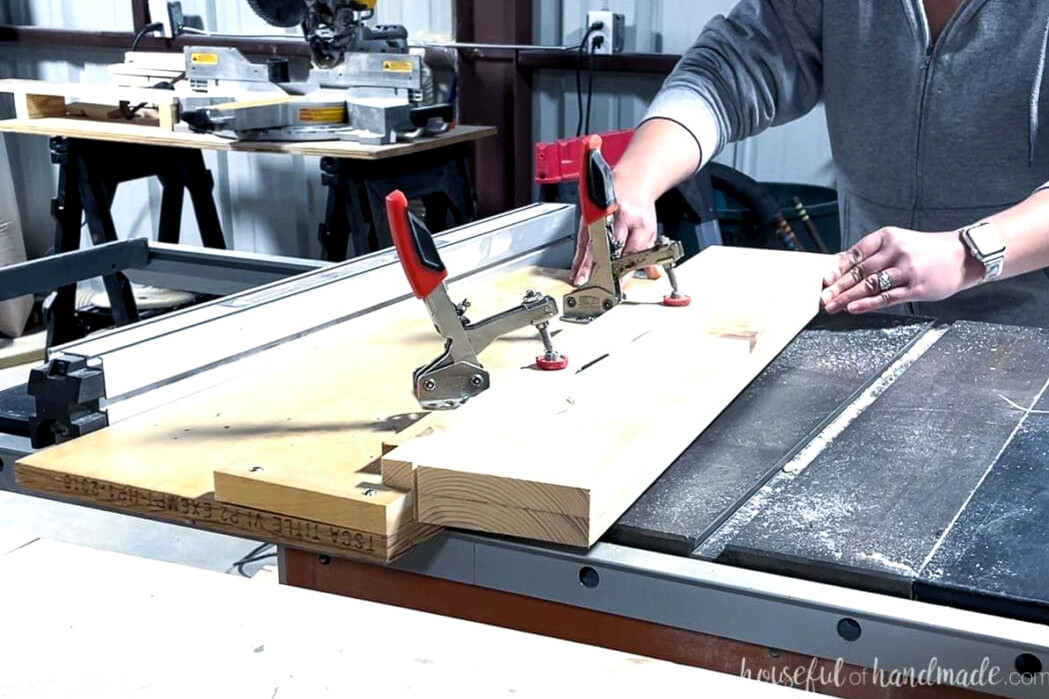
For the front & back skirts, trim the 2x4s at a 5 degree angle, directing them inward toward one another.
Use a tapered-leg jig or a circular saw equipped with a guide rail to shape the legs, keeping the top at the board’s full 3 1/2″ width and narrowing the bottom to 7/8″ wide.
For many projects, including this modern coffee table and these fire pit benches, I have relied on a basic DIY tapered-leg jig made from scrap wood.
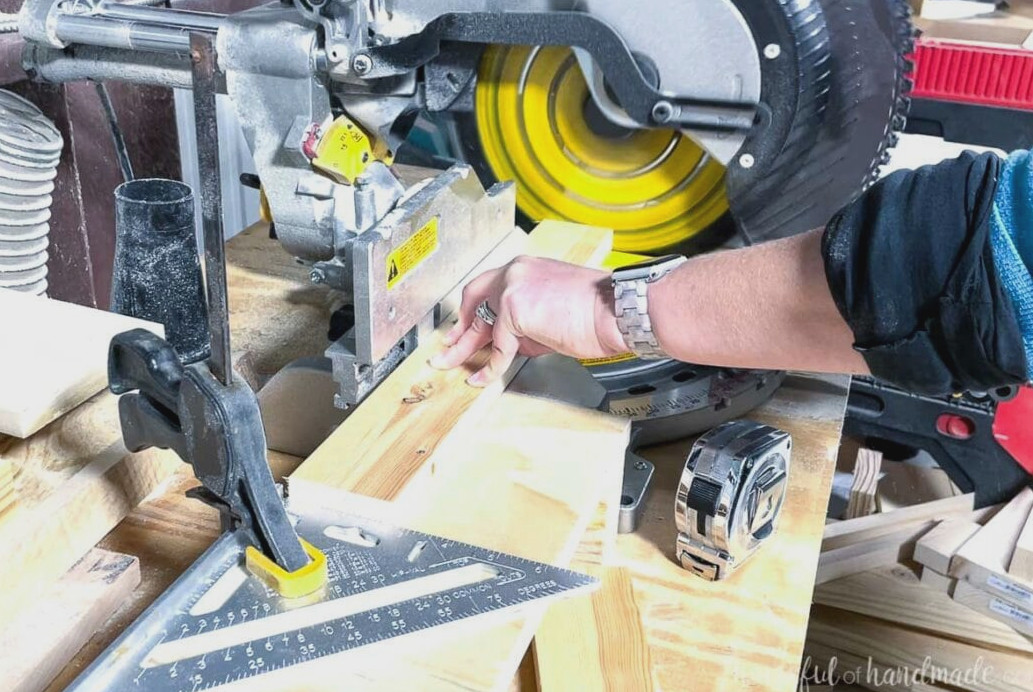
For the front skirt embellishment, leave the piece long and make a 5 degree angle on one end.
STEP 1- Put the frame together
Construct the front
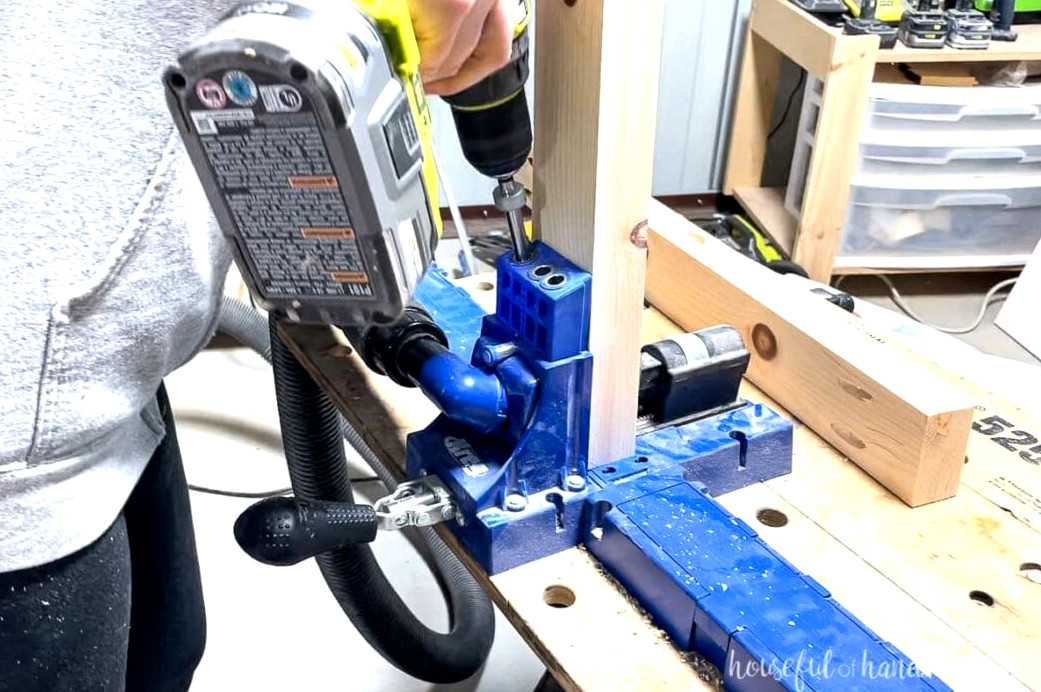
In the back of each upper skirt board cut from the 2x4s, drill pocket holes designed for 1 1/2″ thick material.
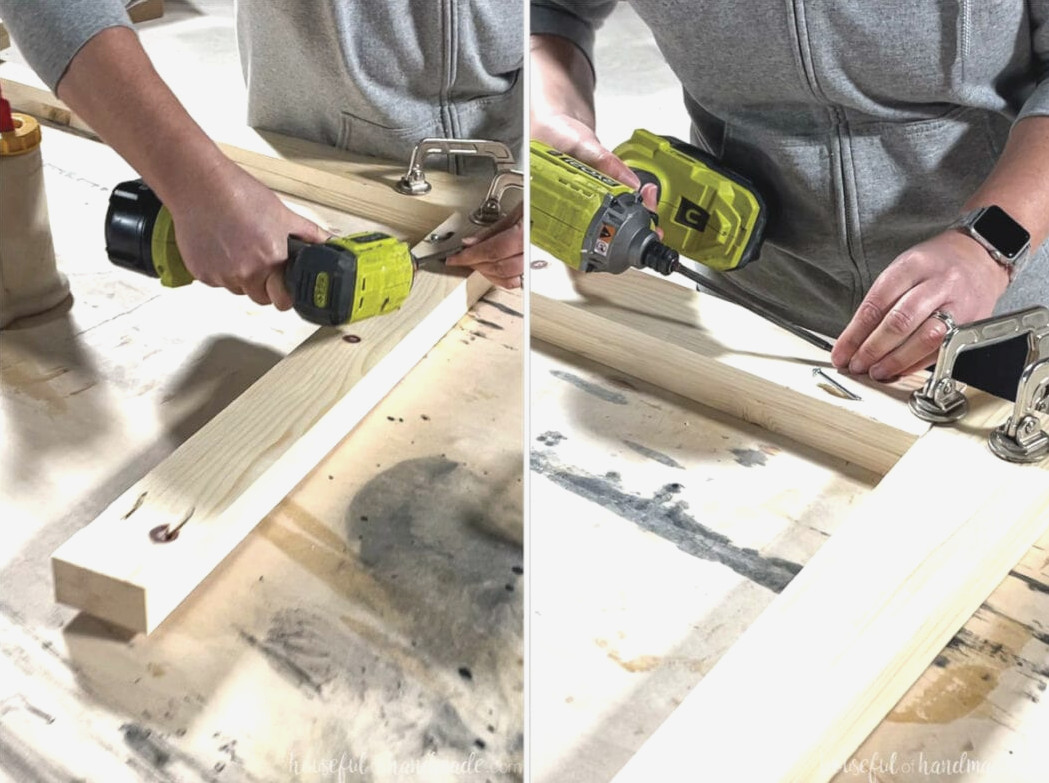
Apply wood glue, then use 2 1/2″ pocket hole screws to fasten the front and back skirt pieces between the legs.
Position the broader edge of the skirt pieces at the bottom and the narrower edge at the top. The upper edge should align evenly with the tops of the legs.
Do the same with the rear skirt piece and the remaining pair of legs.
Afterward, position the 1×3 skirt trim piece between the legs at its intended location. Place a scrap 1×2 underneath it to keep it level on the side that has already been angled.
Maintain a 1/2″ space beneath the upper skirt piece. Mark the locations for the angled cuts, then trim the opposite end at the marked line.
Drill pocket holes intended for 3/4″ thick material into both ends of this board, then fasten it to the vanity front with 1 1/4″ pocket hole screws.
Repeat the process for the 1×2 front skirt trim piece.
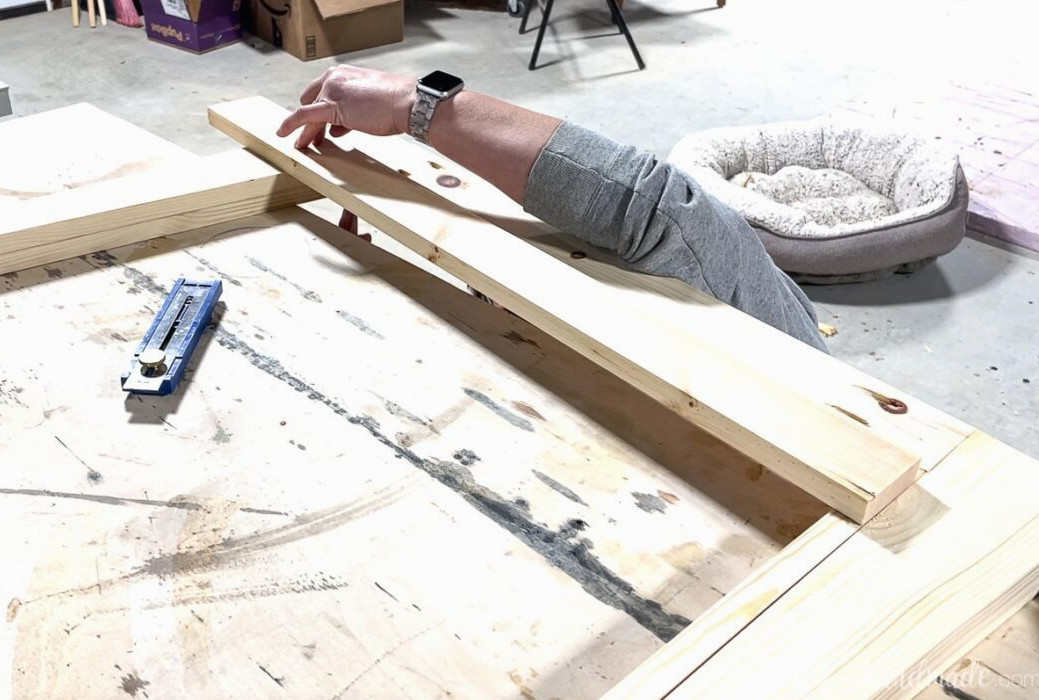
Install the sides
Fasten the upper side skirt piece to the top of the assembled front section. Its edges should line up evenly with the outer sides of the legs.
Apply wood glue and secure it using 2 1/2″ pocket hole screws.
Next, install the side skirt trim pieces, keeping a 1/2″ space between them. Fasten them with 1 1/4″ pocket hole screws.
Repeat the same steps for the opposite side.
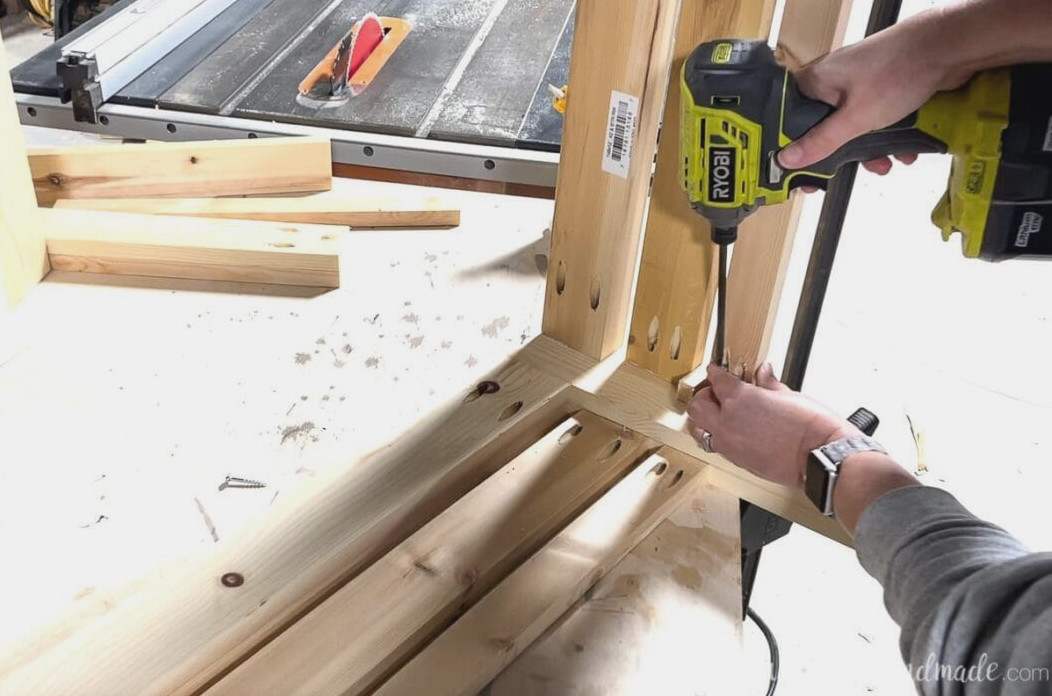
Attach the Back
To finish the back, fasten each side skirt piece to the legs just as you did on the front.
Be sure to maintain the 1/2″ space between the pieces.
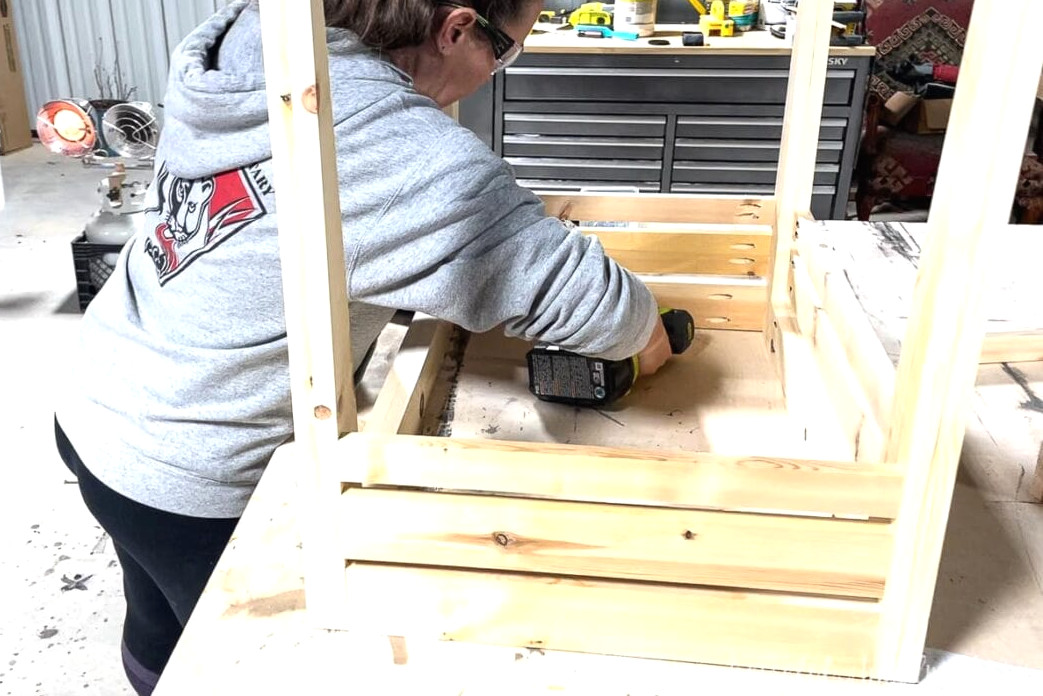
If you prefer not to include a shelf in your open vanity, you can sand and finish it at this stage. In my opinion, it would look beautiful just like this with a large basin sink placed on top… perhaps an idea for the next home!
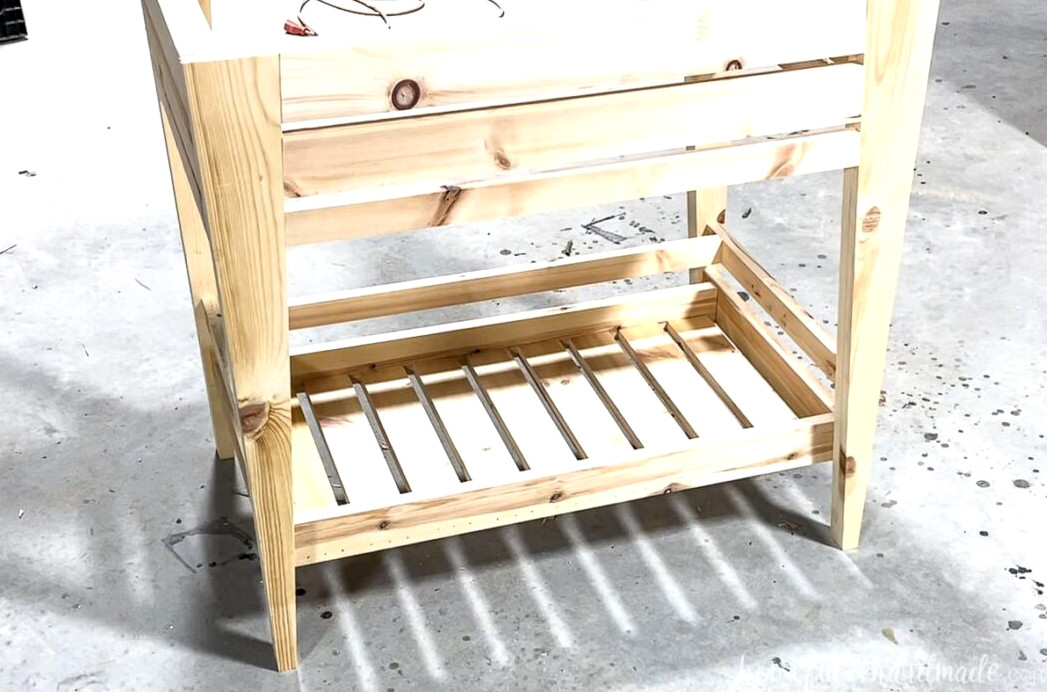
STEP 2- Construct the Shelf
To fasten the shelf and shelf rail while keeping the pocket holes hidden, make a pocket-hole set for 1 1/2″-thick material at both ends of the bottom edge of the 1×3 shelf side boards and the 1×2 shelf rail boards.
I discovered this after the shelf had already been installed, so I had to secure the shelf rail with exposed pocket holes and fill them afterward. If you follow these directions, you can skip that extra step!
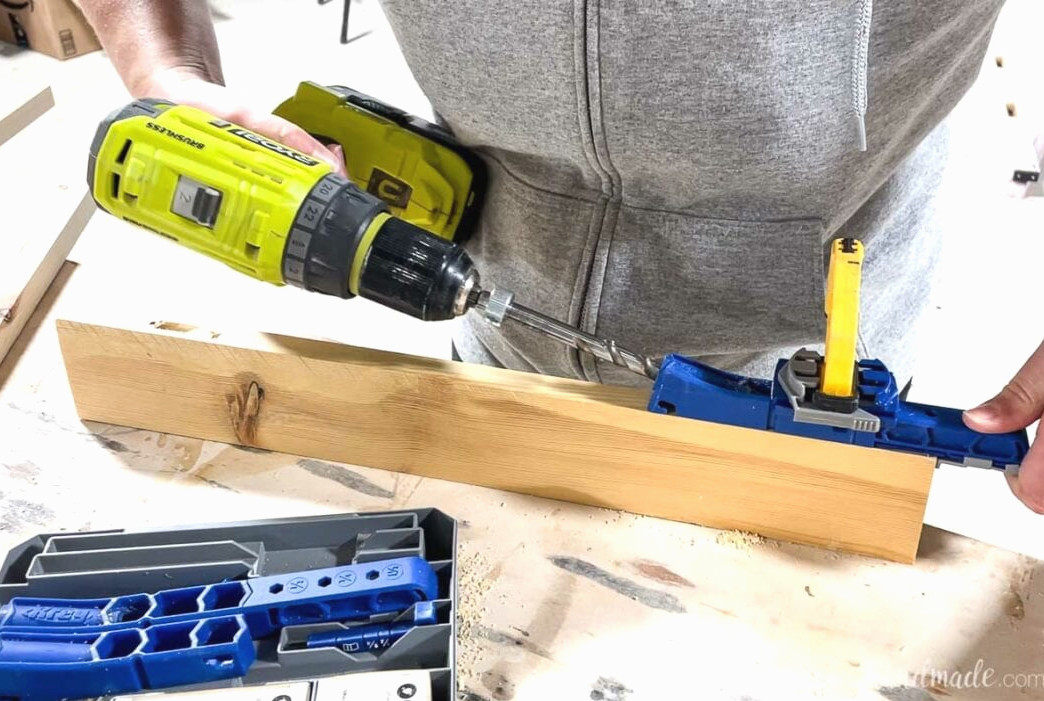
Build the shelf by joining the front boards between the side pieces with wood glue and 1 1/4″ brad nails. Be careful to note the pocket-hole location so you do not drive a nail into it.
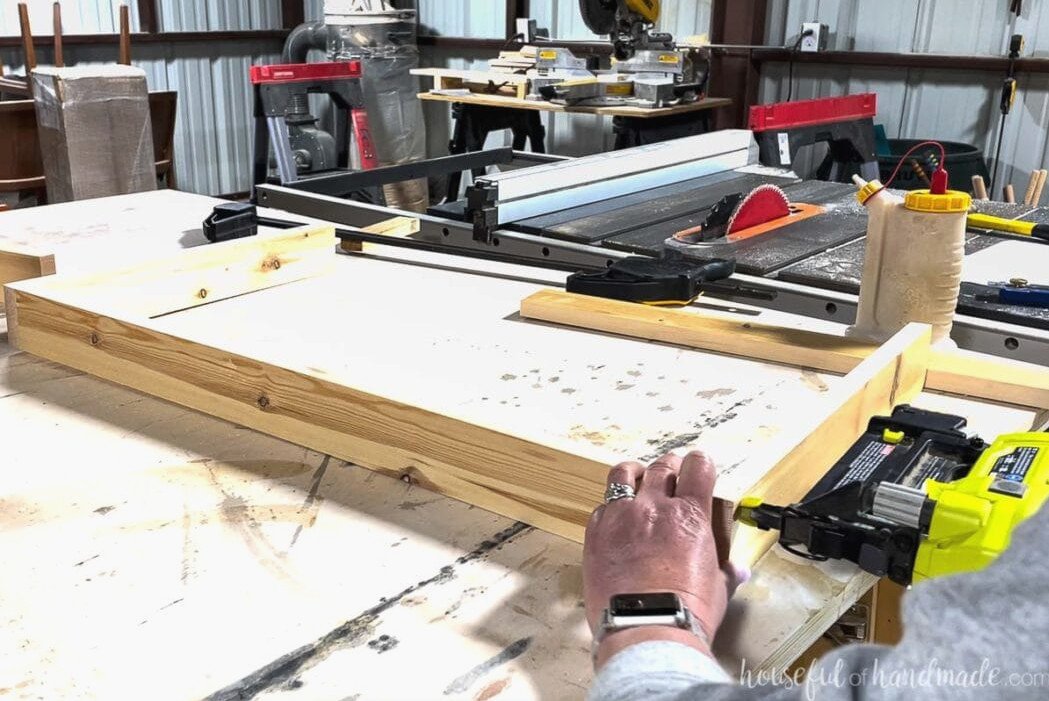
Afterward, install the slats on the interior. Position the first slat in the center of the shelf front, keeping it even with the bottom. Fasten it with wood glue and brad nails.
Leave a 5/8″ space on both sides, then install the remaining 2 boards on each side. Repeat this process until all 9 slats are in place. The gap at the outer edges will be a little wider than 5/8″, which is why beginning in the middle is preferable to starting at an edge.
Complete the shelf by fitting the back board between the sides and aligning it flush with the slats. Once again, watch the pocket-hole positions.
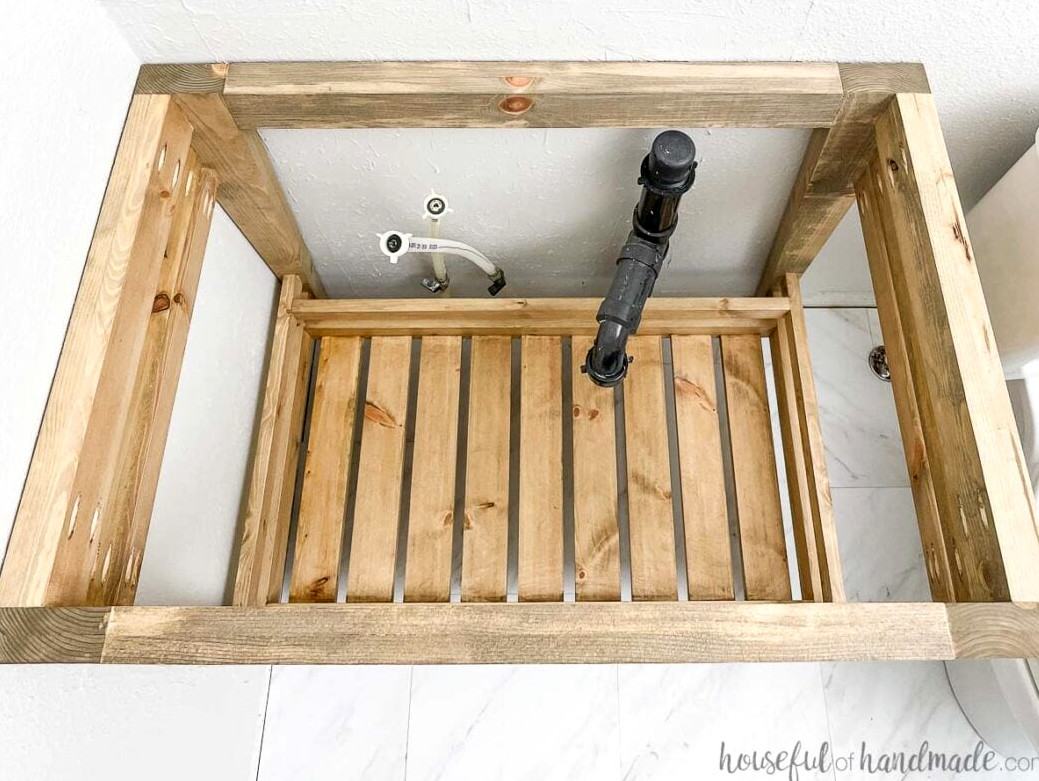
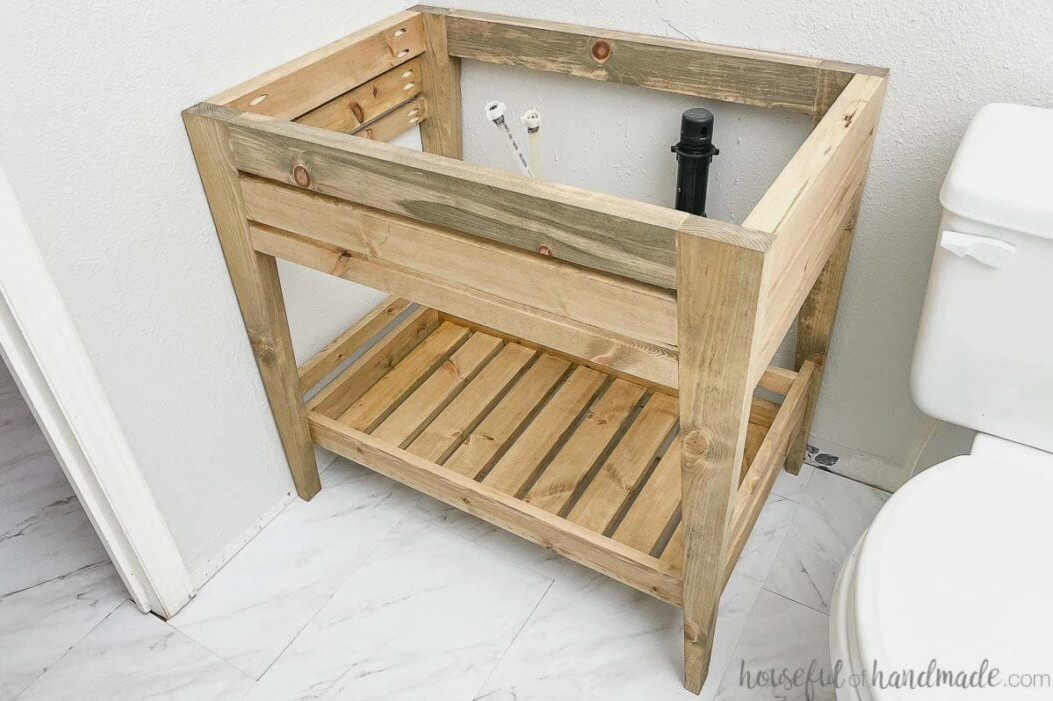
I trimmed my shelf slats to just 15″ in length so the shelf could be inset, leaving space behind it for the sink plumbing rising through the floor.
If your plumbing comes through the floor, you can recess your shelf as well. Measure the distance from the wall to the front of the pipe, then modify the slat lengths accordingly.
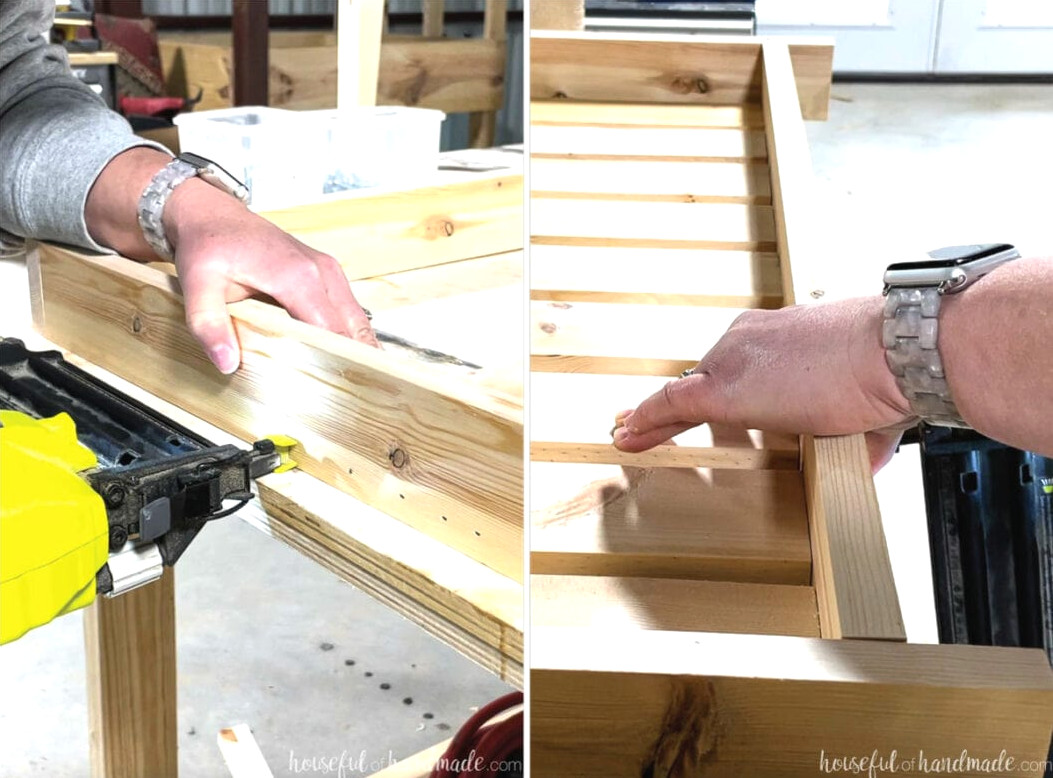
Now assemble the shelf rail. I completed this step in the wrong sequence, so the photos might appear different, but I corrected the order in the printable plans using 3D illustrations.
Make 2 pocket holes for 3/4″-thick material on each side of the shelf rail back board. Next, attach it to the side rail boards; unlike in my photos, it should not yet be fastened to the vanity.
STEP 3- Install the Shelf
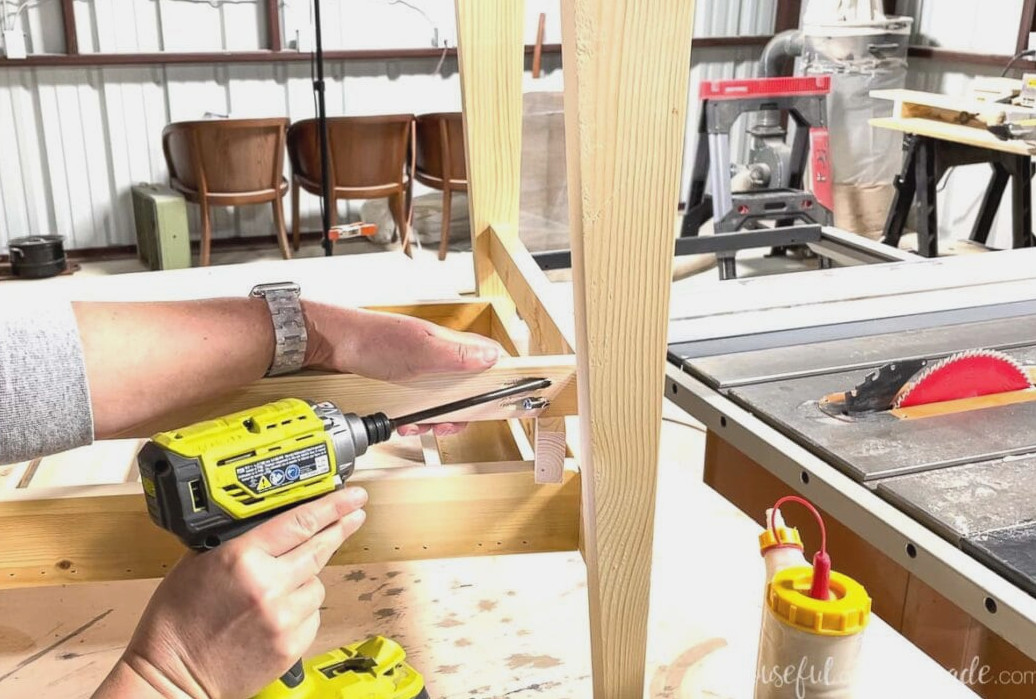
Begin by fastening the shelf rail to the vanity, allowing you to use the pocket holes drilled beneath the side pieces. If you wait until later, there will not be enough space to attach it this way.
Position the shelf rail 1 1/2″ above the shelf surface. I placed my shelf 5″ above the floor to clear the plumbing, but you may install yours at any height you prefer.
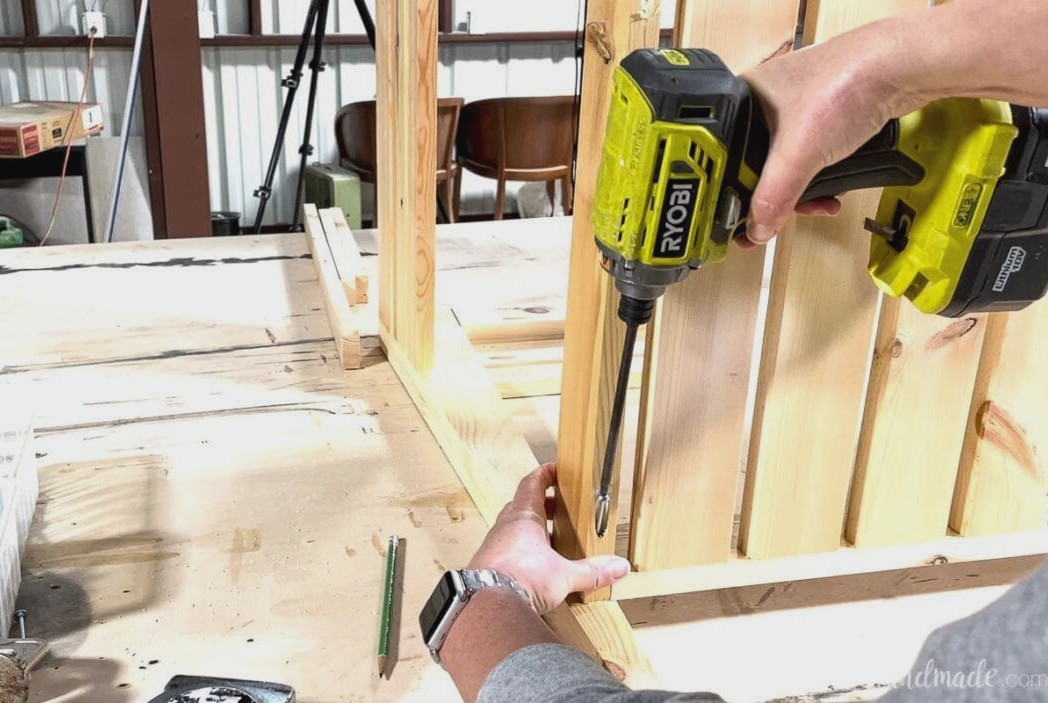
Place the shelf rail centrally between the legs and secure it with 2 1/2″ pocket-hole screws and wood glue. The rails and shelf should sit approximately 7/16″ in from the leg edges.
Finally, center the shelf beneath the rail and fasten it in place.
STEP 4- Apply the Finish
Your vanity is now prepared for sanding and finishing!
To reduce the cost even further, I used a personally blended stain on my vanity.
For this warm, aged appearance, I combined a small amount of darker stain with Minwax Weathered Oak.
I followed that with a wipe-on polyurethane made by combining equal portions of oil finish, such as tung or linseed oil, oil-based polyurethane, and mineral spirits. Apply this simple coating with a cloth.
Two or three layers of the homemade sealer should provide sufficient protection from bathroom moisture.
Remember to coat the bottoms of the feet as well, helping stop water from soaking upward.
You’re finished!
Remember to Get the Printable PDF Plans Here!
Premium plans feature:
- Suggested Tools
- Materials list
- Simple cut list chart
- Cutting diagrams
- Detailed instructions with 3D illustrations
- Useful resources
- BONUS: 3D SketchUp model
Once the vanity is installed, you can place a countertop on it.
Now we need to quickly build the countertop for our affordable DIY bathroom vanity!
The dramatic reveal of this $100 bathroom renovation is only 2 days away!!!
Enjoy building!