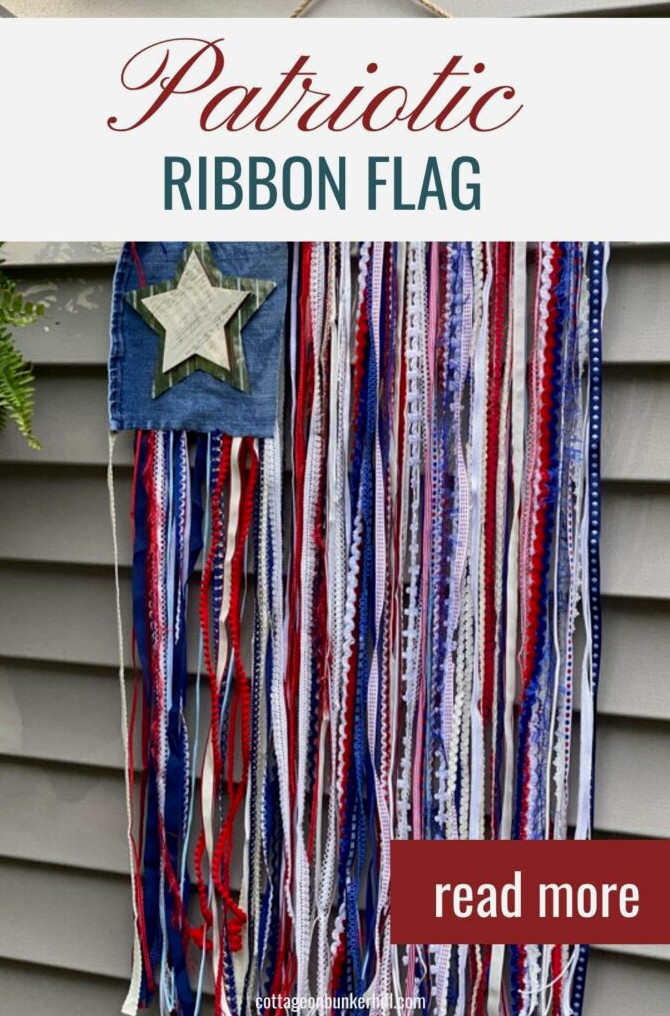
Looking to bring instant farmhouse style with a festive flair into your home? Thiscute ribbon banner is incredibly simple, so you’ll hardly need to check the tutorial—just gather some ribbons, make a few knots, andvoilà! Ideal for the 4th of July, Memorial Day,or even a retro-themed birthday celebration. (Psst… the only talents you need?Using scissors and acting like a crafting expert!)
Let’s Create a Ribbon Flag—Absolutely No Crafting Skills Needed
Gather your ribbons and let’s make something charming together—no special tools required!
You’ll be hard-pressed to find a DIY project as simple—and speedy—as this delightful ribbon flag!Here’s another helpful tip:Michael’s offers ready-cut red, white, and blue ribbon assortmentsthat make the process even easier. I adore these since each strip is different—no duplicates, only a beautiful combination of textures and designs!
Don’t have a Michael’s close by? Or couldn’t find the assortments?That’s okay!Any combination of red, white, and blue ribbonswill look wonderful.
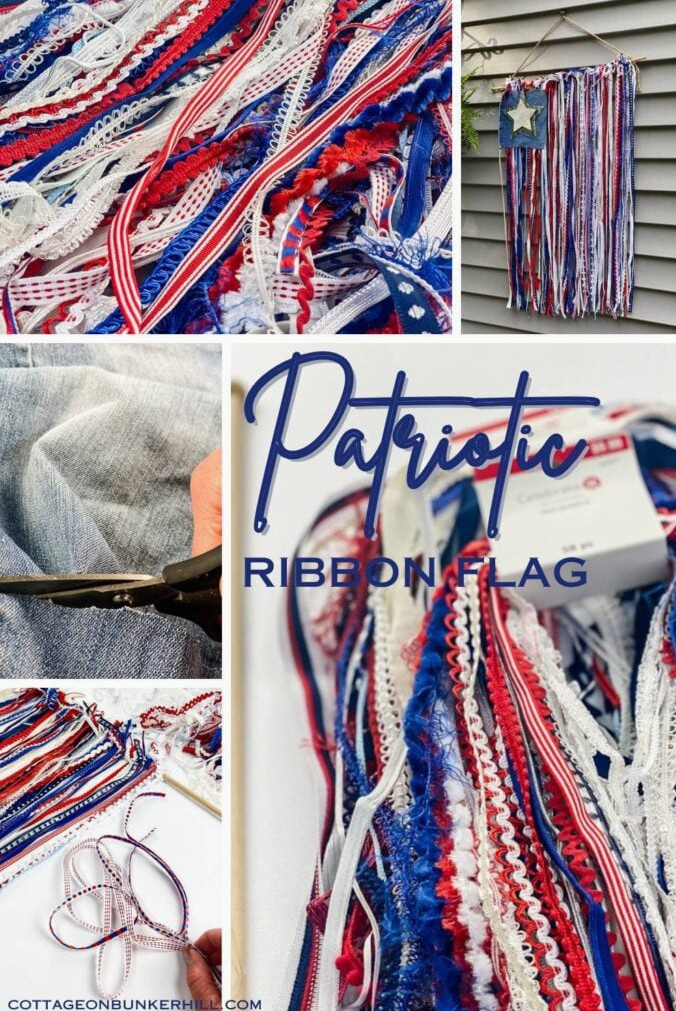
A note for returning crafters:If you’ve created this project previously, you may recall needing only two trim packs (when they contained 50 pieces).Because of shrinkflation, there are now 25 in each package—so plan your shopping list with that in mind!”
Supplies You’ll Need:
I’m creating alarge, eye-catching ribbon flagwithuntrimmed 1-yard ribbons from Michaels(hello, effortless length and flair!). However, that’s the best part of this project:You can customize it to whatever size you like! Here’s the breakdown:
- For a Dramatic Display:As I did, usecomplete 1-yard ribbons(36”) on an extended dowel or flagpole
- For Petite Flags:Cut ribbons down to 12–18” and attach them to aslender dowel(or even a branch!) for lovely mantel or entryway decoration.
Supplies for This Project
Putting Together the Flag: Step-by-Step
Step 1: Collect Your Materials
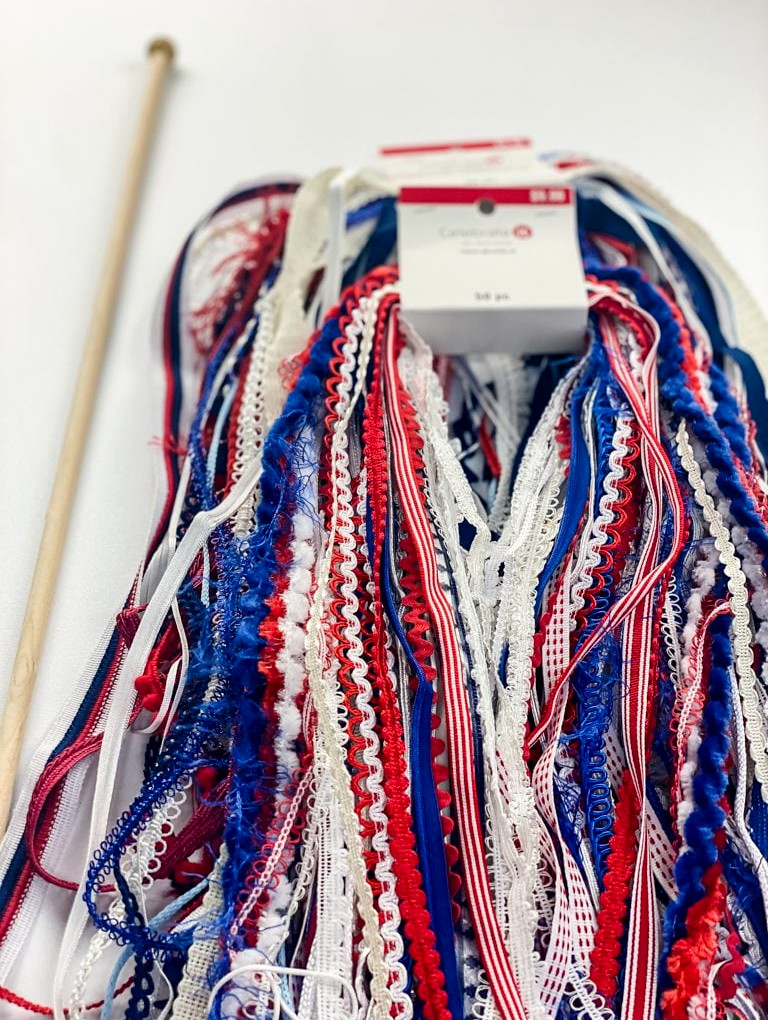
- For my ribbon flag, I reused thewooden dowel from a little 24-inch flag, simply sliding the fabric off to create aninstant rustic-ready base—voilà! Here’s how to choose yours:
- Budget-Friendly & Simple:Repurpose a dowel from an older flag (as I did!) or purchase aslim wooden dowelat the craft shop.
- Natural & Rustic:To achieve farmhouse style,a solid stick from your yardis an excellent choice—just smooth away any jagged edges.
- Adjustable Sizing:You can modify this project for any width! Mine measures 24 inches, but choose a smaller size for a mantel or a broader one for porch decor.
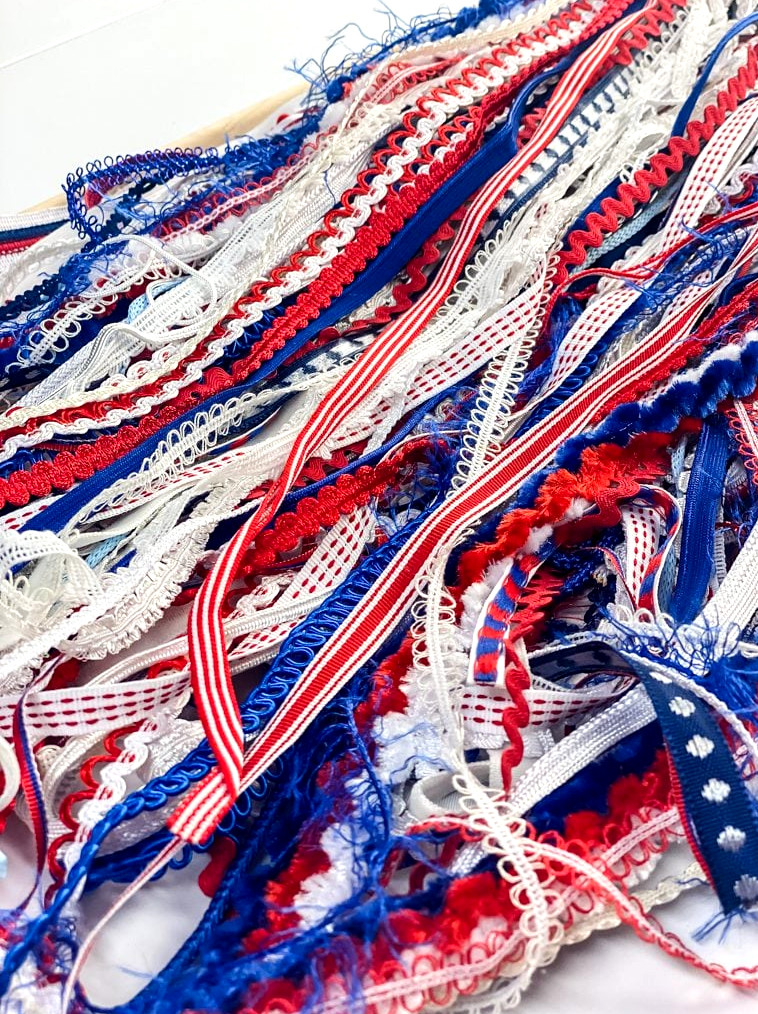
For this 24-inch-wide ribbon flag, I worked with 100 ribbon pieces in assorted widths to show you how many you may need if you cut your own strips for this project.
Step 2: Attach the Ribbons (The Enjoyable Part!)
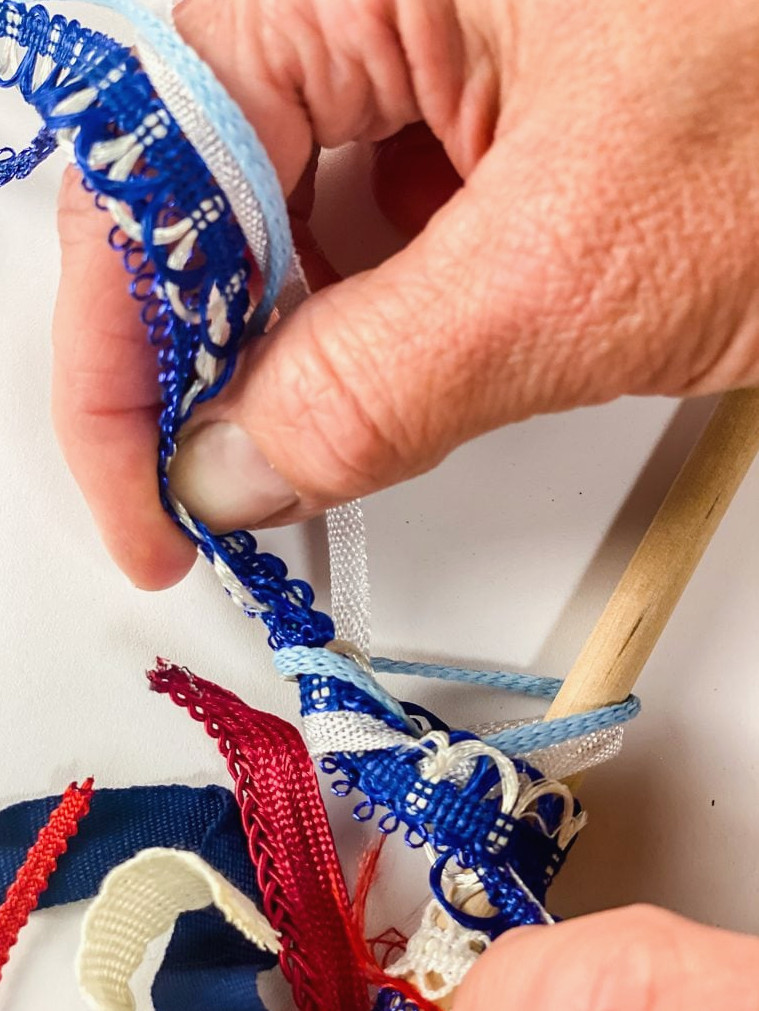
Pick up your ribbons and let’s make this flag come alive—there’s no need for perfection!
- Easy Knots, Lovely Texture:
- Secure each ribbon to the dowel using asimple knot(just as you would tie your shoelaces!).
- Leave the extra knot ends uncut-the loose strands add aplayful, layered lookalong the top!
- Effortless Mixing & Matching:
- Withthin ribbons: Tie 2-3 together in a single knot to add volume.
- Forvariety: Welcome the unpredictability! Rather than following a set pattern, I simply picked ribbons and knotted them until the dowel looked wonderfully full.
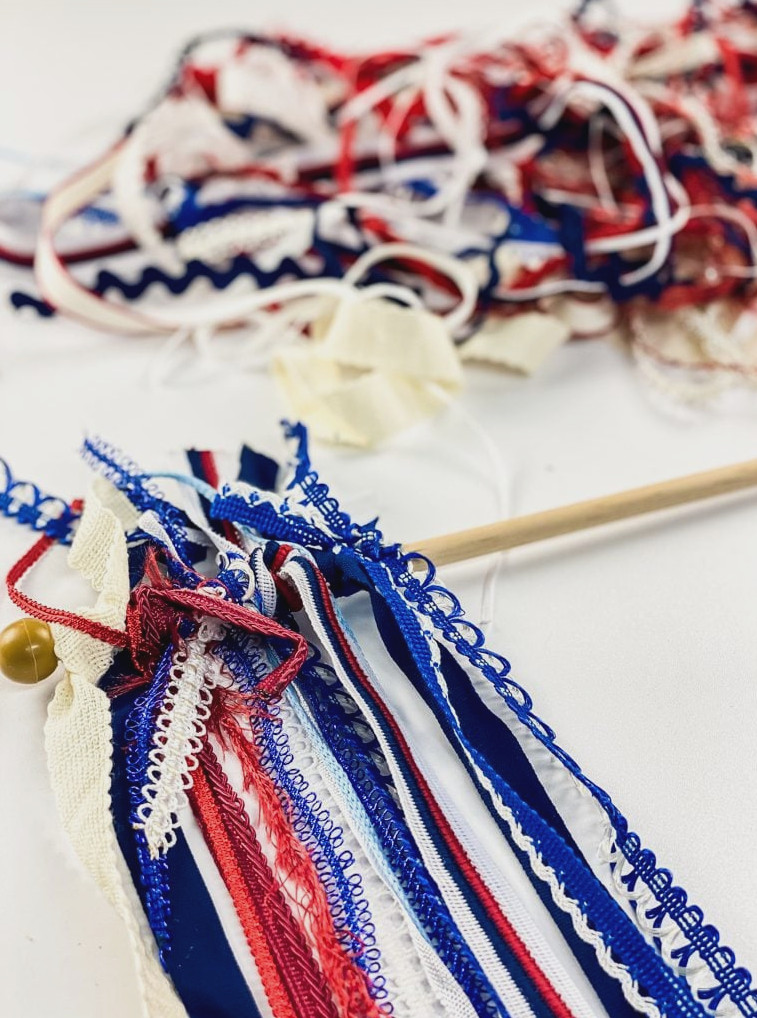
- Work Across the Dowel:
- Begin at one side and continue across, placing the knots roughly1 inch apart(or nearer together for added fullness!).
- Turn the dowel along the way to look for openings, natural unevenness = rustic appeal!
Watch the Flag Take Shape!
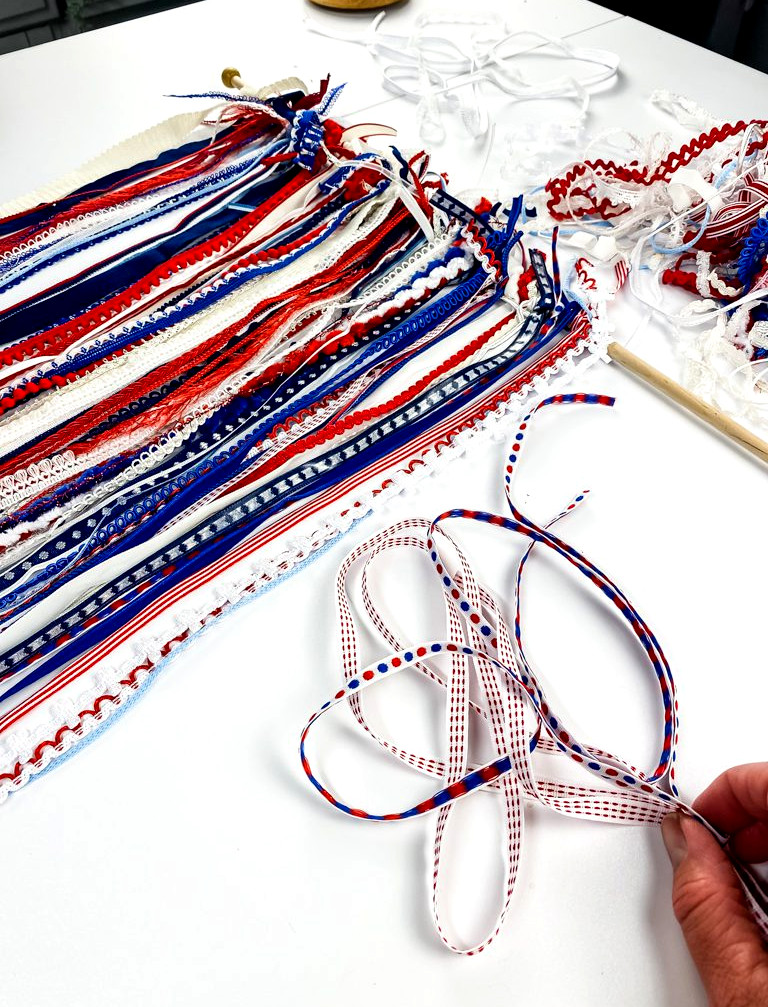
Confession: After completing so many longer and more time-intensive projects, I really enjoy making an easy project like this one!
This repeated knotting feels like a kind of crafting meditation. No paint splatters, no measuring tapes—only ribbons and rhythm. Absolute bliss!
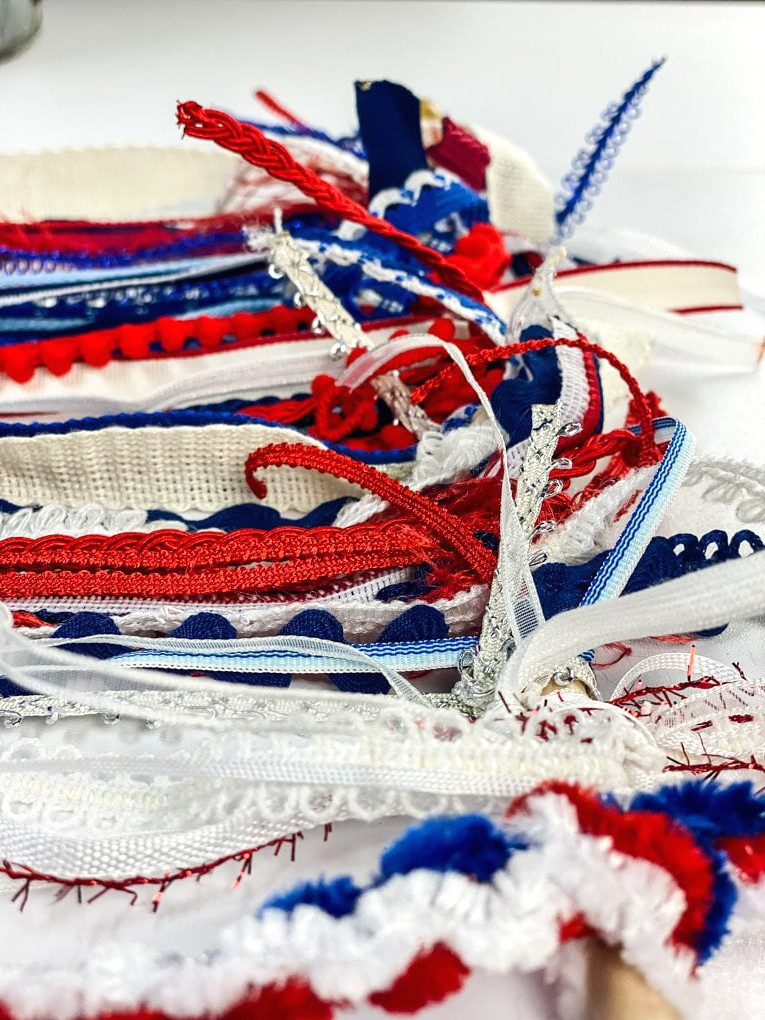
As I listened to a podcast, the minutes slipped by—perhaps 30 minutes?—while I worked. It’s amusing how uncomplicated projects can bring the greatest happiness. (And see how lovely it’s becoming!)
Step 3. Making the Union Jack: A Denim Variation
The Idea:
I struggled to decide how to portray the flag’s famousunion square—star fabric? Paint? Then I noticed a pair ofpaint-splattered jeansin my “DIY disaster” pile (we’ve all been there!). The denim’s sturdy texture seemedperfectfor this farmhouse-inspired flag.
How To:
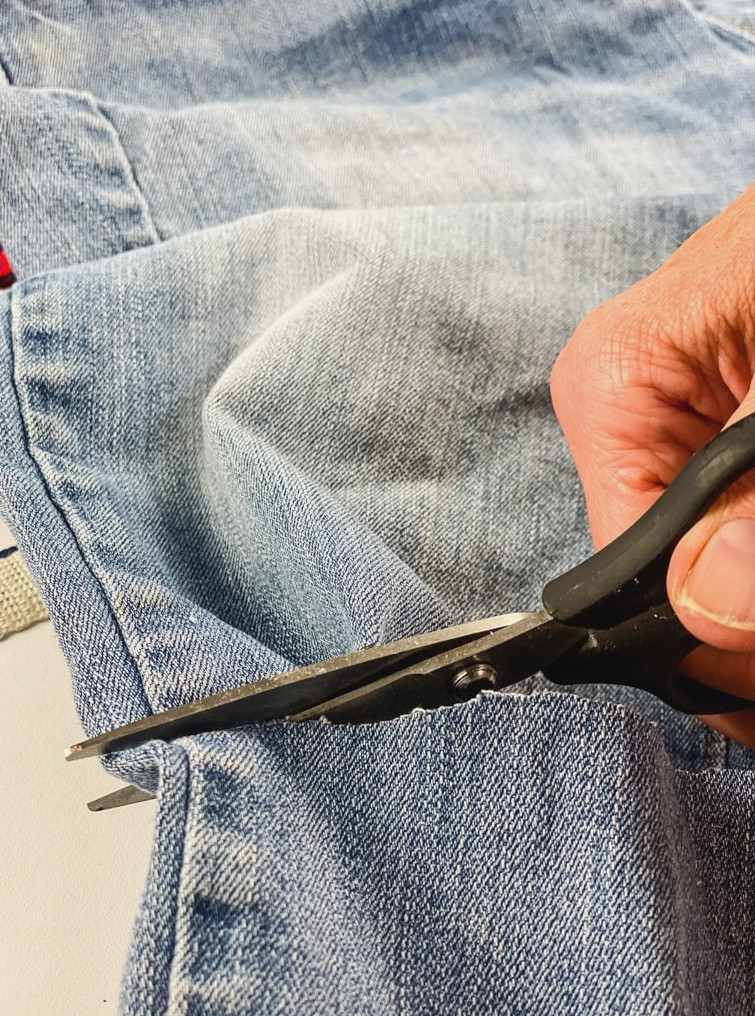
- Cut Your Fabric:
- Cut the jeans leg8 inches from the hem, then open the seam so the material lies flat.
- Shape it into an8×8-inch square(or make it larger for a stronger statement!).
- Attach to Flag:
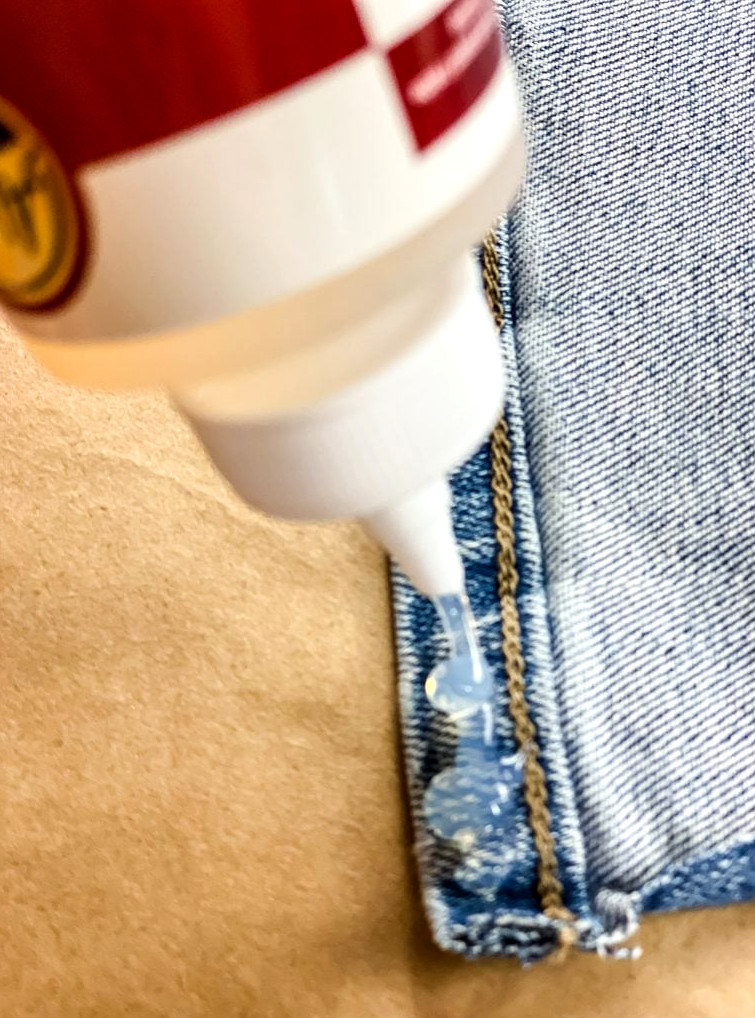
- Turn the denim face down and spreadfabric gluearound the borders (I used[brand name, if applicable]).
- Position it in thetop-left cornerof your ribbon flag, pressing away any creases.
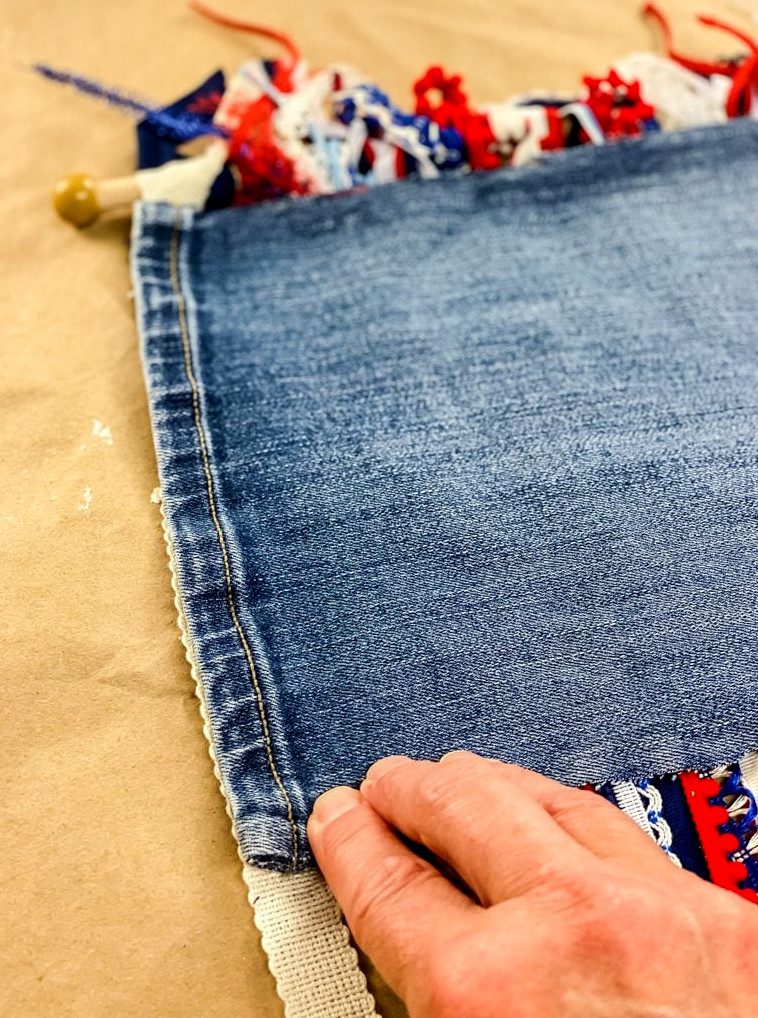
Why It Works:
- Thrifty & Textured:The denim’s frayed borders and paint marks bringinstant vintage personality.
- No-Sew Secret:Fabric adhesive keeps everything secure without one stitch!
Alternate Idea:
“No worn-out jeans? Consider:
- A piece of burlap(for a rustic feel)
- Star-patterned cotton(it would be incredibly cute!)
- Even a painted wooden square(if you’re in an artistic mood!)
4. The Ideal Finishing Detail: A Starry Accent!
The ‘Aha!’ Moment:
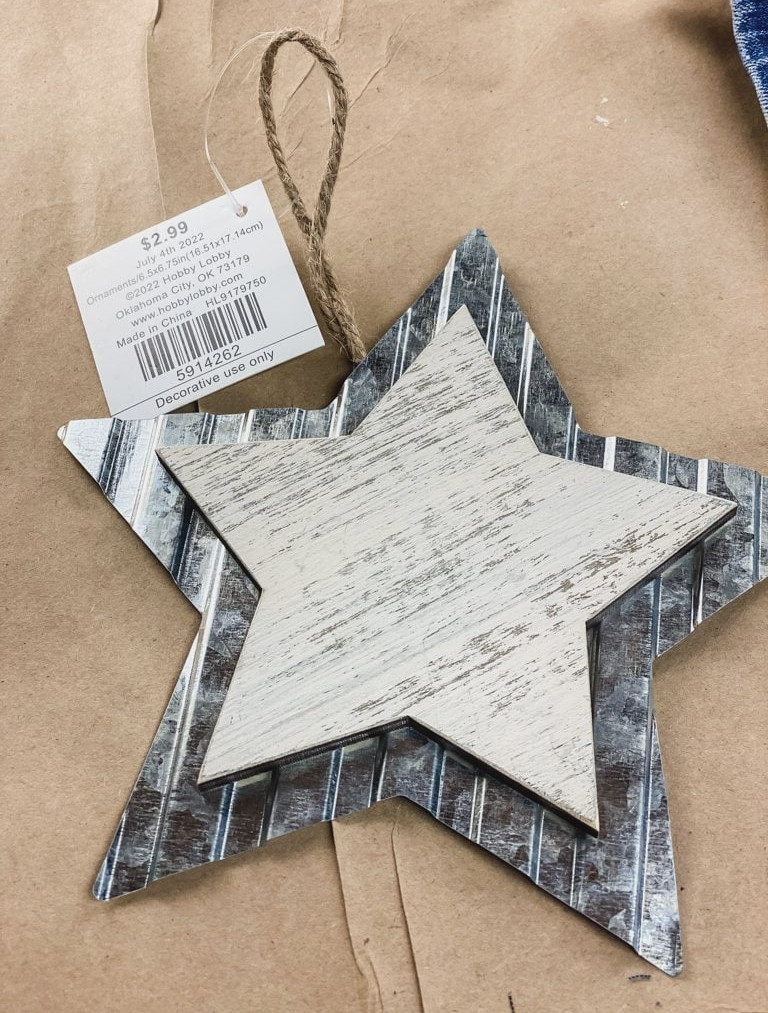
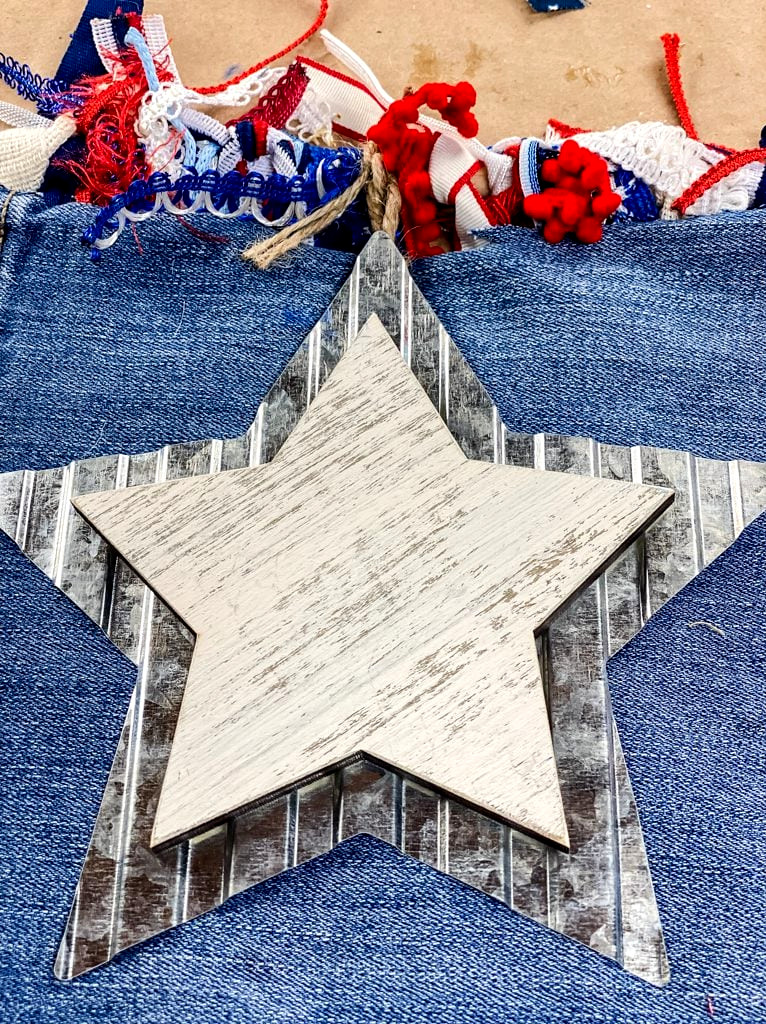
While I was weighing whether to paint stars or use wooden shapes, I suddenly recalled abag of star ornamentsfrom Hobby Lobby (you know, the kind you purchasejust in case?). Holding one against the denim for a moment—and yes!—showed me it wasexactlythe homespun detail this flag was missing.
How to Attach Yours:
- Ornament Option (Simple & Striking):
- Choose asmall metal or wood star ornament(mine happens to be a rustic metal & wooden star)
- I removed the jute hanger, then fastened it to the wooden dowel at the denim’s center.
- DIY Star Options (For Added Character):
- Paint: Create irregular “chippy” stars by hand-painting them with white acrylic for an aged appearance.
- Wood: Arrange and glue tiny craft stars together for dimensional texture.
- Embroidery: Use thick white thread to sew one star for a delicate touch (I don’t sew, but this would be lovely!).
Last Step: Cut the Ribbons
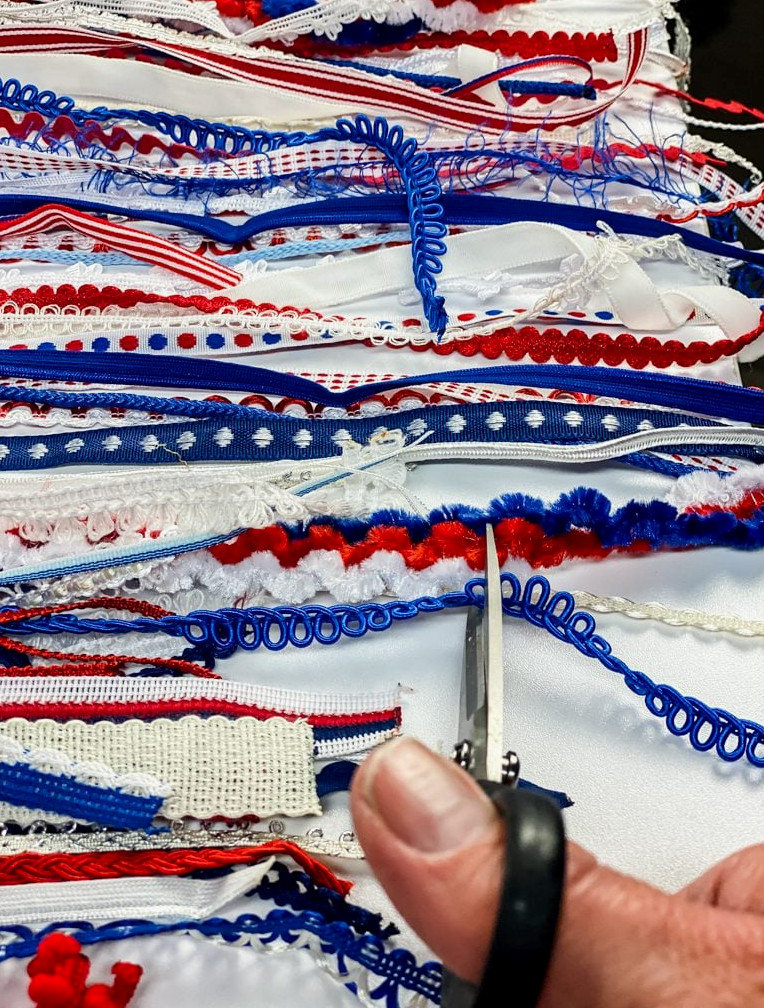
Spread your flag out flat, then place ayardstickacross the bottom to serve as a straight trimming guide.(Since I’m left-handed, I manage to do everything crooked…even when I’m cutting with my right hand!!)
Cut the ribbons to whatever length you prefer
Decorated & Ready to Celebrate!
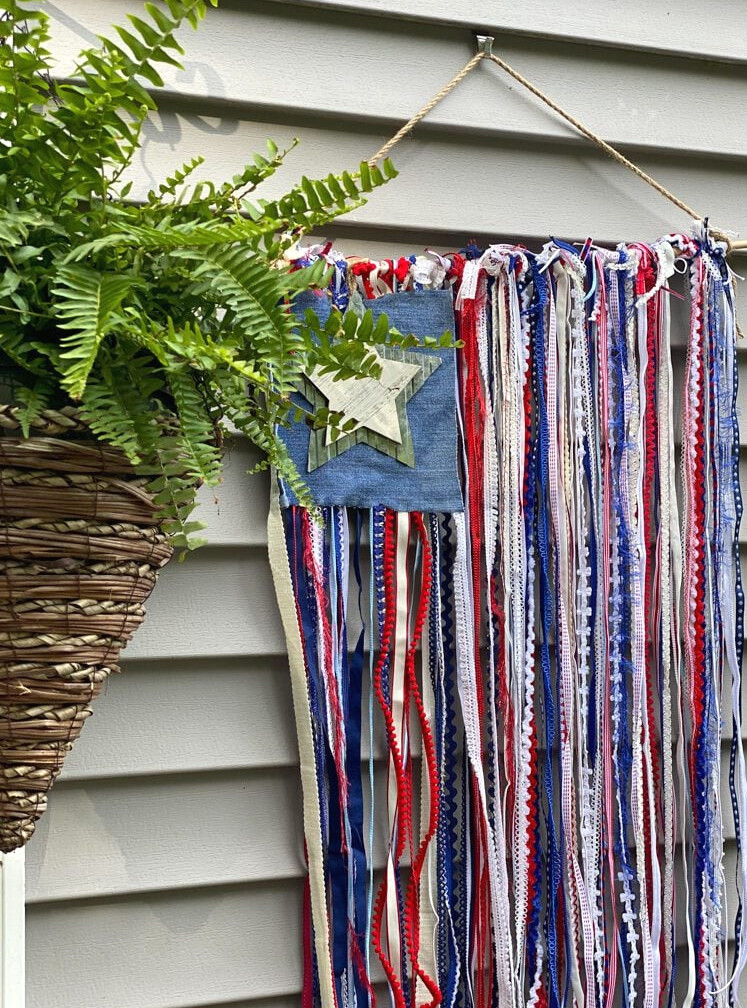
Just like that—our rustic ribbon flag is finished!I displayed mine on my house with vinyl siding hooks, though this lovely piece would be just as charming on your front door. I enjoy watching the ribbons dance in the breeze!
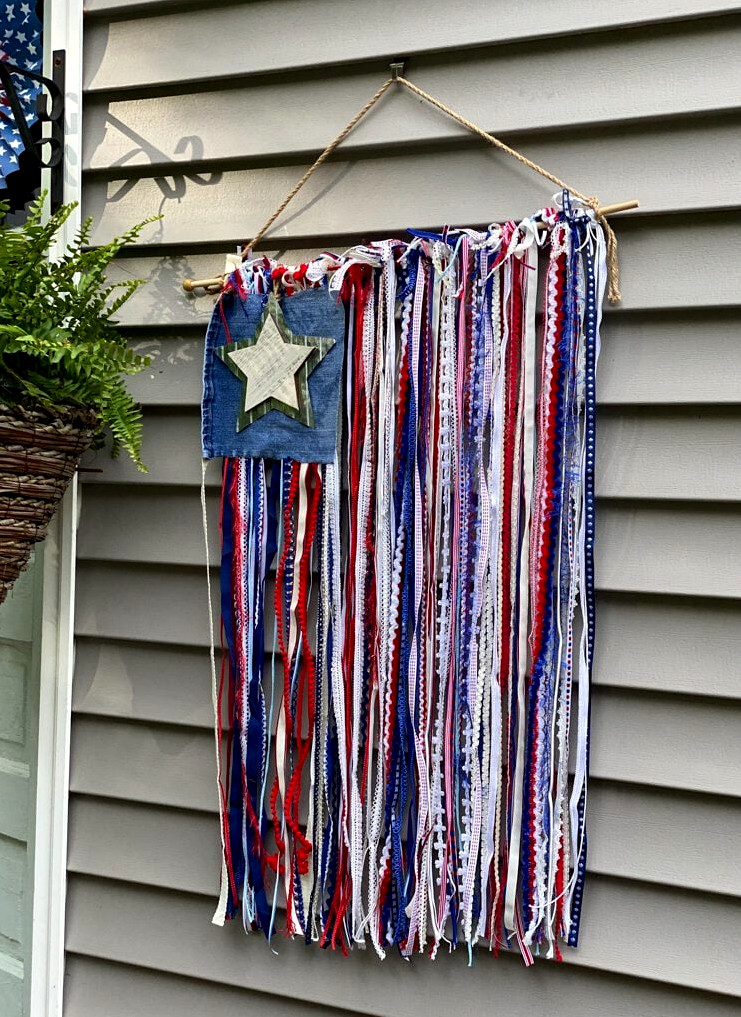
When I set up my Patriotic Patio Party the other day, I placed the ribbon flag outdoors for the day. Afterward, I transferred it to my front porch so it would stay sheltered from the elements. (Bright sunlight and outdoor conditions will cause the ribbons to fade.)
As I walked back from the mailbox, I paused to admire it outside my front door while the breeze moved through the ribbons, and it looked so lovely! This is absolutely a project I suggest trying.
It’s also simple enough to make it an excellent 4th of July DIY activity for your children or grandchildren.
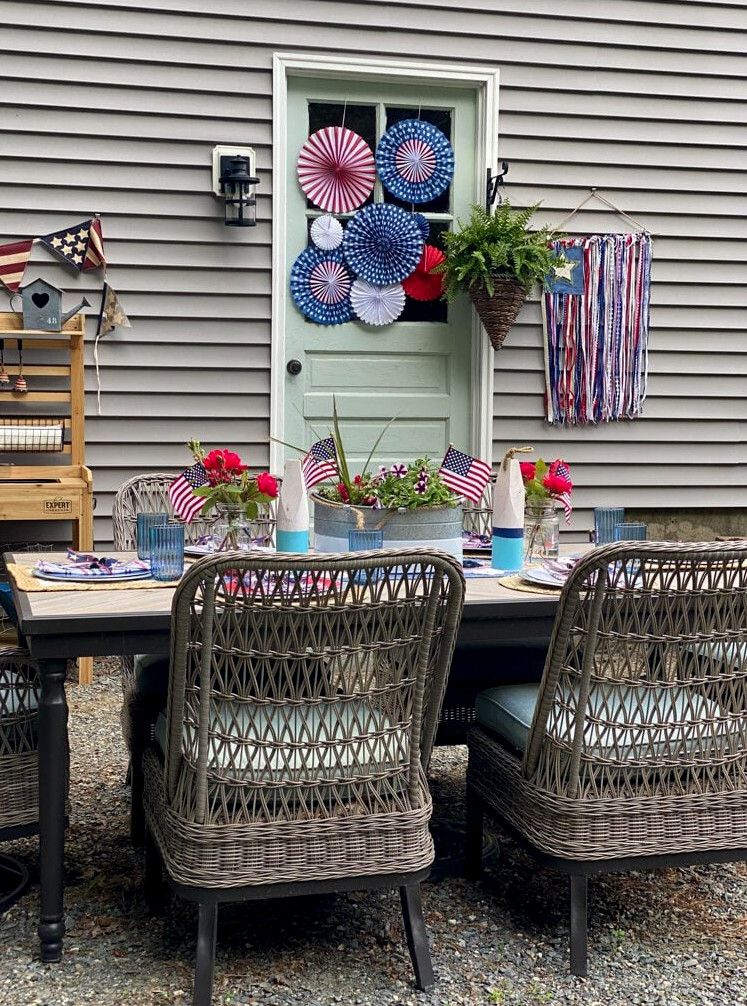
Be sure to see all the details about how I styled my patio for a Summer party.
Have your projects showcased! If this project or any of my other DIY ideas inspires you, I’d be delighted to see your creations and include you in the Reader’s Spotlight gallery. Email a photo to jennifer@cottageonbunkerhill.com
xo, Jennifer

20+ creative concepts
Red, White, and Set to Style
Patriotic Décor Ideas for Your Home
keep at it until you succeed
17 Pottery Barn-Inspired Finds
DIY Projects to Inspire You
Additional Patriotic Decorating Inspiration
Save for Later…