Discover how I transformed an unattractive thrift store lamp from dull to delightful and gave it a fresh style and renewed purpose!
Thrift store shopping has grown much more popular over the past few years, and it’s easy to see why…there are so many great finds waiting there!!
These days, I usually browse the thrift store before purchasing new home decor. I also keep a mental list of projects I’d like to tackle and items I’d love to replace around my house.
For quite some time, I had been hoping to refresh a lamp, but I hadn’t come across a suitable one to redo.
That changed during my most recent visit to my local Savers thrift store!!
Thrift Store Lamp Transformation
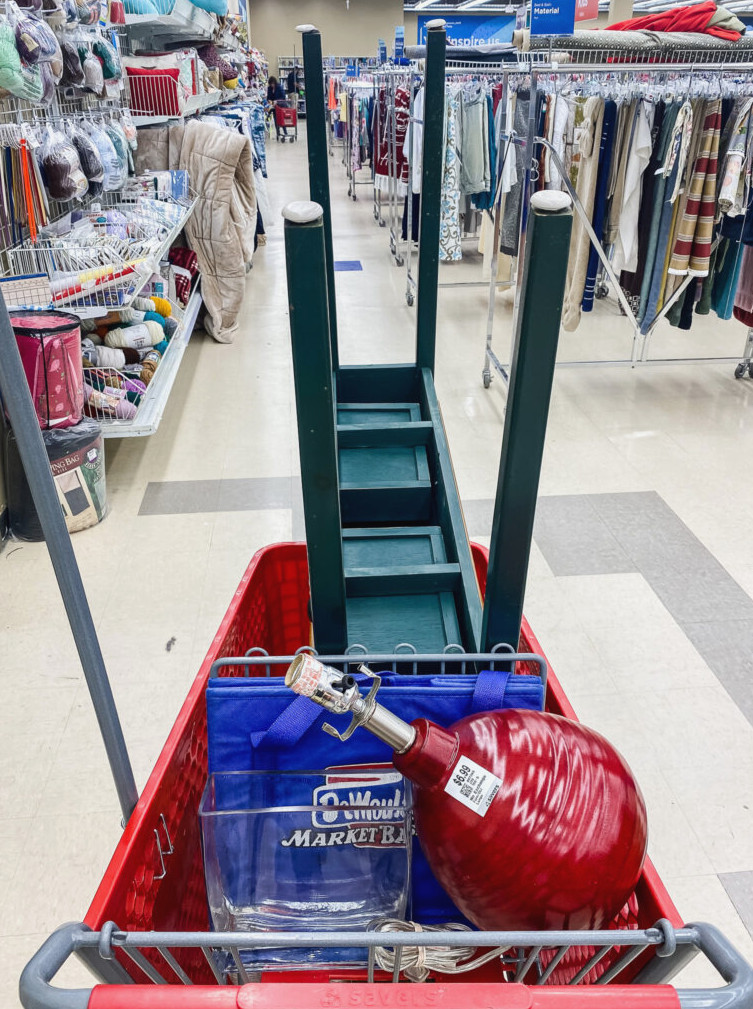
At times, I walk out of the thrift store without anything, but every now and then I get lucky and load up the cart!
Tucked along the back wall, I noticed this red table lamp. The color definitely wasn’t for me, but its shape was amazing!! It cost $6.99, and I made sure it was in working order.
Some of the other treasures appeared in my article featuring various budget-friendly flower ideas.
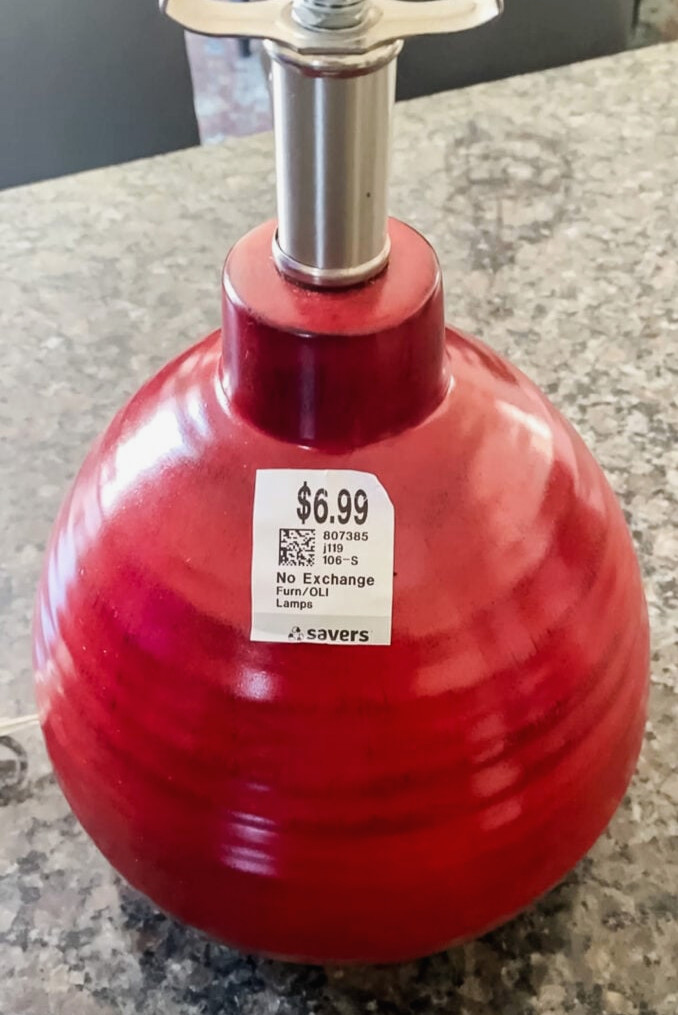
Its attractive shape brought to mind several lamps I admire on the Pottery Barn and McGee and Co. websites. I also loved the ribbed detailing that circled the lamp.
1. Apply the Base Layer
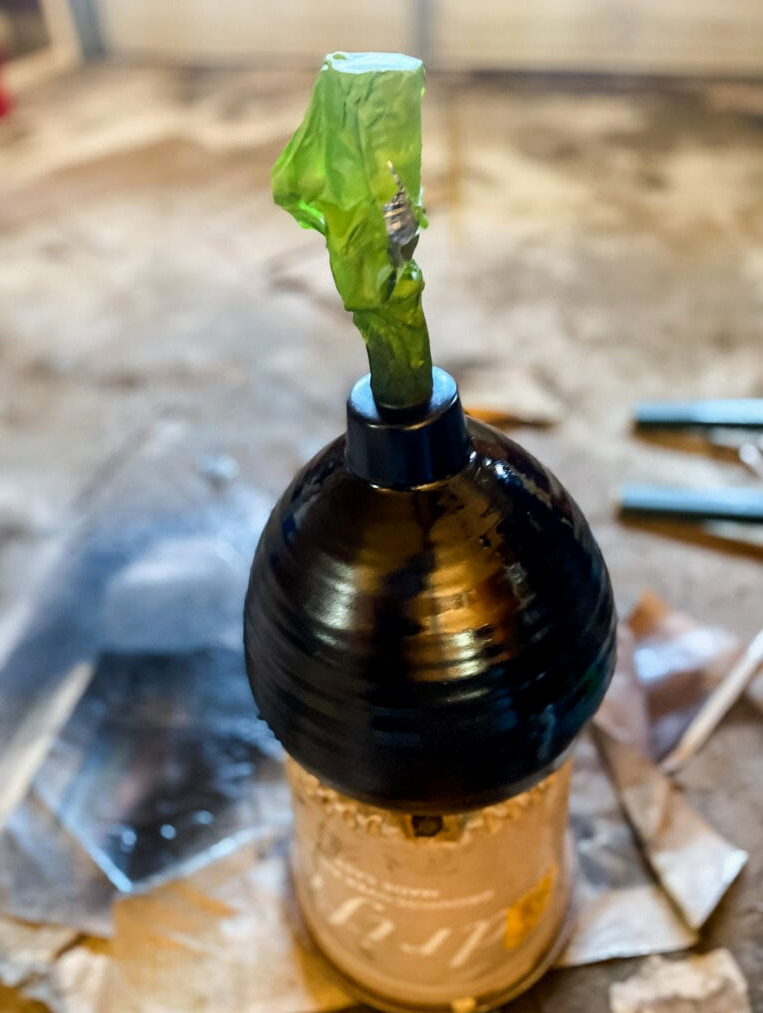
I began by placing painter’s tape over the metal top so it would remain protected from the paint.
Next, I coated the lamp with black spray paint containing primer. Since I intended to apply a textured stone coating afterward, I needed a surface that would hold onto it…the glossy red finish of the thrift store lamp was not suitable.
TIP: Whenever I paint an item like this lamp with a rounded bottom, I set it on an old plastic plant pot turned upside down. This lets me spray all the way down to the bottom edge.
2. Apply the Stone Texture
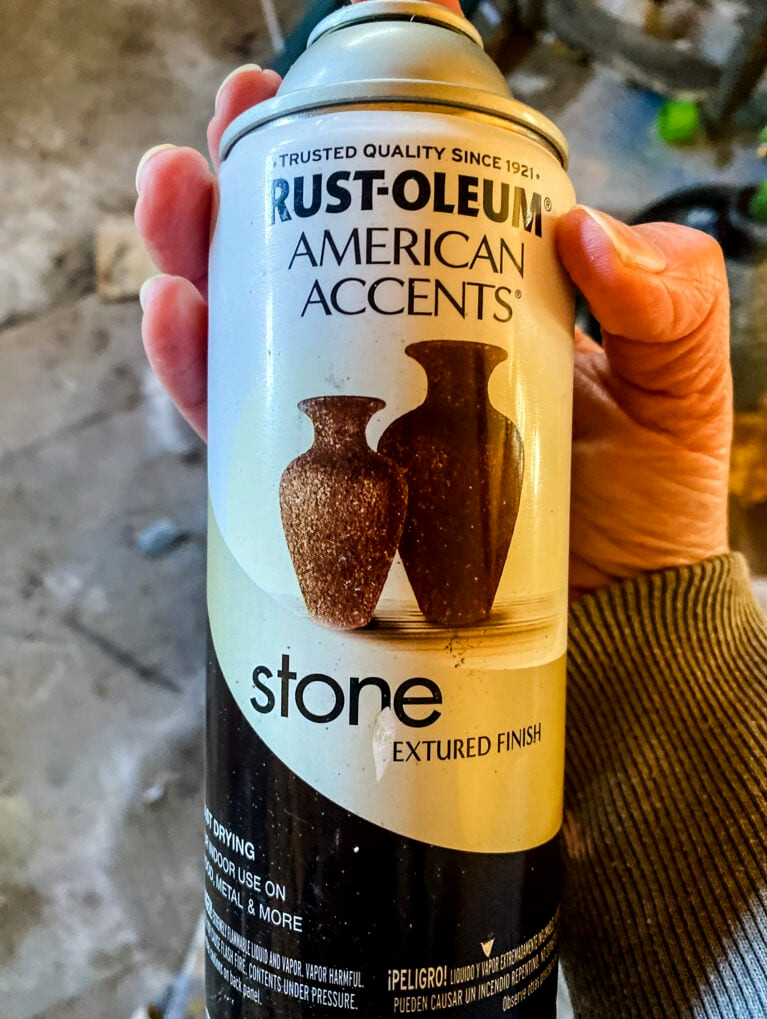
Once the paint had dried thoroughly, I was ready to apply the textured stone spray finish.
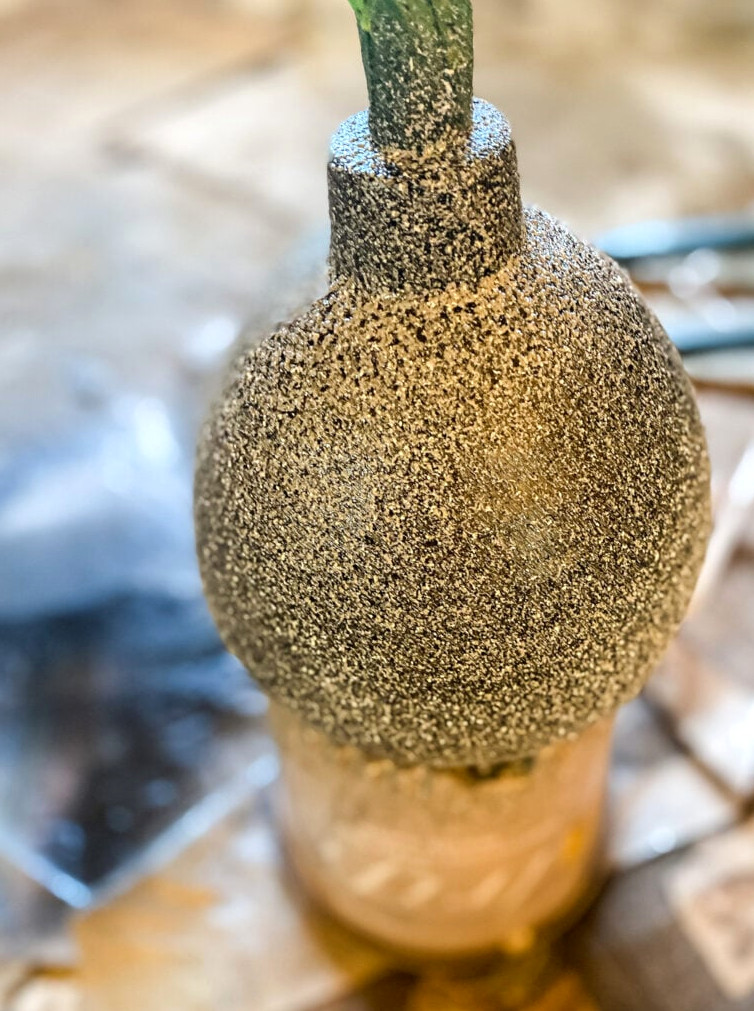
This is a unique type of paint. Rather than spraying continuously, you apply it to the surface in brief bursts.
Because it needs quite a bit of time to dry fully, I waited until the following day to continue with the last step.
3. Add the Final Color- Moss Green
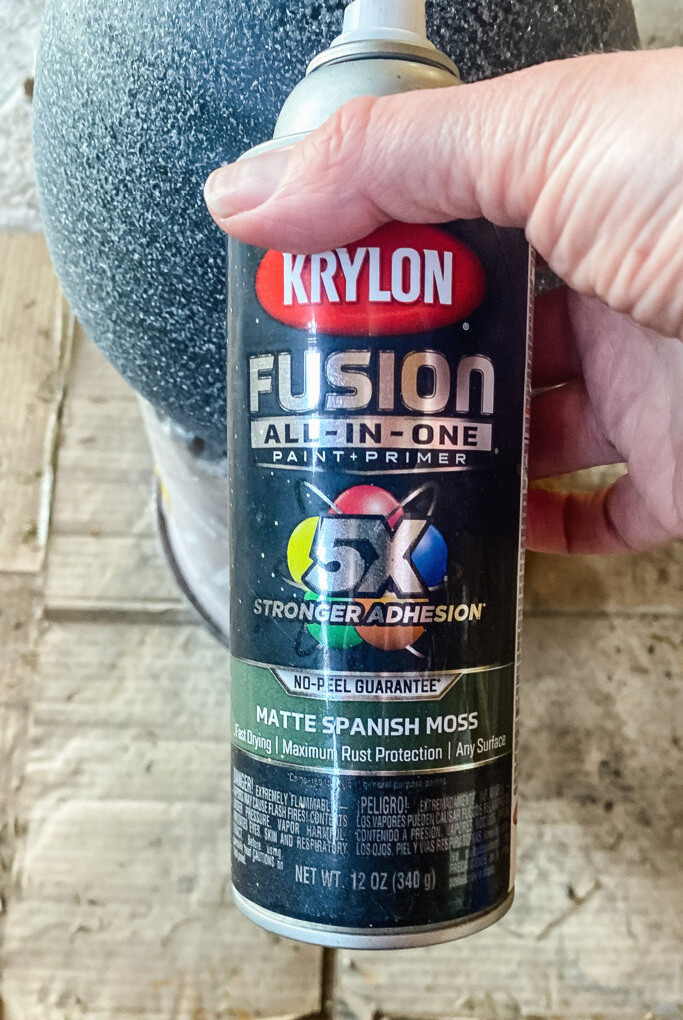
For the final coat, I chose a matte green paint. First, I already had some left in a partially used can, which saved me money. Second, green is my primary accent shade, so the lamp will coordinate wherever I place it.
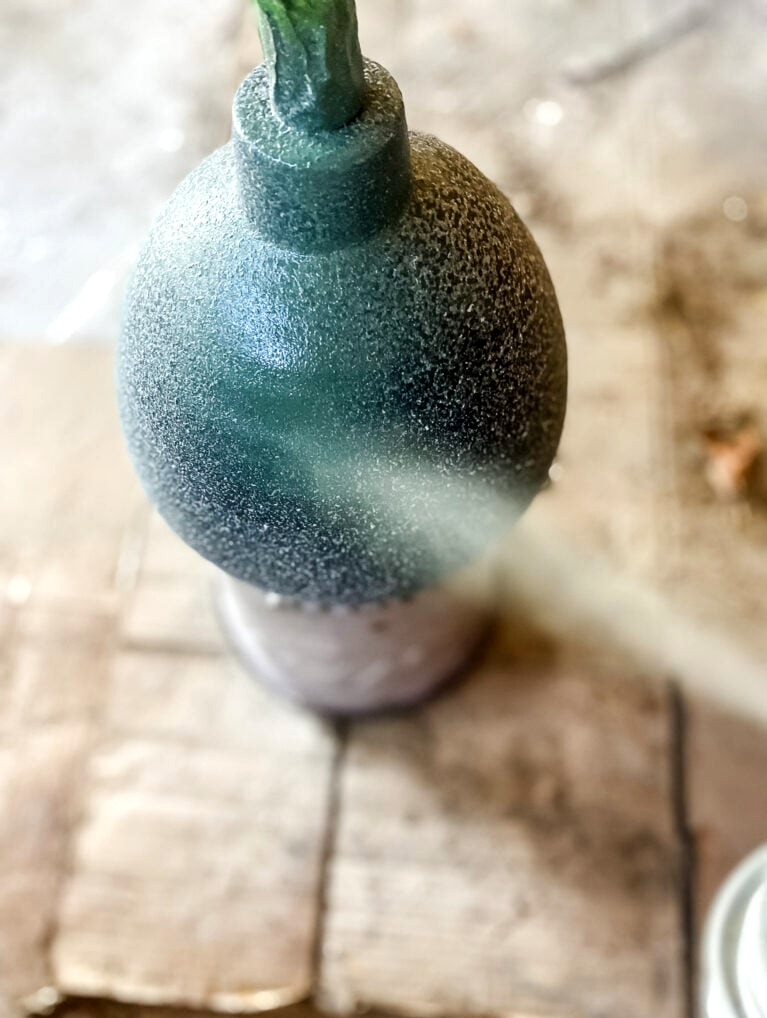
A single layer of green spray paint was enough to cover the entire lamp with a smooth, consistent finish.
Refreshed Thrift Store Lamp: The Final Result
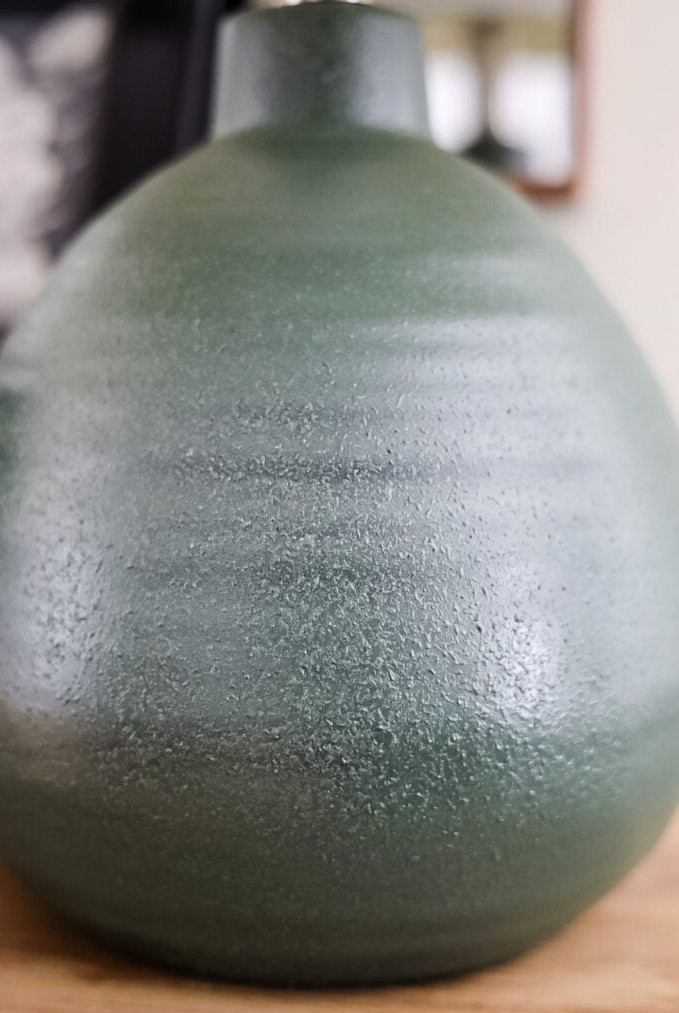
The texture looks so fabulous, doesn’t it??! I’m thrilled with the result!
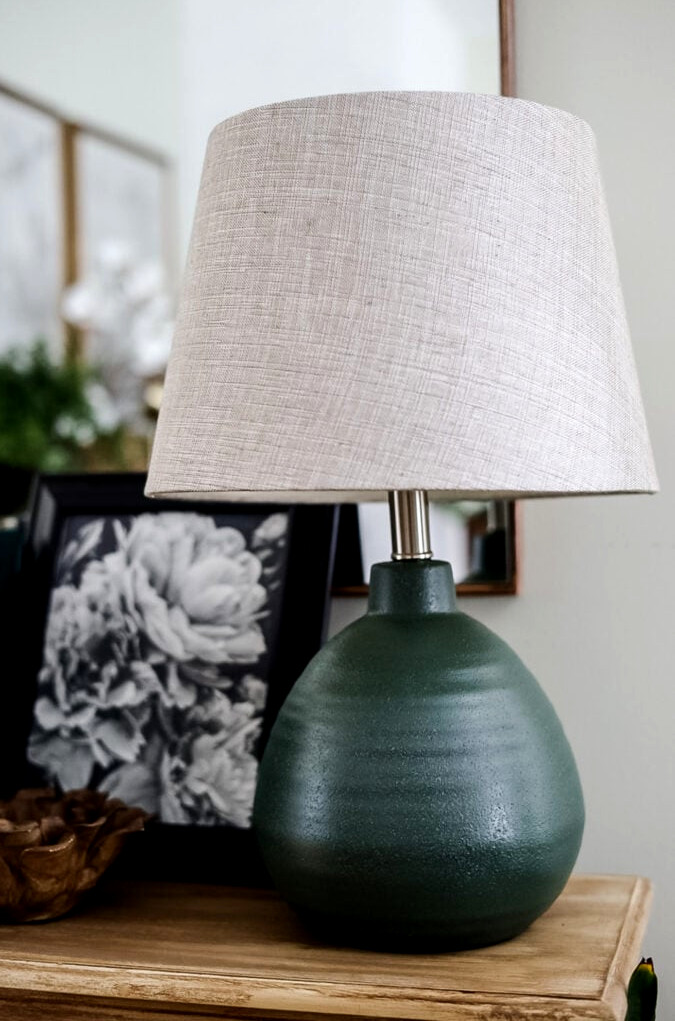
That transformed thrift store lamp appears completely new!! I already had the lampshade from an older lamp stored in the basement, so I didn’t have to pay anything for it.
Entryway table
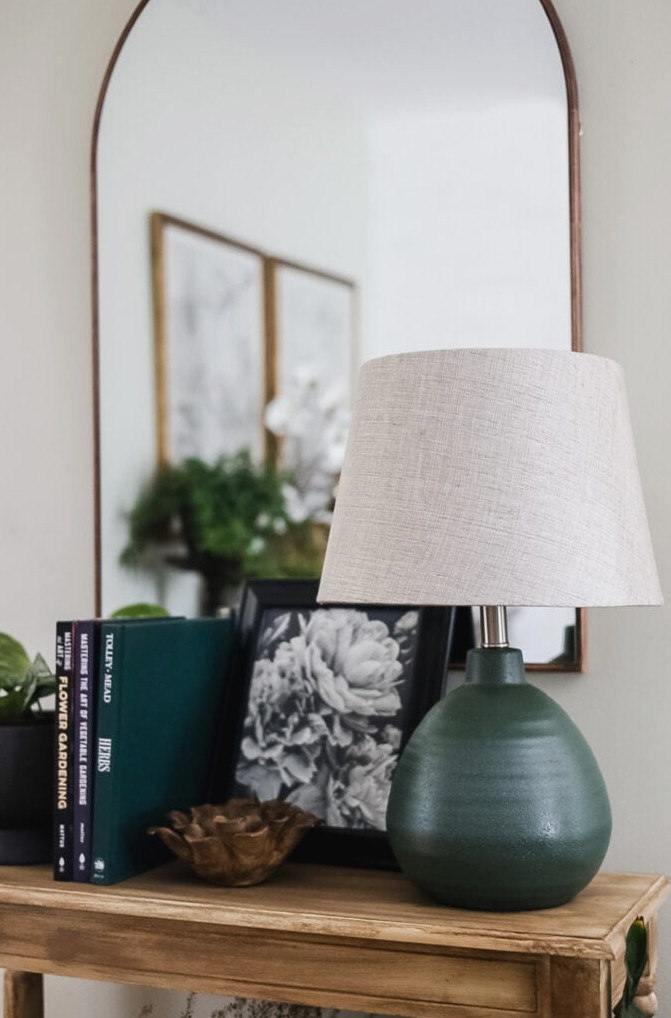
The lamp is medium-sized and turned out to be an ideal fit for my entryway table. Since it isn’t very wide, I occasionally struggle to fit a lamp here.
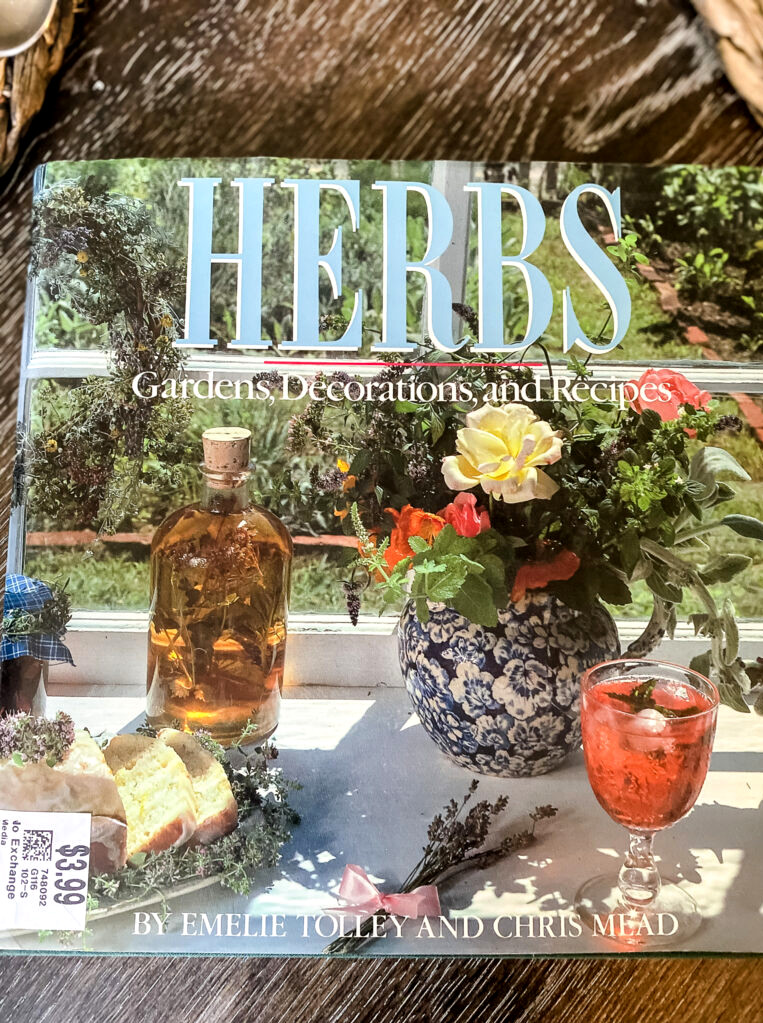
Another secondhand treasure I’m featuring on the table is this herb book I discovered when I picked up the lamp.
I especially liked the green linen cover beneath it, and the book was in flawless condition…plus, I enjoy gardening books.
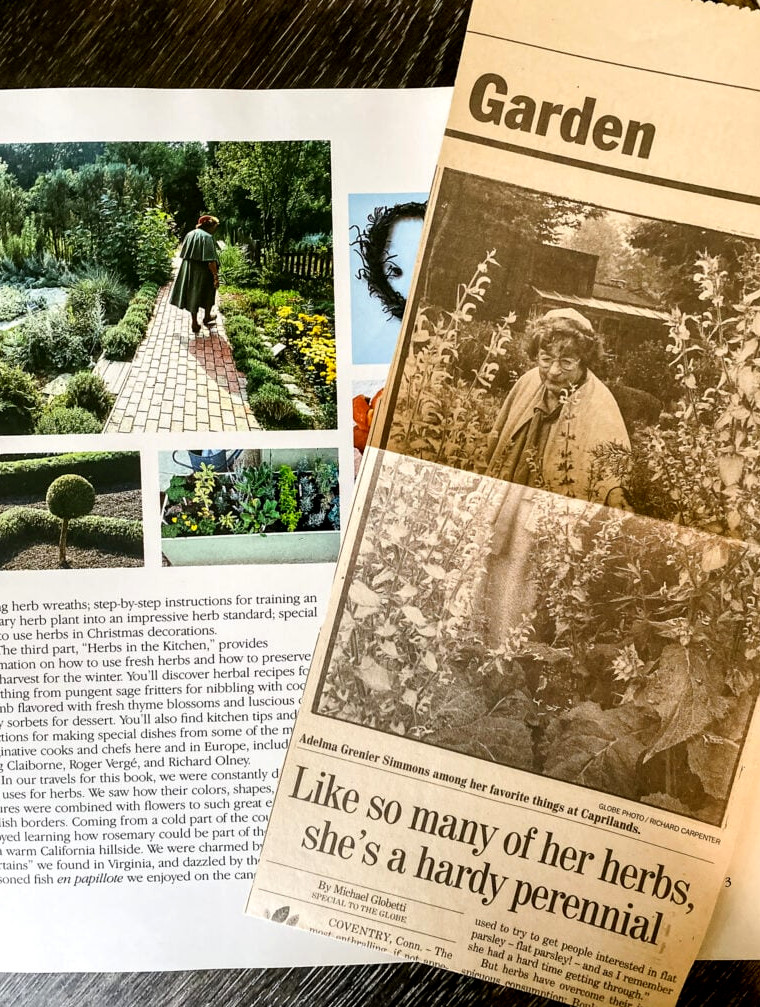
The book dates back to 1985. When I browsed through it after getting home, I discovered this vintage Boston Globe clipping tucked inside. It tells the story of the woman shown in the book. I thought it was such a fun discovery!
Peony print
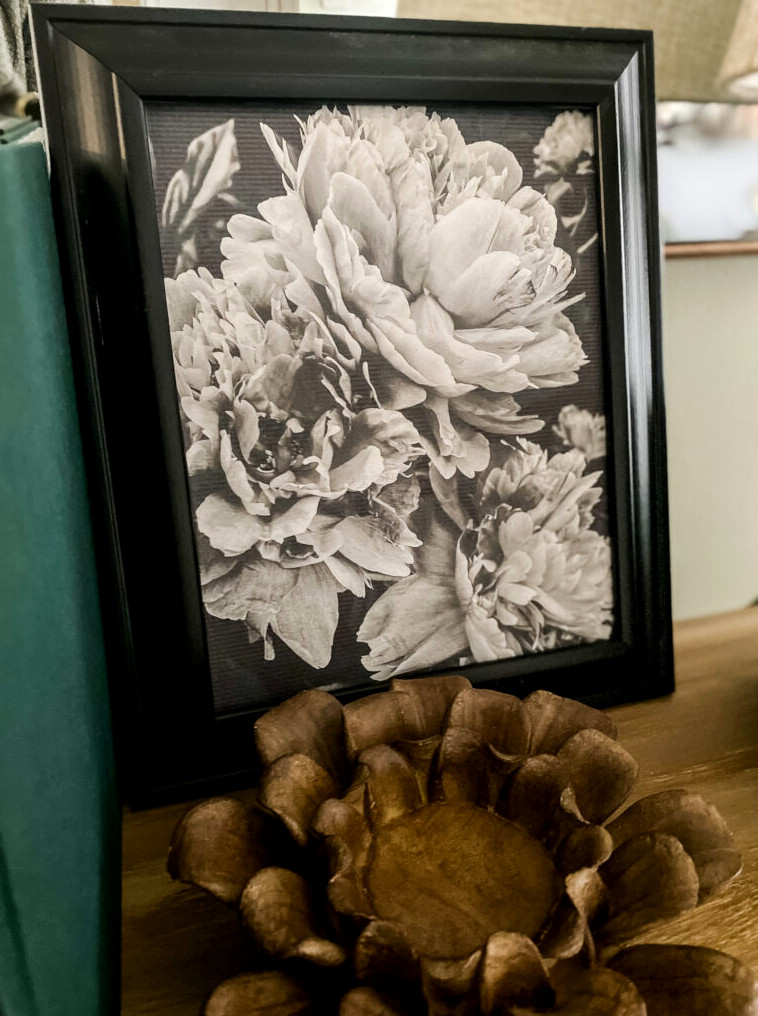
For an inexpensive piece of artwork, I took my own photo of last year’s peonies and converted it to black and white. Afterward, I printed it at home onto a sheet of watercolor art paper.
This is an excellent method for giving homemade prints a textured appearance; simply use a standard sheet of copy paper to cut the watercolor paper down to size.
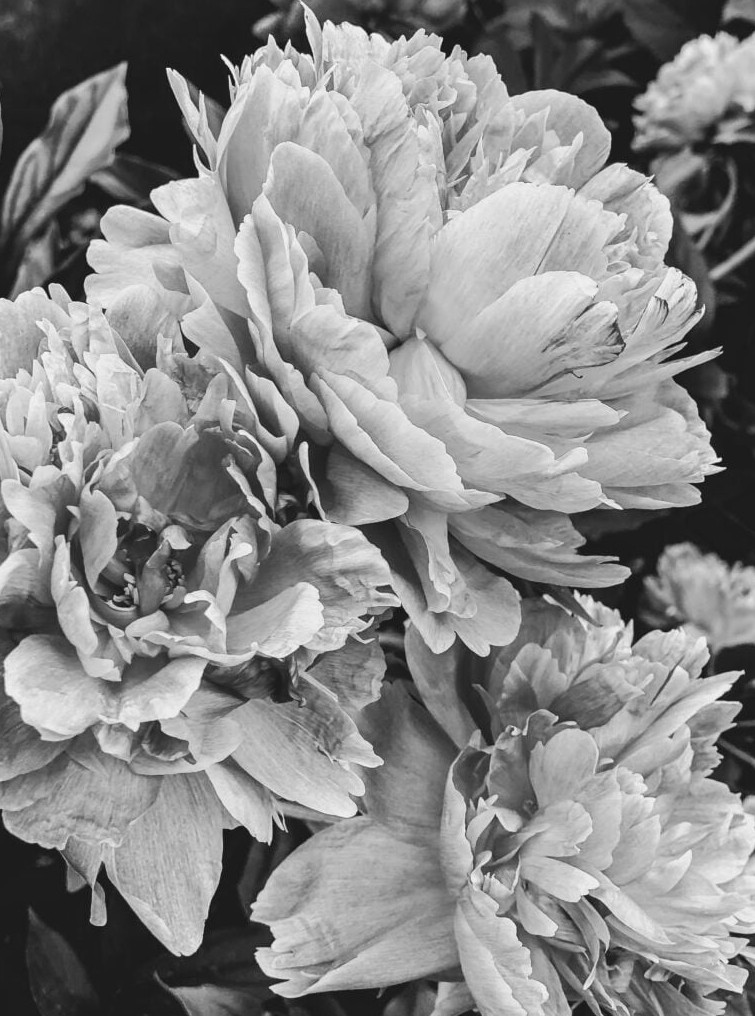
If you enjoy this print, I’ve placed it in my printable library for you to download and print.
More Vintage Ideas To Explore
Each month, Stacy, Kim, Lora, and I showcase fresh thrifted & vintage treasures or places we’ve recently visited. Since we live throughout the country, it’s always enjoyable to see what my friends have discovered!
Stacy
Bricks n Blooms
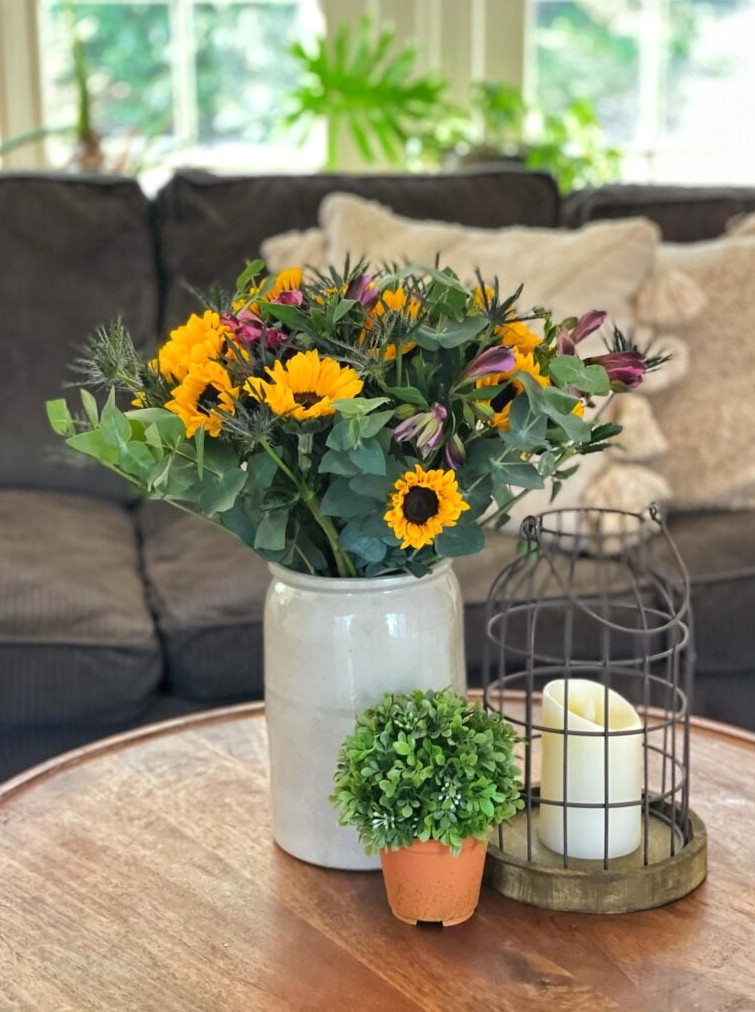
Stacy has a real talent for arranging flowers. Today, she’s showcasing a beautiful display that will brighten your day in a vintage crock.
Kim
Shiplap & Shells
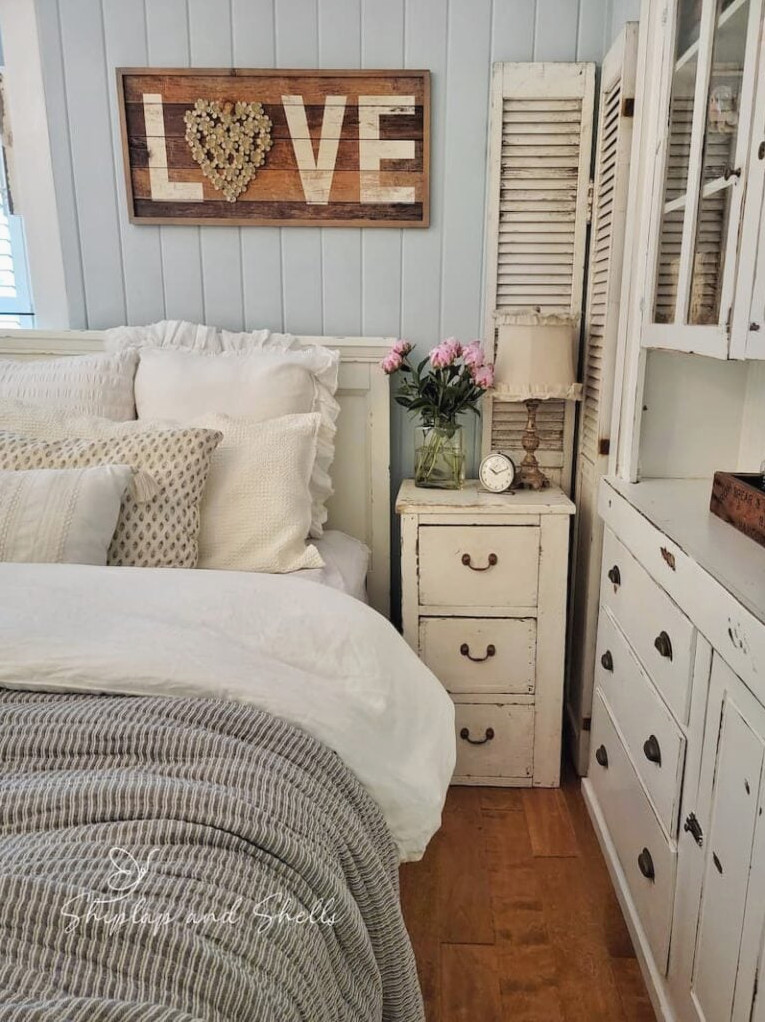
This month, Kim is highlighting a few of her wonderful vintage finds that she has placed in her bedroom. You’re sure to adore them!
Lora
Create & Reflect
Lora is bringing us along on an incredible treasure-hunting adventure! She always uncovers the most amazing finds, too! Just wait until you see everything she discovered!!
More Frugal Inspiration for You
Save for Later!