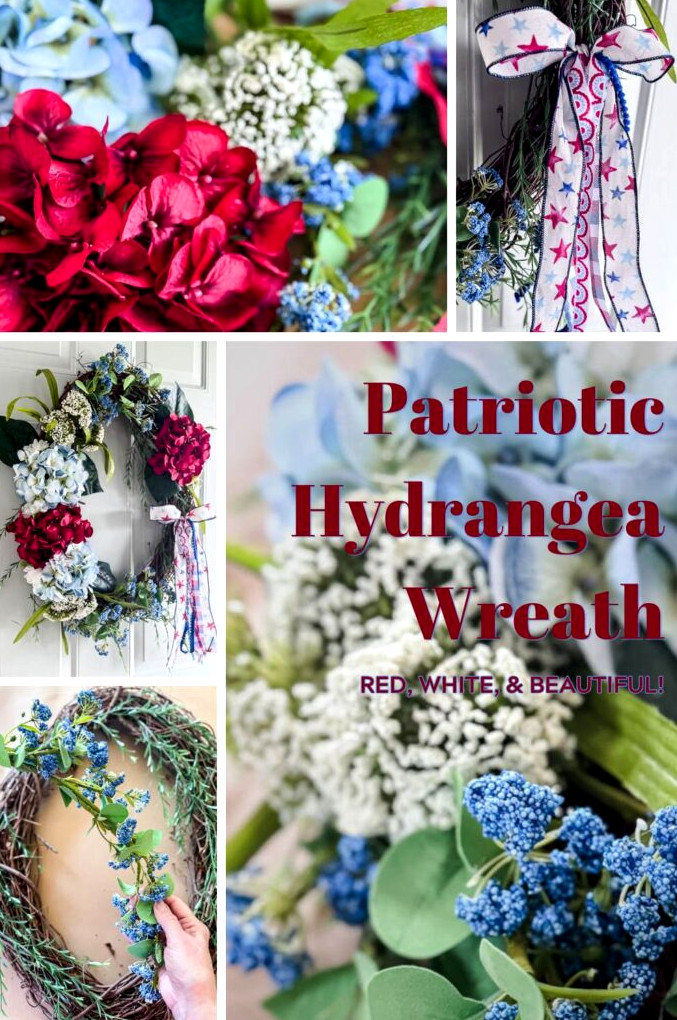
This DIY patriotic wreath combines faux hydrangeas, cascading greenery, and a playful side bow for a full, garden-inspired style. It’s ideal for Memorial Day, the 4th of July, or displaying throughout the summer. This front door wreath is also a wonderful way to honor America’s 250th birthday this season!
A Wreath Created for a Friend
Some of the projects I enjoy making most aren’t for my own home; they’re gifts for the people who matter to me.
Last year, I crafted a fairy wreath for one of my friends, and ever since, another woman in our circle had been dropping not-so-subtle hints that she wanted one too. So, as the patriotic season began approaching, I decided it was the perfect opportunity to finally make one for her.
That idea became this red, white, and blue hydrangea wreath, and honestly? It may be one of my favorite designs yet. It’s full, deliberately a bit asymmetrical, and carries the fresh, gathered-from-the-garden appearance of real stems, even though every piece is faux. It’s attached to an oval grapevine base that I’ve reused for several wreaths over the years… because I certainly don’t need a basement packed with wreaths!
If you want a patriotic wreath with a more polished feel than the usual flag-and-ribbon combination, consider this your inspiration.
Welcome! I’m Jennifer, and since 2019, I’ve been documenting my home’s transformation with an emphasis on affordable, attainable style. If you appreciate New England’s character but need a home that suits everyday living, you’ve come to the right place. I explain each project so you can build a home that reflects your story, without the stress.
How to Make a Faux WreathThat Looks Real
After creating more wreaths than I could possibly count, I’ve learned several guidelines that separate a full, thoughtfully designed wreath from one that appears store-bought. These are the principles I always follow:
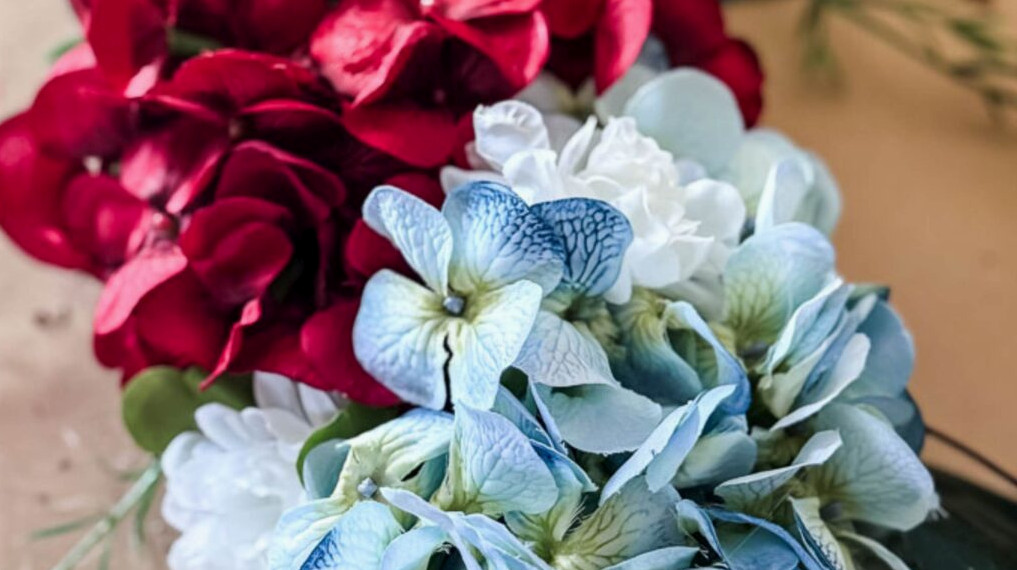
1. Combine different textures.
When every stem has an identical “feel,” the wreath can appear dull and one-dimensional. Build it in layers: include something large and striking, such as hydrangeas; something light and graceful, like Queen Anne’s lace; and something soft and trailing, such as greenery or berry stems. In most cases, three textures create the ideal balance.
2. Choose odd numbers for your statement blooms.
This lesson came from experience. At first, I attached four hydrangeas to this wreath, but the arrangement didn’t feel quite right. The following morning, I removed them and rearranged them in a group of three. Odd numbers add visual flow, encouraging your gaze to move around the wreath rather than pause in one spot.
3. Tuck and layer instead of simply placing.
Artificial wreaths tend to look unnatural when the stems rest on the base as though they were merely set there. Push the stems inward, tilt them at different angles, and allow portions to spill beyond the edges. The goal is to make the arrangement appear naturally grown.
4. Reuse the foliage from your stems.
When removing a flower head from its stem, save the leaves instead of discarding them. They make excellent filler; tuck them beneath your primary flowers to achieve a fresh, just-gathered appearance.
5. Follow a color scheme rather than adding every shade.
Patriotic wreaths can quickly become too busy. I chose garnet red, muted blue, and white, allowing the greenery to fill the spaces between them. Select your palette and avoid the temptation to keep adding colors.
Supplies You’ll Need
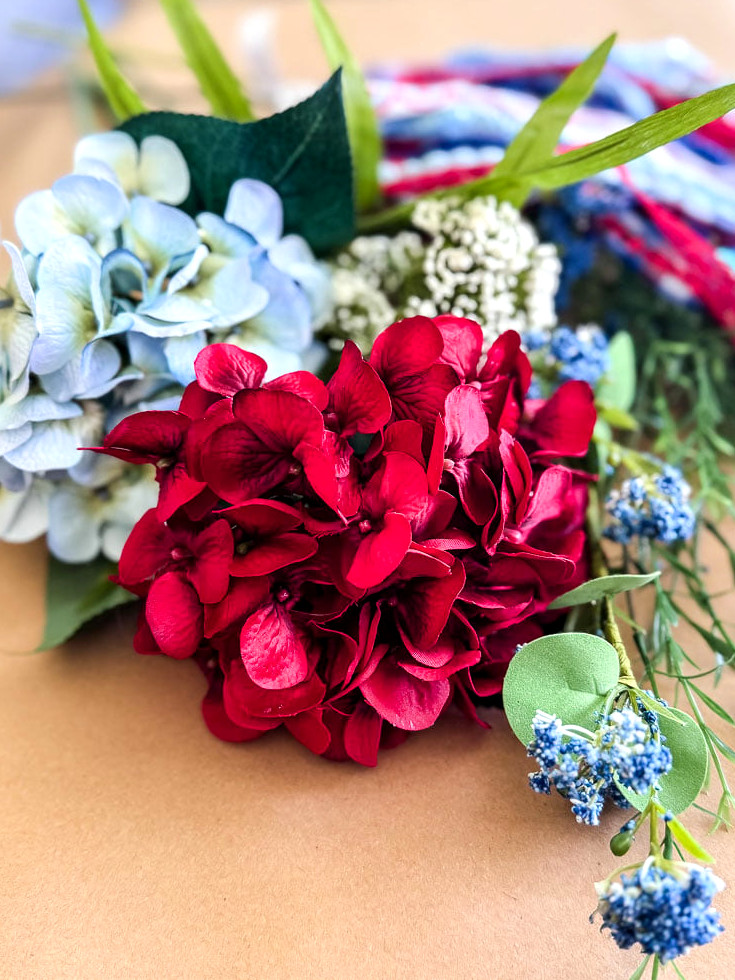
Patriotic Wreath Materials
How to Create a Patriotic Hydrangea Wreath
Step 1: Begin With Your Greenery
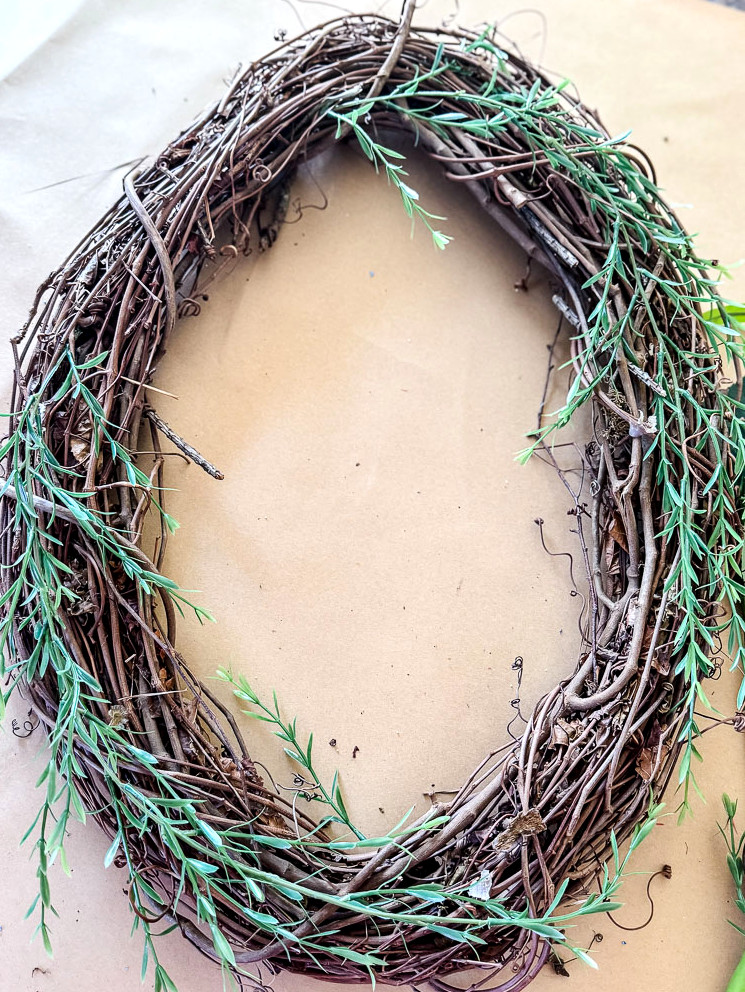
Build your base before adding any flowers. Attach the two cascading greenery stems to opposite sides of the wreath form, allowing them to fall naturally. This creates the relaxed, natural appearance from the beginning and provides the foundation for everything layered above.
I applied hot glue only to the base of the wreath form so that some of the pieces could remain loose and hang freely.
Step 2: Add the First Floral Layer
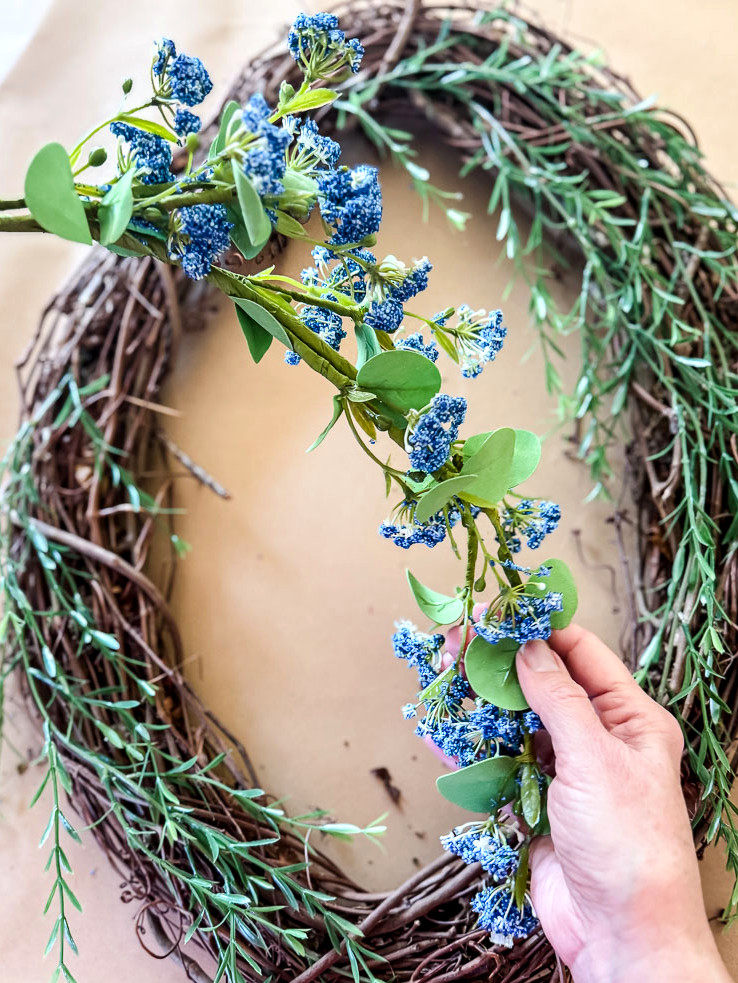
Now place the two royal blue delicate flower stems at the top and bottom of the wreath. They bring in the soft, trailing effect that prevents the design from appearing overly rigid. Consider them the accents that help all the other elements feel purposeful.
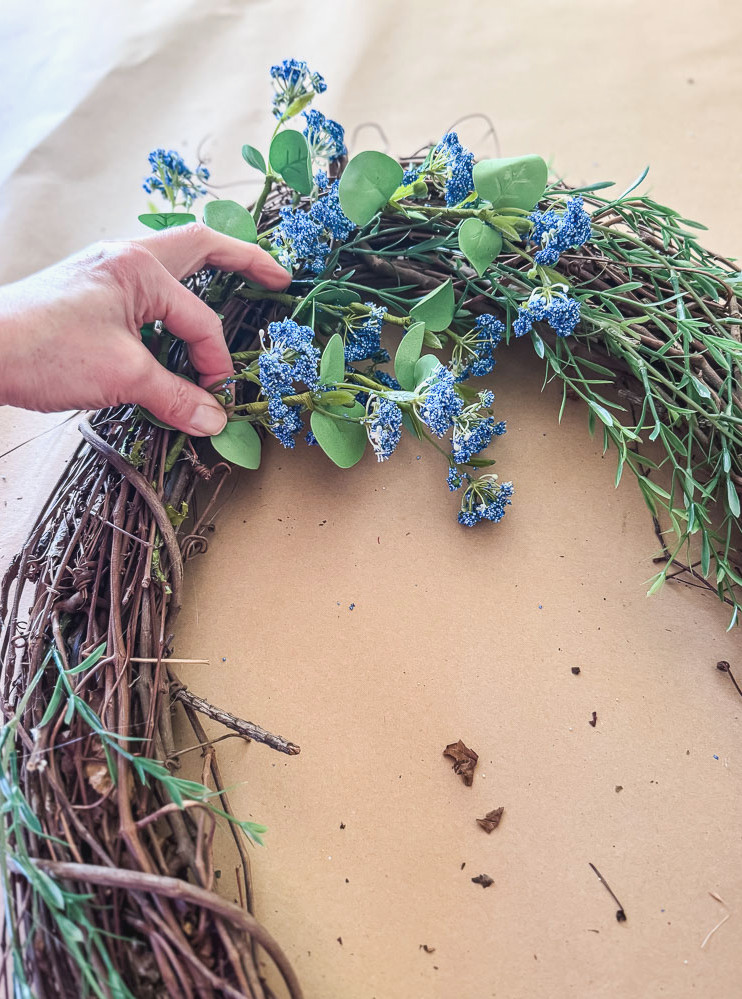
Spend a little time arranging every flower head and stem. I directed a few blossoms downward toward the wreath’s center opening. Although faux flowers are being used, the goal is still to recreate the way blooms naturally grow.
Step 3: Position Your Hydrangeas
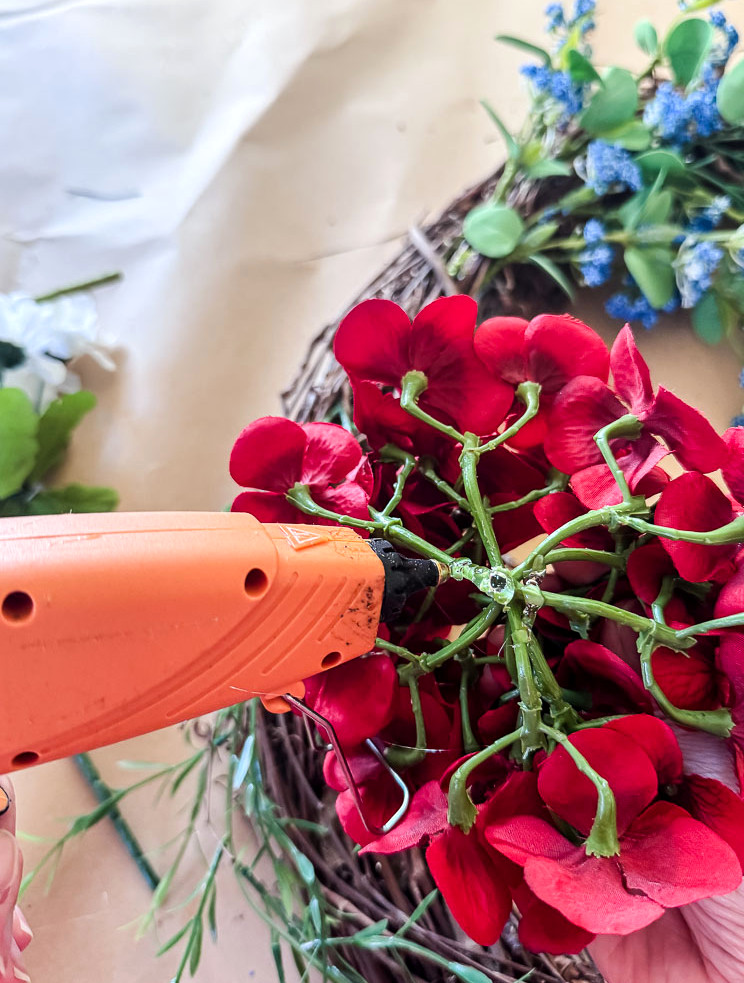
This is when the design really comes together. Remove the hydrangea heads from their stems and keep the stems nearby, since the leaves will be needed later. Apply hot glue to the back of each hydrangea cluster, concentrating it on the green stem section. After setting the hydrangea onto the wreath, hold it firmly for about a minute so the glue can secure.
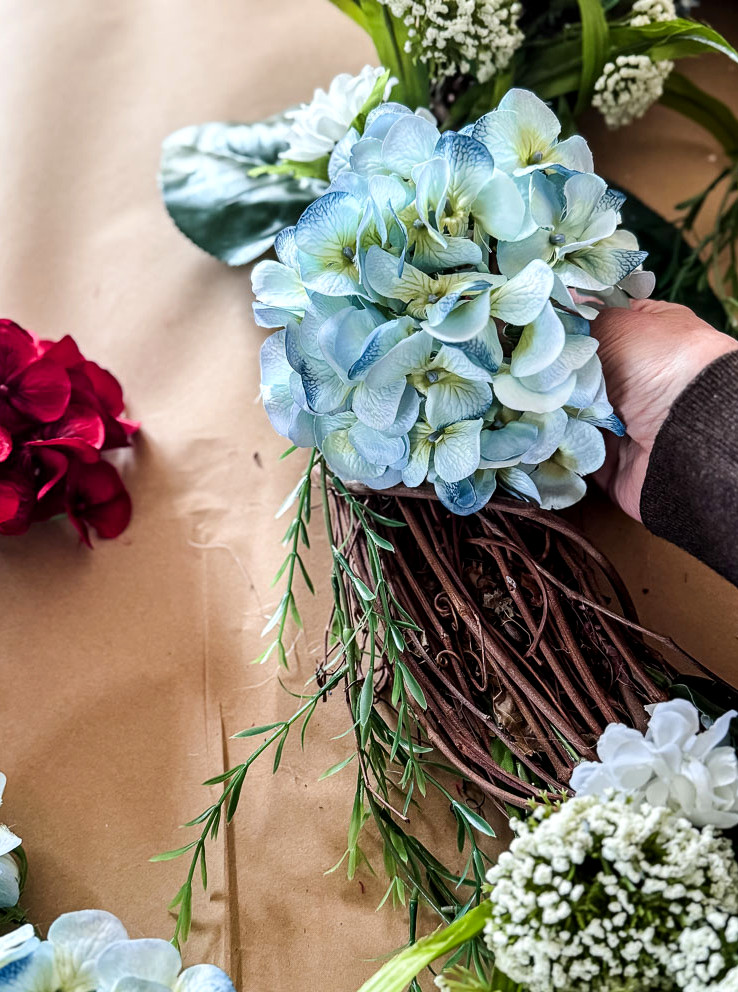
Arrange the three hydrangeas on the left in a blue-red-blue sequence, then attach the lone red hydrangea to the right side. This uneven arrangement is intentional; it adds flow to the wreath and keeps the finished look from feeling predictable.
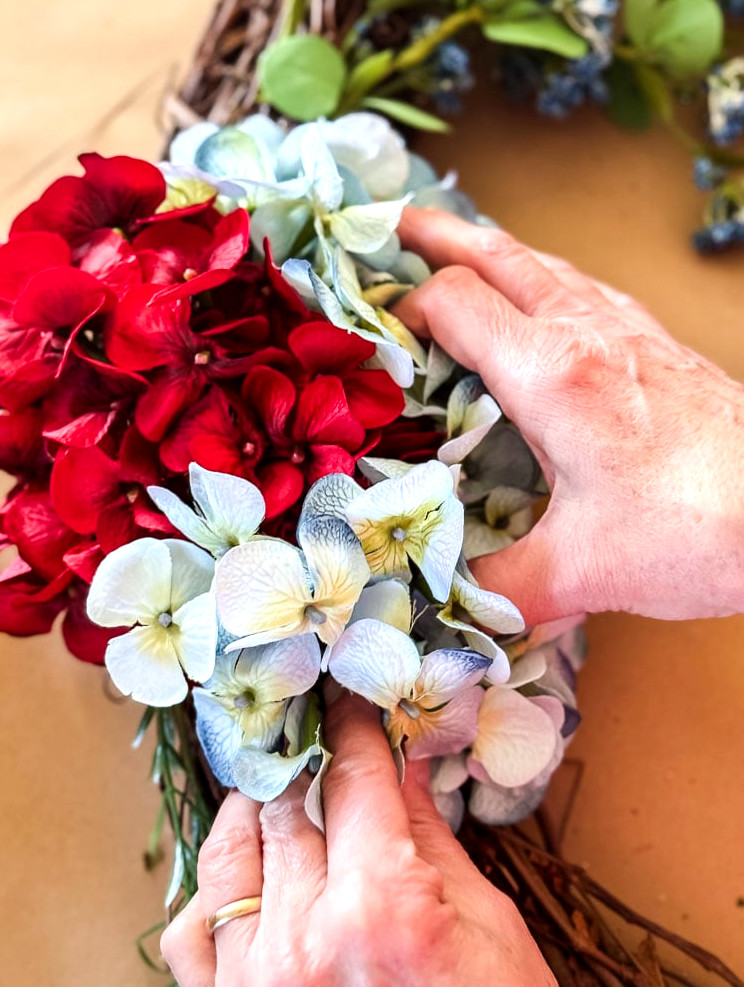
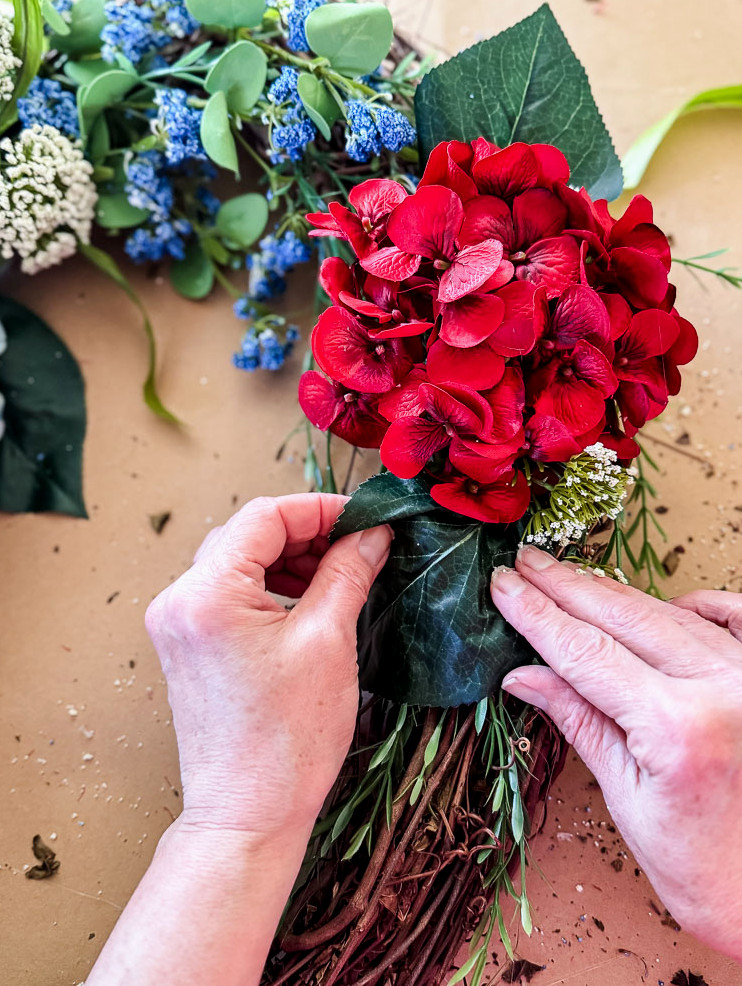
A candid moment: At first, I arranged four hydrangeas on the left—two red and two blue—and completed the wreath before hanging it up and realizing something was not quite right. The following morning, I removed them all and changed the grouping to three. That small adjustment solved everything. Odd-numbered groupings add motion, while even numbers bring symmetry, and symmetry was not the right choice for this wreath.
Step 4: Add Queen Anne’s Lace

Separate the two white Queen Anne’s lace stems, then glue each one individually around a hydrangea cluster. Their light, delicate texture keeps the wreath from looking too dense. They quietly make a big impact here.
Although every stem includes several flower heads, you may want to place the entire bunch into the wreath at once. Resist that urge! Taking time to position each bloom separately will give you a far more deliberate and refined result.
Step 5: Place the White Dahlias
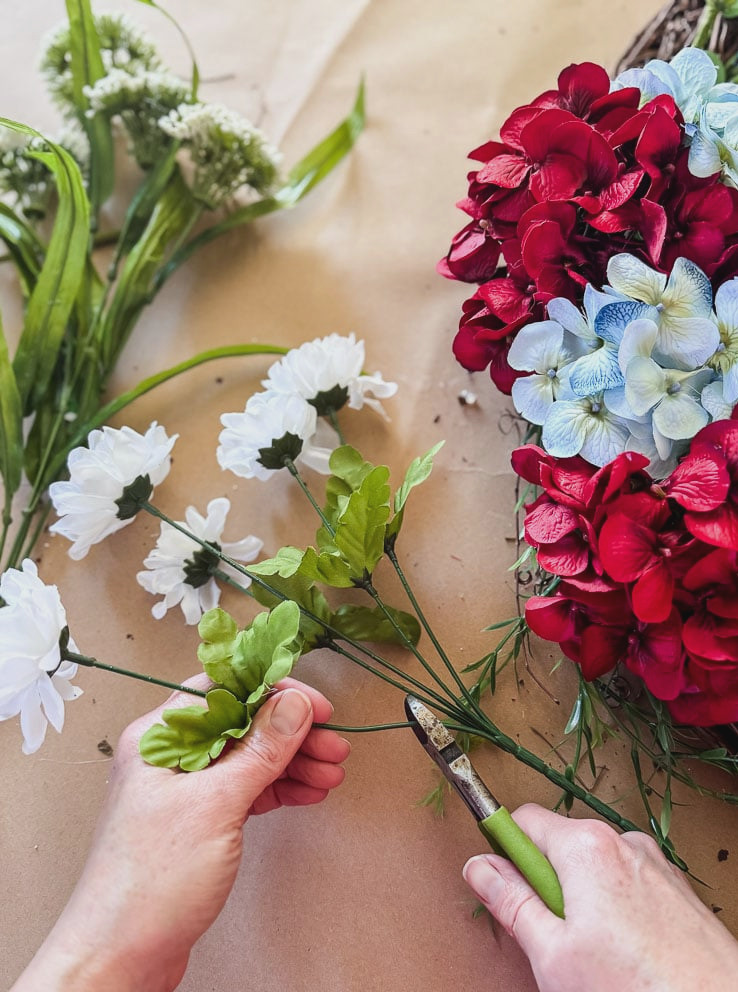
Snip the dahlia stems off at the base and insert them into the spaces between the hydrangeas. Though petite, they provide a gentle, rounded texture that fills those uneven areas beautifully.
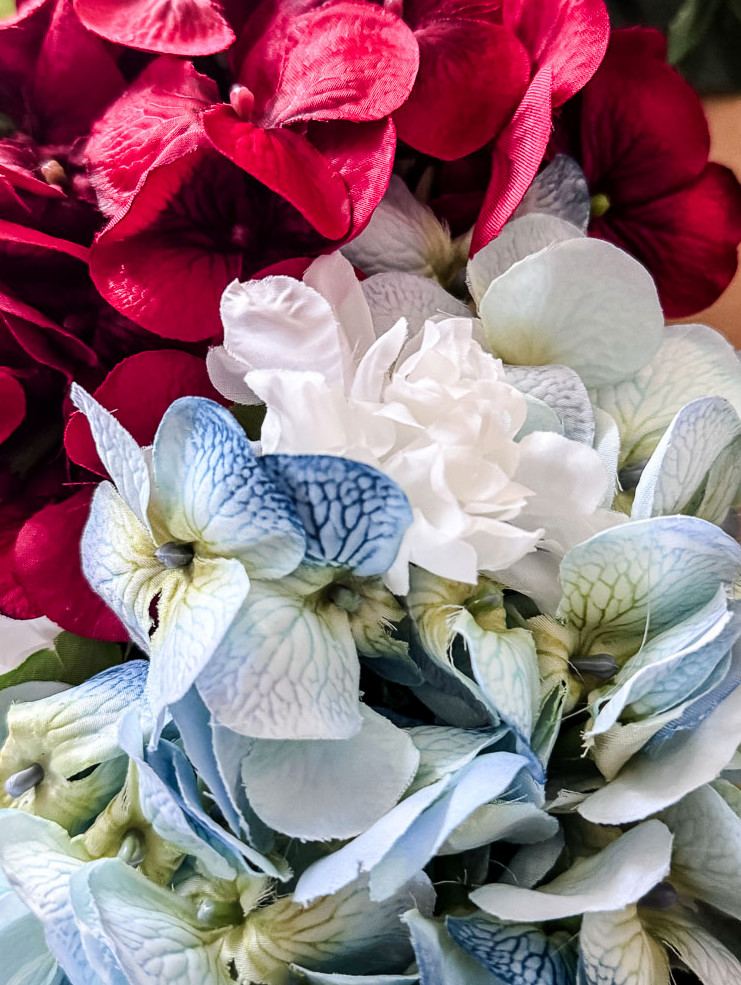
Step 6: Insert the Leaves
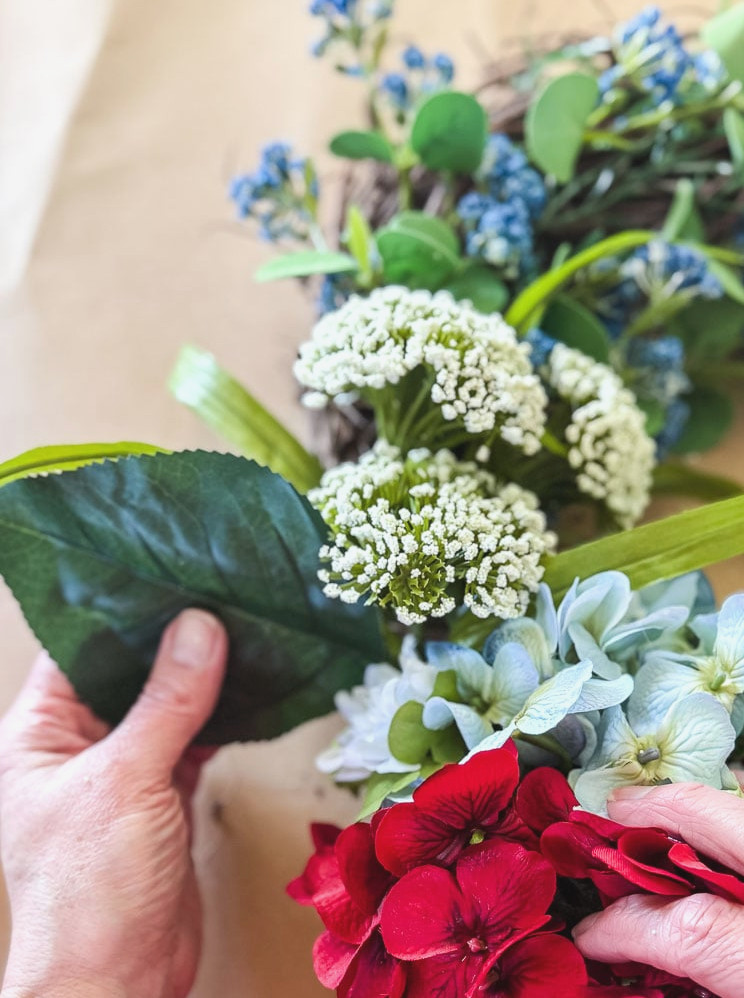
Remember the hydrangea stems you saved earlier? Remove the leaves and tuck them beneath and along the edges of the hydrangea clusters. This is one of my favorite techniques; it anchors the blooms and helps them appear as though they naturally belong on the wreath instead of simply resting on its surface.
Step 7: Create the Bow and Complete the Wreath
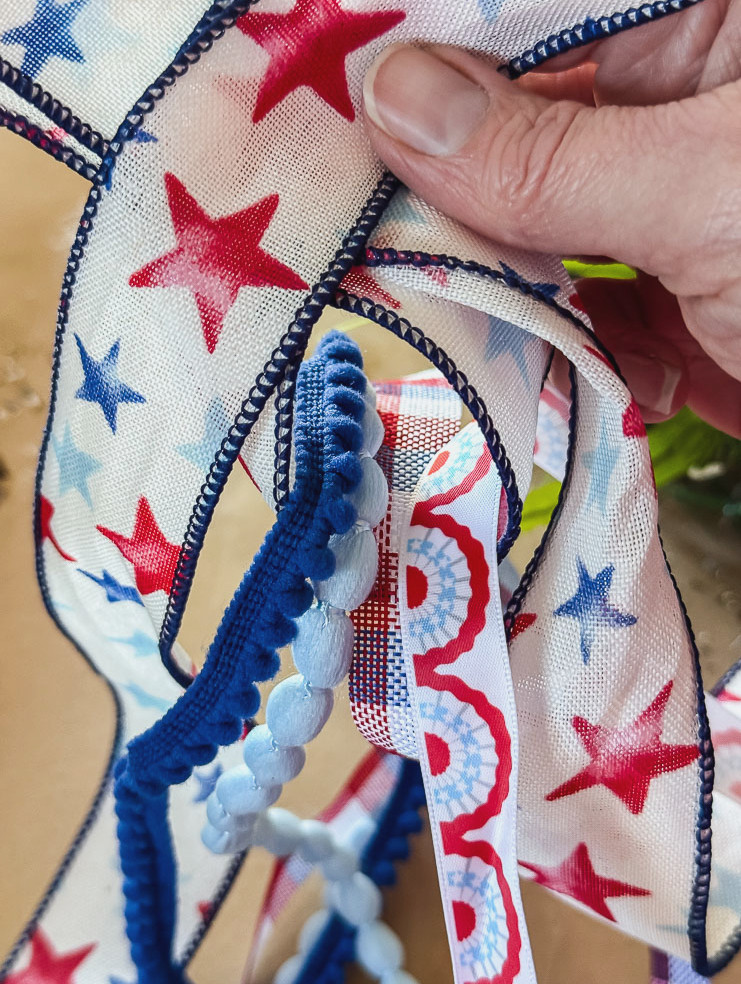
Begin the bow with your 1.5-inch star ribbon as the foundation loop. Next, weave several of the narrower patriotic ribbons through it before tightening everything. This creates a playful, layered appearance without requiring several individual bows. Secure it on the wreath’s right side instead of placing it at the usual top or bottom. Trust me, this little adjustment makes a noticeable difference.
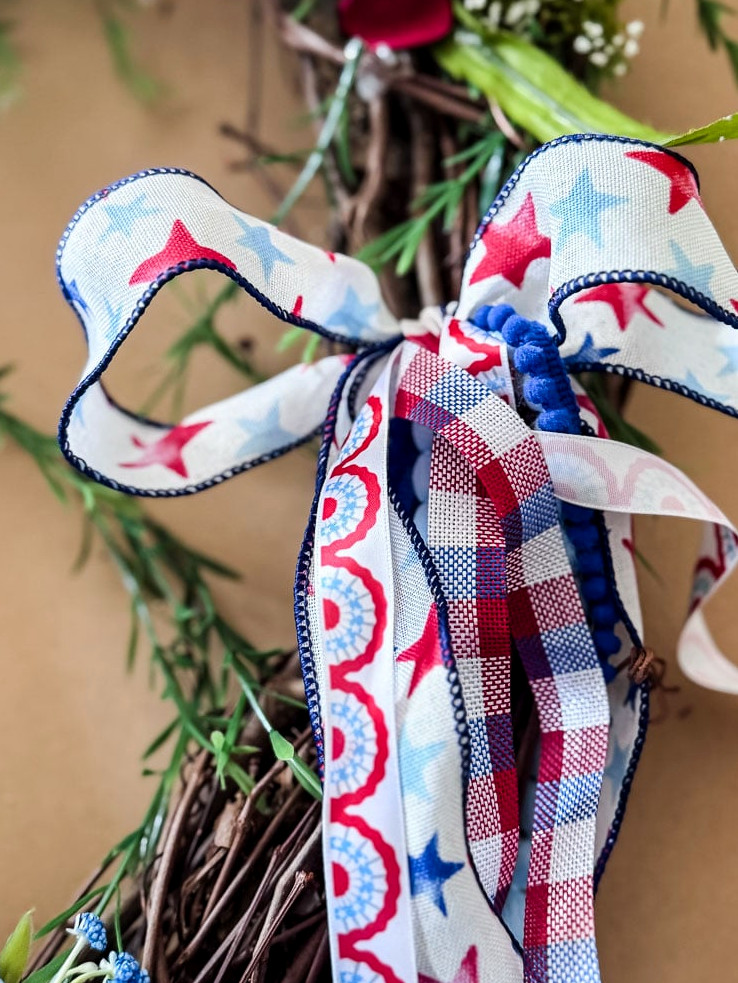
The Completed Wreath Reveal
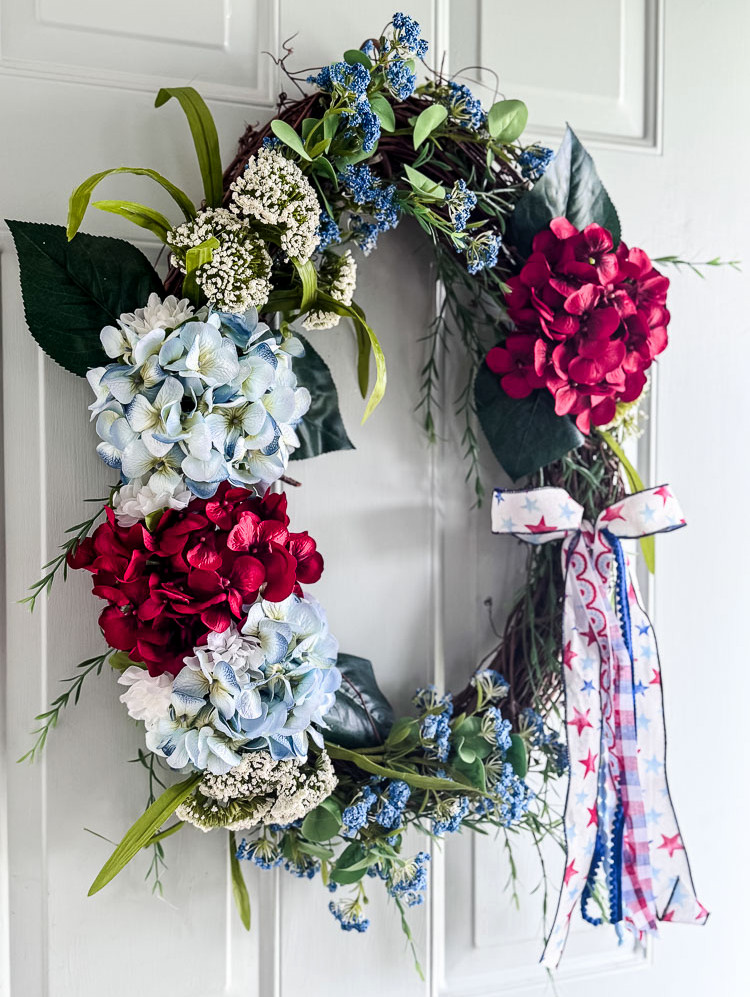
Before giving it to Laura, I wanted to ensure it looked just right. To assess your wreath properly, hang it on your door and step back to view it. You’ll quickly notice what works well and what needs adjusting.
This is the perfect moment to add or reposition your bow, since seeing how it looks when hanging makes a significant difference.
Personalize It: The Formula That Works Every Time
Here’s the truth about patriotic wreaths: the exact stems I chose today may not be available when you read this, and that’s perfectly fine. Instead of duplicating my precise shopping list, focus on learning the formula that makes this wreath successful. Once you understand it, you can visit any craft shop and create the look with whatever supplies are available.
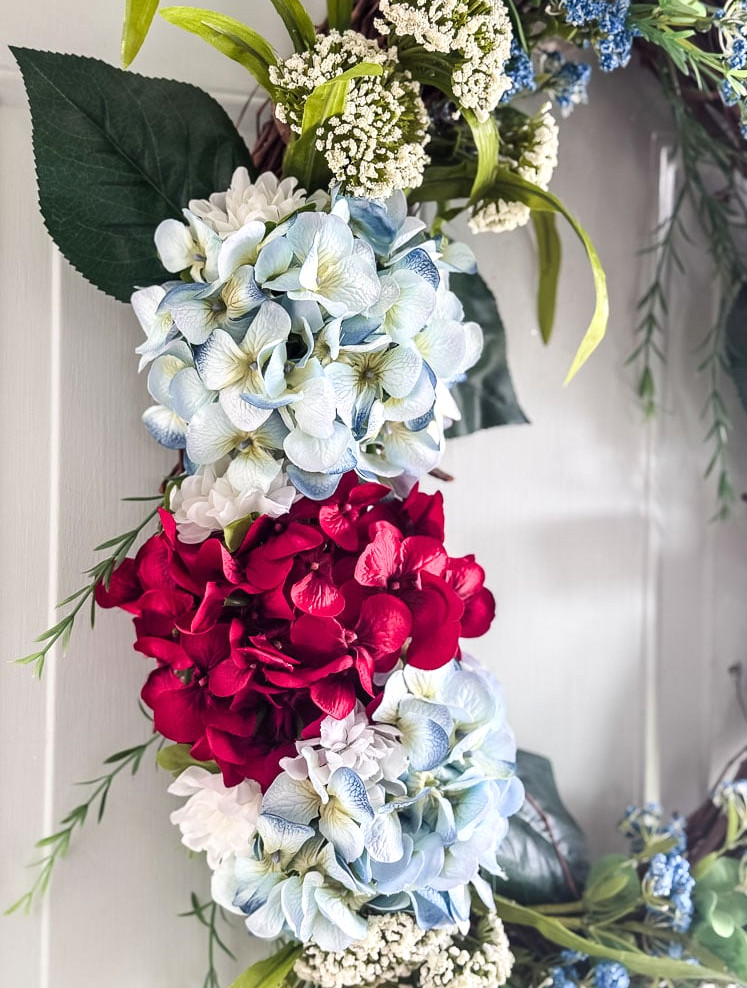
Here’s the formula:
1 Base Layer: cascading greenery that falls naturally and creates a relaxed, organic foundation for the wreath.
1 Accent Layer: petite, delicate stems, such as my berry stems, that provide movement and fullness without overpowering the design. Choose something with a naturally trailing appearance.
3 Focal Flowers in Odd Numbers: the largest and most striking blooms. For a patriotic wreath, use two flowers in one shade and one in another within your primary cluster, then add a single bloom on the opposite side to create balance. Hydrangeas work especially well because they are full and abundant, though large faux peonies or even oversized roses would also look lovely.
2 Airy Filler Flowers: select something light and delicate to soften the focal blooms while introducing a third texture. Queen Anne’s lace is an excellent choice, though white cosmos, wax flower, or baby’s breath can serve the same purpose.
1 Tucked-in Accent: a petite, gentle bloom that covers any bare spots. Carnations, miniature roses, or button mums are all suitable options.
Finish with a Layered Bow: position it somewhere unexpected to add a touch of character.
Follow this formula, and you’ll create a wreath that appears thoughtful and high-end every time, no matter what happens to be available that season.
A Gift Well Worth Making
Laura adored her wreath! She will also have no clue how easy it was to assemble, which is really the best part. A wreath like this gives the impression that you invested plenty of time and money, but using discounted faux stems from Michaels and taking a little care with the arrangement makes it one of the most affordable thoughtful gifts you can create for someone.
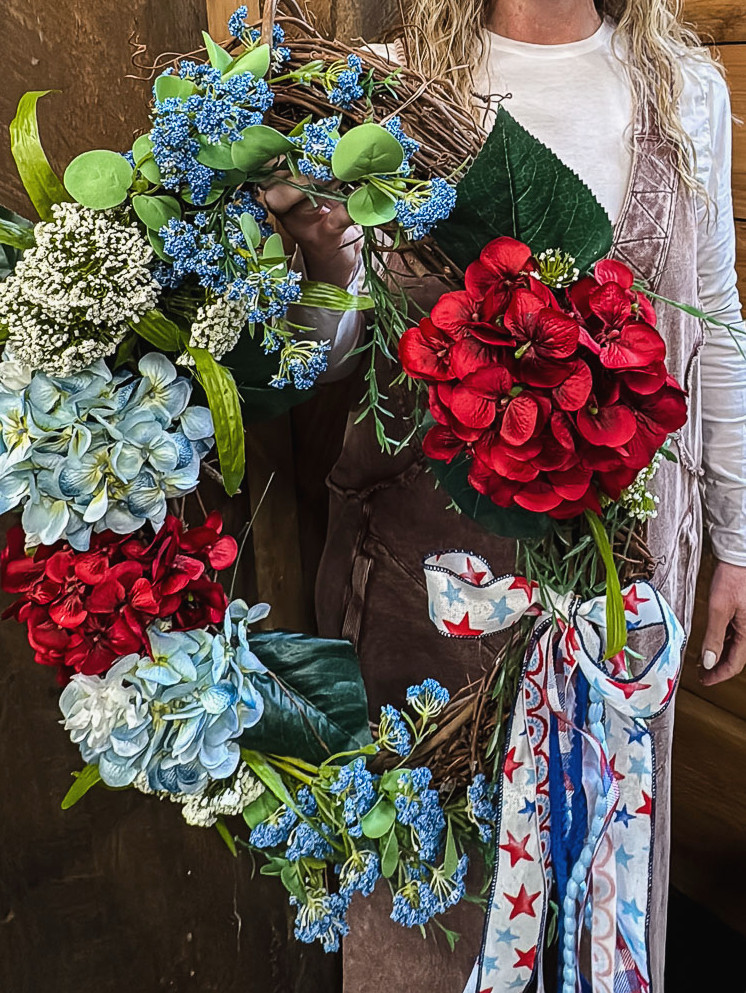
Whether you create this wreath for yourself, a friend, or simply because patriotic season is the ideal reason, I’d be delighted to see it. Share a picture in the comments or tag me on Instagram. Enjoy creating!
Have your projects featured! If this project or any of my other DIY creations inspires you, I’d be thrilled to see them and include you in the Reader’s Spotlight gallery. Email a photo to jennifer@cottageonbunkerhill.com
xo, Jennifer