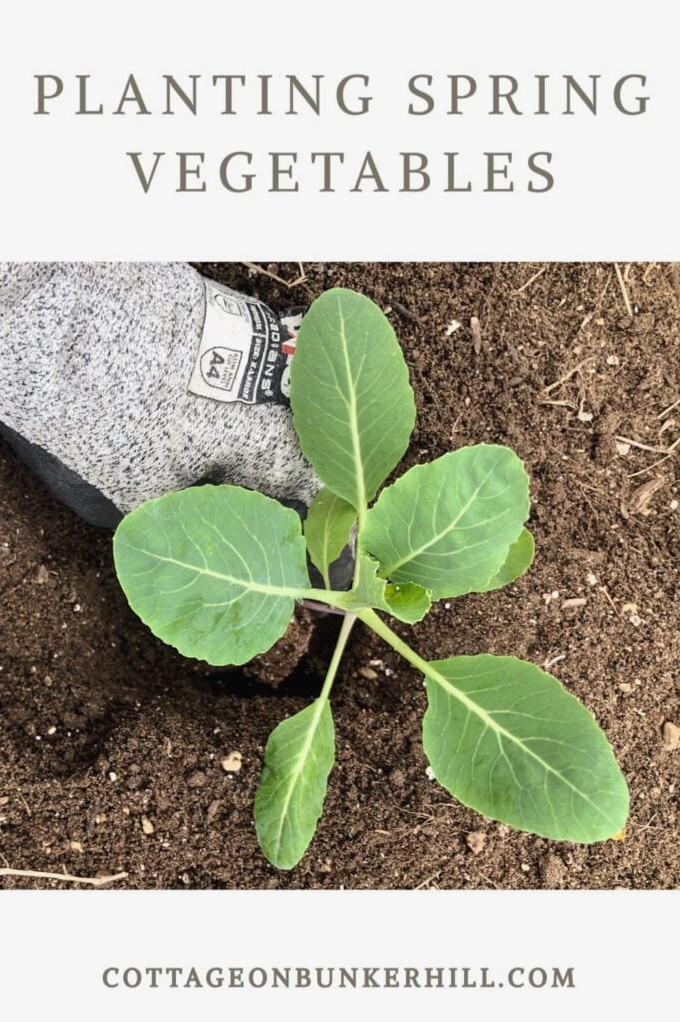
There’s a special charm to gardening in early spring—the cool breeze, the first shoots emerging from the earth, and the anticipation of harvesting fresh, homegrown vegetables only a few weeks later. If you’re just as excited as I am to start working the soil, these are my favorite early spring vegetables that flourish in chilly conditions.
Cool-Season Crops: An Overview of Early Spring Vegetables
In this guide, you’ll learn about:
- The top early spring vegetablesto plant, including leafy greens such as spinach and kale, along with crisp favorites like radishes and peas.
- Ways to prepare your garden, whether you’re working with raised beds or sowing seeds straight into the ground.
- How to look after your cool-season crops, from watering and feeding to shielding them from unexpected frosts.
- Why raised beds can transformearly spring gardening and what to do to prepare them for planting.
By the time you finish, you’ll be fully prepared to begin your own early spring garden and enjoy a tasty homegrown harvest before long!
How I Get Ready for Planting
Gardening in early spring in New England, where I live along the Zone 5b/6a border, calls for some patience and planning. Before planting can begin, the earth—or raised beds—must first thaw. In some seasons, the soil is workable by March; in others, I have to wait until April. That’s simply how unpredictable northern winters can be!
Learn Your Planting Zone
Understanding your planting zone is the starting point for designing any garden. It allows you to identify the ideal planting schedule and the crops most likely to succeed in your area. If you don’t know your zone, consult theUSDA Plant Hardiness Zone Mapto determine it.
How Raised Beds Make a Difference
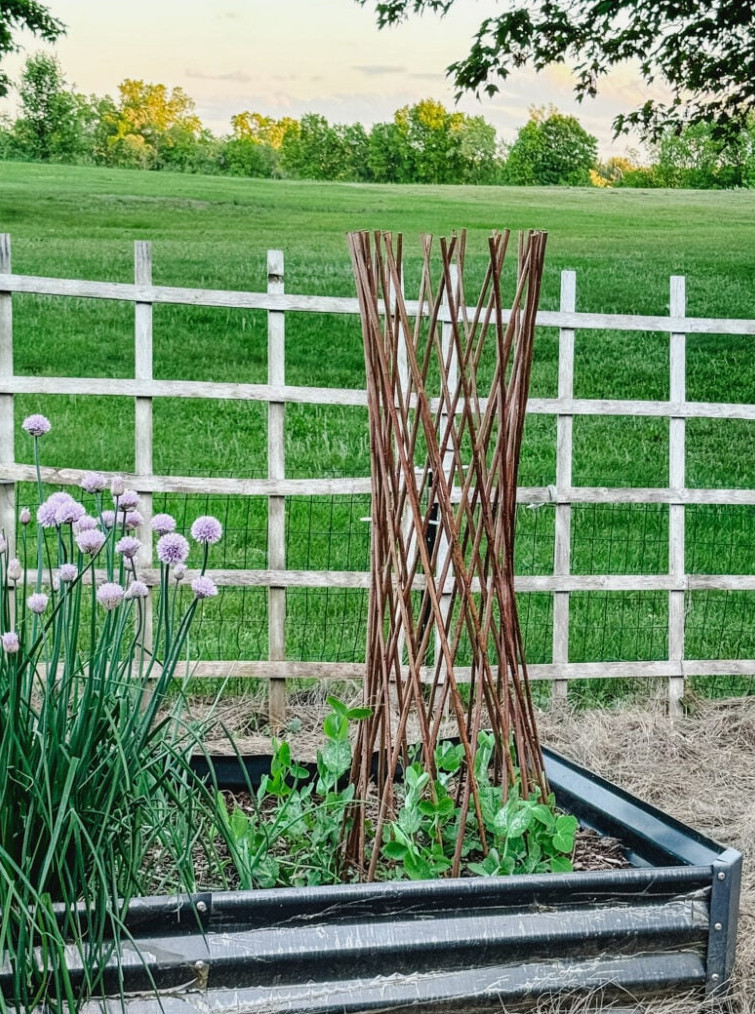
A major advantage of raised beds is that their soil defrosts and heats up sooner than soil in the ground. That means you can begin the growing season earlier, which is particularly useful in cooler regions like mine. Raised beds also provide improved drainage and greater control over the soil, making them perfect for early spring vegetables. I’ve been using these metal raised beds in my vegetable garden, and they continue to look wonderful year after year.
Getting My Raised Beds Ready for Spring
This season, I’m planting my early vegetables in established raised beds. Here’s the process I follow to prepare them for another season of growth:
- Refresh the Soil with Compost:
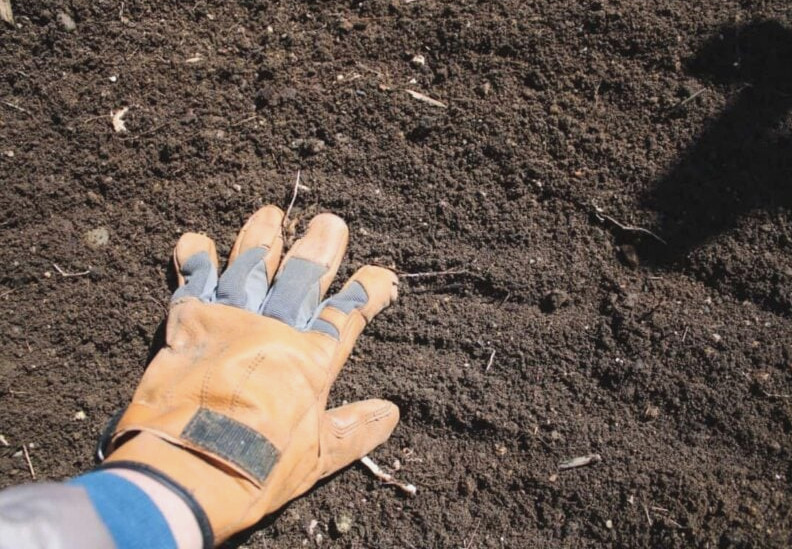
I begin by spreading a layer of new compost over the soil. It adds valuable nutrients and enhances the soil’s texture, creating a strong base for healthy plants. If homemade compost isn’t available, bagged compost from a nearby nursery or garden store is an excellent alternative. - Mix in Natural Fertilizer:
Once the compost is added, I blend in the organic fertilizer I prefer. This supplies additional nutrients that encourage vigorous, healthy plants. Choose a balanced product containing equal amounts of nitrogen, phosphorus, and potassium, or select one formulated for your plants’ particular requirements. - Break Up the Soil:
I lightly loosen the soil with a garden fork or tiller before planting. This improves aeration, allowing roots to spread more easily and water to move through the soil.
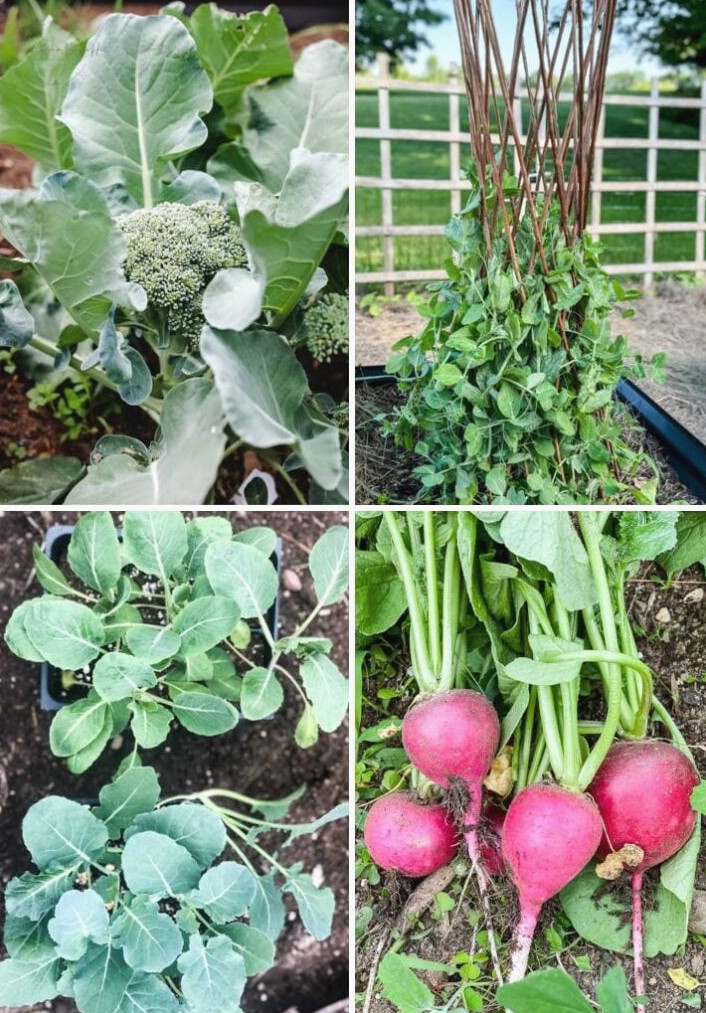
Which Vegetables Grow Well in Early Spring?
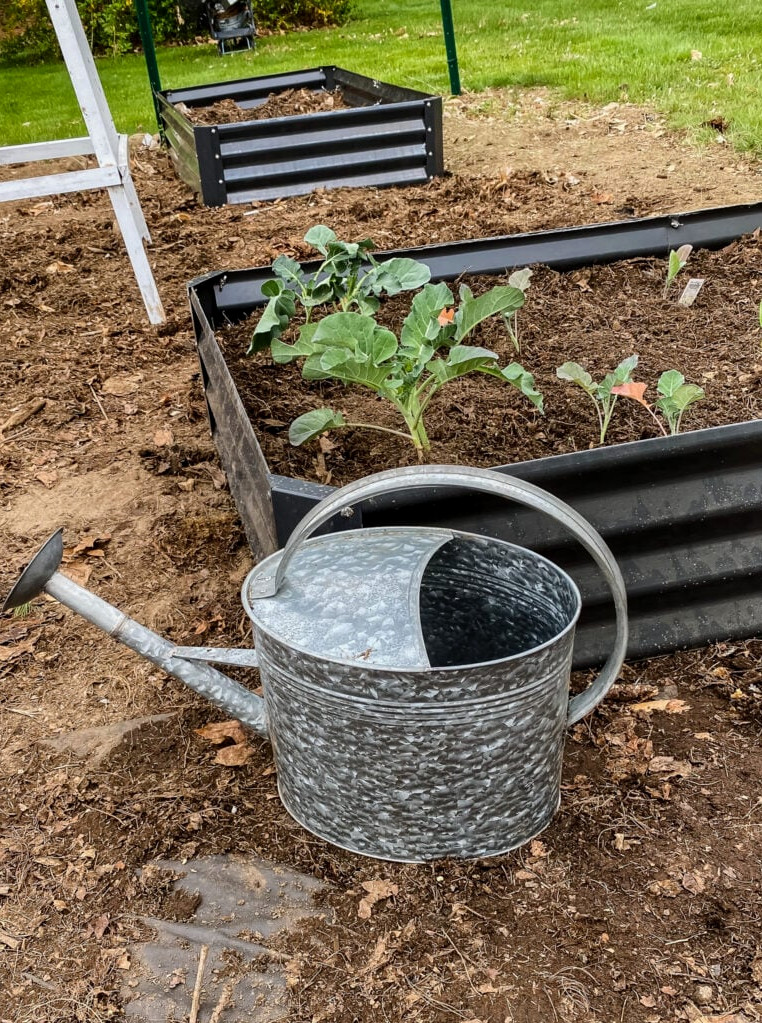
- Spinach:
- Spinach is an outstanding cool-season crop, full of nutrients and fast to mature. Sow it once the soil can be cultivated, and you can gather delicate leaves within only 4-6 weeks. For repeated harvests, consider varieties such as ‘Bloomsdale’ or ‘Baby’s Leaf Hybrid’.
- Peas:
- Sweet and crisp peas are a beloved spring crop. Plant the seeds directly outdoors as soon as the soil is ready to work. Climbing types benefit from a trellis, and they’ll soon reward you with an abundant harvest. While waiting, remember that the young pea shoots are delicious too!
- Radishes:
- Among the quickest vegetables to mature, radishes can be harvested in just 3-4 weeks. They’re an excellent choice for impatient gardeners like me and bring a spicy crunch to salads. For a vibrant harvest, try ‘French Breakfast’ or ‘Easter Egg’ varieties.
- Kale:
- Kale is a resilient leafy green that performs well in cool temperatures and often develops better flavor after a mild frost. Plant it early to enjoy tender leaves in salads, smoothies, or sautéed dishes. Varieties such as ‘Lacinato’(also called dinosaur kale) are both attractive and tasty.
- Lettuce:
- Lettuce is an essential choice for early spring gardens. Grow a blend of leaf lettuce types to create a vibrant salad bowl. Maintain evenly moist soil and pick the outside leaves when necessary for a continuous ‘cut-and-come-again’ harvest.
- Carrots:
- Carrots may be planted at the beginning of spring for a crisp, naturally sweet harvest. Select compact varieties such as ‘Paris Market’ or ‘Nantes’ if your soil is dense or stony. Thin the young plants so the roots have enough room to mature.
- Broccoli:
- Broccoli prefers cool conditions and can be seeded indoors before being moved outside in early spring. Once the central head is cut, the plant will often continue producing smaller side shoots for several more weeks.
Snow Peas and Sugar Snap Peas: A Favorite Spring Crop
Snow peas and sugar snap peas rank among my favorite spring vegetables to cultivate. Freshly harvested peas, eaten straight from the garden, have an especially sweet and satisfying crunch. They’re also wonderfully versatile—I enjoy tossing them into stir-fries and salads or eating them as a quick snack right off the vine. Best of all, you can plant another round in late summer for a second fall harvest!
Why Peas Prefer Cool Conditions
Peas perform best in chilly weather and struggle when temperatures rise. For that reason, begin planting in spring as soon as the ground is workable. An early planting allows you to gather a generous crop before the summer heat arrives. If the spring planting period passes, there’s no need to fret—you can sow another batch in late summer for an autumn harvest.
How to Support Your Peas
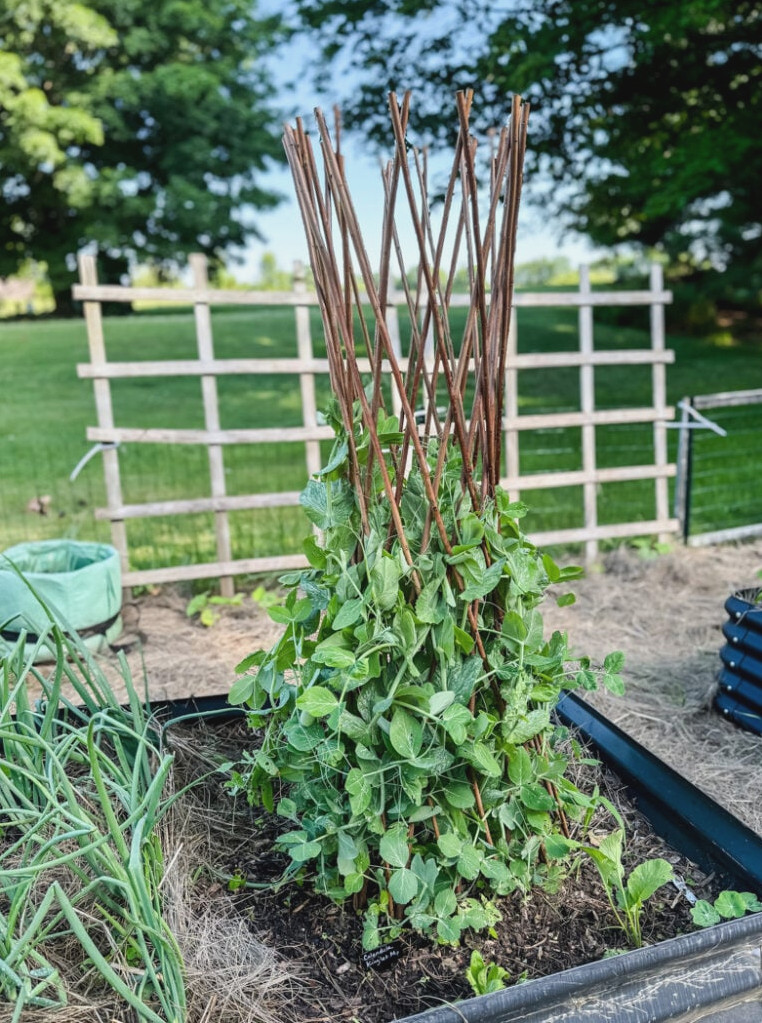
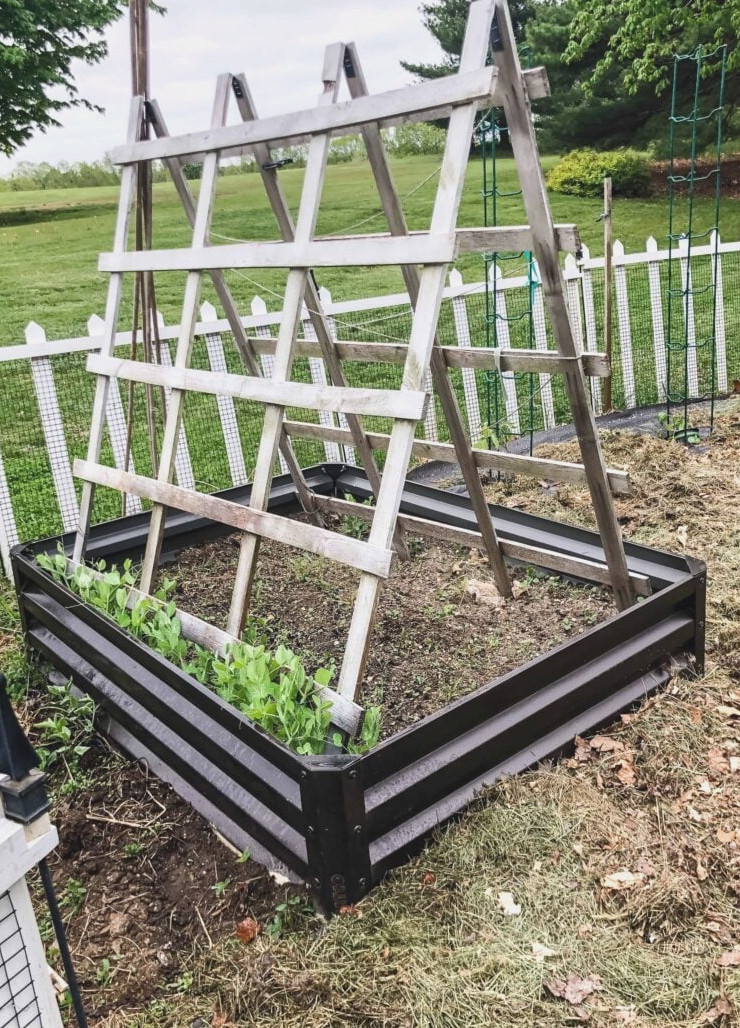
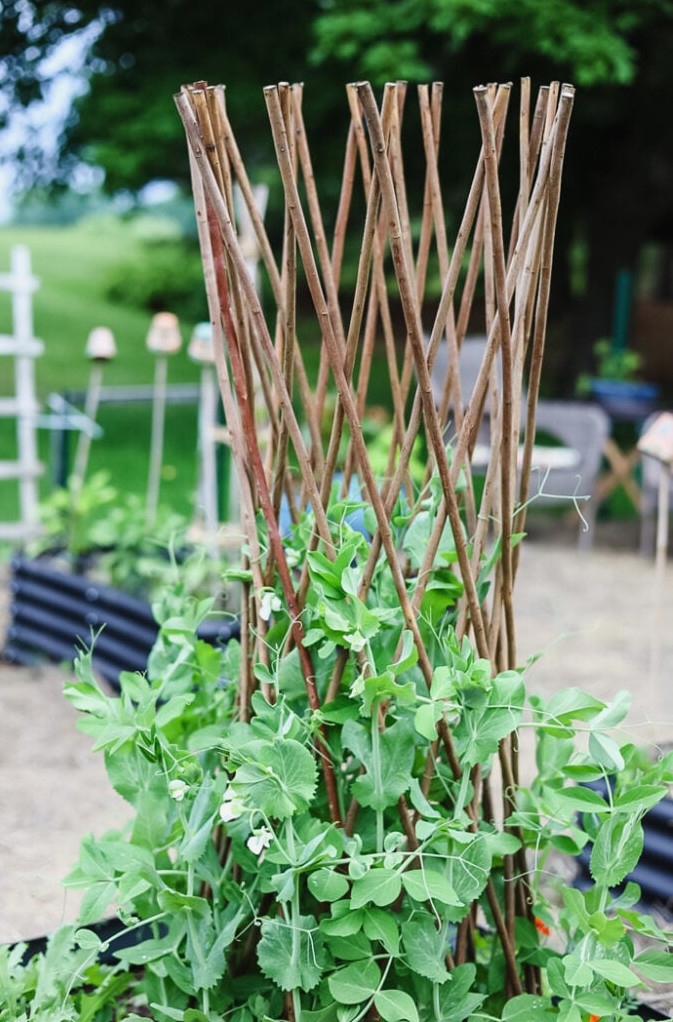
Because peas naturally climb, they benefit from a supportive framework. A trellis, netting, or even a basic homemade teepee constructed from bamboo poles will do the job. This keeps the vines elevated, simplifies picking, and promotes better airflow to help reduce disease.
Planting Peas
Snow peas and sugar snap peas are both very simple to grow through direct sowing. This method involves placing the seeds straight into the garden, so there is no requirement to start them indoors or purchase nursery seedlings. Follow these steps:
- Prepare the Soil: Break up the soil and incorporate compost to supply extra nutrients.
- Sow the Seeds: Place the seeds roughly 1 inch deep and 2 inches apart. When planting in rows, leave approximately 18-24 inches between each row.
- Water Gently: Maintain moist soil without making it saturated while the seeds are sprouting.
- Provide Support: Install the trellis or support soon after sowing so the roots will not be disturbed later.
With minimal attention, you’ll soon enjoy an abundant supply of crisp, flavorful peas!
Creating a DIY Pea Trellis
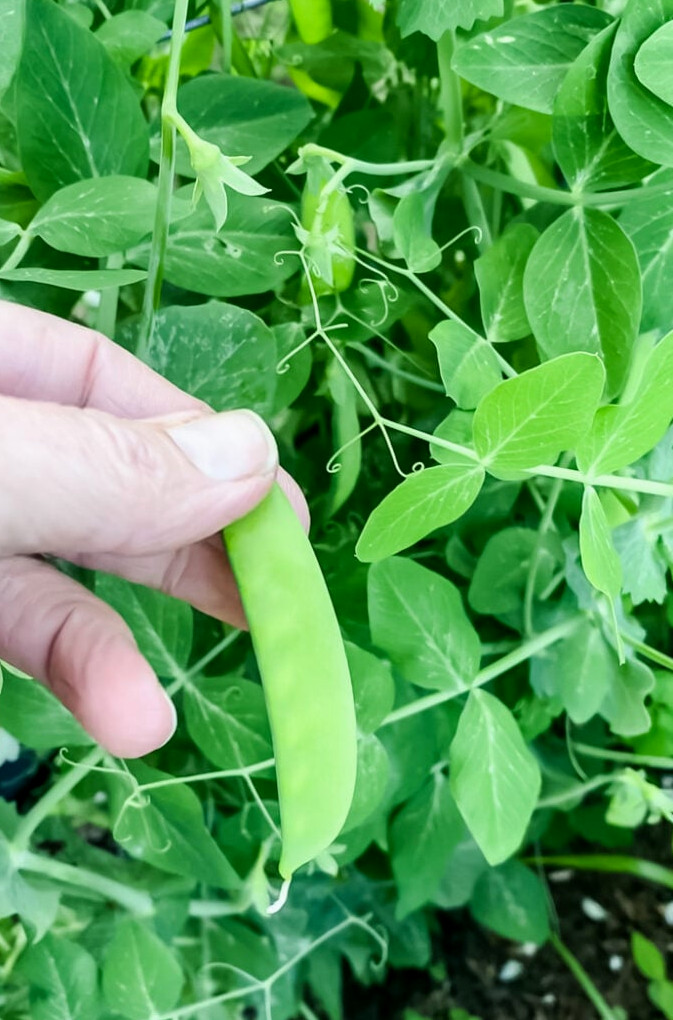
One spring, I made a fresh trellis for my snow peas and sugar snaps to climb. You can see how I put one together—it was quite simple!
I grew snow peas along one side and sugar snaps along the other side of the folding trellis. It still yields plenty of pods. You don’t need much space to grow these…and they are delicious when picked and eaten right in the garden.
The weather has been unusually frigid here this spring, so the plants are taking more time than normal to get established. Typically, peas are ready to pick in about 6-8 weeks.
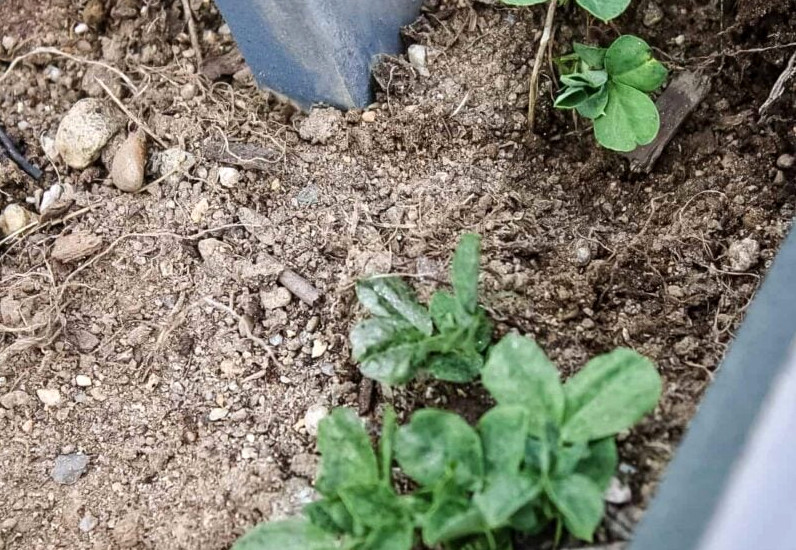
Garden Tip: This is an excellent vegetable to cultivate with children! They’ll enjoy sowing the seeds and observing their growth…then they’ll have fun picking the pods from the stems and eating them!
Growing Broccoli and Cauliflower: Helpful Tips
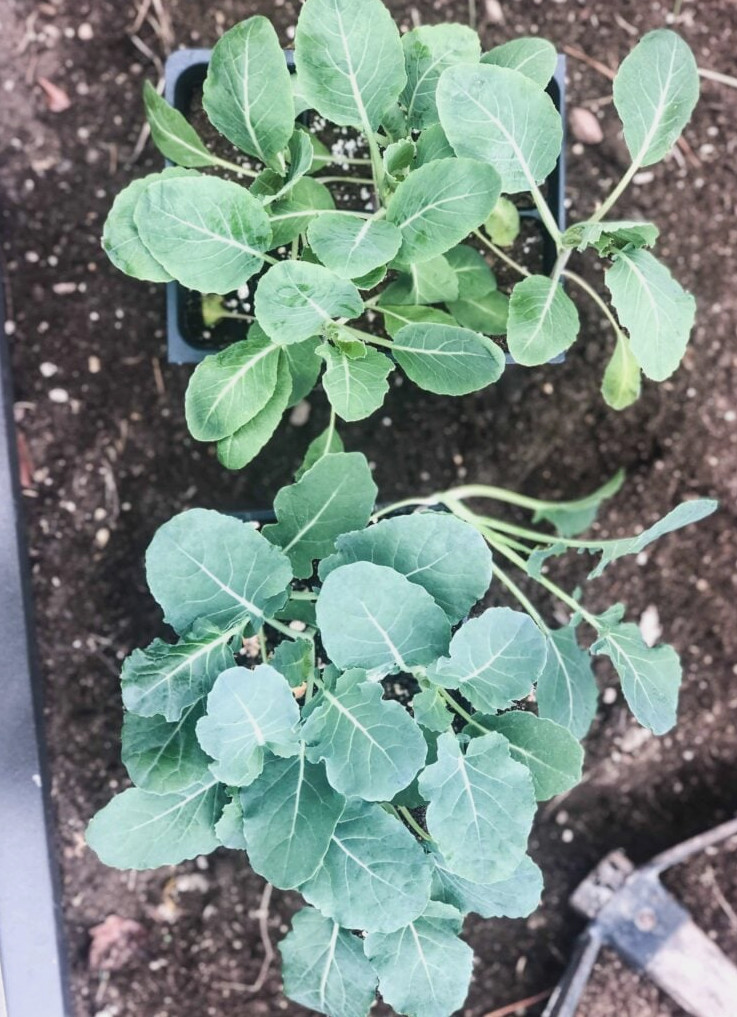
Broccoli and cauliflowerare two of my favorite vegetables to plant in early spring. Not only do they flourish in cooler conditions, but they’re also remarkably simple to maintain. Whether you’re an experienced gardener or a beginner, these suggestions will help you cultivate healthy, tasty broccoli and cauliflower plants.
Why Broccoli and Cauliflower Prefer Cool Weather
Broccoli and cauliflower are both cool-season crops, which means they perform best in the gentle temperatures of early spring and fall. They can withstand mild frosts, making them ideal for planting once the soil is workable. However, when hot summer conditions arrive, these vegetables may bolt (form flowers and produce seeds), so choosing the right planting time is essential!
How to Plant Broccoli and Cauliflower
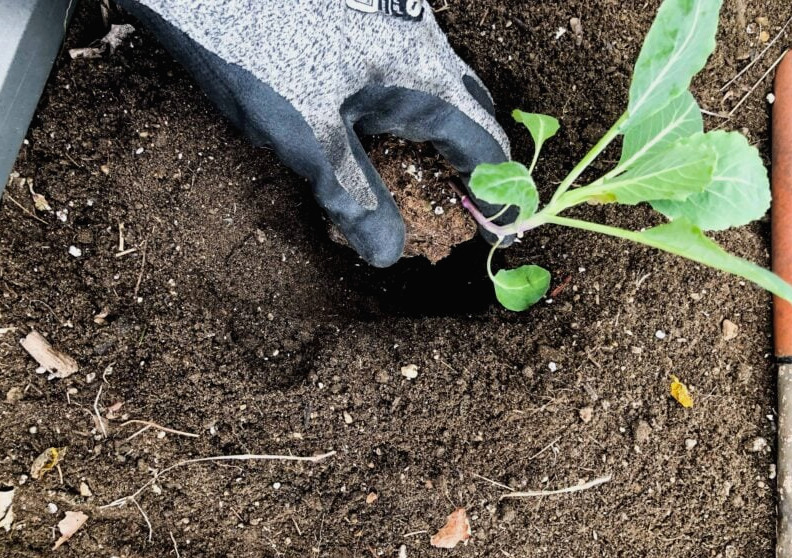
I generally purchase my broccoli and cauliflower seedlings in flats from a nursery, though you can also get them from large retailers such as Lowe’s, Home Depot, or Walmart if there isn’t a nearby garden center. Here’s the method I use to plant them for optimal growth:
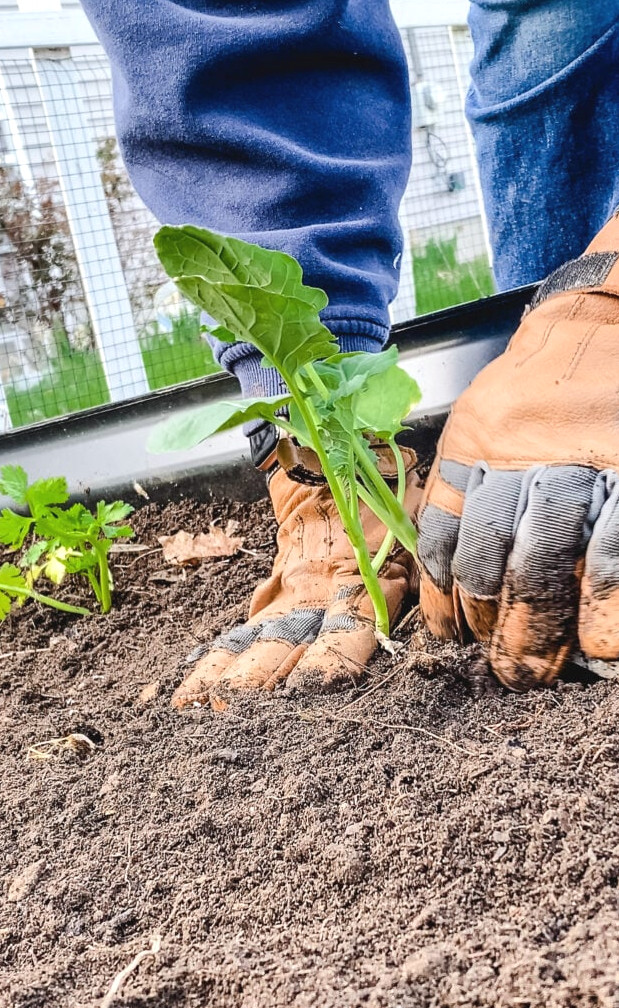
- Dig the Proper Hole:
- Make the hole deeper and twice as broad as the plant’s root ball. This allows the roots ample space to expand and become established.
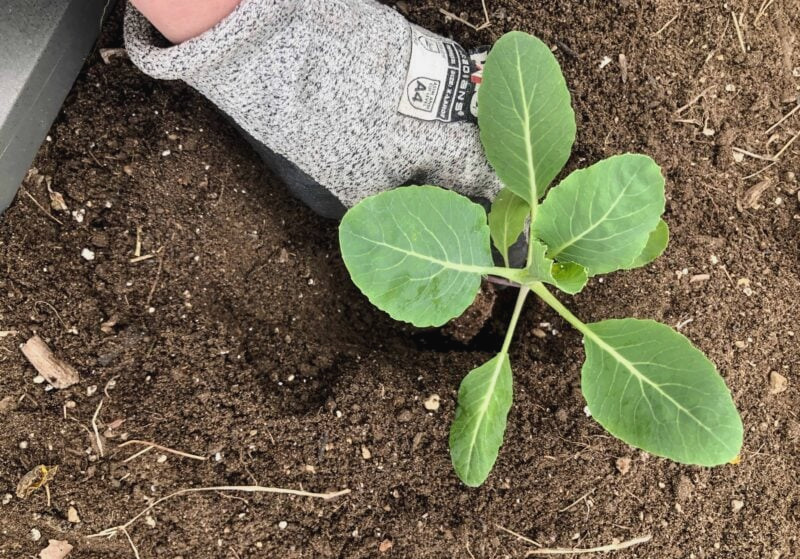
- Adjust the Stem:
- Stems may sometimes become slightly crooked while growing in starter trays. During planting, bury the stem deeply enough that only the straighter, sturdier section remains above the soil. This encourages upright, strong growth.
- Take Off Lower Leaves:
- Carefully remove any small leaves near the bottom that could be covered by soil. Doing so keeps them from decaying and promotes healthier development.
- Fill In and Provide Proper Spacing:
- Set the plant into the hole and refill it with soil, lightly pressing the soil around the base. Leave sufficient room between plants (about 18-24 inches for broccoli and 24-30 inches for cauliflower) so they have space to develop.
- Guard Against Pests:
- To deter pests such as cabbage worms and aphids, I cover the bed with garden netting supported by hoops. This forms a physical shield while still allowing sunlight and air circulation through.
Caring for Broccoli and Cauliflower
- Watering: Maintain evenly moist soil without making it soggy. Apply water around the base of the plants rather than over the leaves, as wet foliage can encourage disease.
- Fertilizing: Use a balanced organic fertilizer or compost tea every 3-4 weeks to encourage vigorous growth.
- Mulching: Spread mulch around the plants to conserve moisture, balance soil temperature, and limit weed growth.
Managing Bolting
When summer temperatures rise, broccoli and cauliflower plants begin to bolt. Bolting occurs when a plant starts forming a flower stalk and producing seeds—it is a normal part of the plant’s life cycle, but it marks the conclusion of harvesting. Here’s how I manage it:
- Harvest Without Delay: As soon as the plants show signs of bolting, pick the heads right away. Waiting too long can cause the flavor to turn bitter.
- Remove and Replant: Once harvesting is finished, I remove the plants and add them to the compost. Afterward, I use the bed for a warm-season crop such as beans, cucumbers, or zucchini to maximize the growing season.
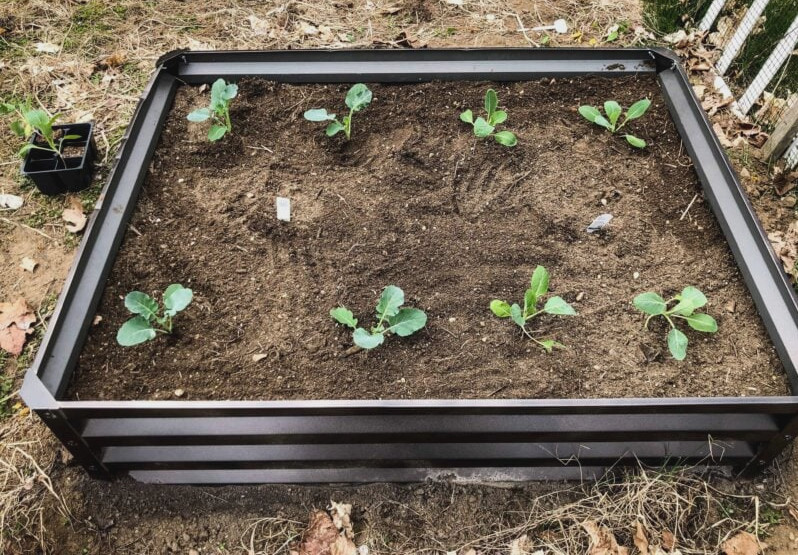
Once you plant anything, be sure to give it a good drink of water! Then, as gardeners usually do…we wait for our plants to grow!
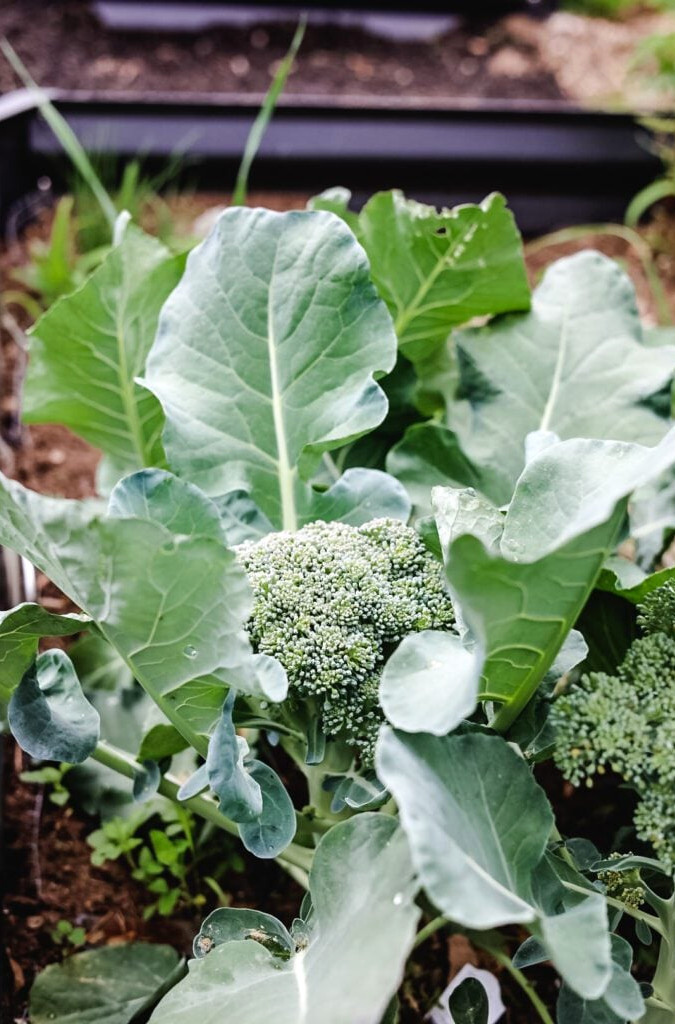
Broccoli is an enjoyable plant to observe as it develops from a seedling into a mature vegetable!
Other Simple Spring Vegetables To Grow
Here are 3 more simple early Spring crops you can plant this season:
Growing Radishes: Fast and Simple
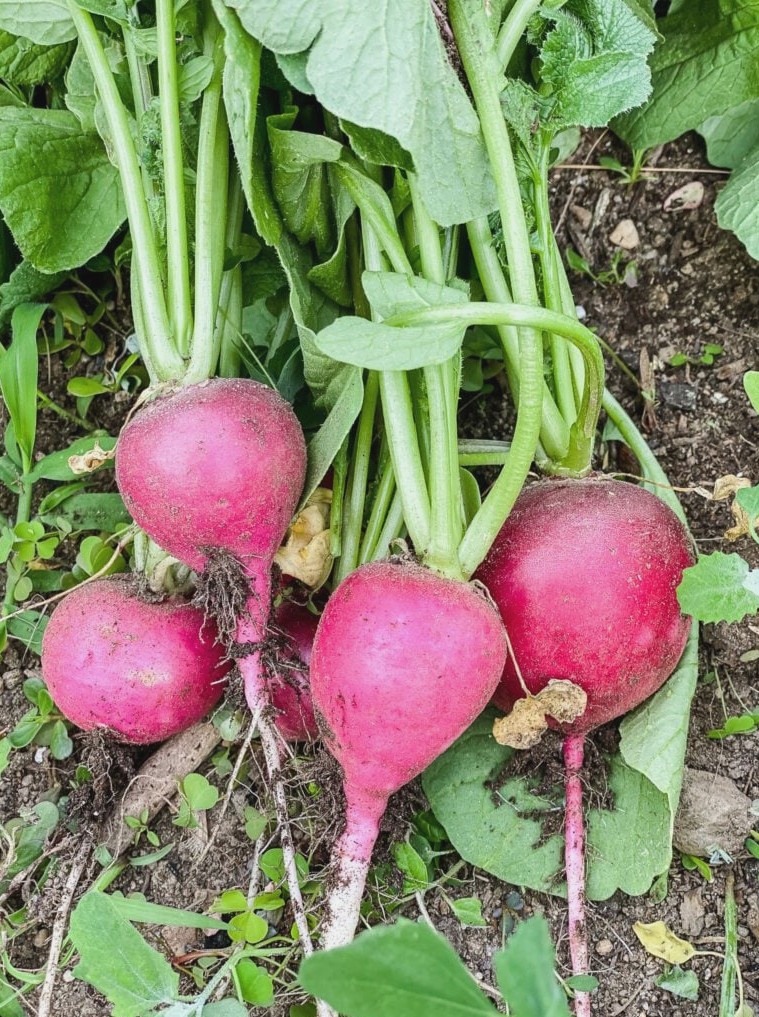
Among the quickest and simplest vegetables to cultivate, radishes are an excellent choice for beginners and gardeners who don’t like to wait. Follow these steps for a successful crop:
- Planting: Sow seeds directly in early spring once the ground is workable. Set them ½ inch deep and 1-2 inches apart, leaving 6-12 inches between rows.
- Care: Maintain steady soil moisture to encourage rapid growth. Thin the seedlings so they do not become crowded.
- Harvest: In only 3-4 weeks, radishes are usually ready! For the finest flavor, pull them when the roots reach roughly 1 inch across.
- Tip: Sow another round every 2 weeks to enjoy an ongoing harvest.
Growing Carrots: Sweet and Crisp
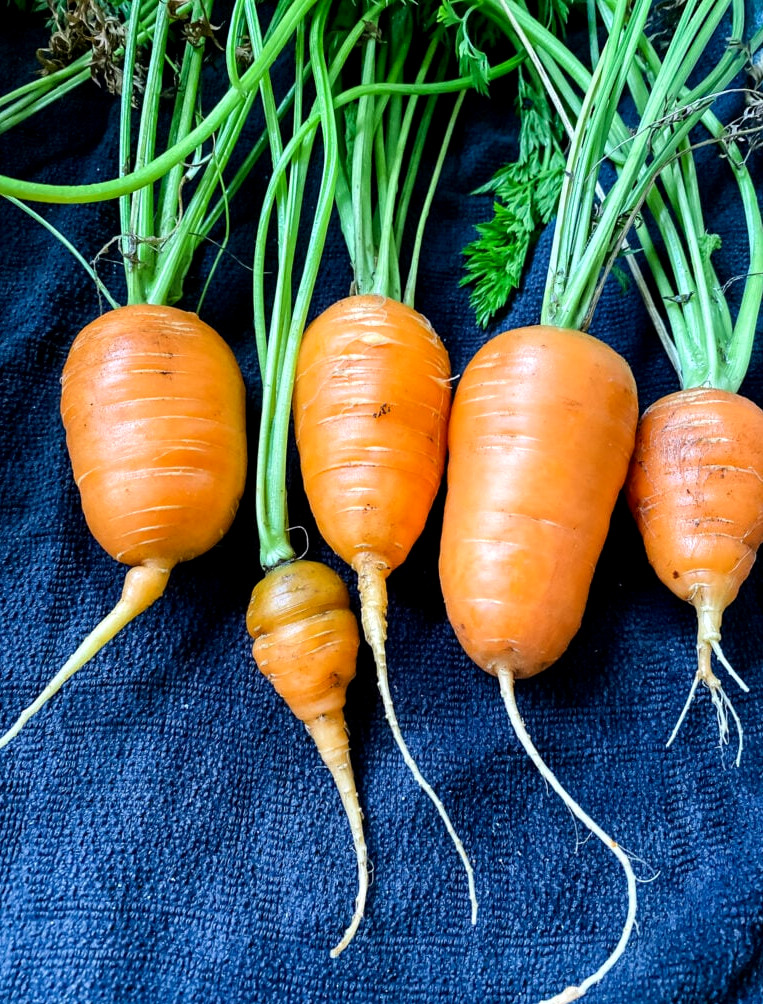
Carrots thrive in cool conditions, although they need some patience and attention. Use these guidelines to grow them:
- Planting: Sow the seeds directly into loose soil with good drainage. Plant them ¼ inch deep, then thin the seedlings to 2-3 inches apart when they stand a few inches tall.
- Care: Keep the ground damp without allowing it to become saturated. Add mulch to hold in moisture and suppress weeds.
- Harvest: Depending on the type, carrots reach maturity in 60-80 days. Carefully pull them once the tops measure around ¾ inch in diameter.
- Tip: If your soil is dense or rocky, select compact varieties such as ‘Paris Market’ or ‘Nantes’.
Growing Lettuce: Crisp and Adaptable
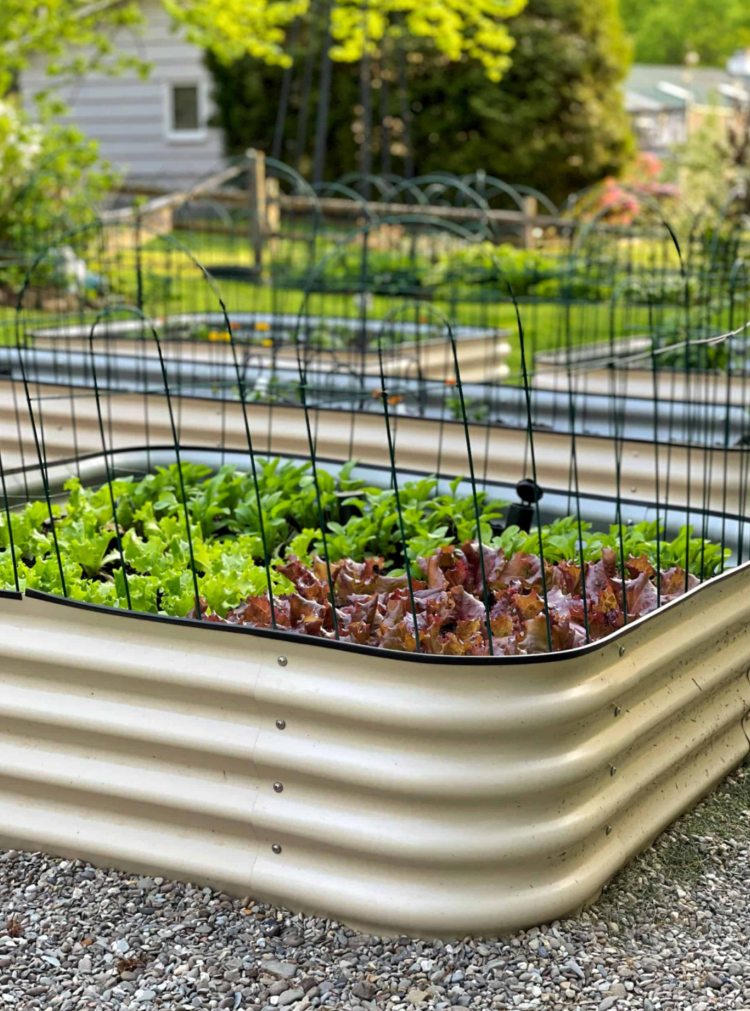
No early spring garden is complete without lettuce. It grows rapidly and works wonderfully in salads, sandwiches, and many other dishes. Here’s the best way to grow it:
- Planting: Either sow seeds directly or set out seedlings. Place seeds ¼ inch deep and space the seedlings 6-12 inches apart, based on the variety.
- Care: Keep the soil evenly damp and offer partial shade when temperatures begin to climb.
- Harvest: With leaf lettuce, gather the outside leaves whenever needed. For head lettuce, remove the whole plant once the head becomes firm.
- Tip: For a steady supply, sow additional seeds every 2-3 weeks using succession planting.
Would you like to learn more about starting seeds? Check out my Seed Starting Basics guide.
early Spring Vegetables to include in your garden
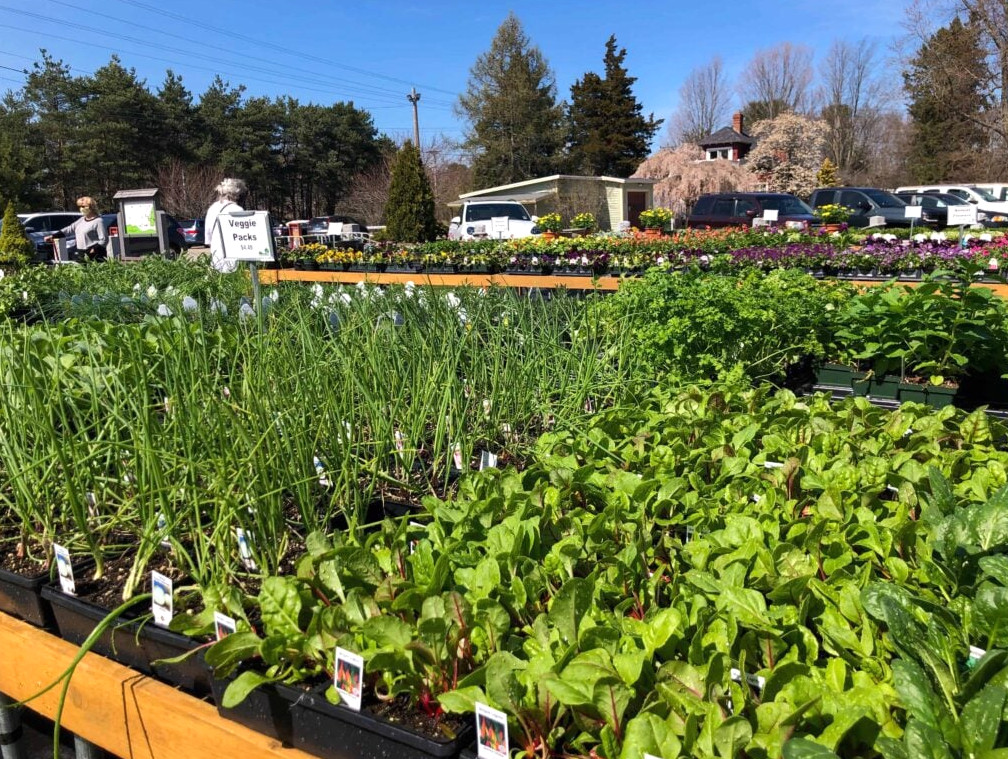
- All Lettuce Varieties
- Spinach
- Broccoli
- Cauliflower
- Brussels Sprouts
- Green Onions
- Snow Peas
- Sugar Snap Peas
Tips for Growing Early Spring Vegetables
Cultivating vegetables in early spring can be highly satisfying, though it also brings several challenges. Chilly temperatures, unexpected frost, and waterlogged soil may all influence your garden’s results. Here are my best suggestions for raising a flourishing early spring garden:
1. Get Your Soil Ready
- Analyze and Improve: Soil in early spring may remain chilly and tightly packed after winter. Check its pH and nutrient content, then enrich it with compost or aged manure to boost fertility and drainage.
- Loosen the Ground: Aerate the soil with a garden fork or tiller so roots can develop more easily and water can soak through.
2. Begin with Cool-Season Crops
- Select Suitable Vegetables: Concentrate on vegetables that flourish in lower temperatures, including spinach, lettuce, peas, radishes, and kale. These plants handle frost better and help you begin the growing season early.
- Review Seed Packets: Look at the “days to maturity” information on each seed packet. Early spring is ideal for planting fast-growing crops that can be harvested before summer heat arrives.
3. Guard Against a Late Freeze
- Watch the Forecast: Monitor upcoming weather conditions and get ready to cover your plants whenever a late freeze is expected.
- Cover with Row Protection: Light row covers or frost cloths can protect tender plants from freezing temperatures while allowing sunlight and water to pass through.
4. Water Carefully
- Prevent Excess Watering: Early spring soil often stays damp longer, so avoid applying too much water. Test the moisture by placing your finger about an inch into the soil—water only when it feels dry.
- Water During the Morning: Morning watering gives the soil time to take in moisture before nighttime temperatures fall, helping minimize frost-related damage.
5. Use Successive Planting
- Space Out Planting Times: Extend your harvest by sowing seeds every 2-3 weeks. This approach provides a steady stream of fresh vegetables throughout the season.
- Combine Quick and Slow Growers: Grow fast-developing crops such as radishes and lettuce beside slower varieties like broccoli or carrots. Once the slower plants require additional room, the quicker crops should already be harvested.
6. Mulch to Preserve Moisture and Heat
- Apply a Mulch Layer: Place mulch, such as straw, chopped leaves, or grass clippings, around the plants to conserve soil moisture, balance temperatures, and limit weed growth.
- Wait Until Conditions Warm: Don’t mulch too early, since it may cause the soil to stay cold. Allow the ground to warm somewhat before spreading mulch.
7. Watch for Garden Pests
- Spot Problems Early: Cooler weather does not eliminate pests. Look out for slugs, aphids, and other insects that appear in early spring.
- Try Natural Remedies: Apply organic pest management options, such as neem oil or row covers, to keep pests away from your plants.
8. Fertilize to Encourage Healthy Growth
- Choose Organic Fertilizers: Early spring vegetables can benefit from extra nutrients. Use organic fertilizer or compost tea to promote vigorous, healthy development.
- Adhere to Directions: Follow the application amounts recommended on the fertilizer label so you don’t provide more nutrients than needed.
9. Thin Seedlings for Better Results
- Allow Adequate Room: After the seedlings emerge, thin them according to the spacing guidelines on the seed packet. Overcrowded plants compete for nutrients and face a greater risk of disease.
- Make Use of Thinned Plants: Don’t discard the seedlings you remove! Many, including lettuce and radish greens, can be mixed into salads or enjoyed as microgreens.
10. Enjoy the Gardening Journey
- Appreciate Small Achievements: Gardening in early spring requires patience and determination. Take pleasure in every new sprout and harvest, regardless of its size.
- Gain Knowledge Along the Way: Each garden offers a chance to learn. Record what succeeds and what fails so you can refine your methods each season.
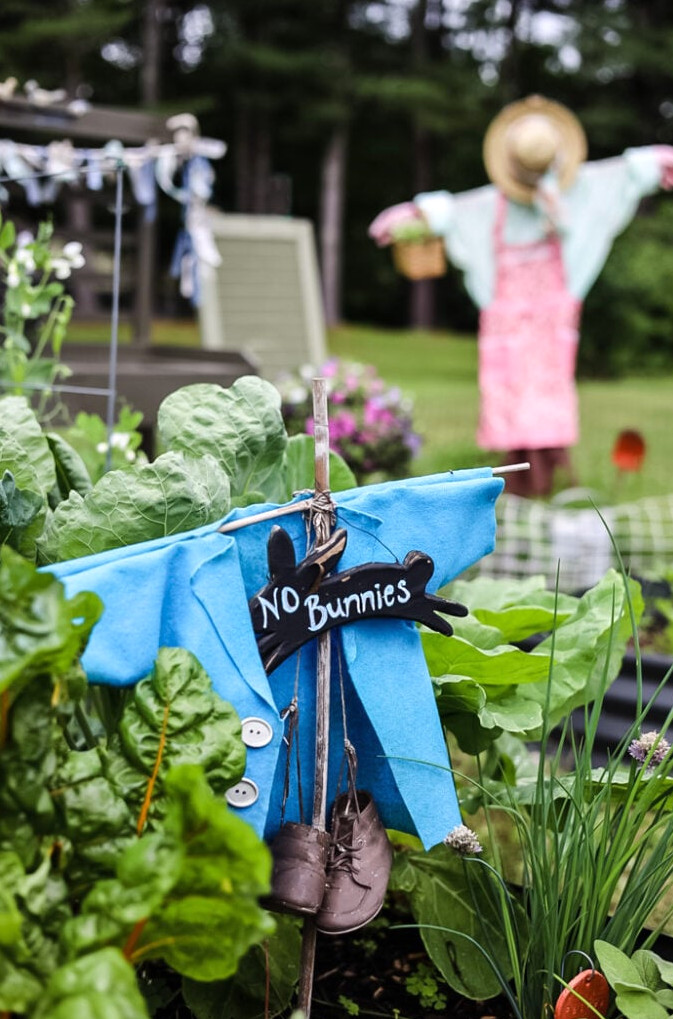
Gardening in early spring is a wonderful way to leave the winter blues behind and restore your connection with nature. Whether you grow crisp lettuce, sugary peas, colorful radishes, or robust broccoli, few things compare to enjoying fresh vegetables picked directly from your own garden.
Keep in mind that gardening is a process—it’s perfectly fine to begin with a small project and gain experience along the way. With some planning, the right plants,and a little patience, you’ll be surprised by all you can cultivate, even when the weather is still chilly.
So put on your gardening gloves, head outside, and begin planting! Your garden (and your palate) will appreciate it. Be sure to share your early spring gardening updates with me, too. I’d be delighted to see what you’re growing!
Enjoy Gardening, Friends!!
xo, Jennifer
Country Garden
Top Products
Explore my favorite gardening essentials! Raised beds, plant supports, & supplies to help your garden thrive.
Garden Along With Me
Gardening Along With Me Series

This is one installment in the Gardening Along With Me Series at Cottage On Bunker Hill. My goal is to show you how to begin, care for, and take pleasure in gardening. I’ll pass along the advice & techniques I’ve picked up through the years while cultivating vegetable and flower gardens in the Northeast.