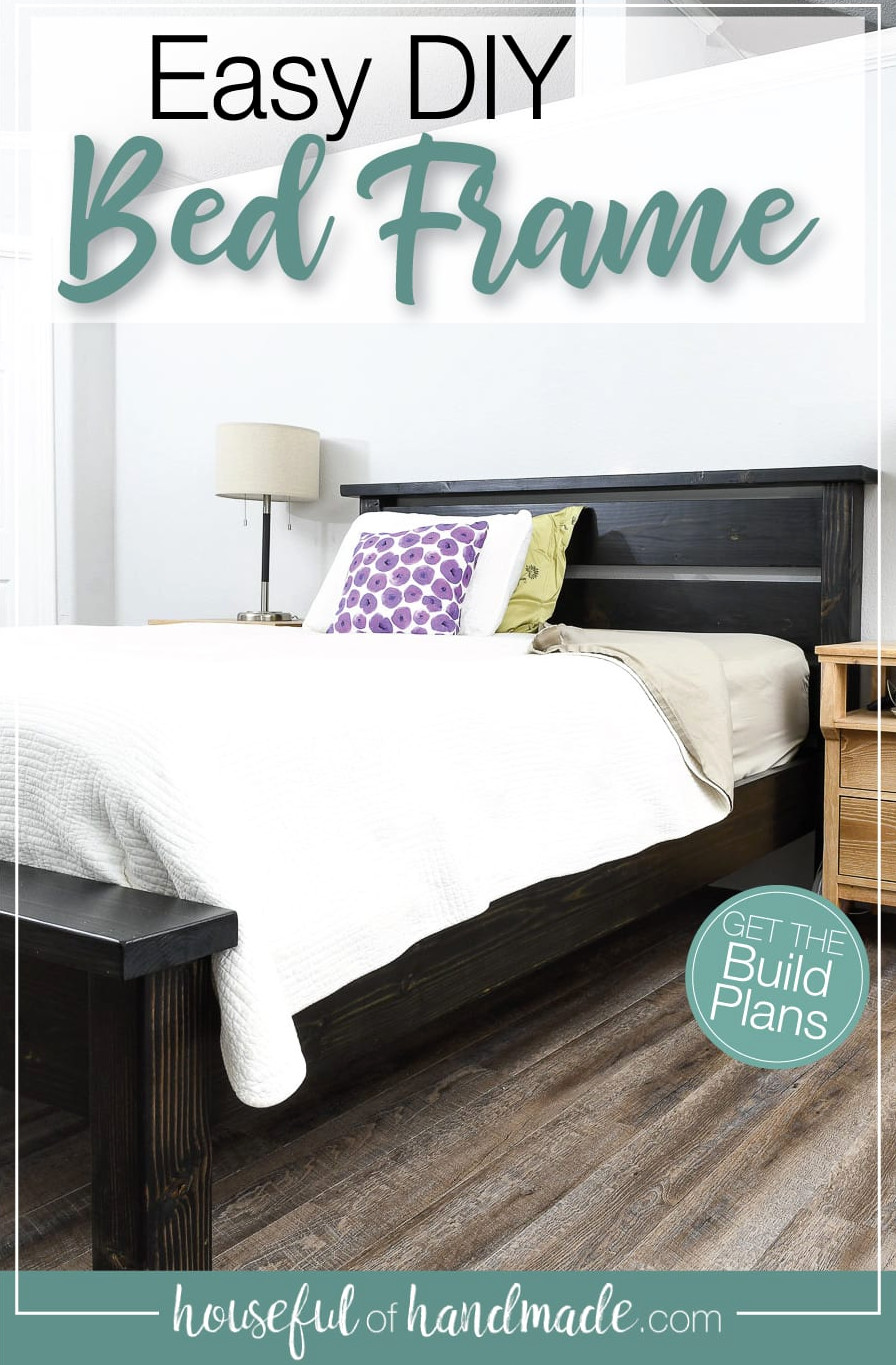
You won’t believe how simple it is to create your own bed with this guide.
Ever since we relocated last summer, our mattress has been resting directly on the floor. No frame, no rails, and no box spring. None of those items survived the move.
And since I am no longer in my 20s (or, yikes, my 30s), rising from the floor each morning has become challenging. So I teamed up with Kreg Tools to create a lovely new bed frame using their fantastic pocket hole jig!
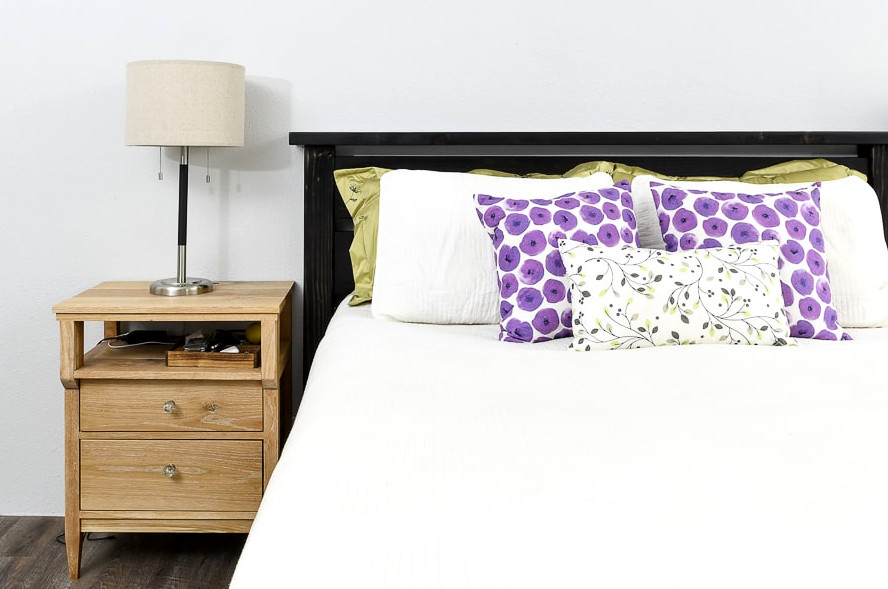
My Kreg pocket hole jig is among the most frequently used tools in my workshop. It’s easy to understand why, since it simplifies large projects like constructing this queen bed frame!
Large projects may seem more difficult. However, their size doesn’t mean they have to be complicated!
The most challenging part of building this queen bed frame was waiting for someone else to help me raise the heavy sections.
I made our bed in a queen size, but I’m providing plans for this straightforward bed frame with a headboard and footboard in every size (twin, full, queen, king, and California king). Details are provided below.
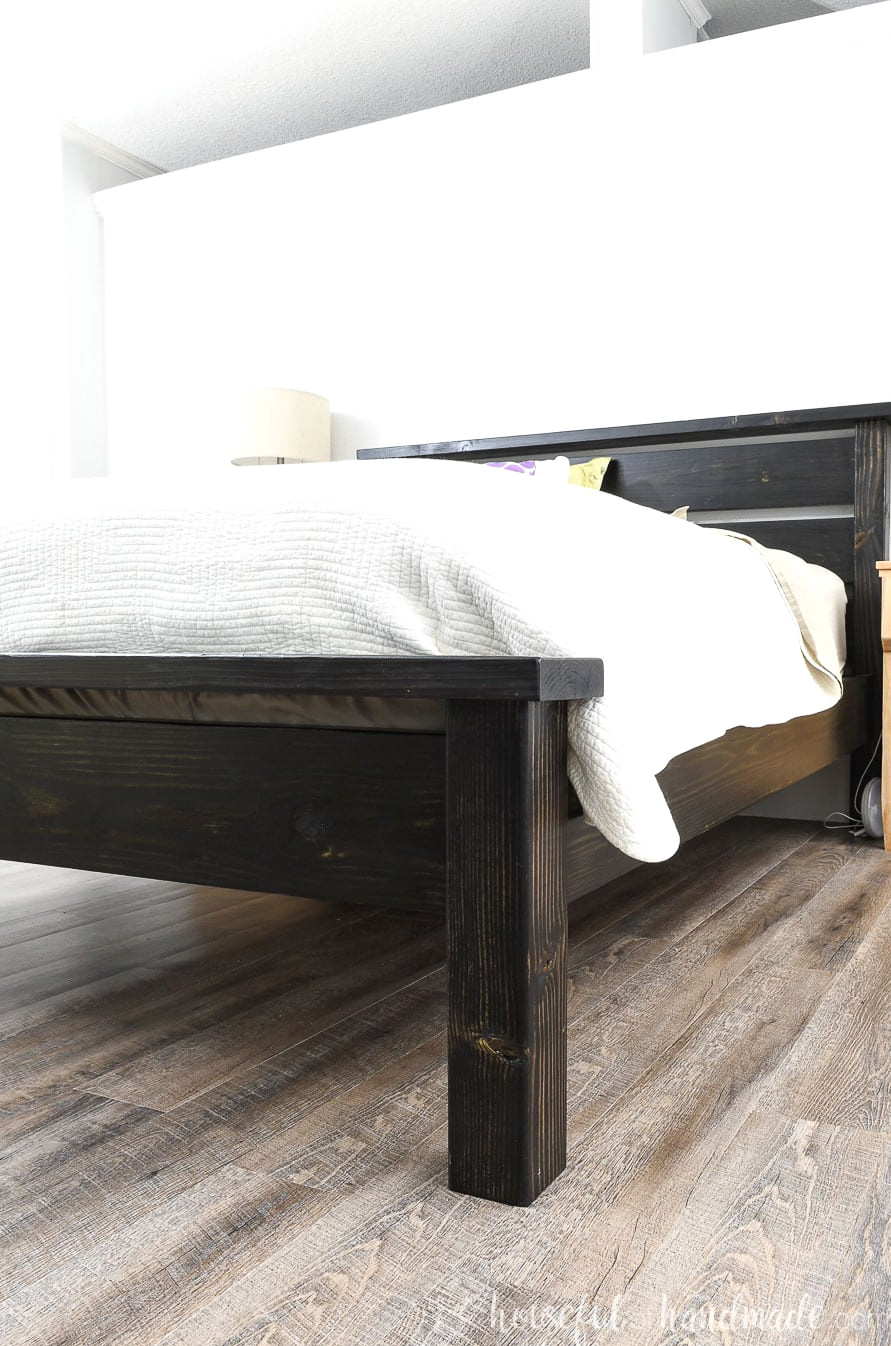
The bed consists of 5 simple-to-build sections:
- Headboard
- Footboard
- Right rails
- Left rails
- Center support
Each section is constructed on its own and then connected with bed rail brackets. Bed rail brackets come in many varieties, and I decided to use these straightforward surface-mount brackets.
The bed rail brackets can also be used for the center support, but I selected an even more budget-friendly alternative: 2×4 joist hangers. They remain entirely concealed within the bed frame.
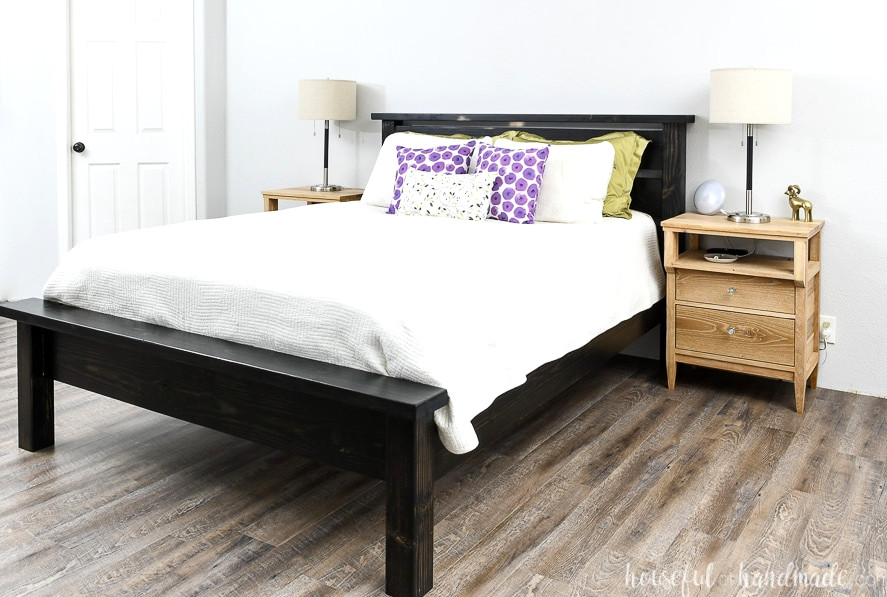
The headboard and footboard go together very quickly. There is no need for complicated joinery; pocket holes provide all the strength required for sturdy connections.
Platform Bed Design
Our new mattress is designed to perform best on a platform bed frame rather than a conventional bed with a box spring. Still, I wanted a timeless-looking frame with plenty of room underneath for storage.
To give the frame a traditional appearance while supporting a modern mattress, I built the rails from 2×8 boards. I then positioned the 2x2s that support the mattress near the top.
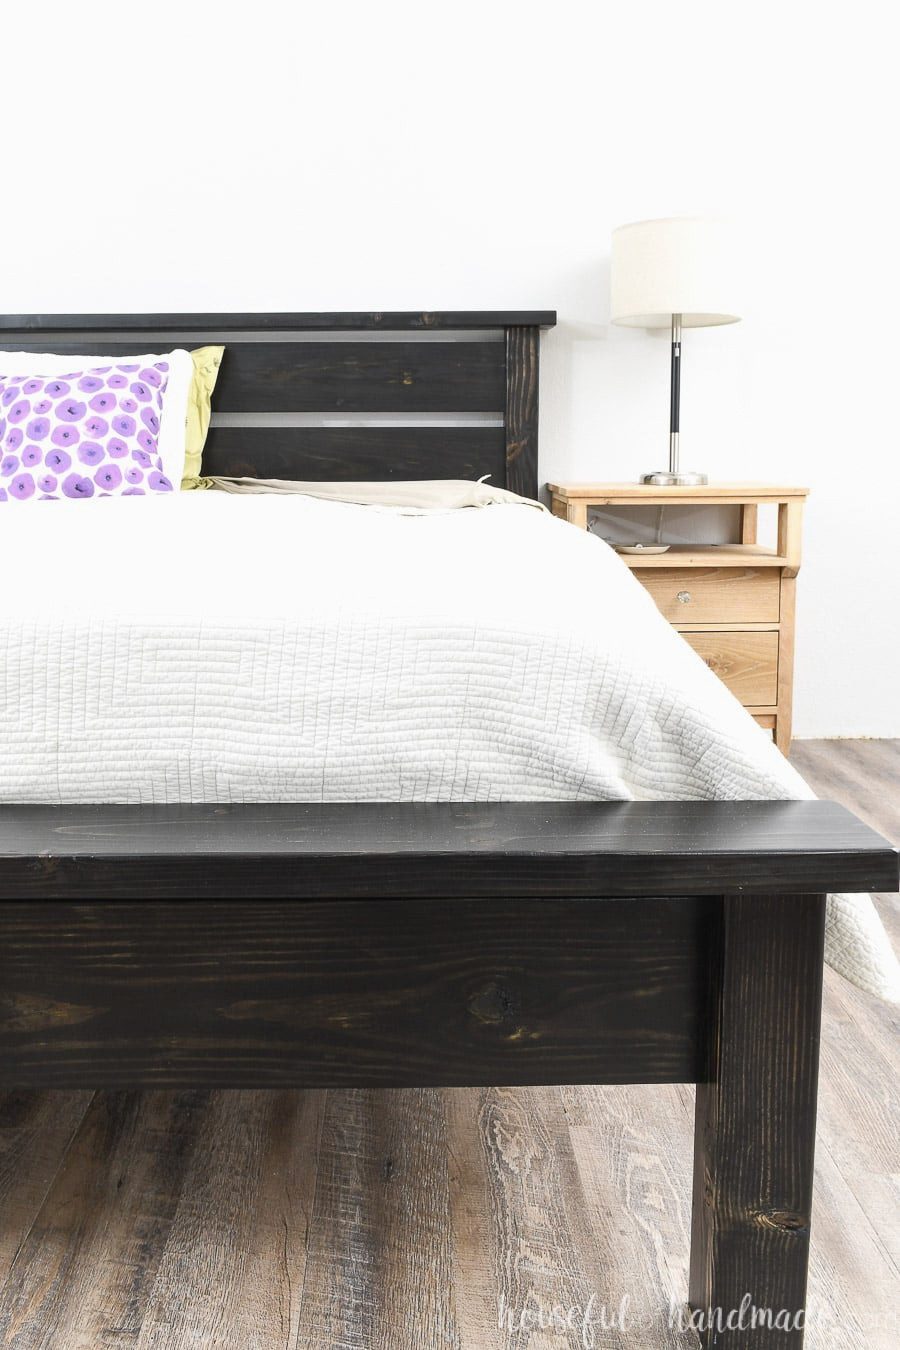
This creates the look of a classic frame with a box spring, while actually leaving ample open space beneath the mattress.
If you own a traditional mattress and box spring, you can still build this very easy DIY bed frame. Simply place the 2×2 closer to the bottom of the 2×8 rails.
That will allow the box spring to sit inside your new bed frame, with the mattress placed on top!
The construction plans for this bed are also compatible with either bed slats or plywood. We selected plywood because it is recommended for our mattress, but you can easily make or purchase bed slats if they better suit your needs.
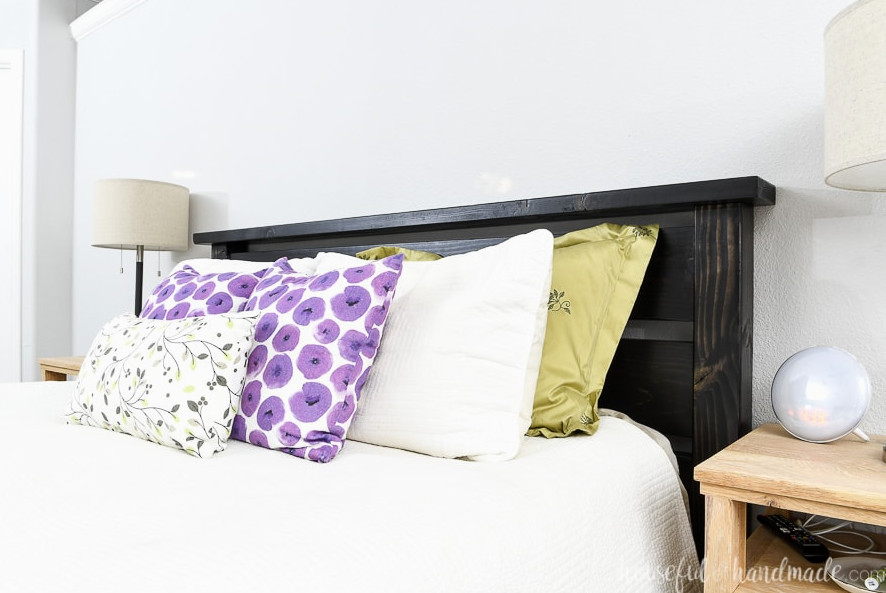
Building a Bed: How to Do It
Tools & Supplies
Required Cuts
Exact measurements for every size, including the quantity of boards required, are included in the comprehensive PDF building plans for this easy DIY bed in the sizes below:
- Twin- 38 1/2″ x 75 1/2″ bed frame for a 38″ x 75″ mattress
- Full- 54 1/2″ x 75 1/2″ bed frame for a 54″ x 75″ mattress
- Queen- 60 1/2″ x 80 1/2″ bed frame for a 60″ x 80″ mattress
- King- 76 1/2″ x 80 1/2″ bed frame for a 76″ x 80″ mattress or two 38″ x 80″ mattresses (twin XL)
- California King – 72 1/2″ x 84 1/2″ bed frame for a 72″ x 84″ mattress
Download the Premium PDF Woodworking Plans
PDF plans contain- Simple-to-Follow Cut List, Materials List, Suggested Tools, Step-by-Step Directions with 3D illustrations, & Useful Resources
BONUS- 3D SketchUp File

Would You Rather Watch? See the Video Below
Trim the footboard legs and slats following the building plans.
Adjust your pocket hole jig for 1 1/2″ thick material, then make 3 pocket holes at each end on the back of the 2×8 board.
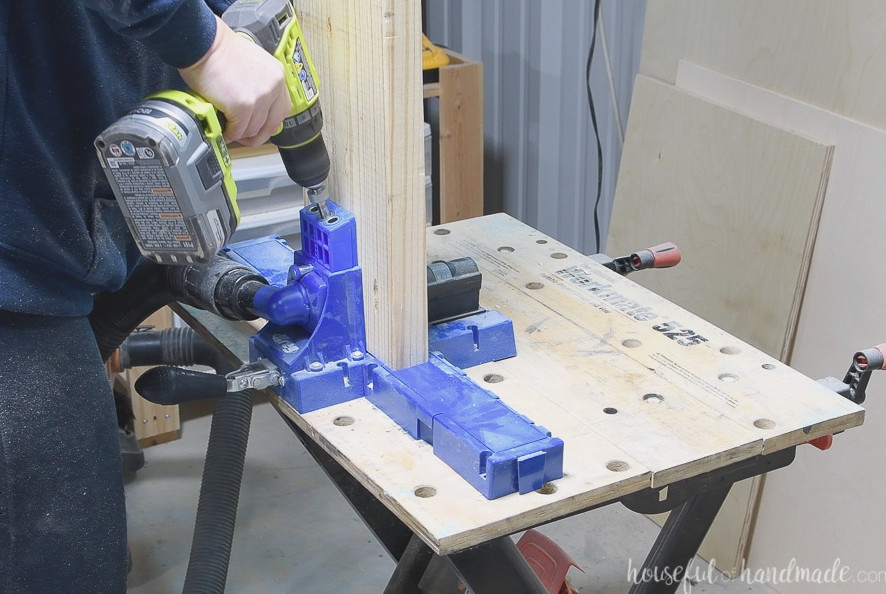
Build the footboard by fastening the 2×8 between the 4×4 leg sections.
Position the top of the 2×8 board 1 1/2″ beneath the leg tops, with its back aligned evenly with the backs of the legs.
Attach it using wood glue and 2 1/2″ pocket hole screws.
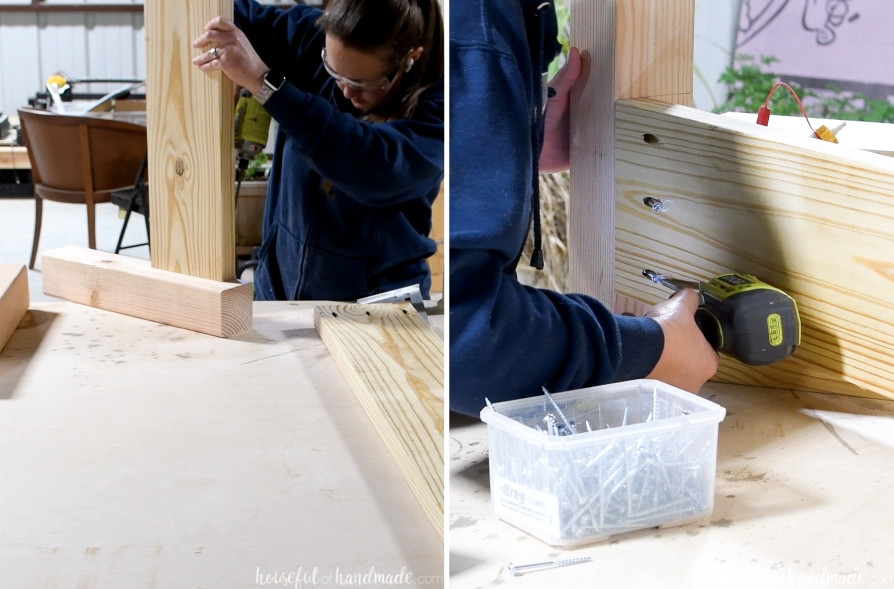
Finally, fasten the 2×6 board across the tops of the legs, keeping the back even with the leg backs and leaving a 1 1/2″ overhang on both sides. Apply plenty of wood glue and secure it with 2 1/2″ nails.
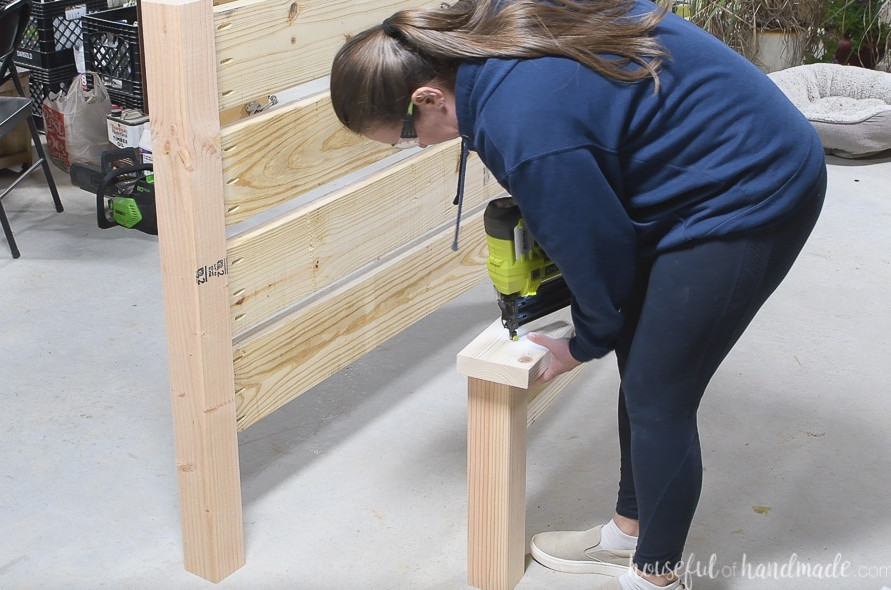
If desired, fill the pocket holes on the footboard, though your mattress will conceal them once the bed is put together.
STEP 2- Construct the Headboard
Cut the headboard legs and slats using the cut list included in the plans.
Set the pocket hole jig for 1 1/2″ thick material, then bore 3 pocket holes into each end of the back side of the 2×8 boards.
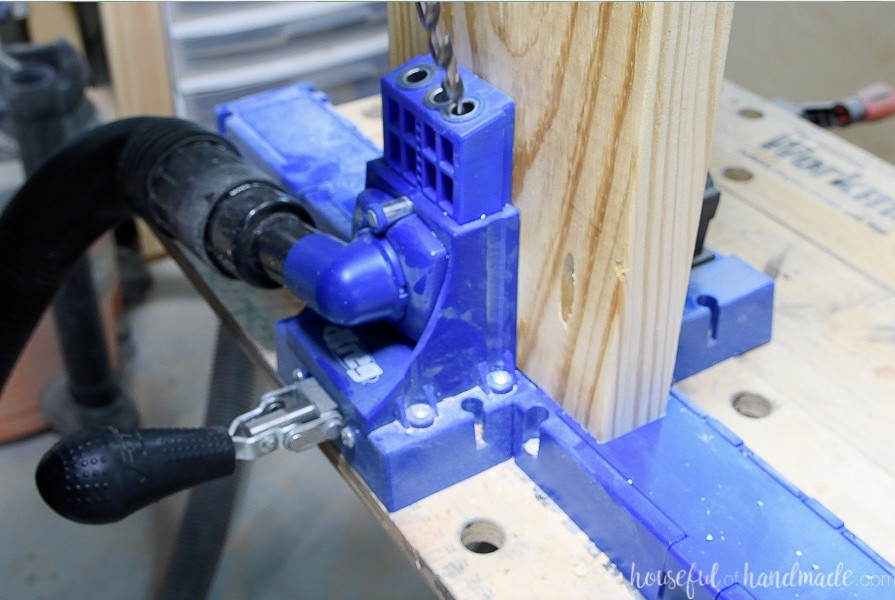
First, fasten the 2×8 boards to one side of a 4×4 leg. Begin with the upper board. Place it 1 1/2″ beneath the top of the 4×4 leg and 1/2″ back from the front edge.
I used two small pieces of 1/2″ plywood to position the board at the correct setback on the leg.
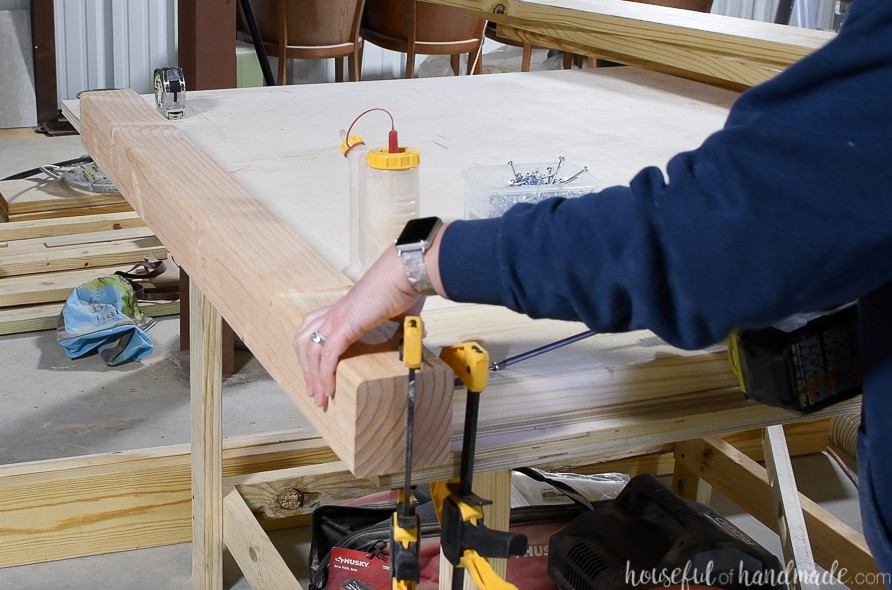
Place every following 2×8 board 1 1/2″ beneath the board above it. Fasten them with wood glue and 2 1/2″ pocket hole screws.
I used a leftover 2×4 piece to maintain the spacing between the boards.
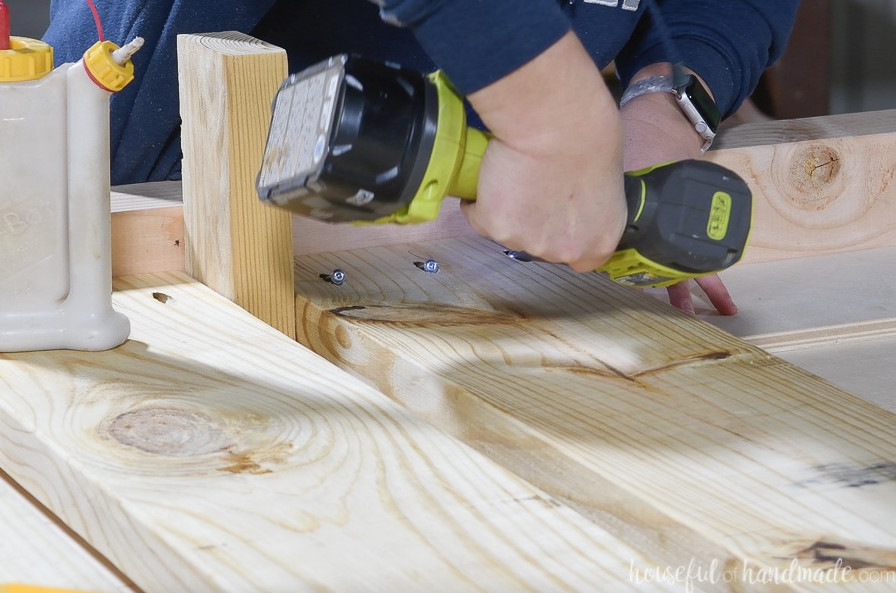
The lower board needs to align flush with the fronts of the legs. Since this is the side where the mattress rests, it should not be recessed.
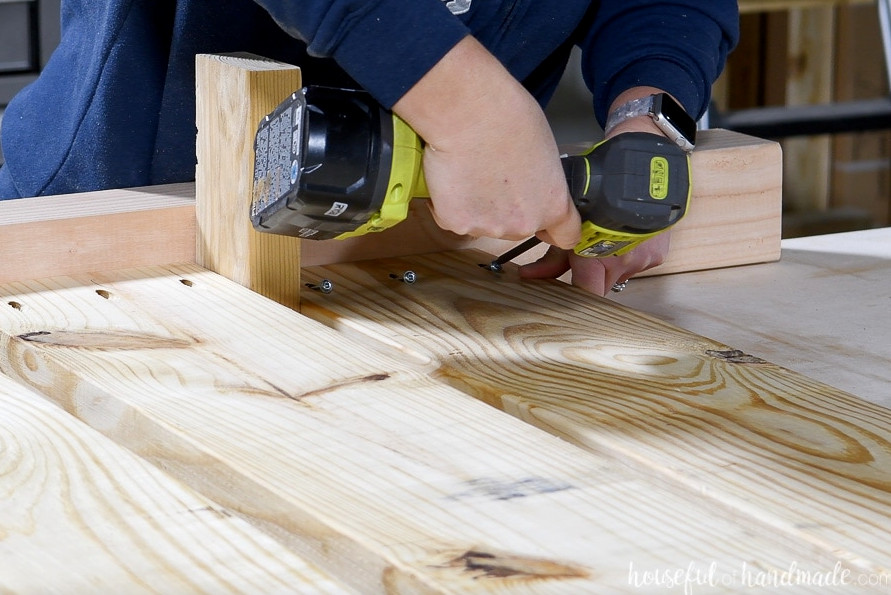
Next, attach every board to the other leg. Keep the spacing consistent while securing them with wood glue and 2 1/2″ pocket hole screws.
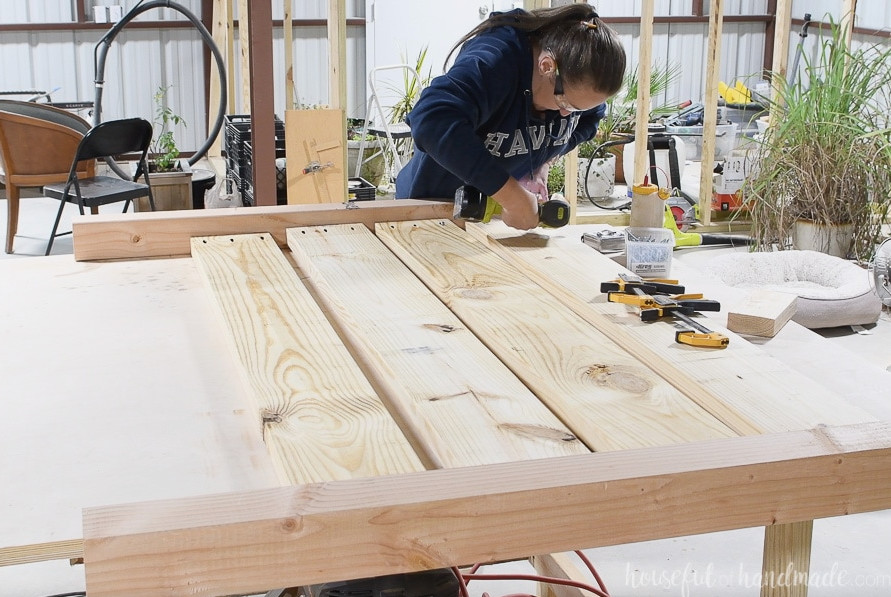
After the first 2×8 board is attached to the second leg, the remaining boards should fit snugly. If the unattached boards need repositioning, shift them with a clamp.
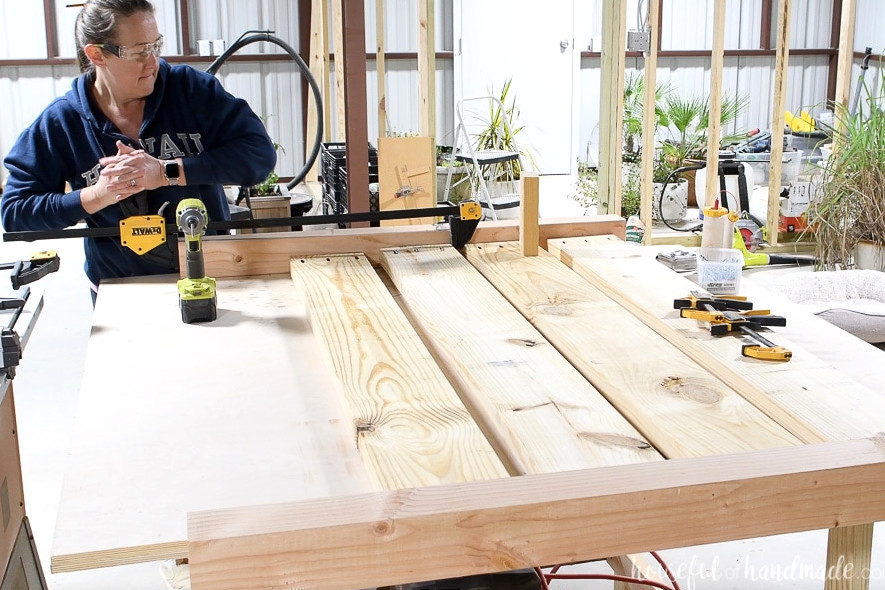
Fasten all the boards to the second leg, matching the spacing used on the first side.
Complete the headboard by securing the 2×6 board across the leg tops, keeping its back flush with the leg backs and allowing a 1 1/2″ overhang on each side. Apply plenty of wood glue and use 2 1/2″ nails.
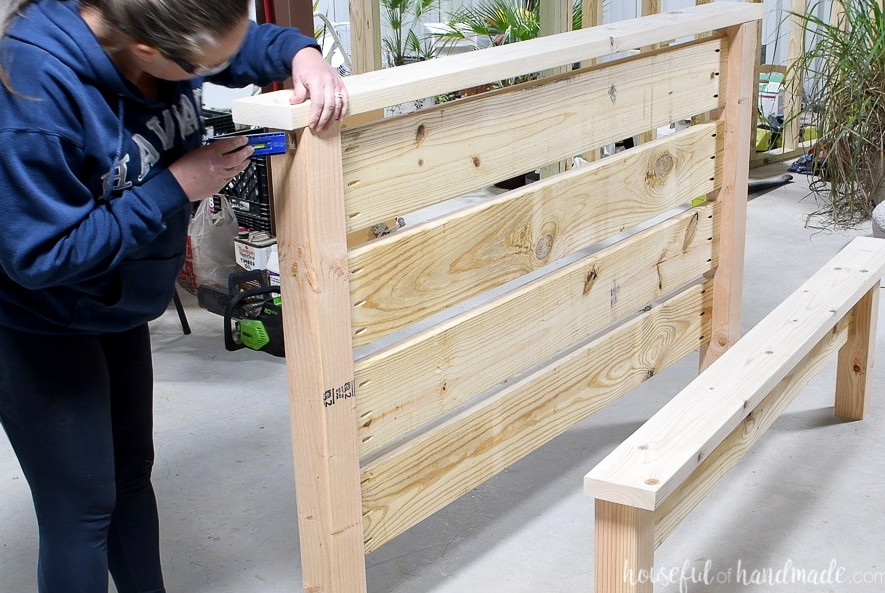
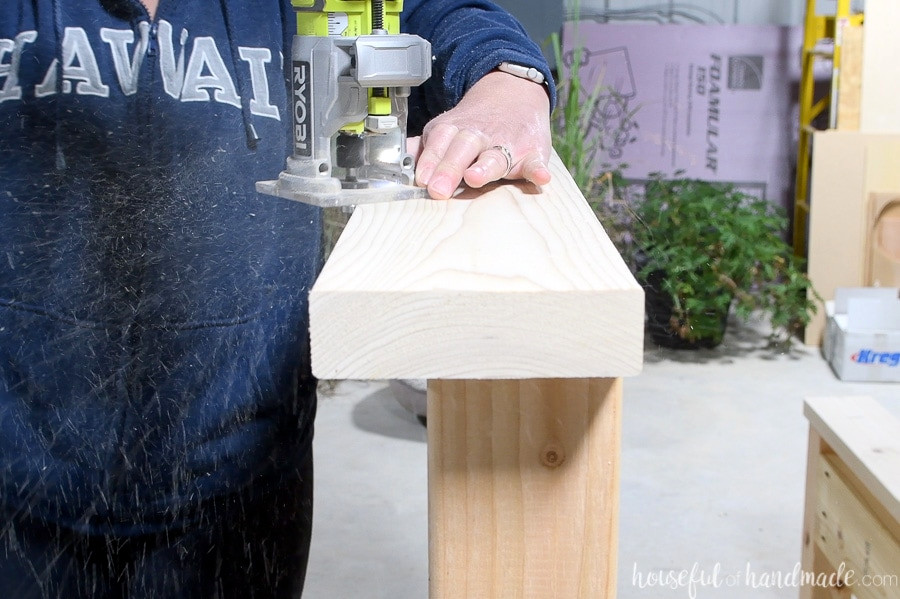
You can use a router to soften and round the edges of the headboard and footboard tops if you prefer.
STEP 3- Construct the Rails
From the 2×8 boards, cut two rail sections, then cut two rail-support pieces from the 2×2 boards.
When making the rails without a box spring, position the 2×2 board 2″ below the top edge. This produces a platform-style bed while giving the appearance of a traditional box spring beneath it.
For a box spring setup, lower the 2×2″ board as needed to allow for the additional height.
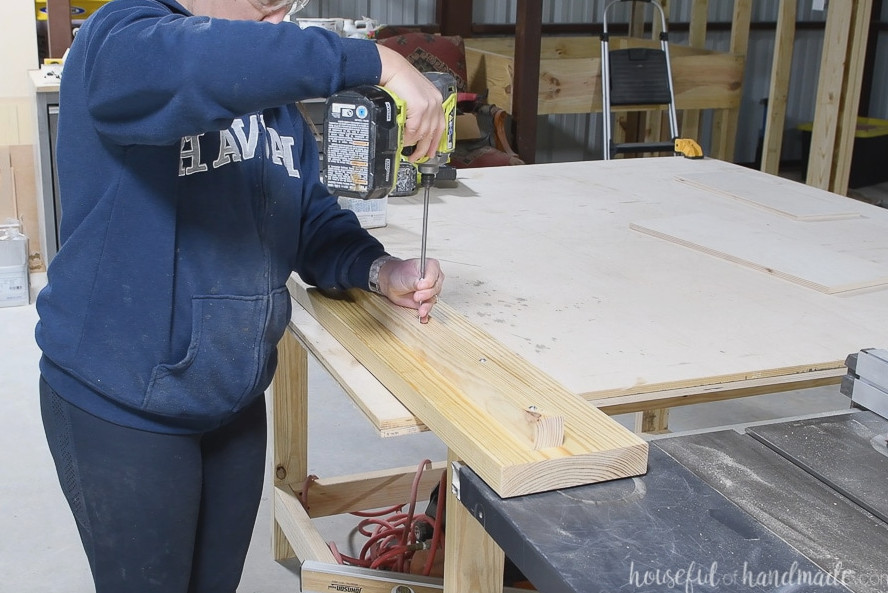
Before fastening the 2×2 boards, measure and mark their locations. Place each board 1″ in from both ends. Apply a generous amount of wood glue, then fasten with 2 1/2″ nails.
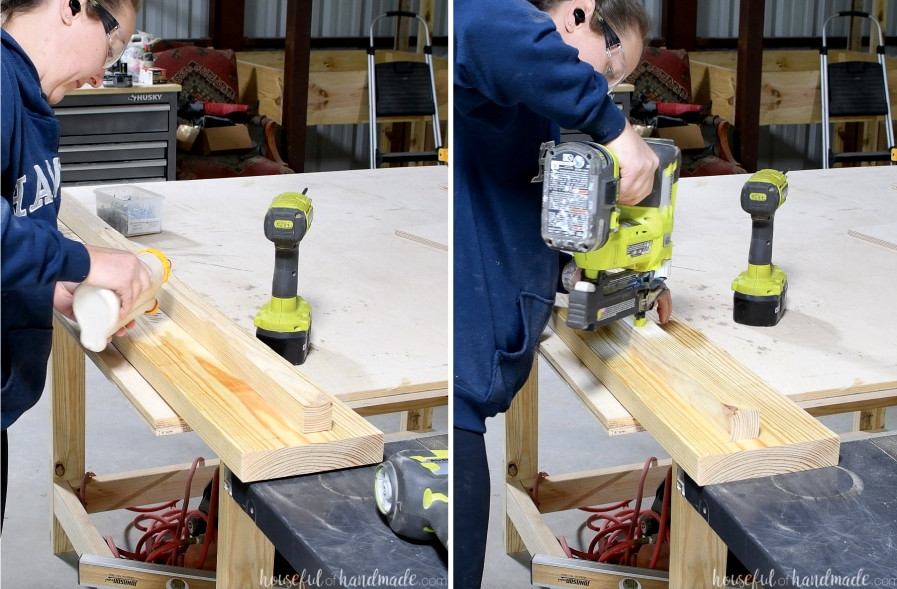
Drive in 2 1/2″ screws to complete the attachment. I used pocket-hole screws because they are self-tapping and help prevent splitting without pre-drilling. Space the screws every 7-8″ along the side.
Do the same with the remaining rail, and you’re finished!
STEP 4- Construct the Center Support
Following the PDF plans, cut the center rail and center-leg piece from the 2×4 board. If you lowered the rail’s 2×2 board for a box spring, adjust the shorter piece accordingly.
At one end of the smaller 2×4 board, which will serve as the center leg, drill 2 pocket holes for 1 1/2″ thick material. Then make one pocket hole in that same end, centered on the opposite side of the board.
The top of the center leg should now have 3 pocket holes.
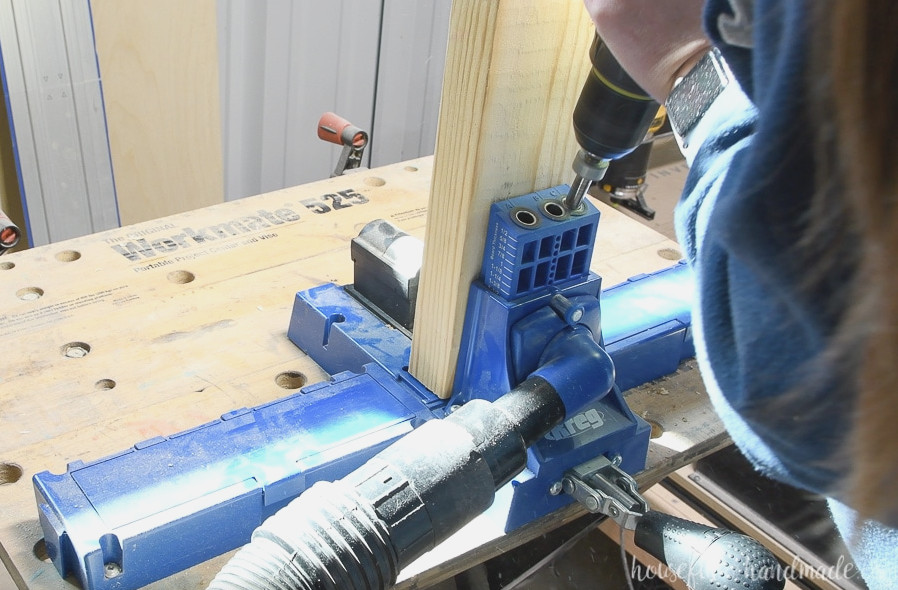
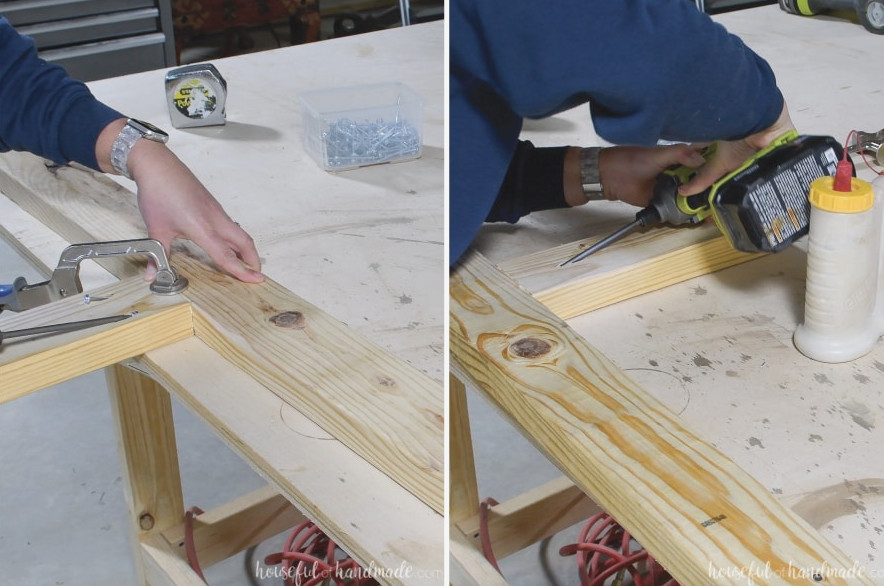
Using wood glue and three 2 1/2″ pocket-hole screws, fasten the leg to the center of the 2×4 board. Hold the leg level with the center support using a face clamp.
STEP 5- Complete the Pieces
The next step is to sand and finish every piece.
If you’re working with construction lumber as I did, begin with 100-150 grit sandpaper to smooth the rough boards. Follow up with 220 grit sandpaper for a finer finish.
Apply paint or stain to each piece. When using wood stain, seal the surface with at least 2 coats of sealer so the stain does not rub onto your bedding.
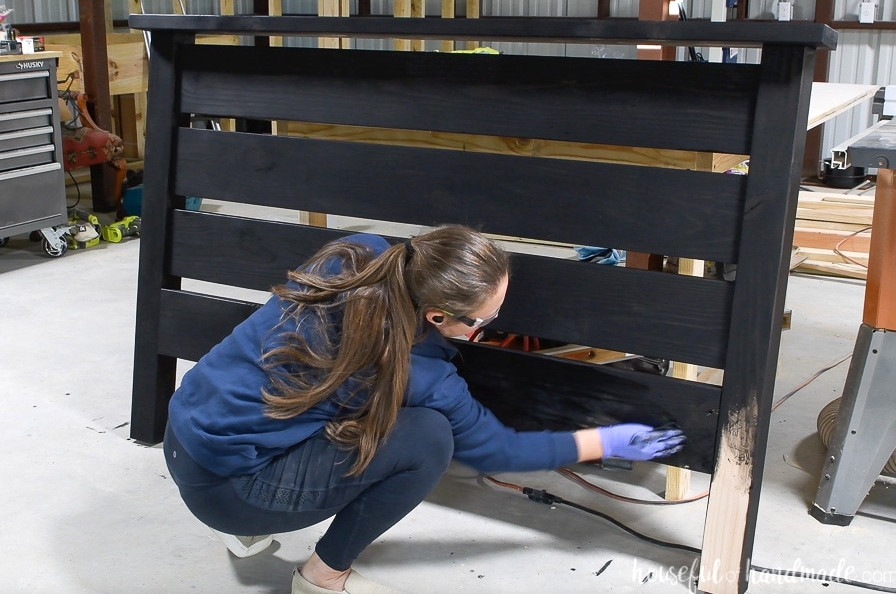
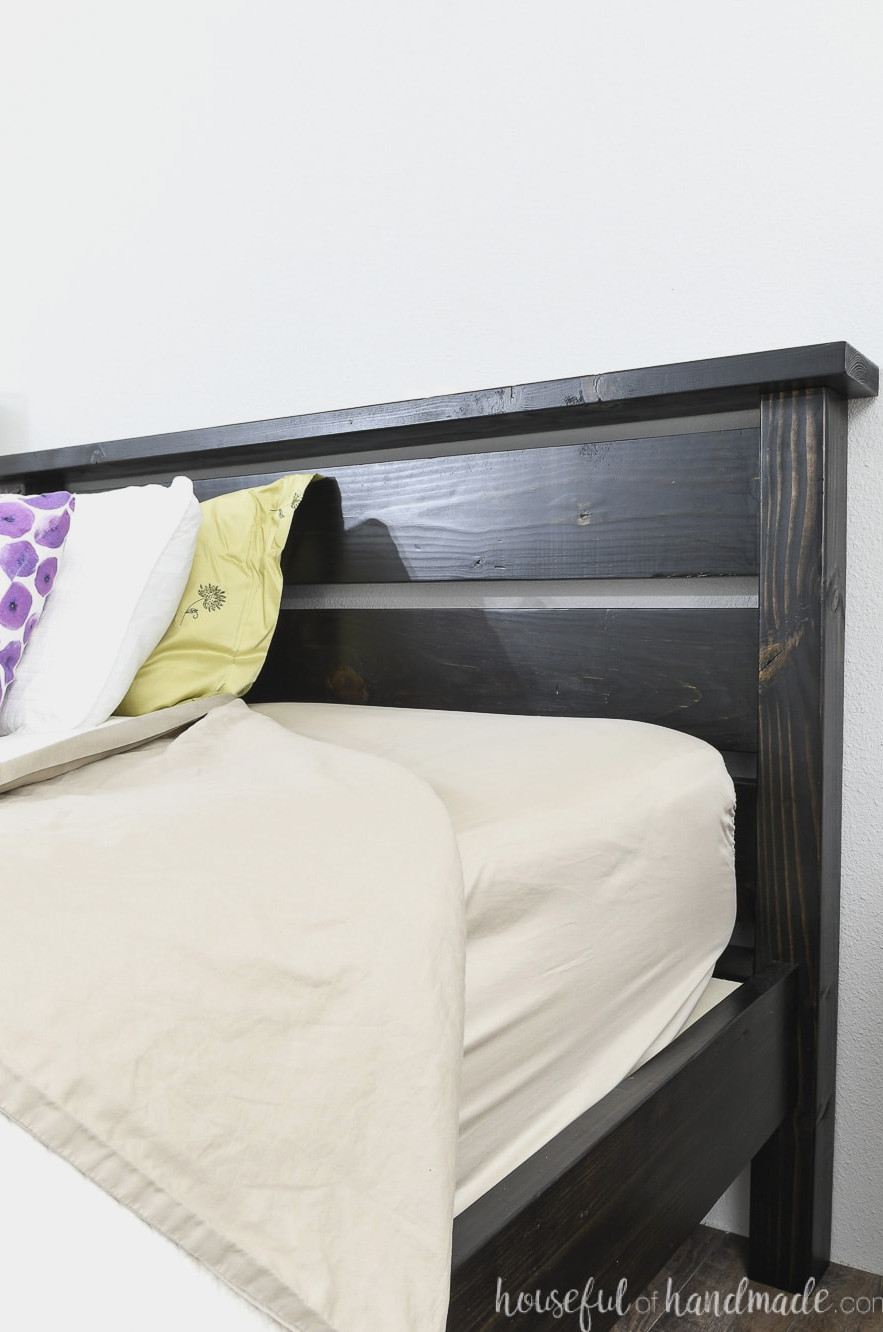
I applied Minwax True Black wood stain and completed it with 3 coats of Clear Satin polyurethane.
The result was fantastic, giving the affordable lumber a luxurious appearance!
STEP 6- Put Together the Completed Bed
After all the components have been finished and allowed to dry, assemble the bed. Fasten the rails to the headboard and footboard with bed rail brackets.
I positioned my brackets 1″ below the top of the rails. Secure the brackets to the rails with 1 1/4″ wood screws.
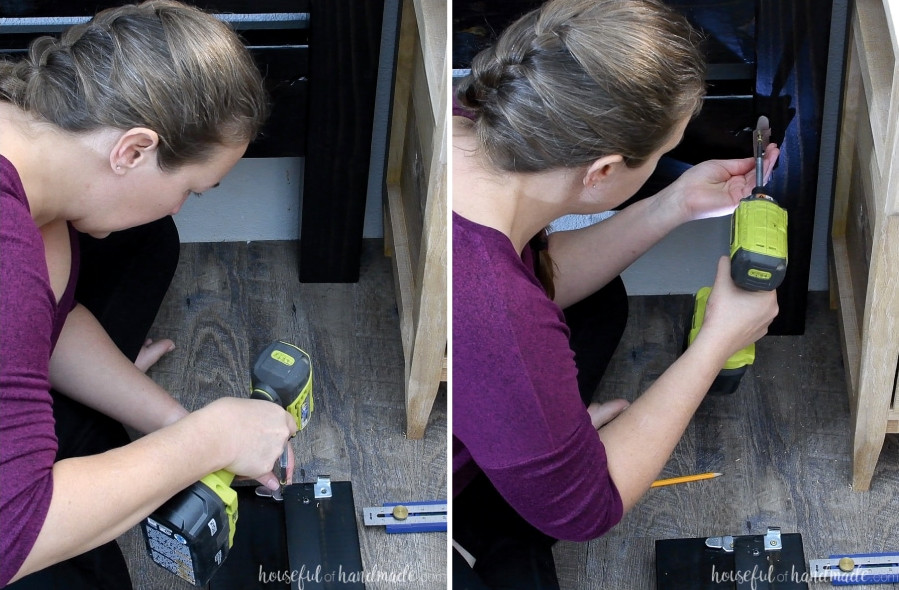
On the leg posts, position the brackets so the rails’ inner edge sits 1″ behind the center of the leg.
This creates a 61″ space between the rails, which is large enough for a queen mattress.
Afterward, slide the rails into the brackets to lock them in place.
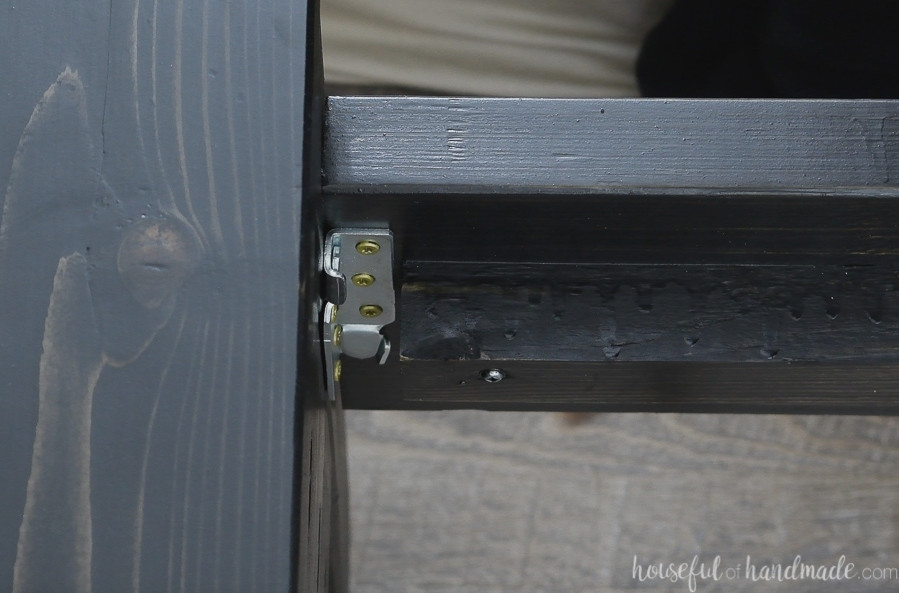
Now install the center support. Position the 2×4 in the middle of the 2×8 on both the headboard and footboard.
The 2×4’s top edge should sit 2″ below the 2×8’s top edge, matching the height of the rail’s 2×2 boards.
Install the joist hangers around the 2×4 board so they support it securely. Fasten them to the board with a screw as well.
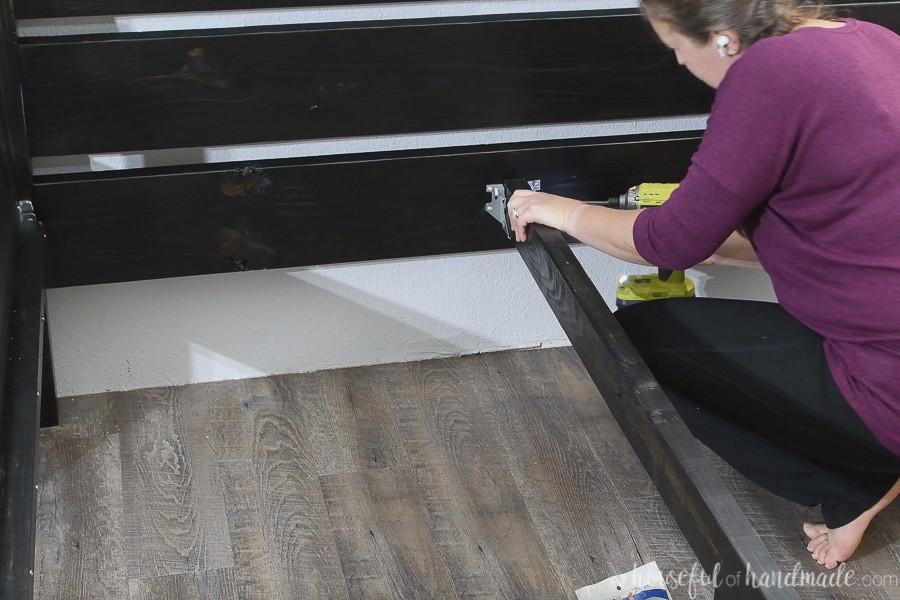
Your bed frame is now completely done! The only remaining step is adding plywood or bed slats.
When choosing plywood, cut 2 pieces measuring 60 1/2″ x 39 1/2″ and position them inside the bed frame on top of the 2×2 ledges.
For bed slats, buy ready-made slats or create your own. Cut 1×4 boards to 60 1/2″ in length, then secure them to the 2×2 ledges with gaps of no more than 3″.
Be Sure to Get the Printable PDF Plans Here!
Premium plans feature:
- Suggested Tools
- Materials list
- Simple-to-follow cut list chart
- Cutting diagrams
- Detailed instructions with 3D renderings
- Useful resources
- BONUS: 3D SketchUp file
Finish everything by adding your favorite mattress, and you’ll be ready to get into bed. You’ve earned it!
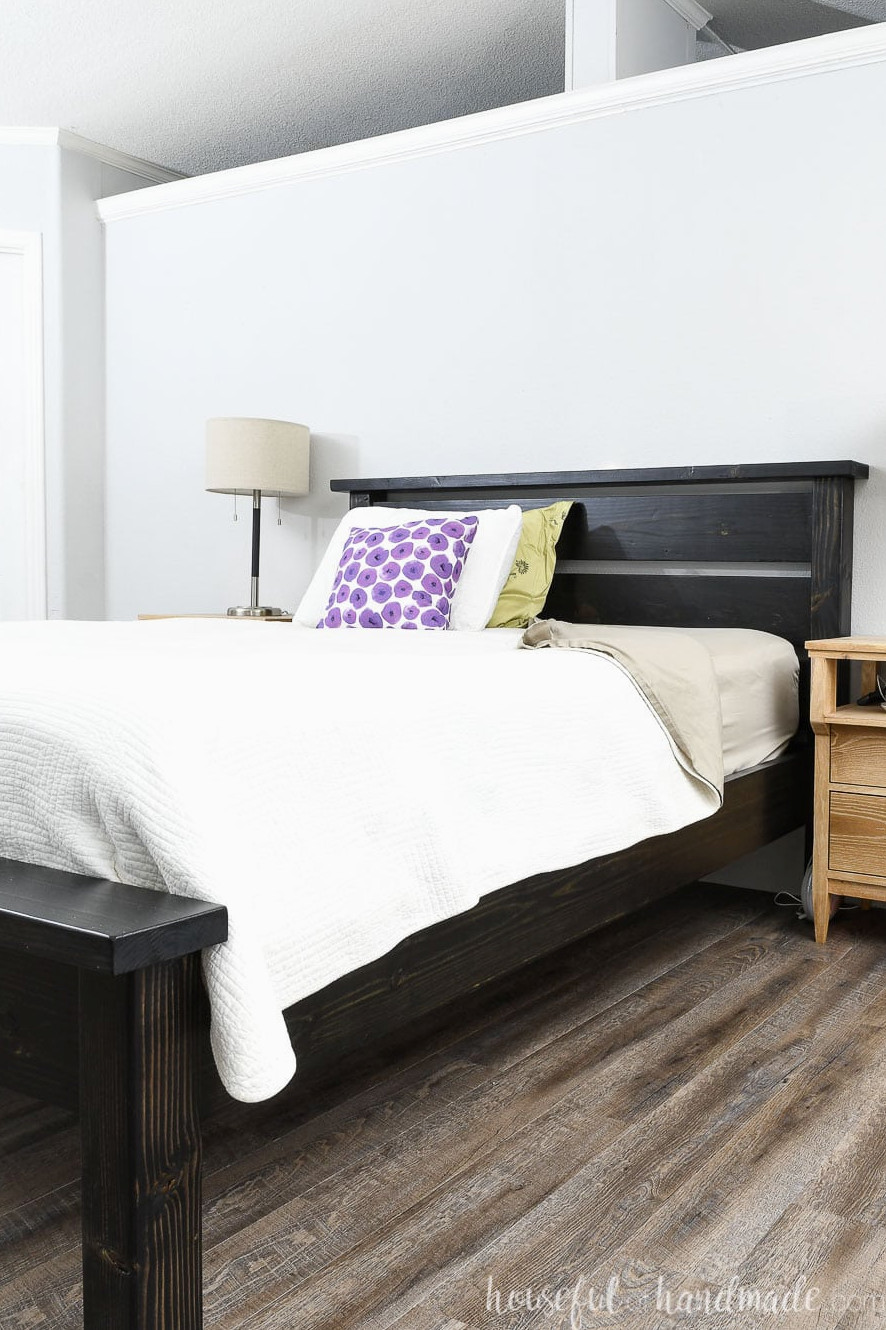
I’m especially excited to stop sleeping on a mattress that sits directly on the floor. Who could have imagined that such a basic project would make me this happy in my 40s 😉
Had I realized how fast and simple it would be to build, I would have completed it months earlier. Now that you know, you have no more reasons to wait!
Enjoy Building!