Looking for an entertaining variation on classic slime? Give this crunchy, homemade floam slime! a try. This floam requires just 4 ingredients, is incredibly simple to prepare, and can stay fresh for weeks!
RELATED: Fluffy Slime Recipe
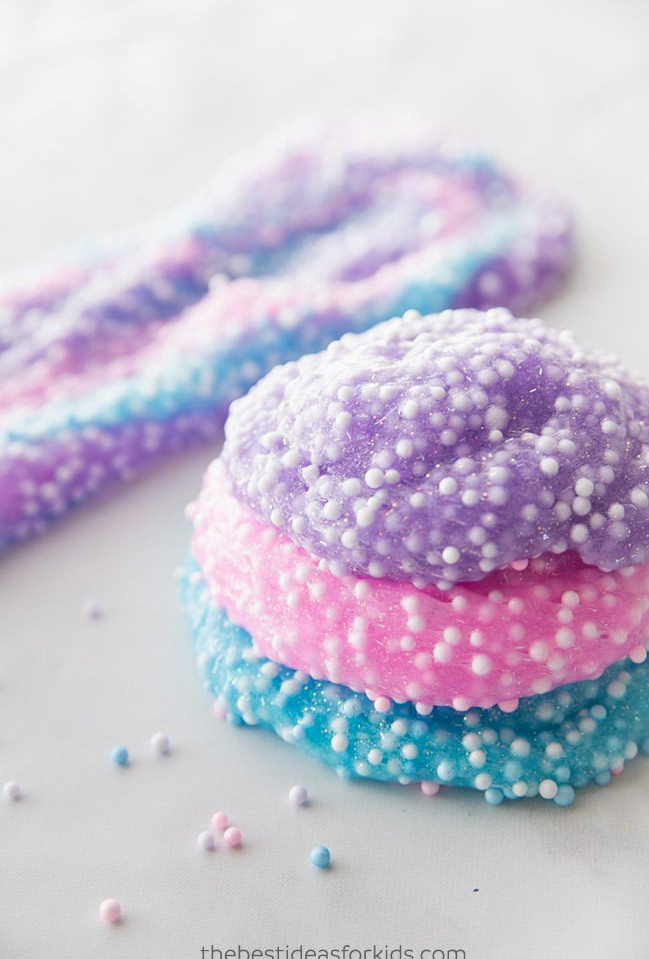
Floam Slime Recipe
You may recall playing with foam or floam during childhood. It remains one of our favorite sensory activities. Store-bought floam can occasionally become dry and quite firm. For that reason, we enjoy preparing floam at home.
Preparing this recipe is very simple. It is even superior to the store-bought version because it has a bit more stretch. Feel free to try various amounts of foam beads, although we prefer using plenty so the result resembles the kind available in stores.
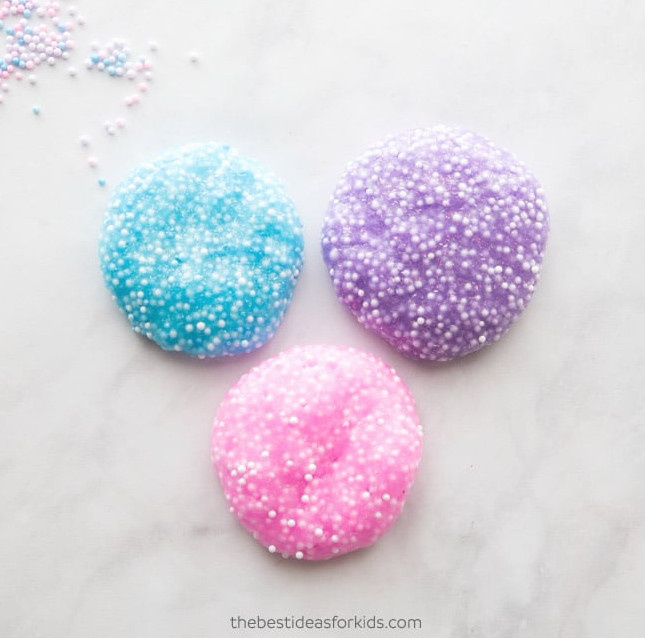
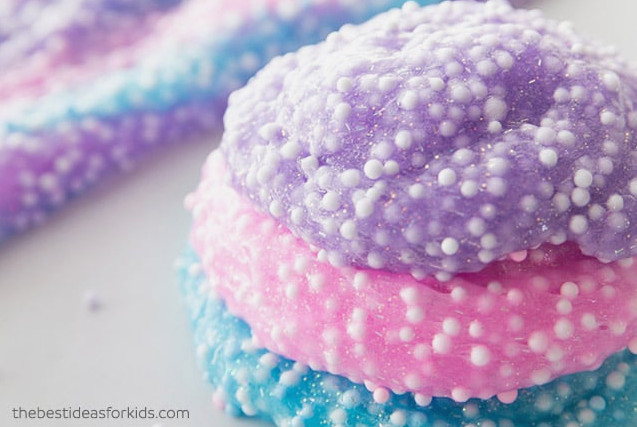
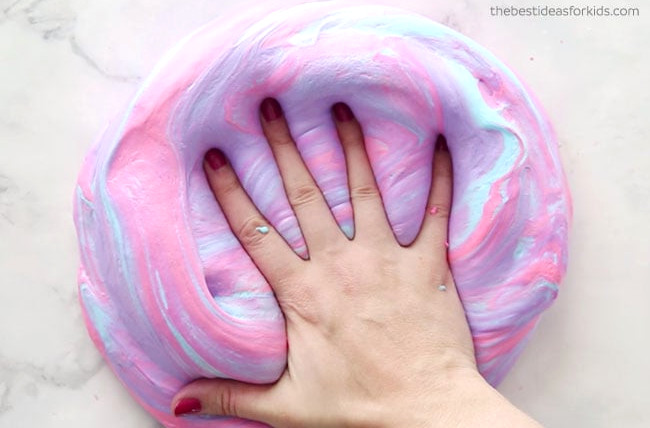
Children will enjoy assisting with this floam slime, and you can transform it into unicorn floam by creating the three shades we selected – purple, pink and blue.
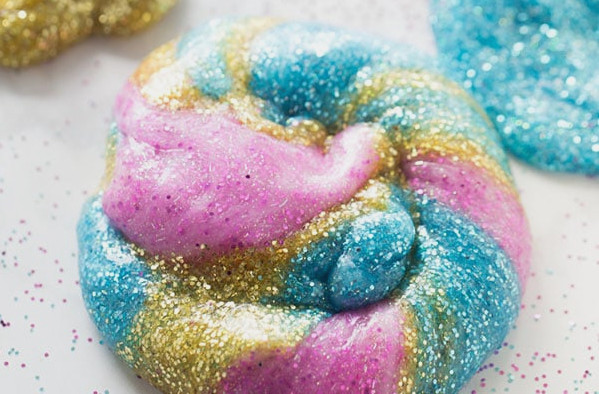
If unicorn slimes are your favorite, we also have 2 enjoyable unicorn slime recipes that are ideal for a unicorn party – this Unicorn Fluffy Slime and a glitter glue Unicorn slime.
This slime comes together quickly and leaves hardly any residue on your hands because no food coloring is necessary. For this reason, we prefer using Elmer’s Glitter glue. Coloring the glue with food dye can leave marks on your hands, but that will not happen here. We also appreciate that additional glitter is unnecessary, since loose glitter can sometimes transfer onto your hands.
Watch the Video Tutorial
What is Slime?
Slime belongs to a group of materials called polymers. Jell-O, gum and rubber bands are other examples of polymers. Glue is another polymer. Polymers consist of lengthy chains made from polyvinyl acetate molecules. Because these chains move smoothly past each other, the material can be poured.
The Science Behind Slime
Making slime is entertaining for children, while also offering a fascinating science lesson! Talk through the process with your kids as you combine the contact lens solution and glue. When contact lens solution is added to glue, it reacts with the glue and creates a thick, viscous material. This mixture becomes slime that can be molded and stretched. Slime develops when the glue molecules connect with the borate ions in the contact lens solution. This connection prevents the large molecules from sliding freely past one another, unlike when the material is still glue. The result is slime!
Will This Slime Recipe Work?
Readers often tell us that other slime recipes they attempted did not work. However, we have not yet heard from anyone whose slime failed when all the correct ingredients were used. To help ensure that your slime comes out properly – carefully follow the instructions and check the ingredients.
Contact Lens Solution: Choosing the correct contact lens solution and glue is extremely important.Replacing these items with different brands could cause your slime recipe to fail.
Glue: For many of our slime recipes, we choose Elmer’s glitter glue because it is a dependable PVA glue. We also appreciate that it comes pre-colored and already contains glitter, meaning neither needs to be mixed into your slime separately.
Safety tips: Adult supervision is advised, and adults should prepare the slime. Additional safety advice can be found at the end of this post.
How Long Does Floam Slime Last?
When stored correctly, floam can remain usable for quite some time. Place it in an airtight container or bag, and it should keep for at least 1 week. In many cases, it lasts even longer. We prefer using a Ziploc bag because it allows us to squeeze out the air.
Ingredients Needed to Make FloamSlime
- 3 Bottles of Elmer’s Glitter Glue (6 oz). We chose pink, purple and blue. Note: We have tested this only with Elmer’s glitter glue and suggest using this brand, as other brands might nottask.
Note: If you only plan to create 1 color, you’ll need just 1 bottle of glue.
- Foam Beads – we chose white, pink, blue, and purple
**Note: To give this floam slime a more traditional slime texture and make it less like classic floam, mix 3 tablespoons of water into the slime before adding the foam beads. We omitted water from this recipe so the result would be less stretchy and closer to traditional floam.
Safety Tips: Adult supervision is necessary. Refer to the end of the post for additional safety guidelines.
How to Make Floam Slime
Note: Make this recipe once for every floam color you plan to create.
1. Choose a bowl in which to combine your slime ingredients.
2. Pour one bottle ofElmer’s glitter glueinto the bowl.
3. Measure 1/2 teaspoon of baking soda into the bowl, then stir well.
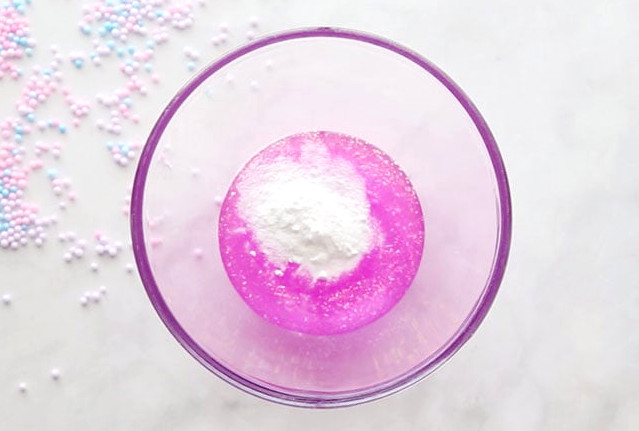
4. Next, pour in the contact lens solution.
Begin with 1/2 tablespoon, then add another 1/2 tablespoon. Stir thoroughly. We prefer adding the final tablespoon gradually, just one teaspoon at a time. Too much contact lens solution will make your slime overly firm.
After adding the second 1/2 tablespoon, remove the slime and begin kneading it. It will be quite sticky at first, which is expected. Continue kneading for approximately 5-10 minutes. If it remains excessively sticky, add the last tablespoon of contact lens solution one teaspoon at a time.
Should the slime remain sticky after kneading, apply some lotion or baby oil to your hands. A small amount can also be worked into the slime. Because this recipe contains no water, the slime will not be as stretchy, which is ideal for making floam. After incorporating the foam beads, it will have a crunchier texture instead of the usual stretchy consistency.
Reminder: Your contact lens solution needs to include boric acid and sodium borate, otherwise the slime will not come together. Our favorite is this brand. Find additional advice in How to Make Slime with Contact Solution.
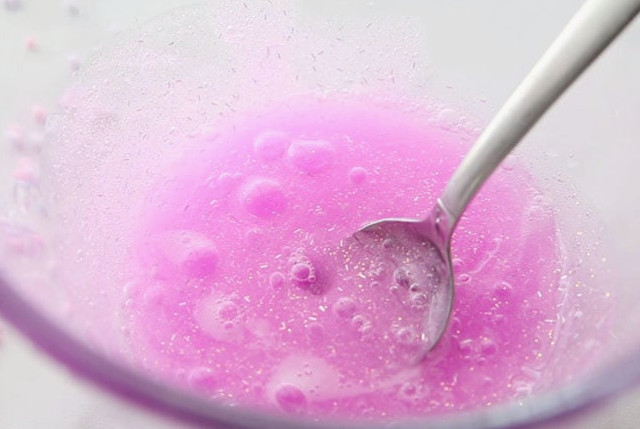
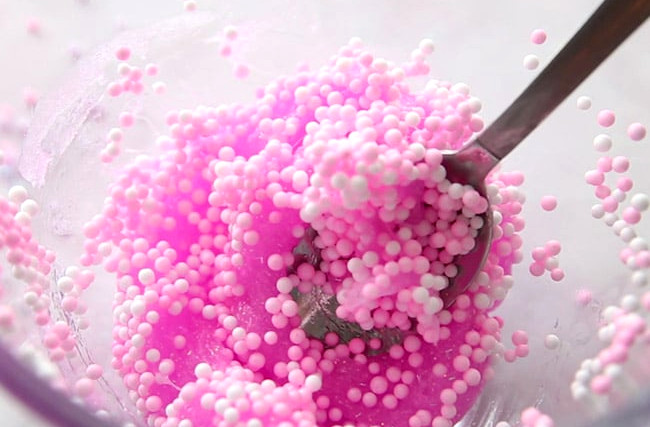
5. Stir the foam beads into the bowl.
Gradually blend in the foam beads. Since these tiny beads can easily scatter from the bowl and roll away, we recommend working slowly. If they spread around the area, press the slime over them to collect them.
After stirring the beads into the mixture, remove the slime and add a bit more if desired. Place some beads in the center, then fold the slime over them. Continue kneading until the beads are distributed throughout. We used plenty of foam beads to achieve a texture similar to store-bought floam. Using fewer beads will create something closer to regular slime with just a slight crunch.
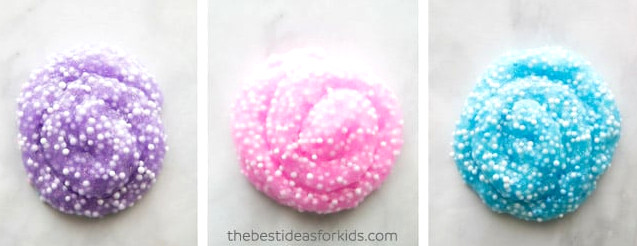
For Pink – combine pink + white foam beads
For Purple – combine purple + white foam beads
For Blue – combine blue + white foam beads
Repeat this floam slime process for every color needed to create your Unicorn floam.
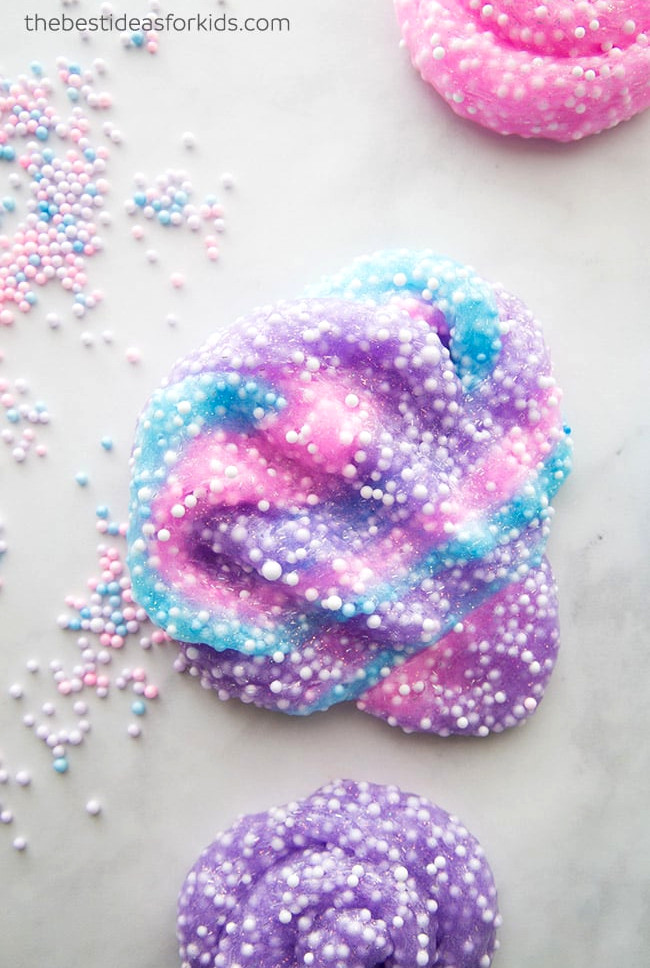
We prepared pink, purple, and blue, then combined them. As you continue blending the colors, they will become purple, just as traditional floam does when mixed.
For additional enjoyable slime ideas, check out these other favorite slime recipes:
Slime Safety & Precautions
Note: Creating slime is a science experiment, so proper safety measures should be followed. By making this slime, you accept our site terms, which are available here.
- Adults should manage all chemicals and supplies
- Adults should prepare the slime
- Always check and follow the instructions on the labels of the products used. If contact lens solution is swallowed accidentally, obtain medical help immediately.
- This activity is inappropriate for children younger than 4.
- Never put slime in the mouth. Wash hands both before and after handling the slime.
- If any skin irritation occurs, stop using it right away. Those with sensitive skin should wear gloves when making or playing with the slime.
- Slime is a scientific activity and should be created and used moderately. Do not let children make slime without assistance, and avoid playing with it for long periods.
More Slime Recipes
Have you made fluffy slime yet? It is incredibly enjoyable to play with and serves as an excellent sensory activity!
This mermaid slime resembles a mermaid’s tail.
Be sure to check out our Unicorn Slime Recipe.