After leaving it completely untouched last Spring, I couldn’t wait to head outside this year. Here’s how I decorate my cottage porch each Spring, relying mainly on pieces I already have.
Last spring, my porch received absolutely no decoration.
The weather was chilly and wet, and whenever I considered hauling everything outside, the sky seemed to turn a dull shade of gray and drizzle just enough to be irritating. So I skipped it. I shut the door and reminded myself that there would always be another year.
Quick Overview
Budget: Nearly nothing. Primarily pieces I already had, along with a few pots of spring flowers
Style: Cottage-inspired, vintage, and organic with thrifted treasures
Key pieces: Thrifted console table, weathered lantern, wire baskets, old terracotta pots, bunny statue, spring-blooming bulbs
DIY elements: Living pansy wreath, basket arrangement for the door, woodland birdhouse, bird’s nest, pussy willow wreath
Time: An easygoing afternoon
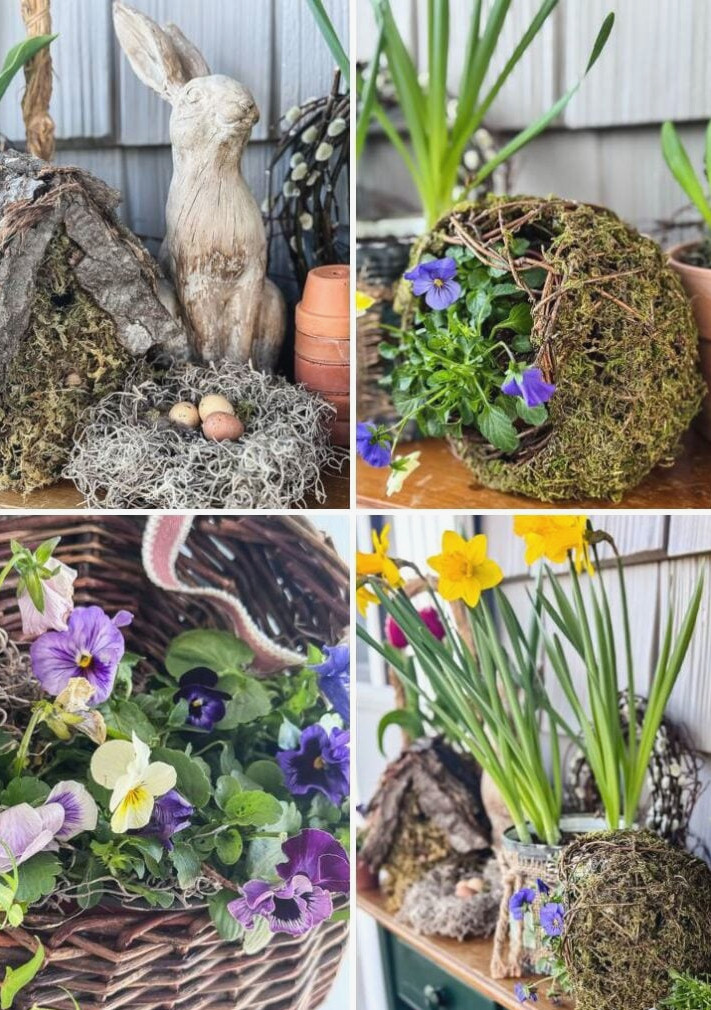
Beginning Again (Without Spending Much)
Well, the following year has arrived, and this Spring feels entirely different.
The advantage of missing an entire porch-decorating season is that you return the next year with a fresh perspective and no obligation to outdo your previous efforts. That was precisely my situation this week.
Once the snow disappeared from the porch, the sunshine finally appeared, and I felt that familiar urge to step outside and make the space lovely again. Still, I always need reminding until I’m standing there with coffee in hand, looking over the area: decorating a porch doesn’t need to become a major undertaking.
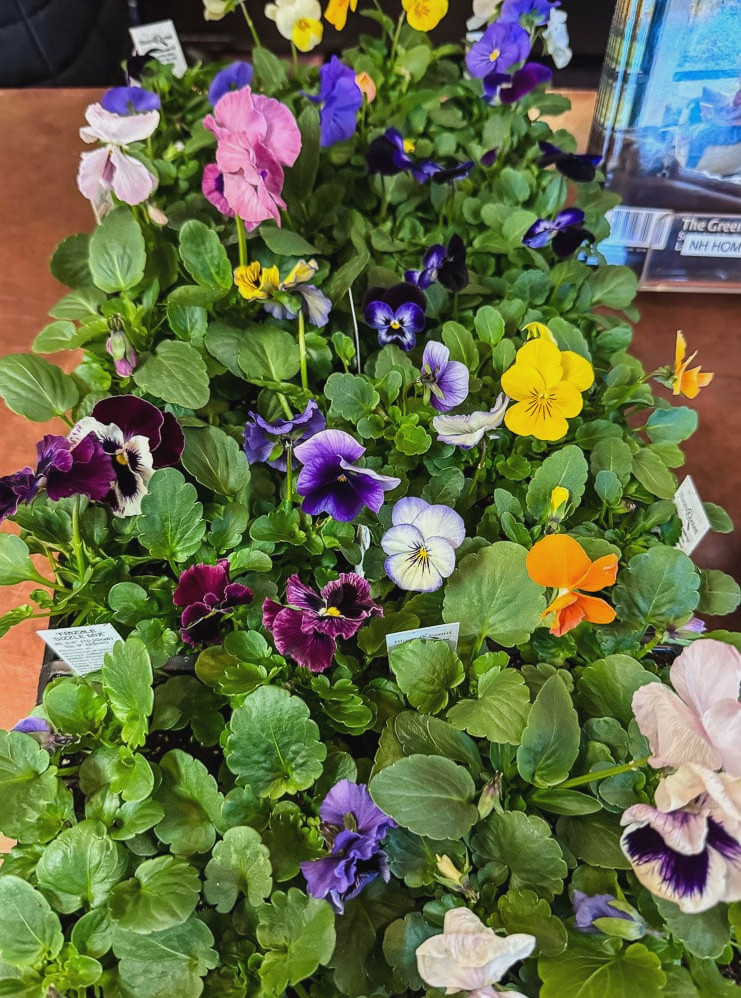
I never made a dedicated shopping run for this project. Instead, I searched through my own decorating collection, brought out pieces from other rooms, and bought a few pots of spring-flowering bulbs plus some bright pansies. That was all.
It has the same cottage look I adore, costs practically nothing, and, honestly, may be one of my favorite porches so far.
This is exactly how I approach it each year.
Welcome! I’m Jennifer, and since 2019 I’ve been documenting my home’s transformation, with an emphasis on attainable, budget-conscious style. If you appreciate New England’s character but need a home that suits everyday living, you’re exactly where you belong. I explain my projects step by step so you can build a home that reflects your story without feeling overwhelmed.
Choose One Piece to Carry the Look
A successful porch vignette needs an anchor: a substantial item that gives the entire arrangement purpose. This year, my anchor was a console table from a thrift store.
Adding a table to the porch changes everything. It provides a surface, introduces height, and gives you a place to actually set things rather than arranging them across the floor like a yard-sale display. It forms a deliberate little scene that says “this was thoughtfully styled” instead of “these items were left here.”
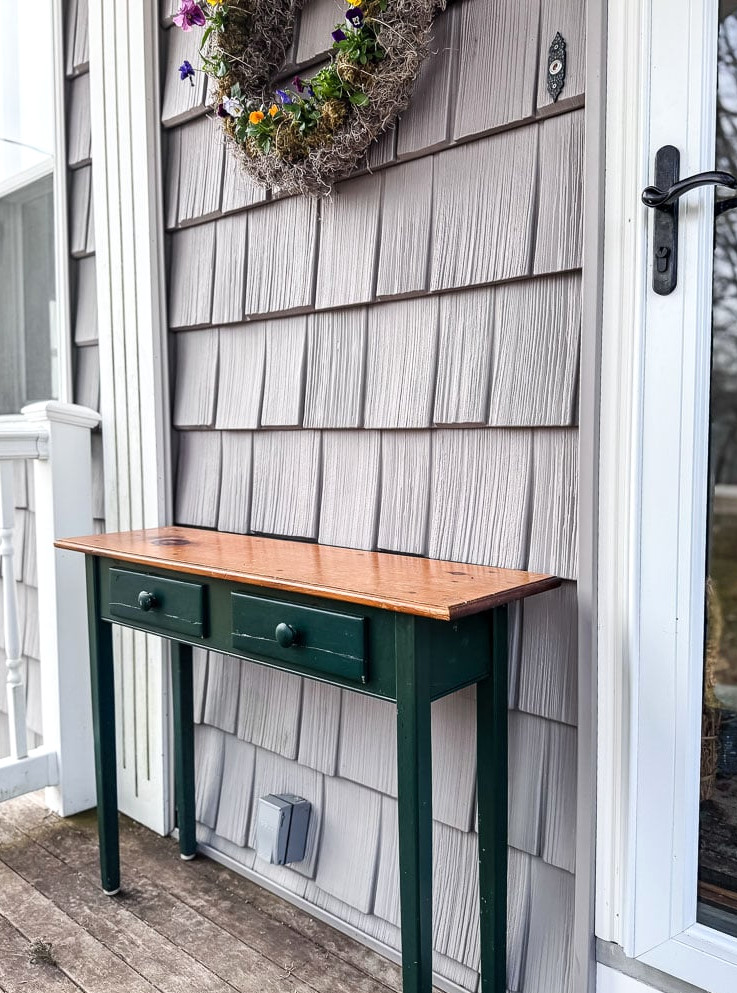
I found mine at a thrift shop. At this point, I couldn’t even say when I bought it, which is usually a sign that it was an excellent discovery. It has definitely secured its place.
A table isn’t required, though. You could use an aged bench, a worn wooden crate, an antique chair, or anything substantial enough to ground one corner of the porch. Begin with that single item, then layer everything else around it.
Create Arrangements With Pieces You Already Have
Before visiting a shop, take a moment to explore your home and storage areas. I collect anything that grabs my attention and place it in a pile. Some pieces will make the final arrangement while others will return to their original spots, but this method makes decorating easier and lets me discover what sparks ideas as I go.
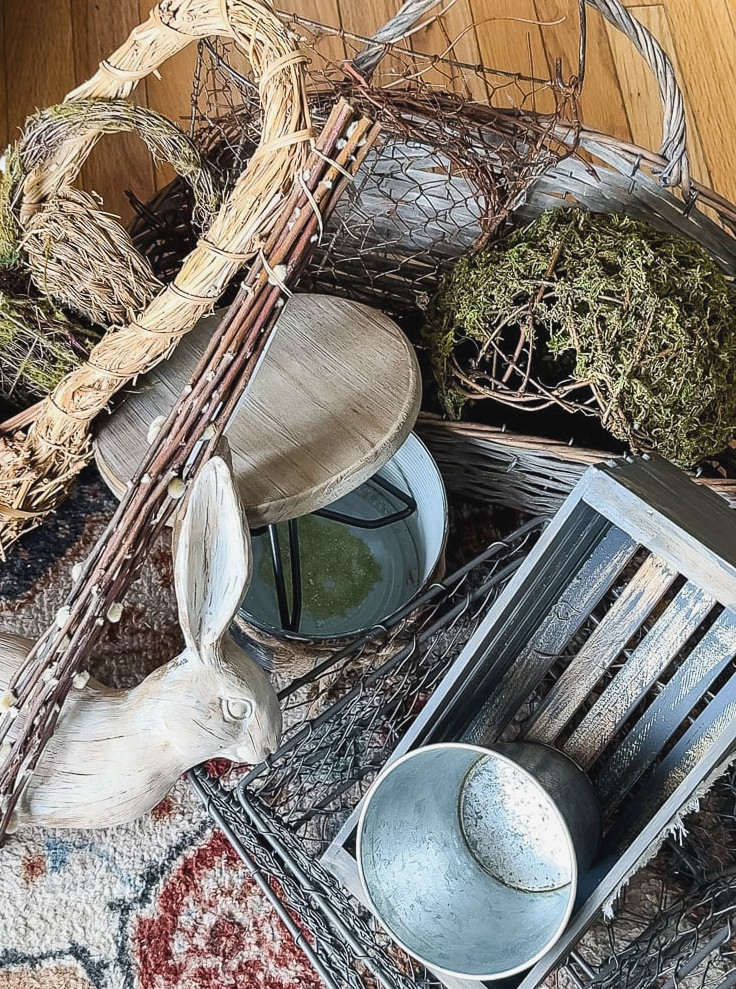
I refer to this as my “grab-a-bunch-of-stuff walk,” and it manages to surprise me every time. Each year, I forget about half of what I own. I’ll discover something purchased at a flea market years ago that had completely slipped my mind, and it turns out to be exactly what the space needs. This year followed the same pattern.
I pulled together a rusty lantern, several wire baskets, a group of small vintage terracotta pots, a thrifted basket with handles, and a bunny garden statue that has been part of my collection for years. Nothing was new, and I didn’t buy anything specifically for this project. It was simply a collection of pieces I already cherished, finally gettingtheir time to shine, quite literally.
The only items I truly purchased were the flowers and greenery for the decor. That covered the entire “budget” for updating this porch.
This is how I style my vignettes: I focus on changing up the heights, combining different textures, and including at least one living element in every small arrangement. A weathered lantern beside a terracotta pot with a bulb sprouting from it. Wire baskets placed beneath the table, resting on a distressed stool, along with a ceramic bunny brimming with cheerful pansies. The bunny is tucked into the display so it looks naturally settled instead of simply dropped into place.
Birdhouse Display
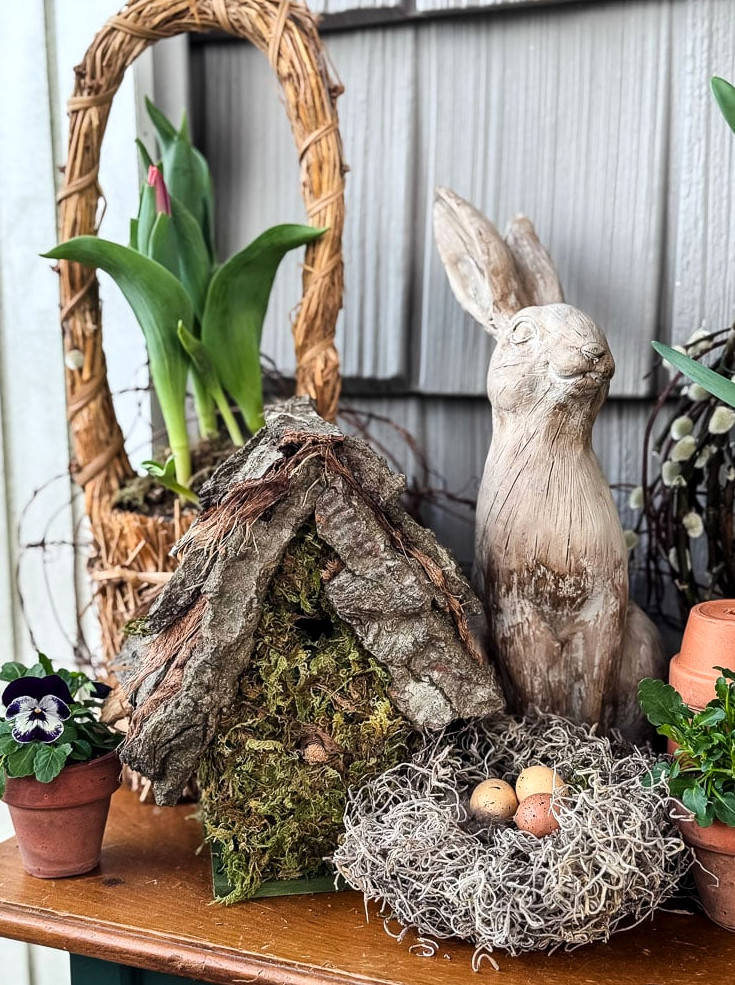
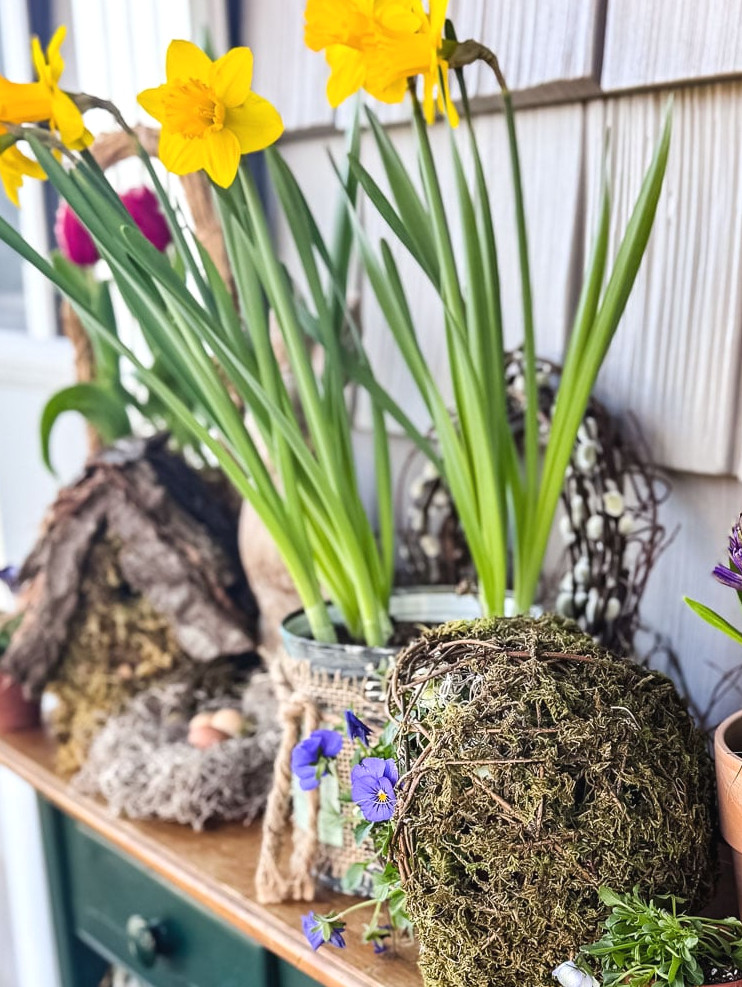
This section of the table shows how I build a vignette. I began with the tall handled straw basket (a thrift-store treasure) and placed a small pot of tulips inside to create an instant burst of color and added height. Next, I arranged the garden bunny statue, my DIY woodland birdhouse, and a petite handmade bird’s nest. For the finishing touch, I planted one pansy in a tiny vintage terracotta pot and tucked it into the arrangement.
The trick is to combine different heights and textures, giving your gaze a path to follow. A tall basket, a medium-height birdhouse, and a low pot create the progression. It may seem basic, but that contrast is what makes a vignette look intentionally styled rather than merely placed. Since every piece carries a bit of age, rust, or handmade charm, the overall look remains easygoing and natural instead of overly fussy.
Weathered Lantern
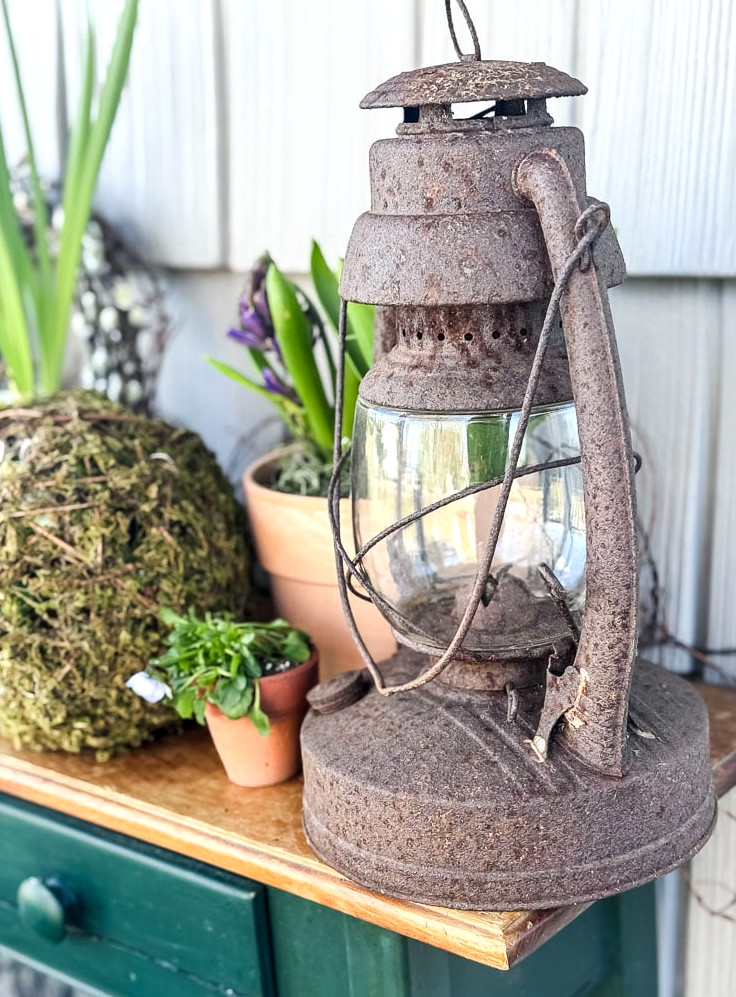
At the opposite end of the table, I kept the arrangement equally uncomplicated. My favorite weathered lantern grounds the corner. It has appeared on every porch and in every vignette I’ve styled, yet I never tire of it. Beside it, a terracotta pot filled with purple hyacinths provides some height and an amazing springtime scent. A moss-and-vine orb with a few pansies tucked inside joins the display, while a petite pot of pansies completes the look.
The same principle applies here: vary the heights, layer different textures, and add at least one living element to make the arrangement feel lively.
Pieces with some rust, age, and a little history are what bring personality to a porch. That kind of character isn’t something you can pick up at HomeGoods.
What I Gathered
I pulled together a blend of longtime favorites and items I had overlooked
- A secondhand console table (one of my finest finds, solid wood, sturdy construction, and the ideal shade of green)
- My weathered lantern, which only improves with age
- A bunny garden statue that spends the winter in the garage
- A collection of small vintage terracotta pots (I can never pass them up when I spot them)
- Decorative metal canister
- A secondhand handled straw basket
- Wire baskets in several varying sizes
- My DIY woodland birdhouse (the tutorial is available if you’d like to create one yourself)
- DIY bird nest
- Fresh pussy willow wreath
- Moss/rattan orb (I picked it up at Michael’s last year
Bring In Living Elements
Nothing captures Spring quite like something genuinely growing on your porch, so this year I embraced pansies and spring-blooming bulbs wholeheartedly.
Bulbs make an especially economical choice for porch styling. In early spring, you can purchase them already planted at nearly any nursery, grocery store, or garden center, and they generally cost only a few dollars per pot. I placed mine inside baskets and containers to conceal the plastic nursery pots. That way, only the blooms show, as though they naturally belong there.
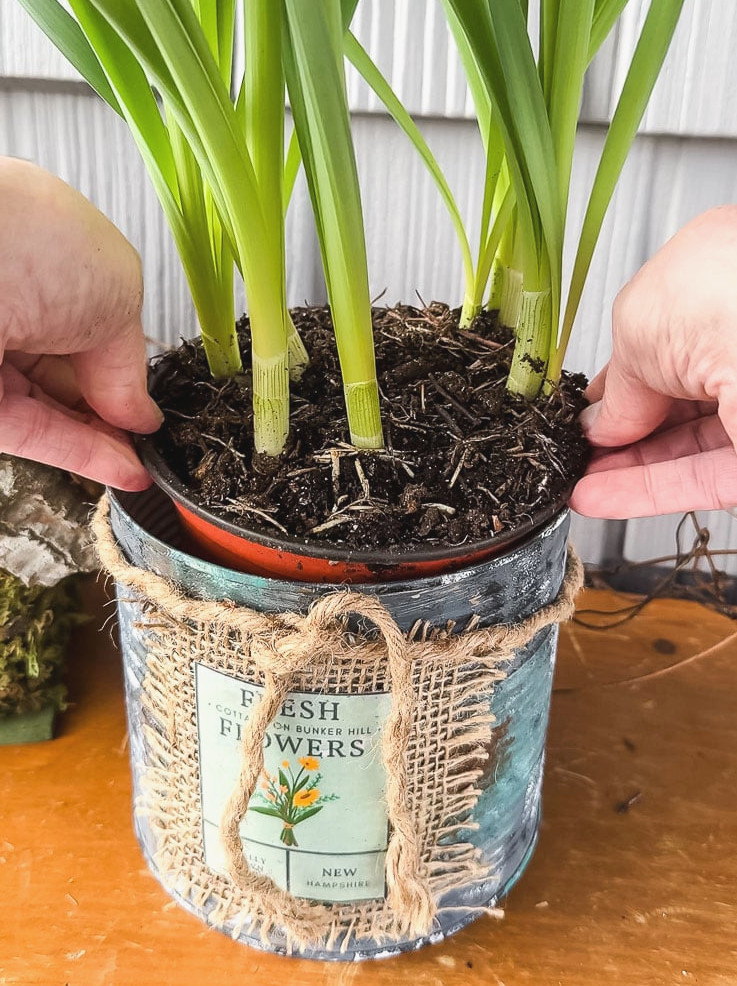
One especially practical New Hampshire tip: if you live in a chilly region like I do, watch the forecast closely. Spring bulbs can tolerate cool weather, but when temperatures are expected to drop far below freezing, I simply move the pots indoors for the night. I had to do that recently when it reached 20°. Crisis avoided, flowers preserved.
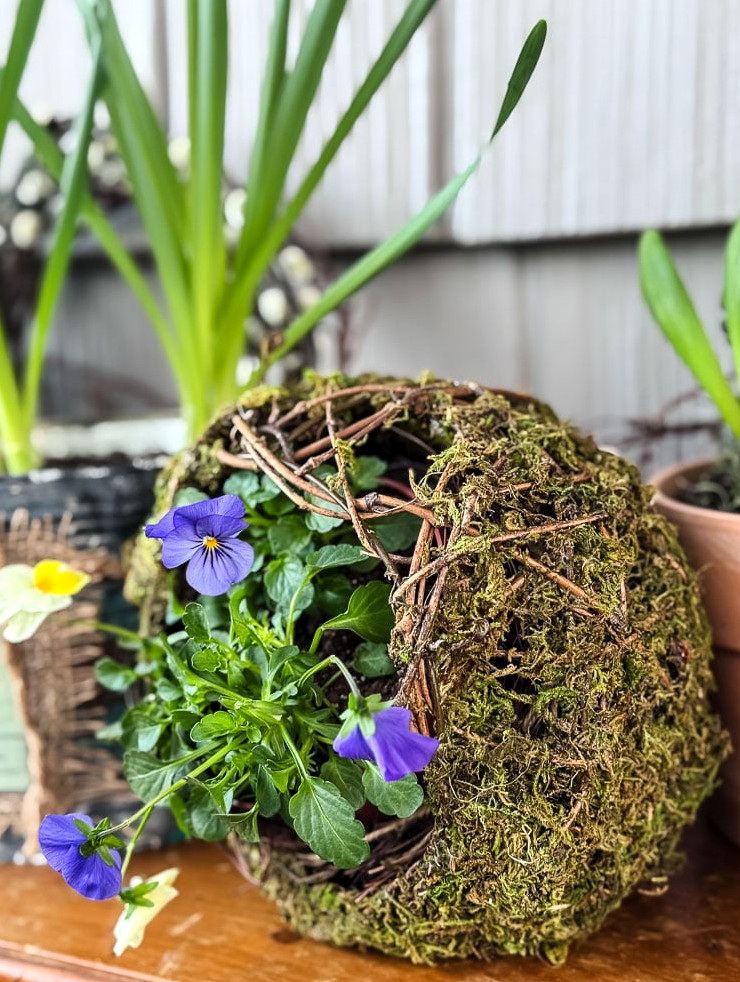
Seeing those tiny flowers unfold over a week or two is truly one of my favorite things about Spring. Every penny is well spent.
Remember the Door
The door creates your porch’s entire first impression, so I always devote a bit of extra attention to it.
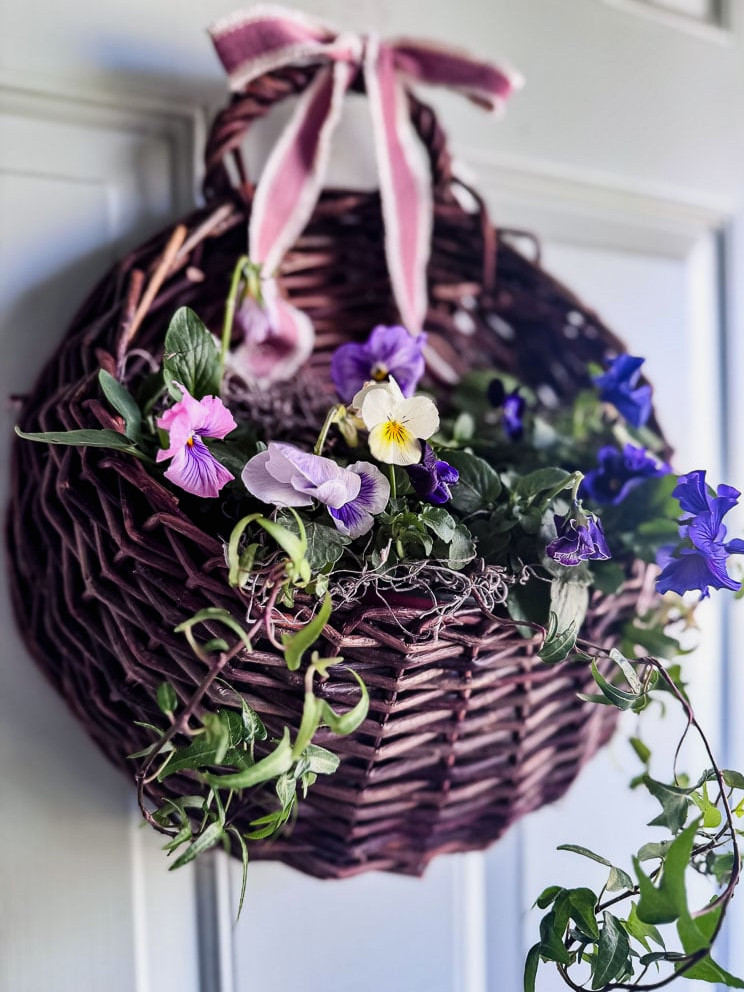
This year, I placed a door basket on the entrance and filled it with a fresh pansy display. Pansies are my favorite choice for early Spring. They withstand the cold, are available in the prettiest shades, and offer a charming, old-fashioned appearance that suits a cottage porch beautifully. A basket filled with them on the door is effortless and fresh, making the entire entryway feel inviting with hardly any work.
How to Make a Pansy Door Basket
Putting together the door basket couldn’t be easier! Truly, the entire process took only ten minutes!
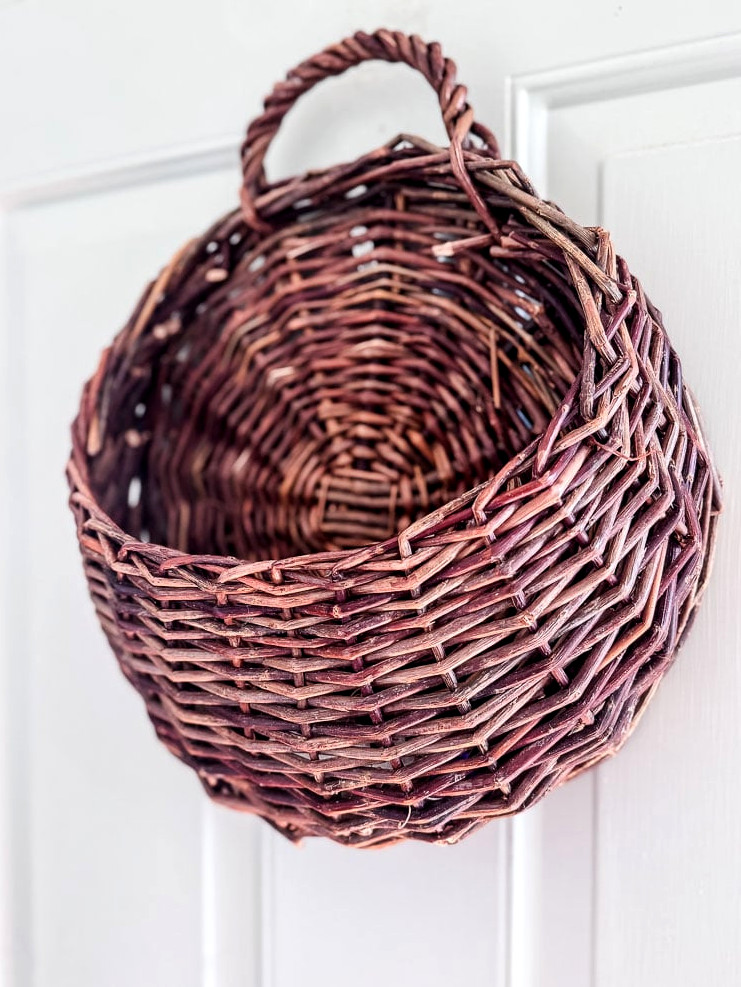
For this pansy basket, I discovered it was far easier to arrange everything while it was already hanging in position.
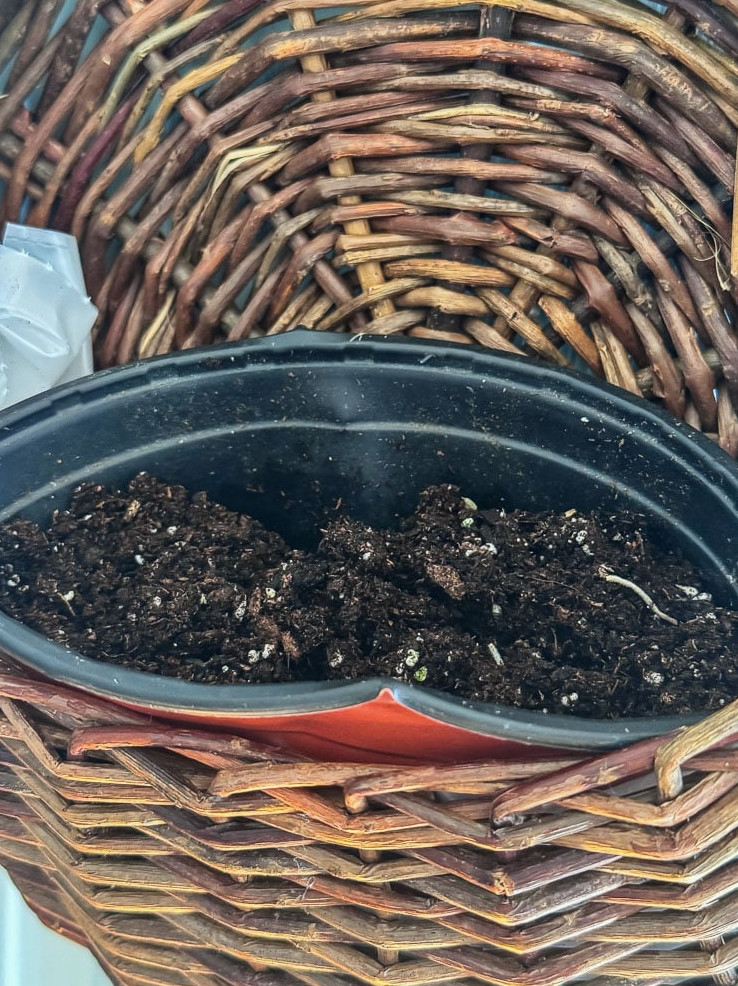
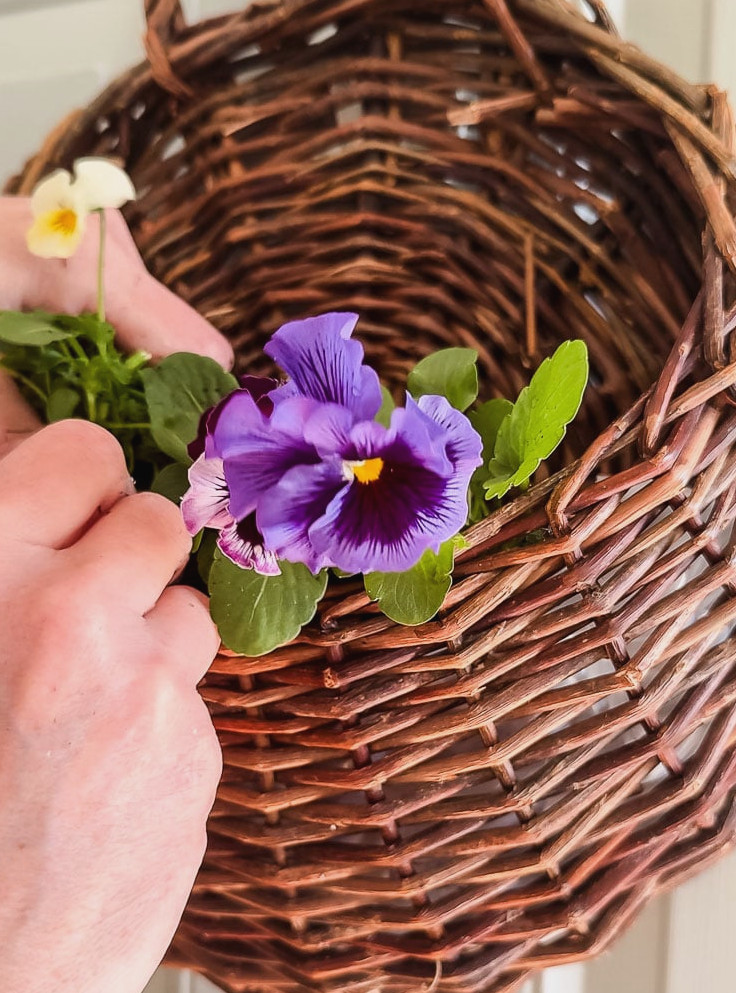
Here’s the process:
- Place a nursery pot inside your basket. Mine fit snugly. I gently squeezed it, and it slid right into place.
- Plant individual pansies from a 6-pack straight into the nursery pot, filling the space as you work.
- Add a few trailing ivy sprigs for a touch of softness. Mine came from a plant I had been rooting in water, making it practically free.
- Fill the open spaces with pieces of Spanish moss
- Finish by wiring a soft pink bow onto the handle.
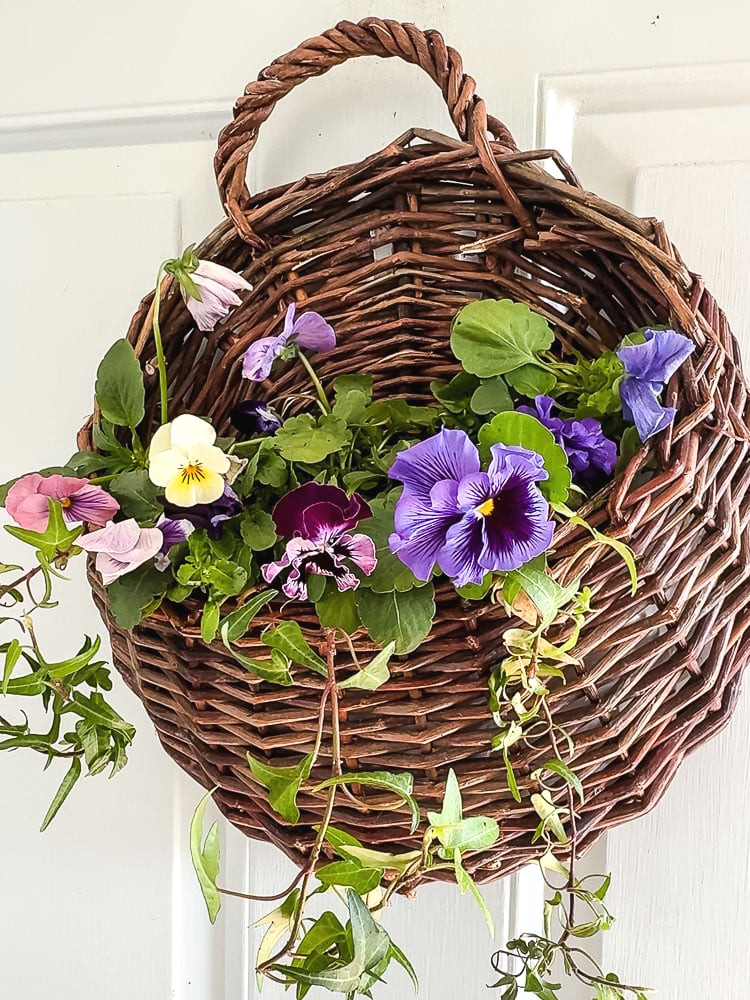
And that’s all! During the next few weeks, the pansies will grow fuller and cascade over the sides, becoming even more beautiful as the season progresses.
Beside the house, just alongside the front door, I placed the living pansy wreath I created a few weeks ago. If you haven’t viewed it yet, I have a complete tutorial here explaining precisely how to make one. It’s the kind of project that appears remarkably impressive while remaining surprisingly easy to tackle, I promise.
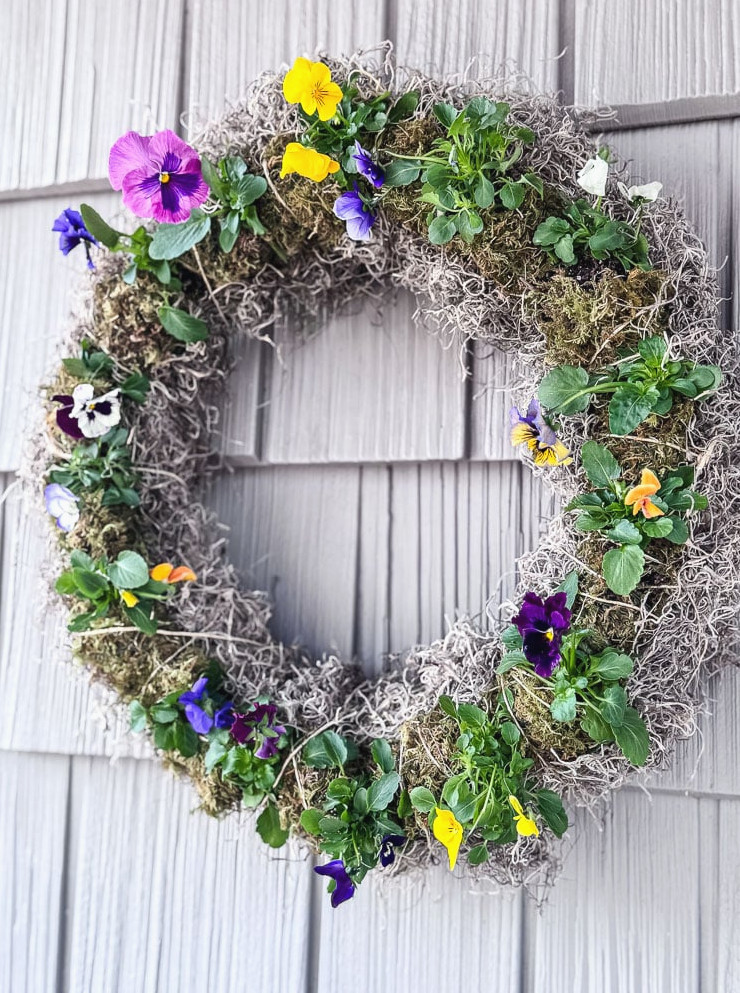
The door basket and wreath work together to frame the entrance, giving it a thoughtful and polished appearance. That’s what separates a porch that feels truly “done” from one that simply looks like a few things were carried outdoors.
The Small Touches That Pull It All Together
Here’s my favorite trick for creating a porch that feels like you instead of a shop display: add a handful of meaningful pieces, then pay attention to the little details.
The handmade woodland birdhouse and tiny bird’s nest nestled into the arrangement are the sorts of accents that bring in personality you just can’t buy anywhere. You can find my complete birdhouse tutorial here if you’d like to create one yourself. It makes for a wonderful afternoon project.
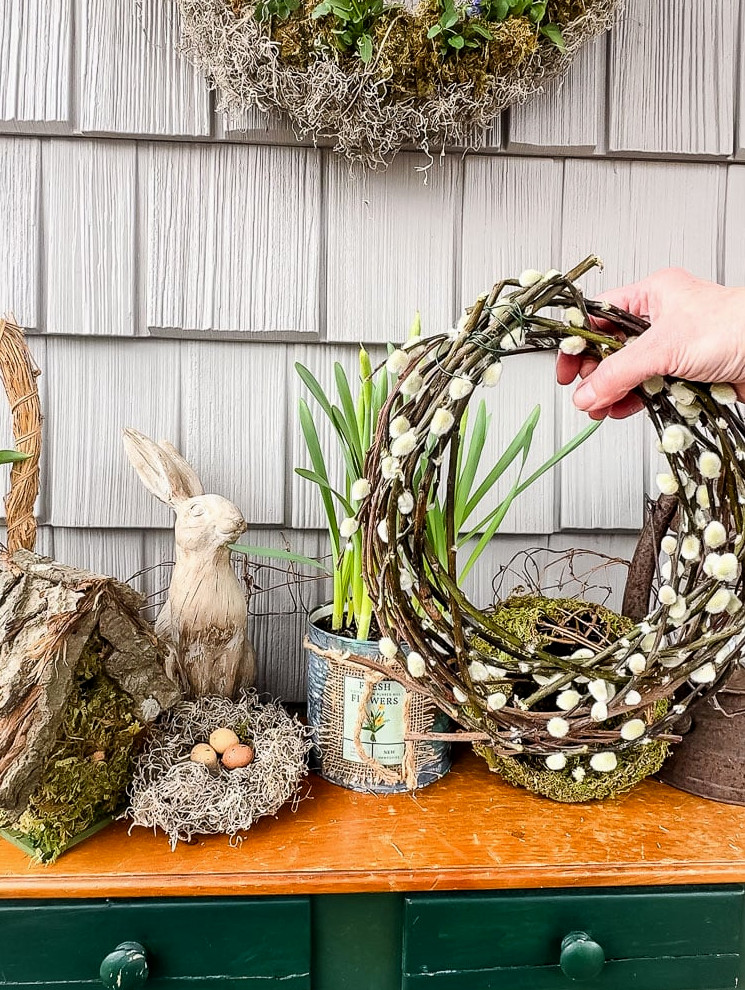
I made a fresh, uncomplicated pussy willow wreath as well and propped it against the house beside the bunny. No wreath form, no complications! I simply curved the branches into a ring and fastened them with a bit of floral wire. That’s all. It appears wonderfully time-consuming while costing practically nothing.
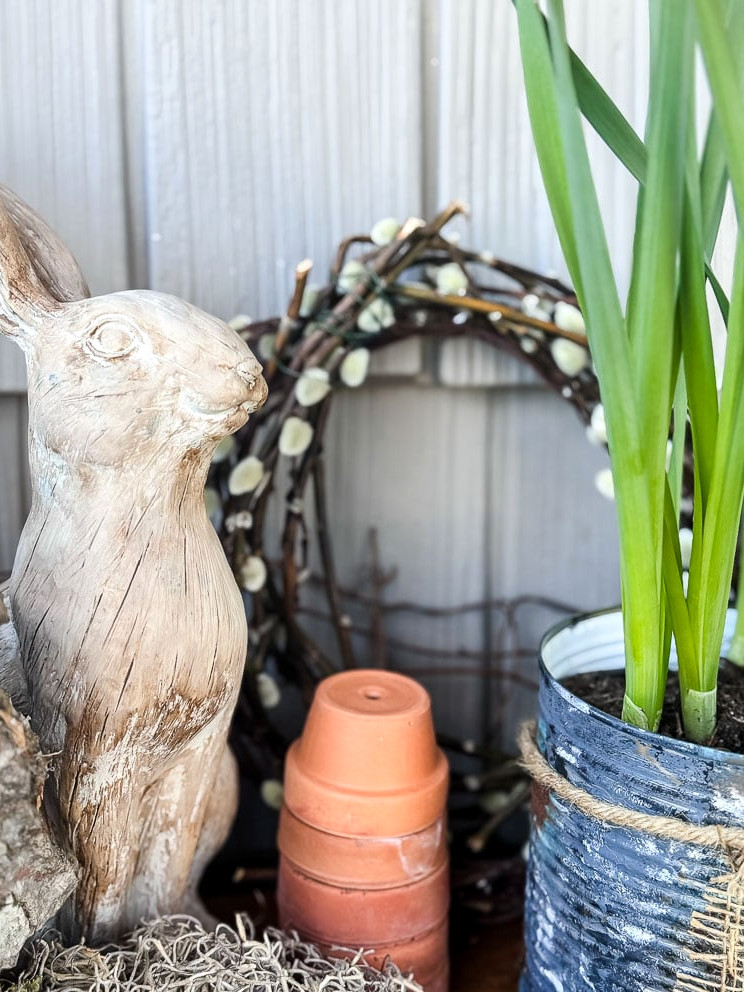
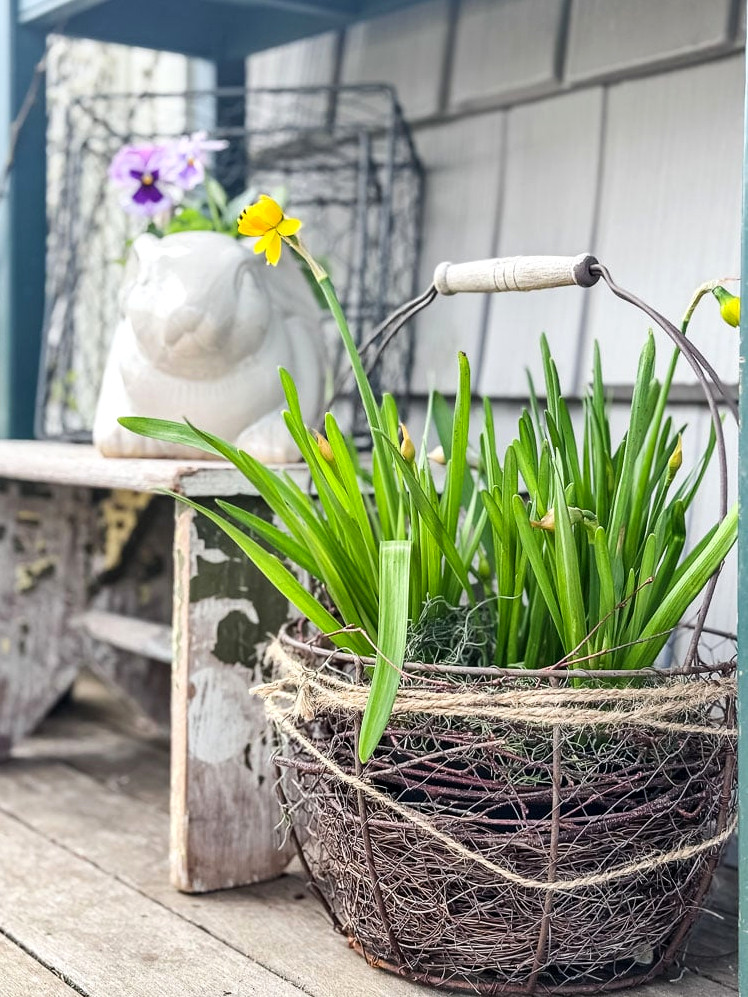
I didn’t want the area beneath the table to sit bare, so I styled it as a small vignette of its own. A weathered flea market stool adds height, while two wire baskets are stacked above it and a ceramic bunny planter sits among a few pansies. Beside the stool, a wire basket filled with daffodils completes the arrangement. It creates a warm little scene that gives the entire table display more depth and balance.
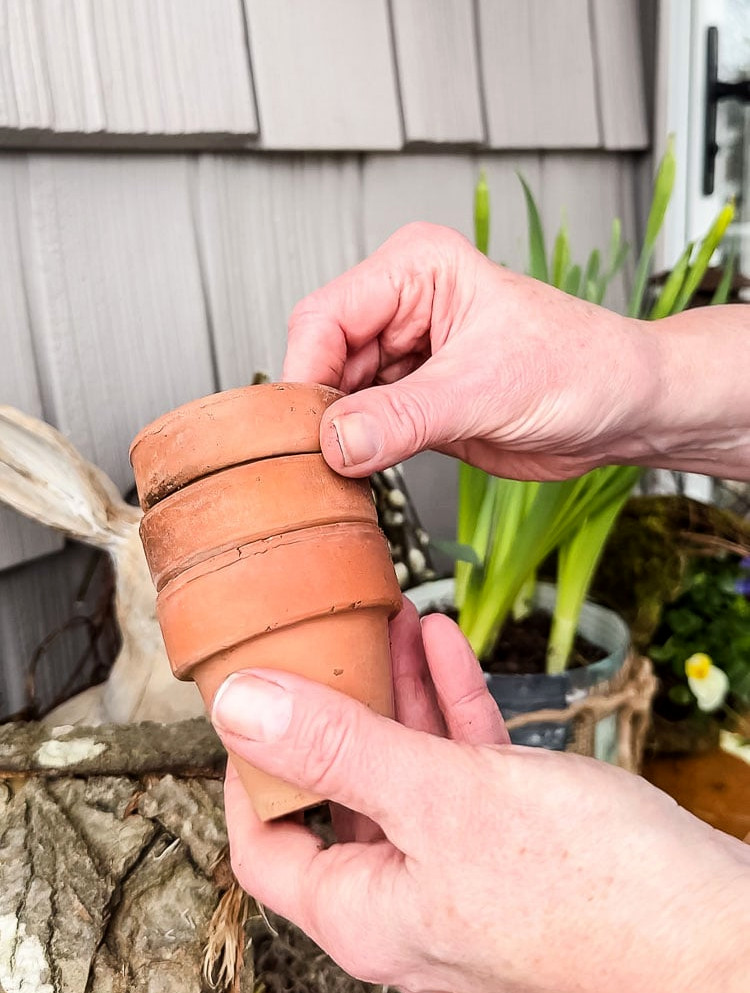
Truthfully, some of my favorite accents on this porch are the tiniest ones. There was an empty spot on the table, so I turned a few old terracotta pots upside down, stacked them, and left it at that. The arrangement looks deliberate, brings in varied height, and costs absolutely nothing. I also covered the soil in each bulb pot with moss, concealing the ordinary dirt below. It’s a minor addition, but it changes everything — the pots suddenly appear styled and intentional instead of newly brought home from the nursery.
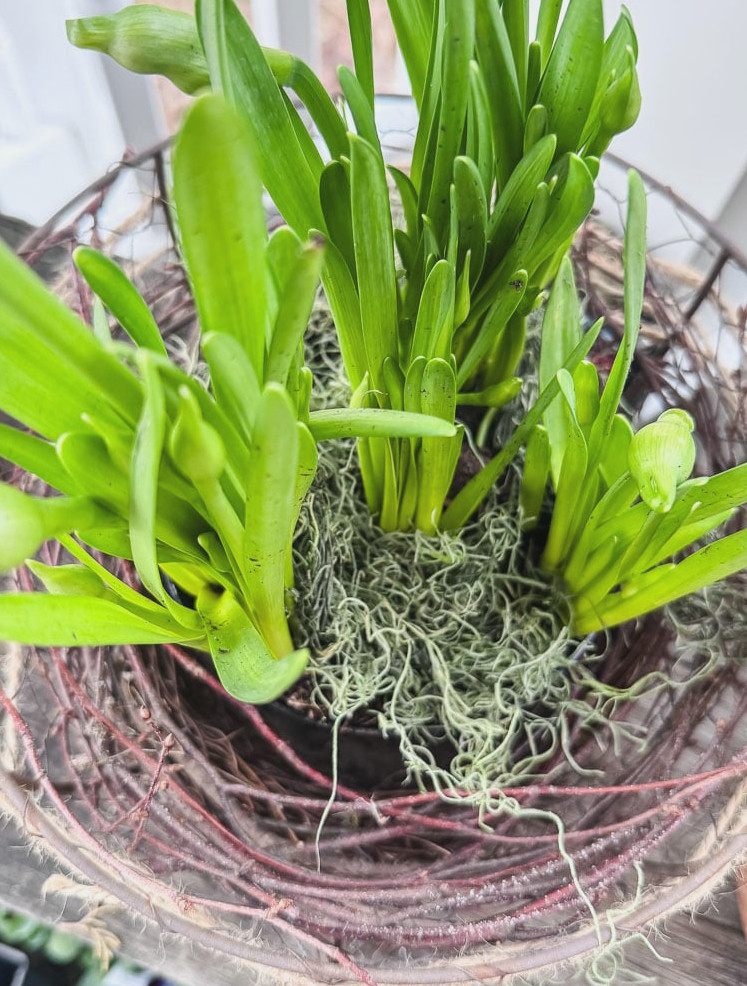
These modest touches — the moss, the stacked pots, and the handmade wreath — transform a porch from “I put a few things outside” into “how did she create that?” You don’t need much money or hours of spare time. Simply pause for five extra minutes and notice the empty spaces.
A Little Thoughtfulness Goes a Long Way
I have to admit, after passing on the whole project last year, stepping outside to do it this Spring felt wonderful!
It also brought back a lesson I seem to rediscover every season: a porch doesn’t have to be large. It doesn’t have to be costly. There’s no need for a shopping spree or a picture-perfect Pinterest plan. All it requires is a bit of intention and a willingness to use what you already have.
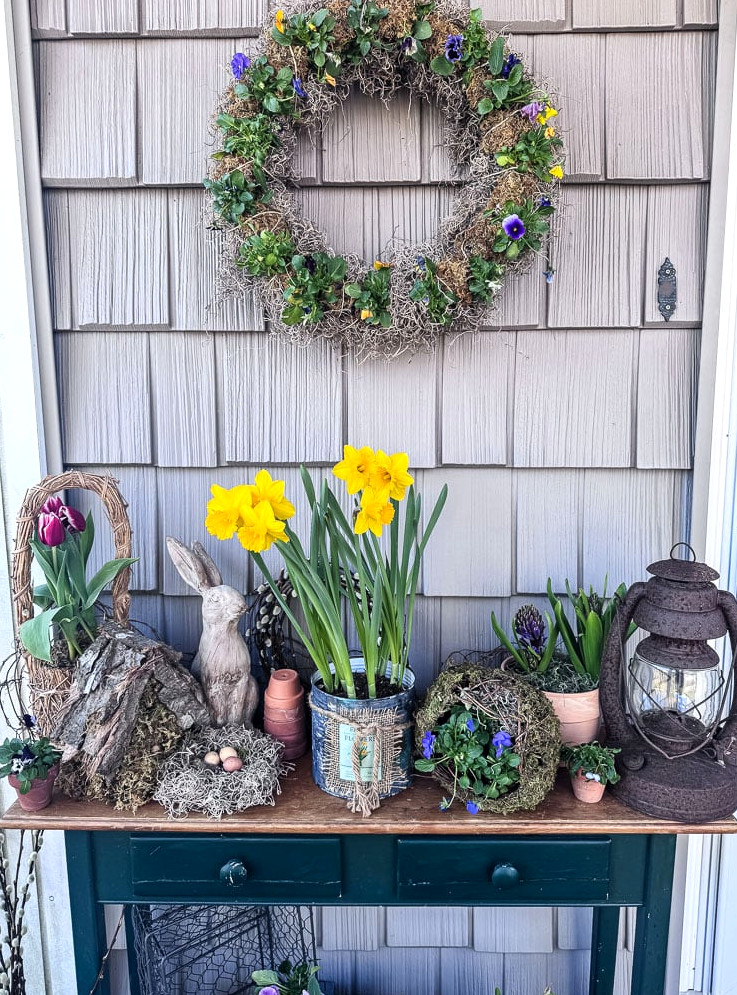
A secondhand table. A weathered lantern. A handful of pansy pots. A few items retrieved from the back of a closet, patiently waiting to be used.
That’s all. That’s the entire recipe.
Looking for additional spring porch inspiration? Take a look at these posts:
Now tell me, do you decorate your porch for spring, or are you more like the version of me from last year, admiring the rain from indoors? Either way, I’d be happy to hear your thoughts in the comments below.
xo, Jennifer