Encourage children to try sewing with this wonderful Sewing Project for Kids. I have a soft spot for “cute gory” creations. I am not REALLY a fan of Zombies or creepy-looking things…. (I am NOT a Walking Dead enthusiast AT ALL!), though an adorable Zombie does appeal to me.. or, in this instance, a Voodoo Doll. This isn’t simply an ordinary Voodoo Doll craft – it doubles as a Voodoo Doll PIN CUSHION. Clever, practical and entertaining all at once! It is an excellent project for beginner(ish) sewers, although it is definitely more suitable for older kids or grown ups. These Voodoo Doll Pincushions would also make lovely little Halloween presents. Without the pins, they are sweet as key rings too, and my two children have already taken ownership of these two! While this project can certainly be made throughout the year, I think it is especially perfect for Halloween. So much fun!!
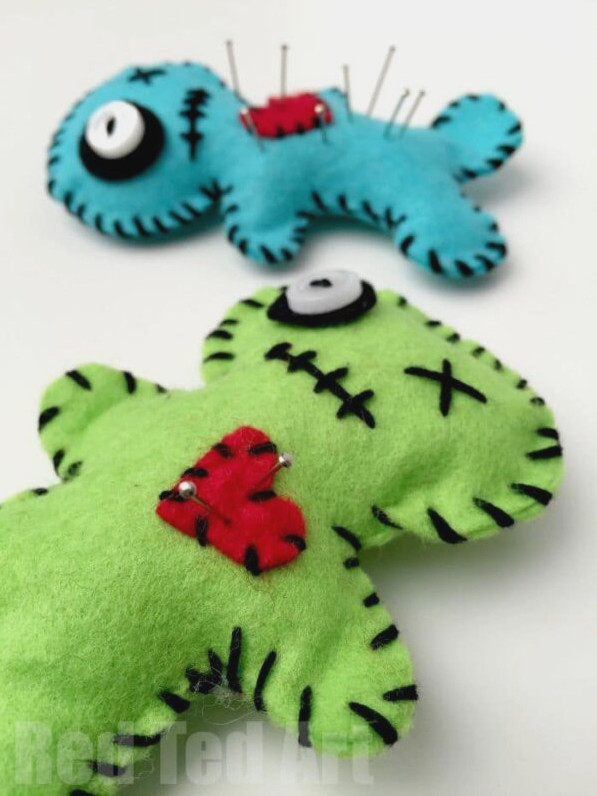
Originally shared in August 2015! What a fun idea!
DIY Voodoo Pincushion – Materials:
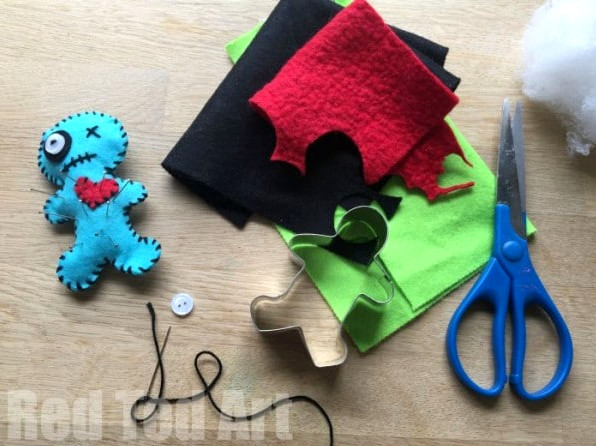
- Felt in your main colour (we chose green and blue)
- Scraps of red felt & black felt
- Black embroidery thread
- Button (optional)
- Filling
- Gingerbread man cookie cutter (for making your own template)
Making a Voodoo Pincushion:
and remember to SUBSCRIBE to my YouTube channel!
How to create a felt voodoo doll pin cushion
This project is also a fun way to practise some useful beginner sewing stitches. I chose an overstitch, though you could try other stitches as well!
1) Start by creating a template. I used my gingerbread man cookie cutter for this – I traced around it, made the shape slightly wider and gave it an extra-large head.
2) Using your handmade template, cut out two felt pieces in the same colour.
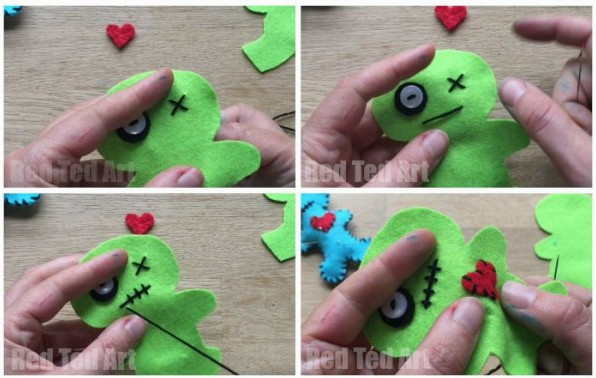
3) Trim a little black circle – slightly larger than the button. Stitch the button and felt on together.
4) Create a cross for the other eye.
5) Stitch the mouth – one long line with smaller lines crossing over the top.
6) Next, sew on the heart.
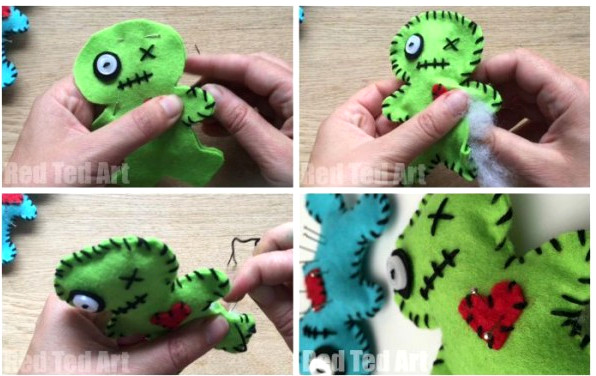
7) Pin the top and bottom felt pieces together. Begin stitching around the outside. I began UNDER THE ARM and continued all the way around, leaving a little gap between the leg and arm to finish.
8) Fill it – be certain to push the stuffing right down into the arms and legs.
9) Stitch the opening closed… and you are done! So easy.
ENJOY your adorable Halloween Craft – as noted earlier, these would also be charming as keyrings or zipper pulls (without the pins) – my children have already claimed them for themselves.
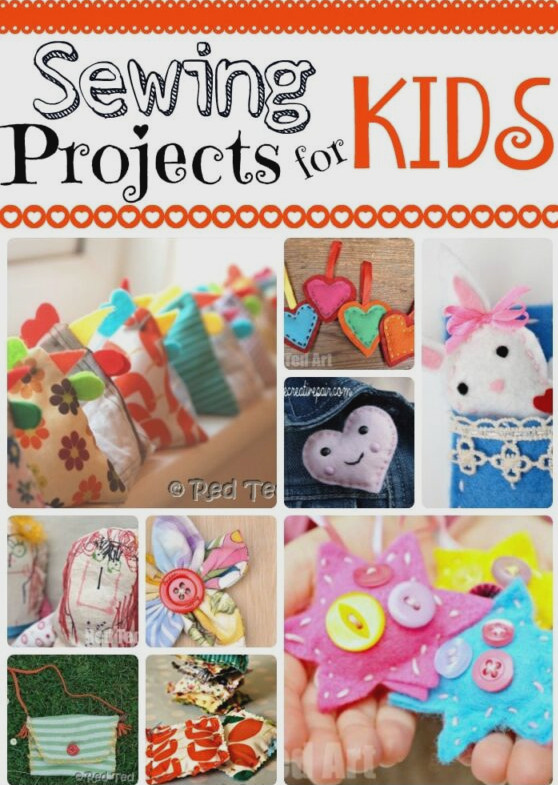
Discover more fantastic Sewing Projects for Kids: