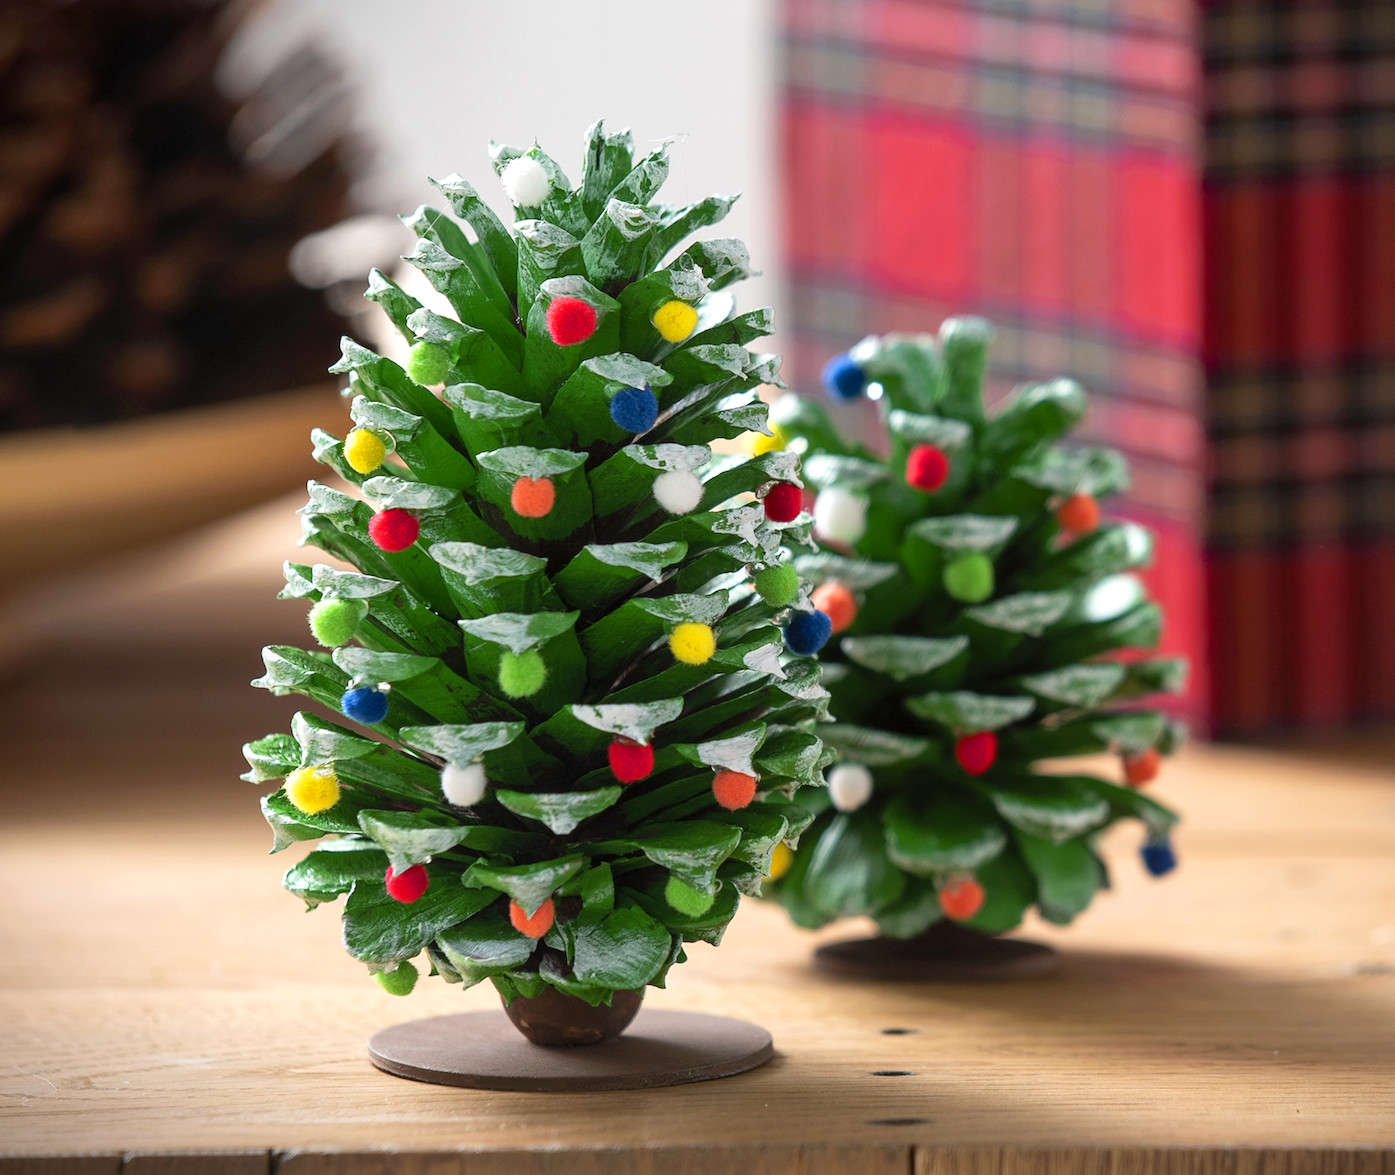
Discover how to create the most adorable pine cone Christmas trees, an entertaining holiday project for children! It’s an excellent family activity that’s also incredibly simple.
Skills Required: None. You’ll be painting pine cones and a few wooden pieces for an optional base, along with doing some gluing. The activity can be adjusted for younger children, while older kids can add their own personal touches.
Not long ago, my mom and I attended a tree-lighting ceremony in her neighborhood. Actually, she handled the tree-lighting portion, while I was there mainly for the crafting.
She asked me to join because the neighborhood had prepared several Christmas crafts for the children, and she wanted me to organize the activities. I wasn’t sure I would participate until I heard that a coffee cart would be there. COUNT ME IN!
Just kidding. Well, not about the coffee cart, but about needing convincing to help. I’m always ready for a fun holiday crafting session, especially when children’s projects are involved. To me, creativity is where the true Christmas magic lies. I absolutely adore it!
We offered several projects during the tree lighting so that everyone could find something suitable, regardless of age. The choices included small wooden trees to decorate, popsicle-stick reindeer ornaments, a paper plate wreath, and pine cone Christmas trees.
These trees are incredibly simple to create, and there are countless ways to design them. I’m going to share my version with you! It’s a festive Christmas craft that both children AND adults will enjoy.
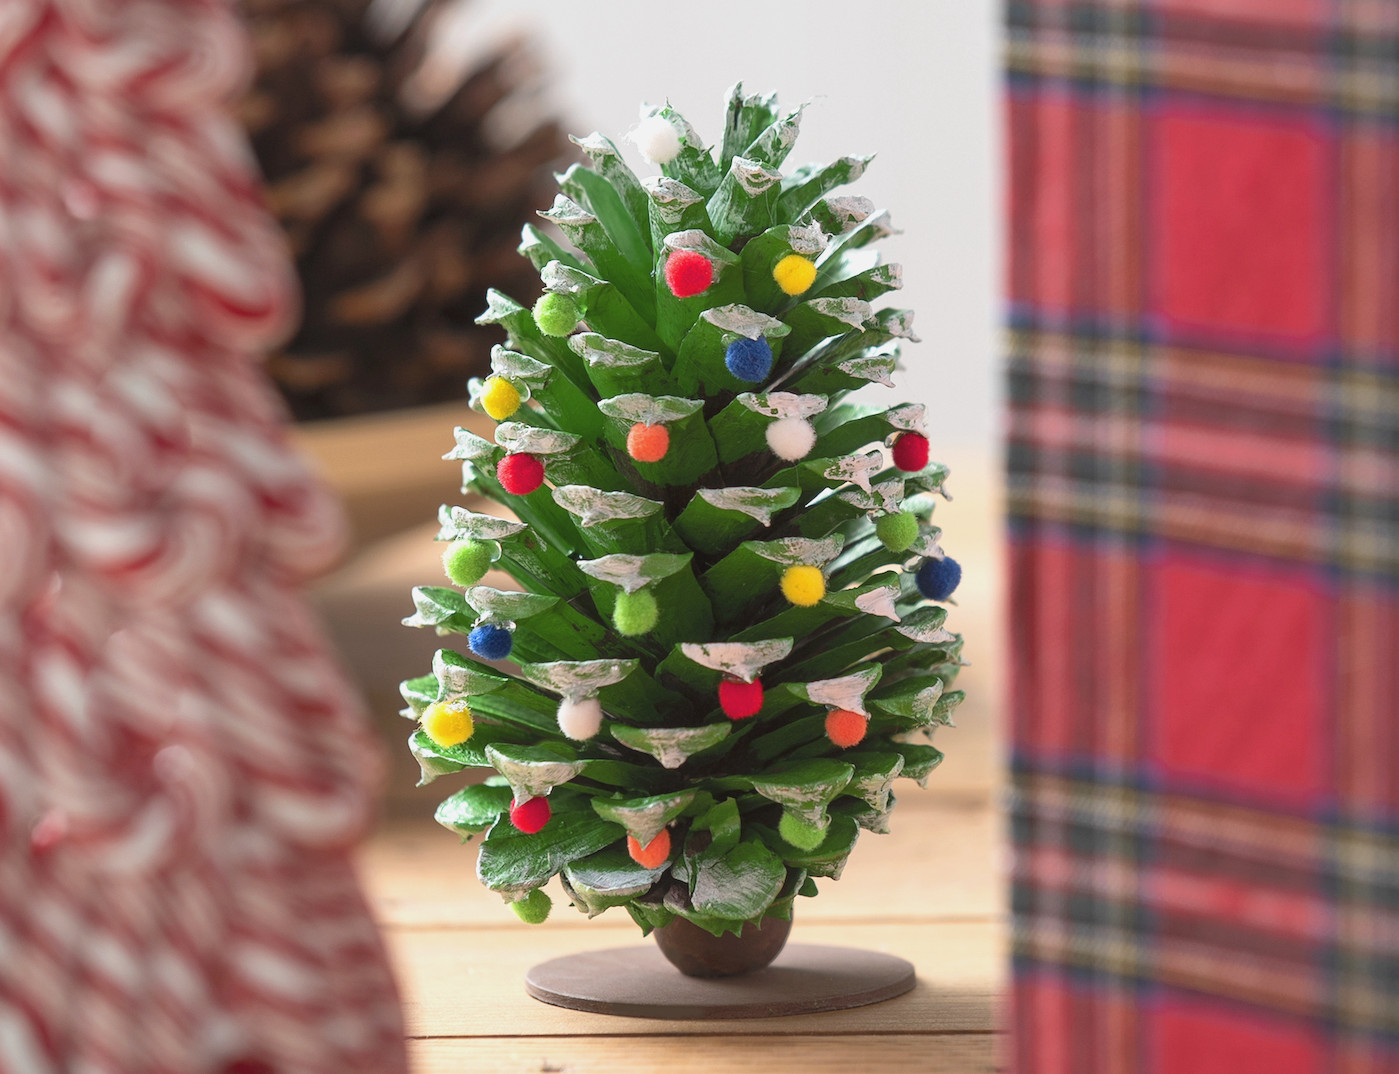
These charming little trees make wonderful Christmas decorations, and you won’t need to tuck them away (let’s be truthful – some children’s holiday projects aren’t exactly display-worthy). They turn out so adorable that you’ll want to keep them on show!
This pine cone project looks lovely on a mantel or occasional table, and it makes a delightful addition to a holiday village scene. Children will be thrilled to see their contribution included in the decorations!
Collect These Materials
- Pine cones
- Wooden circles – 1 for each tree
- Wooden beads – 1 for each tree
- Mini pom poms – plenty of them!
- Craft paint – green, white, brown
- Craft adhesive
- Paintbrushes
- Hot glue gun and hot glue (optional)
This project can be completed in many different ways, so here are a few creative and practical variations that others have tested:
- Coat the pine cones in white, silver, or another neutral shade for a more “upscale” appearance
- Apply spray paint as a base coat, then add details with other paint colors. This reduces the initial painting time
- Experiment with different bases, such as small wood slices, wine corks, mini terracotta pots, or wooden blocks
- Wrap baker’s twine around the cone to represent garland or Christmas lights
- Decorate with perler beads, pony beads, or other tiny objects as ornaments
- Top the tree with a star, pom pom, or another festive Christmas decoration
- Add a loop to the top of some smaller trees and turn them into children’s ornaments
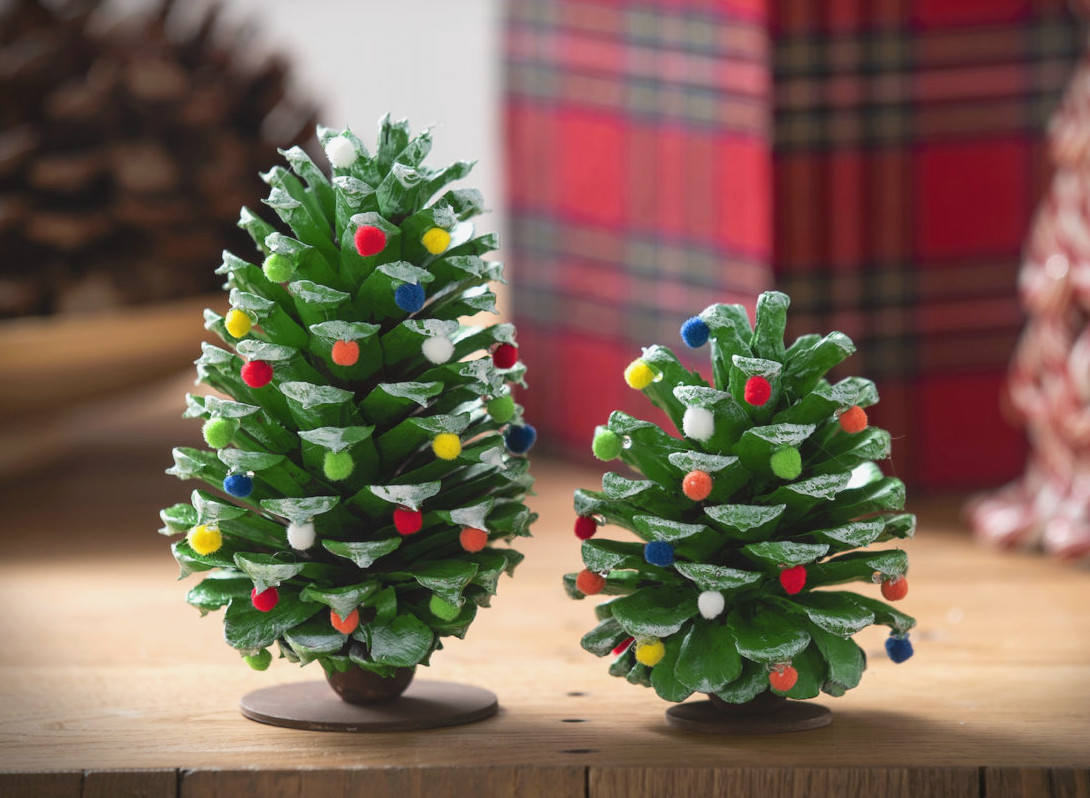
Download the printable instruction card below to create a DIY pine cone Christmas tree! If you’re searching for another simple project, be sure to take a look at our coffee filter snowflakes as well.
Pine Cone Christmas Trees
Find out how to make a pine cone tree decorated with pom pom lights for Christmas! It’s an ideal craft project for children.
Makes: 2 trees
Estimated cost: $2
-
Set the oven to 225 – 250F°. Cover a baking sheet with aluminum foil, then arrange the pine cones on it in one layer.
-
Allow them to bake for 30 minutes. Using tongs, transfer the pine cones from the baking sheet after removing them from the oven, and let them cool.
-
Brush green paint over the cone scales. Apply as many layers as necessary for full coverage, then leave them to dry.
-
Once the pine cone is turned over, paint its base along with any scales that were missed. Allow it to dry once more.
-
As the pine cone dries, attach a wood bead to one of the wood circles with glue. Leave it undisturbed to set.
-
Cover the base with brown craft paint and allow it to dry.
-
Attach the pine cone to its base with craft glue or a hot glue gun, then let it dry.
-
With a paintbrush and white craft paint, create faux “snow” highlights on the tips of the scale branches. Leave them to dry.
-
Glue the pom poms onto the branches using craft glue or hot glue. Place them either at the tops or bottoms of the scales.
-
Add more ornaments until the branches look full, and let everything dry thoroughly before displaying.
As a safety measure, stay nearby and do not leave the oven or kitchen unattended while baking the pine cones.
If you enjoyed this craft project, share your thoughts in the comments! You may also want to explore these other posts that I think you’ll enjoy:
Candy Cane Crafts • Christmas Perler Beads • Christmas Crafts with Popsicle Stick • Clay Pot Christmas Trees • Elf on the Shelf Ideas • Paper Bag Snowflakes • Paper Chain • Perler Bead Gingerbread House • Santa Perler Beads • Wine Cork Reindeer