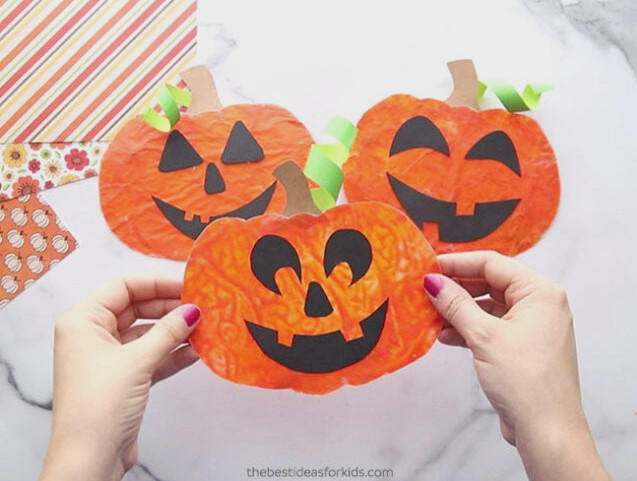
Suncatchers are an enjoyable project to create with children, and they add a cheerful glow to your home’s windows. This melted crayon pumpkin suncatcher is incredibly simple to make! All you need are crayons, wax paper and a few sheets of colored paper.
RELATED: Leaf Suncatchers
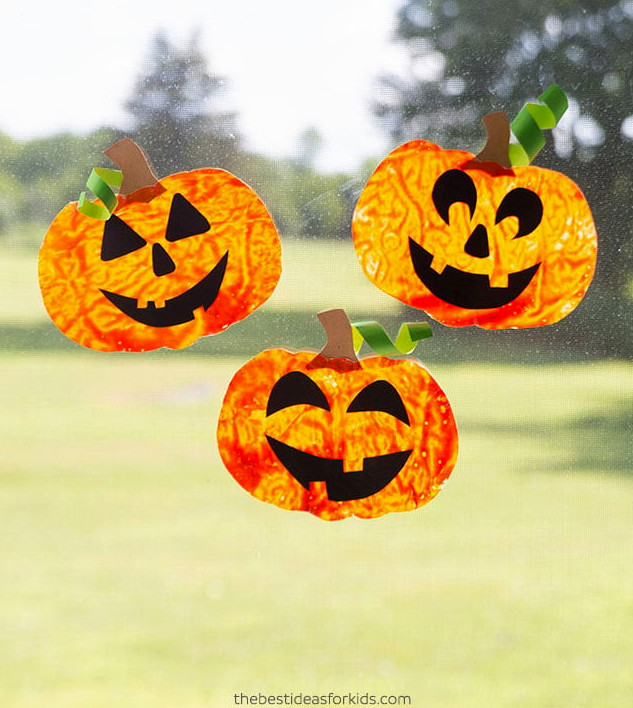
Wax paper and crayons make wonderful materials for crafting suncatchers! You could also create them using tissue paper paired with contact paper.
Contact paper is not always easy to locate. For that reason, these melted crayon suncatchers can be more convenient to make, since wax paper and crayons may already be available at home.
Supplies You’ll Need
- Crayons – we combined the Crayola shades ‘Yellow Orange’, ‘Orange’ and a small amount of ‘Neon Orange’. Avoid using an orange darker than the standard orange, or the result may be too dark. Plan on using around 2-3 crayons for every suncatcher.
- Sharpener or Grater – we used an ordinary pencil sharpener to create the shavings. A crayon sharpener or cheese grater will work as well. Adults should supervise this step or complete it for younger children.
- Tape or double-sided tape – to attach the suncatchers to your windows
- Templates – the free template is available at the end of the post, on the form that displays a preview of the template.
Watch the Video Guide
How to Create a Pumpkin Suncatcher
Note: Keep your suncatchers away from direct sunlight and excessive heat, especially where windows become hot, because the crayons could melt. We hung ours in a window that did not receive direct sunlight.
1. Begin by sharpening the crayons to produce shavings. You will need 2-3 crayons for each suncatcher.
Although this step may feel somewhat tedious, it becomes quicker once you learn the best way to shave the crayons.
We used a standard pencil sharpener for the shavings. You may also use a crayon sharpener or a cheese grater. Adults should supervise this task or handle it for younger children.
2. Place a sheet of wax paper large enough for the pumpkin outline on your table.
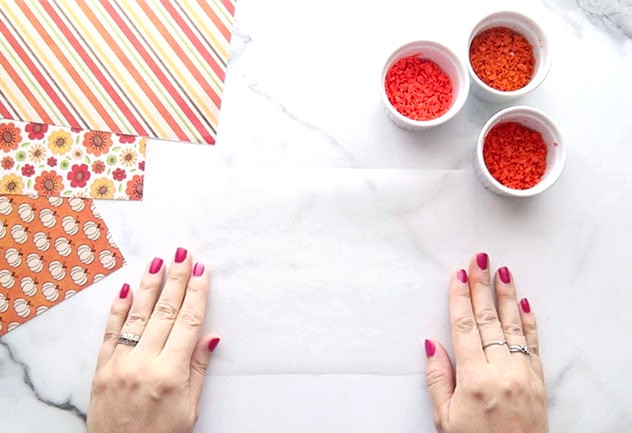
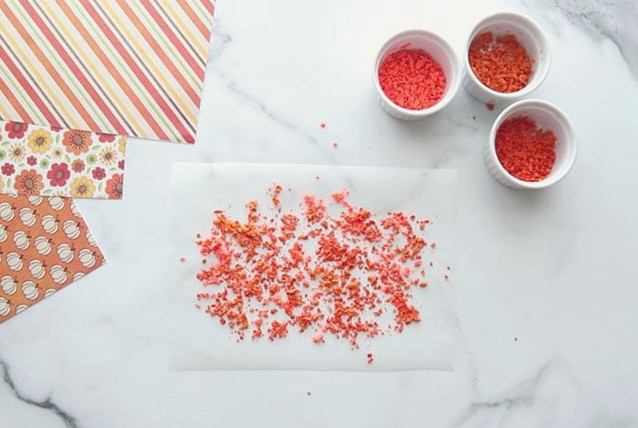
3. Sprinkle the crayon shavings across the wax paper.
Distribute the various colors throughout the area. Be sure to cover a section large enough for the pumpkin outline.
There is no need to cover every single spot. As the crayon melts, it will spread into some of the small gaps.
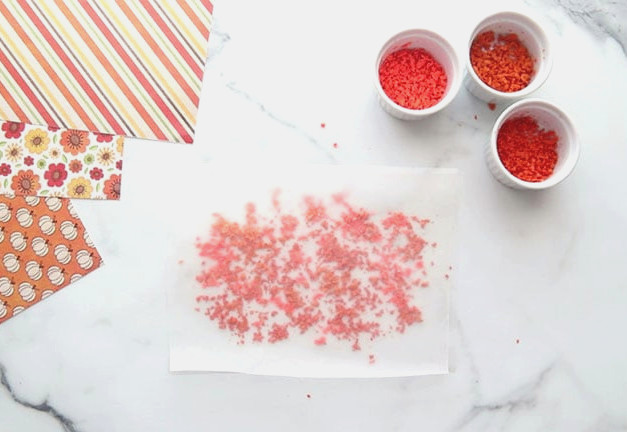
4. Cover the shavings with a second sheet of wax paper, then press down so the layers flatten together.
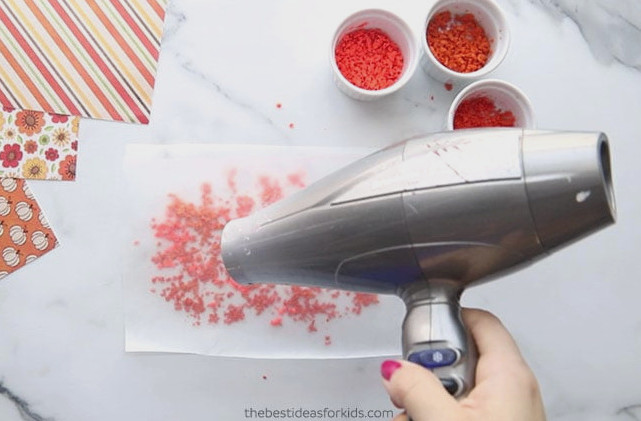
5. Use a hair dryer to blow warm air over the section containing the crayons. Note: An adult should assist with or supervise this step.
The crayon pieces will begin softening and melting.
If some areas remain without color, use the hair dryer to help move the crayon shavings into those spots.
6. Continue heating until nearly all the crayon has melted and the colored area is big enough for your pumpkin template.
Caution: the wax paper might be a little warm. Do not touch the crayon-covered section until the wax has cooled.
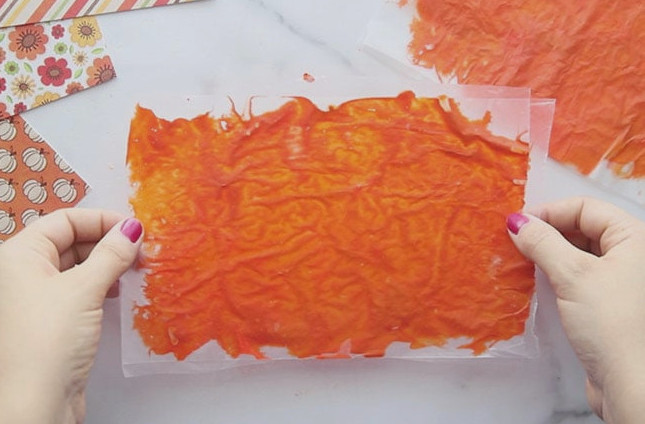
7. Let the melted crayon cool completely and dry.
Once the crayon hardens, the two wax paper sheets should naturally adhere to one another.
8. Place the pumpkin template over the wax paper, then cut around it to form the pumpkin shape.
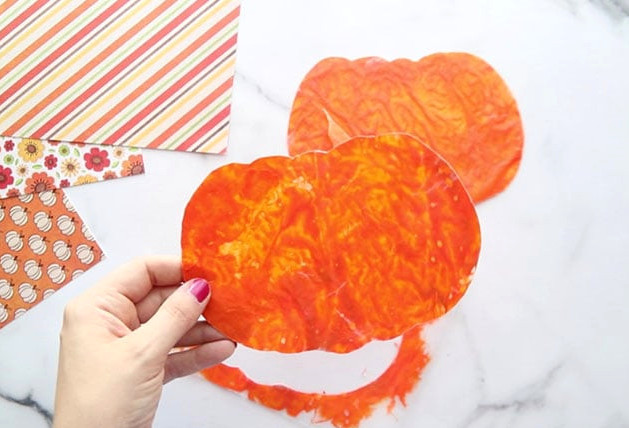
9. Trace the stem template onto brown cardstock. Next, attach the stem to the upper back portion of the pumpkin with glue.
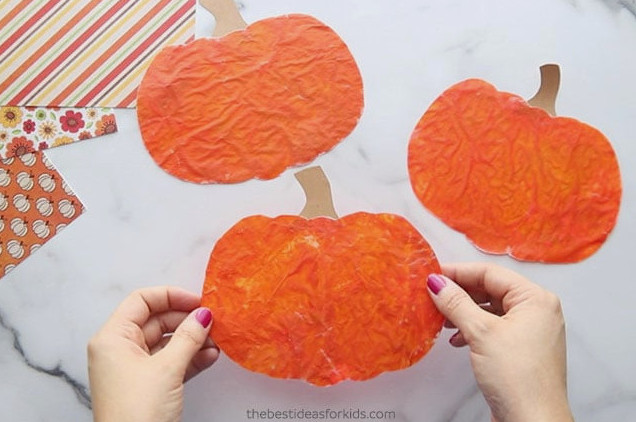
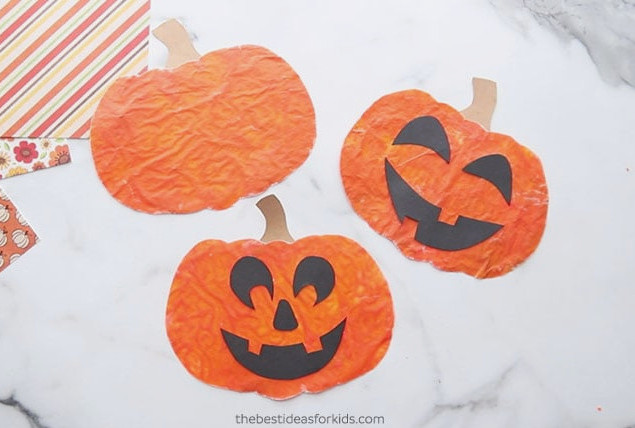
10. Use the pumpkin face patterns to trace the designs onto black cardstock, then cut them out.
Next, attach the pumpkin face pieces with glue.
12. Snip a piece of green cardstock, wind it around a pencil to curl it, and glue it behind the stem.
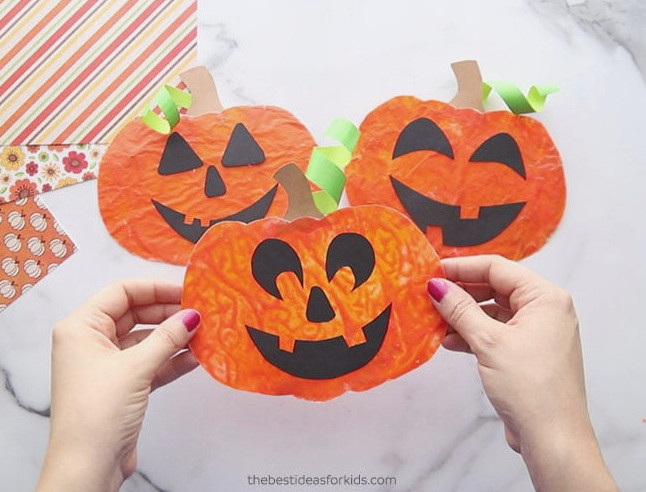
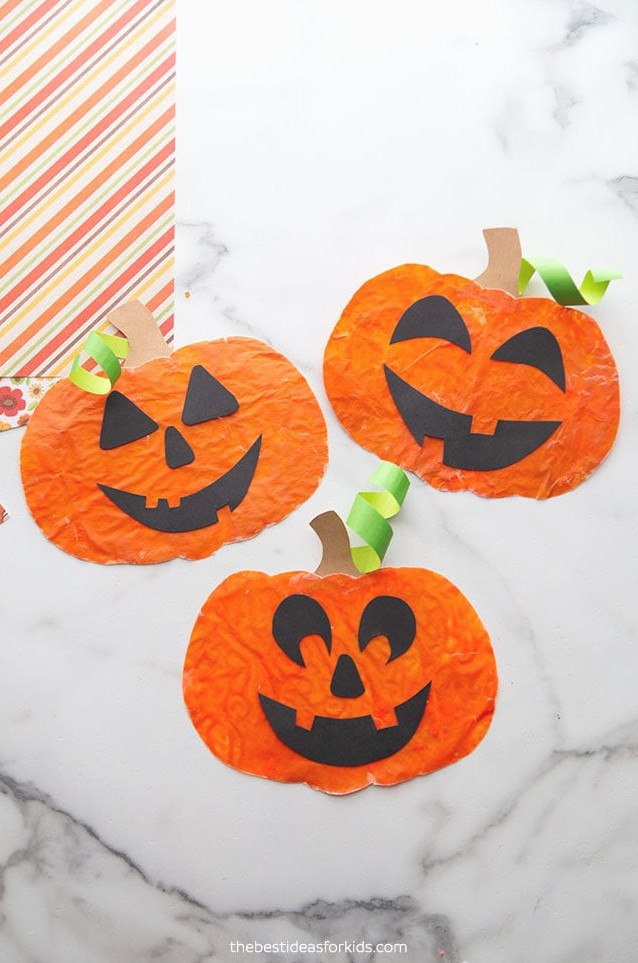
Your pumpkin suncatcher is finished!
Note: Keep your suncatchers away from direct sunlight and excessive heat, especially where windows become hot, since the crayons could melt. We positioned ours in a window without direct sunlight.
Attach it to the window with tape or double-sided tape.
Access the Free Template Here
Download the Free Suncatcher Template
Have the free suncatcher templates delivered directly to your inbox! You’ll also get our complimentary weekly newsletter.
Already subscribed? No need to worry—you won’t be signed up twice!