
Create this charming paper plate scarecrow project for autumn or Halloween! Display it on a door or use it to adorn a bulletin board. You can even transform it into a mask by attaching a large craft stick.
RELATED: Scarecrow Project
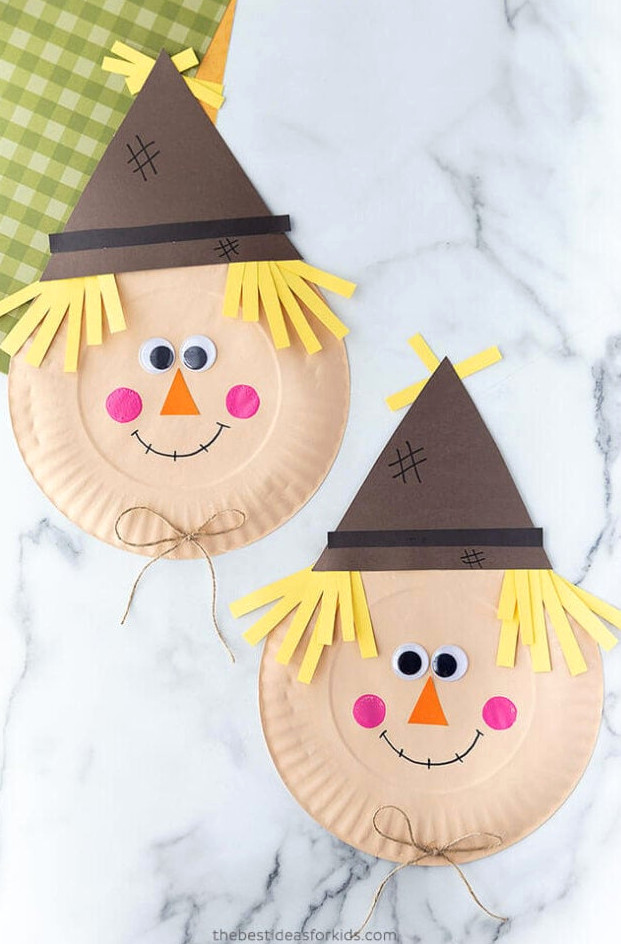
Children will have a great time creating this simple and enjoyable scarecrow project! It makes a wonderful autumn activity, and you can also use the finished pieces to embellish your home or classroom!
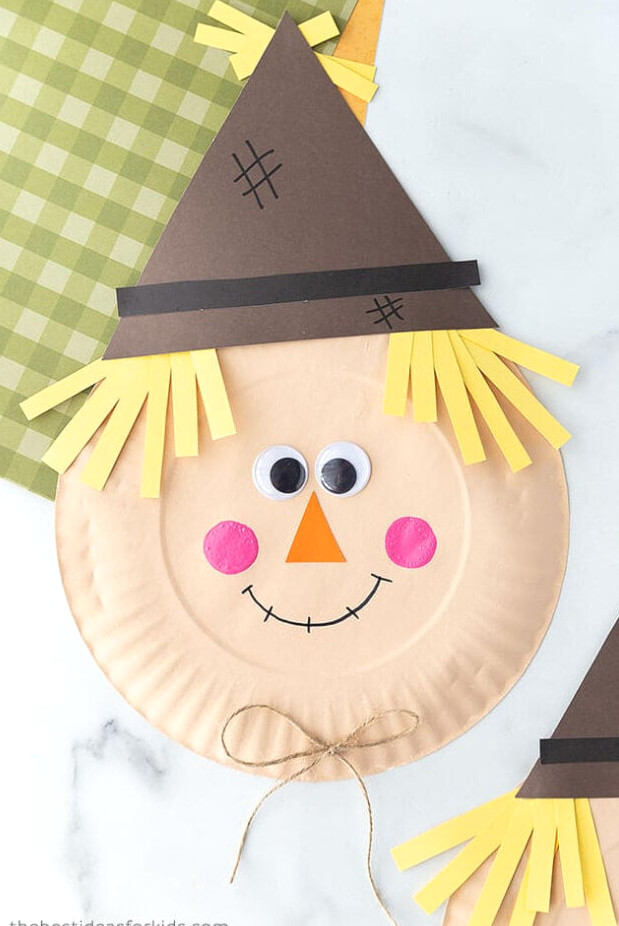
Materials Required
Tip
Don’t worry if you don’t have cardstock available right now; this assorted packis ideal because it includes every color needed to create these scarecrows!
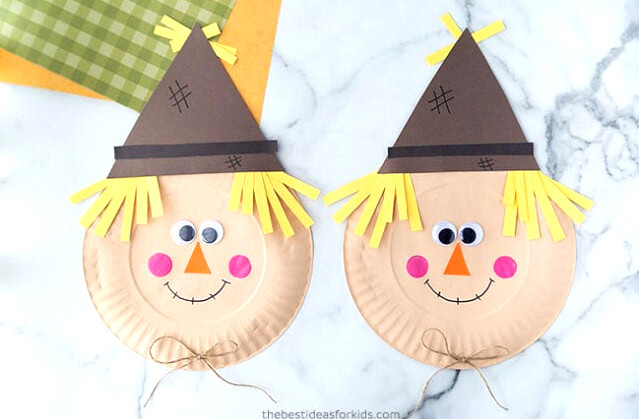
View the Video Guide
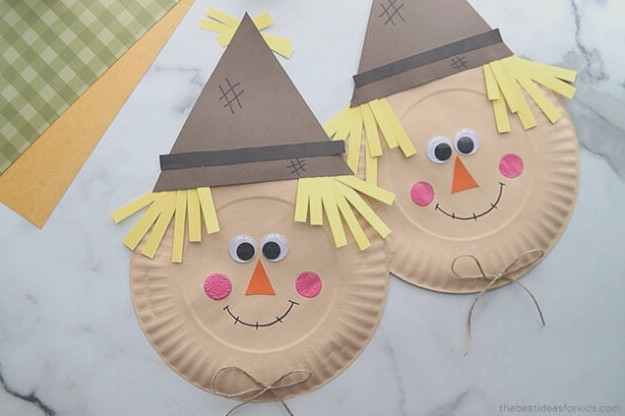
Steps for Creating a Paper Plate Scarecrow
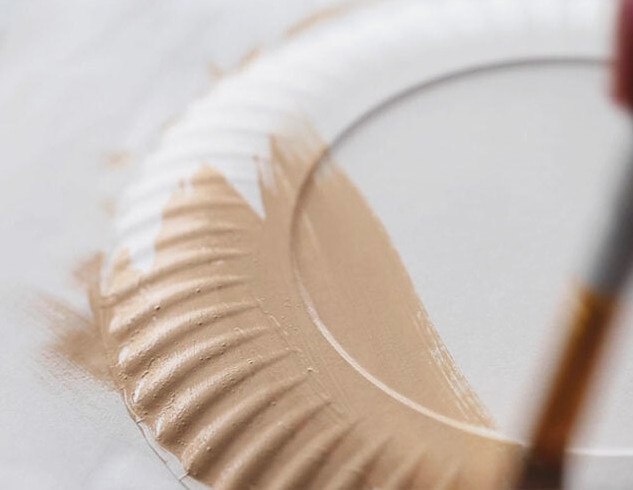
1. Cover the paper plates with paint and allow them to dry. We chose a pale beige shade.
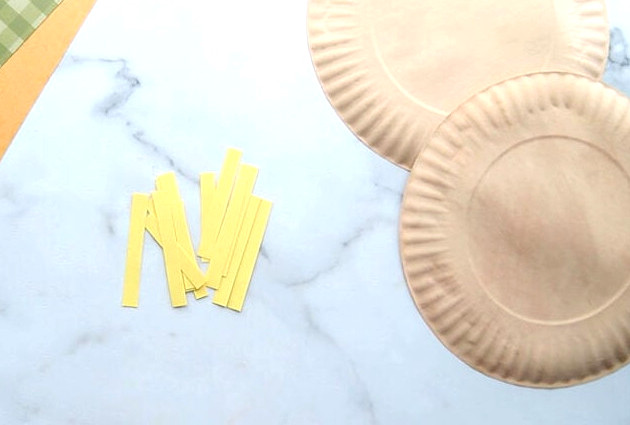
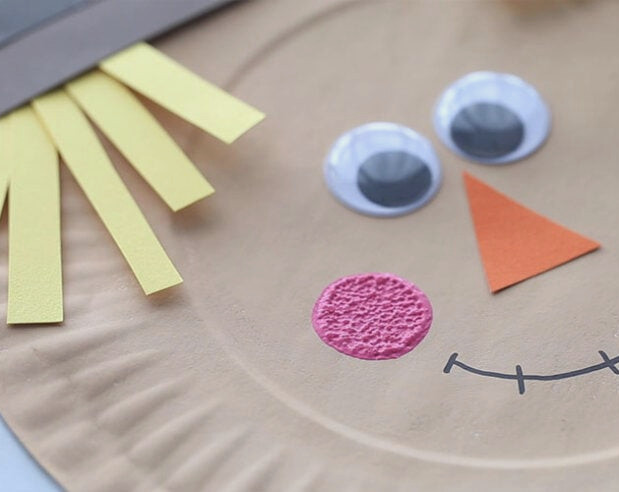
2. Snip the yellow cardstock into strips. Any leftover paper works wonderfully for this step.
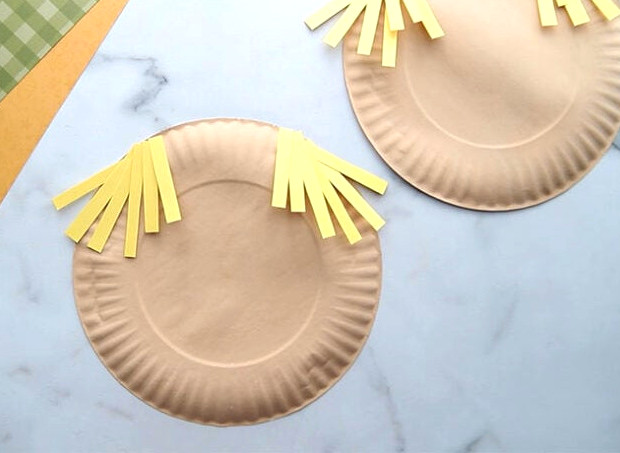
3. Attach the yellow strips along the sides of the paper plate with glue to form the scarecrow’s hair.
4. To create the scarecrow’s hat, cut a large triangle from the brown cardstock. Then place a black cardstock strip across the triangle’s bottom to form the hatband.
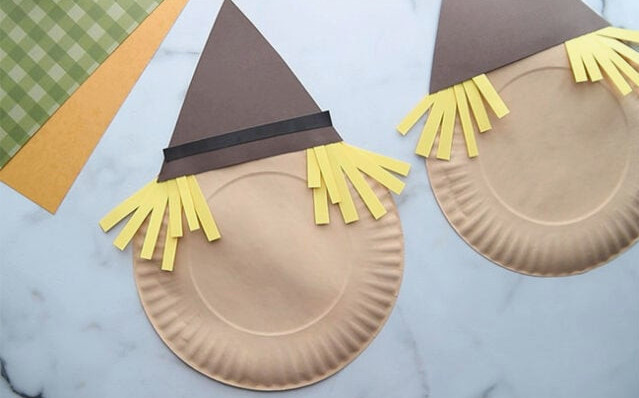
5. Fasten several yellow strips across the top of the hat with glue.
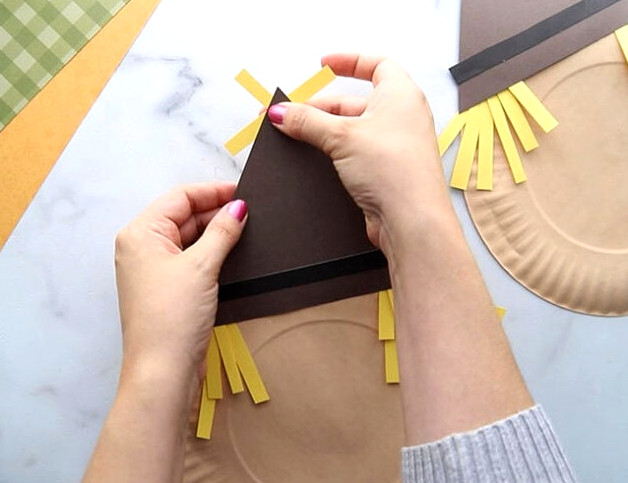
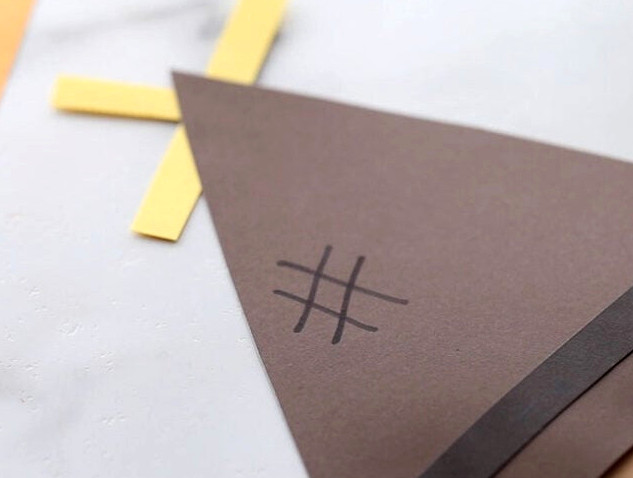
6. Use a black marker to draw a few lines on the hat.
7. Stick on oversized googly eyes and an orange cardstock nose cut into a triangle.
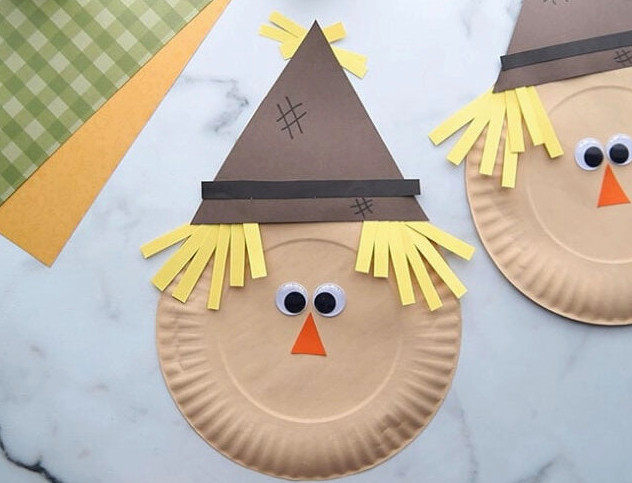
8. Use a black marker to sketch the mouth.
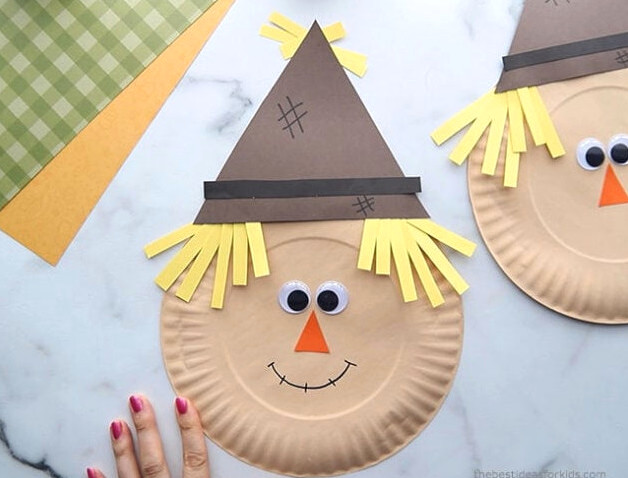
9. Paint pink cheek details with a round sponge brush. Alternatively, dip a small glue-stick cap or another little lid into the paint, then stamp it onto the paper plate.
10. Form a bow from twine and glue it onto the bottom of the paper plate.
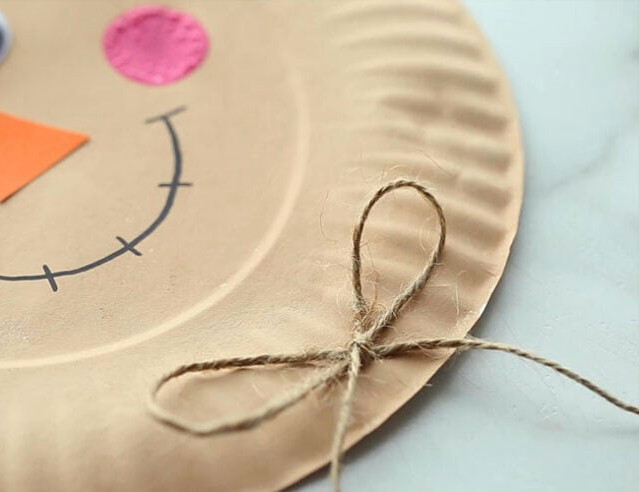
The scarecrow is finished! Hang it up to brighten a classroom or your home during autumn or Halloween!
Explore more Halloween Projects for Children.