
Does your turkey need a disguise for Thanksgiving? Discover how to create this Santa turkey disguise. Pick from two versions and download our complimentary printable templates in the post!
RELATED: Printable Turkey in Disguise
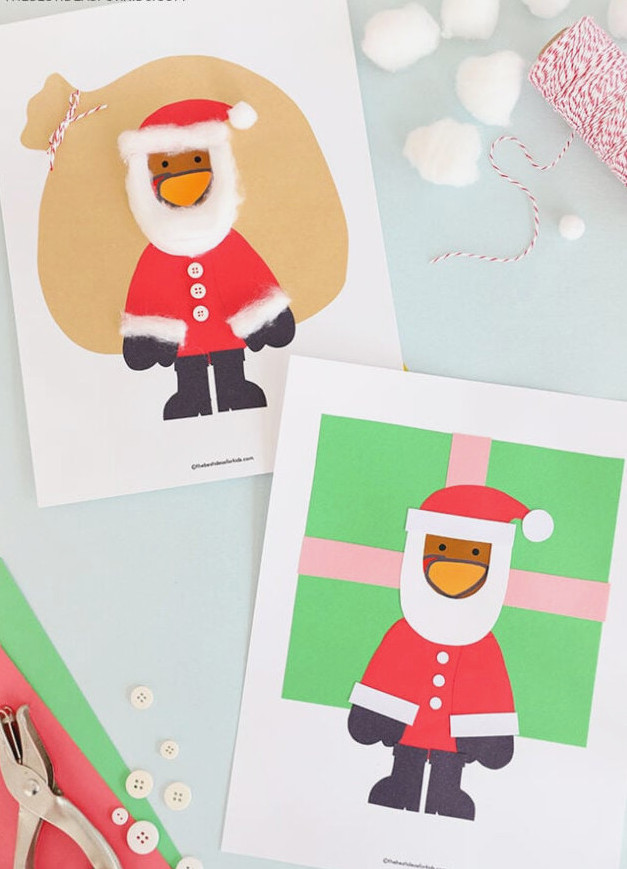
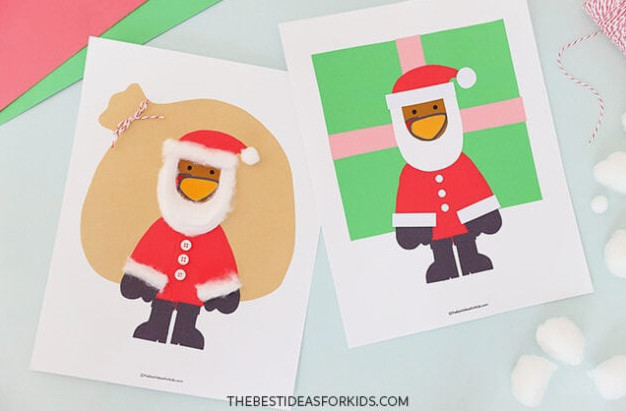
The templates offer several choices, allowing you to cover the tail feathers with either a large gift sack or one oversized present!
Another option is to use a comparable design and paint or color directly over the feathers.
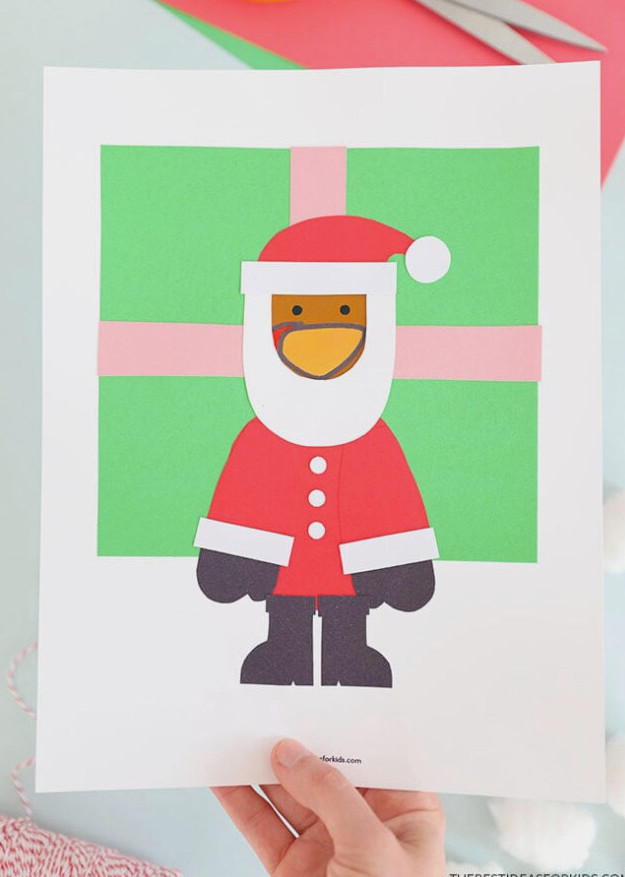
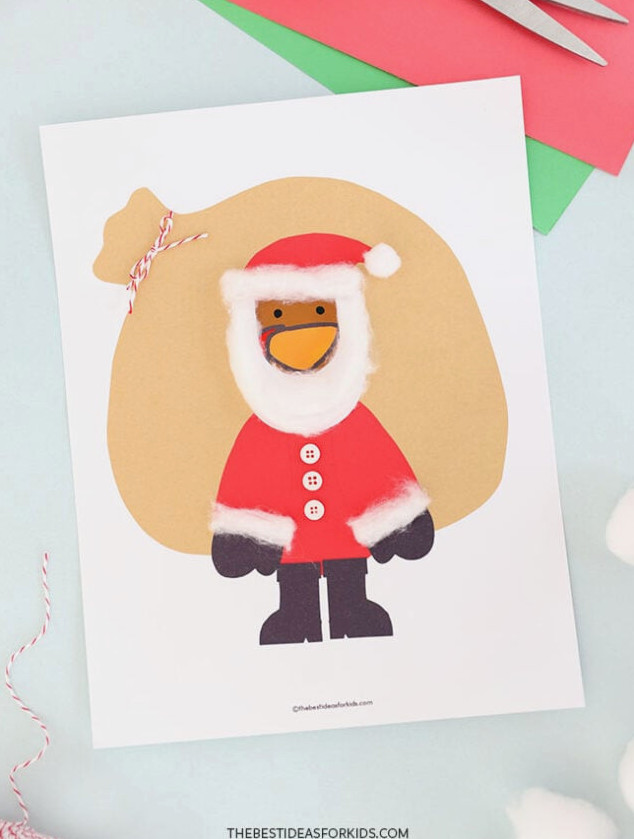
We adore the cotton ball beard and trim, though paper cutouts work just as well if you do not have cotton balls available.
Materials Needed
- Printable Santa turkey templates – find them at the end of the post
- Colored paper – red, black, white, green, pink, and brown (for the sack if you prefer it brown)
- Glue stick – for securing the paper pieces
- Tacky glue – for attaching cotton balls, buttons, string, and more
- Cotton balls – for Santa’s beard and jacket trim (optional)
- Mini white buttons – use 3 for his jacket (optional), or create 3 paper circles with a hole punch
- Markers – (or crayons, colored pencils, or paint) for coloring the turkey’s head
- Scissors
- String (optional – for the Santa sack option)
Watch the Video Guide
How to Create a Santa Claus Turkey Disguise
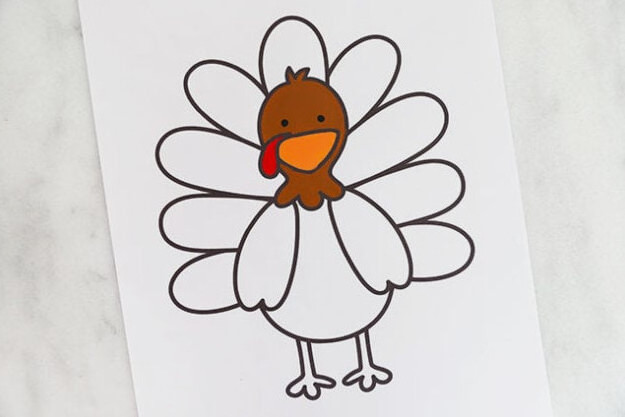
1. Color the turkey’s head.
Print the free disguise-a-turkey templates.
Color the turkey’s head with markers, paint, colored pencils, or crayons.
2. Prepare the template that will cover the tail feathers.
Print the templates (available at the bottom of the post), then decide whether you want to cover the tail feathers with a gift sack or an oversized present.
Locate a lid or small round object roughly the same size as your turkey’s face – we used a bottle lid.
Position the template on your turkey so the bag fully hides the tail feathers. Set the lid over the turkey’s face and trace around it.
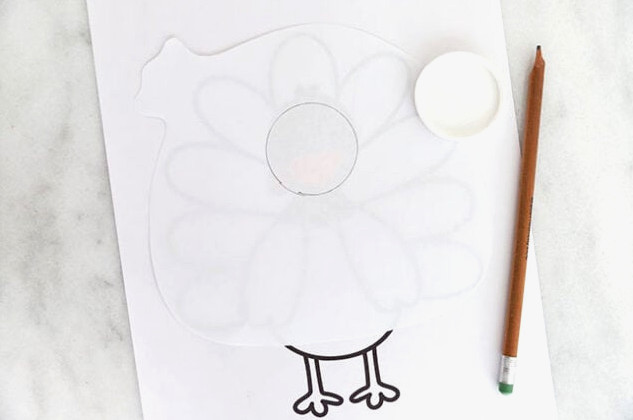
Cut the circle out of the template with scissors.
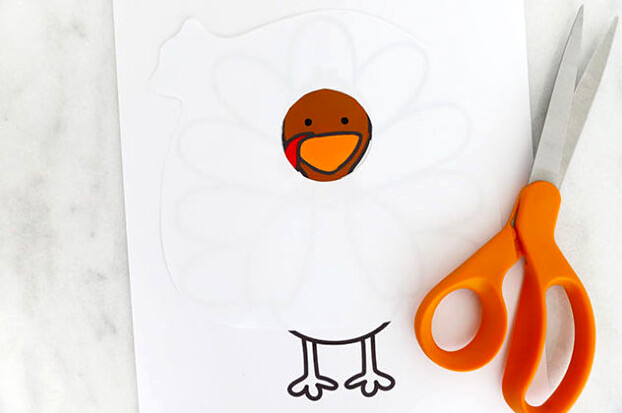
Trace the template onto brown paper for the Santa sack (or select any color you prefer), then cut it out. Follow these same instructions if you are making the present box version.
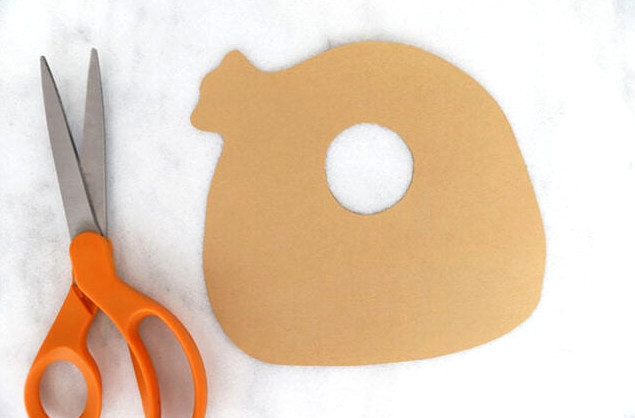
3. Cut out the remaining paper shapes.
Print and trim the remaining templates from the printable at the bottom of the post. Children may also color the templates before gluing them in place.
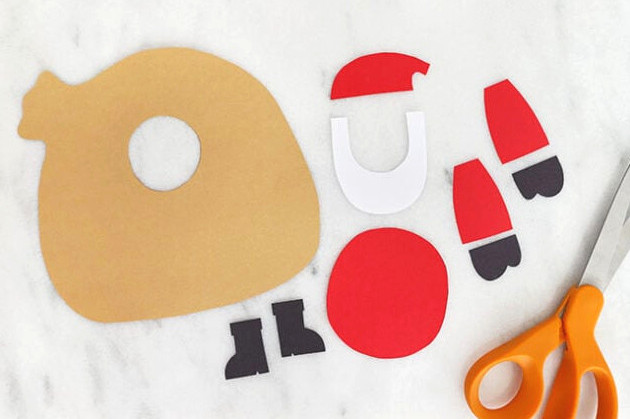
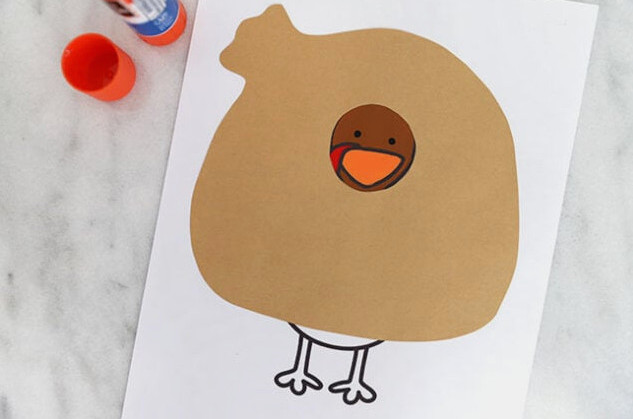
4. Attach the present or gift sack.
Apply glue stick to secure the present sack over the turkey.
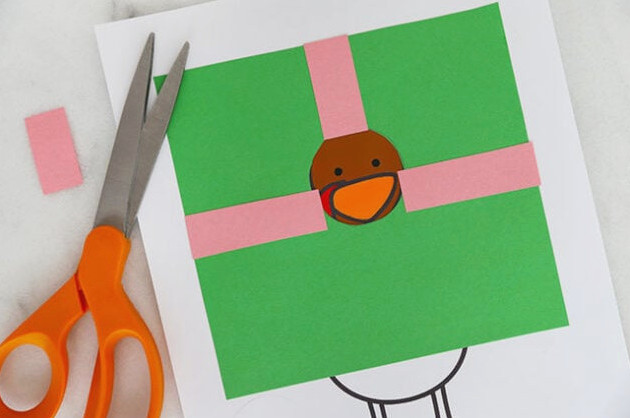
For the present box option, glue the box onto the turkey first. Next, cut the ribbon details from contrasting paper. Attach the ribbon pieces on top and trim them so the turkey’s face remains visible.
5. Add Santa’s outfit.
Glue theSanta’s body positioned over the turkey’s body.
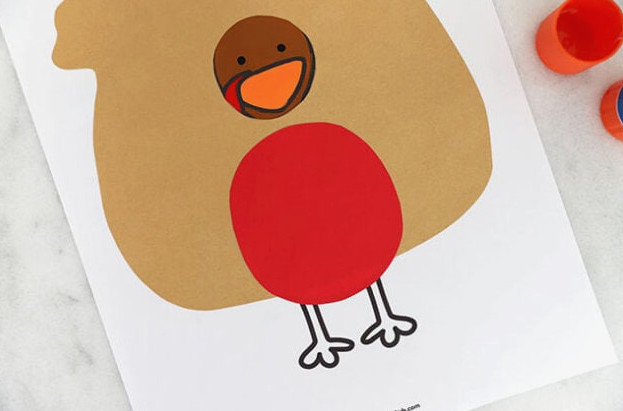
Place both arms, with the mittens immediately beneath them.
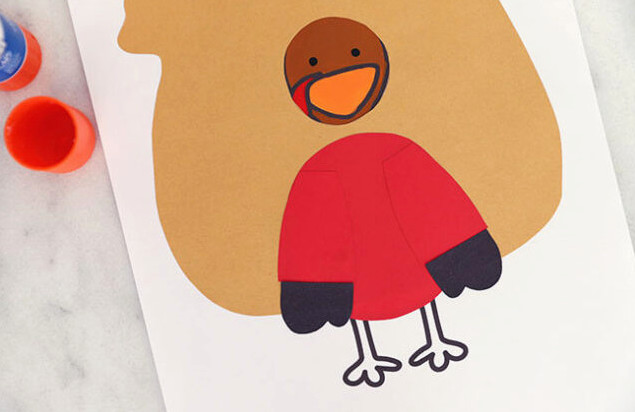
Then, attach Santa’s boots over the turkey’s feet.
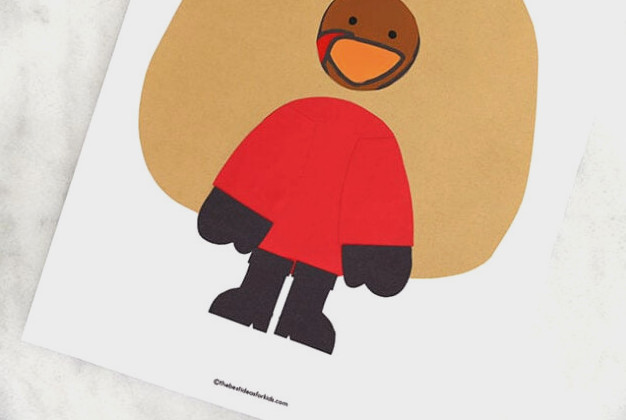
6. Include Santa’s facial details.
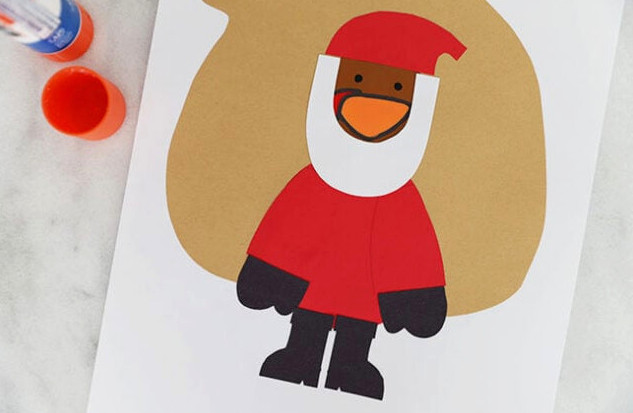
Attach Santa’s beard and red hat with glue.
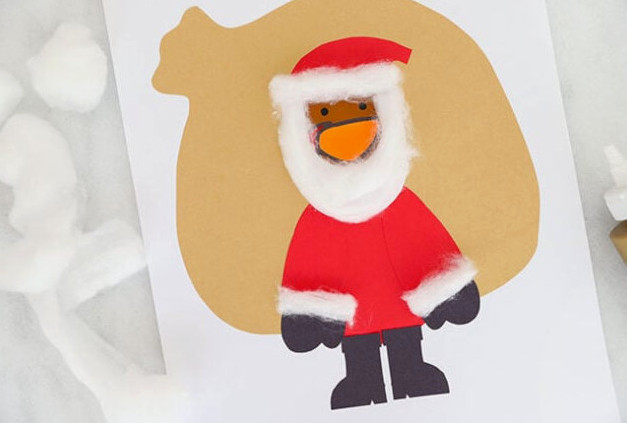
7. Attach cotton balls.
Carefully pull apart a cotton ball before gluing it on. Apply glue to the beard, hat brim and mitten ends.
This step is optional – if cotton balls aren’t available, use the hat and arm trim templates instead. Cut them from white paper and attach them in position.
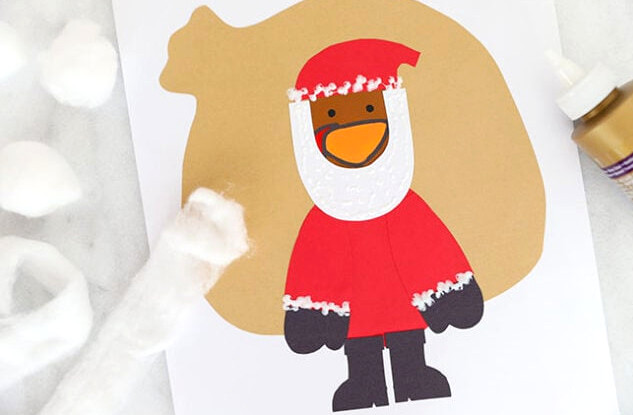
Press the cotton ball onto the beard, hat brim and mitten ends.
8. Finish with the final details.
Attach 3 small buttons to Santa’s suit. In place of buttons, use a hole punch to create 3 tiny circles from white paper.
For the tip of Santa’s hat, attach a small white pom pom (or form one by rolling a small piece of cotton ball). If you don’t have either available, use the hat pom pom template from the printable.
Trim a piece of string, tie it into a little bow, and glue it onto the bag opening.
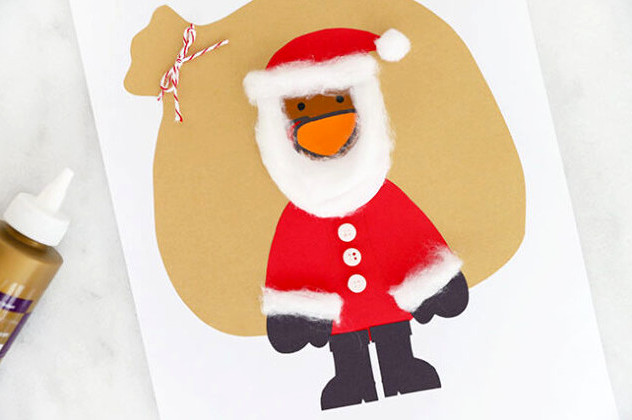
Your disguised Santa turkey is now finished!
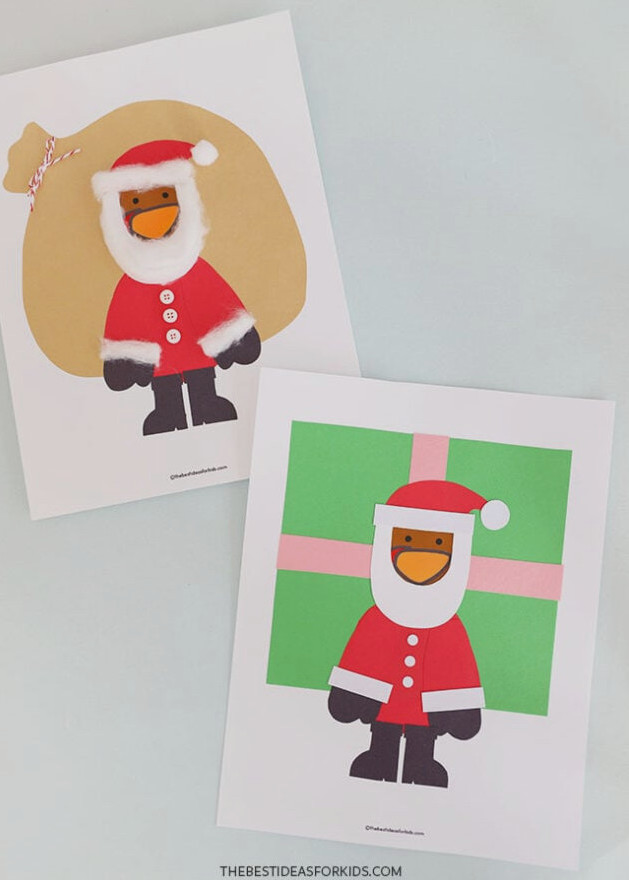
Explore more entertaining turkey in disguise activities: