Embroidery Hoop Flower Pocket: An Easy Garden-to-Home Project
Here’s my confession: I nearly skipped writing this post because the craft seemed far too easy. Then I reminded myself that keeping things simple is basically my specialty, so let’s get started.
You’ll only need a $3 embroidery hoop (mine actually cost less than $3 at Walmart), burlap ribbon, jute twine, and any dried botanicals you happen to have available. There’s no hot glue, complicated method, or need to wait for flowers to dry beforehand. Simply trim the flowers, arrange them inside the hoop, and hang it up. Done.
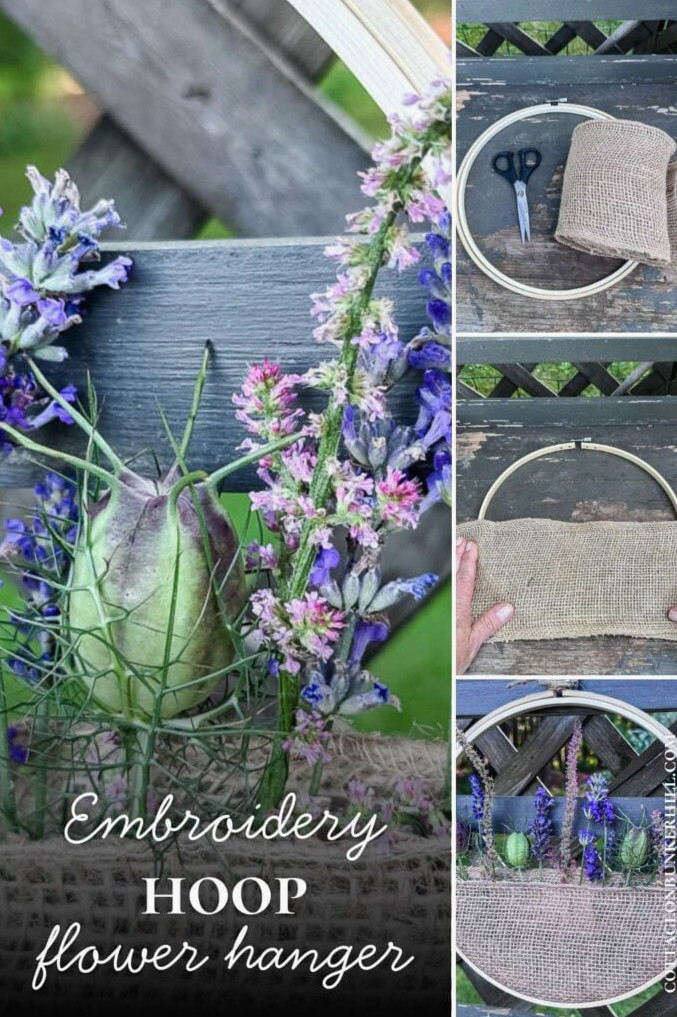
What You’ll Need
Supplies for This Craft
A Note About the Flowers
This is the detail that often catches people off guard: I snipped my lavender, statice, and nigella directly from the garden. Freshly cut. There was no need to air-dry them first. Each of these flowers keeps its form naturally and dries wonderfully inside the hoop, meaning you can completely avoid the usual “hang it upside down for two weeks” process. If you grow a cutting garden, this makes a lovely way to enjoy the blooms exactly as they are, right after harvesting.
Of course, you can easily customize this craft! Any dried flowers or seed pods left over from an earlier project will work beautifully. The hoop is happy with whatever you decide to place inside it.
Welcome! I’m Jennifer, and I’ve always felt that nature makes the loveliest art material. For many years, I’ve preserved New England’s flowers and greenery by pressing, drying, and crafting. Let me help you preserve a small piece of the season and bring it inside—easily and beautifully.
How to Create It
$3. That was the total price of this project! This month’s garden-to-home craft transforms an ordinary embroidery hoop and anything currently flowering in your garden into a wall decoration you’ll genuinely enjoy displaying. Best of all, there’s no drying period, hot glue, or hassle. It’s an ideal summertime project, especially when the heat makes creativity feel like too much effort!
I already had the wide burlap ribbon, but buying some won’t cost much if you need to pick it up. It’s also one of those craft staples I like keeping nearby since it can be used for so many things (particularly as autumn & winter approach)
Garden to Home
I’ve always thought the boundary separating the garden from the home should be indistinct. That idea is at the heart of this series. We bring outdoor growth inside and turn it into beautiful, lasting décor. Fresh projects arrive each month.
Let’s grow side by side!
Step 1: Collect Your Materials
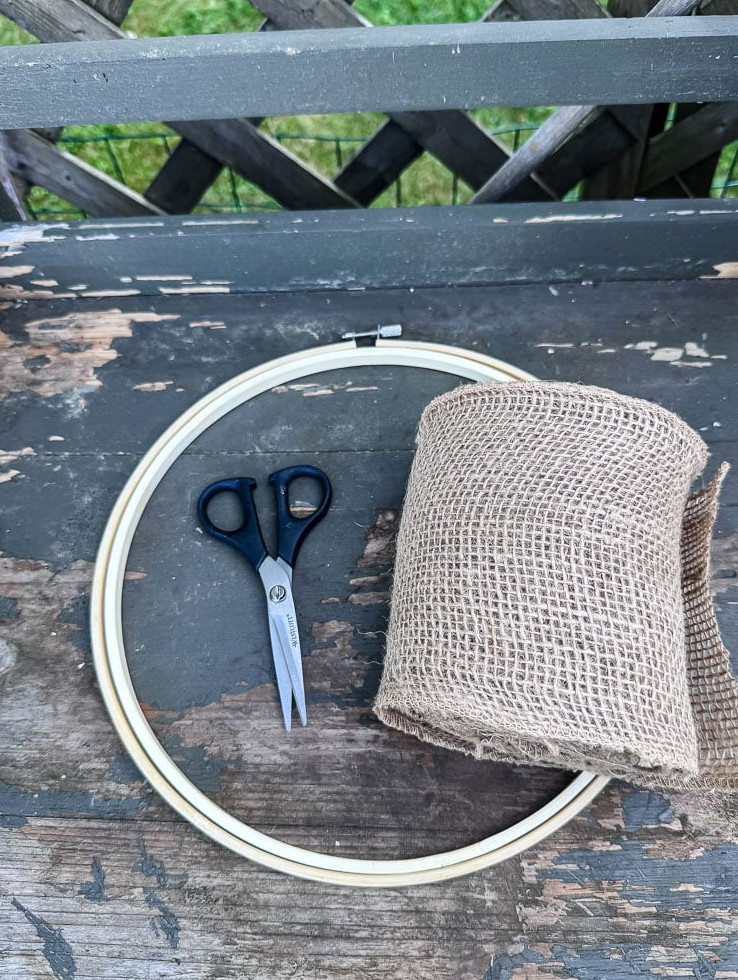
For this project, I chose a 10″ embroidery hoop, although any dimension is suitable. Simply repeat the same process. With a smaller hoop, you might want to use a slimmer piece of burlap (and any excess can be cut away afterward).
Looking for another style? Replace the burlap with a fabric remnant you already own.
Step 2: Separate the Embroidery Hoop
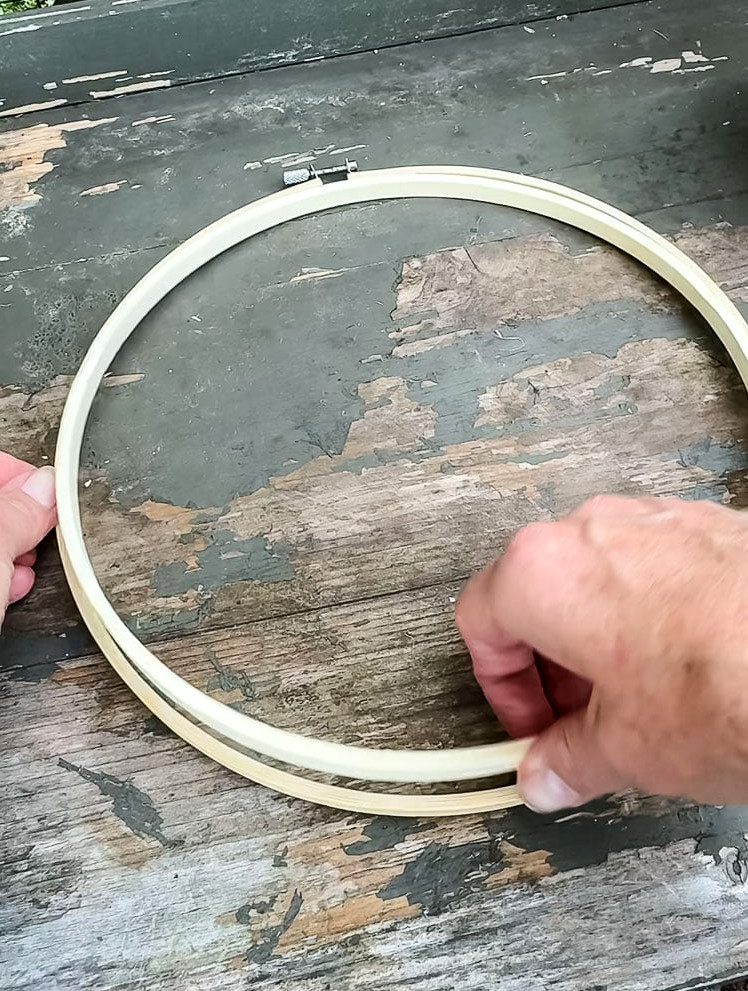
Set the inner and outer rings apart as if you were preparing to hoop fabric. Place the bigger ring flat on your work surface, with the fastener positioned at the top center.
Step 3: Make Your Pocket
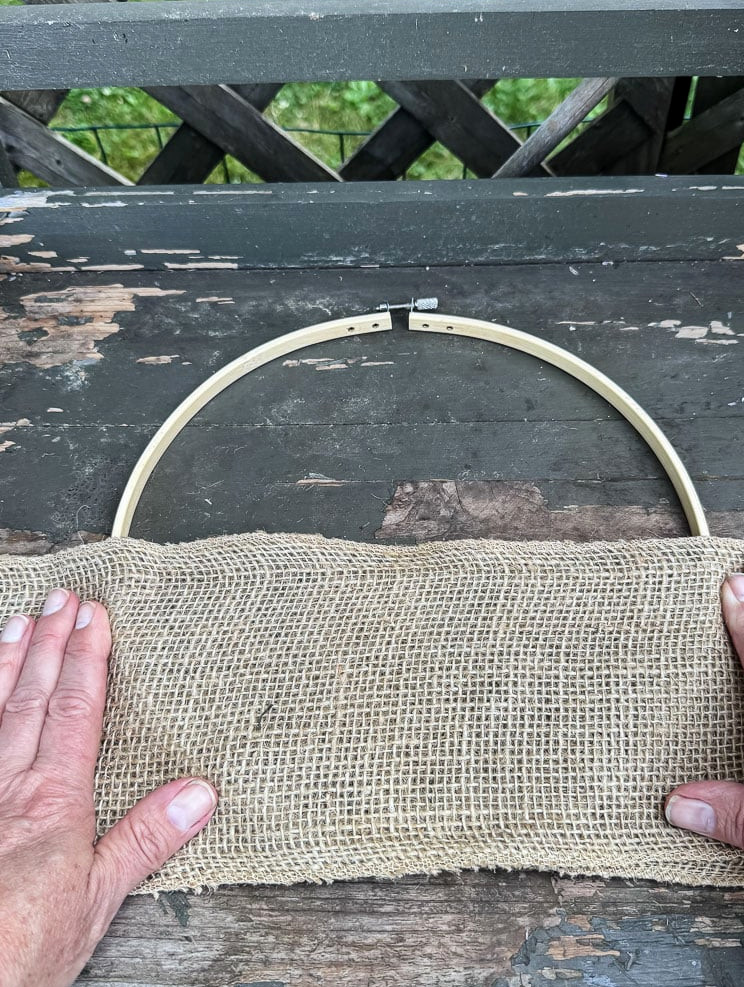
Fold your burlap ribbon along the lower inside edge of the hoop to create a pocket. This section will keep your flowers securely in position.
Step 4: Secure The Hoop
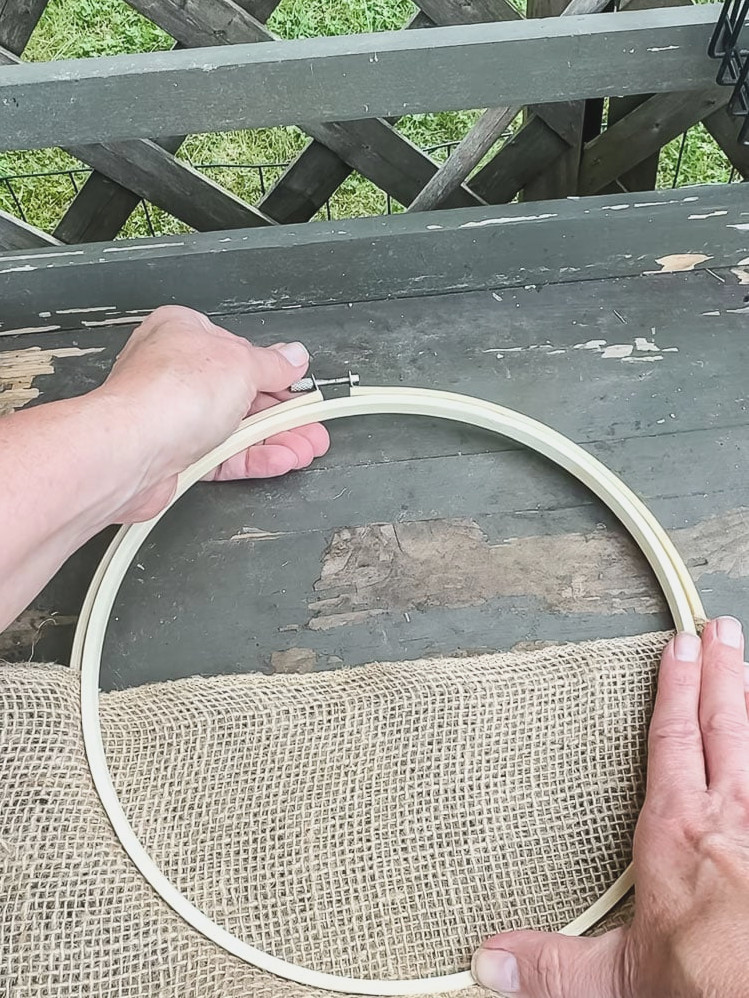
Place the outer ring over the inner ring and burlap, then tighten it as you normally would.
Step 6: Cut Away Extra Burlap
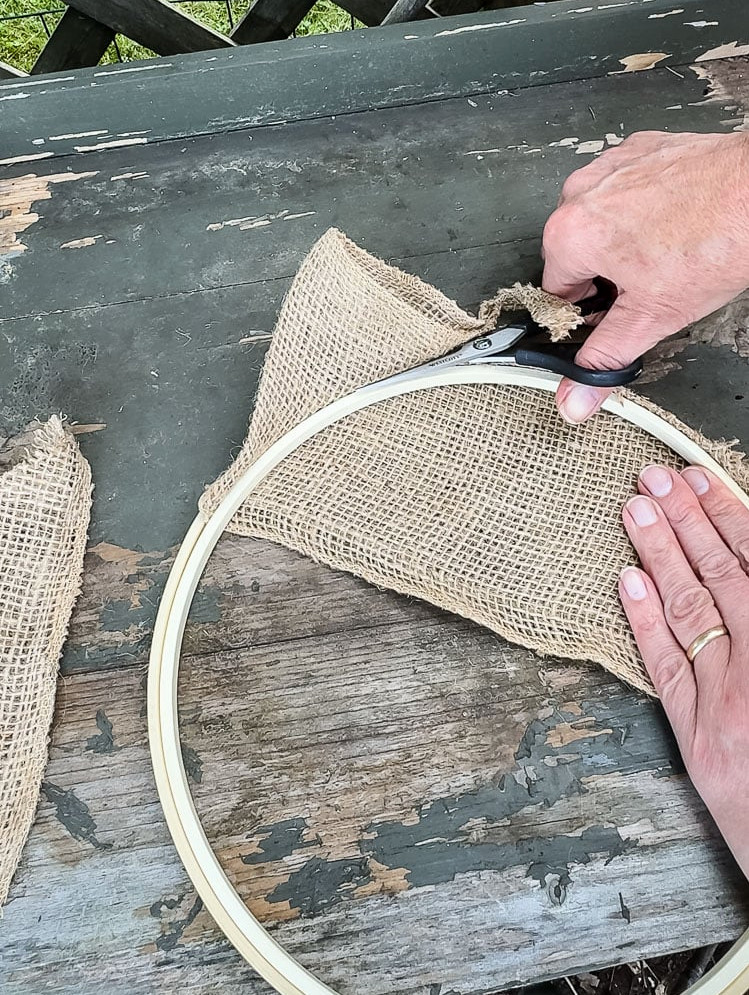
Use your fabric scissors to cut away any burlap extending beyond the hoop’s edge, leaving a neat finish.
Step 7: Add Flowers To Your Pocket
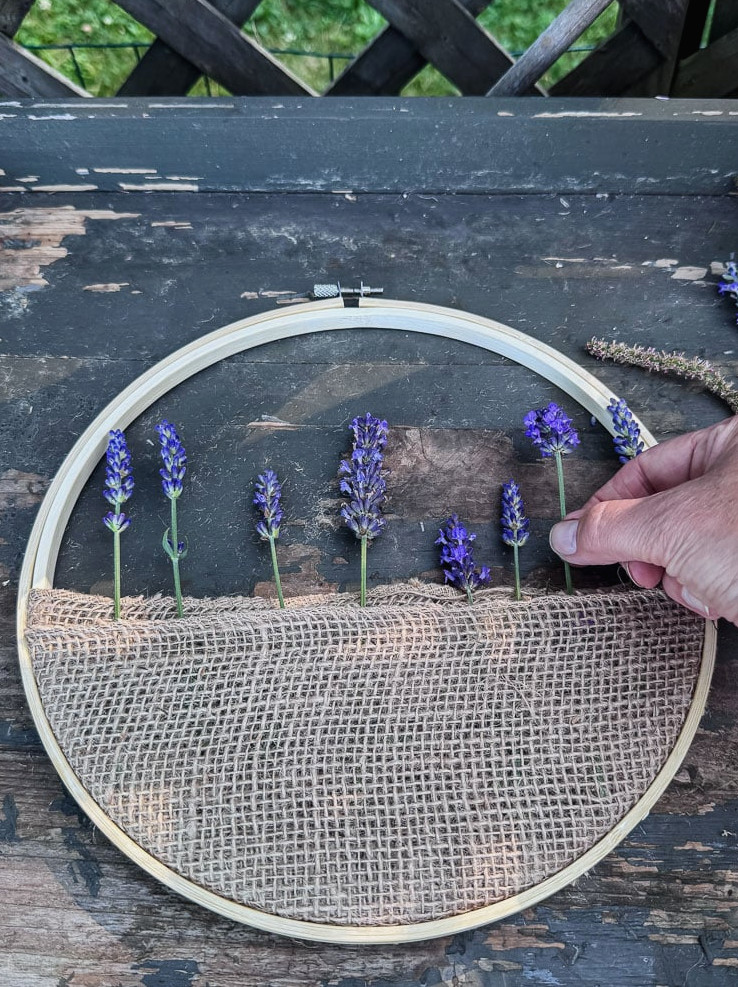
Place the lavender, statice, and nigella pods inside the burlap pocket until it appears attractively full.
Naturally, you can choose your own mix of dried flowers, pods, or grasses. Alternatively, use a single flower for a more uniform monochromatic style. Lavender would be especially lovely for this project!
Step 8: Attach A Hanger
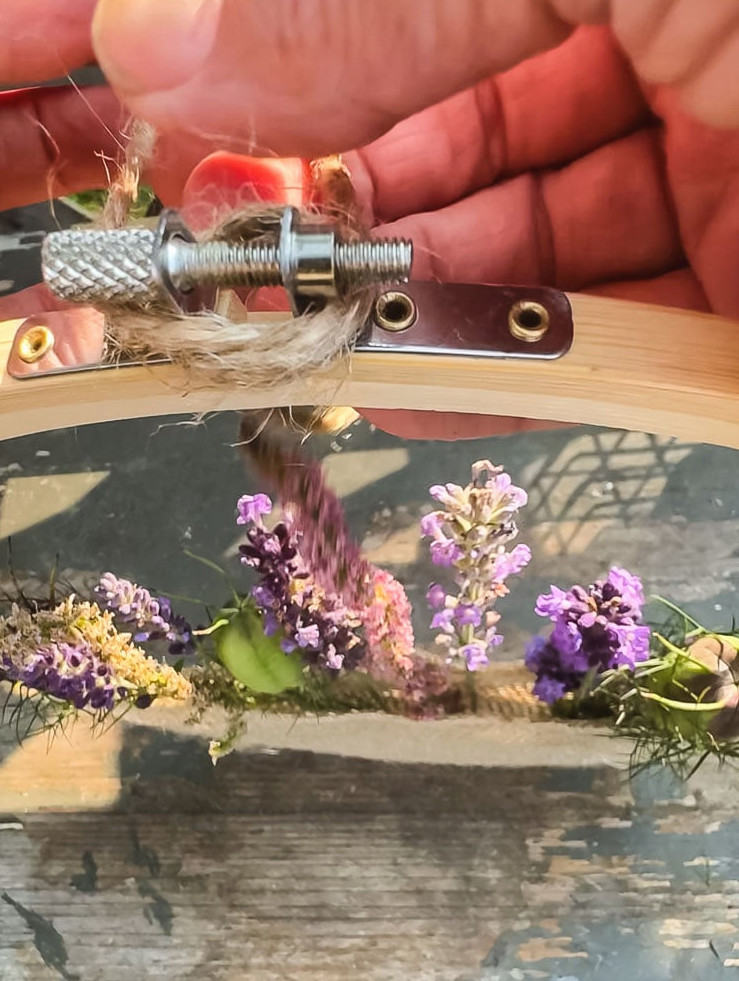
Wrap a piece of jute cord around the hoop’s top screw, and you have a ready-made hanger.
Completed Hoop Flower Hanger
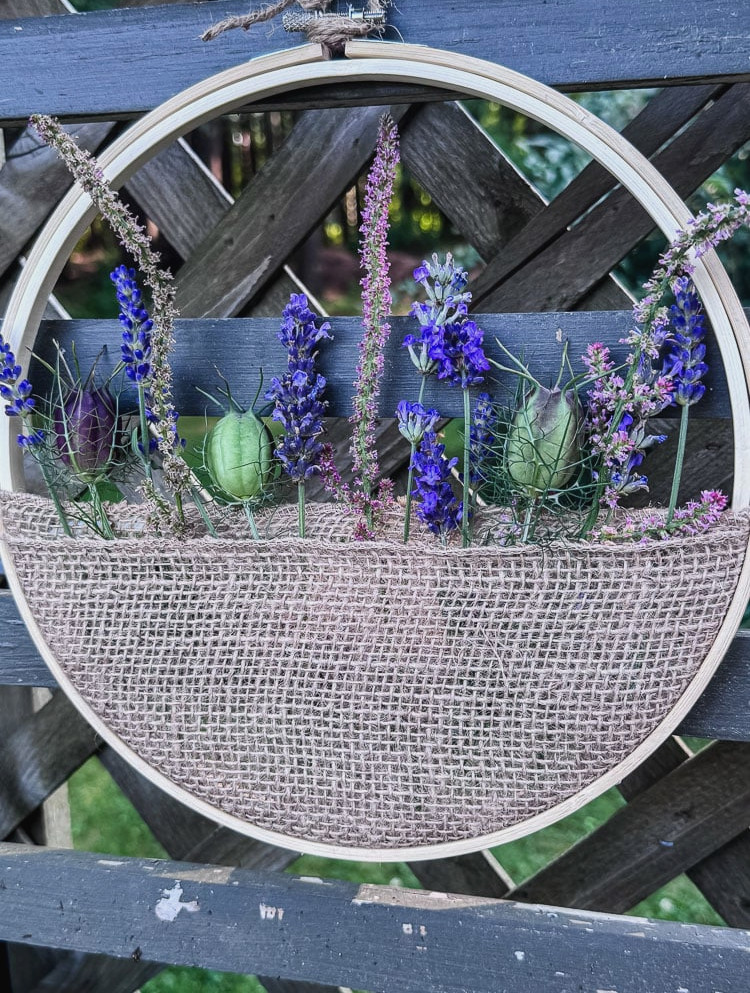
Hang your creation, take a step back, and appreciate your ten-minute masterpiece.
A Few Helpful Tips
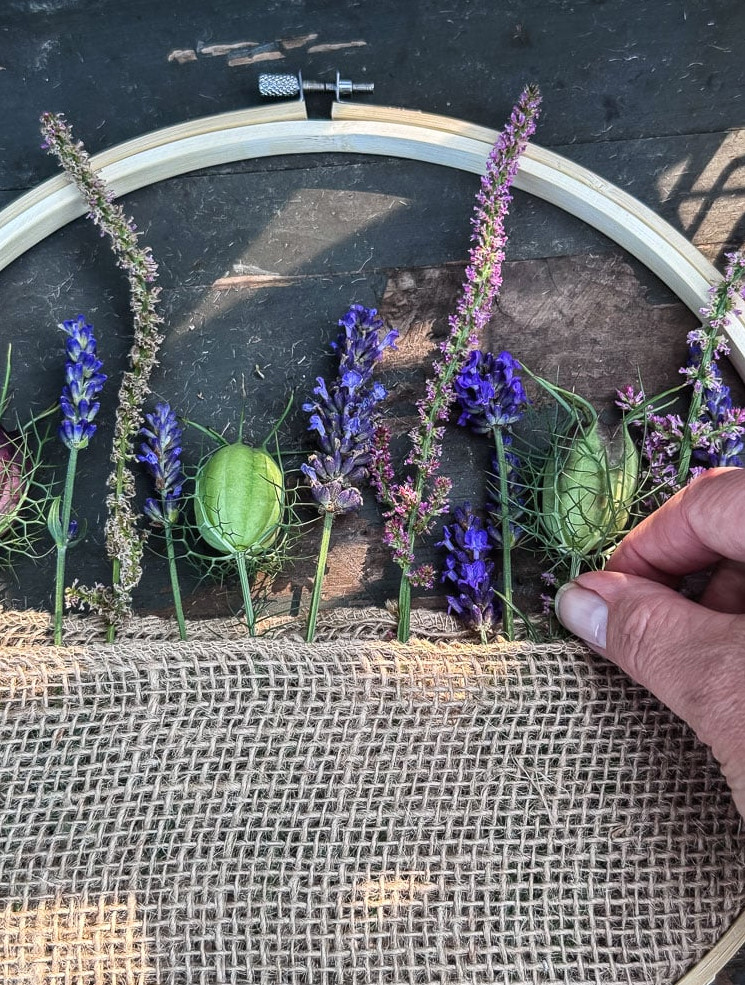
- Hoop dimensions: I worked with a 10″ hoop, though this project can easily be made larger or smaller. Choose a petite one for a collection of minis, or go bigger for a more dramatic display.
- Flower alternatives: Any bloom that maintains its form while drying is suitable. Consider yarrow, strawflower, baby’s breath, or whichever dried flowers you love. For Fall, wheat or bunny tail grass would be lovely.
- Dealing with frayed burlap: Fabric shears will take care of most stray edges. If you didn’t cut close enough to the hoop, try pulling out the horizontal burlap thread first; afterward, trimming the frayed vertical threads becomes much simpler.
- Places to display it: Arrange several in odd-numbered groupings on an empty wall, add one to a gallery wall, or place it on a door for an easy seasonal refresh.
Personalize It
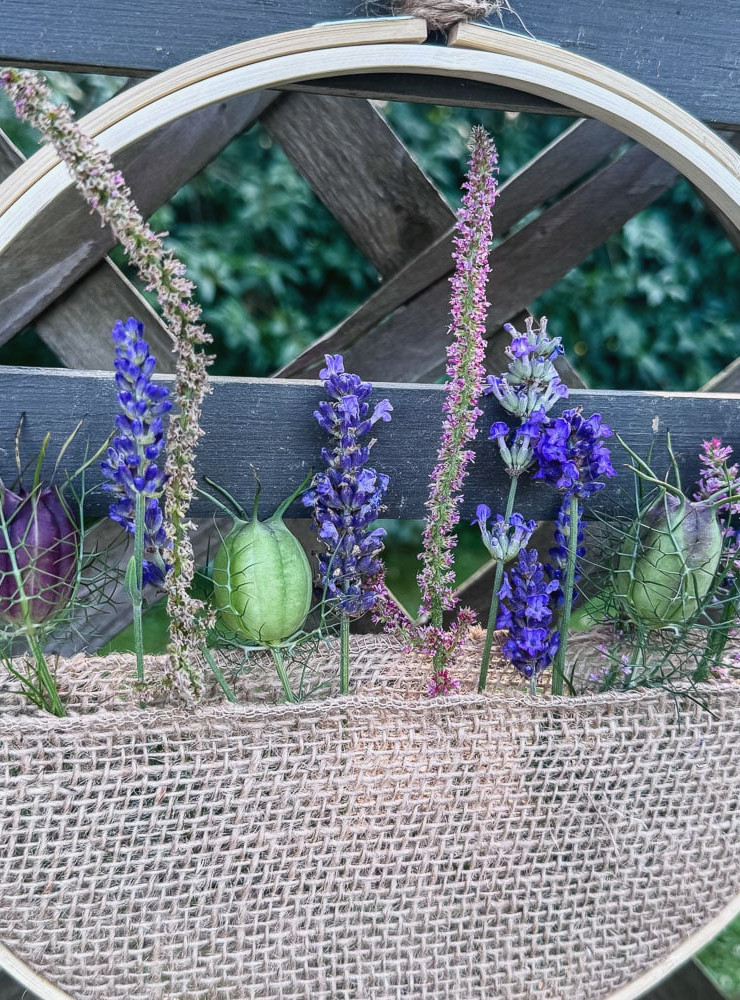
This project is one of those crafts where the “recipe” is essentially a simple formula: hoop + pocket + botanicals + hanger. After making one, you’ll begin seeing your dried flower collection in an entirely new way. How about a Fall design with wheat and grasses? Or a winter style with berry sprigs? The hoop is happy with anything.
If you create one, I’d love to see it—tag me or email me a photo (cottageonbunkerhill@gmail.com). If you’re new here and would like more botanical crafts like this for decorating your home, take a look at my easy sachets and the beloved pressed flower magnets next.
xo, Jennifer
Enjoy crafts like this?Don’t miss out! Become part of my newsletter familyfor more warm, affordable DIY projects sent straight to your inbox. You’ll receive special tips, advance access to tutorials, and plenty of inspiration for making your home feel personal and full of heart.