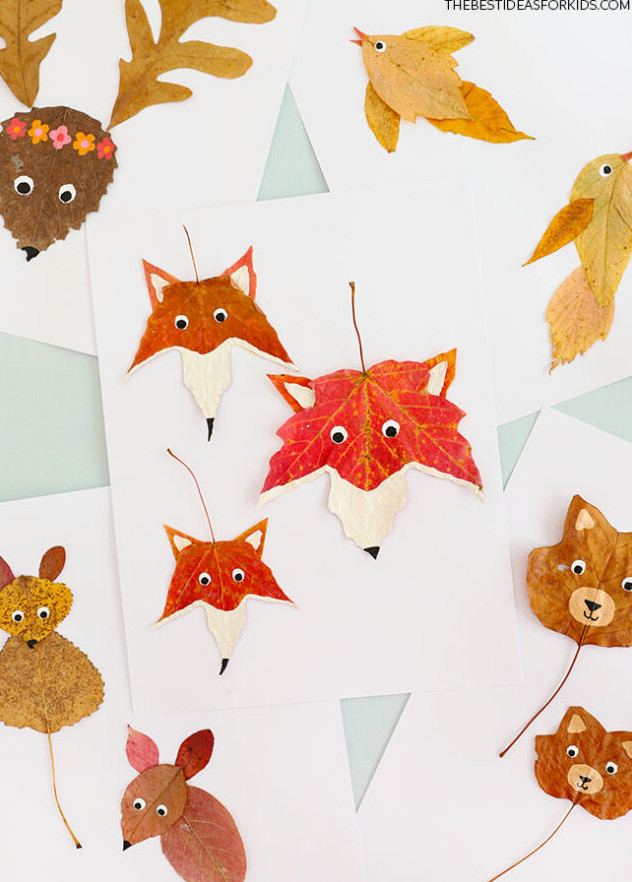
What more delightful way to enjoy the season than creating some charming leaf animals. This activity is enjoyable for the entire family, and children of every age will have fun positioning and repositioning autumn leaves to form various animals and shapes.
RELATED: Leaf Painting
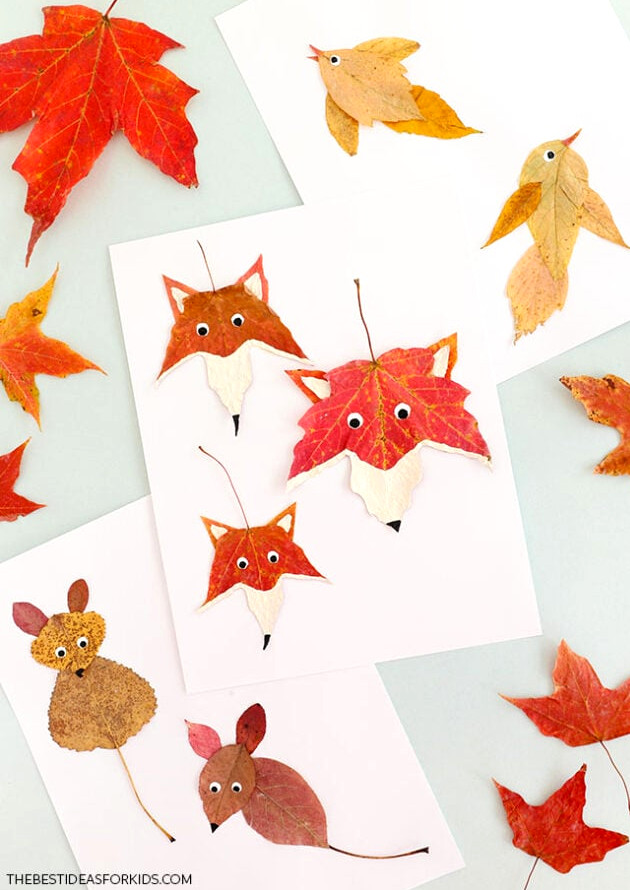
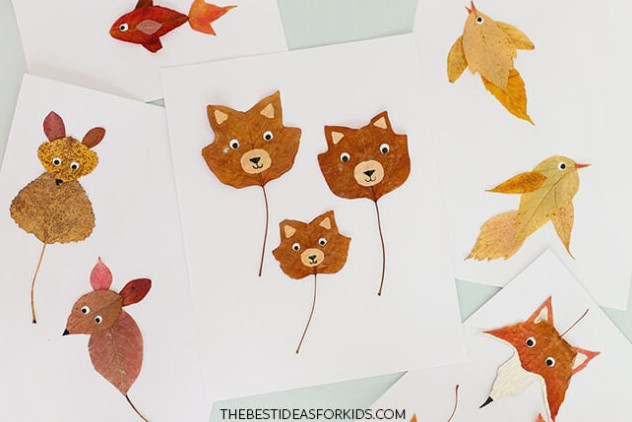
We designed 8 unique animals to give you ideas – the detailed instructions for each one are provided below. Use them as a starting point for making your own personalized leaf animals as well!
You’ll probably notice that your area offers different varieties of leaves from the ones displayed here, so enjoy modifying the ideas and experimenting as you create your own autumn leaf animals.
Supplies Needed
- Autumn leaves – check out the tips and suggestions below!
- Paint – white, black, and tan
Before you begin, complete these steps:
- As you collect leaves, choose ones that remain pliable and smooth – when a leaf is curled and crispy, leave it behind because it will be difficult to use.
- Leaves gathered in the morning may be covered in dew. That’s perfectly fine, but be alert for slugs. We noticed that they tend to cling to damp leaves, so inspect each one before placing it in the keep pile.
- Gather a larger number of leaves than you expect to require, particularly oval leaves. Having plenty of choices makes the process much easier, and oval leaves in different sizes are useful for creating these leaf animals.
- Flattening the leaves before beginning is optional, though advisable. If you use fresh leaves as they are, they might curl across the paper over time. Since every leaf is unique, this is not always easy to anticipate.
- To flatten the leaves: collect a tall stack of weighty books and a roll of paper towel. Put one sheet of paper towel over the first book, then arrange the leaves on it in one layer. Cover them with another sheet of paper towel and add another book, pressing the leaves between the towels and the books’ weight. Continue layering books, paper towels, and leaves until every leaf is under pressure. The paper towels absorb dampness, encourage faster drying, and help stop mold from forming.
- Inspect the leaves after one day – they’re generally ready for crafting by then, although the timing may differ based on their moisture level, leaf variety, and other factors. If a leaf begins curling slightly when it is not pressed, keep it beneath the books for a little longer.
Making Leaf Animals
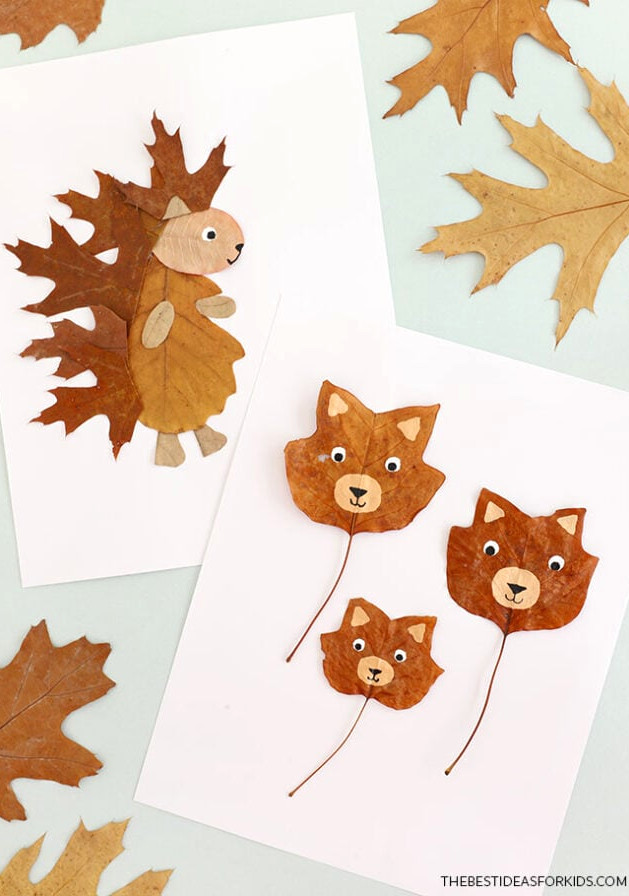
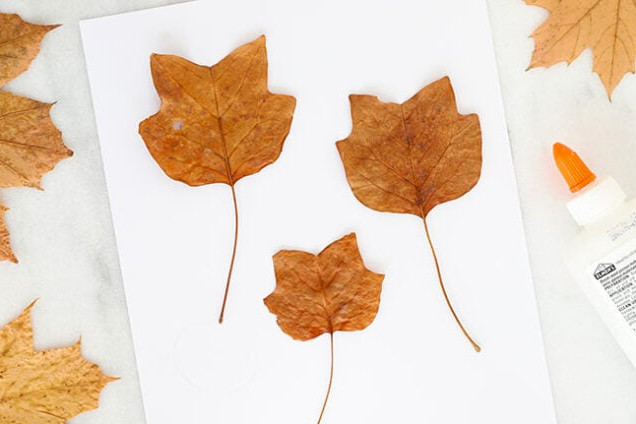
Leaf Cats or Bears
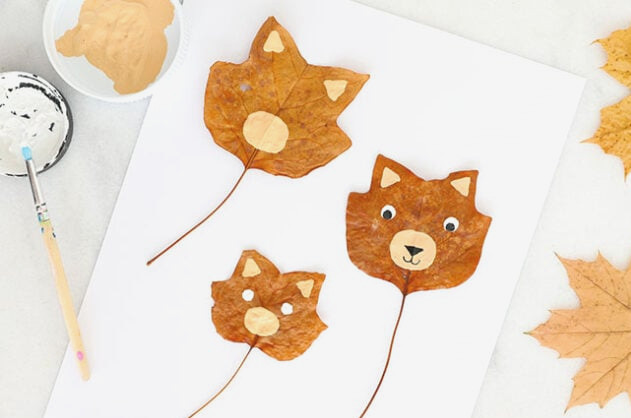
With tan paint, create a rounded muzzle and inner-ear accents on the leaves, then add white circles for the eyes.
After this paint layer is completely dry, place black dots inside the eyes and use a black marker or paint to draw the nose and mouth.
Leaf Hedgehog
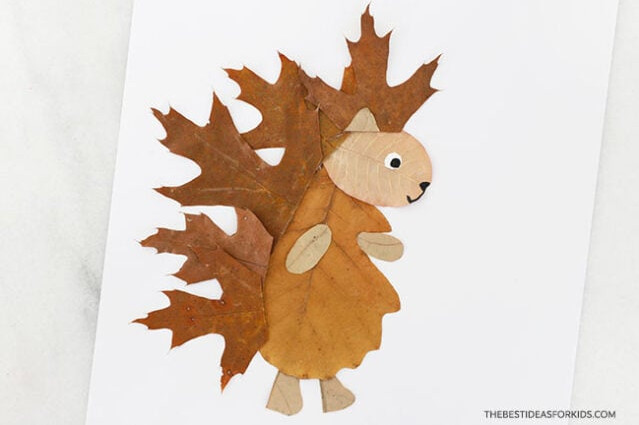
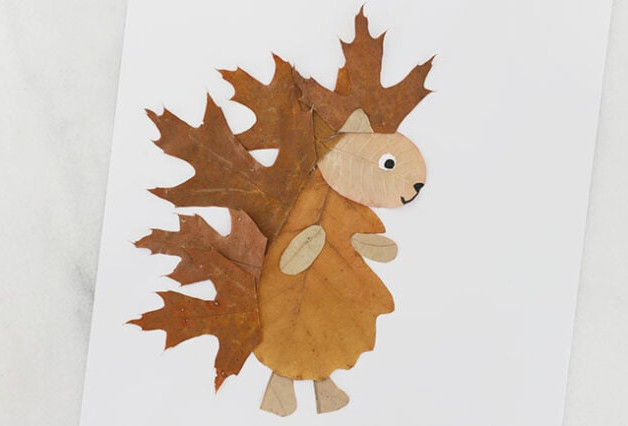
Remove the stems from one small oval leaf for the head and one larger leaf for the body. We selected a white oak leaf for the body, but any broad oval leaf is a good choice!
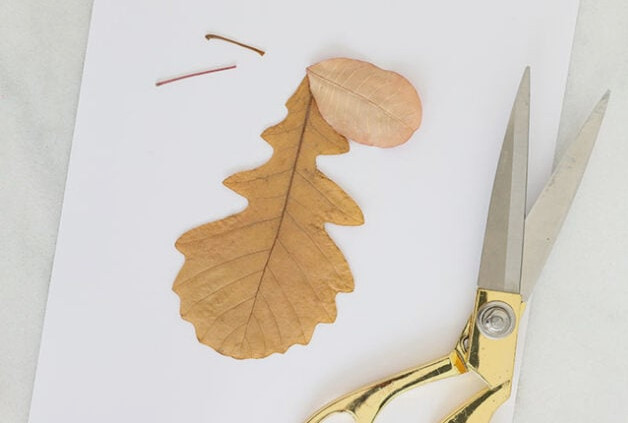
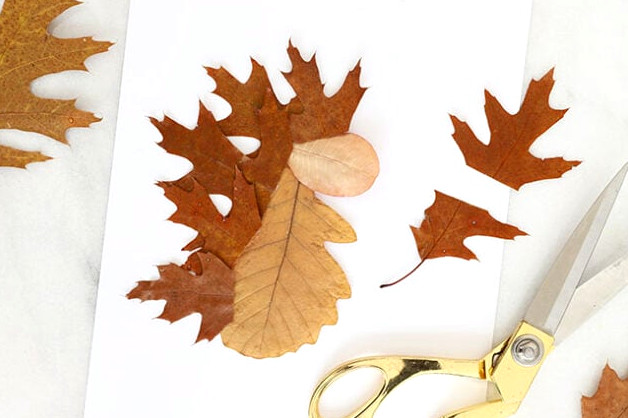
Then divide red oak leaves in half and position their pointed ends along the head and body’s side to create the hedgehog’s prickly back.
From another leaf, cut out small arms, legs, and one ear, then place them on the hedgehog.
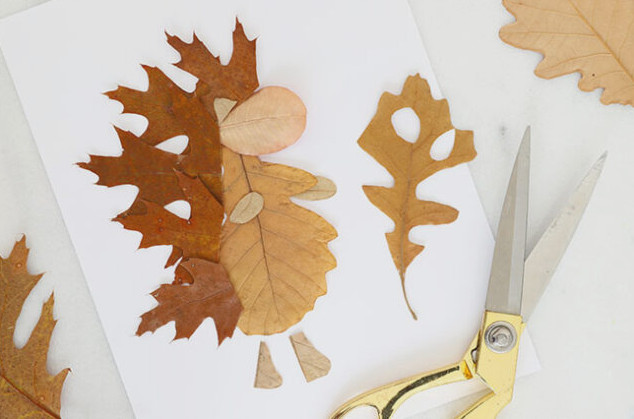
Attach all the pieces securely with glue.
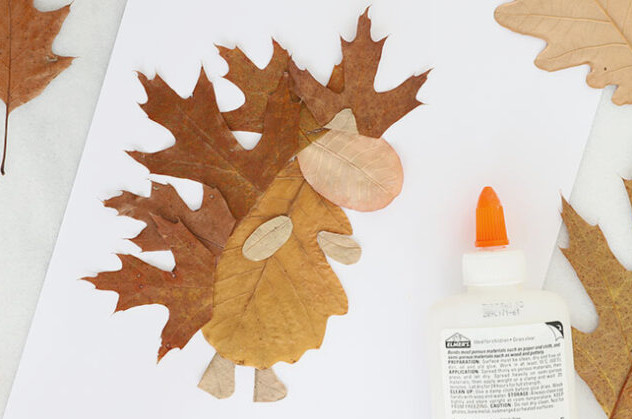
Finish with the painted features – begin by painting a white circle for the eye, allow it to dry, and then add a black pupil, as well as the hedgehog’s nose and mouth.
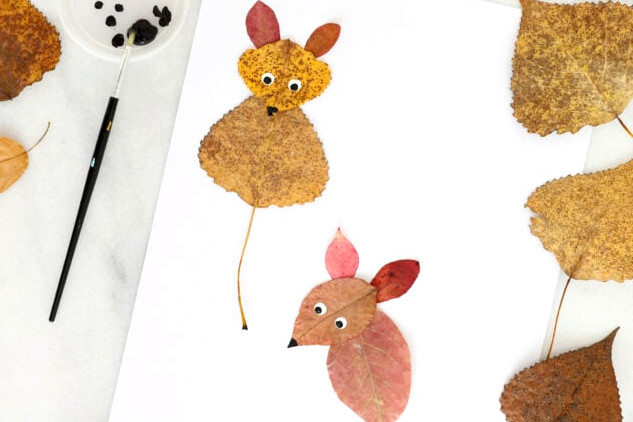
Leaf Mice
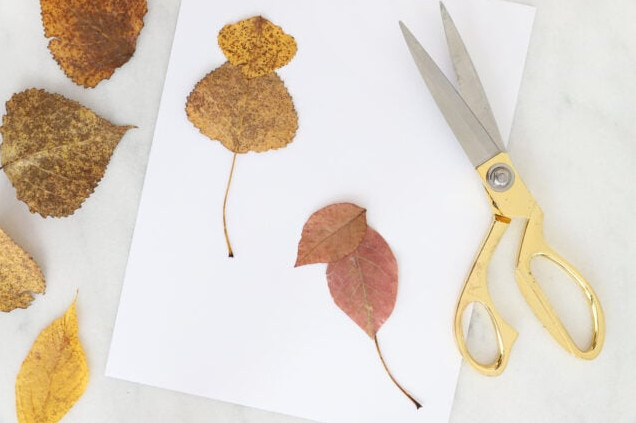
For the body, position an oval leaf while leaving its stem attached to serve as the tail. Place a smaller oval leaf above it for the head. If the body leaf lacks a suitably long stem, snip one from a different leaf and attach it instead.
Then place 2 tiny oval leaves behind the head to represent the ears.
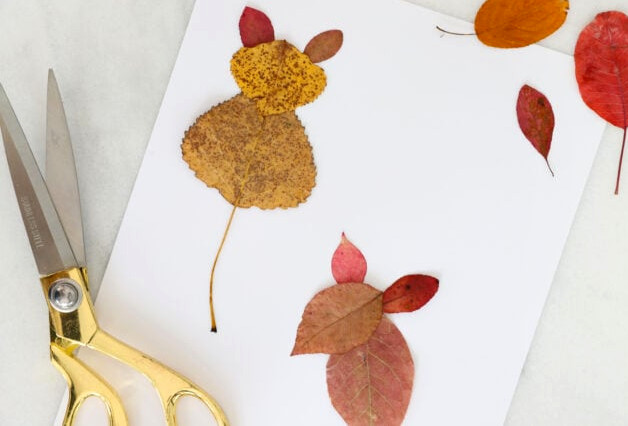
Secure all the pieces to the cardstock with glue.
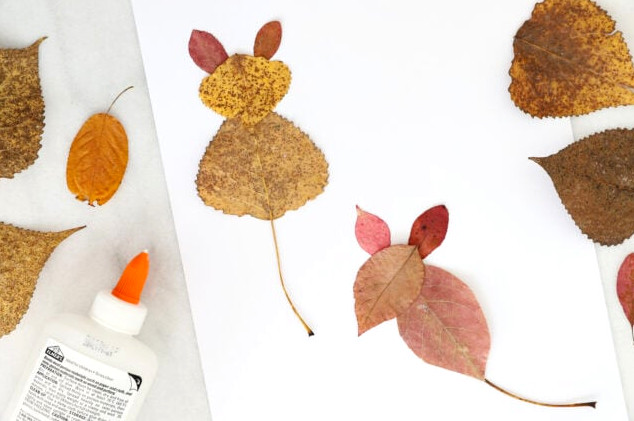
With white and black paint, add the eyes and nose.
Leaf Deer
Remove the stems from an oval leaf—we used an elm leaf—and 2 white oak leaves.
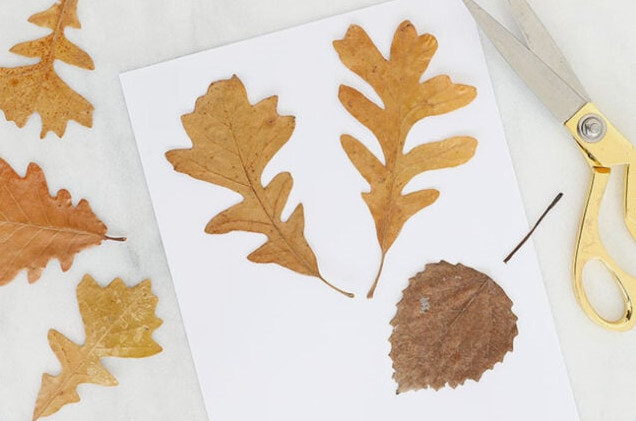
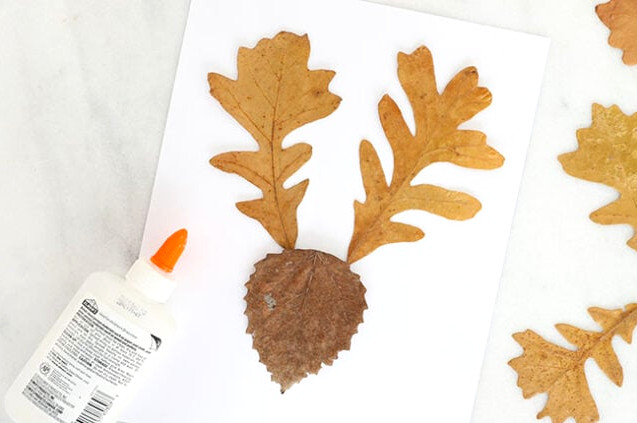
Position the two oak leaves behind the elm-leaf head as antlers, then glue them into place.
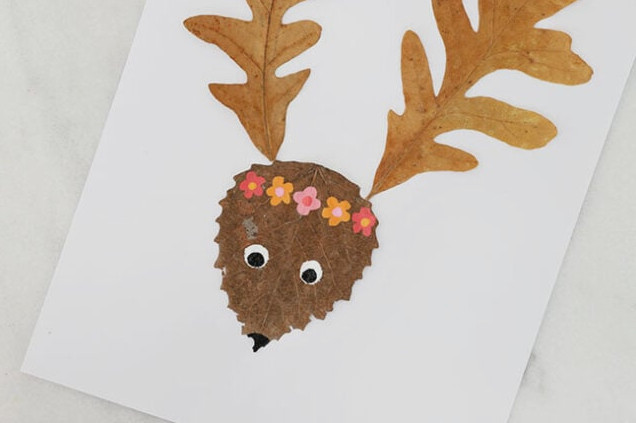
Add painted eyes, a nose, and a floral crown to the deer’s face.
Leaf Bunny
After trimming the stems from oval leaves, place a larger one vertically for the bunny’s body and set a smaller leaf above it to make the head.
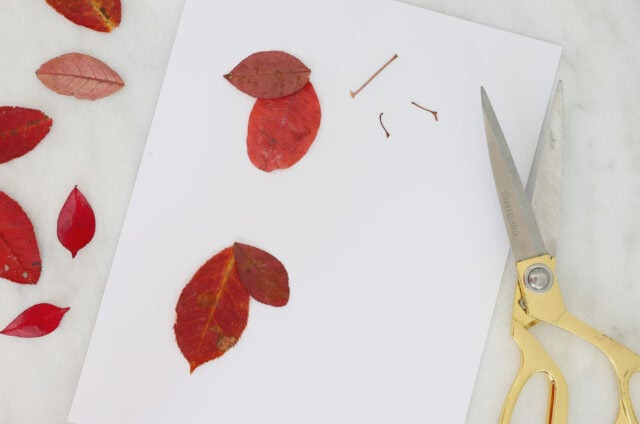
Divide an oval leaf down the middle to make 2 bunny ears, and position them behind the head.
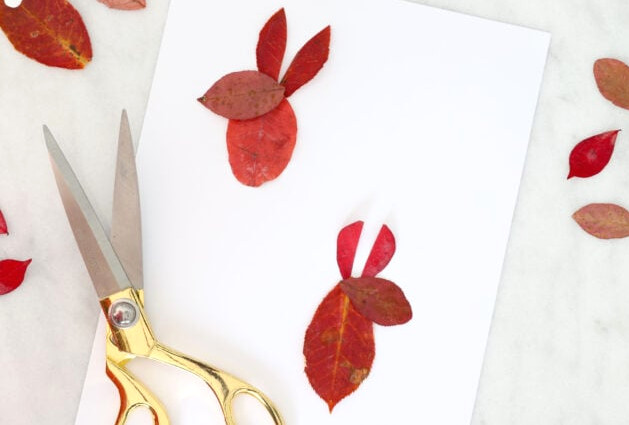
Glue each leaf in place to hold the design together.
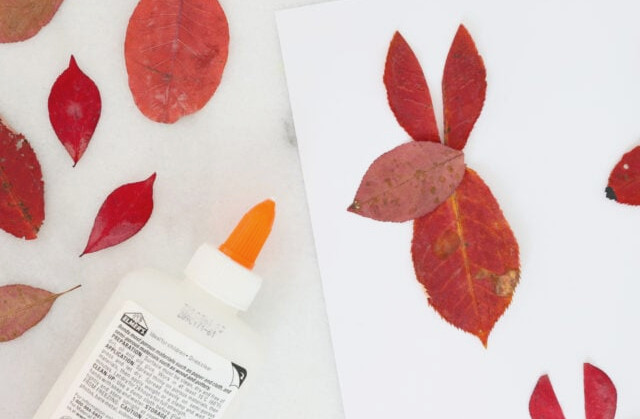
Paint on the eyes and nose, then add a white tail to the bunny.
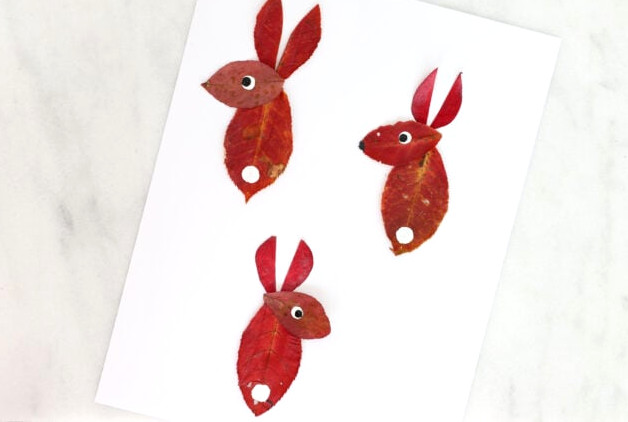
Leaf Fox
Place red maple leaves on your page with their central points facing downward, then glue them in position.
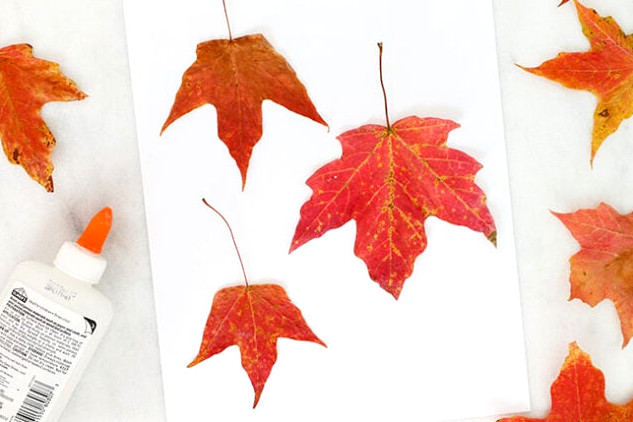
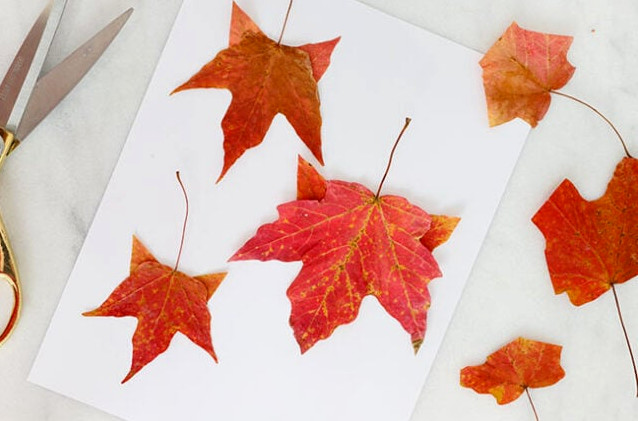
Using a maple leaf in a similar color, cut out triangles for the fox ears and glue them behind the head. Depending on the maple variety, the leaf may already have ear-like points, in which case this step can be omitted.
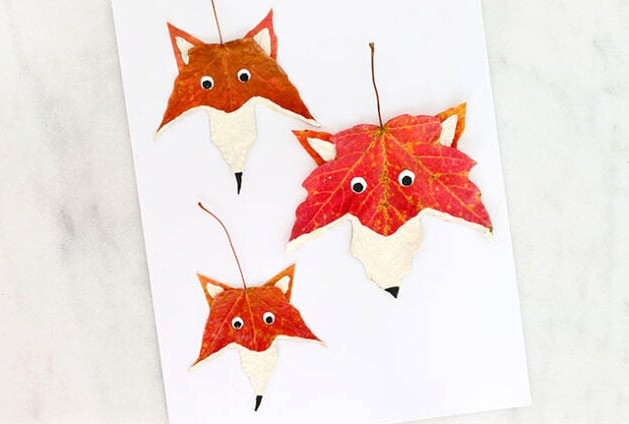
Begin the painted features with a white snout and white inner ears. Finish the foxes by adding their eyes and noses.
Leaf Bird
Use 2 leaves to create the bird’s body and tail feathers. We chose Manitoba maple leaves, though many elongated oval leaves can be used for this project.
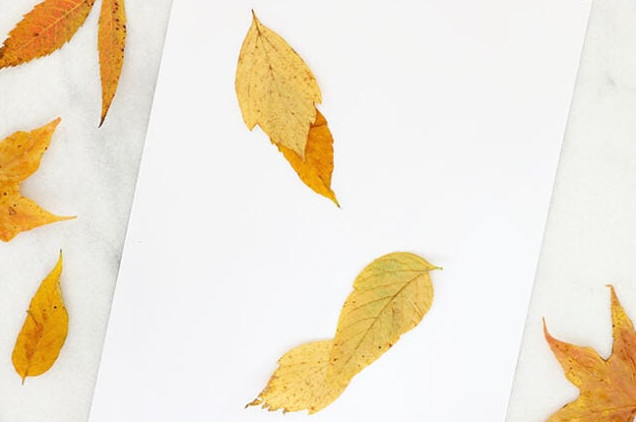
Place 2 smaller leaves along the body’s sides to make the wings.
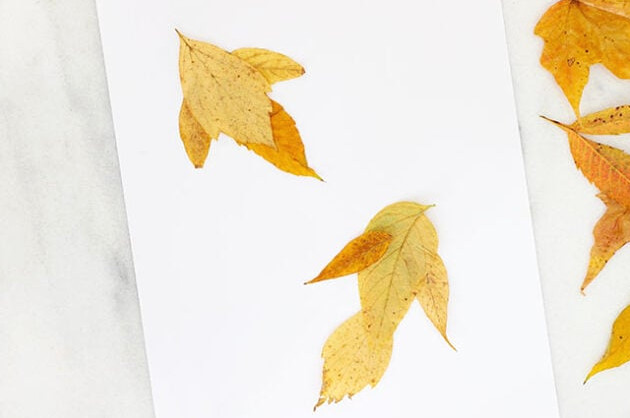
From the tip of an orange or red maple leaf, snip a small triangle for the bird’s beak. One triangle makes a closed beak, while 2 create an open one.
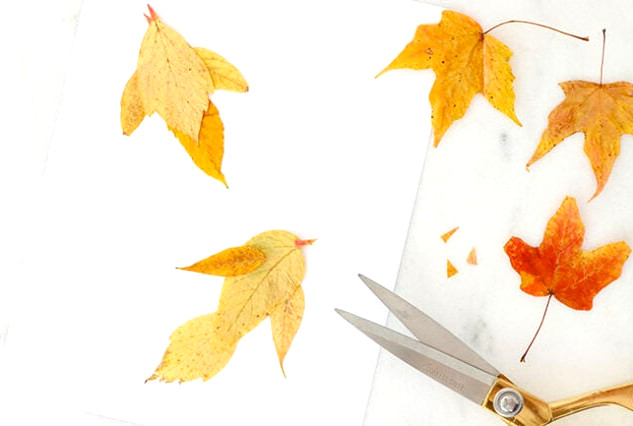
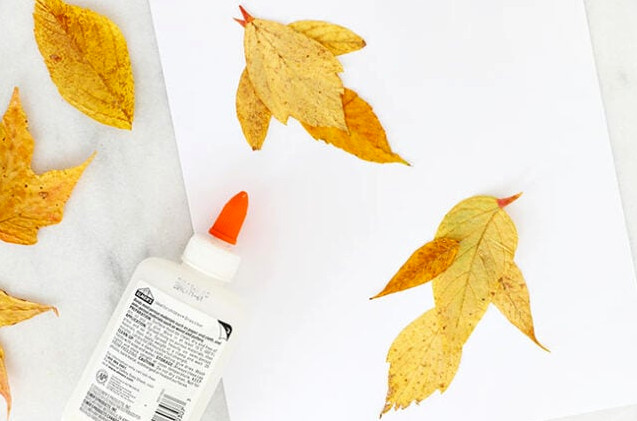
Secure every leaf to the cardstock using glue.
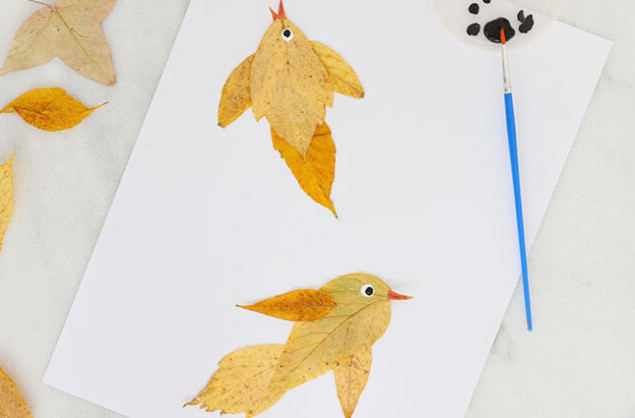
Add the bird’s eye with paint.
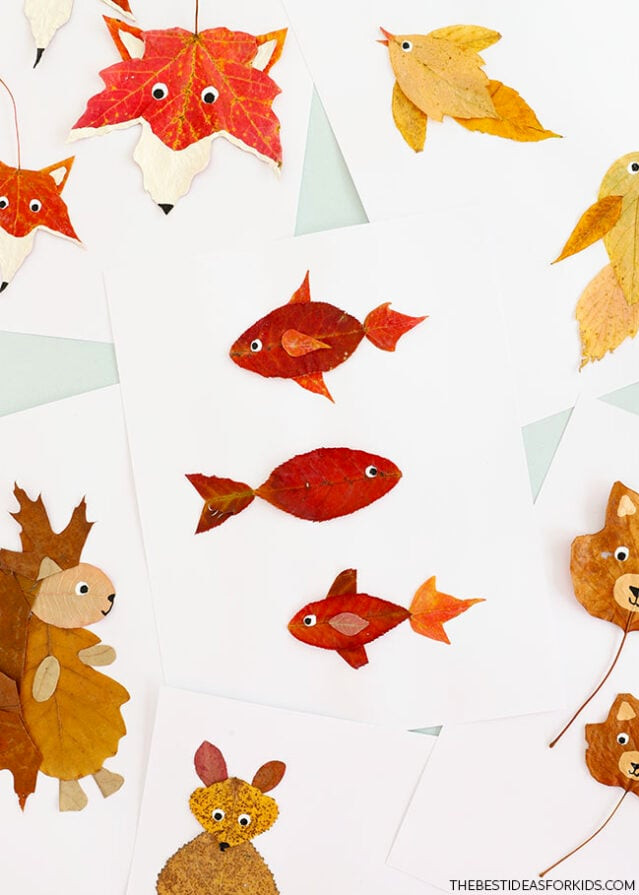
Leaf Fish
For the fish’s body, remove the stems from oval leaves.
For the tail, either trim an oval leaf into a tail-like form or use a small maple leaf as an alternative.
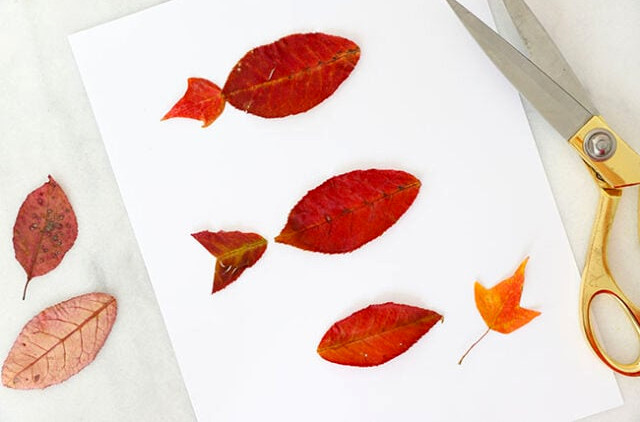
Fins are another optional detail. Simply snip the ends from maple leaves or cut small ovals from other leaves, then position them along the fish’s top, bottom, and sides until you like the arrangement.
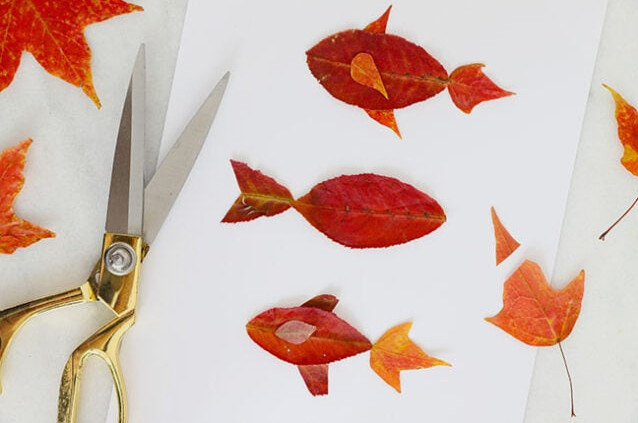
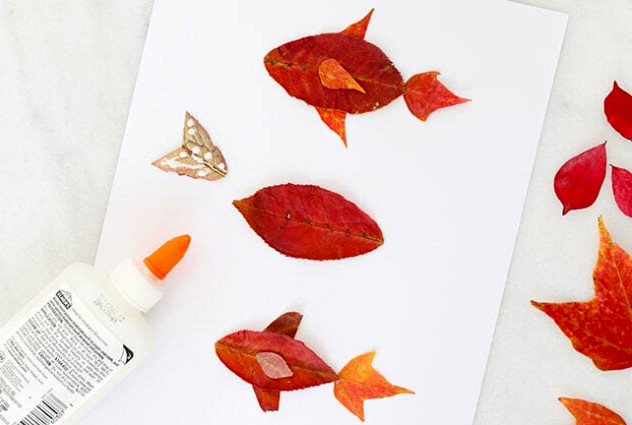
Secure every leaf to the cardstock with glue.
Use paint to add eyes and mouths to each fish.
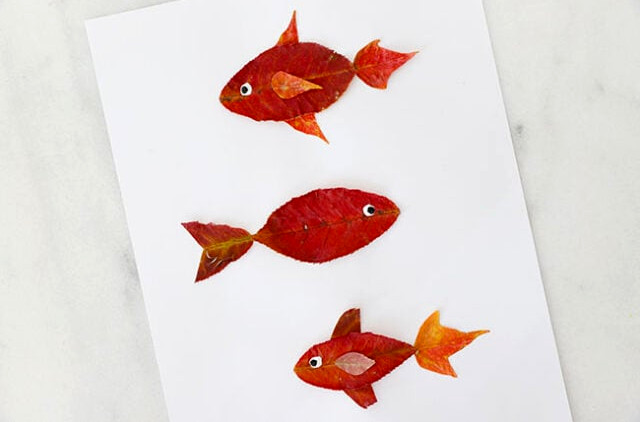
You can create so many wonderful leaf art animals. We hope these suggestions motivate you to explore nature and make your own leaf art this fall!