
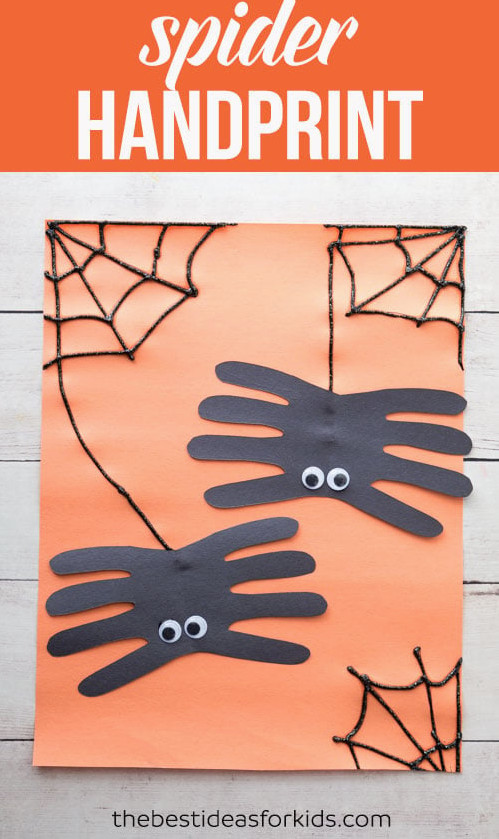
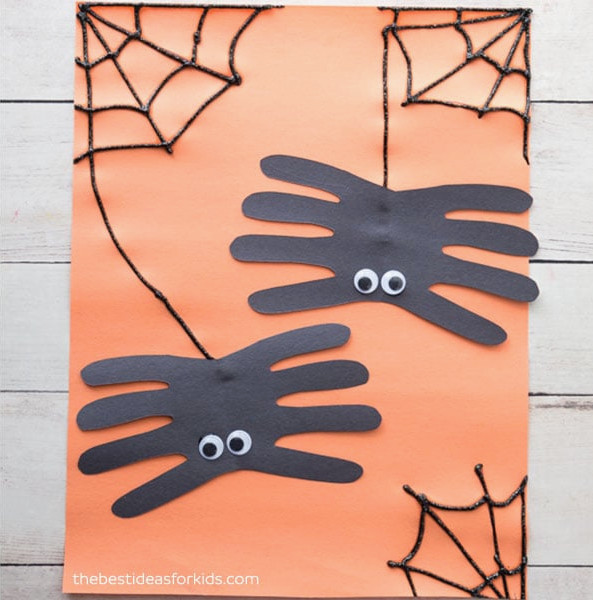
Halloween is an exciting season for children to put on costumes and enjoy entertaining activities such as crafts. There are endless craft projects kids can make for Halloween, but creating handprint spiders is among our top choices!
RELATED: Halloween Crafts for Kids
Supplies You’ll Need
View the Video Tutorial!
How to Create a Spider Handprint Craft
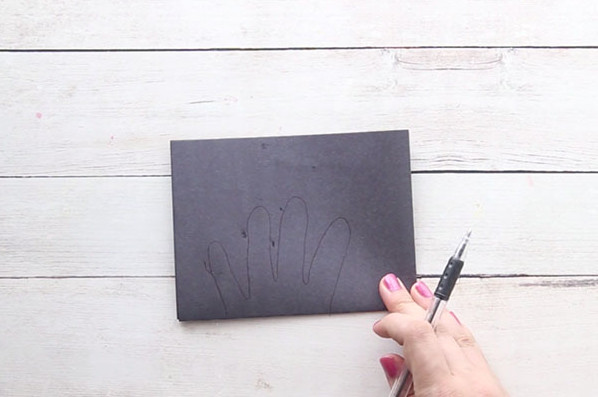
1. To begin, fold your black paper twice, as shown here:

2. Trace just 4 fingers (leaving out the thumb) and keep approximately 1/2 an inch between the tracing and where the lowest cut will be. Avoid outlining the entire hand because the spider’s body will become too large once it is cut out. Also, be sure to trace on the folded-paper section where the two layers meet, so each one becomes a spider. Otherwise, you may trace your hand twice or make only one spider!
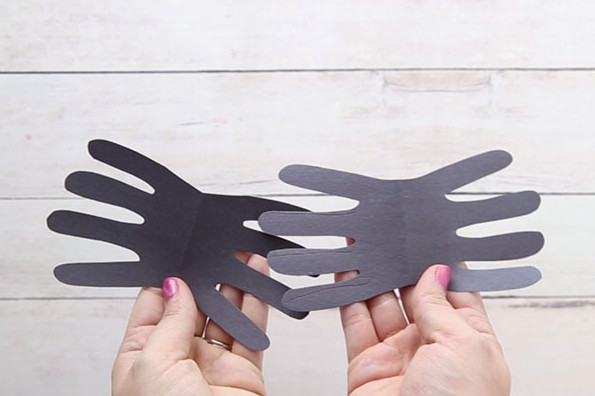
3. Next, cut out the handprint. You should end up with 2 spiders.
4. Use a pencil or black pen to sketch spider webs onto your orange construction paper. Draw two web strands extending downward where you would like to connect the spider handprints.
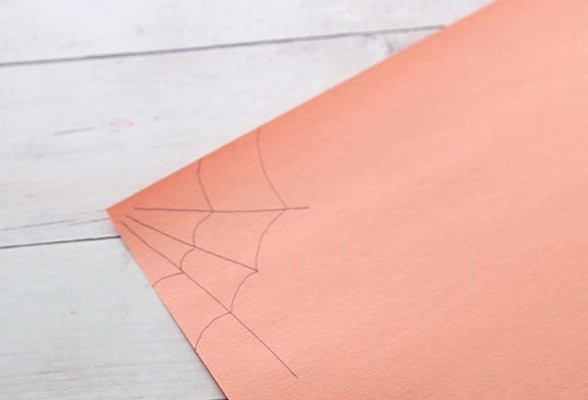
5. Carefully go over your web lines with the black glitter glue. As you trace, try to keep the line unbroken so the glue does not form lumps on the paper. Let the black glue dry overnight.
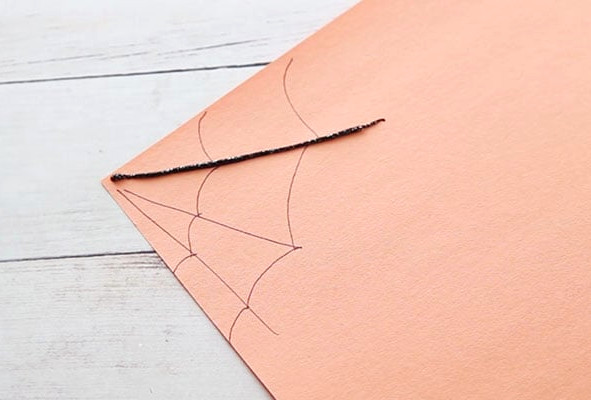
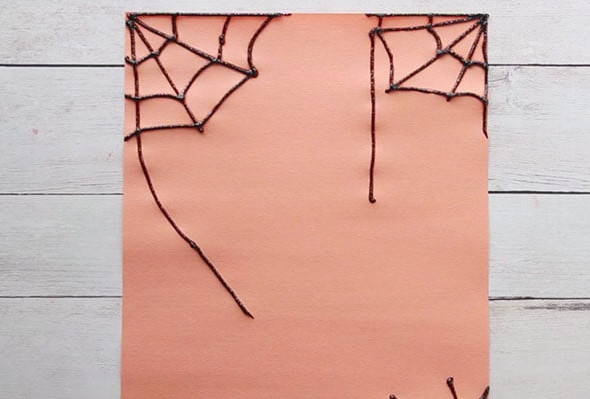
Note: These photos were captured while the black glue was still drying. After it dries, the glue will flatten slightly.
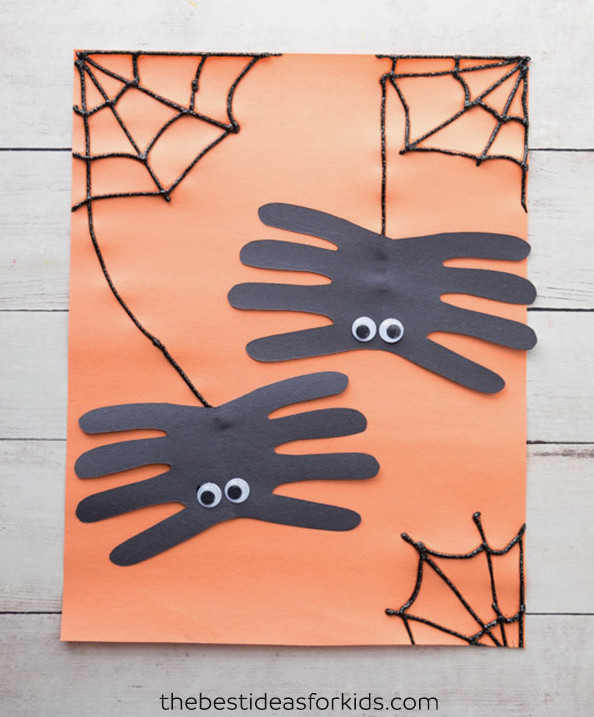
6. Attach your spider handprints with glue! Stick on the googly eyes, and your craft is complete.
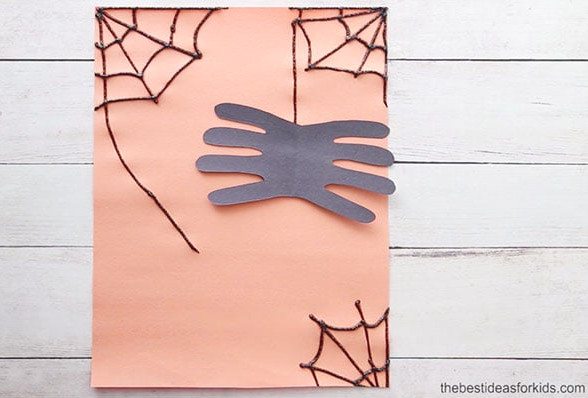
Aren’t these absolutely precious? We adore how charming these handprint spiders look!
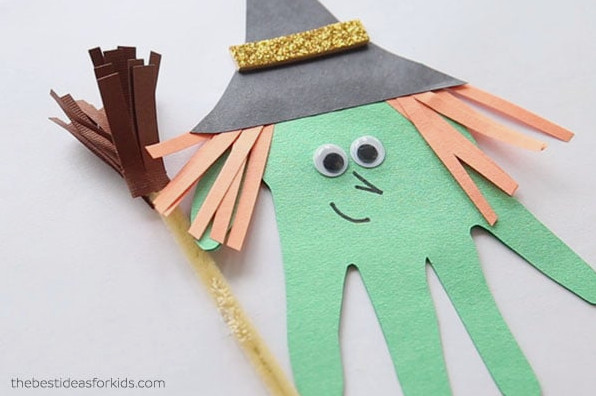
If you’d like more enjoyable Halloween crafts, take a look at this adorable handprint witch.
Explore additional Halloween handprint art ideas.