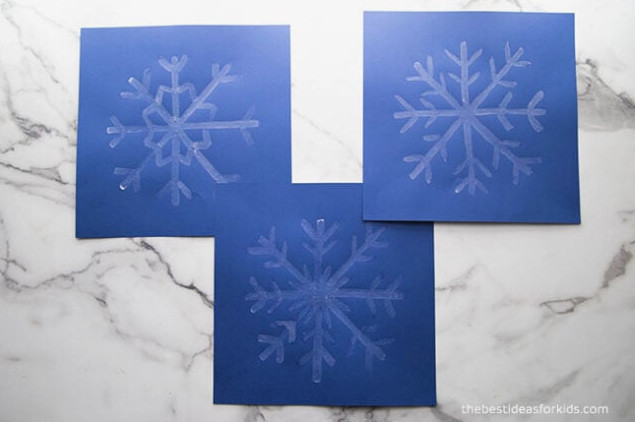
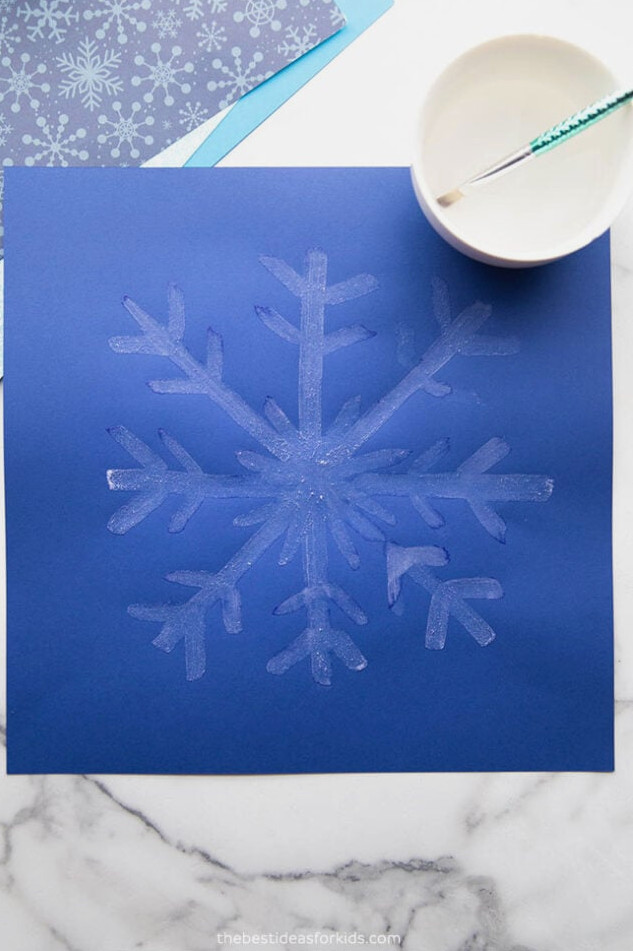
Have you ever created paint using salt? Give this salt painting experiment a try! It’s an enjoyable process art and science activity! Children will have fun watching the paint dry and observing all the salt crystals left behind.
RELATED: Salt Painting
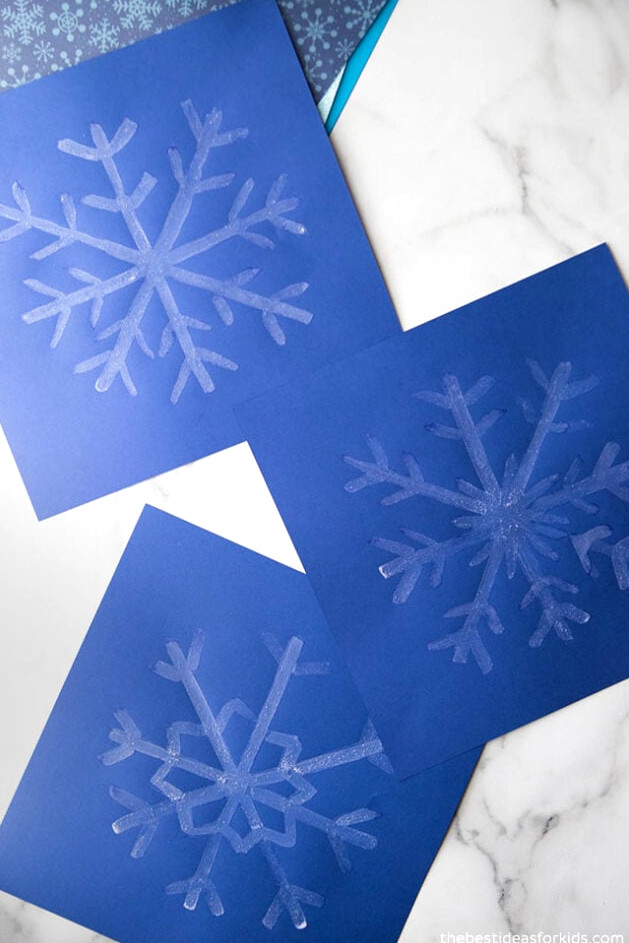
Create Your Own Salt Paint
Did you realize that salt can be used for painting? Just dissolve the salt in hot water, then paint with the mixture!
When the picture begins to “appear,” children will think it is magic.
If you have not experimented with salt painting, where salt is dabbed with watercolors, it is another enjoyable process art project! Read our salt painting instructions.
You can also make this a science activity by experimenting with various types of salt.
We tested coarse sea salt, and the result was quite different! The paint became more transparent as it dried, but the salt crystals were bigger.
Once the artwork has dried, let children examine the salt crystals with a magnifying glass.
The Science
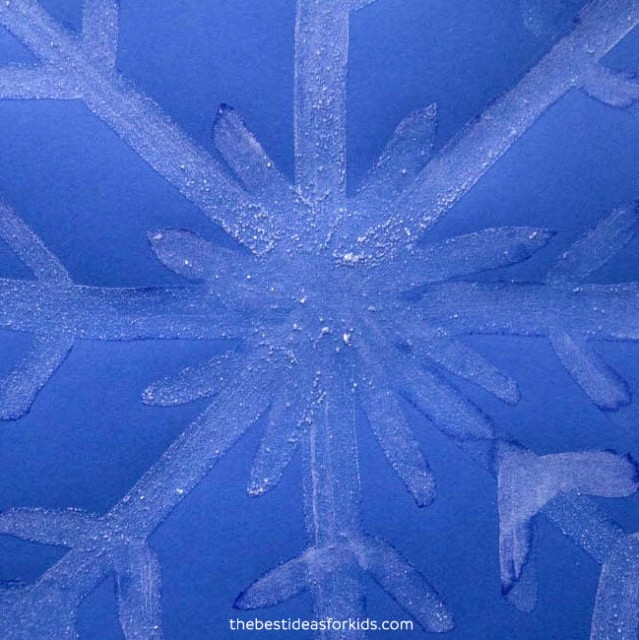
As the saltwater “paint” dries, the water evaporates into the atmosphere and leaves the salt behind. While the water vanishes, the salt molecules join together and create tiny crystals. Because these crystals are white, they become visible on the paper.
The salt remains on the paper because, as the water evaporates, the dissolved salt changes back into tiny crystals that develop wherever the saltwater was placed. These crystals settle into the paper’s uneven, absorbent surface and hold onto its fibers. Some salt is also carried farther into the paper by the water, helping it remain secure. As a result, the salt crystals naturally adhere to the paper rather than dropping away.
Here’s a closer view of how the table salt dried:
Materials for Making Salt Paint
Here is everything required to create your own salt paint:
- Salt – we used ordinary table salt. Coarse salt or sea salt can also be used, although the finished result will vary, with less white and more crystals
- Hot water *an adult should help with this
- Dark cardstock – note: the cardstock must not have a coating, or the paint will be repelled by the paper. If the “paint” does not absorb into the paper while you are painting, try another type that does not cause the liquid to run off or repel. We used this kind of Recollections paper.
Watch the Video Guide!
How to Create Your Own Salt Paint
1. Begin by placing 1 tablespoon of table salt into a small bowl.
Note – you can experiment with several varieties of salt as well! This makes a great science activity for comparing different salts, such as sea salt, table salt, coarse salt, and pink salt.
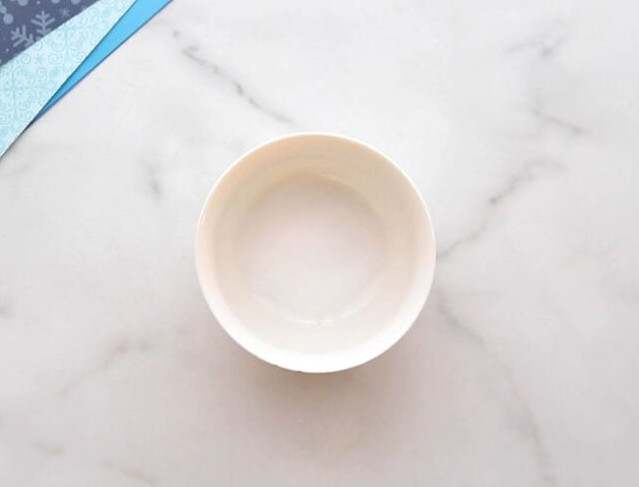
2. Pour 3 tablespoons of hot water into the bowl.
An adult should heat water in a kettle and add 3 tablespoons to dissolve the salt.
Caution
An adult needs to complete this step. The saltwater will be extremely hot!
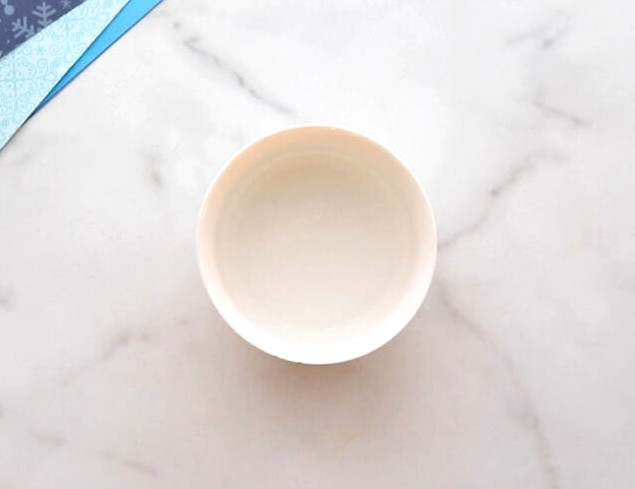
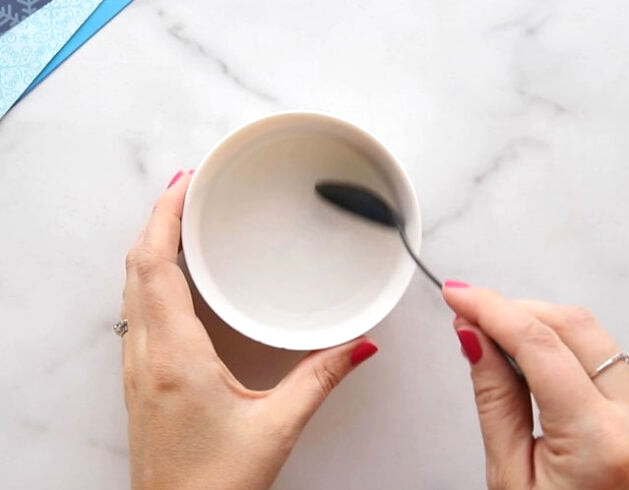
3. Stir the salt and water until most of the salt has dissolved.
Note – some salt will remain undissolved at the bottom of the bowl. That is perfectly okay, and the paint will still work as demonstrated.
4. Grab a paintbrush and create any design you like!
After the saltwater has cooled, children can begin painting!
We created three different snowflake designs. For Valentine’s Day, you could paint hearts on dark red or purple paper. The possibilities are limitless!
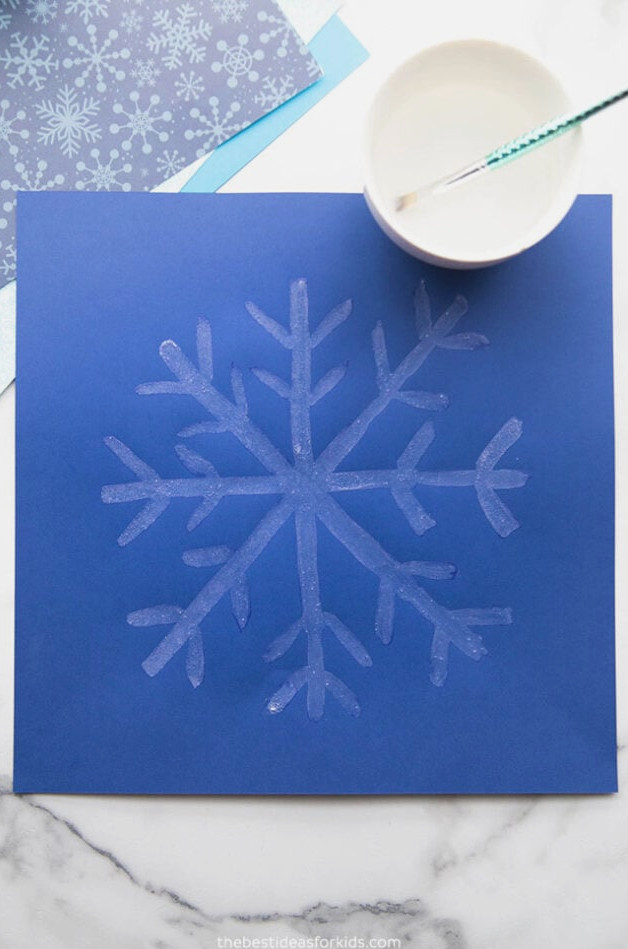
Notice that the paint applies transparently, with a few small salt particles remaining in the saltwater.
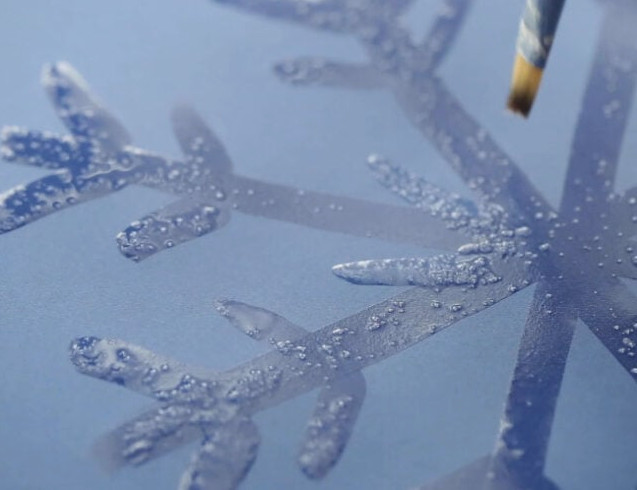
This is what it looks like right after painting:
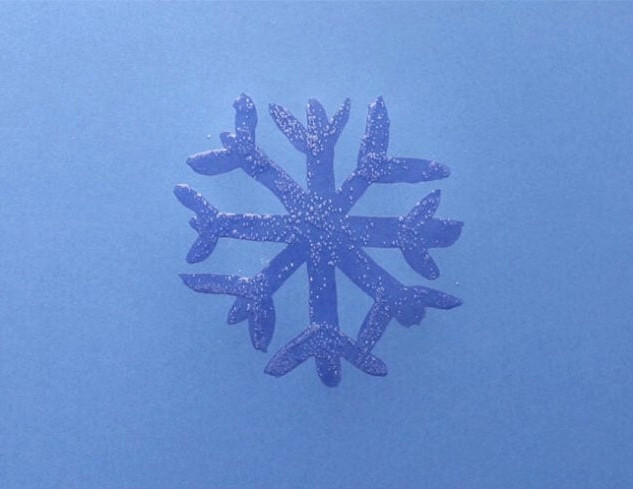
5. When your picture is finished, let it dry for 24 hours.
After roughly 24 hours, the picture should be dry. The water in the “paint” will have evaporated, leaving behind the salt crystals.
Once dry, your picture should appear white:
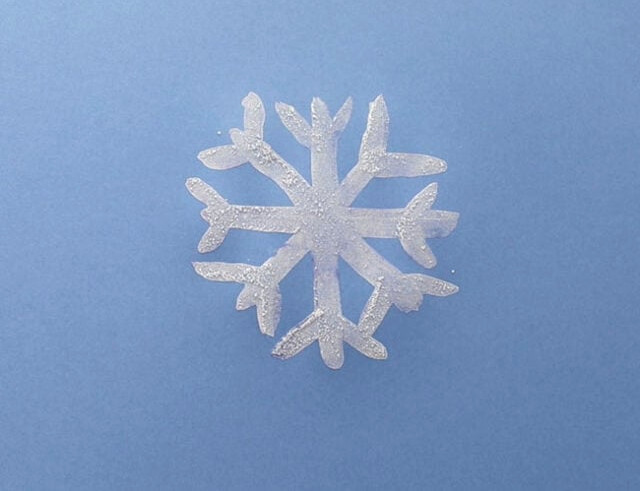
If waiting 24 hours is not possible: use a hair dryer to accelerate the drying.
Add a fun science element by comparing your prediction with what actually happened as the paint dried. You can also record the differences among the various salt types.
If table salt was used, the finished artwork will be white. Thicker salt will generally produce less white coverage and leave behind larger crystals.