
Halloween ranks among our favorite celebrations. Since we understand that receiving too much candy can be a lot for some children, we’re sharing a non-candy Halloween treat today: Halloween slime. Prepare one large batch of a single variety or create all three! Either option is sure to delight kids when they receive these charming Halloween slime jars.
RELATED: Halloween Crafts for Kids
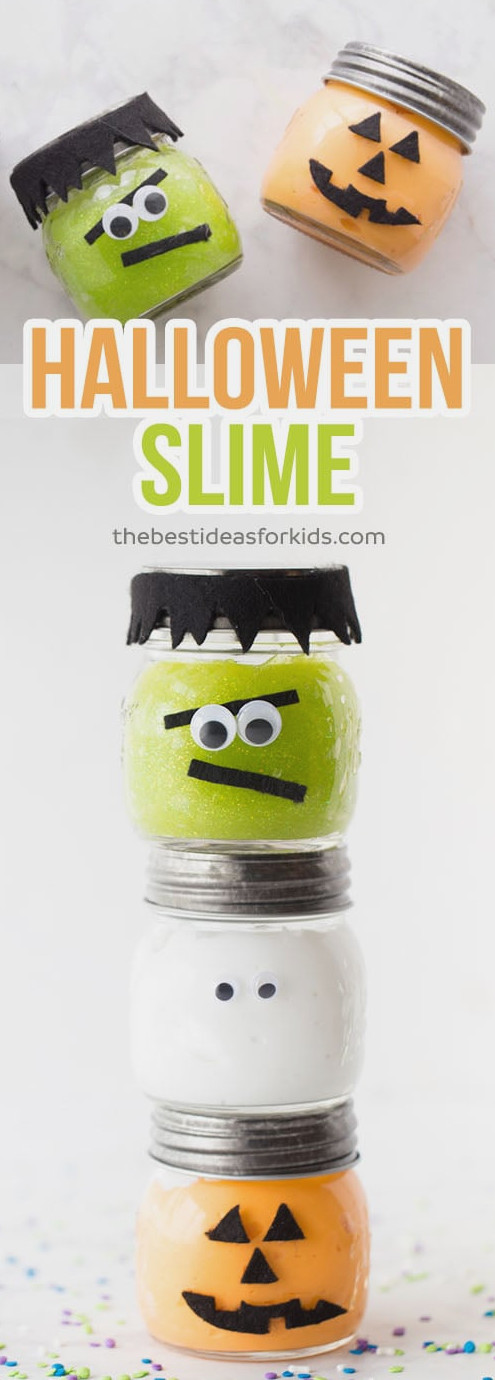
A few years back, we created pumpkin jars, and they were extremely popular. So we wondered—why not turn them into pumpkin slime jars? Filling the mason jar with colorful slime makes such a playful project! If felt crafting isn’t your strength, you can simply make the ghost slime jar instead. We’re all about simple ideas!
Halloween Slime – a Simple Slime Activity!
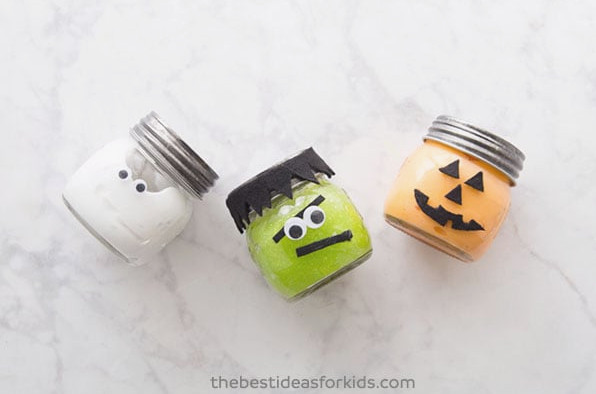
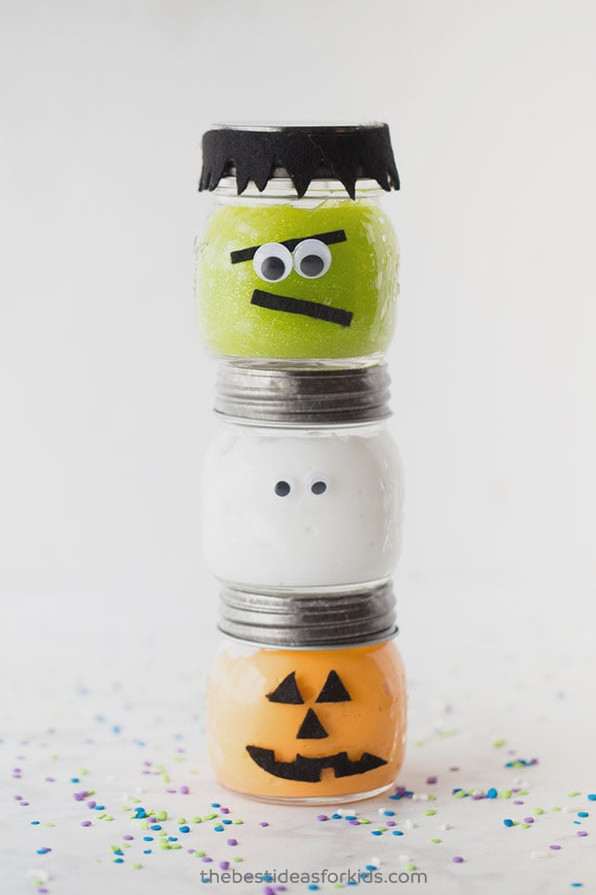
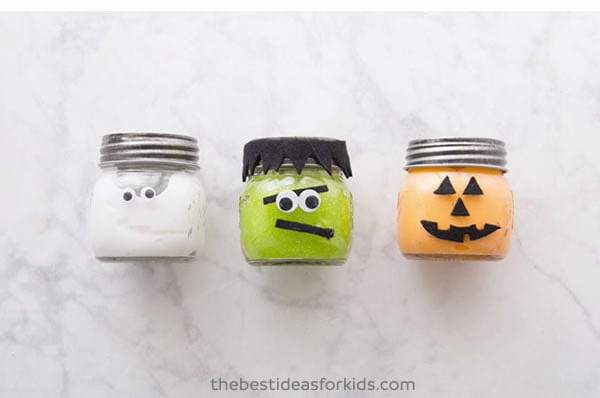
Here are the three Halloween Slime Jars we’ll show you how to create.
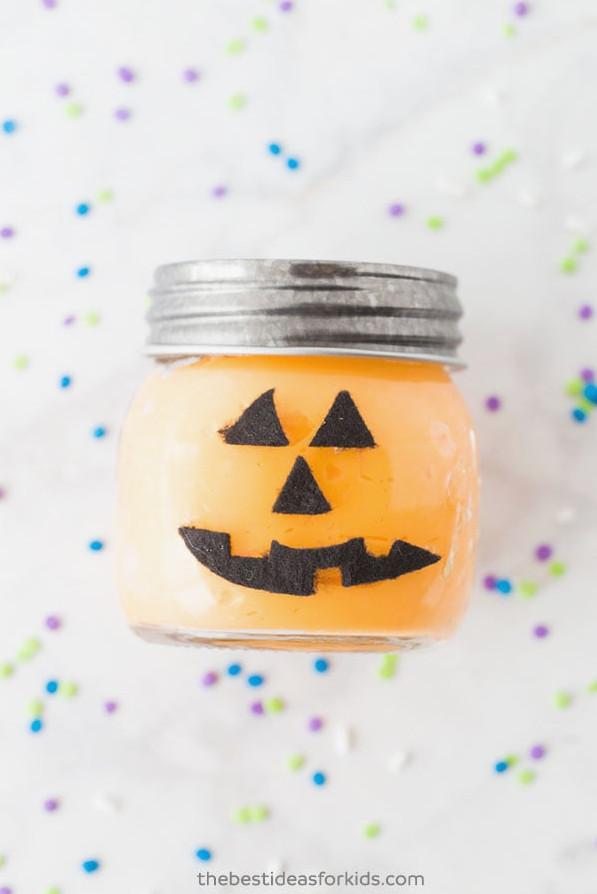
We’ll begin with our pumpkin slime jar – orange slime goes inside, while black felt creates the facial details!
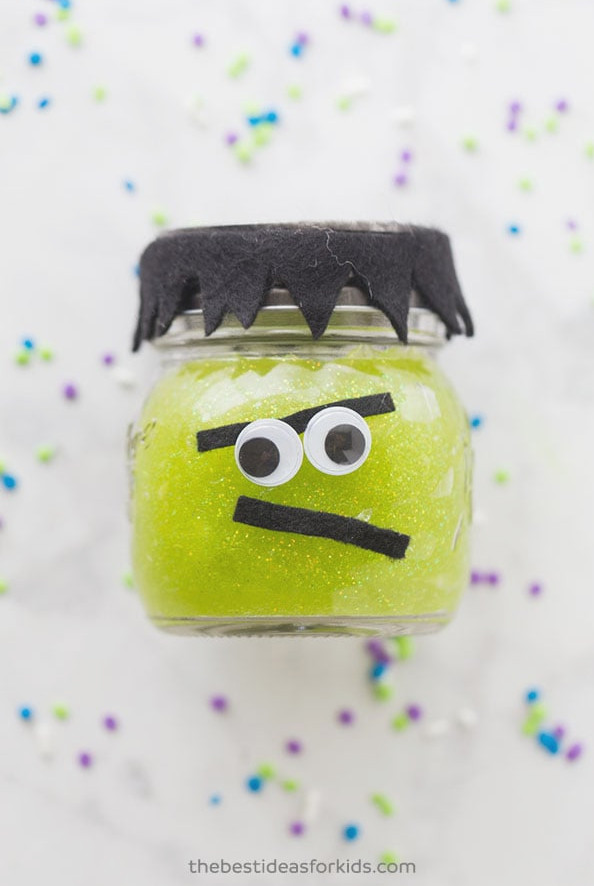
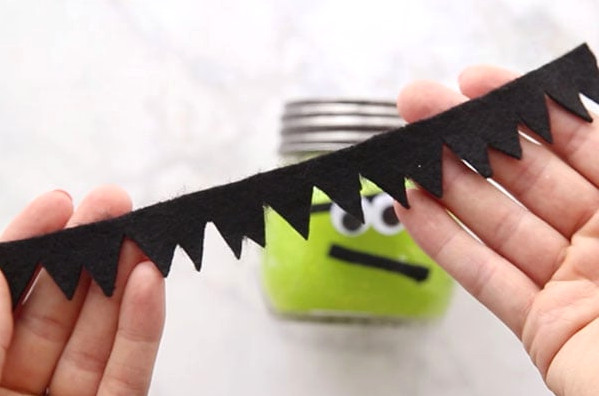
Our next project is the Frankenstein slime jar – this little character is incredibly adorable! It might be our favorite mason jar project so far! (We’re also quite fond of these Trolls mason jars if you haven’t discovered them yet).
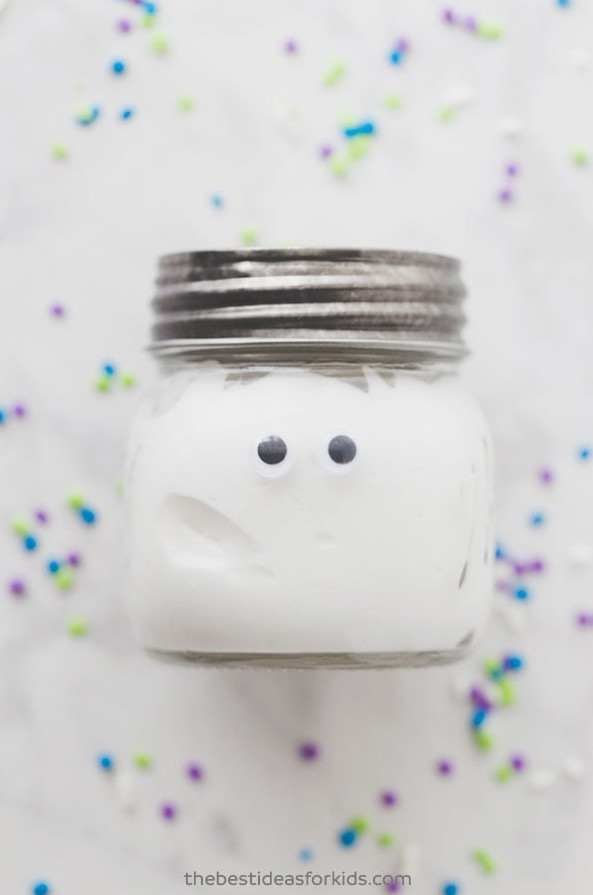
Lastly, we have the easiest option: a basic ghost slime jar.
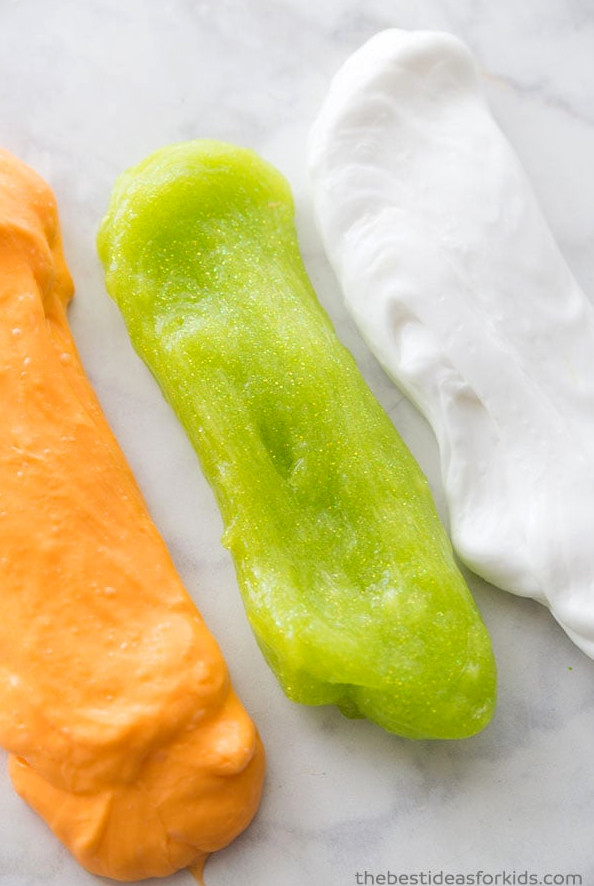
Below are the three slime shades we prepared, spread out so you can view each one.
Let’s move on to the instructions for preparing this Halloween slime!
Ingredients You’ll Need
For every shade, repeat the ingredients listed below (prepare 1 batch of each if you want to make all the slime jars)
For each batch:
- 6 ounces of Elmer’s glue– we chose white (2 bottles) and glitter green and made the recipe 3 times. Note: this recipe was tested with Elmer’s glue. We advise against replacing it with another glue because the ingredients may differ and the mixture might not turn out properly (many people especially report issues with Dollar store glue).
- Orange food coloring for the pumpkin slime jar *Note: food coloring can leave stains, so protect your table with wax paper during play and keep it away from surfaces or items you don’t want marked.
- 1/2 teaspoon of Baking Soda
- 1½ tablespoons of Contact lens solution.**Important:the contact lens solution you choose needs to list boric acid among its ingredients. This ingredient combines with the glue and creates the slime.
- Water – if you prefer a stretchier slime, mix 2 TBSP of water into the glue before adding the baking soda
Materials for the Mason Jar Features
How to Make Halloween Slime
1. Choose a bowl where you can combine the slime ingredients.
2. Add 6 oz of Elmer’s glue to the bowl. For the ghost and pumpkin slime, select white glue.
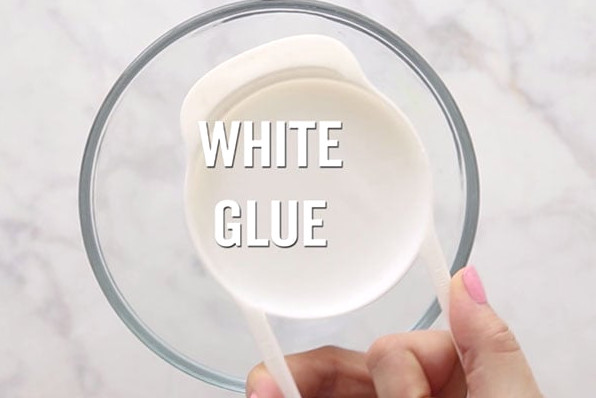
3. For the Frankenstein slime, use the green glitter glue. Alternatively, replace it with white glue tinted using green food coloring. If you intend to prepare a bigger quantity, reduce the cost of the glue by purchasing the large gallon size.
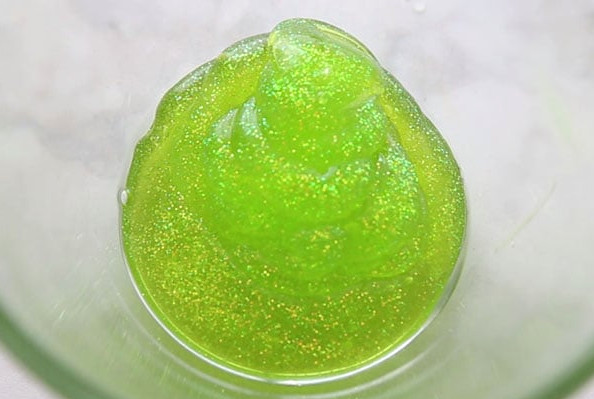
4. Stir in orange food coloring to create orange glue for the pumpkin slime.*Note: food coloring can leave stains, so cover your table with wax paper during play and keep it away from items you do not want marked.
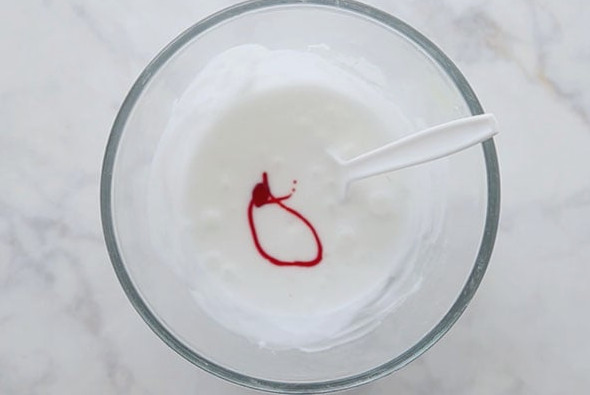
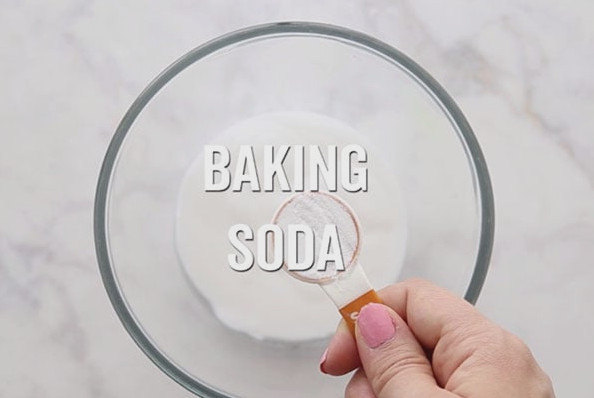
5. Add 1/2 teaspoon of baking soda, then blend it in well. Pour in 2 TBSP of water at this stage and stir.
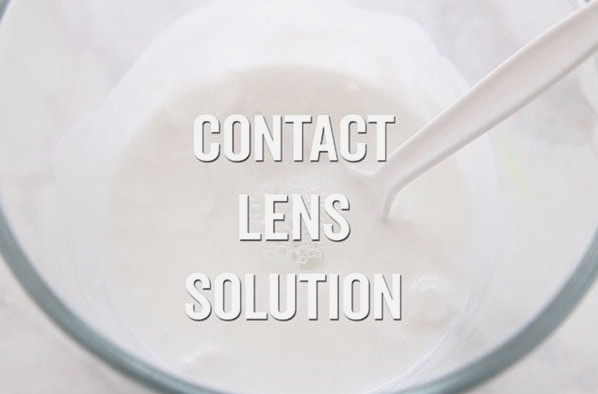
6. Next, pour in the contact lens solution. We suggest that an adult complete this step. Reminder: the contact lens solution must include boric acid for the slime to develop. Add half of the stated amount first and stir. If the slime has not formed sufficiently, mix in the remainder. Should it remain overly sticky, add a little more.
7. Continue stirring until the slime comes together and starts to firm up. Knead it with your hands for a good amount of time. You might be amazed by how much kneading is needed for the slime to fully form. If the texture is not right, keep working it. If it remains too tacky, add a little extra contact lens solution.
8. Add the facial details to your mason jars! For the ghost slime jar, we used googly eyes. For the pumpkin jars, we shaped a pumpkin face from black felt. The Frankenstein jars received black felt pieces and googly eyes. Attach them to the mason jars with hot glue (adults only), or use glue dots for the googly eyes.
This recipe is based on our Unicorn Slime recipe.
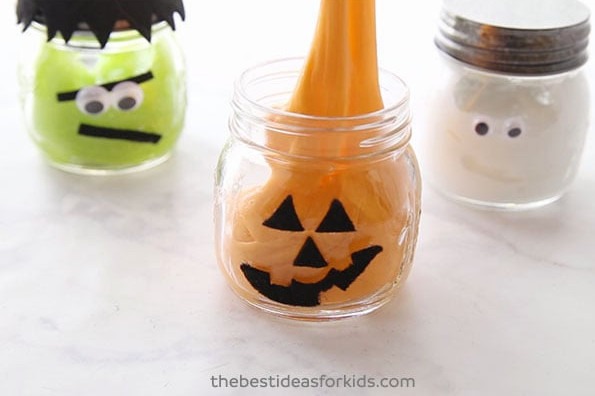
Now it is time to play! Give these jars as presents or let the children enjoy their Halloween slime. They are also wonderful for a Halloween celebration. Once finished, close the jars tightly for secure storage and safekeeping.
-
Take a bowl in which to combine your slime ingredients.
-
Pour 6 oz of Elmer’s glue into the bowl. Choose white glue for the ghost and pumpkin slime.
-
For the Frankenstein slime, use your green glitter glue.
-
Stir in orange food coloring to create orange glue for the pumpkin slime.
-
Mix in 1/2 teaspoon of baking soda thoroughly. You can also add up to 1/4 cup of water here for a stretchier slime.
-
Pour in the contact lens solution next. Reminder: boric acid must be listed in the solution, or the slime will not form. Begin with half the recipe amount and stir. Gradually incorporate the rest. If the mixture remains too sticky, add a little more. Avoid adding an excessive amount, as it can make the slime firm.
-
Stir until the slime comes together and starts to thicken. It may take more kneading than expected for the slime to fully develop. If the consistency is not ideal, continue kneading. When it is still too sticky, add a small amount of contact lens solution.
-
Decorate your mason jars with facial features! We chose googly eyes for the ghost slime jar. For the pumpkin jars, we cut a pumpkin face from black felt. The Frankenstein jars were decorated with black felt and googly eyes.
Slime Safety & Precautions
Note: this recipe is borax-free. Even so, it remains a science experiment, so proper safety measures should be followed while making slime. By preparing this slime, you accept our site terms, which you can readhere.
- Adults should manage all chemicals and materials
- Adults should prepare the slime
- Read and obey the labels on every product used. If contact lens solution is swallowed accidentally, get medical help right away.
- This activity is not appropriate for children younger than 4.
- Do not put slime in your mouth. Wash your hands thoroughly after handling the slime
Explore these additional favorite slime recipes: