
If kinetic sand and slime are both favorites of yours, you’ll definitely want to try this sand slime. It combines the qualities of slime, kinetic sand and playdough. The texture is wonderful, and it’s so enjoyable to play with!
RELATED: Fluffy Slime
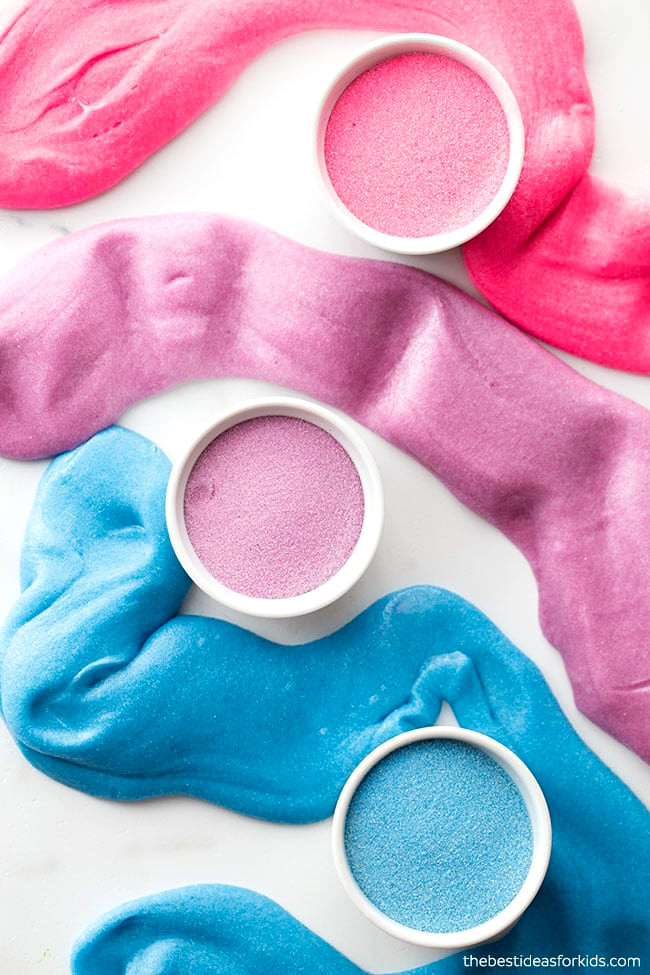
Sand Slime Instructions
Sand slime offers a uniquely playful texture. Anyone who enjoys kinetic sand and slime will have fun making this recipe!
For our version, we used colored sand, although ordinary sand works as well. Since we use extremely fine colored sand, regular sand will make the finished slime heavier. Even so, the recipe should still turn out successfully!
For more sandy sensory fun, be sure to try our sand playdough!
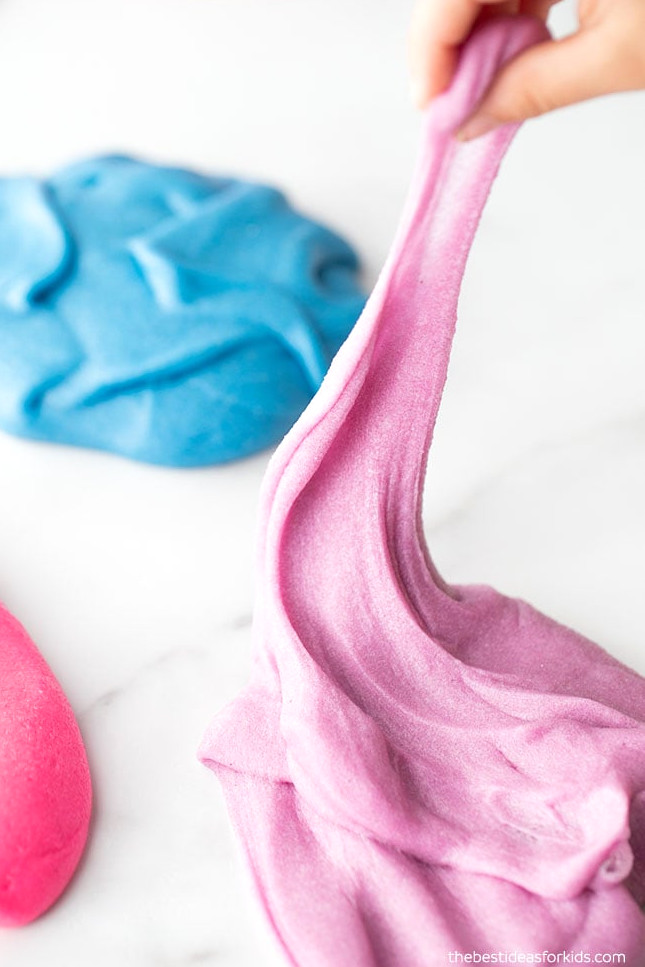
Watch the Video Guide!
What Exactly Is Slime?
Slime belongs to a group of substances called polymers. Jell-O, gum and rubber bands are other examples. White glue is another type of polymer. Polymers consist of lengthy chains of polyvinyl acetate molecules. Because these chains move past one another easily, the glue-like substance pours smoothly.
The Science of Slime
Adding contact lens solution to the glue causes the glue to react and become a thick, stretchy slime that can be molded and pulled. The slime develops when the glue molecules connect with the borate ions. This bonding keeps the large molecules from sliding freely over each other, unlike when the material is still glue. That is how the slime texture is created!
Will This Slime Recipe Turn Out?
Each of our slime recipes is simple to prepare and should work when the directions are followed closely. Avoid replacing the recommended brands, since doing so may prevent the slime from forming properly. The kind of contact lens solution you choose matters greatly – it is the ingredient that transforms glue into slime. We consistently suggest Elmer’s glue because it is dependable and produces excellent slime. If Elmer’s glue is unavailable where you live, you may use another high-quality PVA glue instead.
Safety guidelines: Only adults should prepare the slime and work with the chemicals. Never replace ingredients in our slime recipes. Anyone with sensitive skin should wear gloves while handling the slime. Wash your hands before and after playing with it. Stop using the slime right away if skin irritation appears. Before preparing your slime, review the additional safety information at the end of the post.
How Long Will Slime Keep?
When stored correctly, this slime should remain usable for at least 1 week. Because it contains sand, we’ve noticed that sand slime firms up more quickly than standard slime. Keep it in an airtight container or sealed bag. We prefer a resealable bag because it allows us to squeeze out all the air.
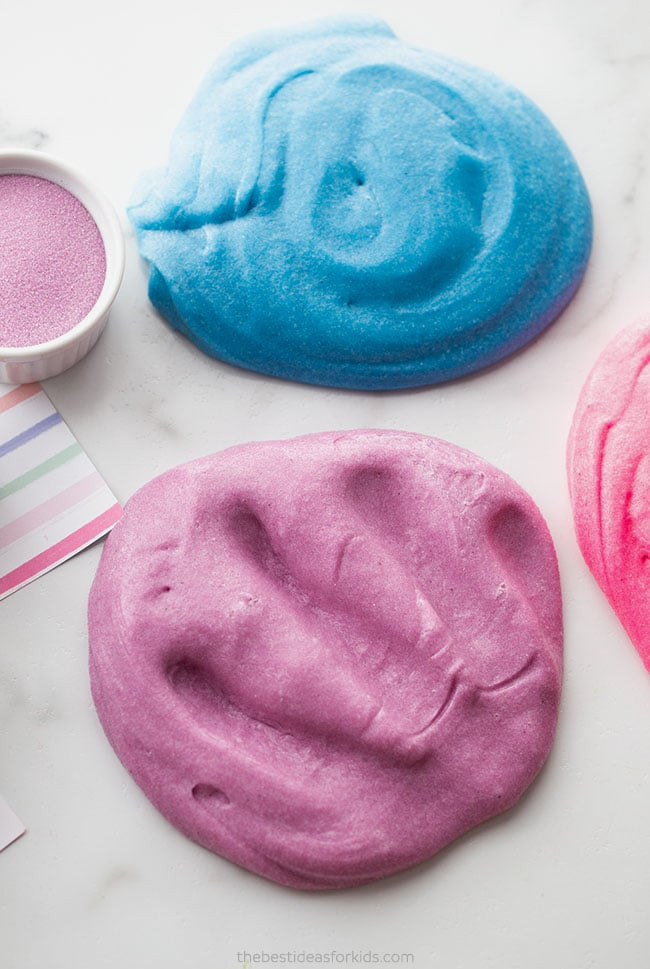
Ingredients Required for Sand Slime
- Elmer’s Clear Glue (6 oz) Note: We have tested this recipe only with Elmer’s glue and suggest this brand because other brands may not produce the same results.
TIP: For a more economical option, we prefer purchasing thegallon size container of clear glue.
- 1.5 tablespoons of Contact lens solution**Important:the contact lens solution you choose must include boric acid and sodium borate. Our favorite is this brand, which we use for all our slime recipes. Visit our complete contact solution slime recipe to see the brands we suggest. Do not replace it with another brand.
- Colored sand – we used Hygloss colored sand. Individual shades are available, such as this pink sand, or you can choose a variety pack containing several colors. This multi-pack includes 6 oz of 6 different colors, which is a bit less than the 1 cup of sand used in our recipe but should still work nicely. Regular sand is also suitable, though it will create a slightly denser texture.
Instructions for Making Sand Slime
1. Choose a bowl for combining your slime ingredients.
2. Begin by pouring 6 oz of clear glue into the bowl.
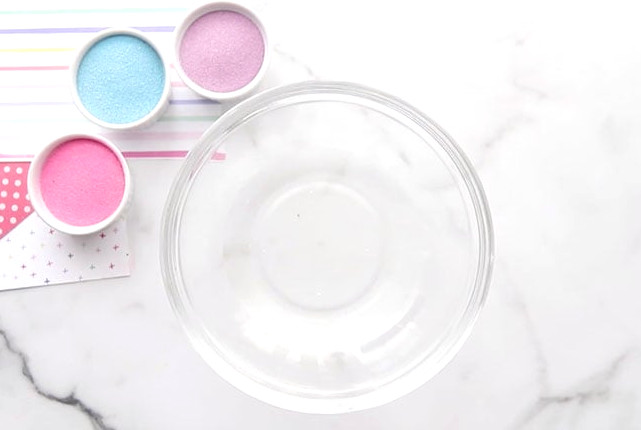
3. Pour in 1/2 teaspoon of baking soda, then stir.
Avoid stirring too much at this stage, as excessive bubbles may develop in the clear glue.
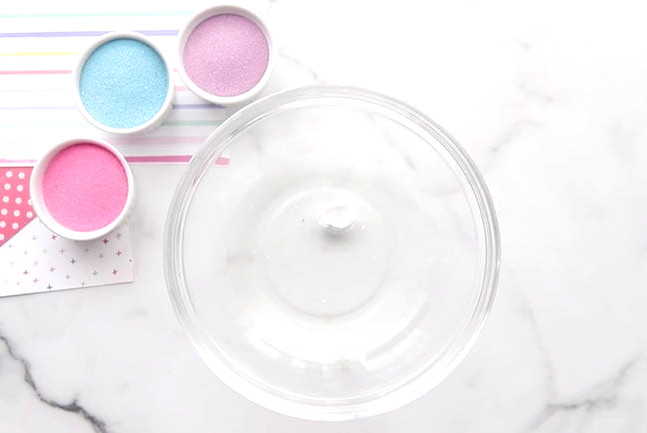
4. Pour in 1/4 cup of water.
Stir slowly so you don’t create another excess of bubbles.
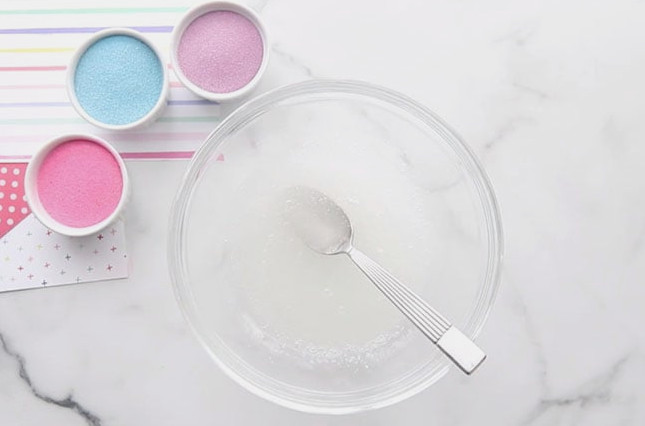
5. Pour 1 cup of sand into the bowl.
Note: If you don’t have a full cup, you may use a smaller amount of sand. If the mixture seems insufficient, you can knead in a bit more later. We discovered that 1 cup produces a pleasant consistency: the slime remains easy to stretch while still retaining a noticeable sandy texture.
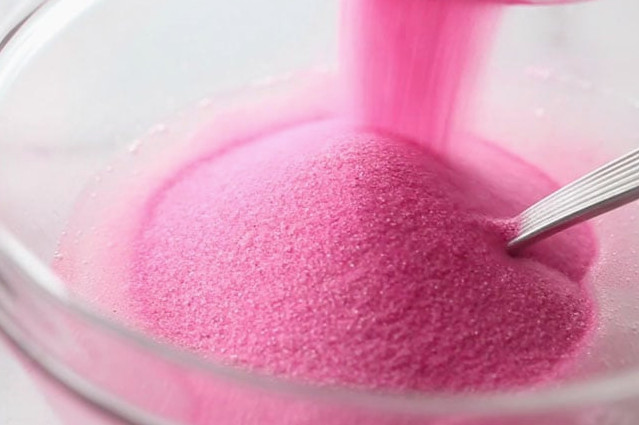
6. Begin with 1 tablespoon of contact solution and stir.
Next, mix in another 1/2 tablespoon, stirring until the mixture begins pulling away from the bowl’s sides.
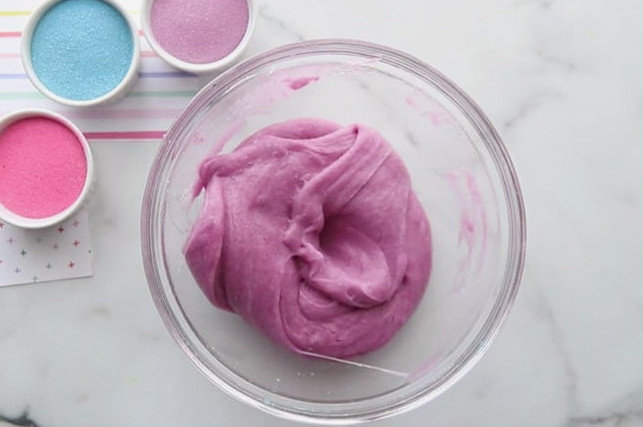
7. Remove the slime from the bowl and knead it until it is no longer sticky.
At first, it will be very sticky, but continued kneading will give it the ideal consistency. Applying a little baby oil or lotion to your hands can also reduce the stickiness during this step. Avoid adding more contact solution, or the slime may become overly firm.
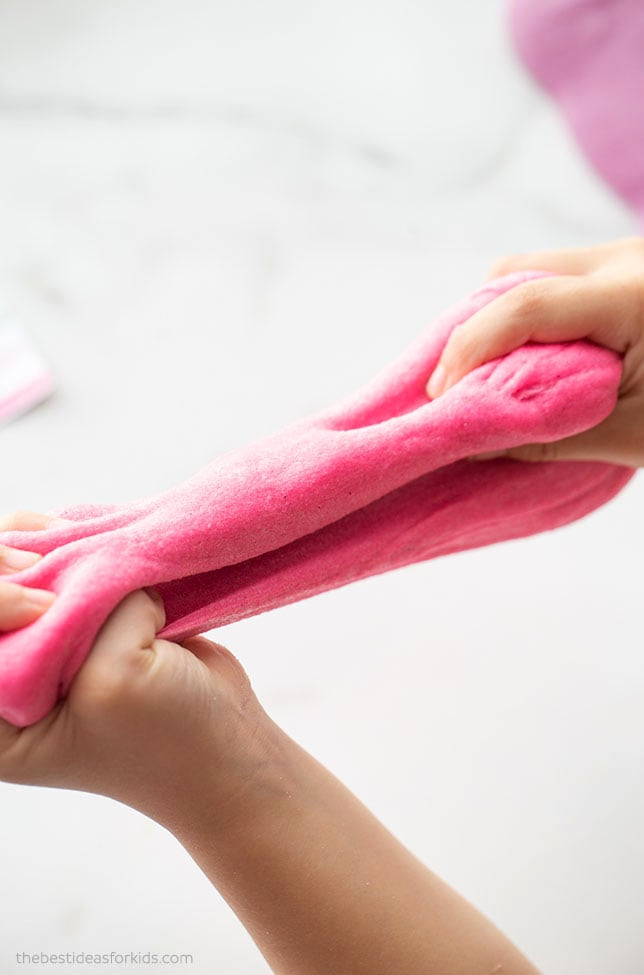
Repeat these steps with every color of sand.
We hope you enjoy this playful sand slime recipe. Its unique texture is so much fun and makes it ideal for summer!
Explore more of our favorite slime recipes:
Additional Slime Recipes
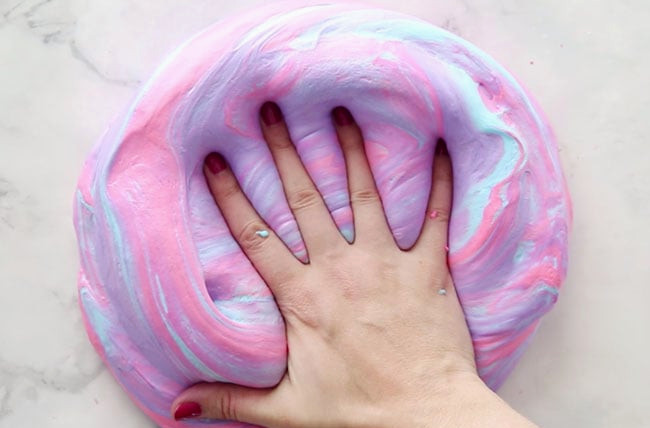
If you’d like to try another enjoyable texture, make this fluffy slime.
Slime Safety & Precautions
Note: Slime-making is a science experiment, so proper safety measures should always be followed. By making this slime, you agree to our site terms, which you can read here.
- Adults should manage all chemicals and supplies
- Slime should be prepared by adults
- Always read and follow the instructions on the labels of all products used. If contact lens solution is swallowed accidentally, obtain medical assistance right away.
- This activity is not appropriate for children younger than 4.
- Never put slime in your mouth. Wash your hands before and after handling the slime.
- Should any skin irritation occur, stop using the slime immediately. Those with sensitive skin should wear gloves when making or playing with it.
- Slime is a science activity that should be created and enjoyed moderately. Do not let children make slime unsupervised, and avoid playing with slime for long periods.