You can create your own glow in the dark slime with glow in the dark glue. Another option is to combine ordinary glue with glow in the dark paint. We like using the glow in the dark glue because it creates less mess and requires only a handful of ingredients!
RELATED: Fluffy Slime
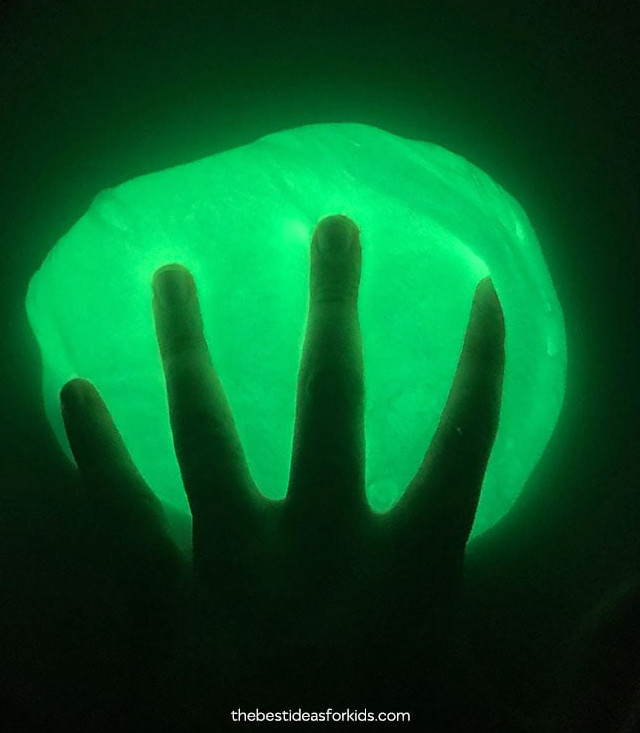
Glow in the Dark Slime Recipe
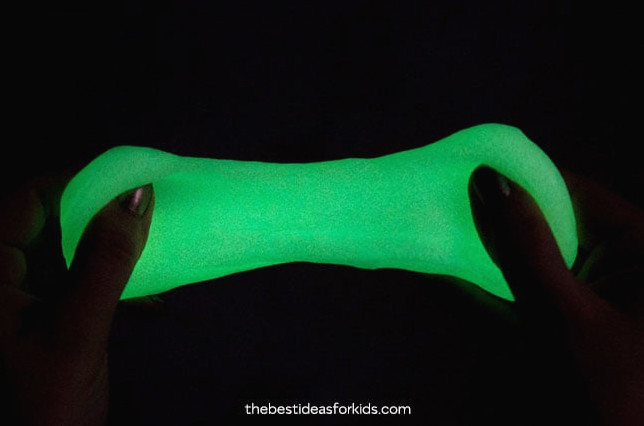
Making and playing with this slime may be the most enjoyable activity we’ve tried! Adults will have fun with it too. Children especially enjoy its glow, which makes stretching and squishing it in the dark even more exciting.
Making it glow is simple too – just leave it under a light for 2 minutes and it will begin to shine. When the glow fades, place it back in the light to “recharge” it. We discovered that sunlight produced the best results, although powerful indoor lights should work as well.

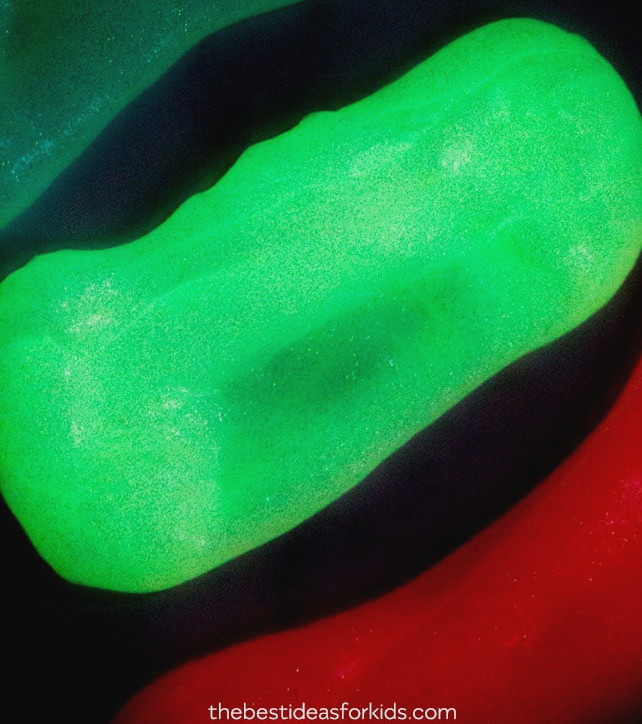
When it comes to color choices, glow in the dark glue is currently available in 3 different shades. Since this Elmer’s glue is specifically recommended for slime, it is ideal for creating it!
Glow in the Dark glue comes in 3 different colors:
- Blue – not as vivid as the green shade
- Yellowish/Green – the “natural” glow in the dark shade – this is our favorite!
- Pink – less bright than the green, though brighter than the blue
We strongly suggest choosing the “Natural” shade (green), since it matches what you typically expect from glow in the dark products. This color delivers the biggest wow effect for children.
Note: each bottle contains only 5 ounces, while we generally prefer using 6 ounces or more in our slime recipes. For a larger quantity than shown here or in the video, double the ingredients by using 2 bottles to make a bigger batch.
Watch the Video Tutorial!
The Science Behind the Slime
Adding contact lens solution to the glue neutralizes it and creates the thick, stretchy material known as slime. The slime develops as the glue molecules connect with the borate ions. This bonding prevents the larger molecules from sliding freely past each other, as they did when the material was still glue. As a result, the slime is formed!
The Science Behind Why Things Glow in the Dark
An object can glow in the dark when it contains chemicals capable of storing energy after exposure to light. These materials are known as phosphors, and they emit light once they have been “energized” by illumination. After absorbing light, they gradually release the stored energy in tiny amounts, making the objects glow in the dark.
Will this Slime Recipe Work?
To help ensure your slime comes out correctly, follow the instructions closely. Choosing the proper contact lens solution and glue is extremely important! Here, the selected glue is necessary for producing the glow in the dark effect. Replacing these ingredients with different brands could prevent the slime from working. If the mixture remains liquid instead of becoming slime, the contact lens solution is usually the cause.
Safety tip:We suggest adult supervision, and adults should prepare the slime. See additional safety advice at the bottom of this post.
How Long Does the Slime Last?
Keep the slime in an airtight container and it should remain usable for at least 1 week, and often considerably longer. We prefer storing it in a Ziploc bag so all the air can be pressed out. When you are not using it, place it in an airtight bag because exposure to air may cause the slime to dry.
For a basic slime formula, visit our standard recipe here:How to Make Slime With Contact Solution. In our slime recipes, we prefer contact lens solution over borax.

Ingredients Needed to Make Glow in the Dark Slime
Note: To prepare every color, you’ll need one bottle for each shade. If not, we suggest doubling the recipe and creating a bigger batch of the green slime (our favorite!).
For 1 Batch/Color:
- 1/4 teaspoon of baking soda
Create Glow in the Dark Slime Using Glow in the Dark Paint
If Elmer’s Glow in the Dark glue isn’t available in your area, you can use an alternative. Purchase non-toxic Glow in the Dark paint instead. For slime, we suggest using this brand of paint.
To prepare the slime, follow the instructions below and stir the glow in the dark paint into the glue when adding it. Blend in enough paint until it is fully combined with the glue. We suggest using approximately 1 ounce of paint for every 4 ounces of glue.
How Long Does the Slime Last?
When kept in an airtight container or bag, this slime stays fresh for at least one week. In our experience, it often lasts even longer. Just be sure not to leave it exposed when you are not playing with it. We prefer storing the slime in a Ziploc bag because removing all the air is easy.
How to Make Glow in the Dark Slime
1. Choose a bowl in which to combine your slime ingredients.
2. Pour the bottle of glow in the dark glue into the bowl.
Squeeze the bottle well to remove as much glue as possible, then allow it to drip out. Because the bottle contains only 5 ounces, leaving some behind will result in a smaller amount of slime. For a larger batch, we recommend doubling the recipe and using 2 bottles of glue.
Tip: Add the water listed in the recipe to the bottle and shake it thoroughly. Pour this into the bowl to loosen and remove any remaining glue.
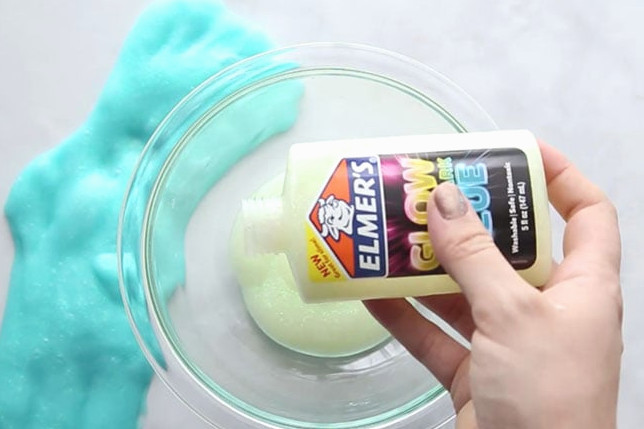
3. Mix in 1/4 teaspoon of baking soda along with 2 tablespoons of water, stirring well until the water has blended into the glue.
For stretchier slime, add additional water, up to a total of 1/4 cup.

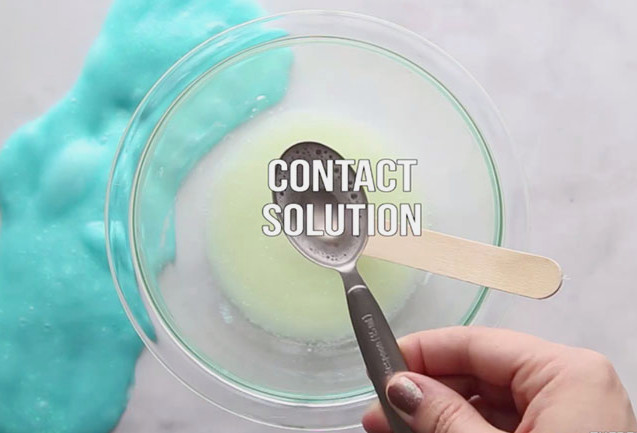
4. Gradually pour in the contact lens solution.
Begin with 1/2 tablespoon, followed by another 1/2 tablespoon. Pour it slowly and use only the amount required. Too much contact lens solution may leave the slime firm and less elastic.
After stirring in the tablespoon, remove the slime and begin kneading it. At this stage, it will be quite sticky, which is completely normal. Continue working the glow in the dark slime until the stickiness disappears. If it remains excessively sticky, apply a small amount of baby oil or lotion to your hands.
Reminder: For the slime to form, your contact lens solution must include boric acid and sodium borate. Our favorite is this brand. Also, check out our tips for How to Make Slime with Contact Solution.
5. Before the slime can glow in the dark, you must “charge” it under a light source.
Whenever possible, place it in daylight because sunlight is stronger than indoor illumination. A bright indoor lamp will also work. While charging, flatten the slime so every area is exposed to the light and able to glow.

The best part is trying the slime out in the dark! Kids will be thrilled by how brightly it glows.
Give these other enjoyable slime recipes a try:
Slime Safety & Precautions
By creating this slime, you accept our site terms, which you can read here.
- Adults should manage all chemicals and products
- Slime should be prepared by adults
- Always review and follow the instructions on the labels of all products used. If contact lens solution is swallowed accidentally, obtain medical help right away.
- This activity is not appropriate for children younger than 4.
- Do not put slime in your mouth. Wash your hands carefully after playing with the slime.
More Slime Recipes
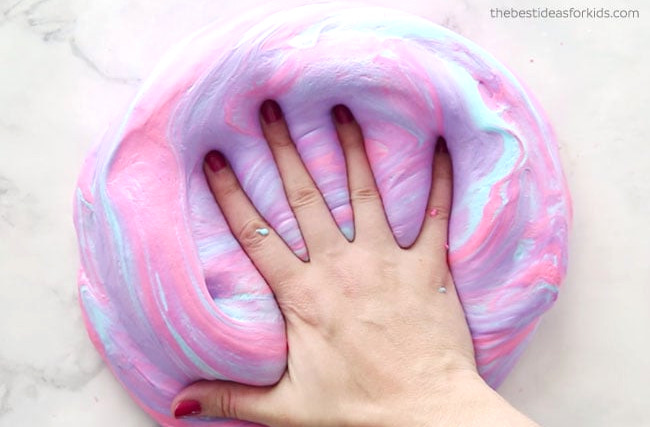
Have you made fluffy slime yet? It is enjoyable to create, and its texture is genuinely “fluffy”!
You can also make this smooth butter slime!