A charming and simple yarn-beard paper plate gnome project for children to create this Christmas.
A few years ago, Christmas gnomes began appearing during the holiday season, and today they can be found almost everywhere. At first, they were commonly used as garden decorations, but little by little, they made their way indoors. It’s easy to understand why—they look so sweet with their lengthy beards, oversized noses, and bright hats.
DIY Christmas gnomes are well-loved since many people enjoy creating their own decorations. We craft ornaments with children for our homes or as presents for relatives.
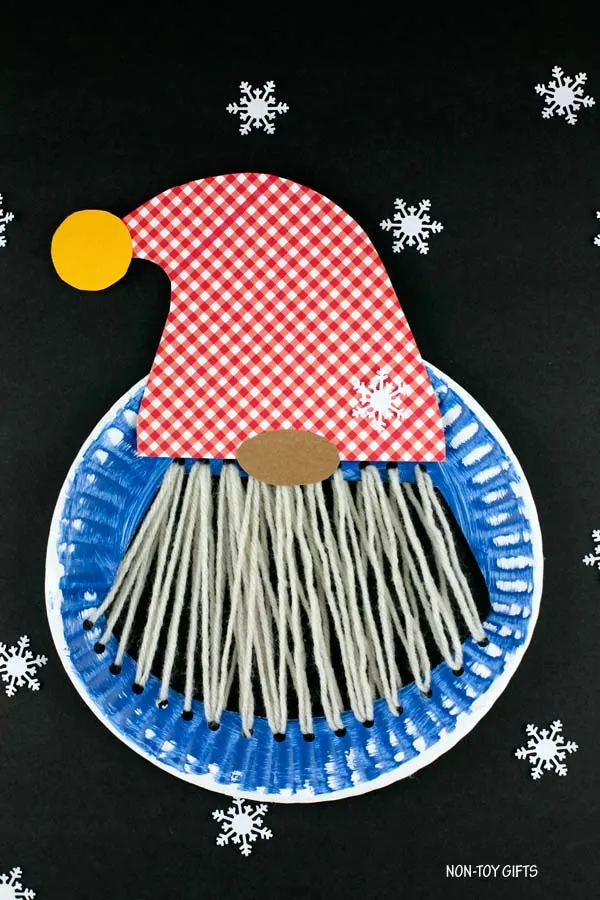
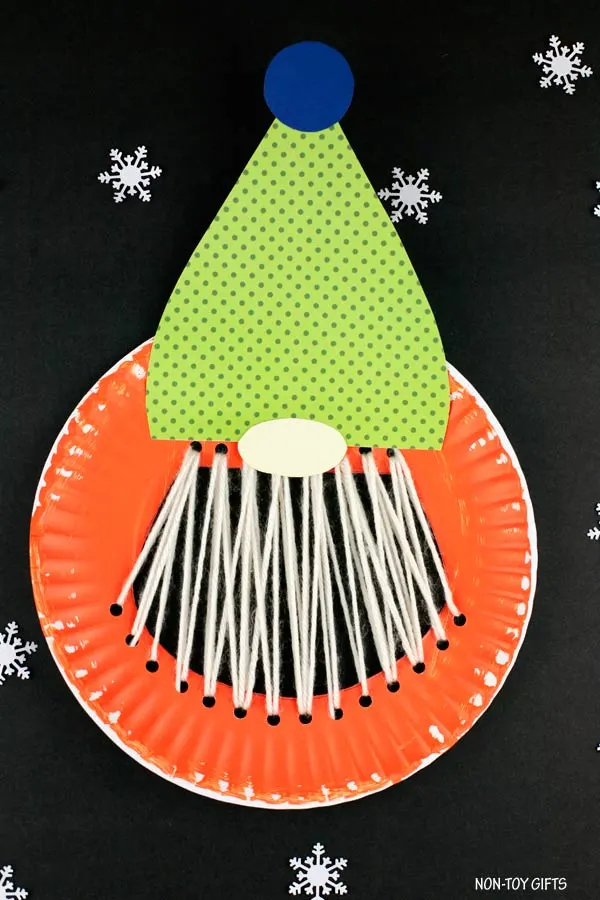
The paper plate gnome project I’m presenting today can easily become a festive ornament for hanging above the mantel. For added convenience, I’ve included a free gnome craft pattern.
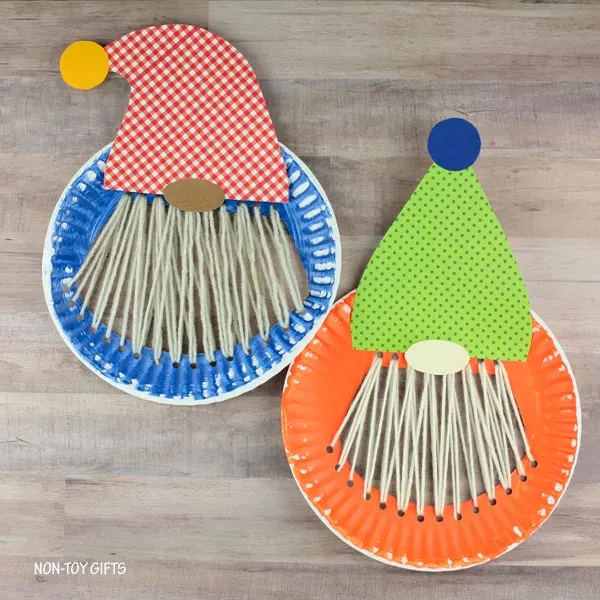
Yarn and paper plate projects
We enjoy mixing yarn with paper plates to make simple projects for children. My sons used a plastic needle for the first time while creating this Christmas tree craft. These days, they feel skilled enough to use my sewing machine.
Benefits of sewing for children
Sewing is a valuable pastime for children. It can support their development in several ways while teaching them a useful skill that lasts a lifetime.
It strengthens hand-eye coordination and develops fine motor abilities. Sewing also encourages patience and helps young children practice focusing for extended periods.
When you teach children to sew, you give them another outlet for their imagination. You may begin when they are very young by having toddlers string beads, introduce needlework as they grow, and eventually let them use a sewing machine.
Additional yarn projects for children
For more Christmas sewing projects to enjoy with your children, check out this paper plate Grinch heart or this Santa beard activity.
We have also made several adorable DIY gnome ornaments for children to create.
Materials:
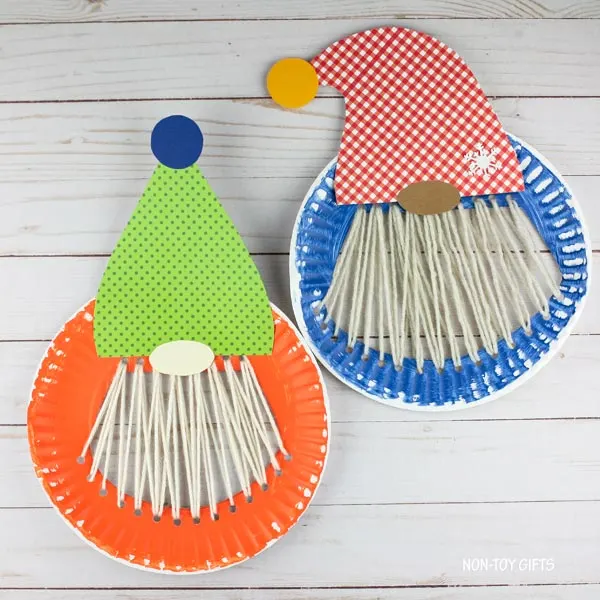
Making a paper plate gnome project
The printable directions are available at the bottom of the post.
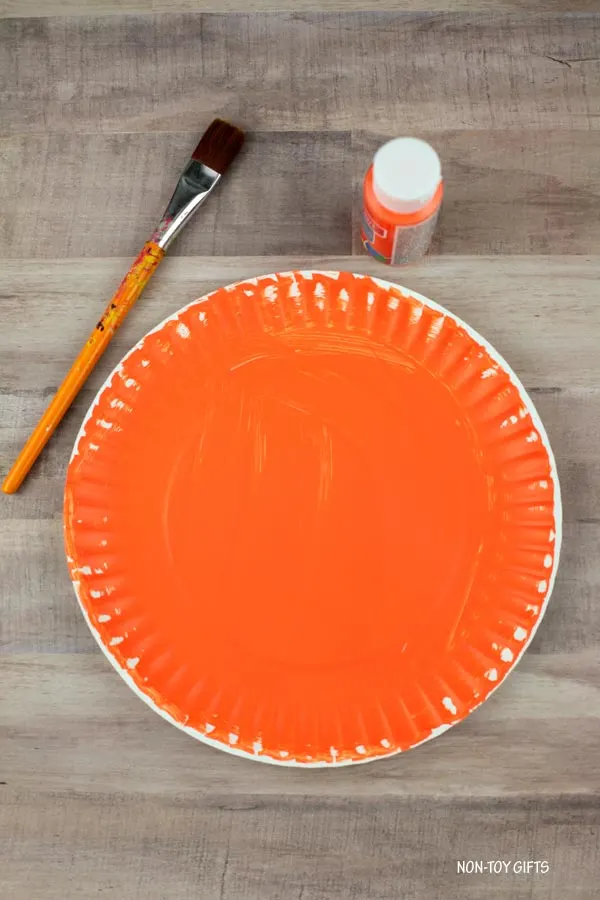
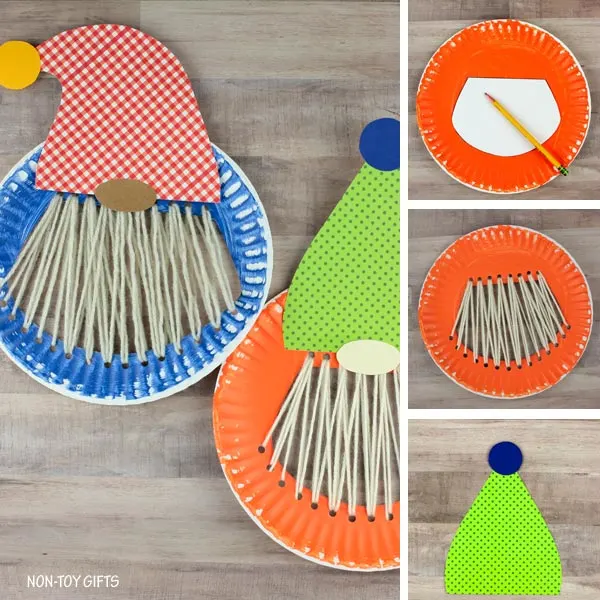
First, paint the paper plate in whichever color you prefer. Put it to one side and allow it to dry fully.
TIP: Begin with a colored paper plate instead and leave out the painting step.
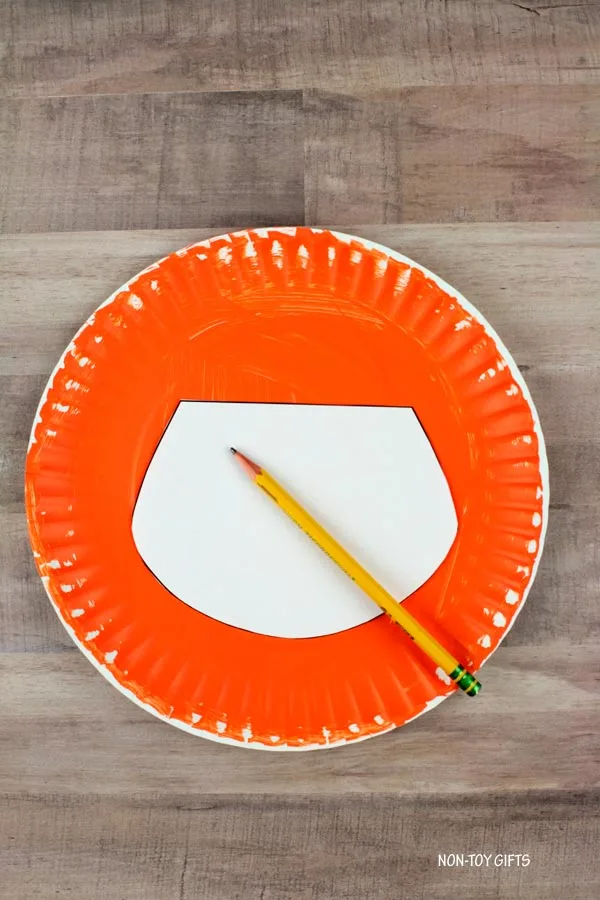
Get the gnome craft template, located at the end of the article, and cut out each design. Place the beard pattern in the center of the paper plate and trace around it.
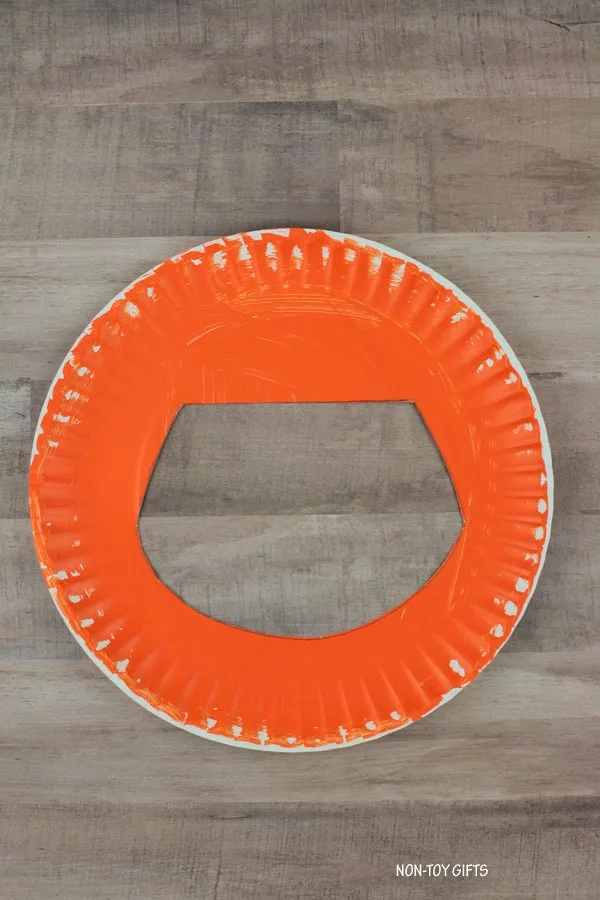
Trim out the beard outline.
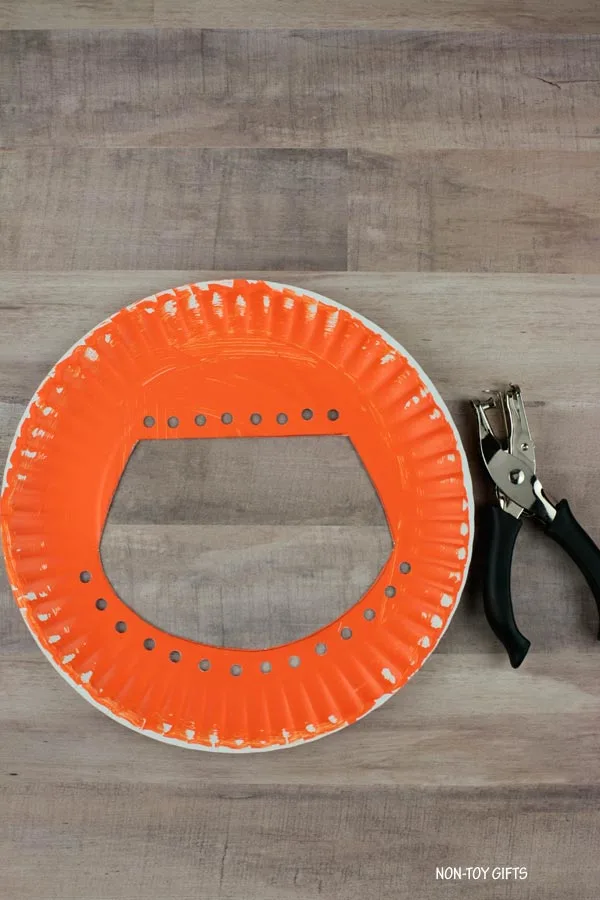
Use a punch to make holes across the beard’s upper and lower edges.
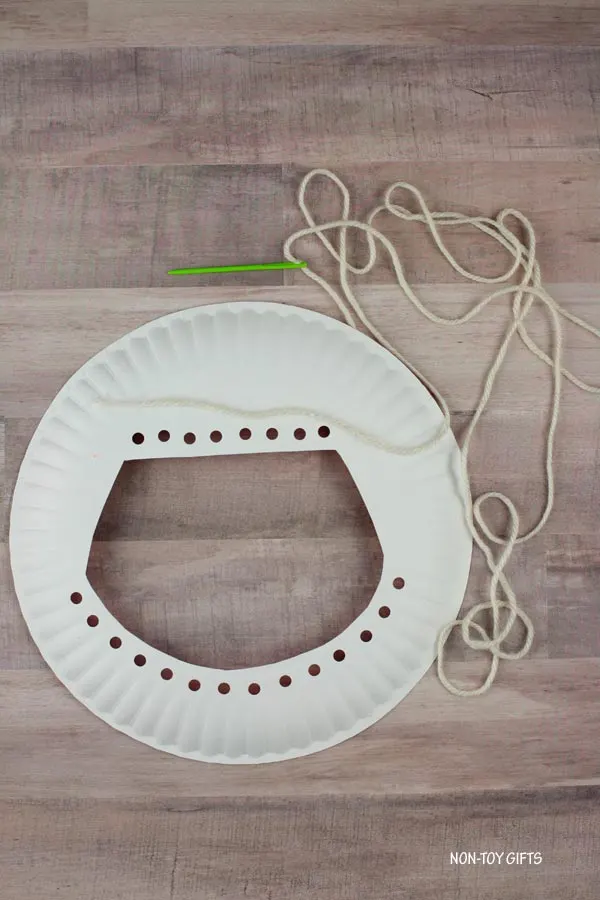
Prepare a long piece of yarn, pass it through the plastic yarn needle, and knot one end onto the needle. Tape the opposite end of the yarn to the back of the paper plate.
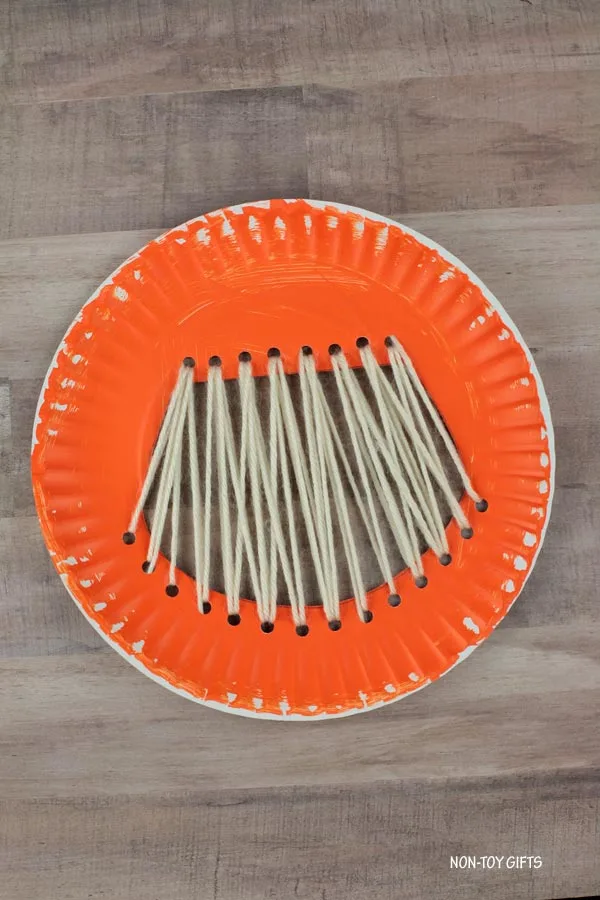
Now begin weaving the white yarn through the openings in the paper plate. Keep going until you reach the endof the yarn.
If you haven’t passed the yarn through every hole, snip another piece and repeat the previous steps. (Attach one end to the needle and tape the opposite end to the paper plate).
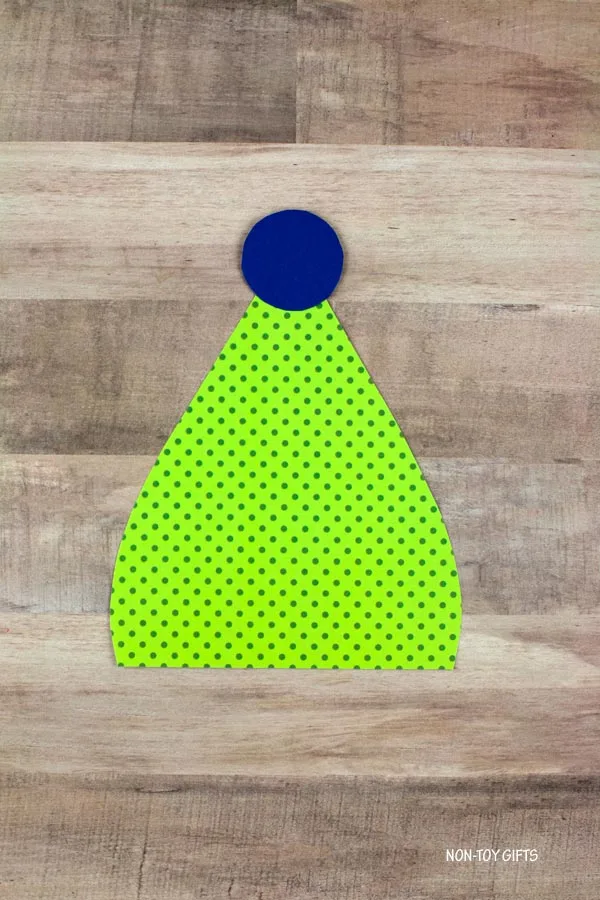
Outline the hat and pom-pom templates on colored or patterned paper, then cut them out. Attach the pom-pom to the hat’s peak with glue.
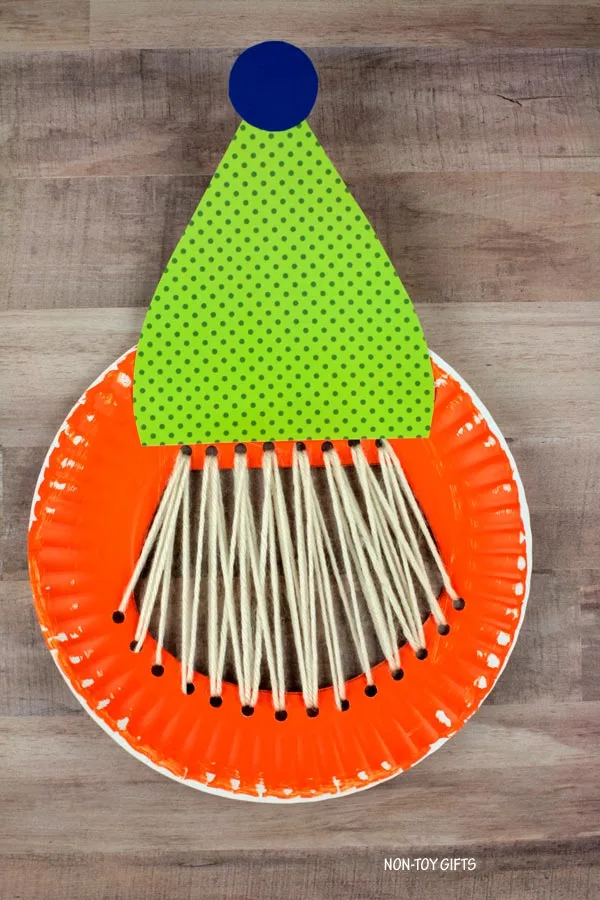
Position the hat on the paper plate above the beard and glue it in place.
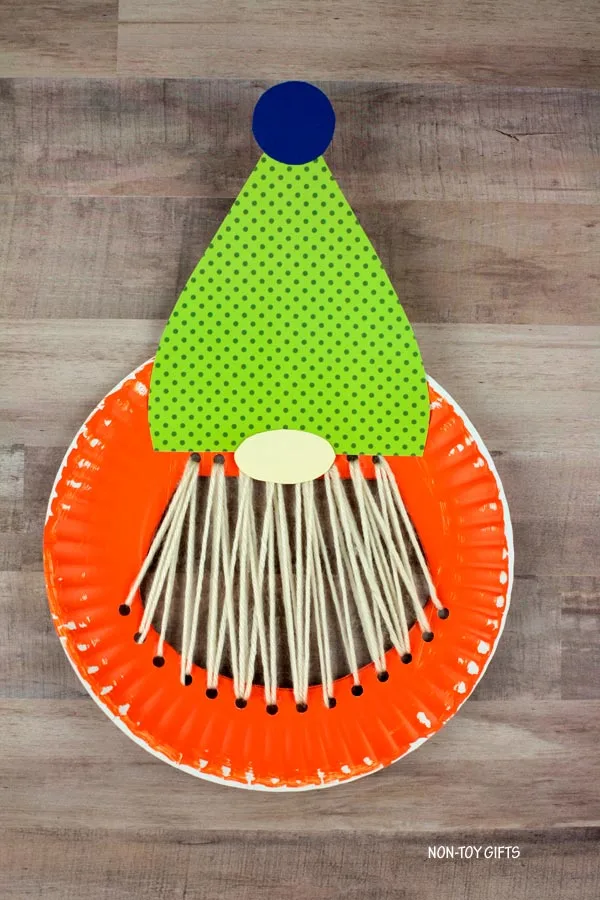
Draw the nose template onto white or brown paper and trim it out. Fasten the nose beneath the hat with glue.
Supplies
- gnome template – located at the end of the post
- paper plate
- craft paint in any shade
- white or gray yarn
- construction or patterned paper
- adhesive
Equipment
- paintbrush or sponge applicator
- plastic yarn needle
- handheld circle punch
- scissors
- pencil
- tape
Directions
- Begin by painting the paper plate in any color you prefer. Put it aside until it has dried fully.
- Get the gnome craft template (available at the end of the article) and trim out the designs. Position the beard outline in the center of the paper plate.
- Remove the beard shape, then use the punch to make holes along its upper and lower edges.
- Snip a long piece of yarn, pass it through the plastic yarn needle, and knot one end onto the needle. Tape the yarn’s opposite end to the back of the paper plate. Begin weaving the white yarn through the openings in the plate. Keep going until the yarn runs out. If some holes remain unthreaded, cut an additional piece of yarn and repeat the earlier process. (Tie one end to the needle and tape the other end to the paper plate).
- Transfer the hat and pom-pom designs onto colored or patterned paper and cut them out. Glue the pom-pom onto the top of the hat.
- Secure the hat to the paper plate above the beard using glue.
- Copy the nose template onto white or brown paper and cut it out. Glue the nose beneath the hat.
Helpful Note
TIP:You may use a colored paper plate from the start and leave out the painting step.
Subscribe to our Newsletter and receive this Christmas Gnome Template as a thank-you gift!