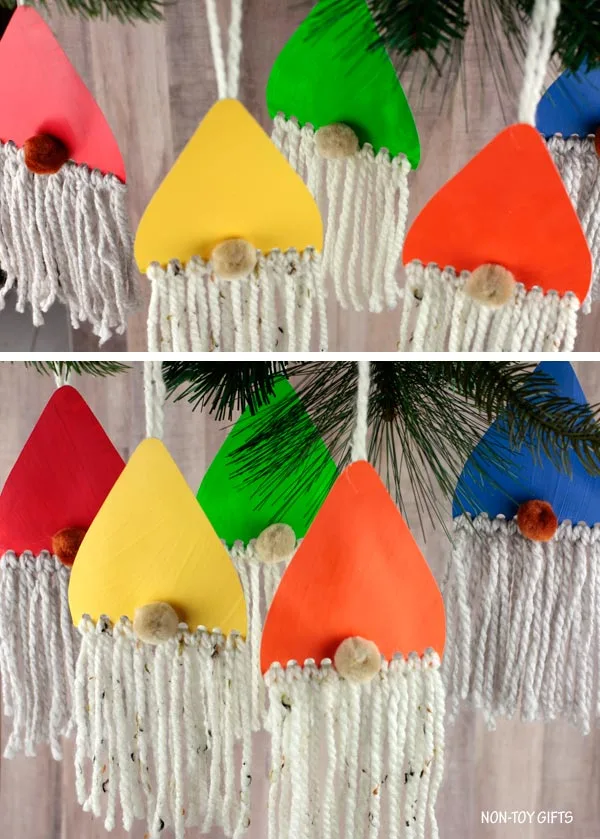
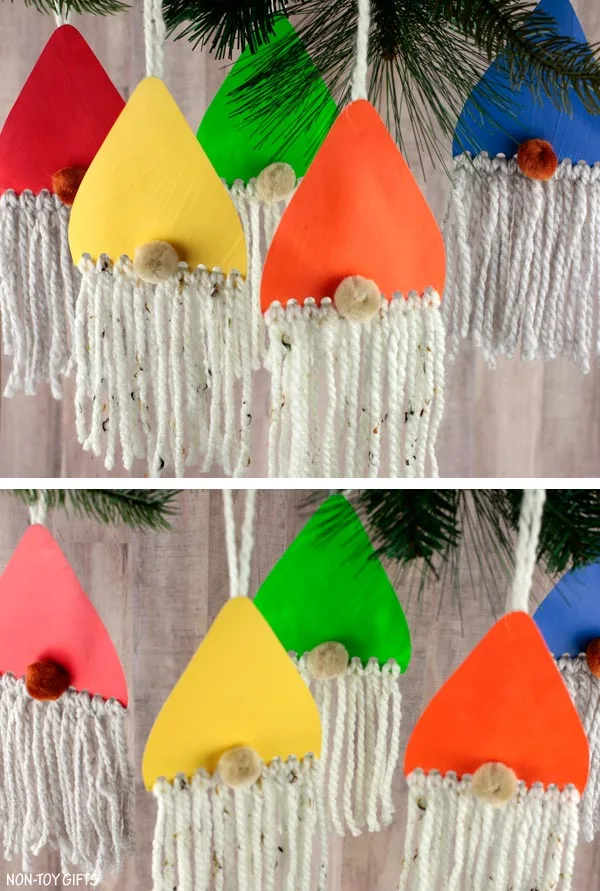
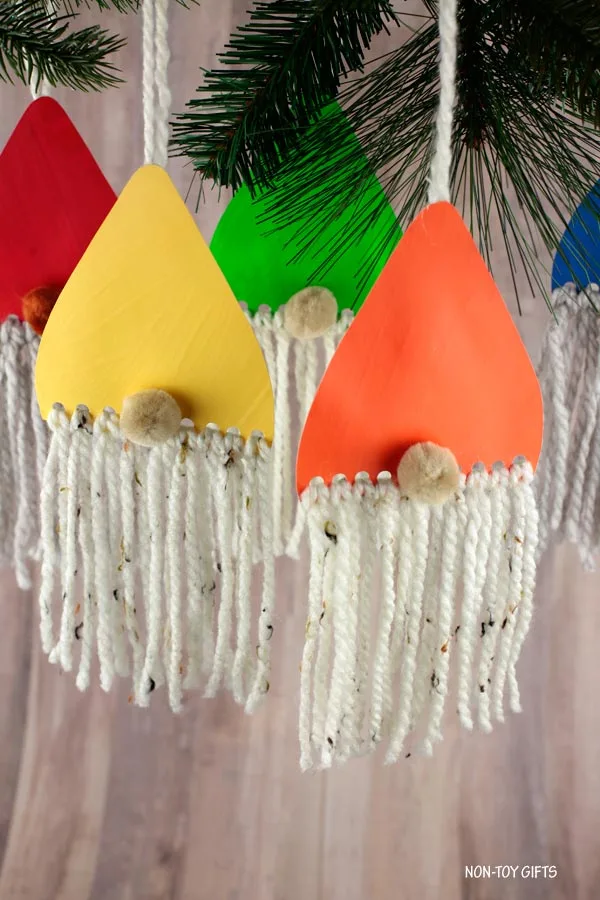
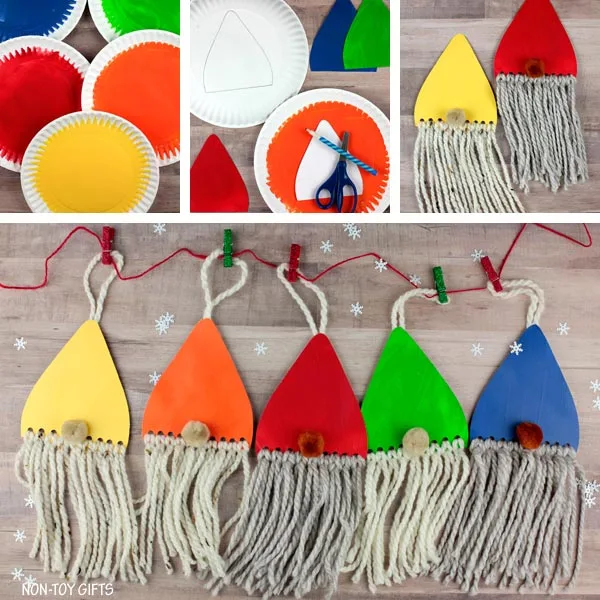
These paper plate DIY gnome decorations are simple to create with children. Display them on the Christmas tree or use them to adorn the mantel.
Perhaps your family has an ornament-making tradition. Everyone gathers together, and each person designs an ornament to place on the Christmas tree. Alternatively, you might keep one decoration and give the others to grandparents, aunts, and uncles.
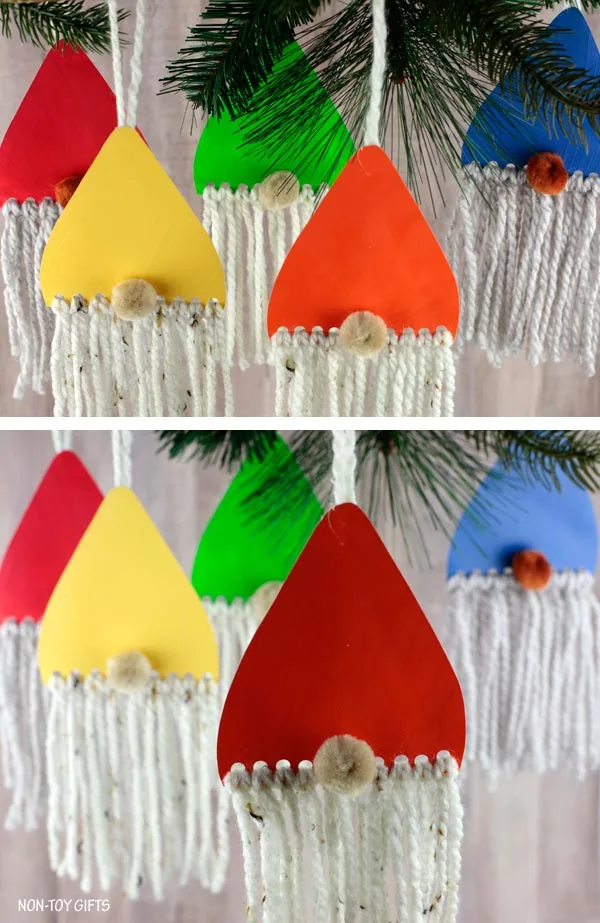
Maybe you adore gnomes and would like to bring some character to your home this festive season with a few Christmas gnomes. Why purchase them when handmade gnomes are so easy to create?
Whichever the case, these lovely rainbow paper plate DIY gnome ornaments are just what you need.
History of gnomes
Gnomes have existed in folklore for countless years, while the earliest garden gnomes were made in Germany during the early 1800s. They quickly traveled across other European nations and became particularly well-liked in England and France. These small clay figures were created as garden ornaments for affluent Europeans.
Following World War I, gnomes began to lose their appeal, but Disney’s 1930s film Snow White and the Seven Dwarfs revived their popularity. By then, garden gnomes were reasonably priced, allowing everyone to buy one.
Today, gnomes appear in well-known books, serve as characters in games and films, and can be seen in parades or gnome-inspired parks. (I had no idea until now that Minnesota, where I live, had a gnome park. I’m adding it to my list of activities for next summer).
What do gnomes represent?
Gnomes represent good fortune.
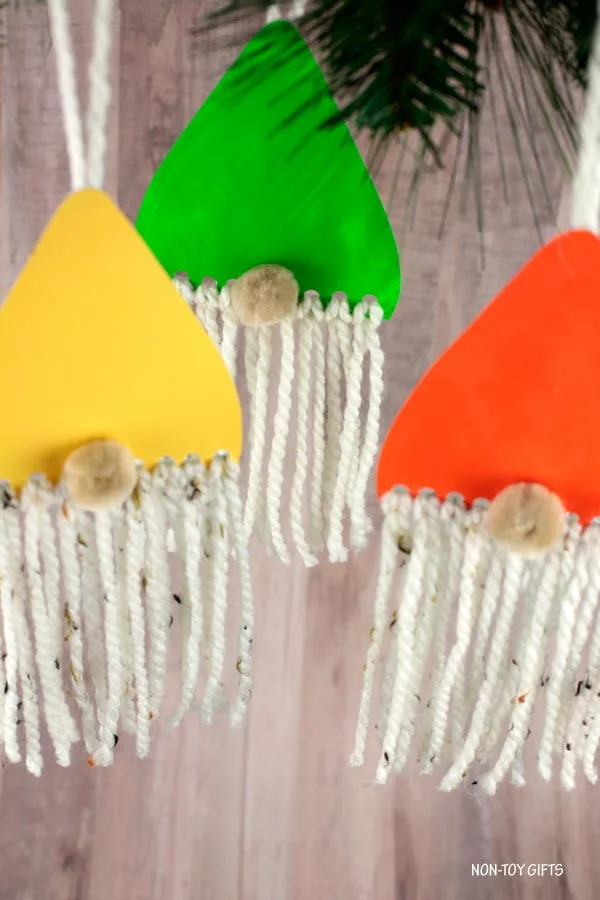
Since everyone could use a little good fortune at home, let’s create these handmade Christmas gnome ornaments today.
Last week, we made these paper plate gnomes – a yarn and paper plate project for preschoolers and older children to use as a sewing exercise.
Today’s gnome ornaments are another festive craft project for children. They’re simple to put together and support young children in developing hand-eye coordination and fine motor abilities.
I designed a free printable gnome hat template, which you’ll find at the bottom of the post.
Materials:
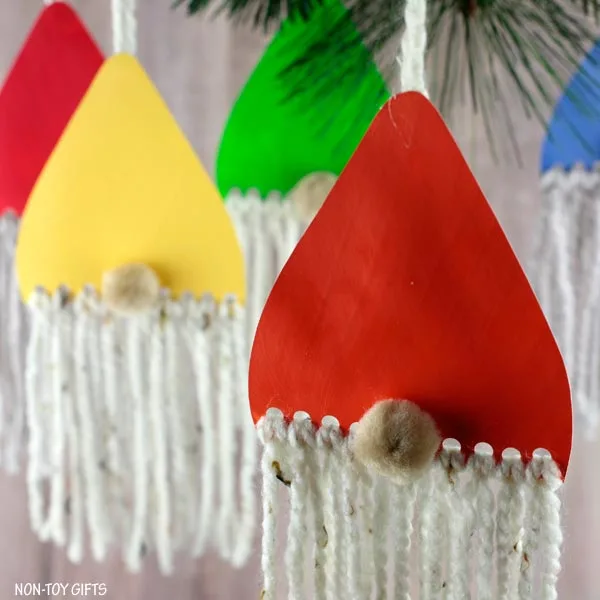
Making DIY gnome ornaments
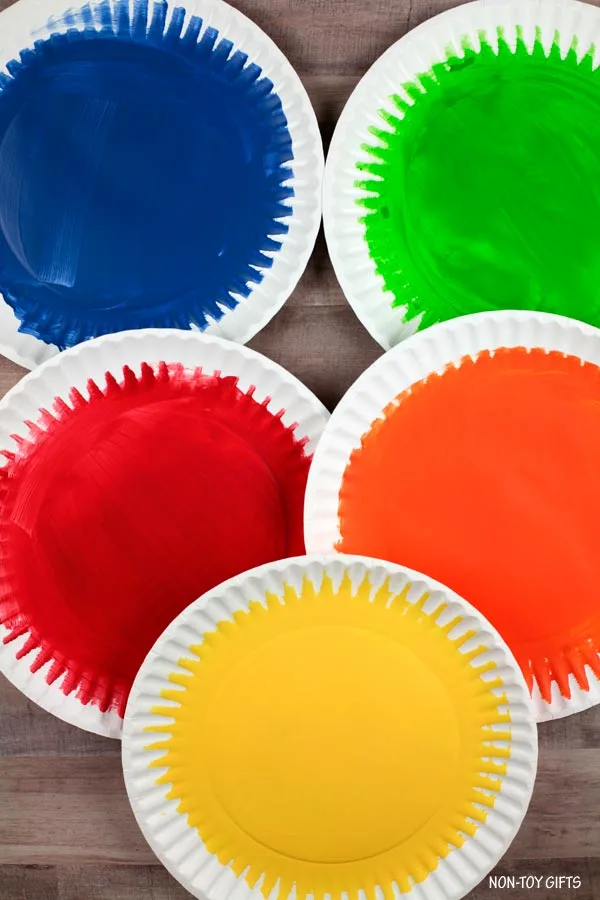
First, paint a paper plate using any shade you prefer. It will become the gnome’s hat.
Get the template, then trim out the hat shape.
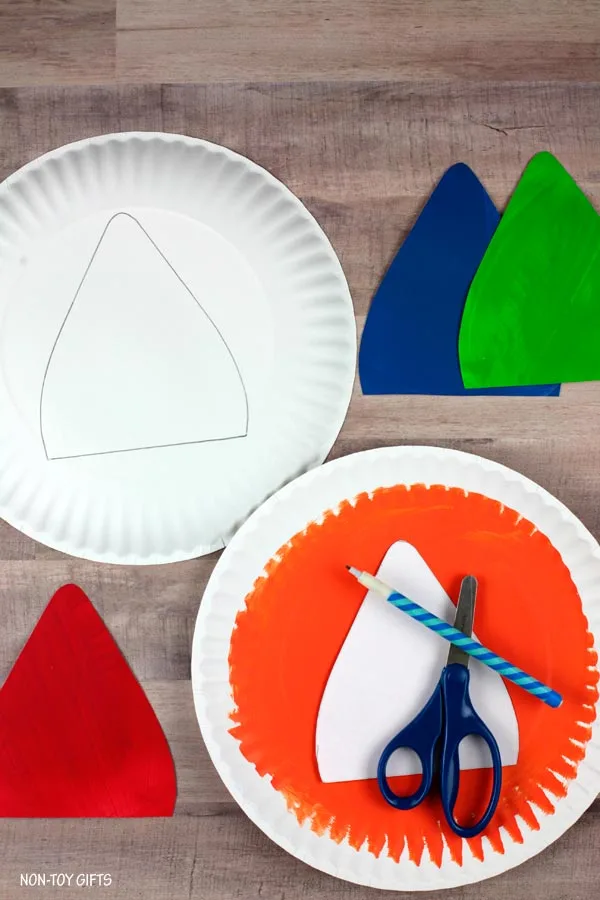
After the paint is fully dry, flip the paper plate over and outline the hat on its underside. Then cut it out.
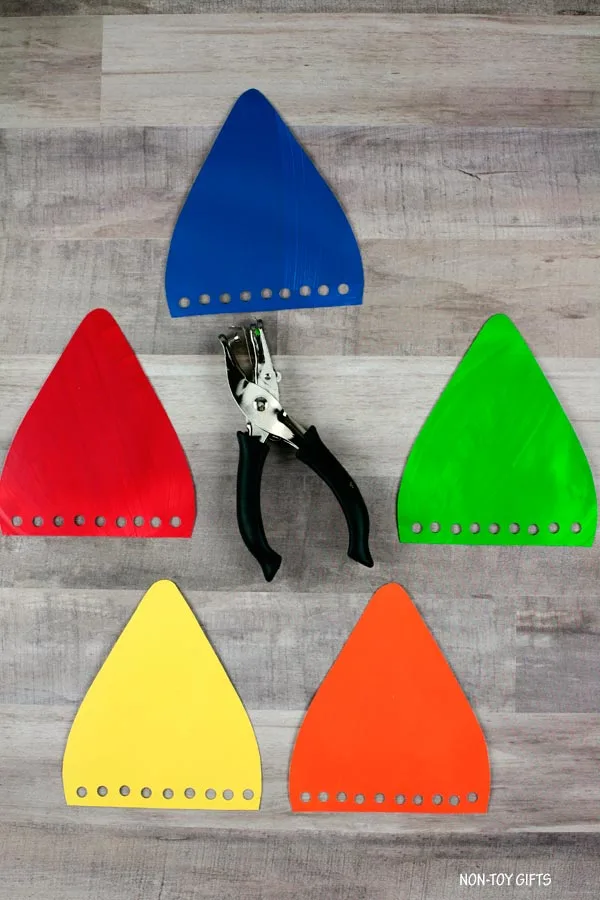
Punch openings along the lower edge of the hat.
Snip several pieces of yarn, using the same number as the holes. Ensure every piece is equal in length.
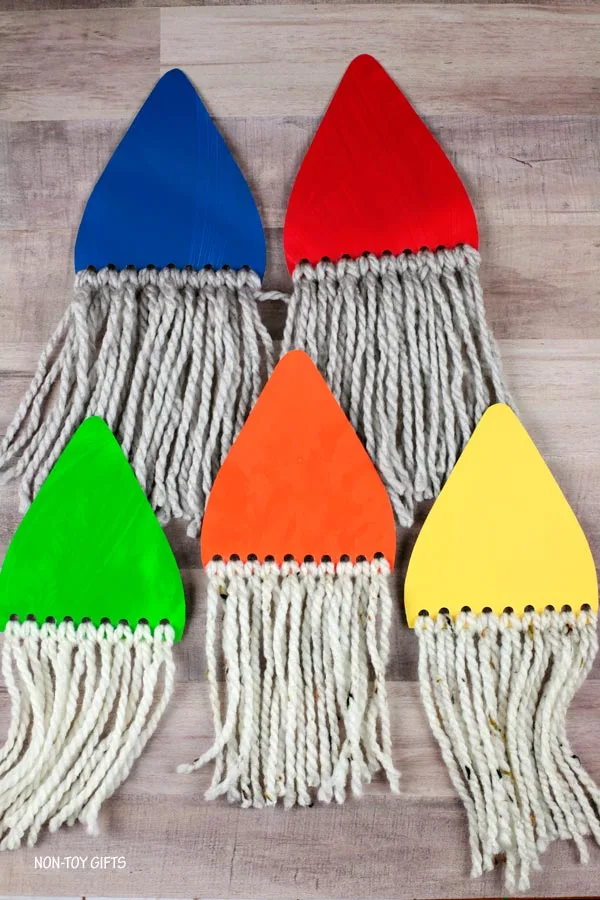
Bend one piece in half, then push the folded section through a hole in the hat to form a loop. Pass the opposite end of the yarn through the loop and tug firmly to fasten it to the hat. Continue until the gnome’s entire beard is finished.
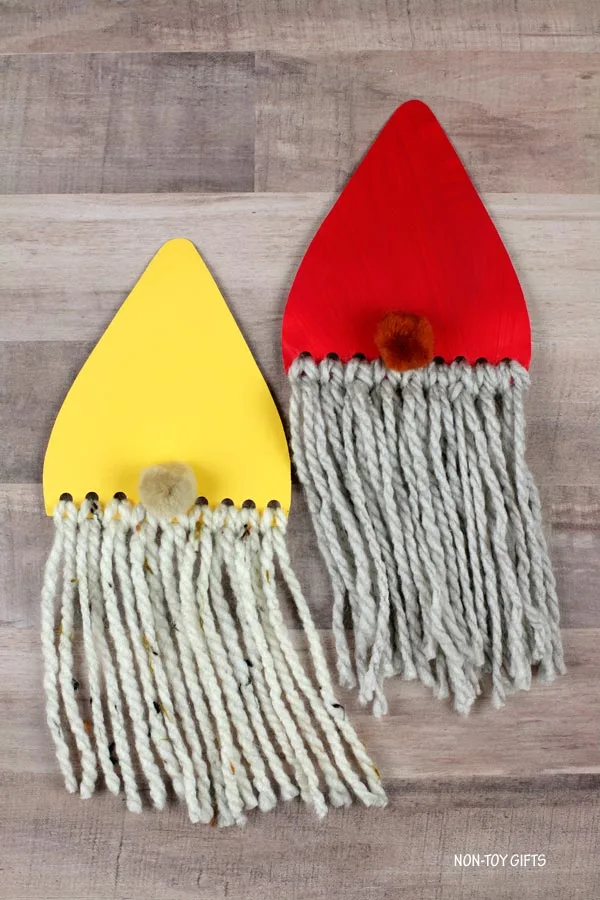
Attach a pom pom with glue to the lower edge of the paper plate hat.
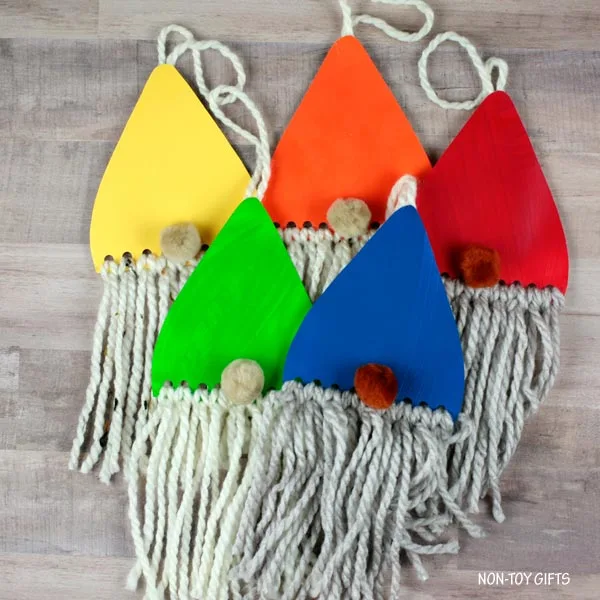
Snip one more piece of yarn and adhere it to the upper back of your ornament.
Supplies
- gnome hat template – located at the end of the article
- paper plate
- acrylic paint
- white or gray yarn
- white, tan or brown pom pom
Equipment
- paintbrush
- scissors
- hole puncher
- hot glue gun and glue sticks
Directions
- First, paint a paper plate using any shade you prefer. It will become the gnome’s hat.
- Get the template and trim out the hat design.
- After the paint is fully dry, flip the paper plate over and outline the hat on its reverse side. Then cut out the shape.
- Punch holes along the bottom edge of the hat.
- Trim multiple yarn pieces according to the number of holes. Ensure every strand is the same length.
- Take one strand, fold it in half, and guide the folded part through a hole in the hat to create a loop. Pull the remaining ends through the loop and tighten to attach the yarn to the hat. Continue this process until the gnome’s beard is complete.
- Secure a pom pom with glue along the bottom of the paper plate hat.
- Trim an additional piece of yarn and attach it with glue to the upper back of your ornament.
Tips
TIP: Choose a colored paper plate to avoid having to paint it.
Subscribe to our Newsletter and receive this Gnome Ornament Template as a thank-you gift!