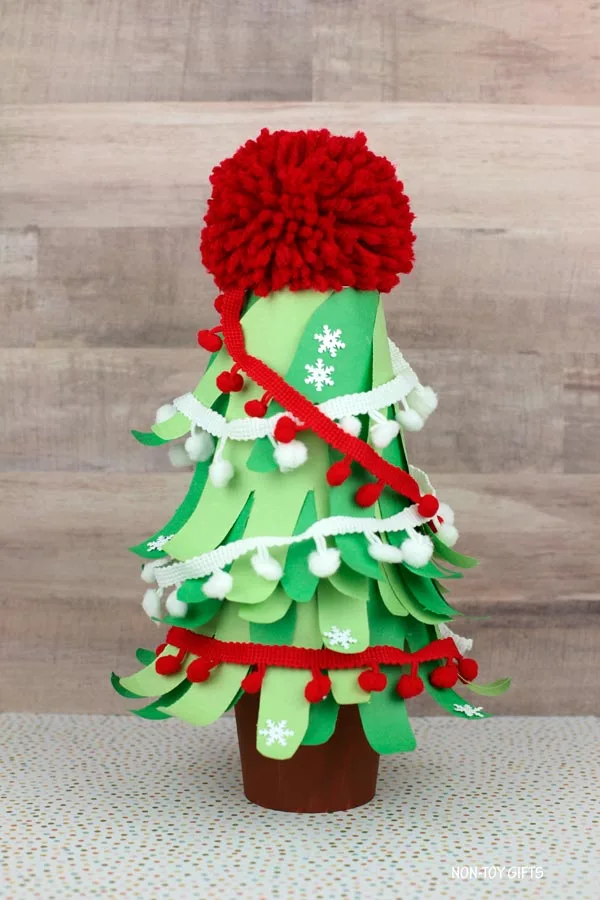
This handprint Christmas tree project makes a wonderful activity for families or classrooms. It is an easy craft that creates a lovely decoration for your home or learning space.
When several children or the entire family take part in making this Christmas tree, everyone can add their names to the handprints.
We enjoy creating handprint projects, and although most of our crafts use just one handprint, we have also made a few designs with several. Have a look at this handprint flower bouquet I made for my children’s teachers. It will show you what the tree may look like if you choose to add names to the handprints.
If you’re ready to try more holiday projects for children, be sure to explore these 30 Christmas tree crafts or these 24 handprint Christmas crafts.
Adult assistance is needed for this handprint Christmas tree project because the handprints are attached to paper cups with a hot glue gun. Another option is to let children use a low-temperature glue gun. I began with a low-temperature glue gun when my boys were young, and they are now confident using a standard hot glue gun.
Materials:
How to create a DIY Christmas tree decoration
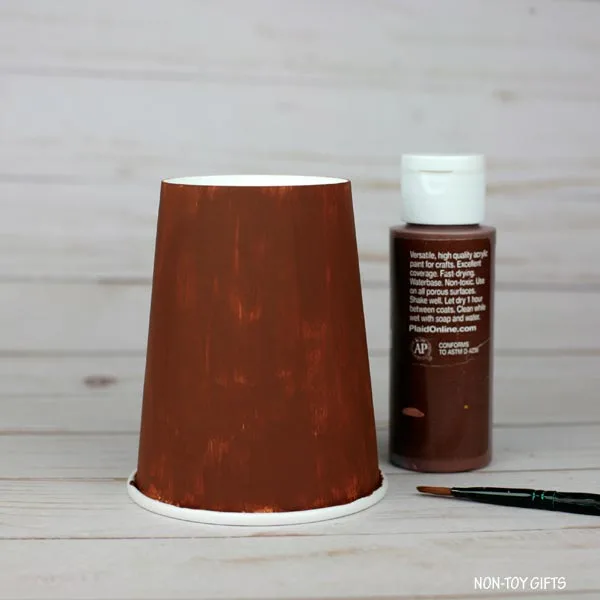
First, paint one of the 9oz paper cups brown. Leave it aside until it has dried fully.
Trace your child’s hand onto green construction paper, then cut out the shape. Continue until you have as many handprints as you would like for your Christmas tree. We made 22 handprints.
TIP: Choose several shades of green for the handprints.
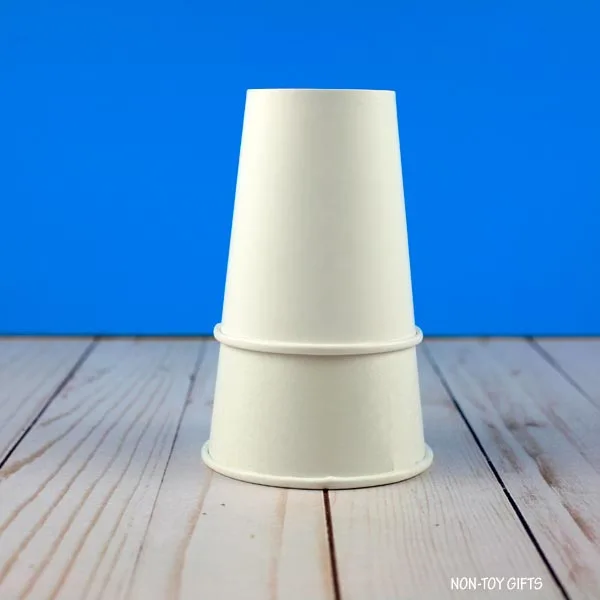
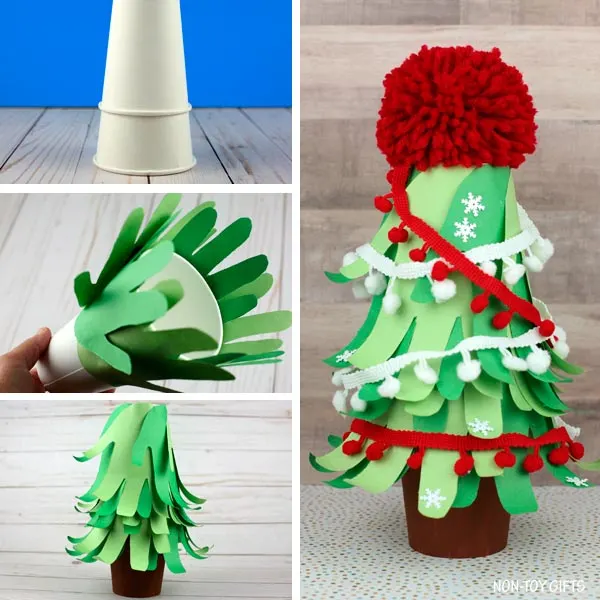
Put the white 9oz paper cup over the 12oz paper cup, then secure the cups with glue.
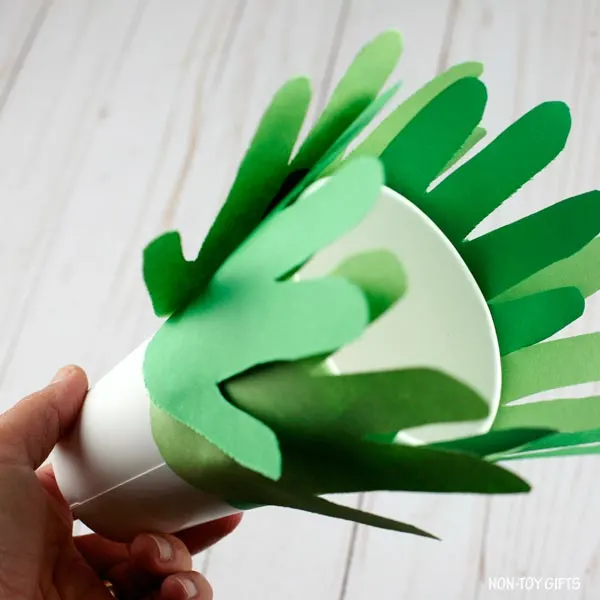
Attach the handprints to both paper cups with glue. Begin along the bottom and work your way around the cup.
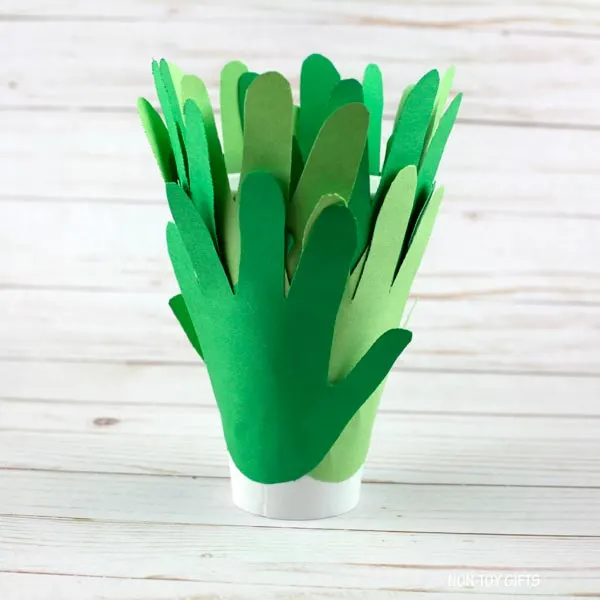
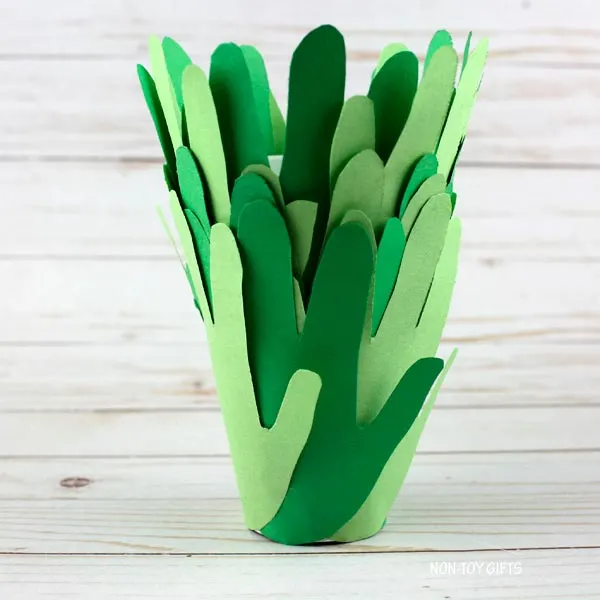
Add the second handprint row, then complete the tree with a third layer.
TIP: When using fewer handprints than we did, you might prefer making just two layers.
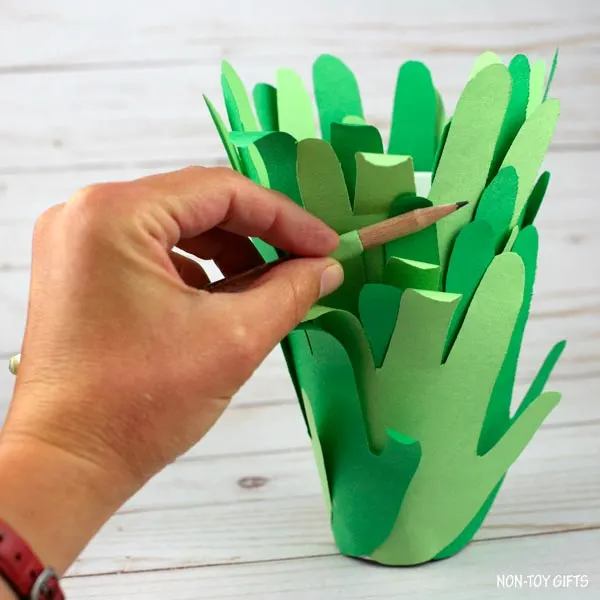
With a pencil, gently curl the fingers upward.
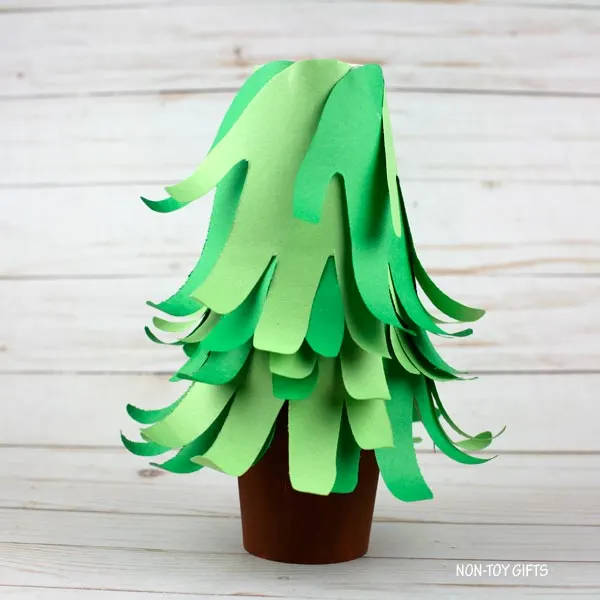
Set the tree onto the brown paper cup. You may glue the pieces together, although it is not essential.
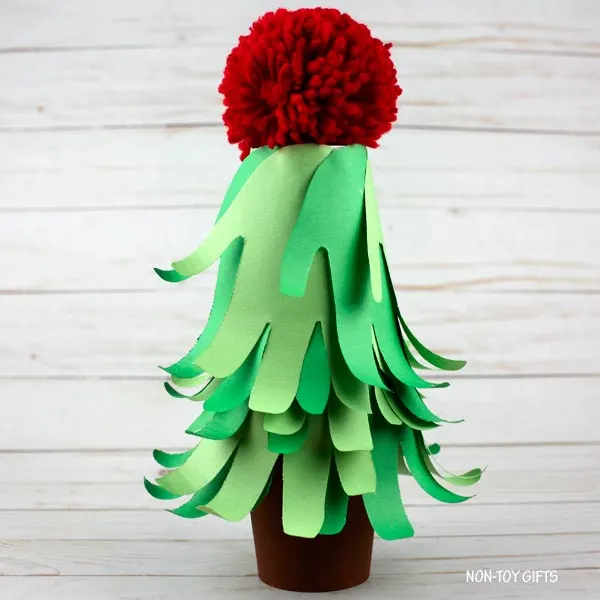
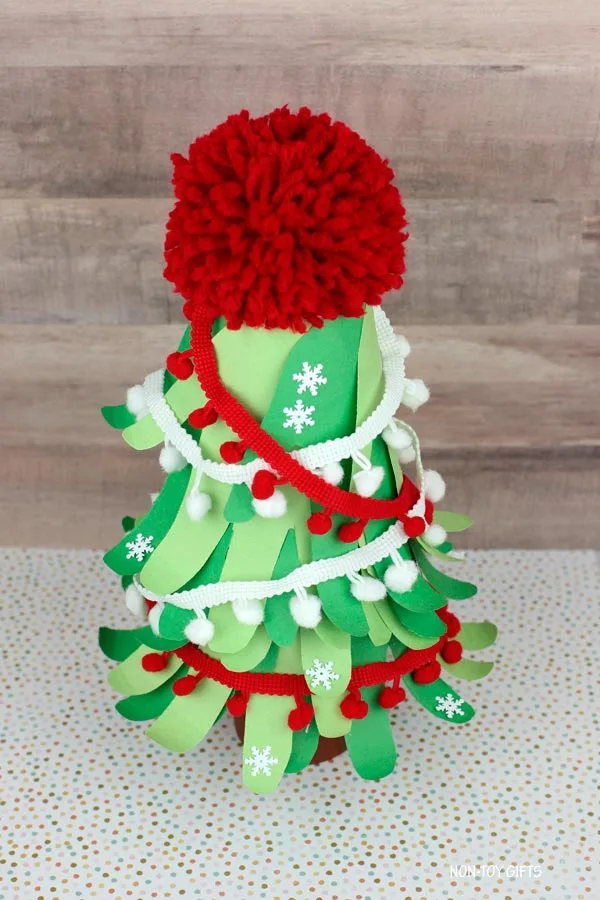
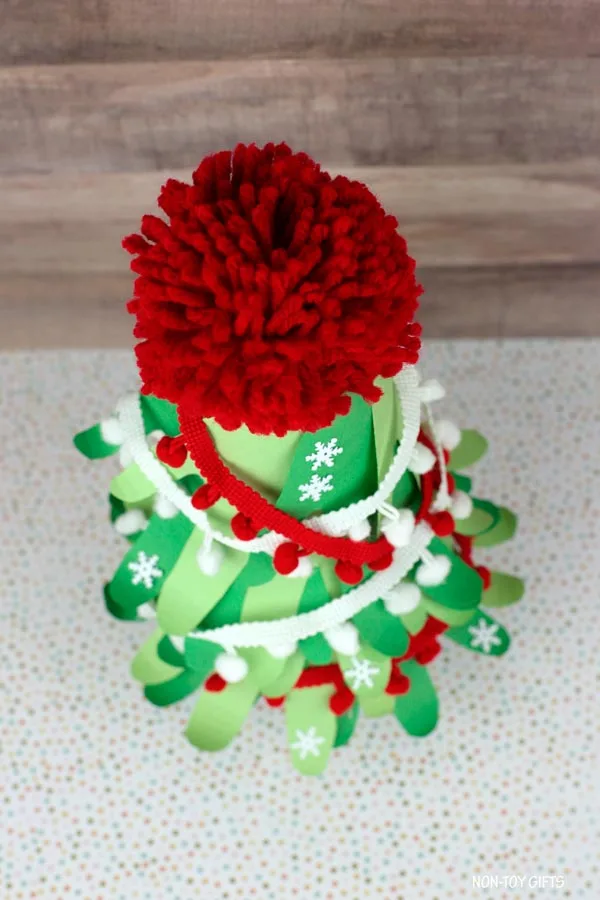
You can begin embellishing it now. We placed a large red yarn pom pom at the top and wrapped mini pom pom trim around the tree. We also had a few small snowflakes available, so we added those as well.
Materials
- 2 white 9oz paper cups
- white 12oz paper cup
- brown craft paint
- paintbrush
- green construction paper
- large red pom pom
- small pom pom trim
- pencil
Equipment
- scissors
- hot glue gun or low-temperature glue gun with glue sticks
Tips
TIP: Select various green shades for the handprints.
Suggested Products
As an Amazon Associate and member of other affiliate programs, I earn from qualifying purchases.