Discover how to create a 4th of July deco mesh wreath modeled after the American flag! It’s ideal for beginners and makes a wonderful holiday decoration. The glittering stars are my favorite!
Required Skills: Beginner. You’ll cut the mesh, roll it, and secure it to a wire form. Assembling this Fourth of July wreath is simple because the main focus is arranging the colors. You’ll also do a bit of painting for the stars!
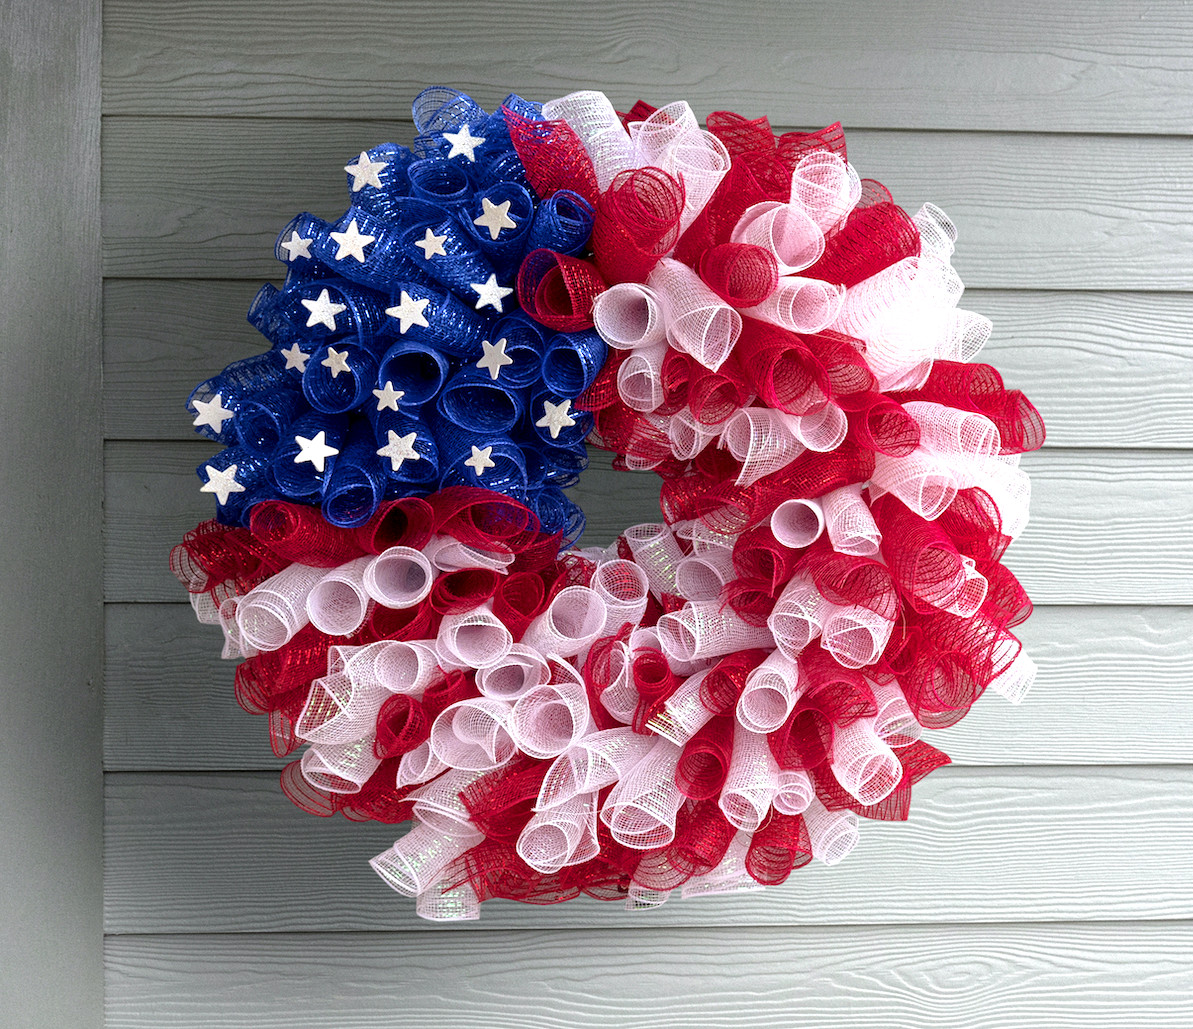
Have you ever crafted a Fourth of July wreath? I made a firecracker wreath in 15 minutes, along with a very easy Duck Tape wreath featuring solid shades and a flag design.
They were both enjoyable and simple to create, but I decided it was time to take things up a level, so to speak . . . it was time to try making a 4th of July deco mesh wreath.
This concept came from my mom, who also showed me how to make it. To be entirely truthful, I’m thrilled with how it turned out!
The stripes make the wreath feel wonderfully festive, while the stars provide the ideal “flag inspired” accent against the blue deco mesh background.
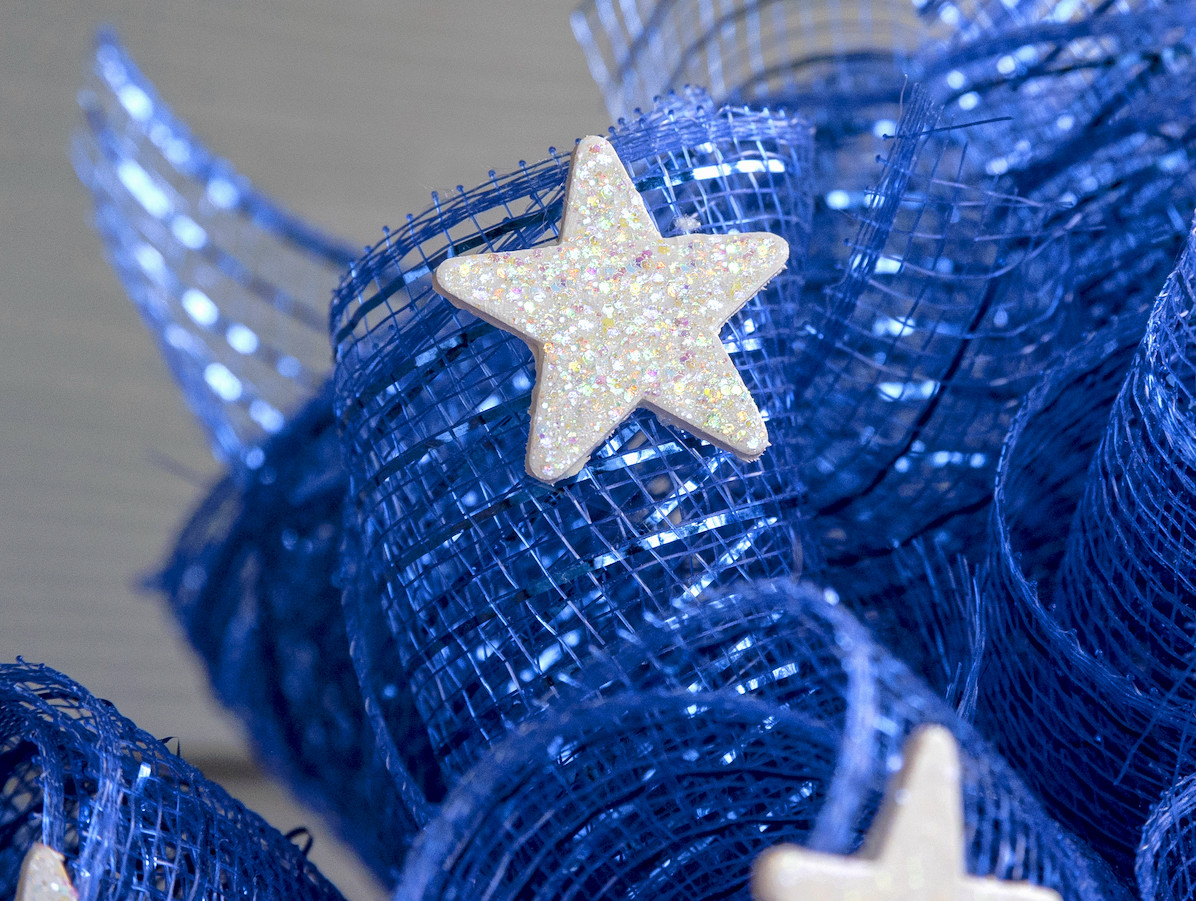
I even had the chance to use some Mod Podge, which was quite enjoyable.
If you’re prepared to craft a wreath, I’ll walk you through the process. After you become familiar with the method, you’ll be eager to customize it for many different holidays! Find the instructions below.
Fourth of July Deco Mesh Wreath
Supplies to Collect
- 24″ wire wreath form
- 10” X 30 ft rolls of decorative mesh
- Blue (navy) – 2
- Red – 2
- White – 2
- Chenille pipe cleaners, 12″ – approximately 100, cut in half
- Sturdy scissors or wire snips
- Extreme Glitter Mod Podge
- Wooden stars – I used 19
- White acrylic paint
- Paintbrush
- Spouncer brush
- Measuring ruler
- Hot glue gun with glue sticks
Note: the number of chenille stems required may vary according to your wreath form’s size and how closely you arrange the mesh. Regarding the colors, you may coordinate them with the mesh, although it isn’t necessary. The stems should remain hidden.
Prepare the Pipe Cleaners
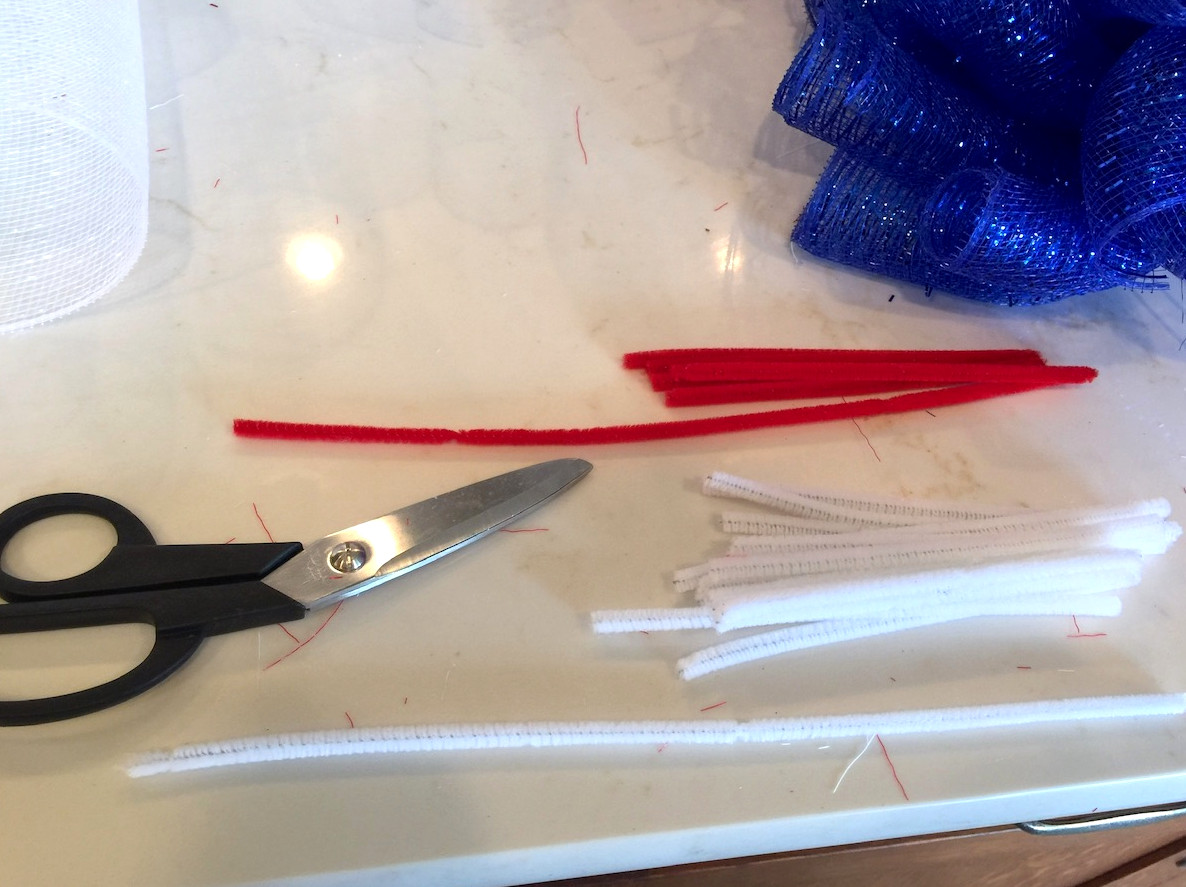
If you haven’t done so already, begin by slicing all the pipe cleaners in half. You can also trim them while working, but I prefer preparing them beforehand.
Standard scissors will do the job, but cutting pipe cleaners with them can tire your hand and damage the blades. Larger kitchen shears would be better, though wire cutters are the best choice.
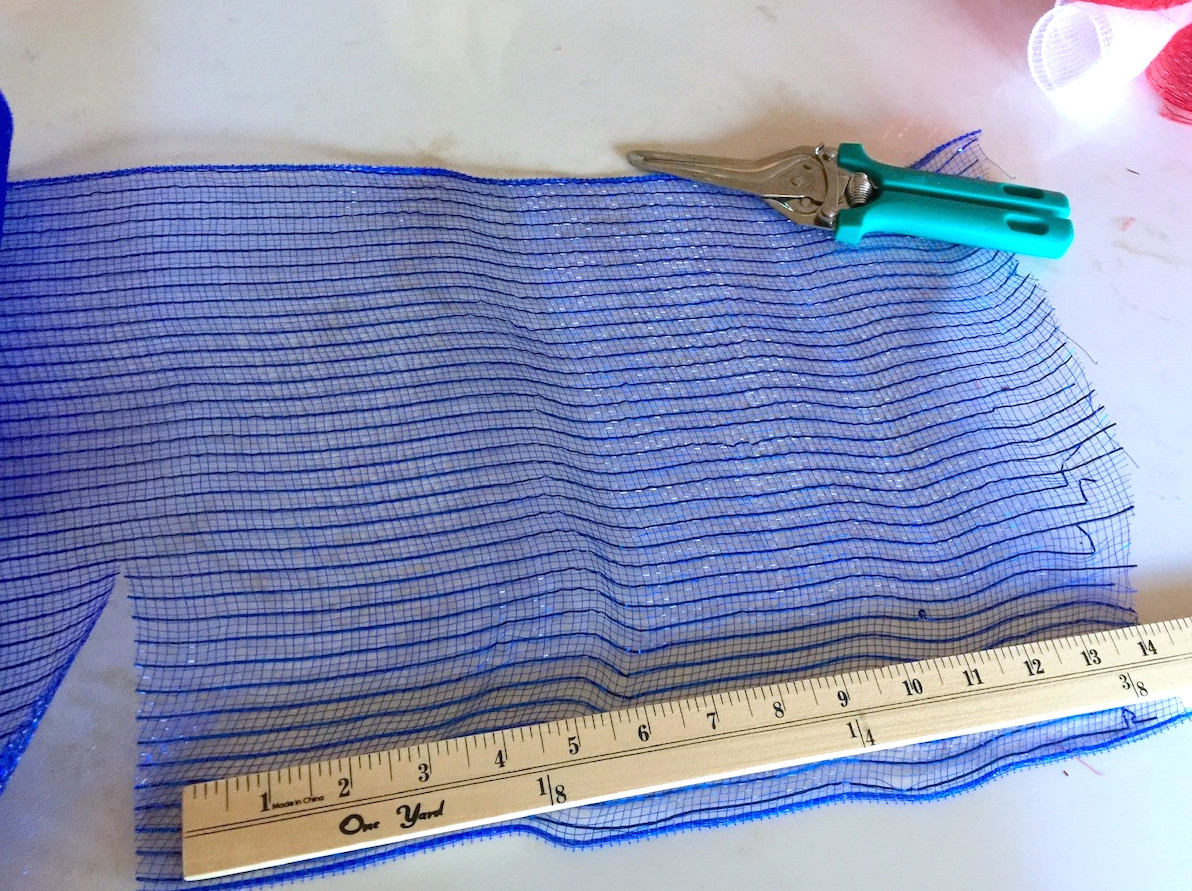
Slice the deco mesh into pieces measuring roughly 14 to 18 inches. Try to keep them as near to 14” as possible. Longer pieces become harder to attach as you approach the wreath’s end. Avoid cutting them shorter than 14 inches, or the mesh wreath won’t achieve enough volume and visual effect.
Form the Mesh Rolls
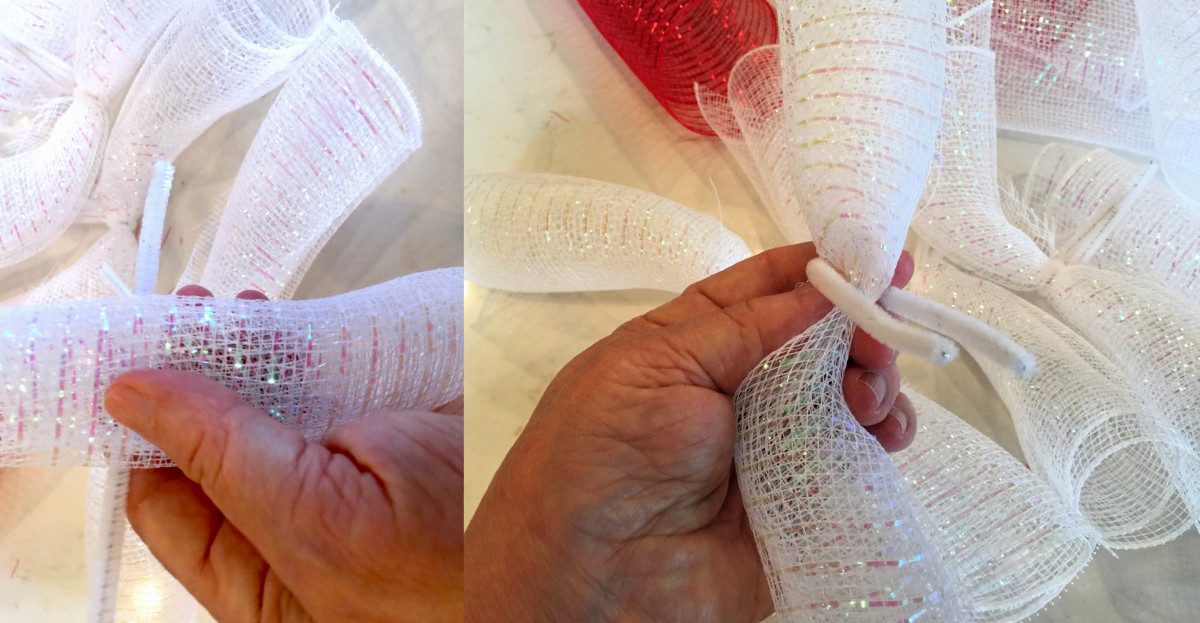
Roll each piece from one trimmed end to the other, creating a noodle. Squeeze the noodle at its midpoint, position a 6-inch pipe cleaner around it, and twist it securely.
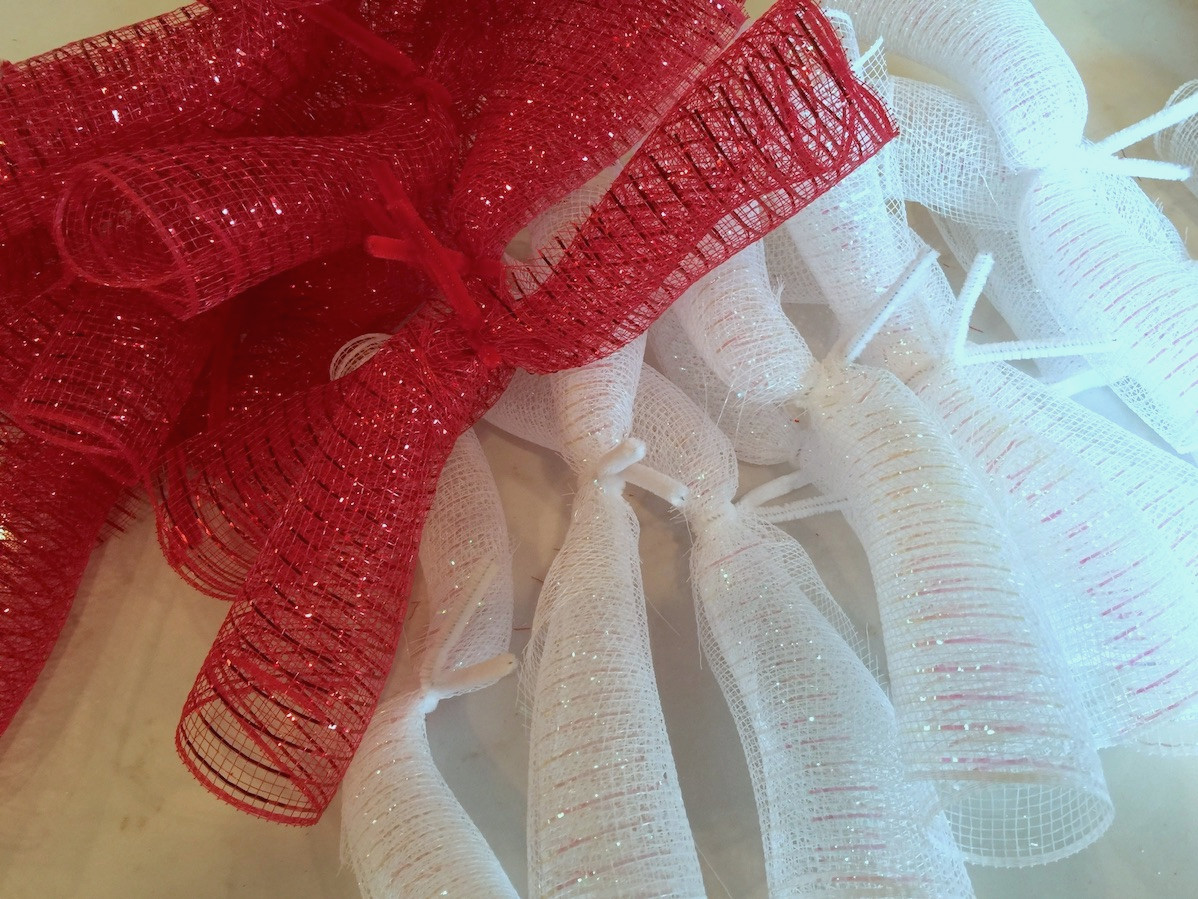
Note: I typically prepare around ten at once so I don’t trim an excessive number of pieces and waste supplies. Throughout the instructions, I’ll refer to these tubes secured with wrapped pipe cleaners as “noodles” for simplicity.
Secure the Noodles
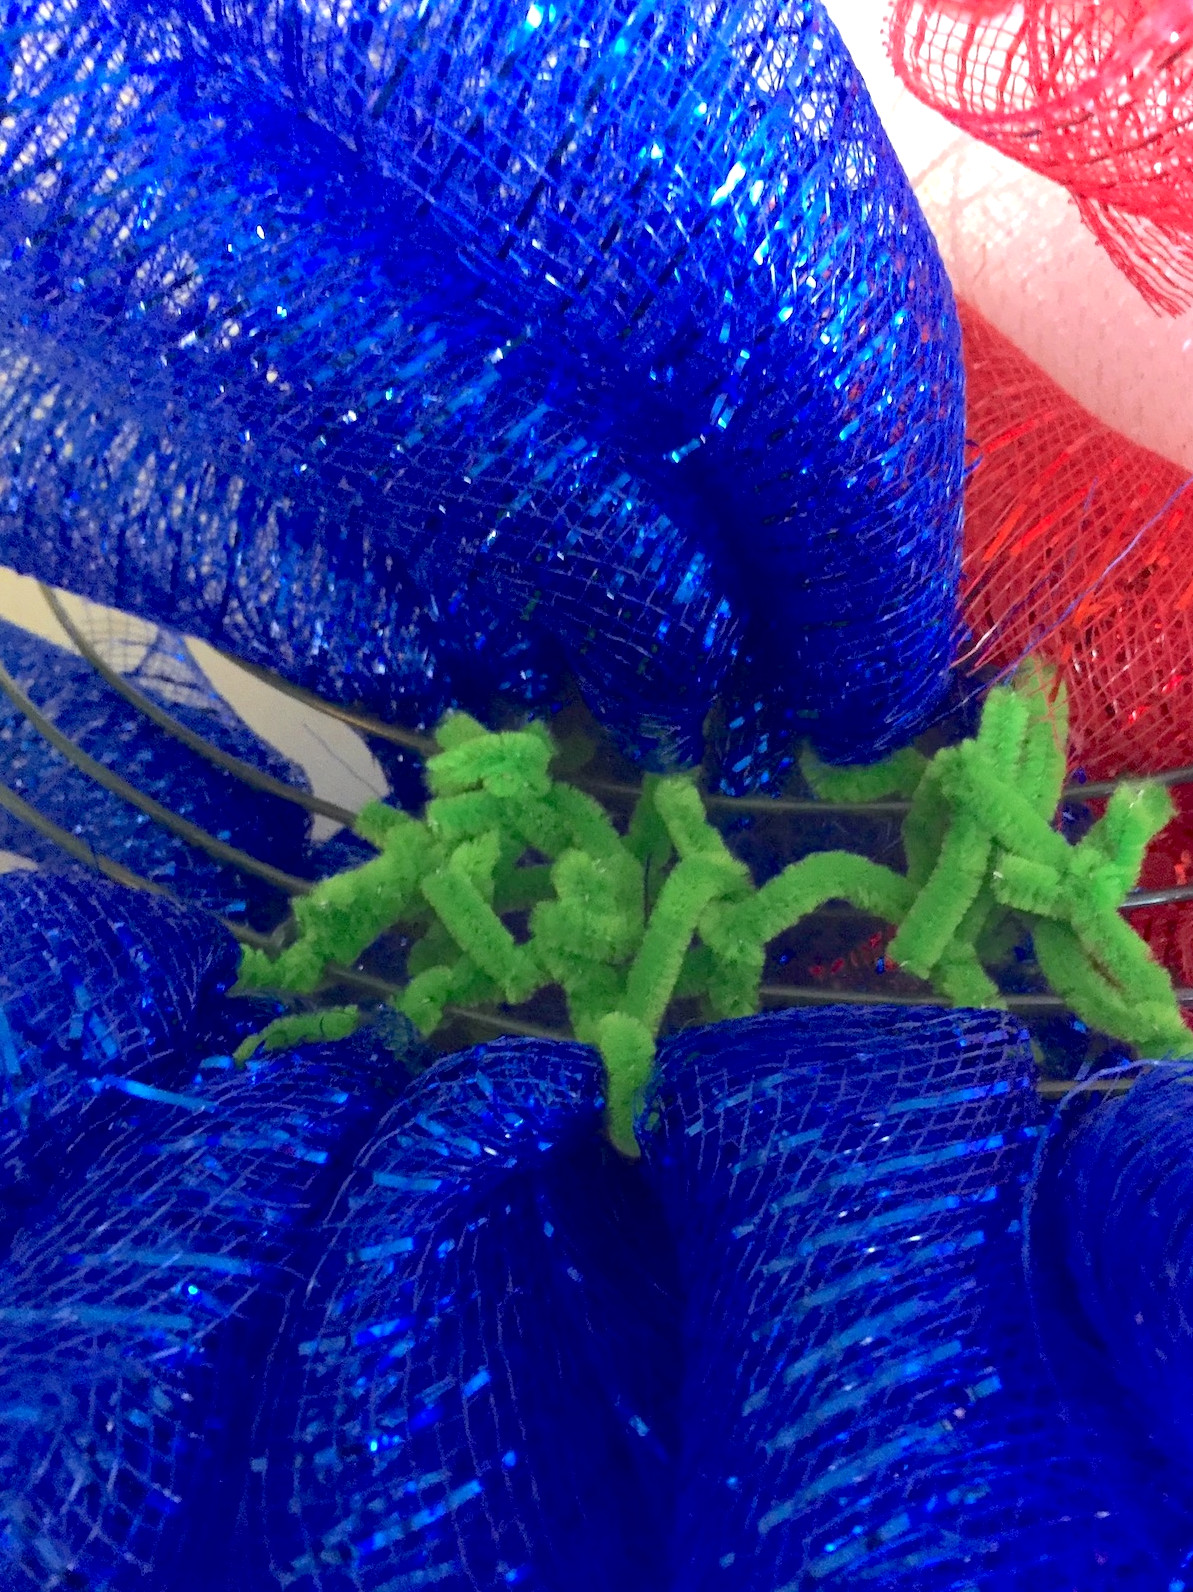
Start at what will become the upper-left “corner,” the flag’s blue field. Fold one blue noodle in half at the pipe cleaner, then wind the pipe cleaner around two wire bars. From the back, twist it firmly 2 to 3 times. You’ll arrange the noodles in groups of three rows. Here’s an illustration.
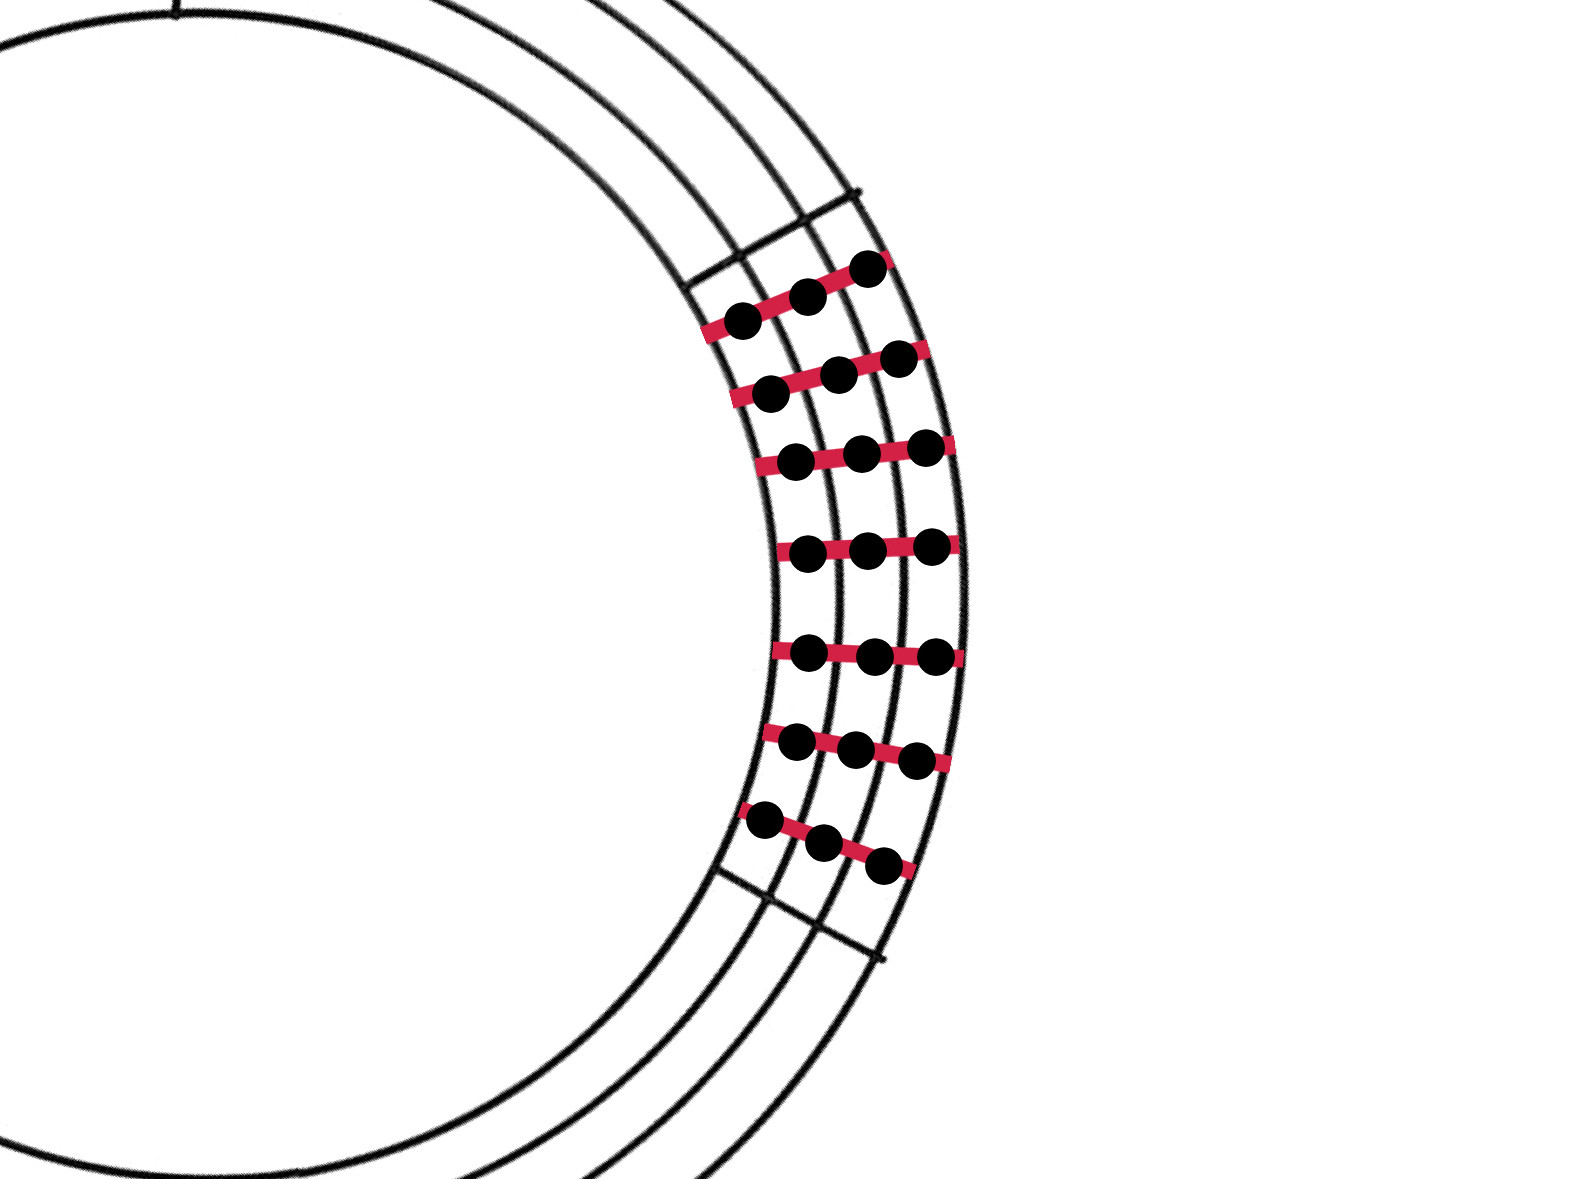
Every red stripe represents a row containing three mesh noodles in one color, while the black dots indicate where the pipe cleaners should be twisted. Therefore, the section shown in the diagram would require 21 noodles. If this part is unclear, tell me in the comments!
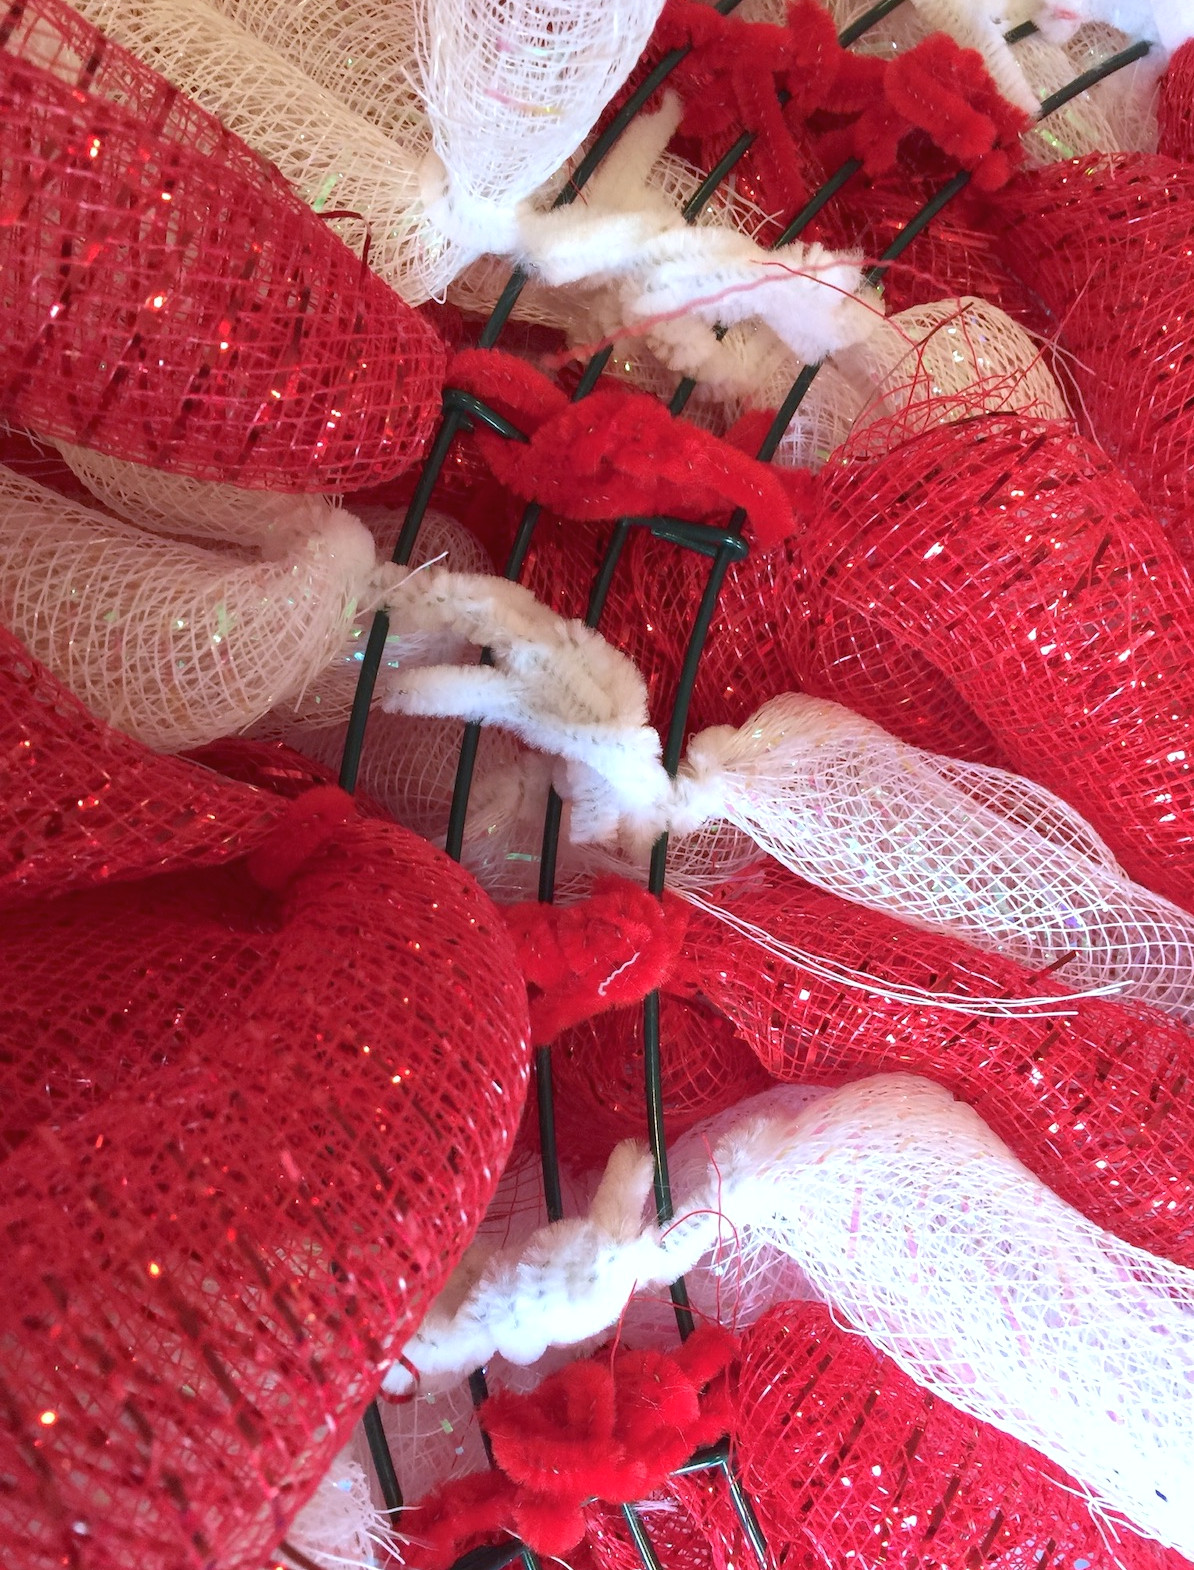
While attaching the noodles, flatten their ends by twisting them together with the ends of the other pipe cleaners used to secure the noodles.
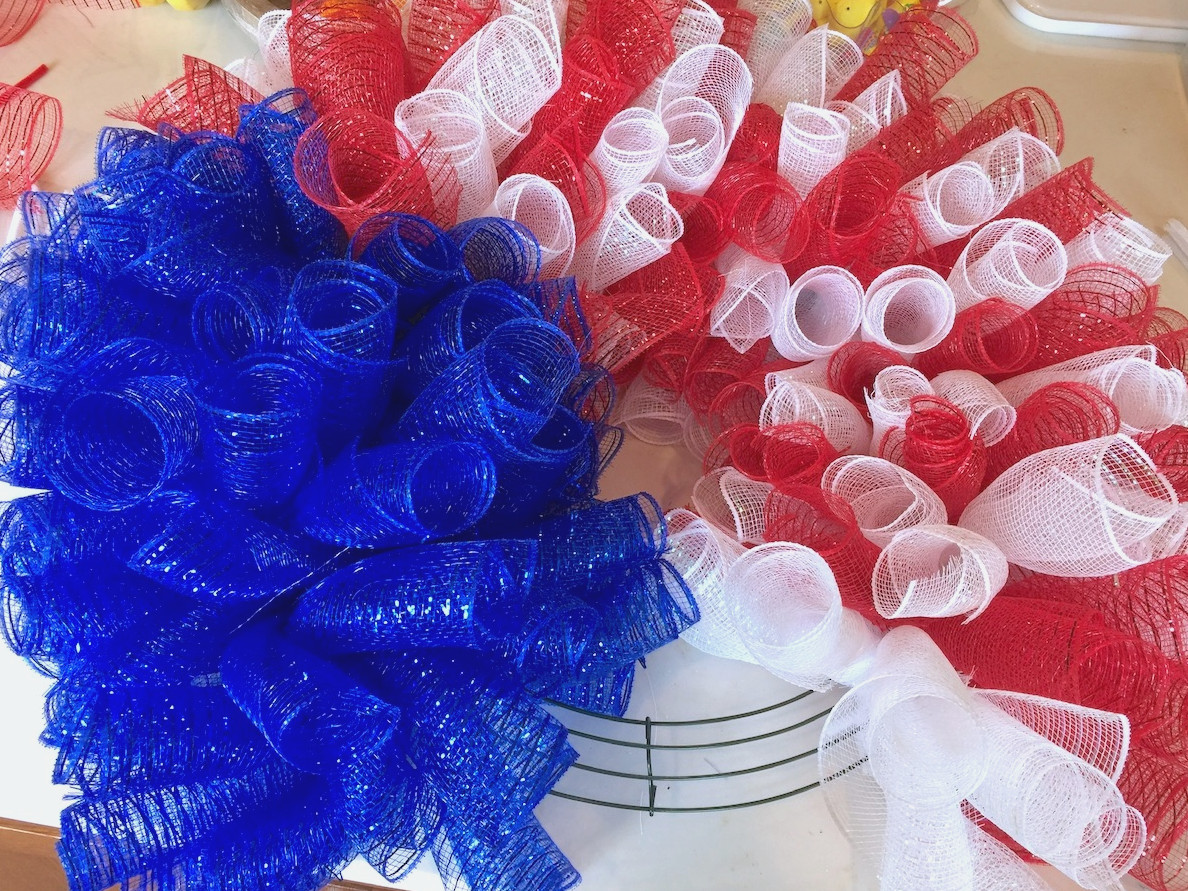
Add enough pieces to eliminate any open spaces. As the section becomes fuller, fold the noodle ends forward to make room.
Create the Stripes
After the blue covers about 20% to 25% of the wreath ring, start incorporating red and white stripes. Keep placing red and white rows around the wreath until you reconnect with the blue section.
After placing all the noodles, check for any empty areas and fill them in as needed. Pull everything toward the front, keeping the back and pipe cleaners as smooth and flat as you can.
Add the Stars
Before attaching the stars, this is how your 4th of July deco mesh wreath should appear. Now comes the fun part!
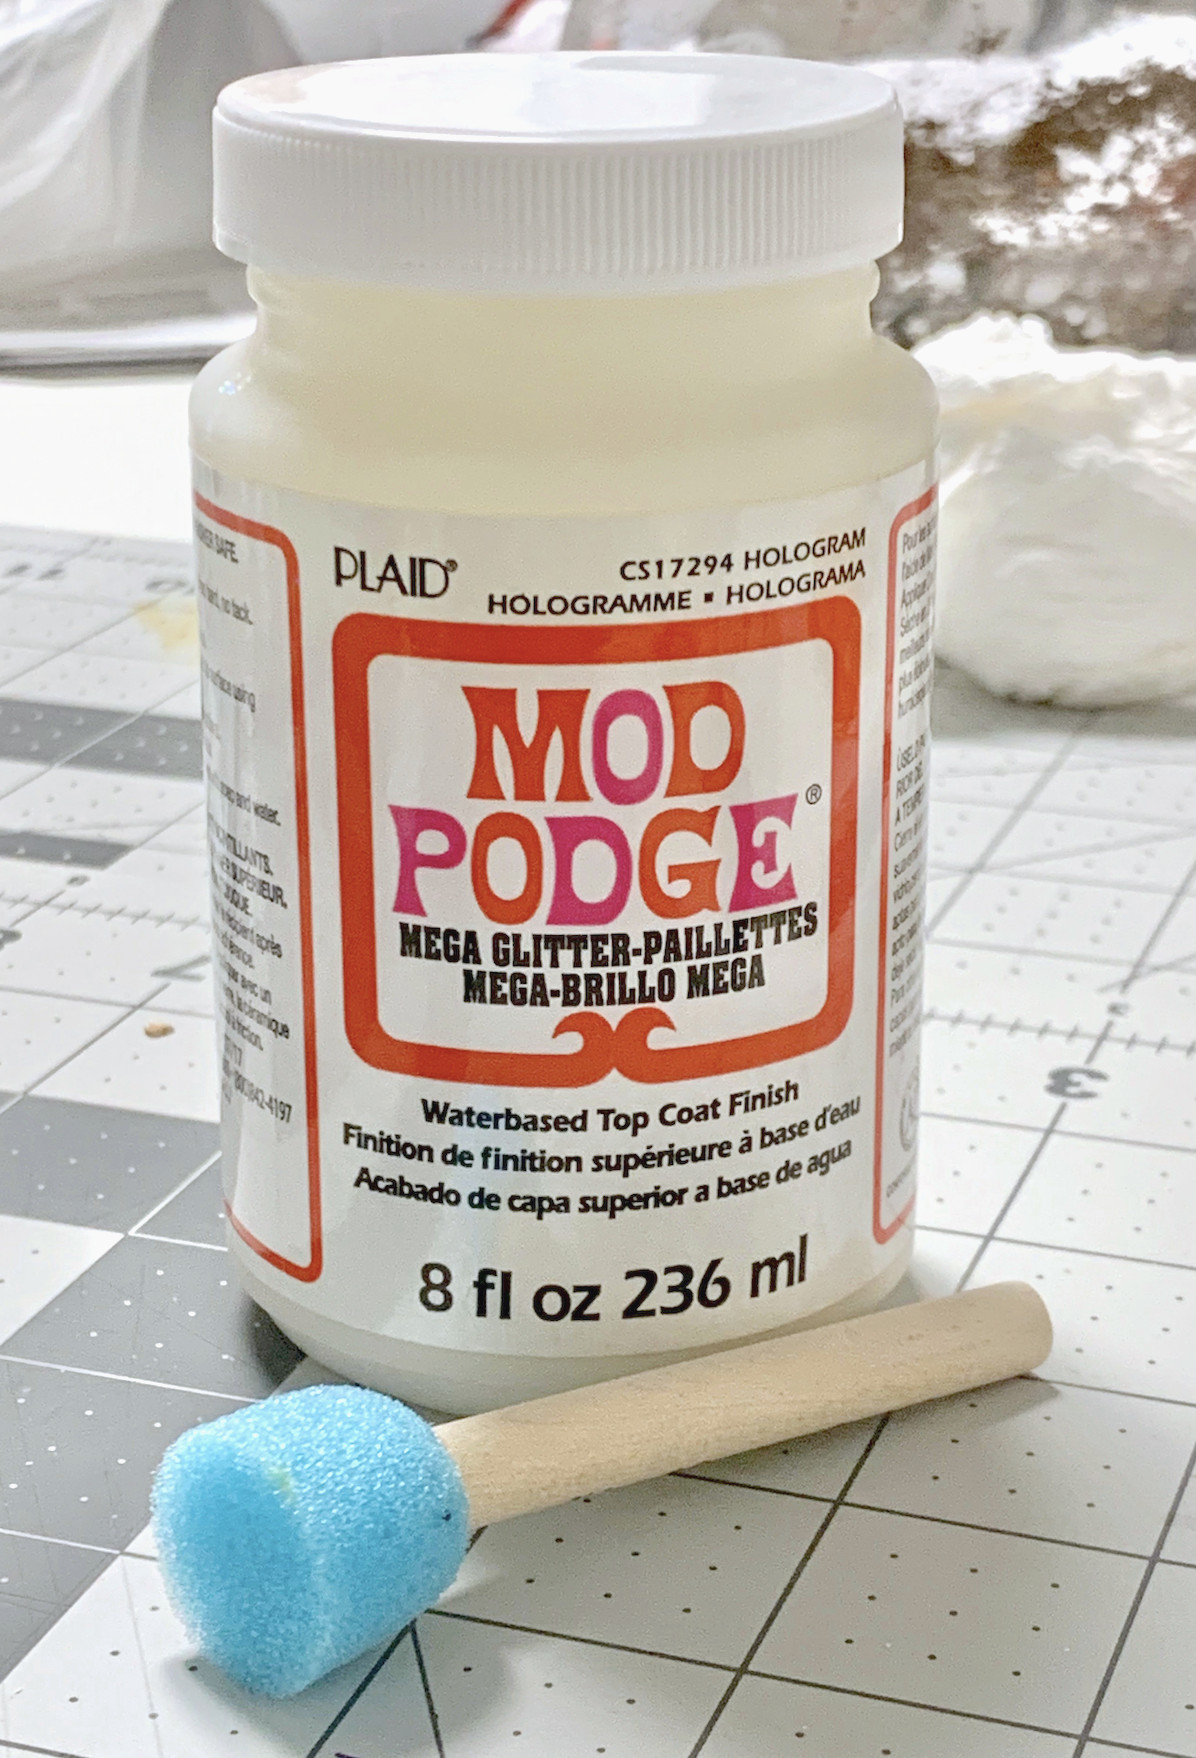
For this step, you’ll need a little favorite of mine: Mod Podge Mega Glitter! I selected the Hologram shade. This product is meant for SERIOUS glitter lovers only.
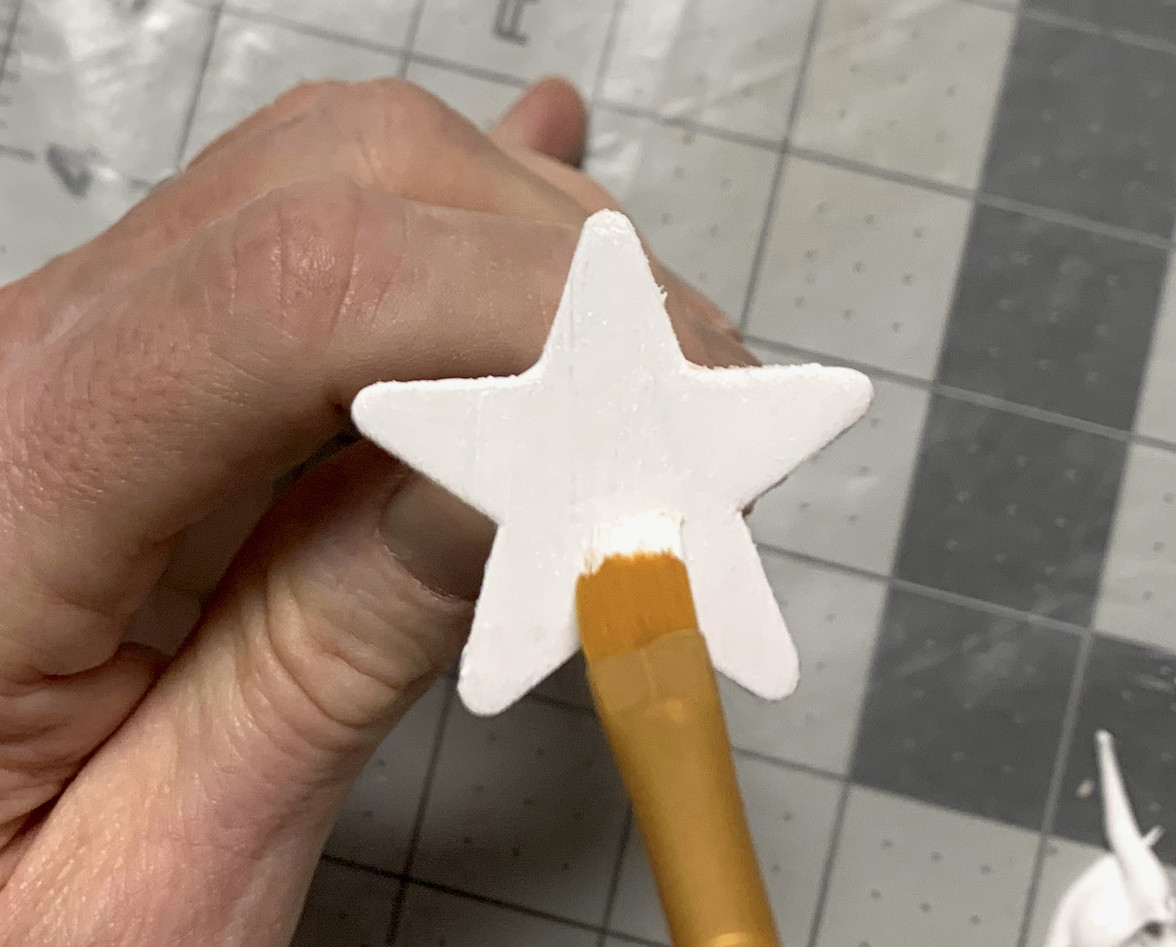
Cover the wooden stars with white acrylic paint, applying several coats and allowing each one to dry before adding the next. A pushpin inserted into the back makes small wooden pieces easier to paint and hold. Since the back of the shape won’t be visible, a small indentation is perfectly fine!
When the paint has dried, use a spouncer to brush on Mega Glitter Mod Podge. Allow the initial coat to dry, then decide whether another layer is needed. Continue adding coats until you reach your preferred amount of sparkle.
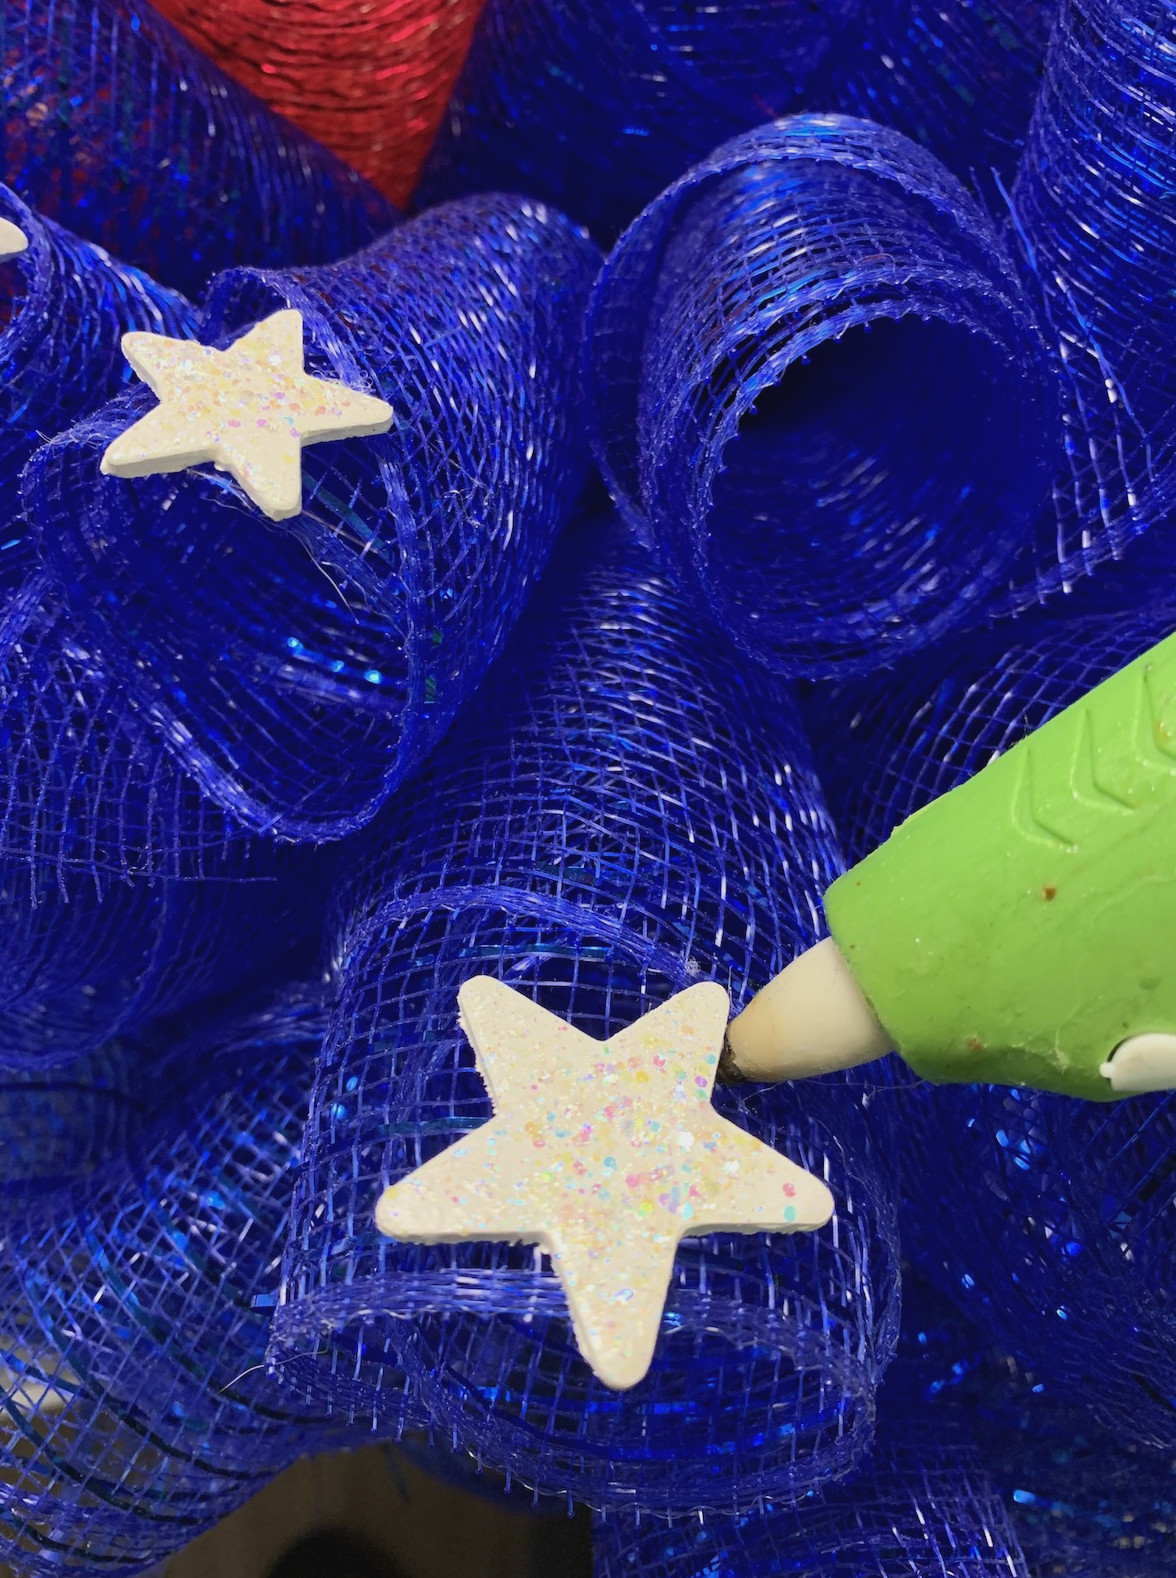
Complete the deco mesh wreath by hot-gluing the glittery wooden stars onto the blue section.
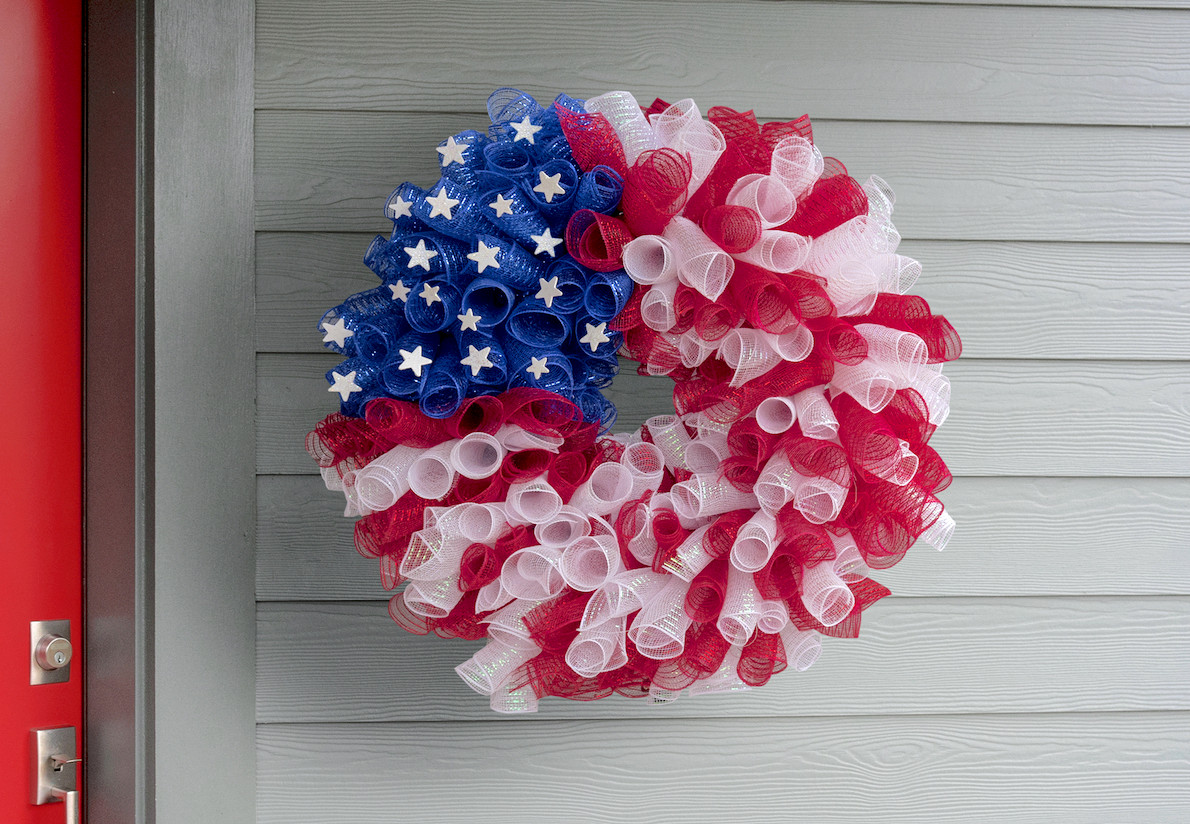
I honestly can’t get over how much I adore this 4th of July mesh wreath. It looks wonderful on my covered front porch!
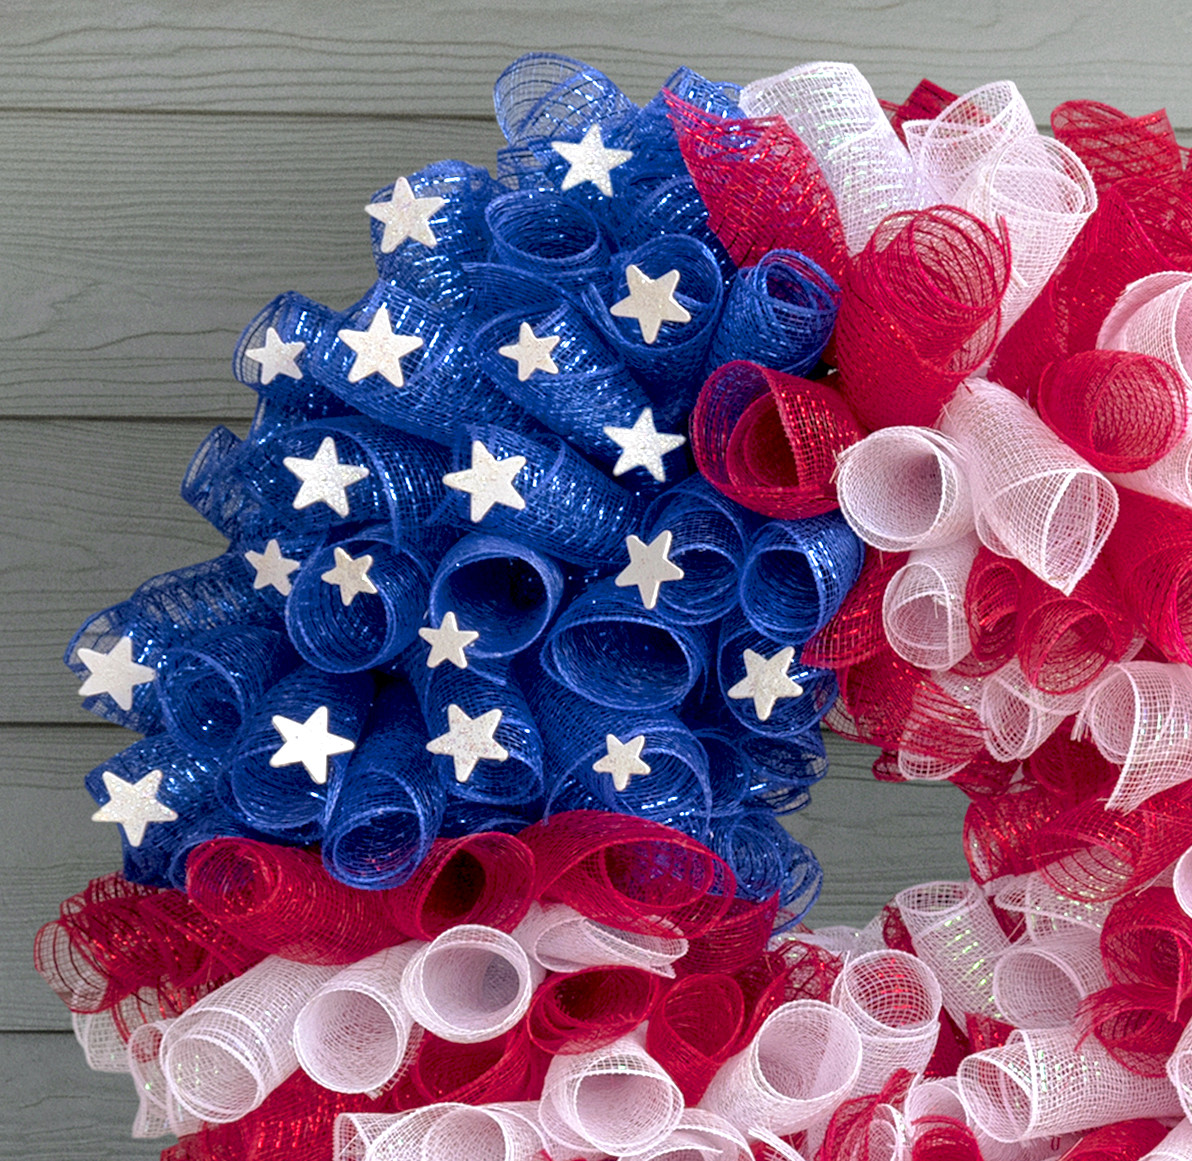
The small touches make all the difference, friends. Happy Independence Day, America’s birthday, Fourth of July – enjoy the celebration!
I hope this 4th of July deco mesh wreath tutorial was enjoyable and that you’ll explore these additional wreaths for different holidays and themes:
Candy Cane Mesh • Christmas • Christmas Mesh • Christmas Pom Pom • Coffee Filter • Easter Mesh • Fall • Felt • Halloween Mesh • Halloween Ornament • Pinecone • Mini Pumpkins • Pool Noodle • Pool Noodle Floral • Pom Pom • Ribbon • St. Patrick’s Day Mesh • Valentine Mesh • Wine Cork • Witch Hat