Build oversized outdoor chairs that are ideal for people taller than 6′.
My husband really enjoys the modern Adirondack chairs I constructed a few weeks ago, but there was one issue. They were slightly too small for him to relax comfortably.
At 6’2″ tall, he couldn’t rest his head because the back did not extend high enough.
So, what’s a wife supposed to do? Design and build an XL Adirondack chair, of course, so he can enjoy them just as much as I do!
These bigger outdoor chairs are also fast to build with just 3 tools: a miter saw, circular saw and drill. They may become your favorite summer project.
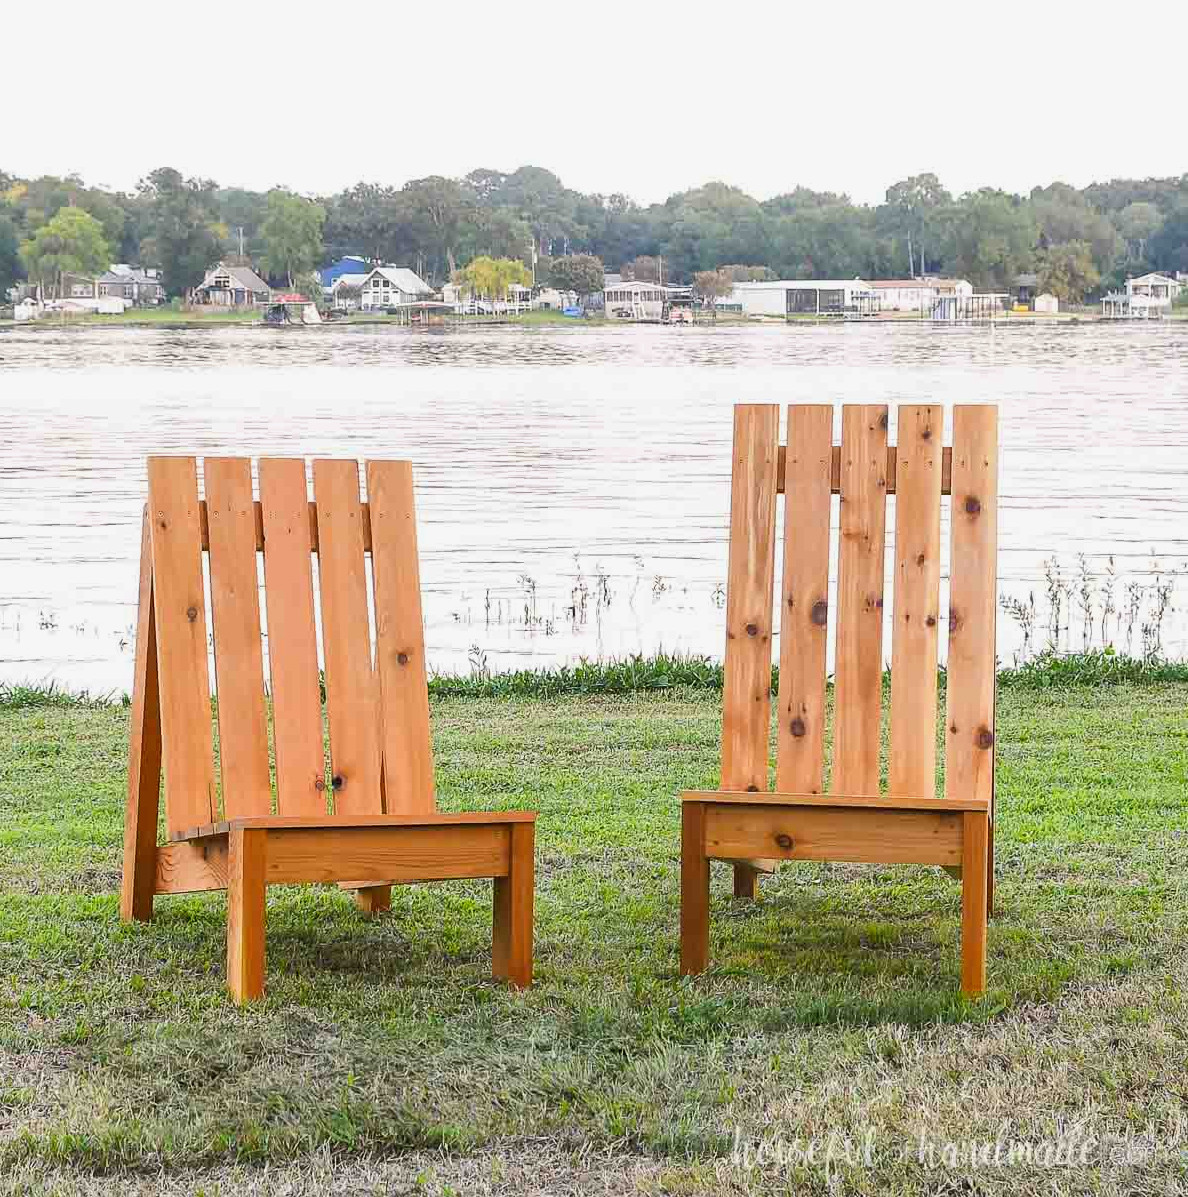
Adirondack Chair for Tall People
Adirondack chairs are excellent for unwinding outdoors. Their low seats and angled backs make them perfect for enjoying the entire summer.
However, if you are taller than average, a standard chair may not provide the support you require. That means it’s time to make a larger chair.
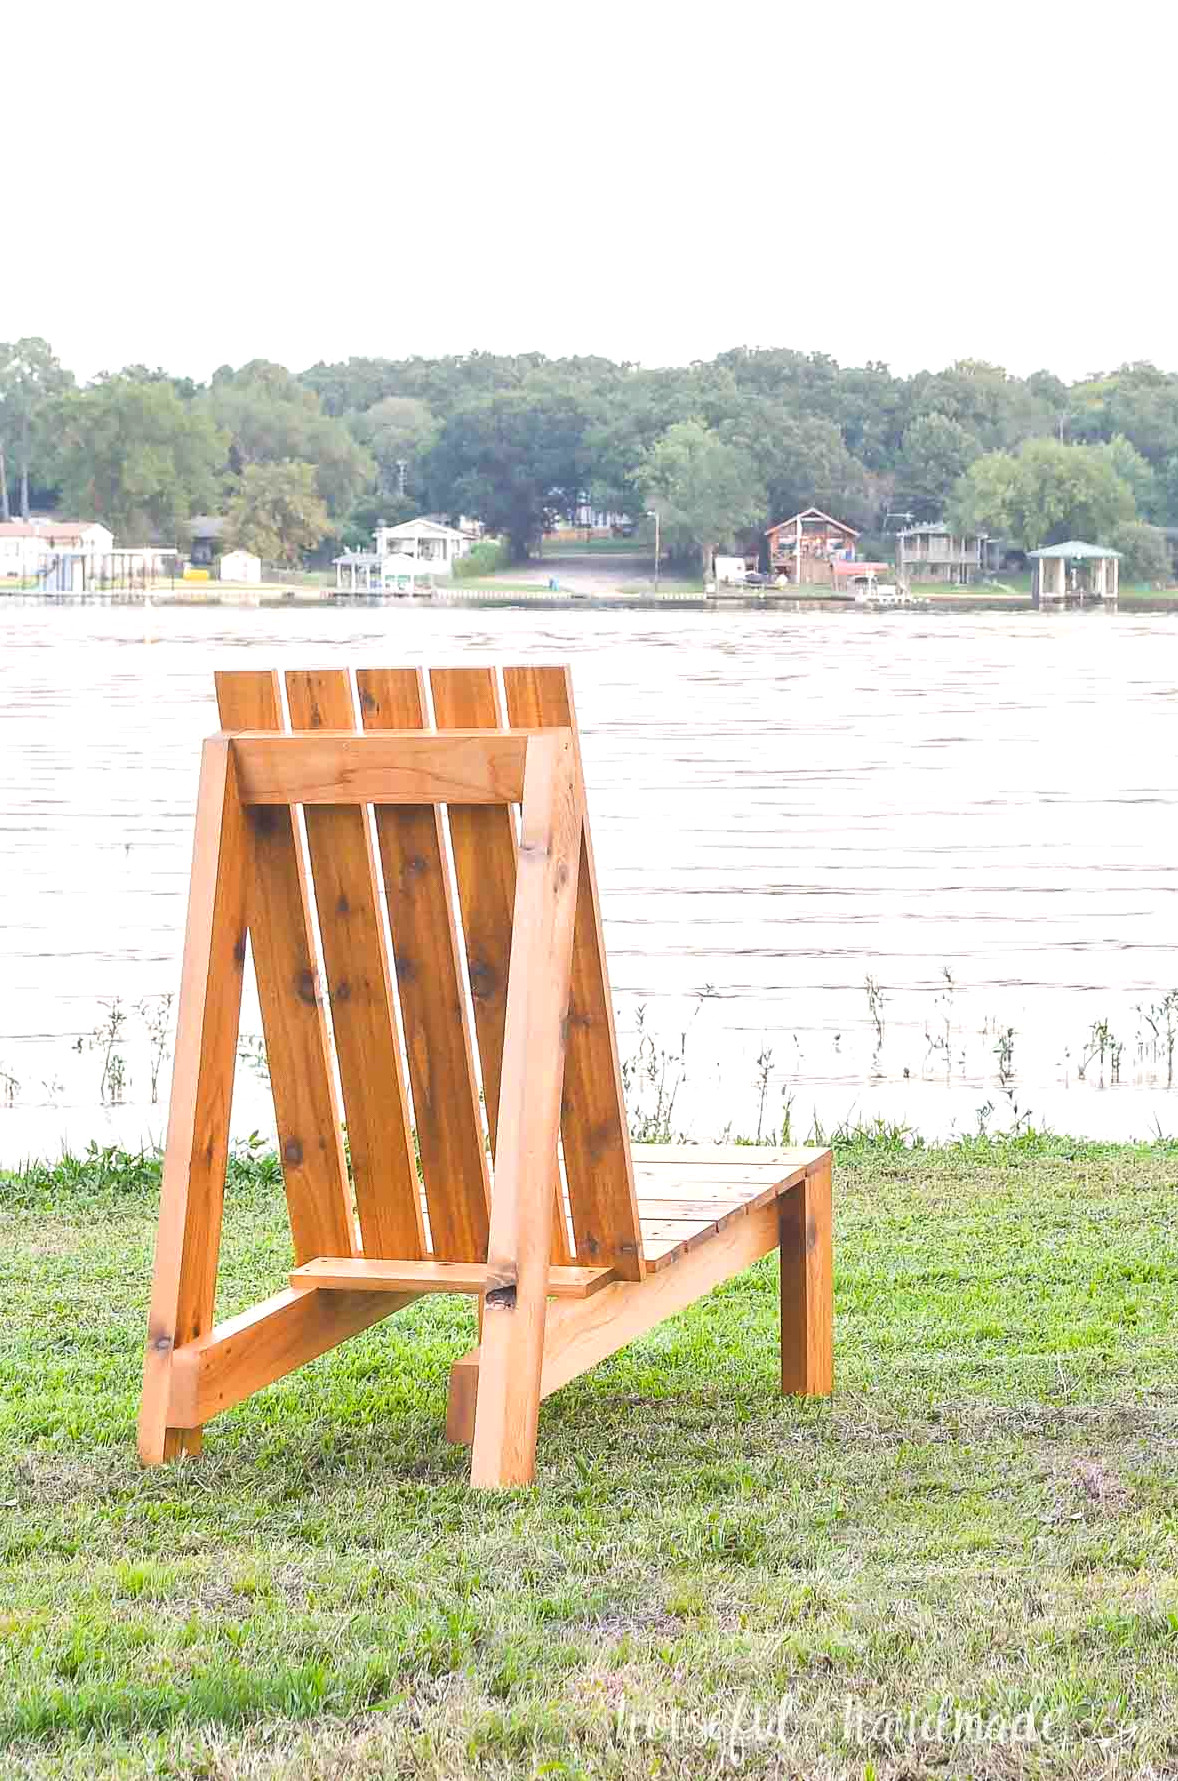
This design features a higher back, which is completely supported by extended back legs. This allows you to lean your head against the seat back.
The seat is also deeper than the standard version, giving your legs additional support. It raises the front of the XL Adirondack chair as well, making it more convenient to get in and out.
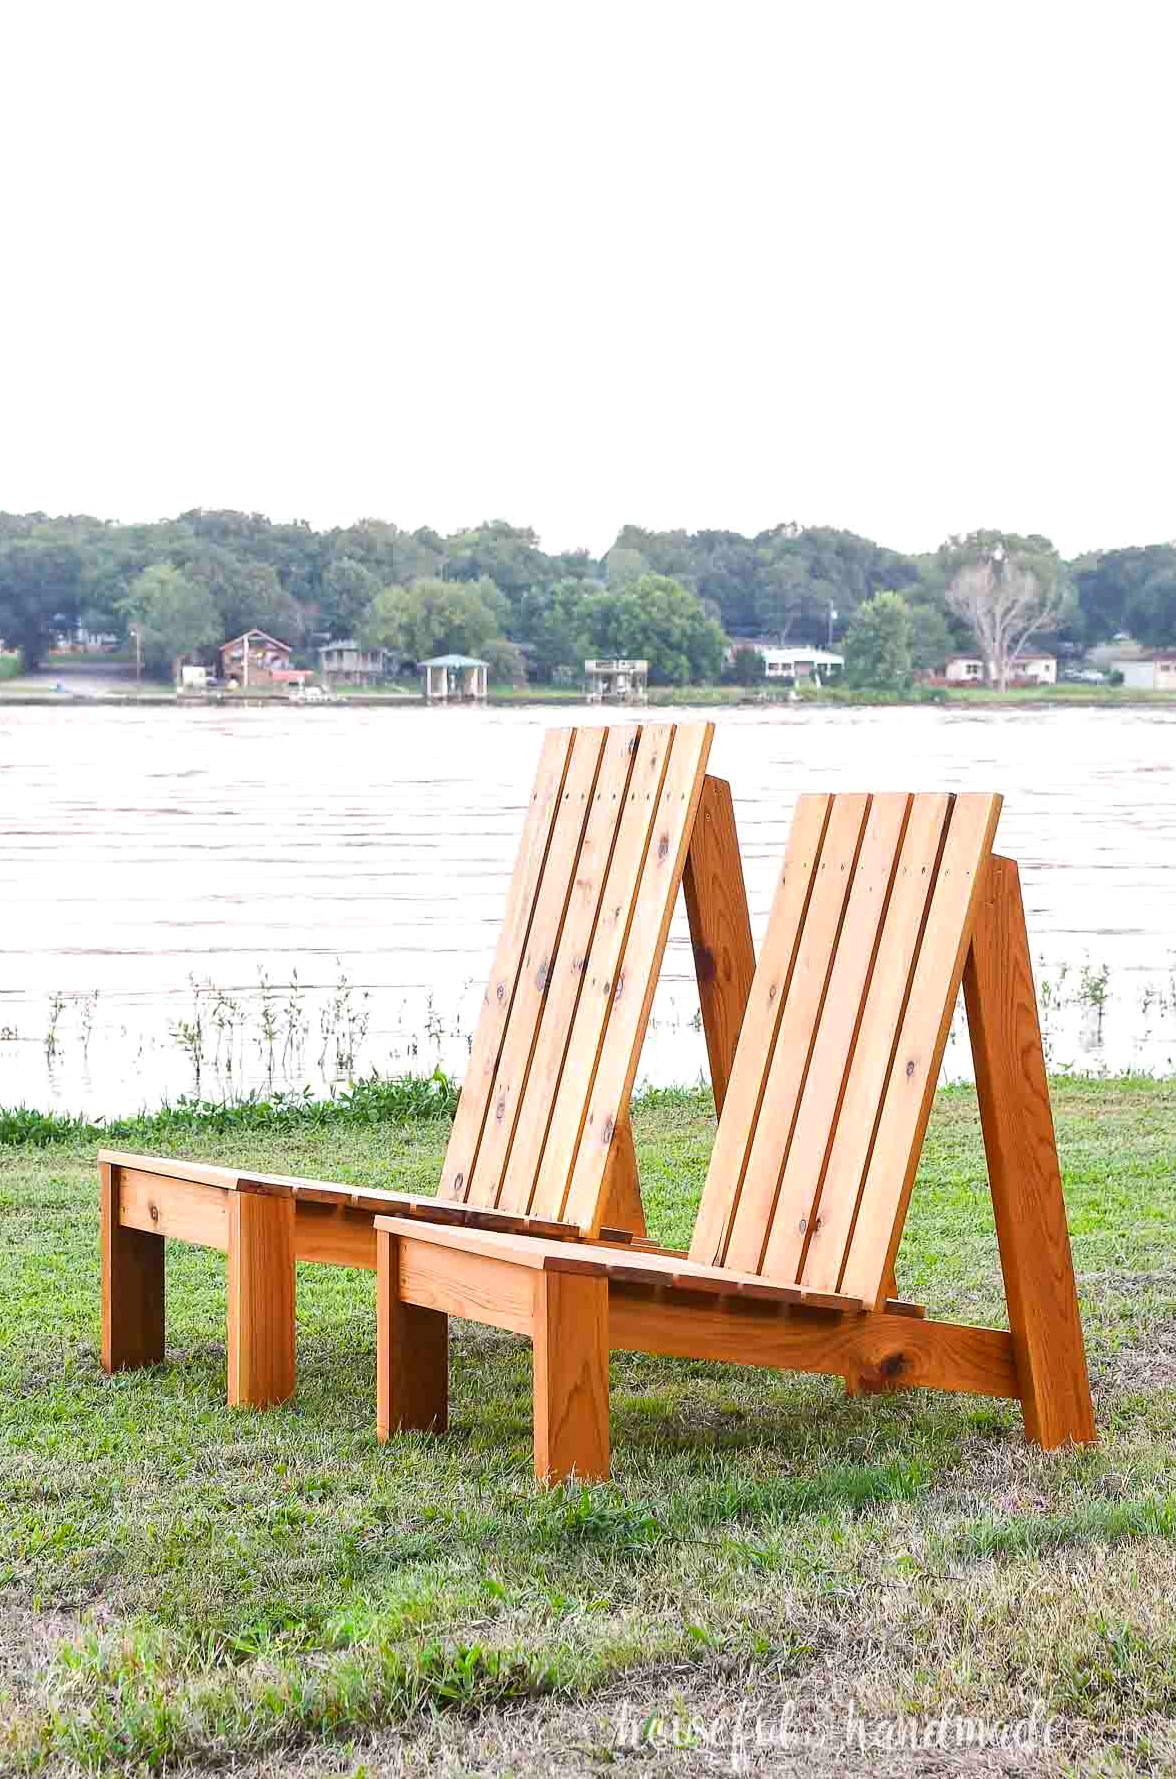
The standard and XL modern Adirondack chairs coordinate beautifully, so you can make a pair of each and let everyone unwind in style.
More Outdoor Seating Ideas
Turn your outdoor area into an extension of your home with plenty of cozy seating.
How to Make a Large Adirondack Chair
Tools & Materials
Overall Dimensions
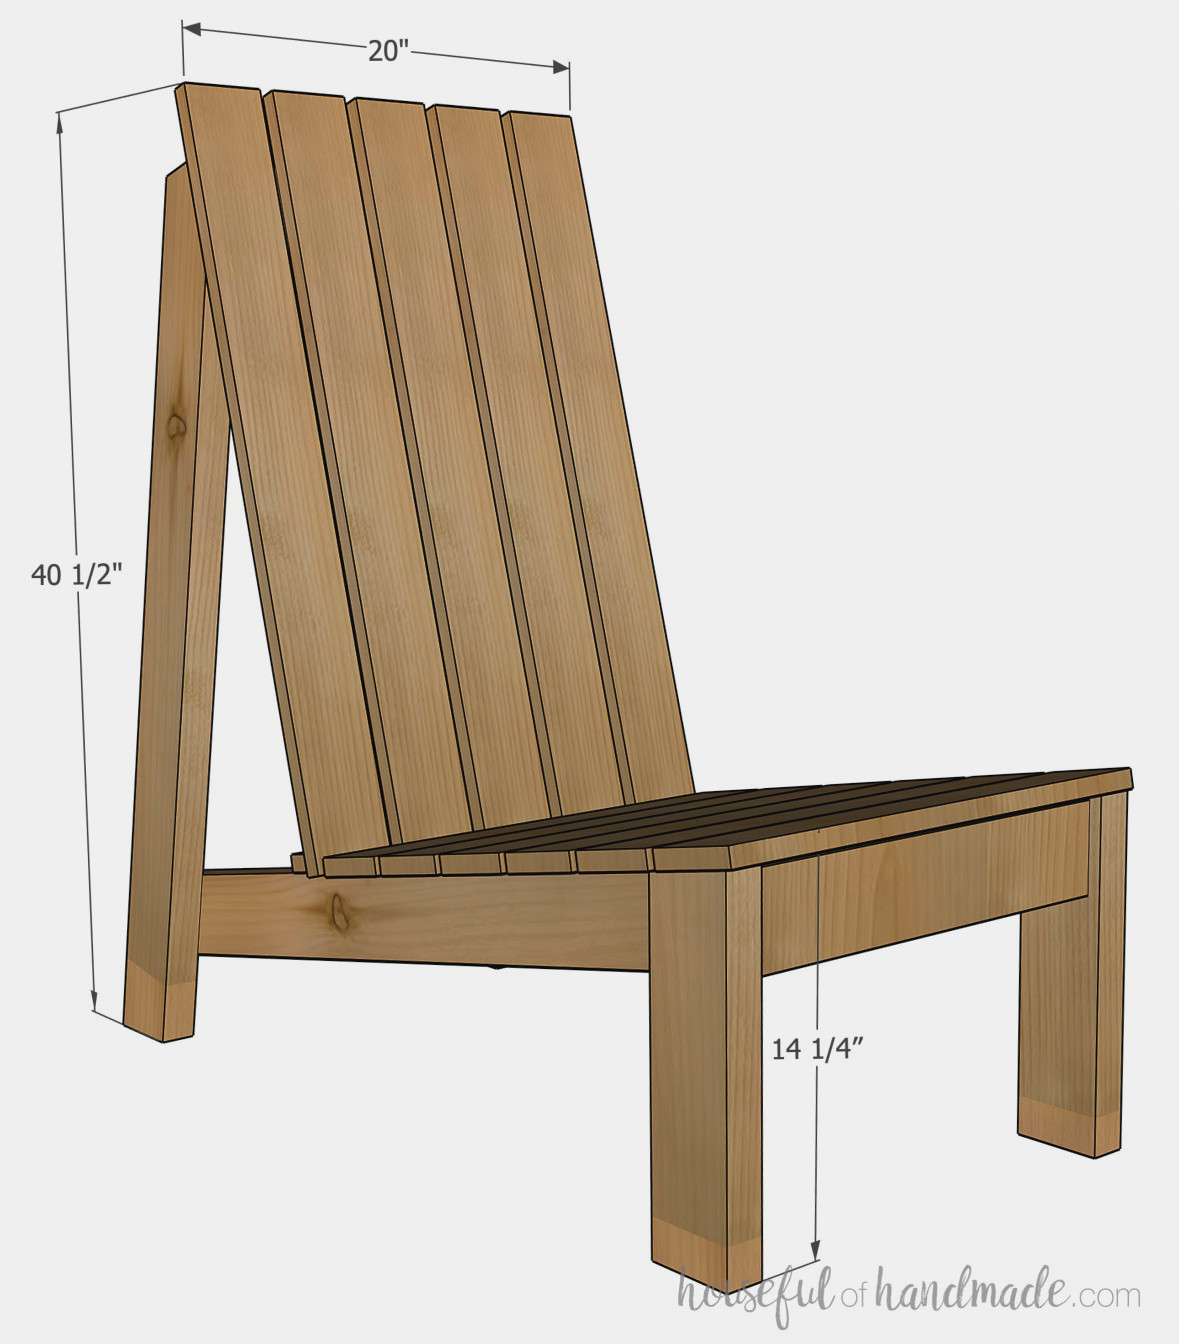
The XL outdoor Adirondack chair measures approximately 40 1/2″ high and 39 1/4″ deep.
The seat front sits 14 1/4″ above the ground. The seat platform measures 20″ x 23″ and accommodates a 20″ x 24″ cushion.
Cut List
Prepare the components using the straightforward table provided in the PDF plans.
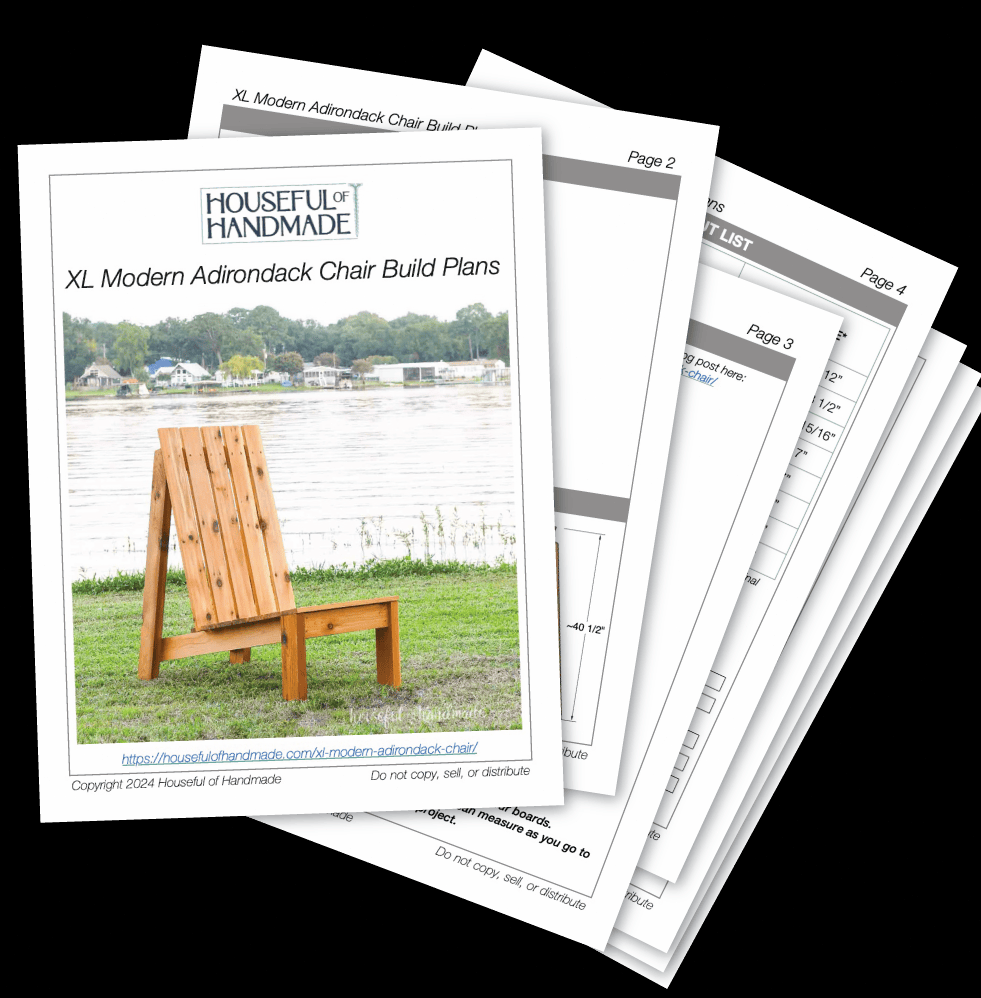
Get the Premium PDF Woodworking Plans
PDF plans include- Simple Cut List, Shopping List, Suggested Tools, Step-by-Step Directions with 3D illustrations, & Useful Resources
BONUS- 3D SketchUp File
STEP 1- Cut the angled boards
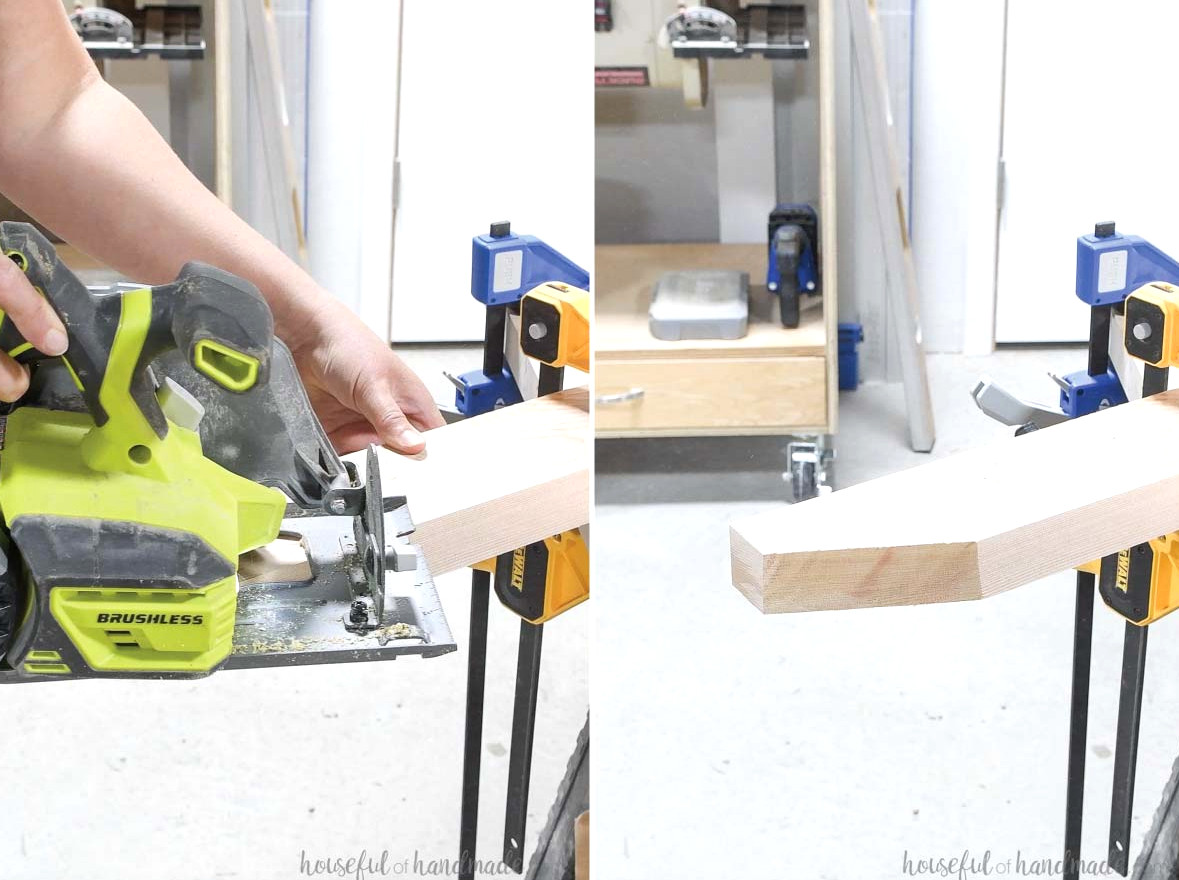
Begin by cutting one side of each back leg board at a 10 degree angle.
At the uncut end of the board, measure 1 15/16” inward from the corner opposite the long angled edge and mark it. From that same corner, measure downward 4 1/8” and add another mark.
Connect the two marks with a line, then use a circular saw to cut the angle.
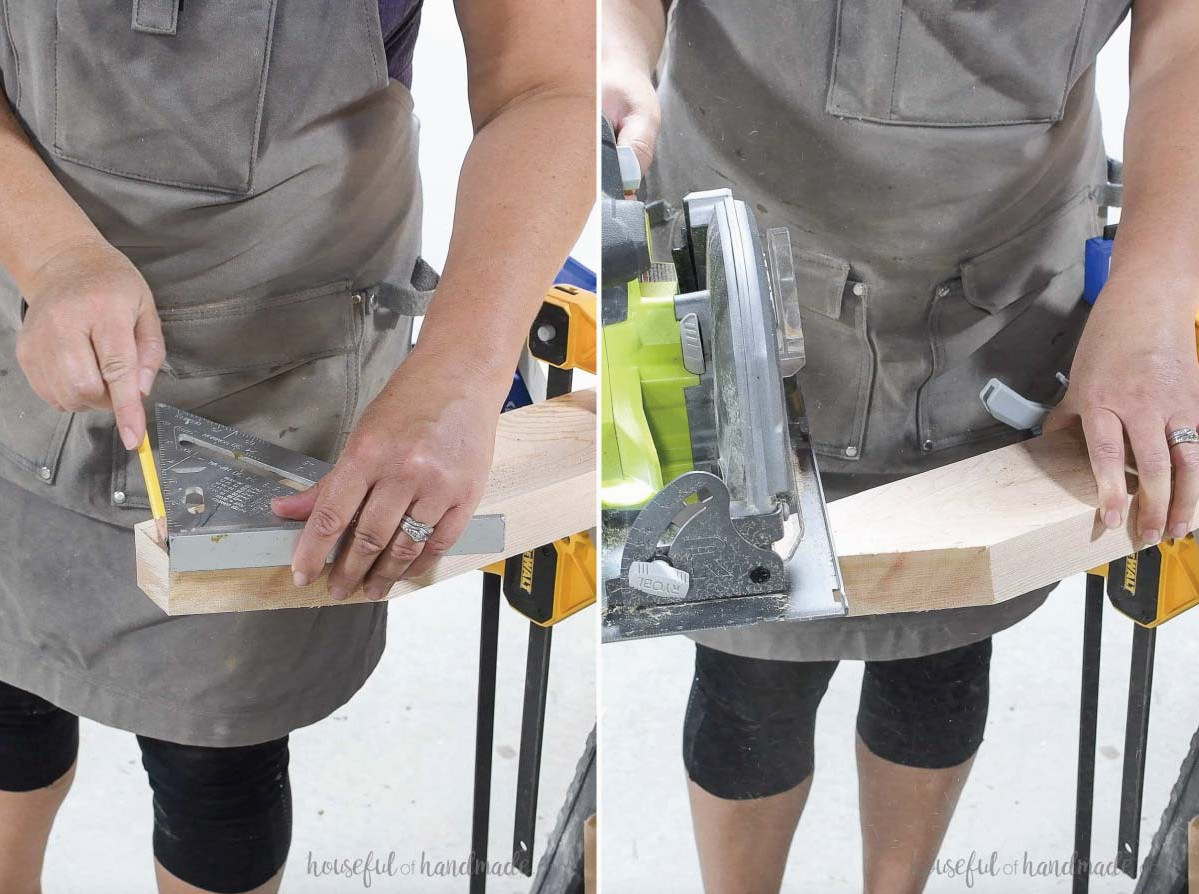
With a square, mark a 90 degree angle from the fresh cut. Cut along this mark to form the upper end of the back leg board.
Do the same for the other leg piece.
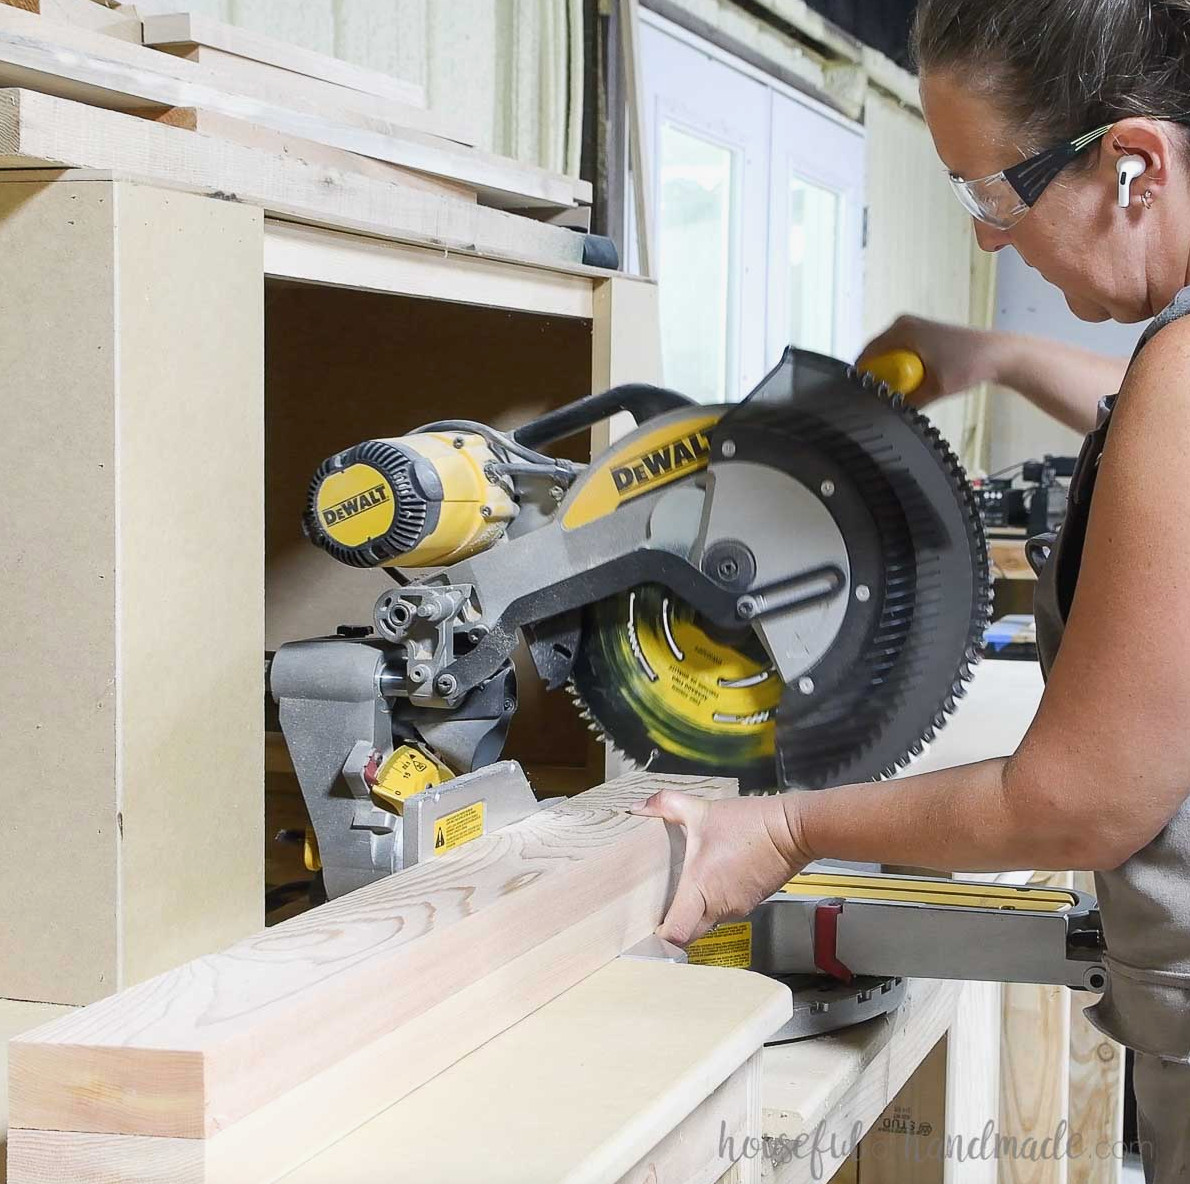
For the boards beneath the seat, cut one end at 10 degrees and the opposite end at 20 degrees. I completed this quickly with the miter saw
Follow the diagram in the PDF plans to make the angled cuts.
STEP 2- Assemble the XL chair frame
Position the back and front legs on a level work surface as shown in the 3D diagram from the premium plans. I used a 4′ level as a straight guide to align the bottoms correctly (simply clamp it to the workbench).
Set the under-seat board on top, placing the 10 degree angled end 1 1/4” behind the front of the front leg and flush with the upper edge and angled cut.
Align the back so its 20 degree angled edge is 3 7/8” above the inner side of the back leg board and positioned at a 10 degree angle. The angled back cut should sit flush against the rear of the back leg.
Fasten everything with 2 1/2” screws.
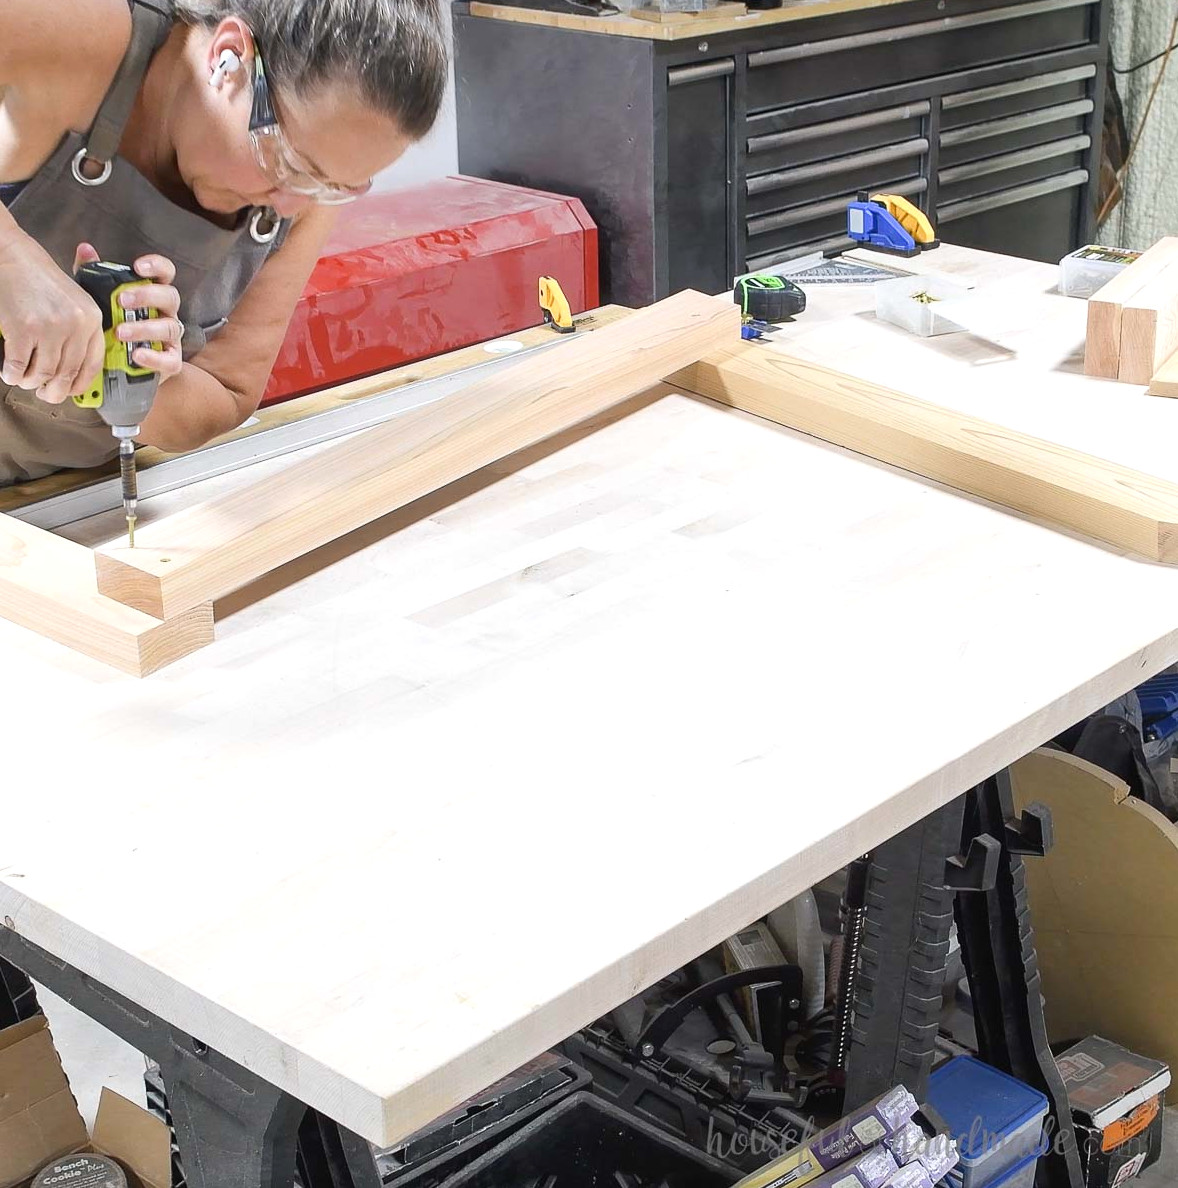
Repeat the process on the opposite side, ensuring that it is mirrored.
I fastened the under-seat board to the legs with (2) screws in the front leg and (3) screws in the back leg.
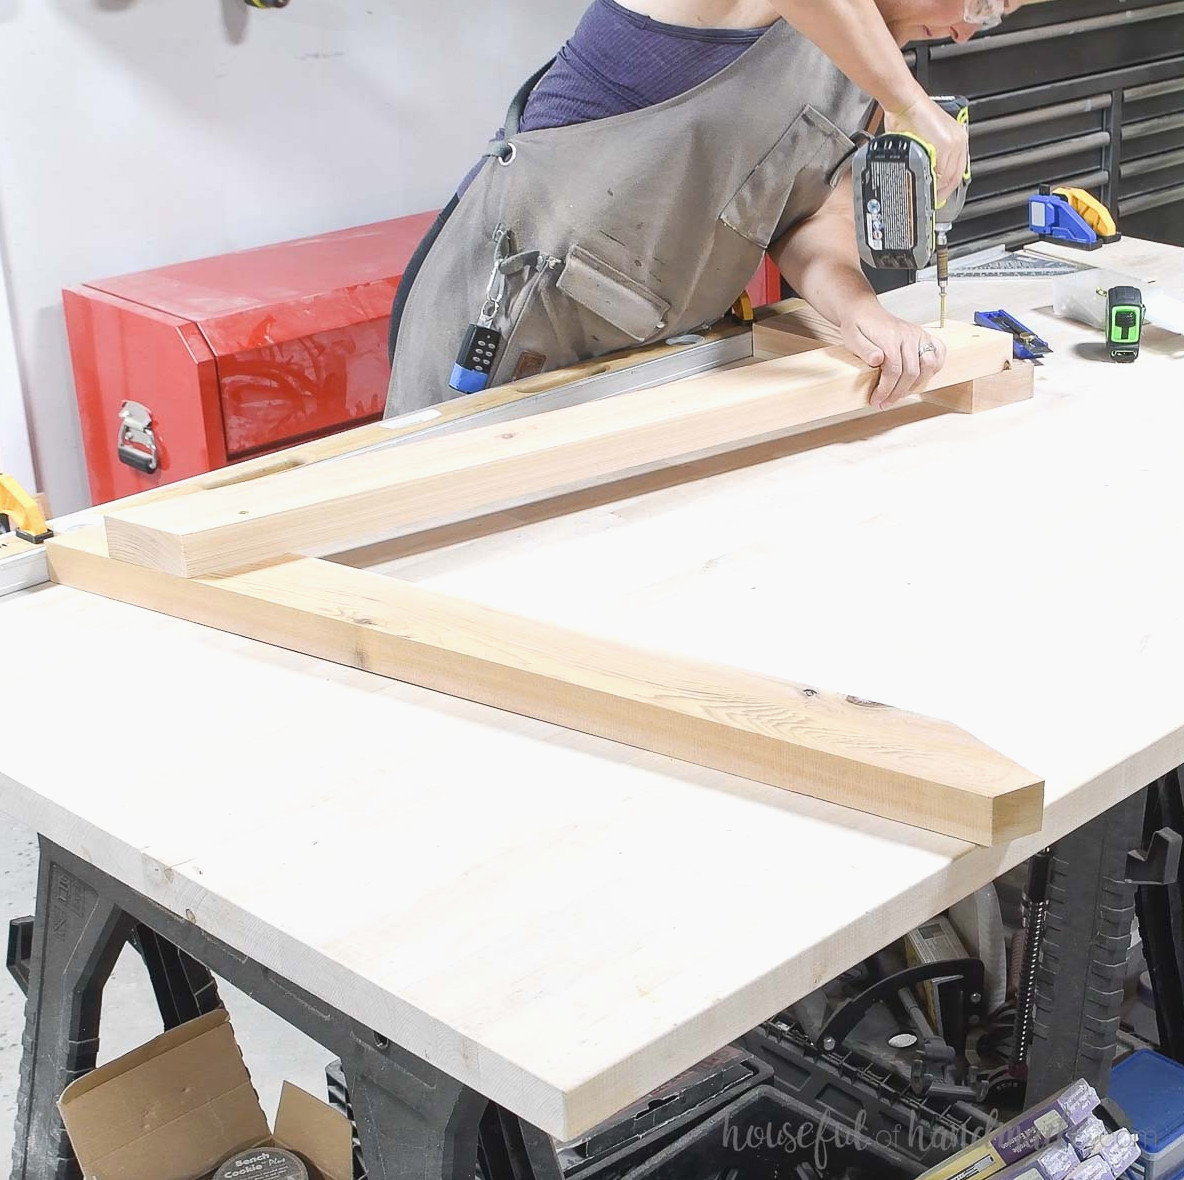
Join the two side assemblies with the front seat support. Attach it across the front ends of the under-seat boards.
The backcorner should align with the top of the seat supports, while the front edge will not due to the angle. Fasten it using 1 1/2” screws.
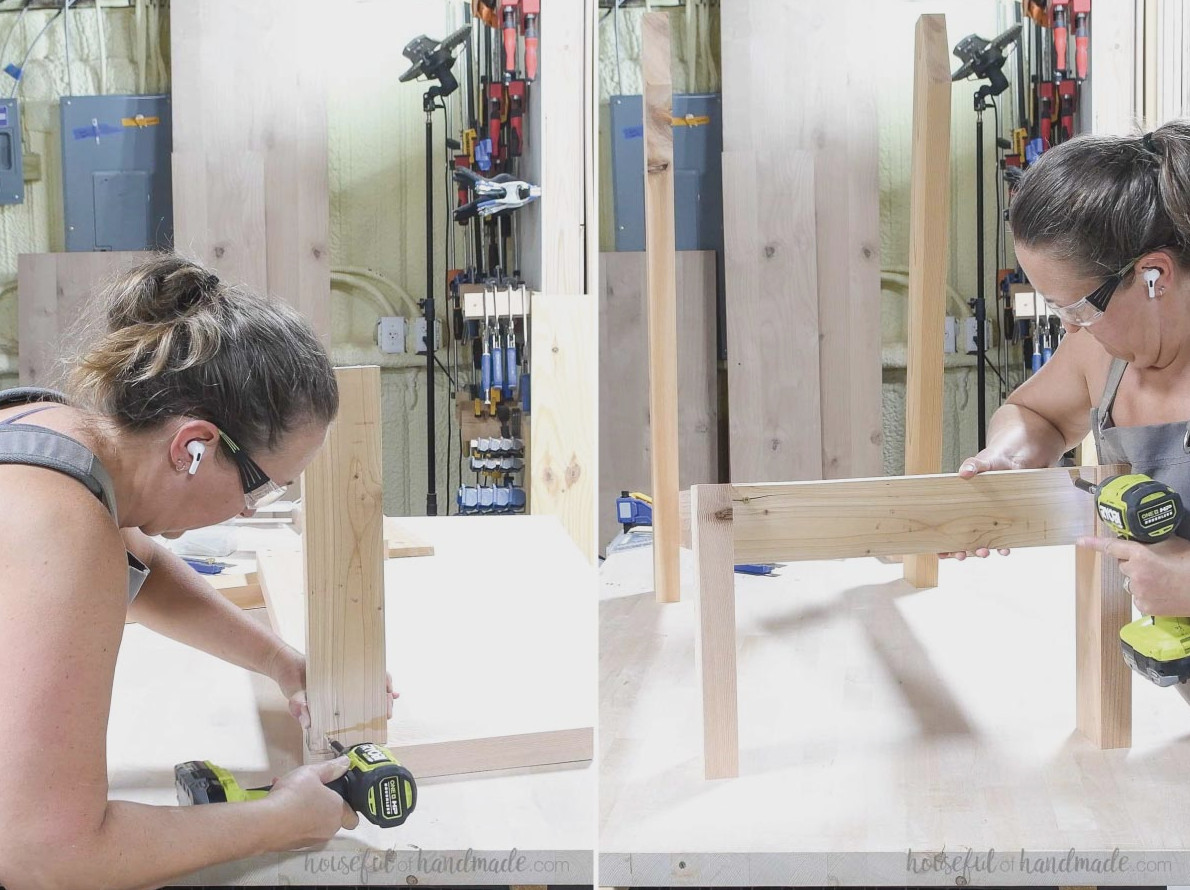
Next, install the 2×4 back support board between the two back legs at the very top. Its front angle and upper angle cut should align with the cuts made earlier using the circular saw.
Use 2 1/2” screws to secure it.
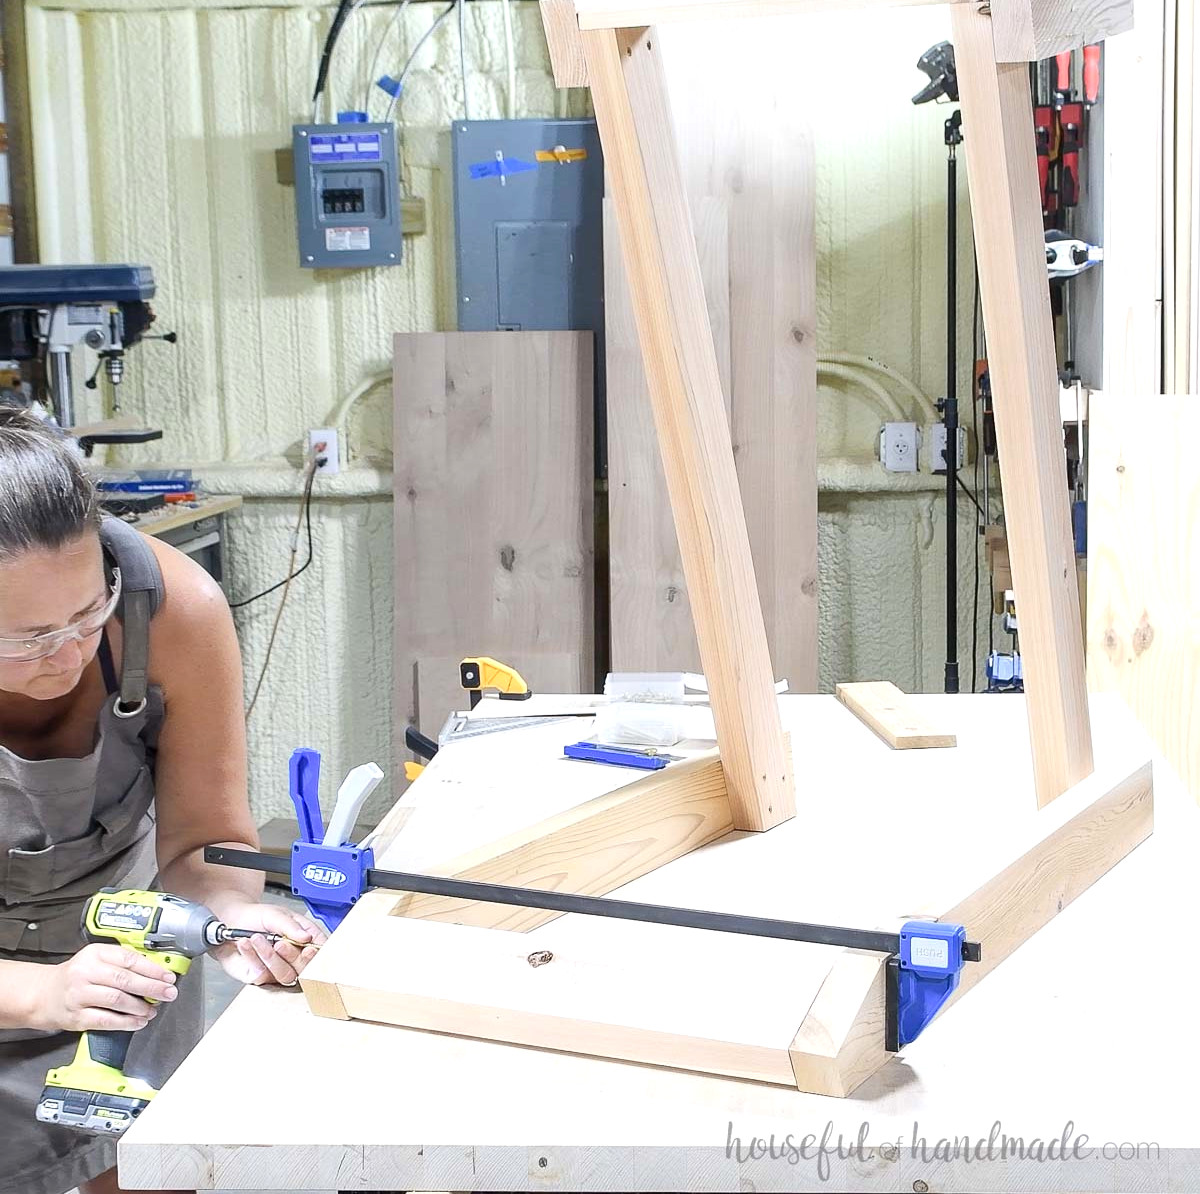
Using a circular saw, cut the inside edge of the back slat support at a 5 degree angle.
To guide the saw and keep the cut straight, I clamped a straight edge—using a scrap board—to the top of my piece beside the circular saw base.
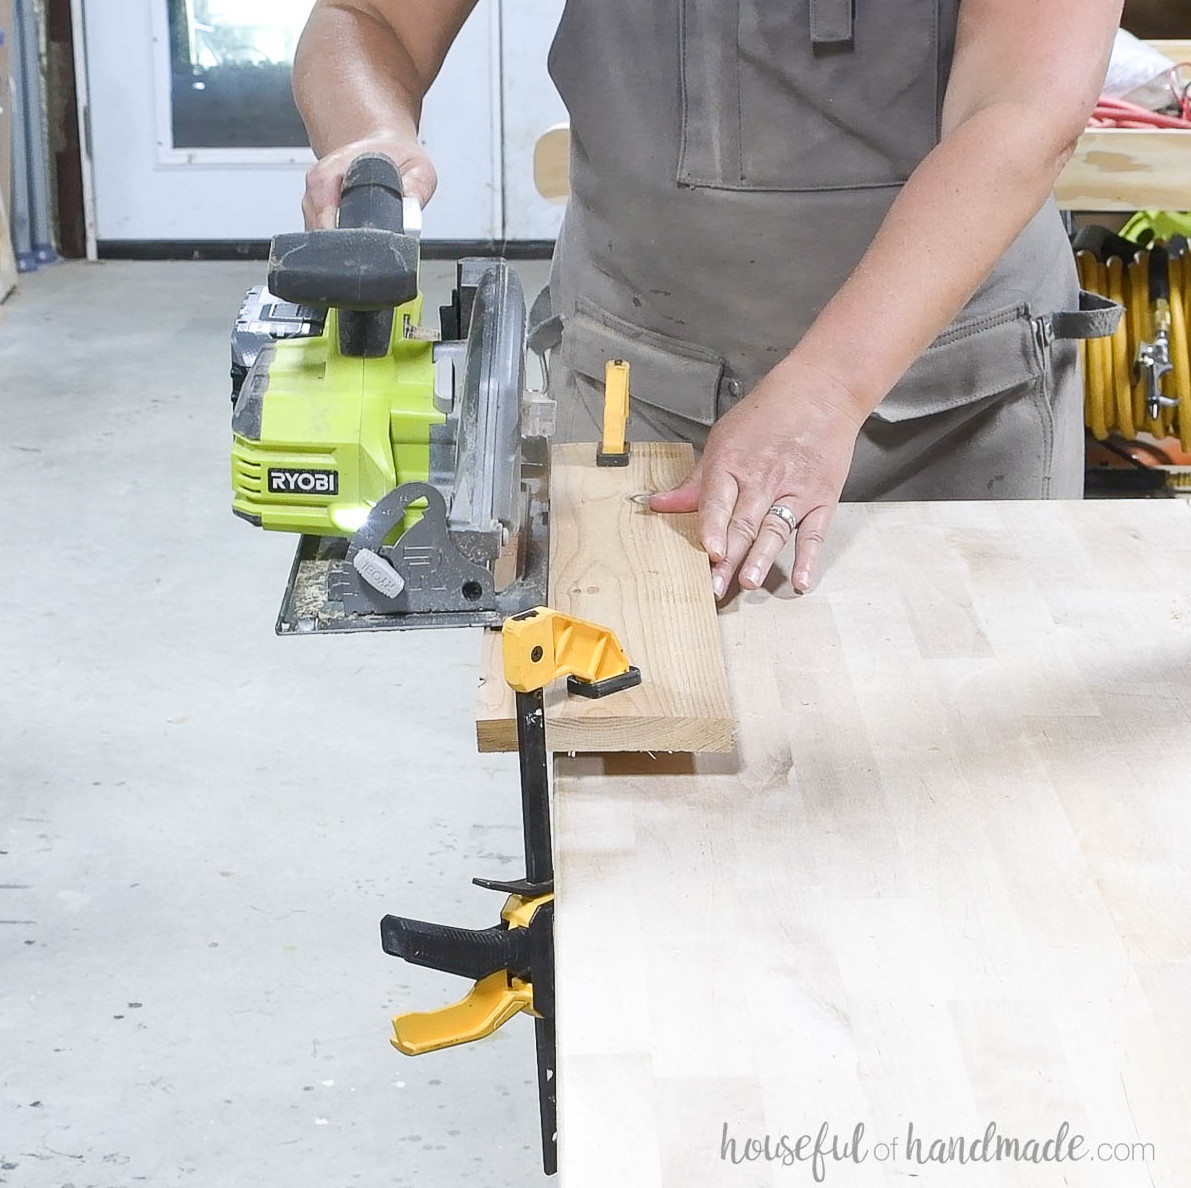
Set the front end of the board on the under seat support, positioning it 23 7/8” back from the front edge of the leg board.
Fasten it to the under seat boards with 1 1/2” screws.
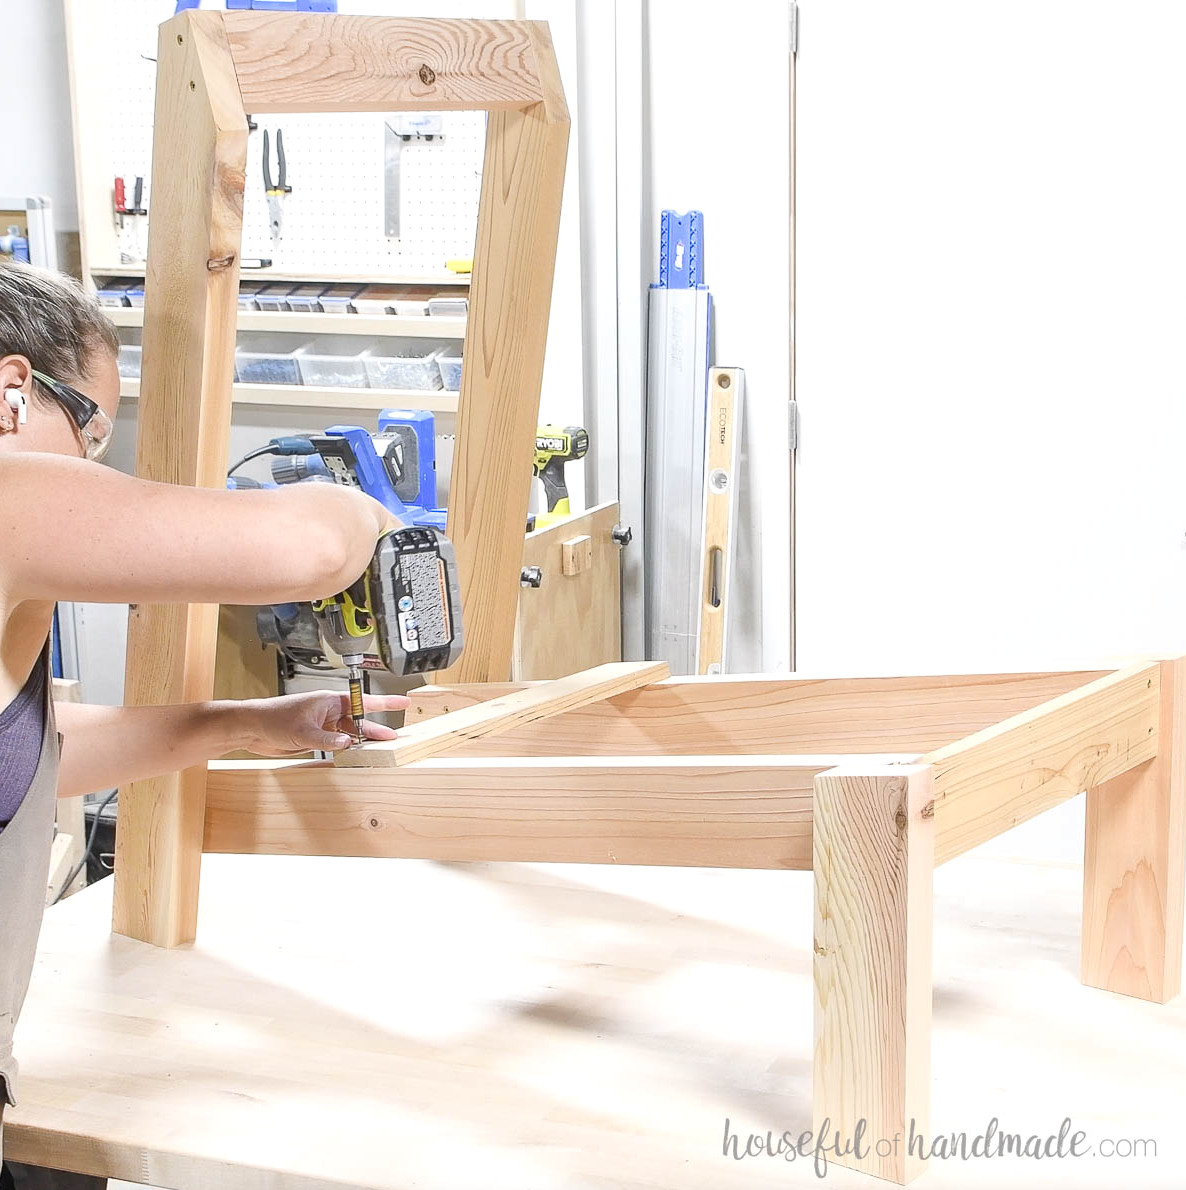
STEP 3- Attach seat slats
Position the back slats flush with the bottom of the back slat support, leaving a 5/8” space between each board.
The outside slats should align with the back legs’ edges and extend 1 1/2” beyond the back slat support.
Attach them with 1 1/2” screws: use (2) at the bottom through the back slat support and (2) near the top through the back support.
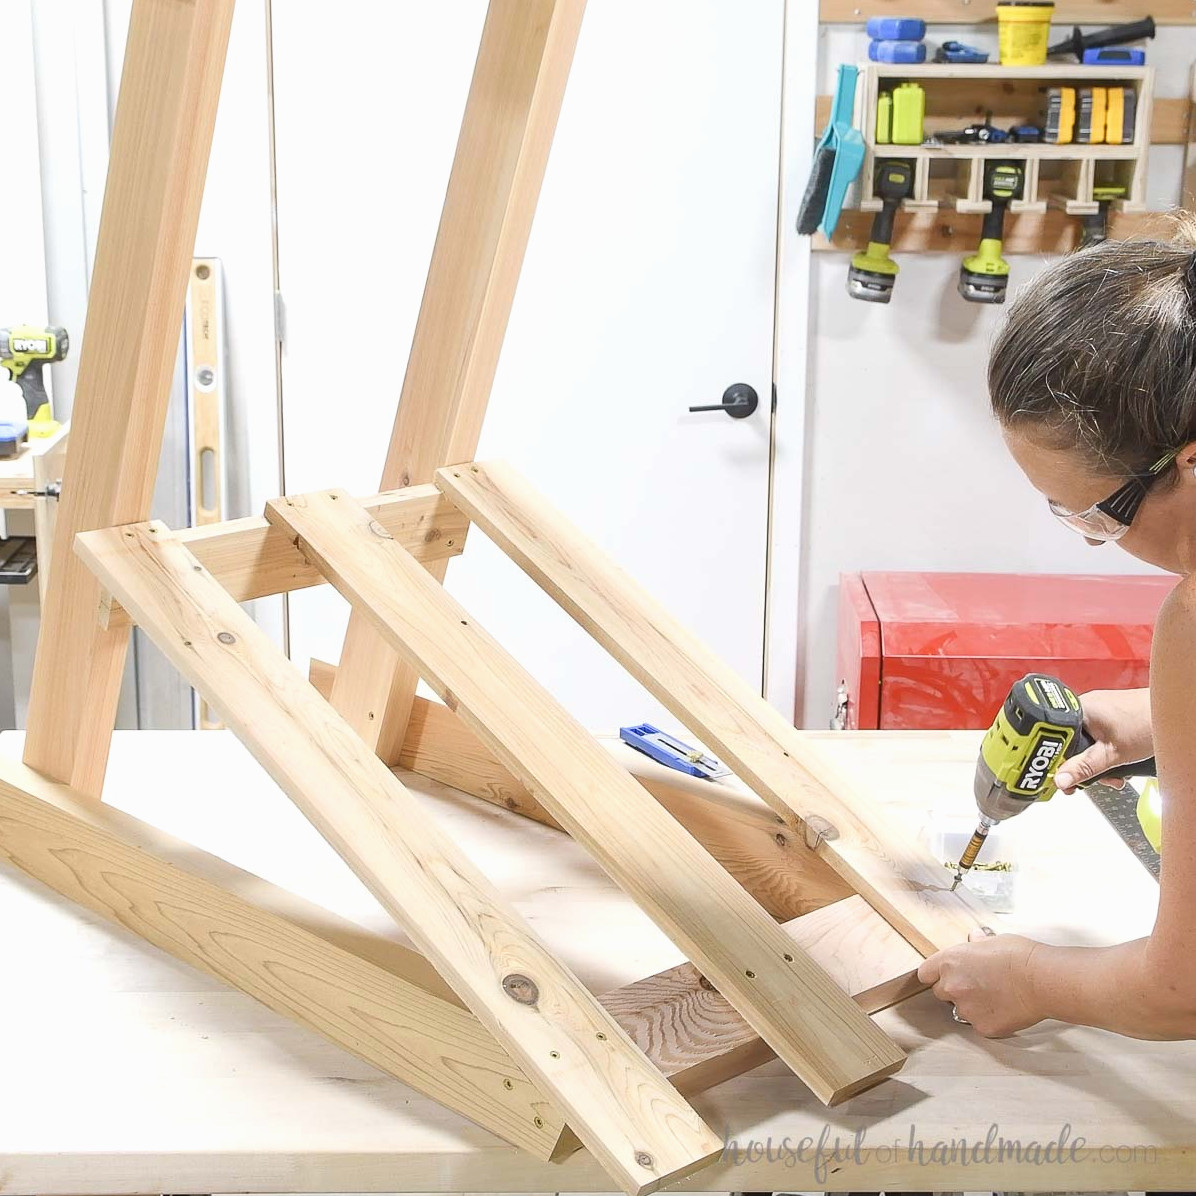
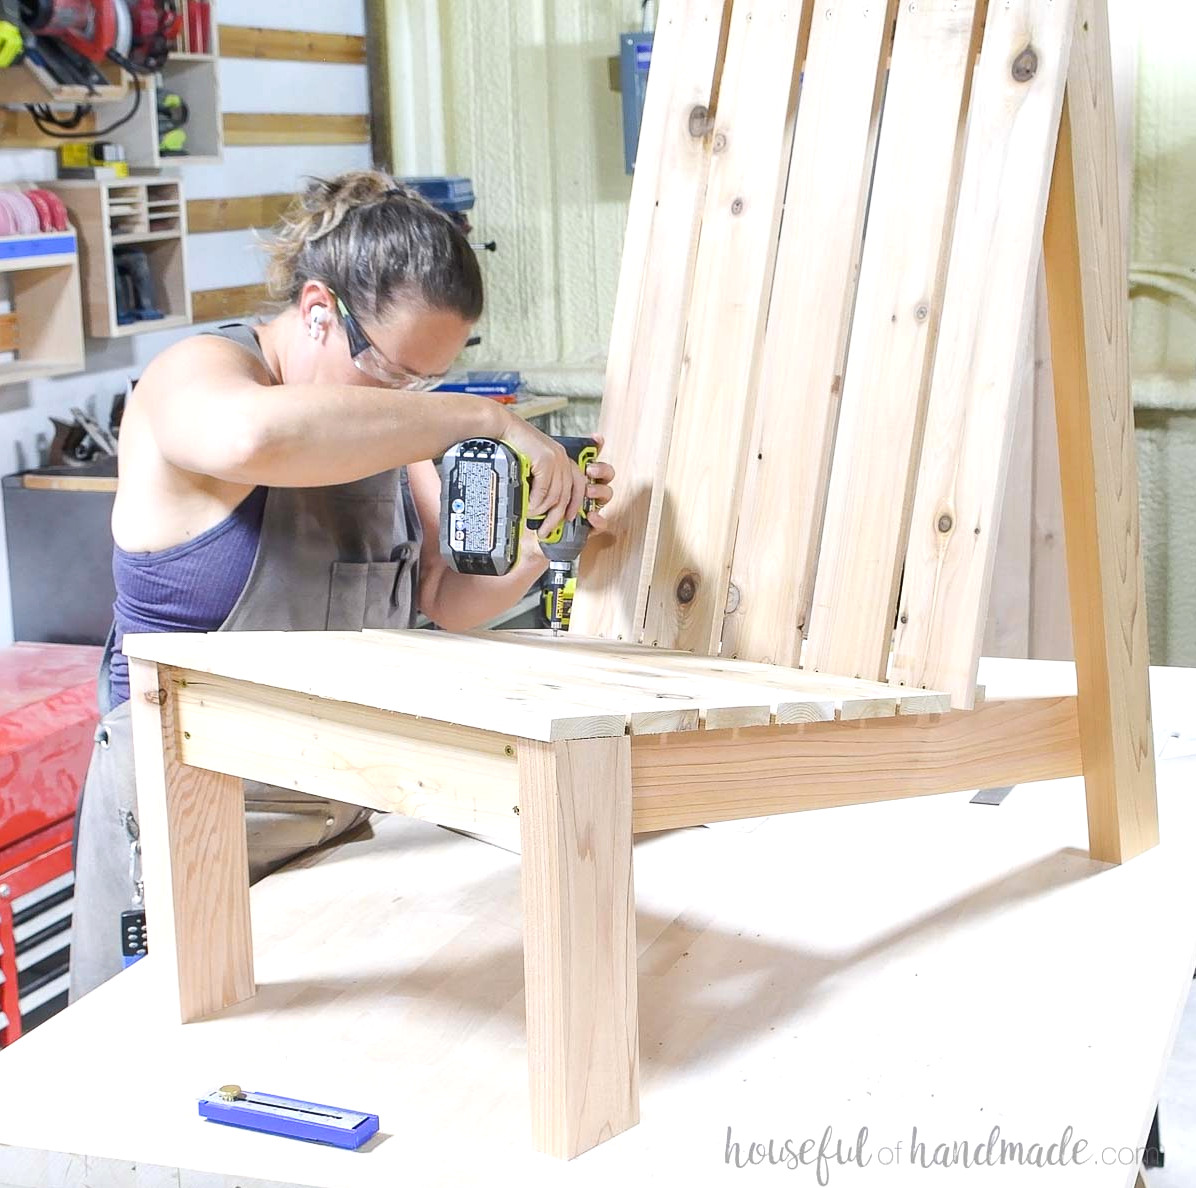
To give the chair a polished appearance rather than a DIY look, I used a square to keep all the screws aligned in a straight row across the back of the seat.
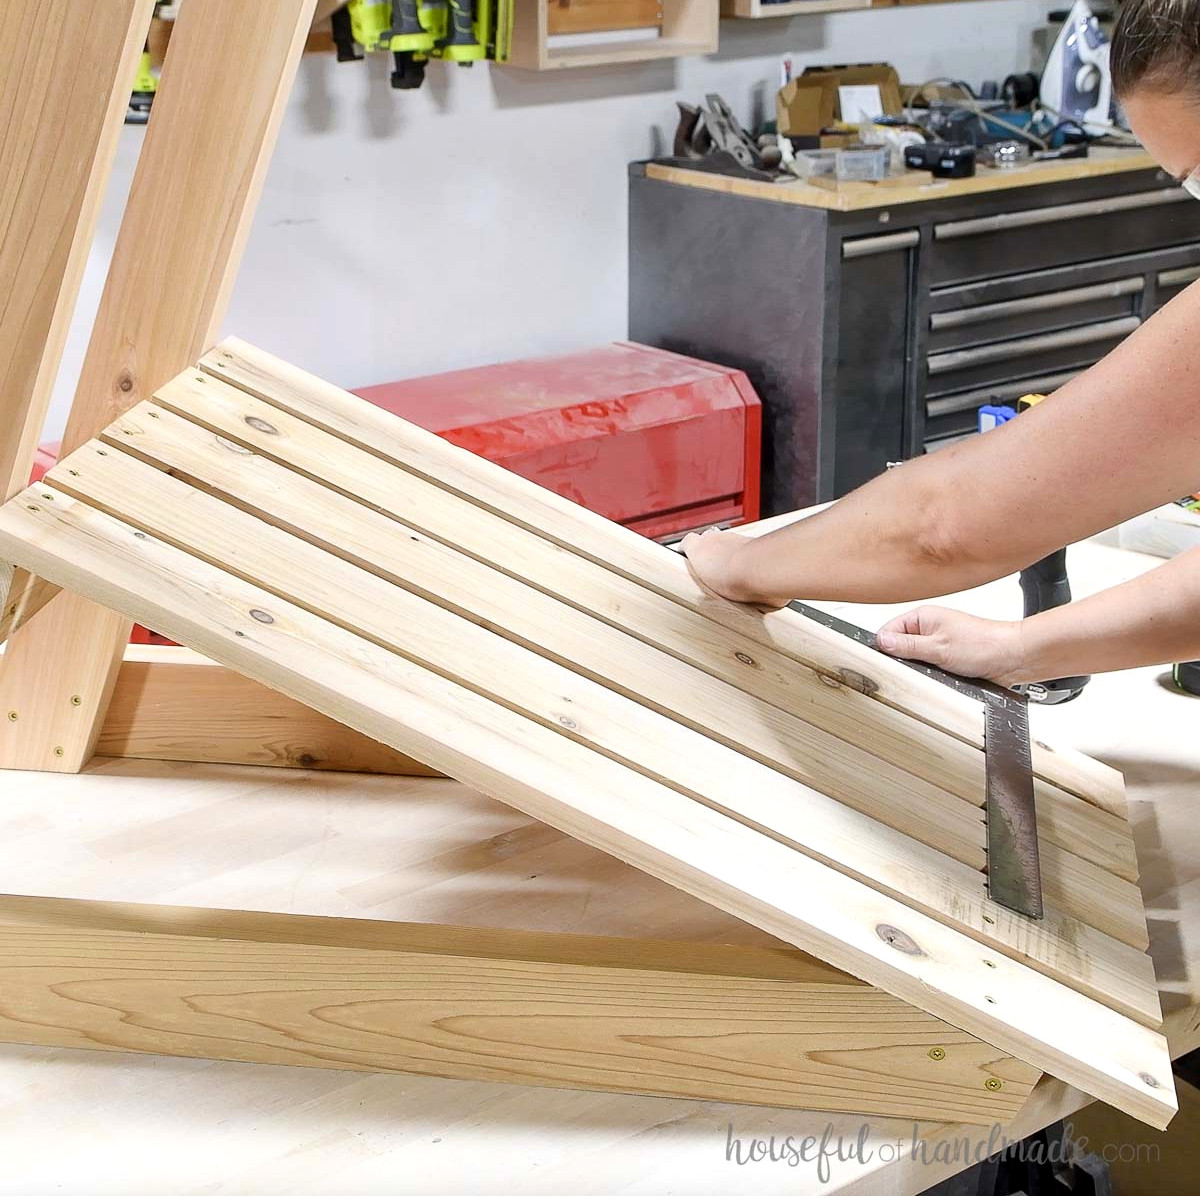
After fastening all the back slats, install the seat slats.
Begin with the front seat slat. Align it with the sides of the front legs so that it extends 1/4” beyond the front of the leg.
Fasten it to the under seat support board with 1 1/2″ screws.
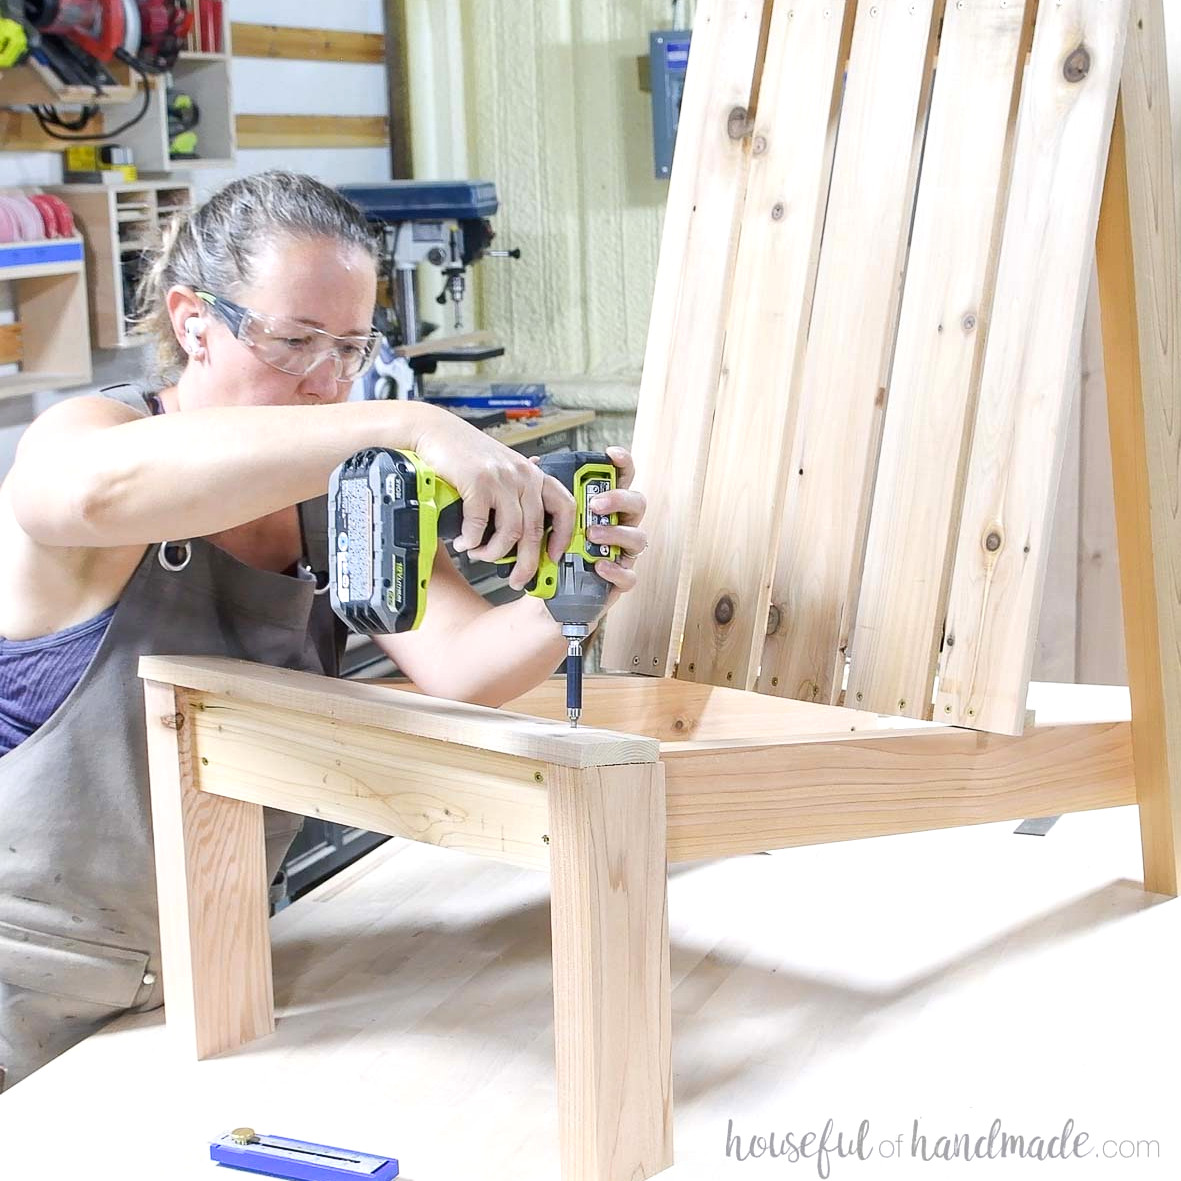
Position the remaining 5 seat slats so they extend 1 1/2” past the under seat support board on both sides, leaving a 3/8” gap between each board.
Secure each one with 1 1/2” screws. Drive (4) screws through every board, with (2) on each side, into the under seat support pieces.
STEP 5- Finish
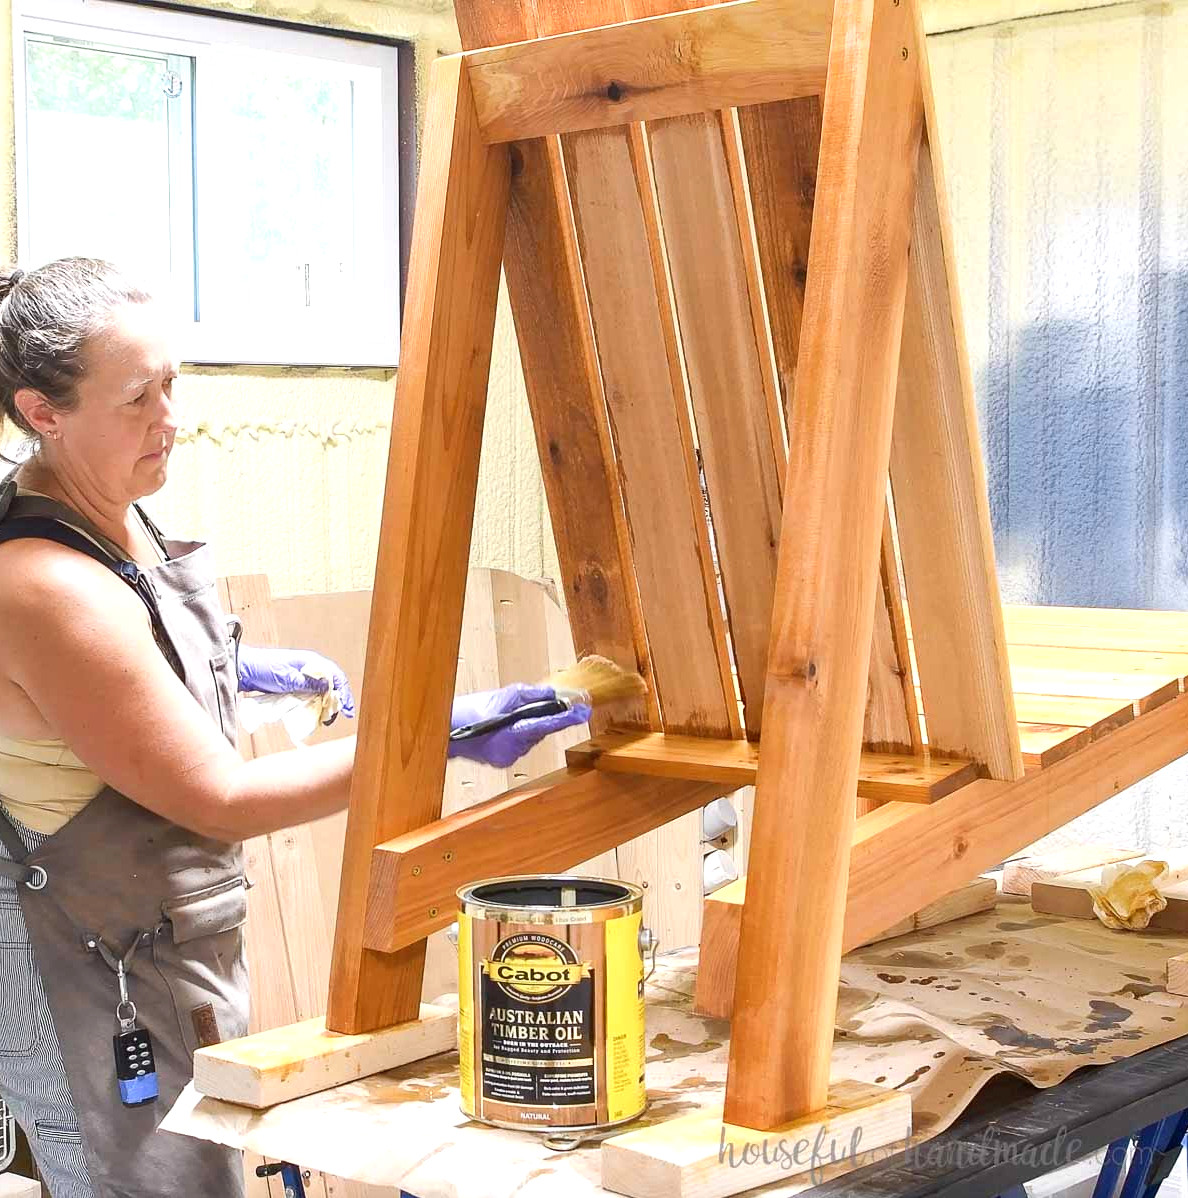
Once the large chair is complete, sand it and apply a sealant for outdoor protection.
I used the same cedar wood and finished it with Cabot Australian Timber Oil in Natural so it would coordinate with the regular-sized Adirondack chairs.
You’re finished!
Don’t Forget to Grab the Printable PDF Plans Here!
Premium plans include:
- Suggested Tools
- Materials list
- Simple cut list table
- Cutting diagrams
- Detailed instructions with 3D renderings
- Useful resources
- BONUS: 3D SketchUp file
If desired, add a 20” x 24” seat cushion, though these chairs are comfortable without one!

Enjoy building!