Create stunning Adirondack chairs with sleek lines for relaxing summer afternoons.
Few things compare to relaxing outdoors on a warm summer afternoon! And these gorgeous contemporary Adirondack chairs make outdoor lounging even more enjoyable.
With their straightforward design, these chairs provide plenty of comfort without needing a cushion. They will encourage you to raise your feet and settle in for a while.
Even better, you can construct these chairs quickly and easily with only 3 basic tools. They can be finished in an afternoon, giving you the ideal outdoor seat in no time.
And if you are especially tall, I also offer plans for an XL Adirondack chair created to provide greater comfort for anyone over 6′ tall.
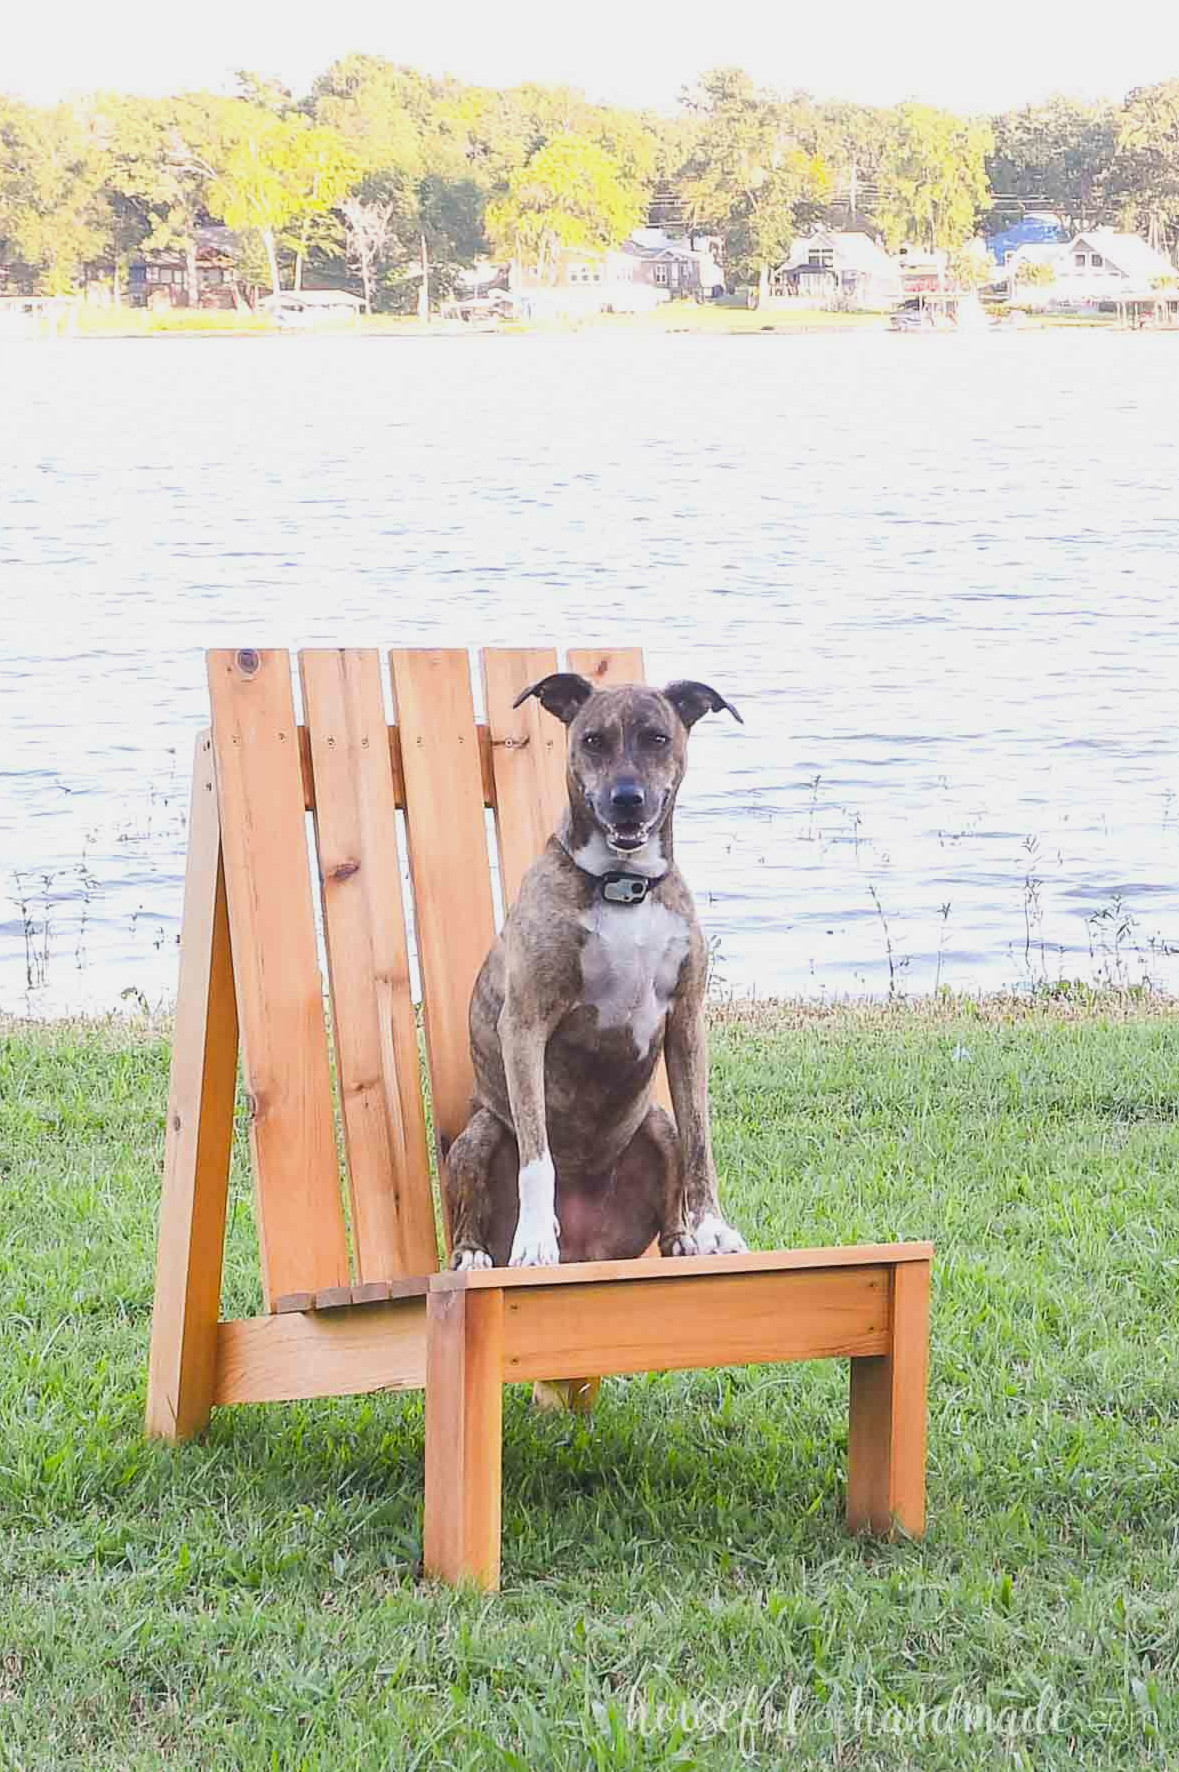
Cedar Outdoor Chair
Your modern Adirondack chair can be made from whichever lumber you like. I decided to use cedar for several reasons.
1- Cedar works wonderfully for outdoor furnishings because its natural oils help prevent rot, moisture damage and insects.
2- Cedar is sturdy and less likely to twist, deform or droop. As a result, your Adirondack chairs can maintain their neat, contemporary appearance for years.
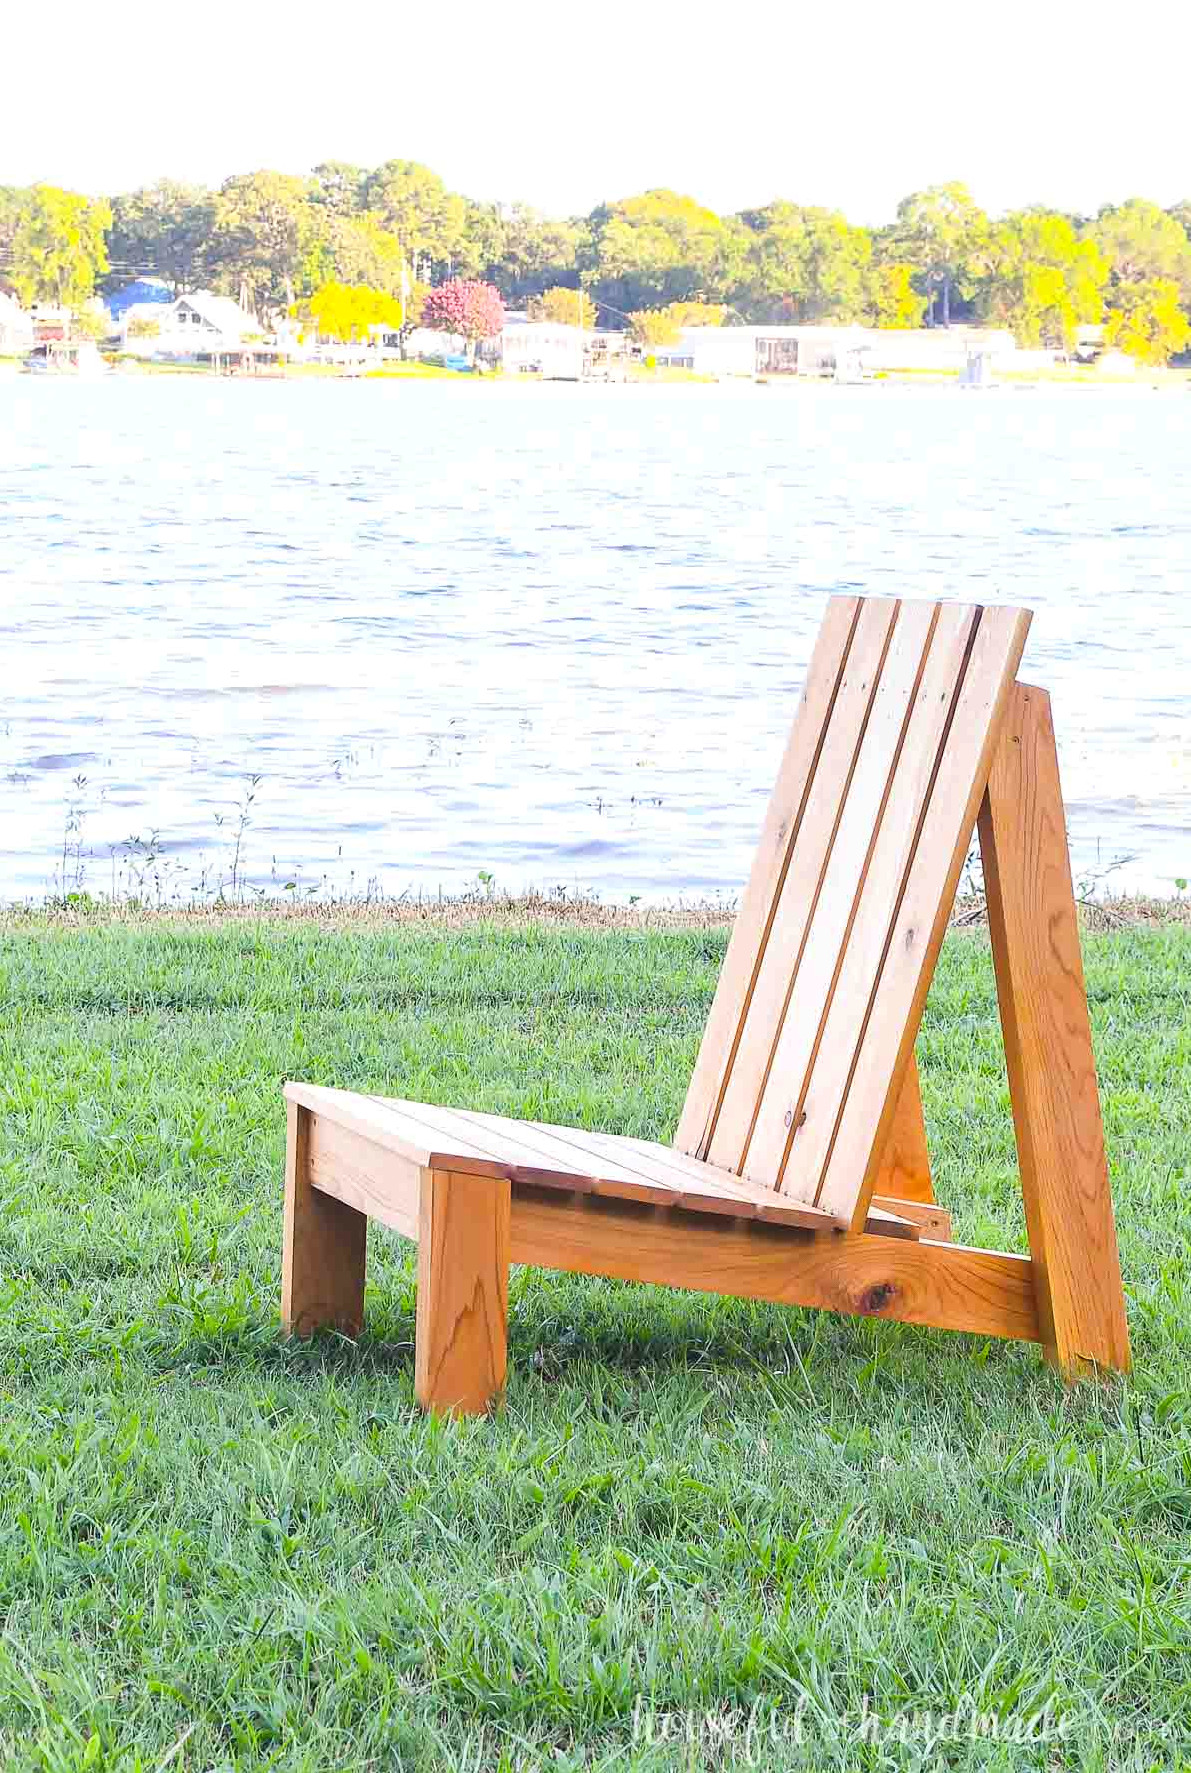
3- Cedar develops a lovely aged appearance and forms an attractive patina if you neglect to renew the outdoor sealer. If you are not fond of the soft gray patina, simply apply another coat of stain to restore its original warmth.
4- Cedar is easy to carry. That makes it ideal for these Adirondack chairs, since I want to move them around the yard wherever we plan to relax that day!
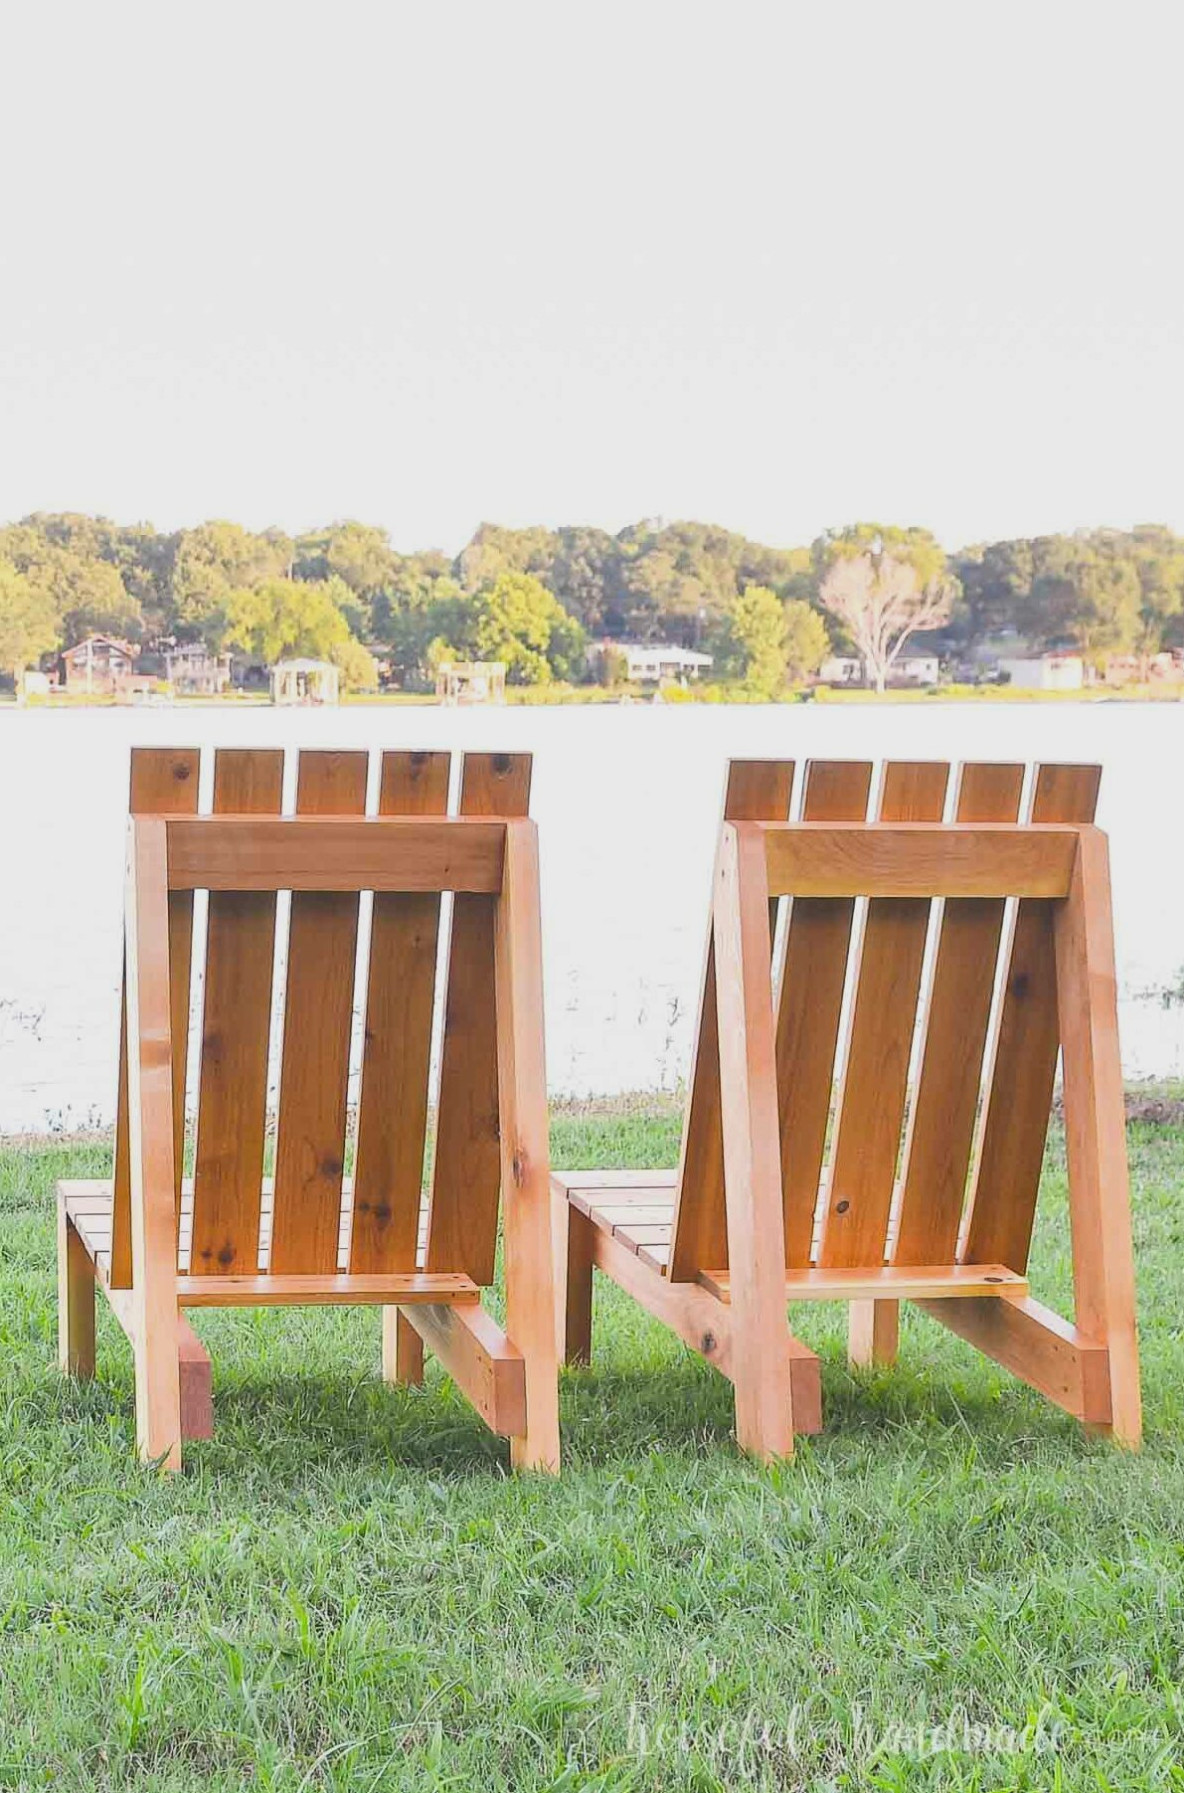
Additional Outdoor Seating Ideas
Make your backyard feel like a getaway with impressive DIY seating. Explore these choices to complement your Adirondack chairs.
How to Construct a Cedar Adirondack Chair
Tools & Supplies
Overall Measurements
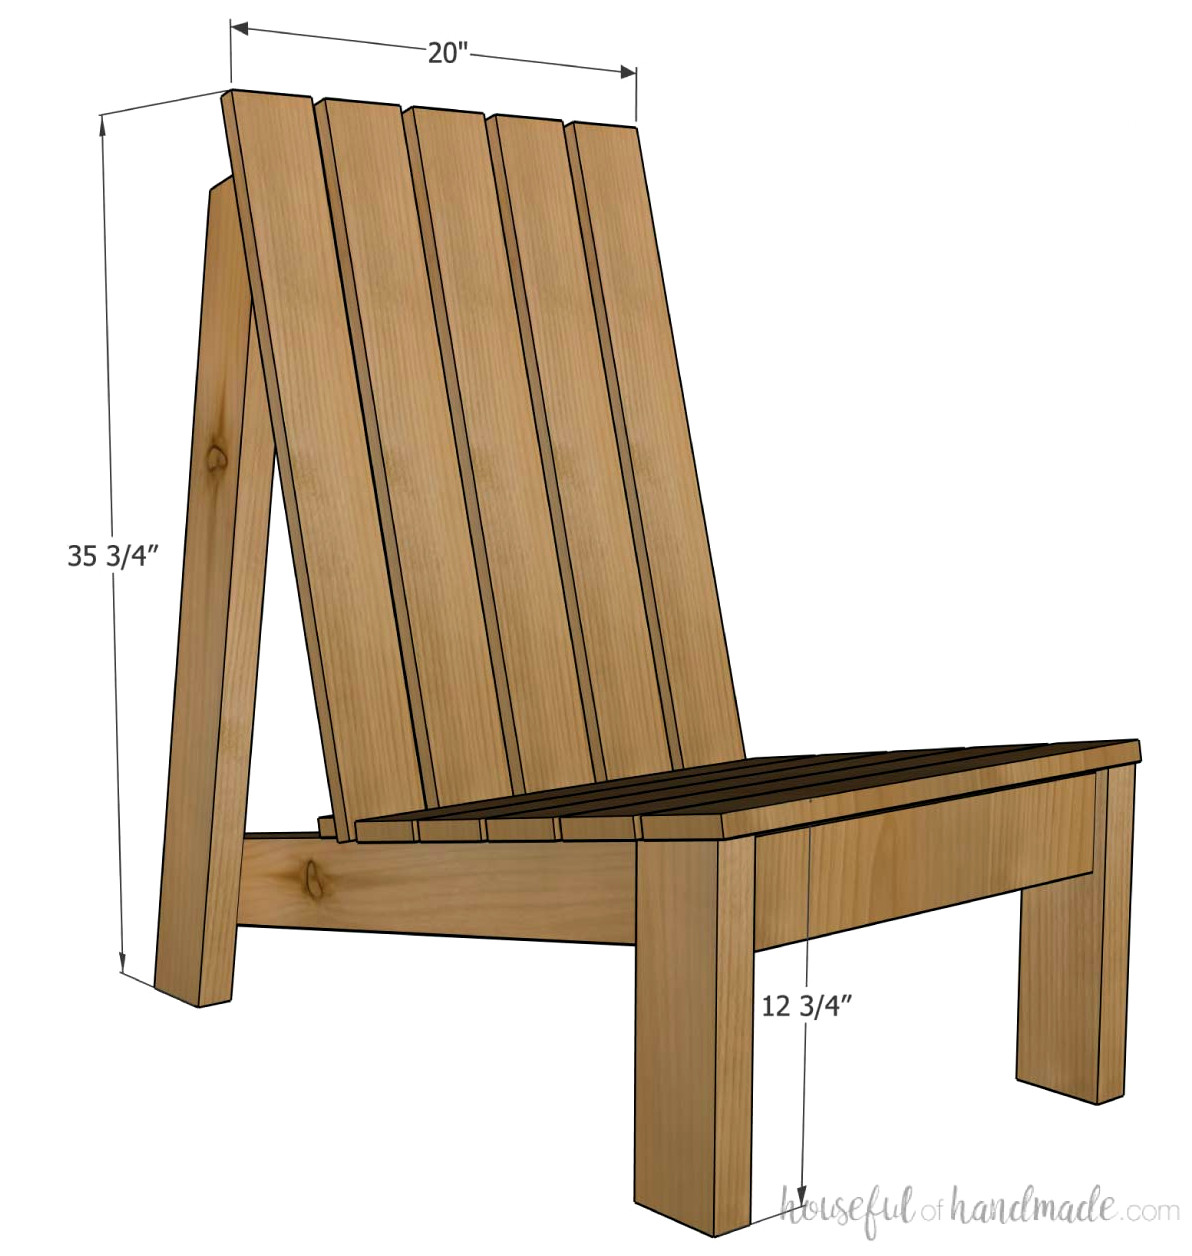
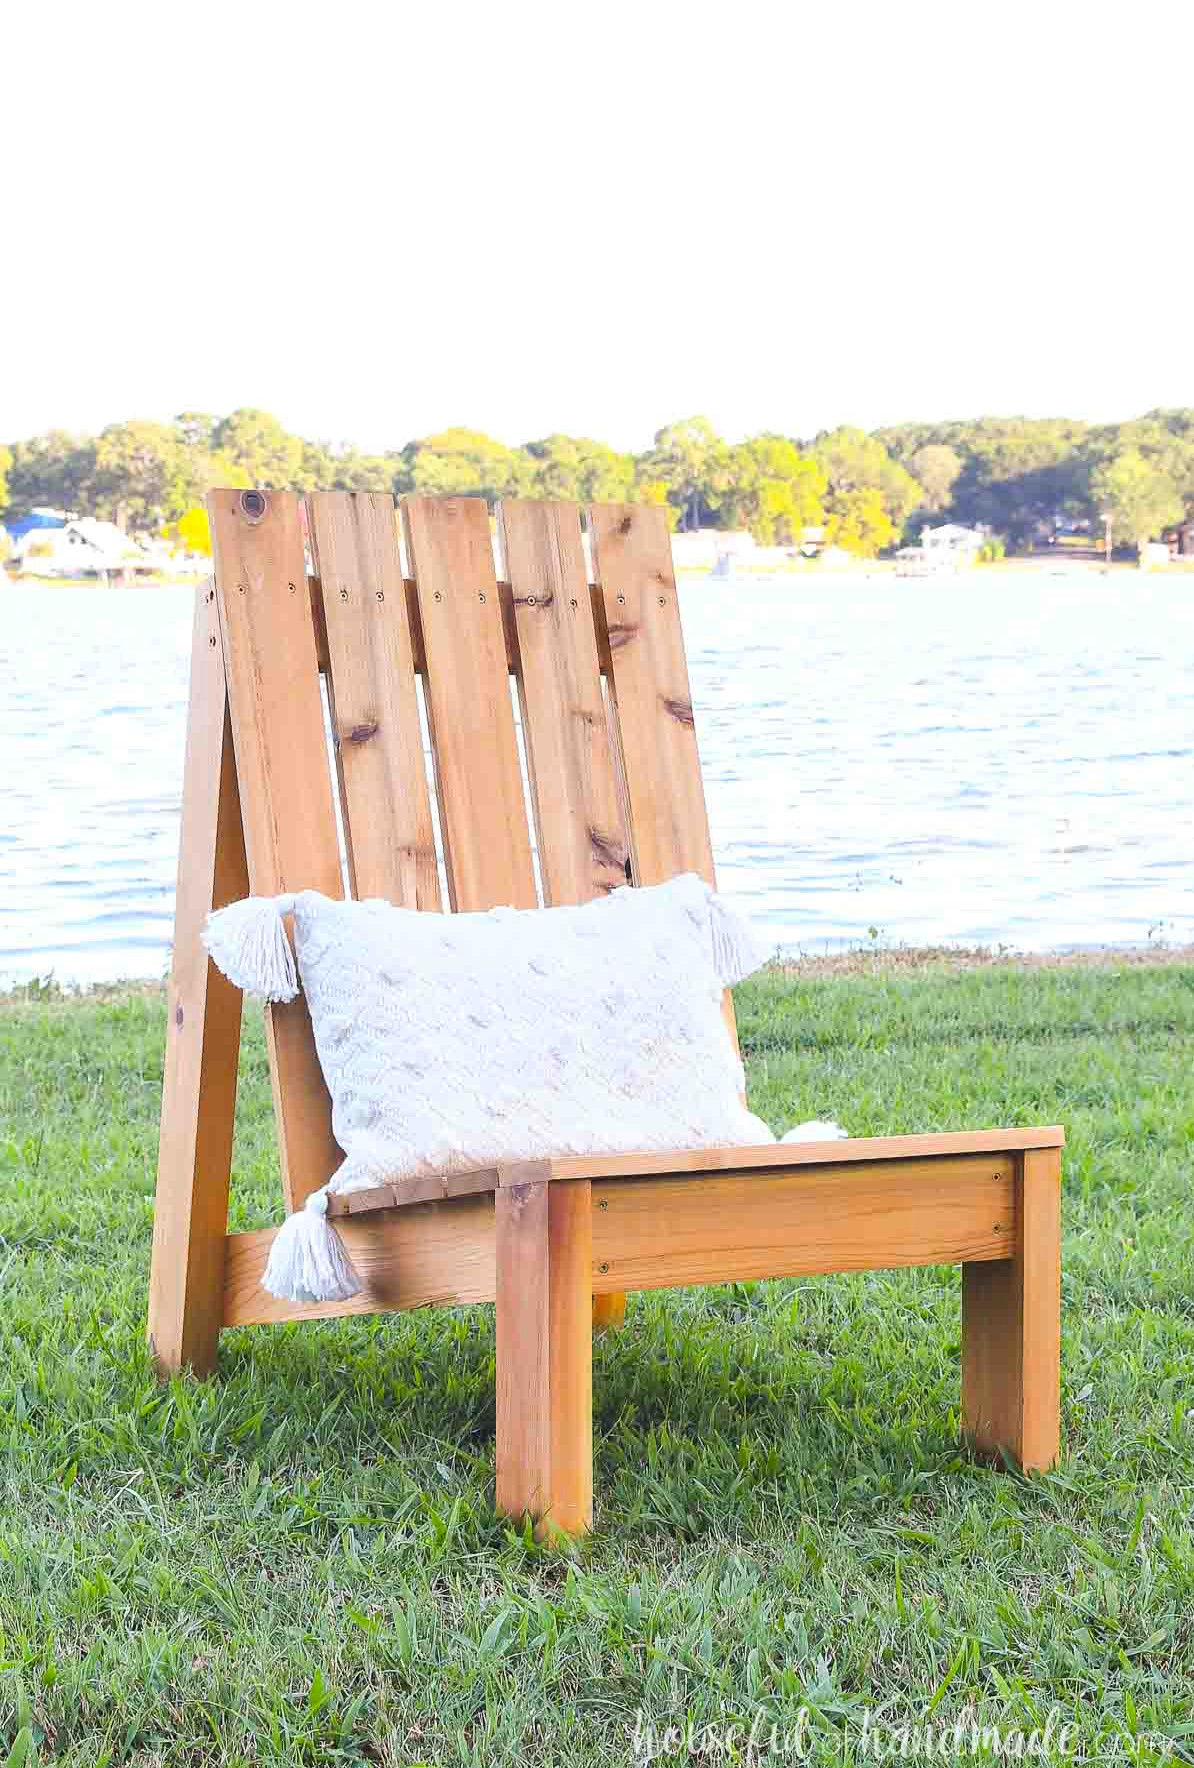
Once completed, the outdoor Adirondack chair measures roughly 35 3/4″ high and 33 1/2″ deep.
The seat front sits 12 3/4″ above the ground. The seat platform is designed to accommodate a standard 20″ x 20″ seat cushion.
Cutting List
Trim the components based on the straightforward chart included in the PDF plans.
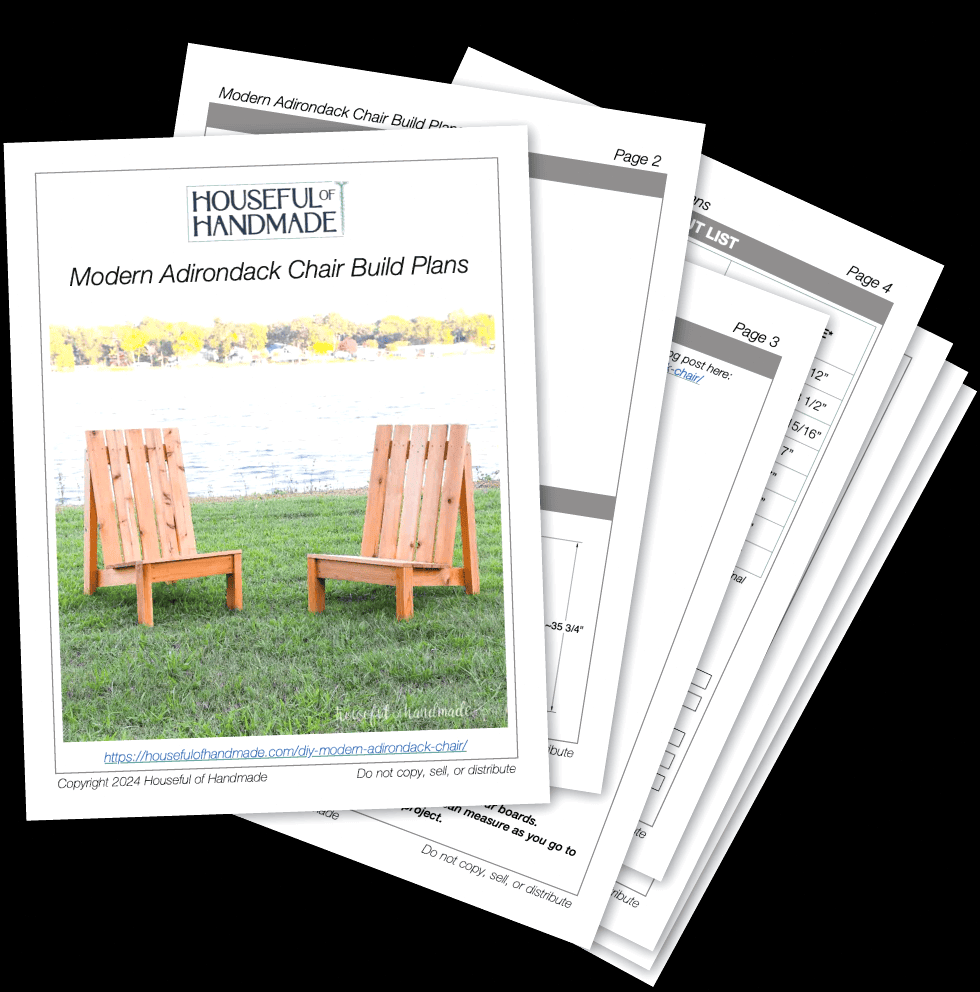
Download the Premium PDF Woodworking Plans
PDF plans contain- Simple Cut List, Materials List, Suggested Tools, Detailed Step-by-Step Directions with 3D illustrations, & Useful Resources
BONUS- 3D SketchUp Model
STEP 1- Trim the angled boards
Cut one end of each back leg board at a 10 degree angle.
At the uncut end of the board, measure 1 15/16” inward from the corner opposite the longer angled edge and mark the spot. Next, measure 4 1/8” downward from that same corner and add another mark.
Connect the two marks with a line, then use a circular saw to cut the angle.
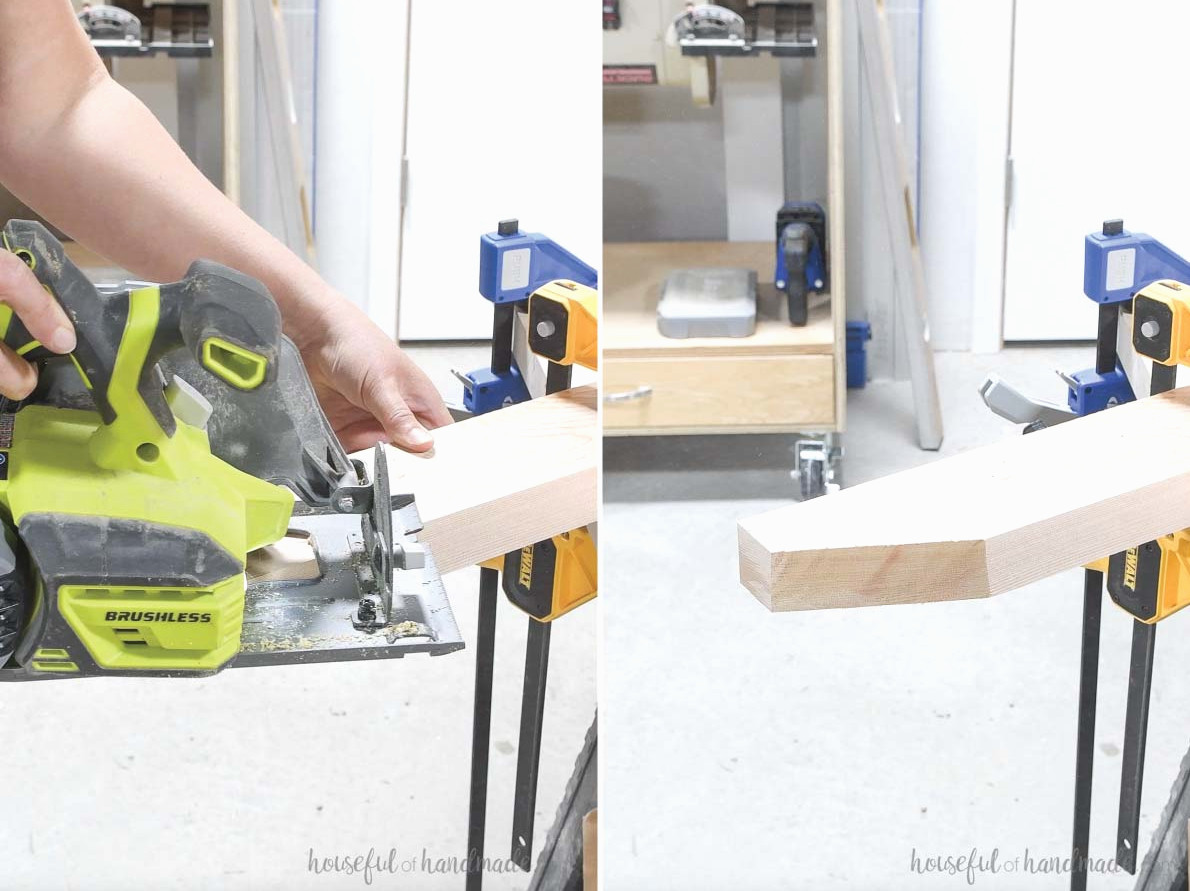
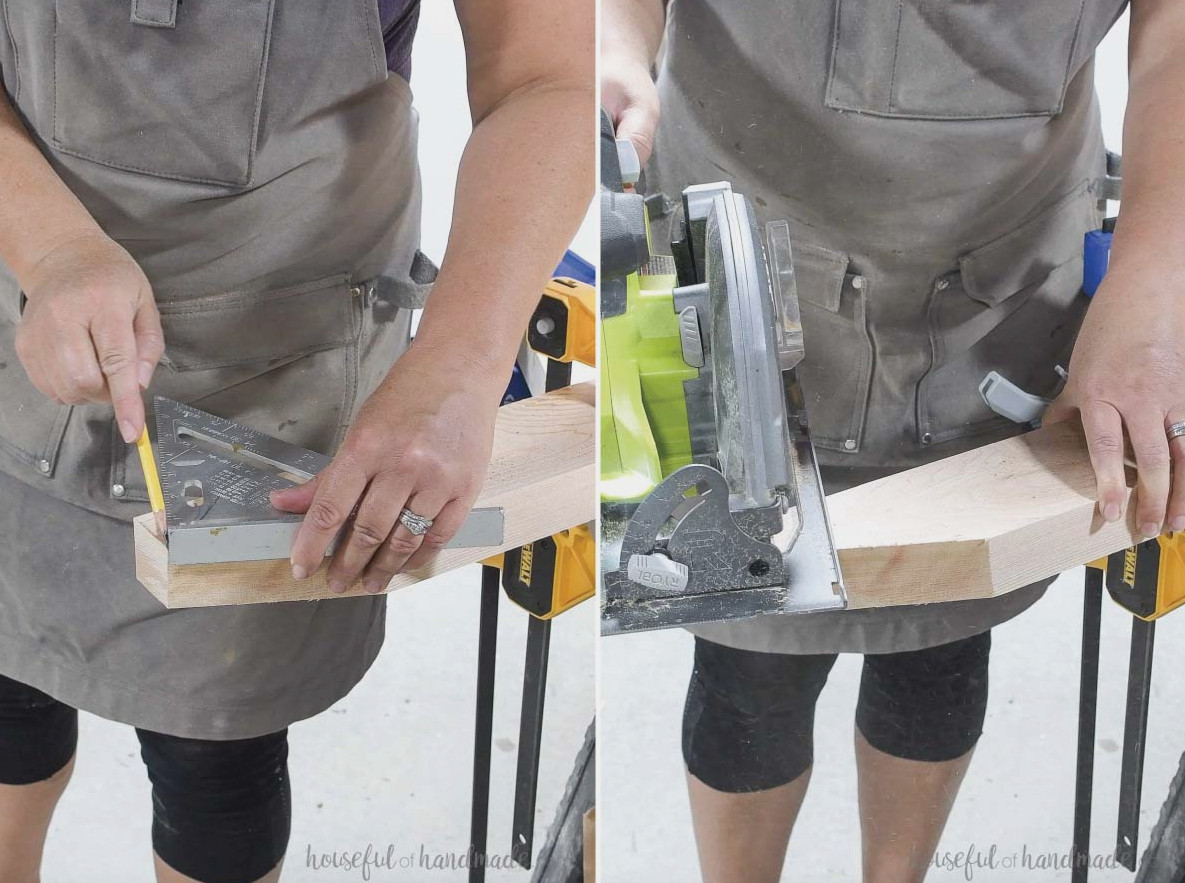
With a square, mark a 90 degree angle starting from the freshly cut edge. Cut along the mark to form the top of the back leg board.
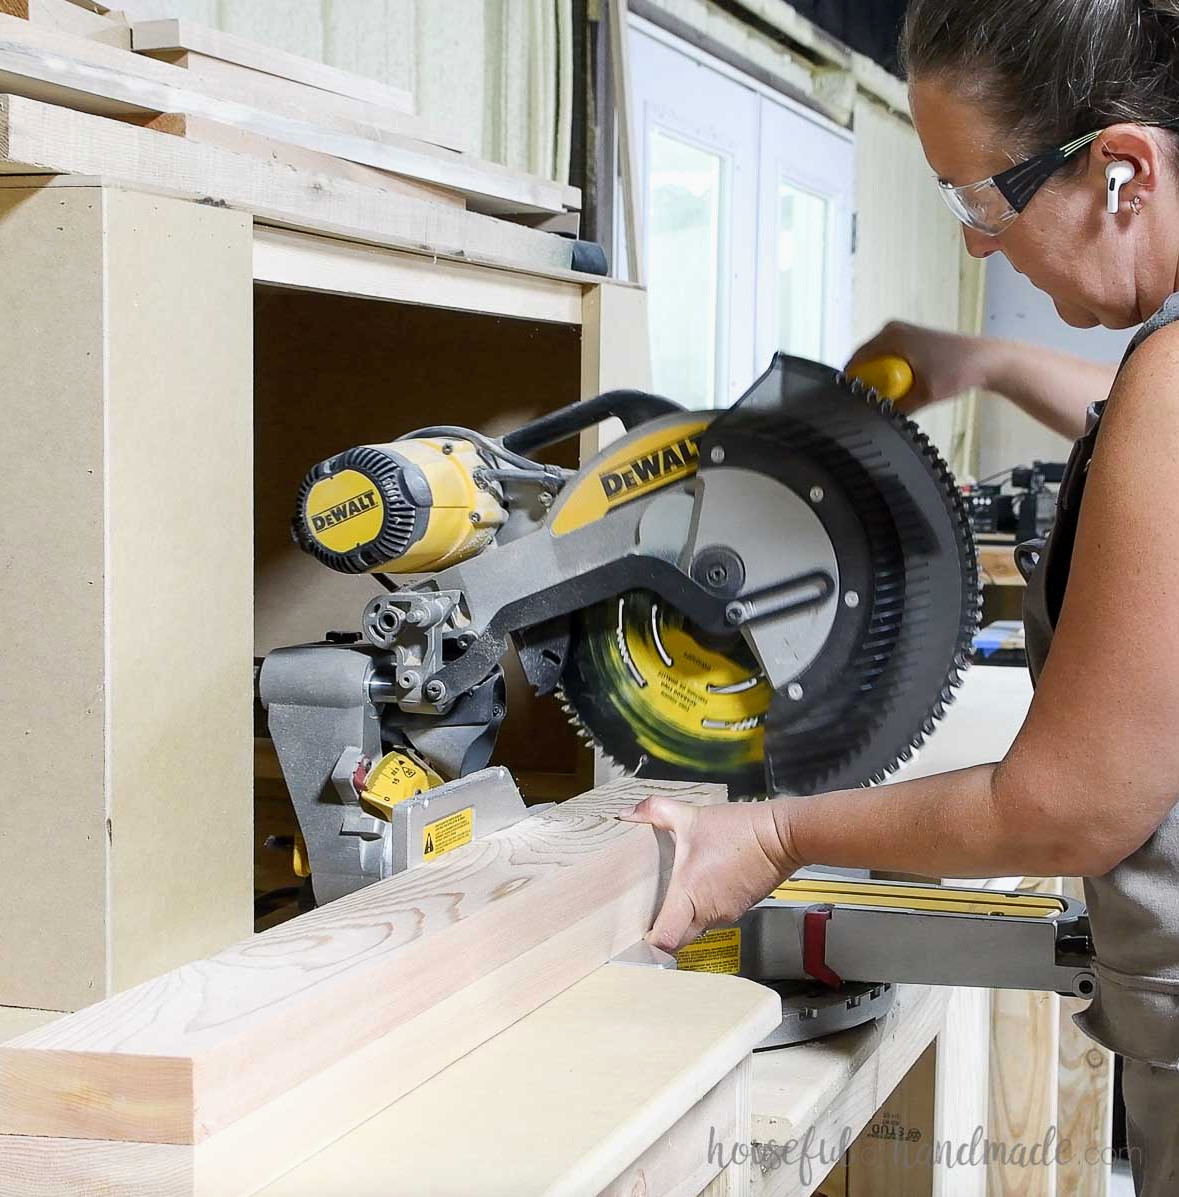
For the under-seat board, make a 10 degree cut on one end with the miter saw, then cut the opposite end at 20 degrees.
Cut the remaining angles as shown in the diagram provided with the premium plans.
STEP 2- Assemble the chair frame
Position the back and front legs on a level surface using the 3D drawing in the PDF plans as a guide. Use a straight edge to align the bottoms correctly (I used a 4’ level secured to my worktable).
Set the under-seat board on top, positioning it 1 1/4” behind the front edge of the front leg and even with the top angled end.
Adjust the back so it sits 3 5/16” above the inside of the back leg board and forms a 10 degree angle. The angled back edge should align flush with the rear of the back leg.
Fasten the pieces using 2 1/2” screws.
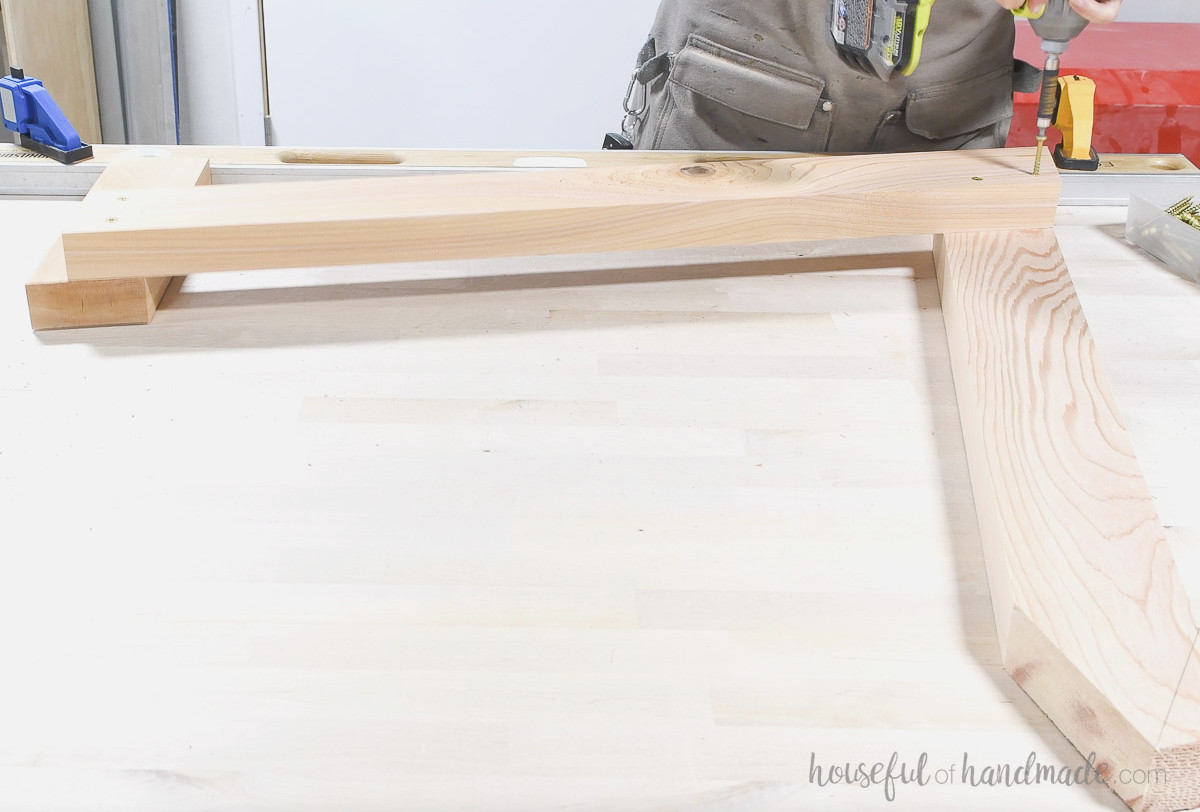
Repeat the process on the opposite side, ensuring that it is mirrored.
I fastened the parts using (2) screws at the front and (3) at the back.
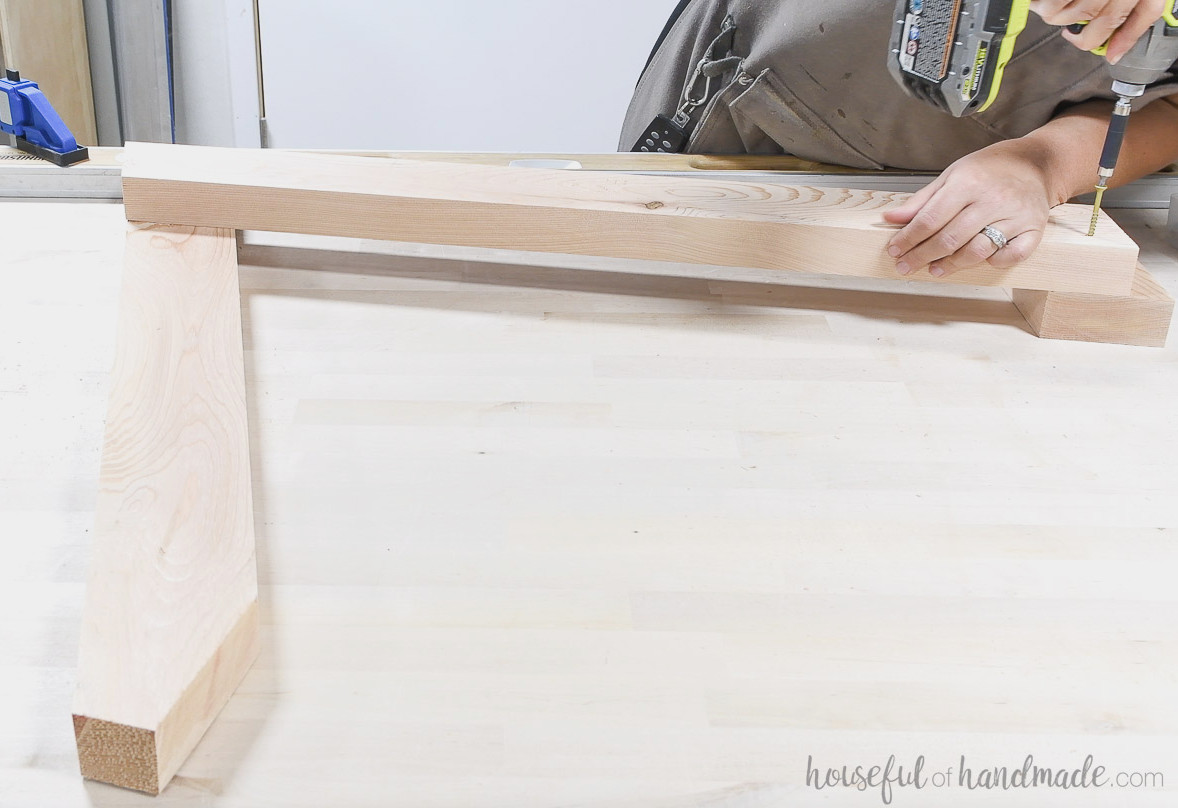
Join the two sides using the front seat support to the frontof the underside seat boards.
The rear corner should align evenly with the top of the seat supports, while the front corner will sit differently. Fasten using 1 1/2” screws.
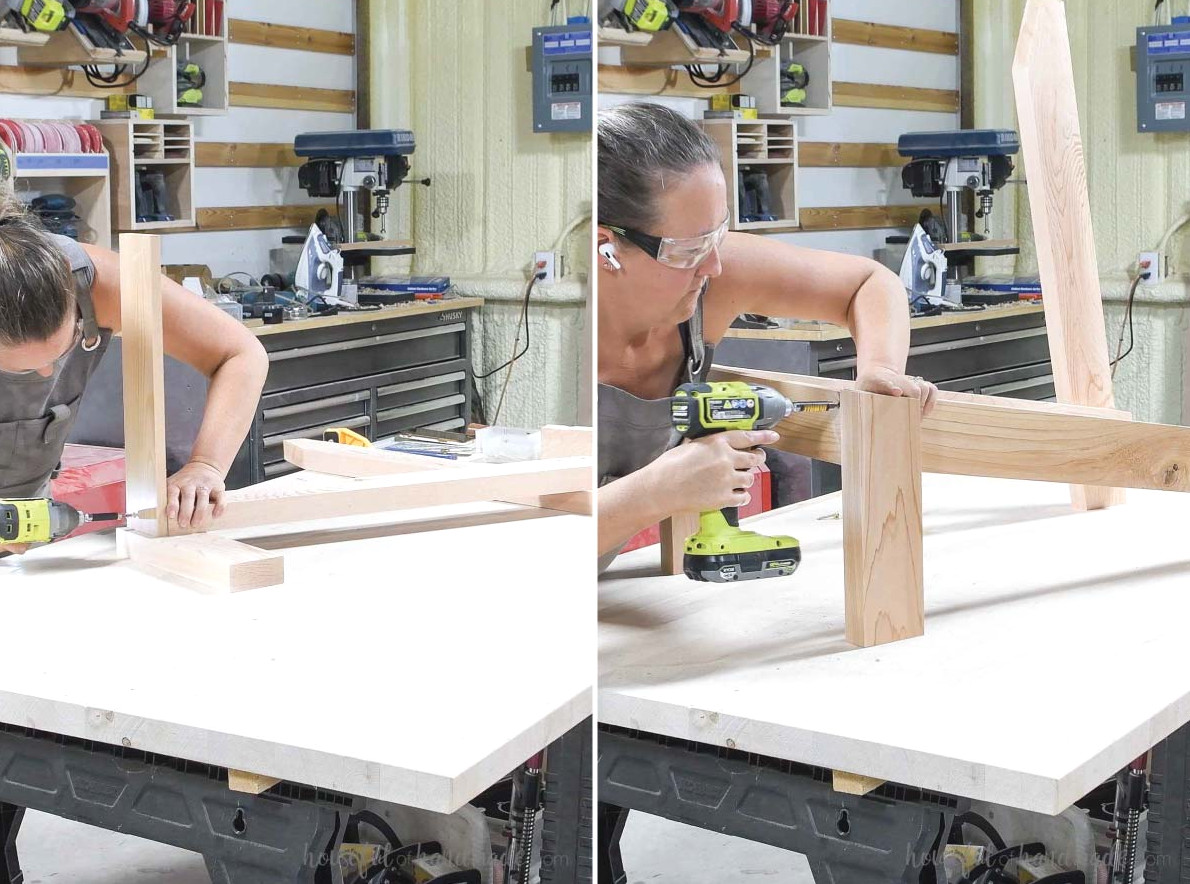
Next, install the back support board between the two rear legs at the upper end. It should line up evenly with both the front and top angles.
Fasten it with 2 1/2” screws.
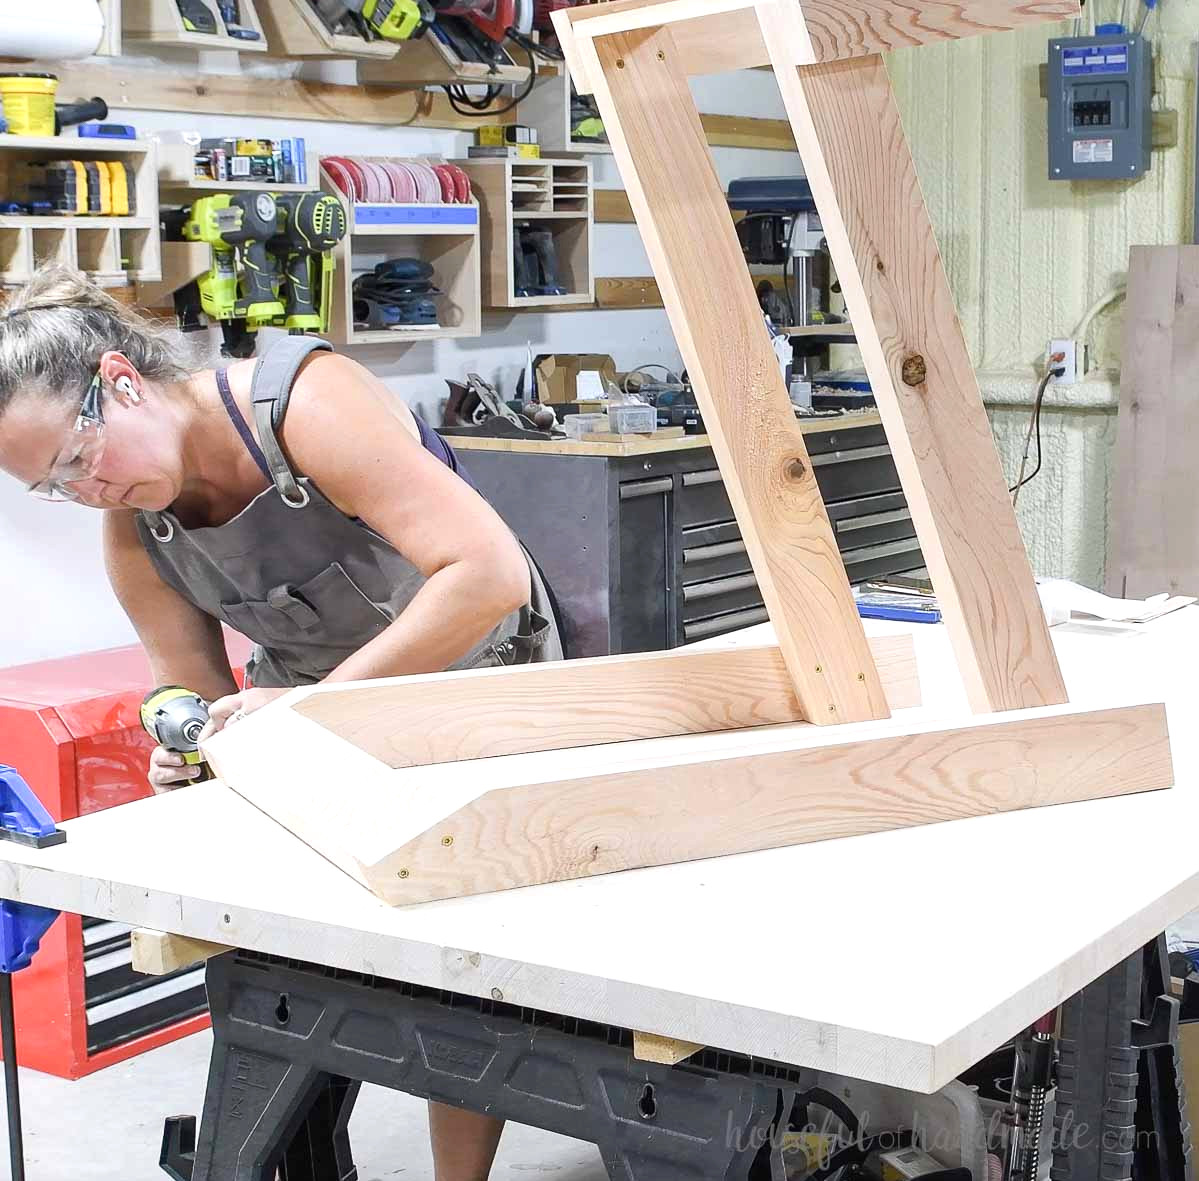
Using a circular saw, cut the inner edge of the back slat support at a 5 degree angle.
Attach a straight guide (I used one of the seat boards) to the top of the piece, positioned beside the circular saw base, so the saw stays aligned.
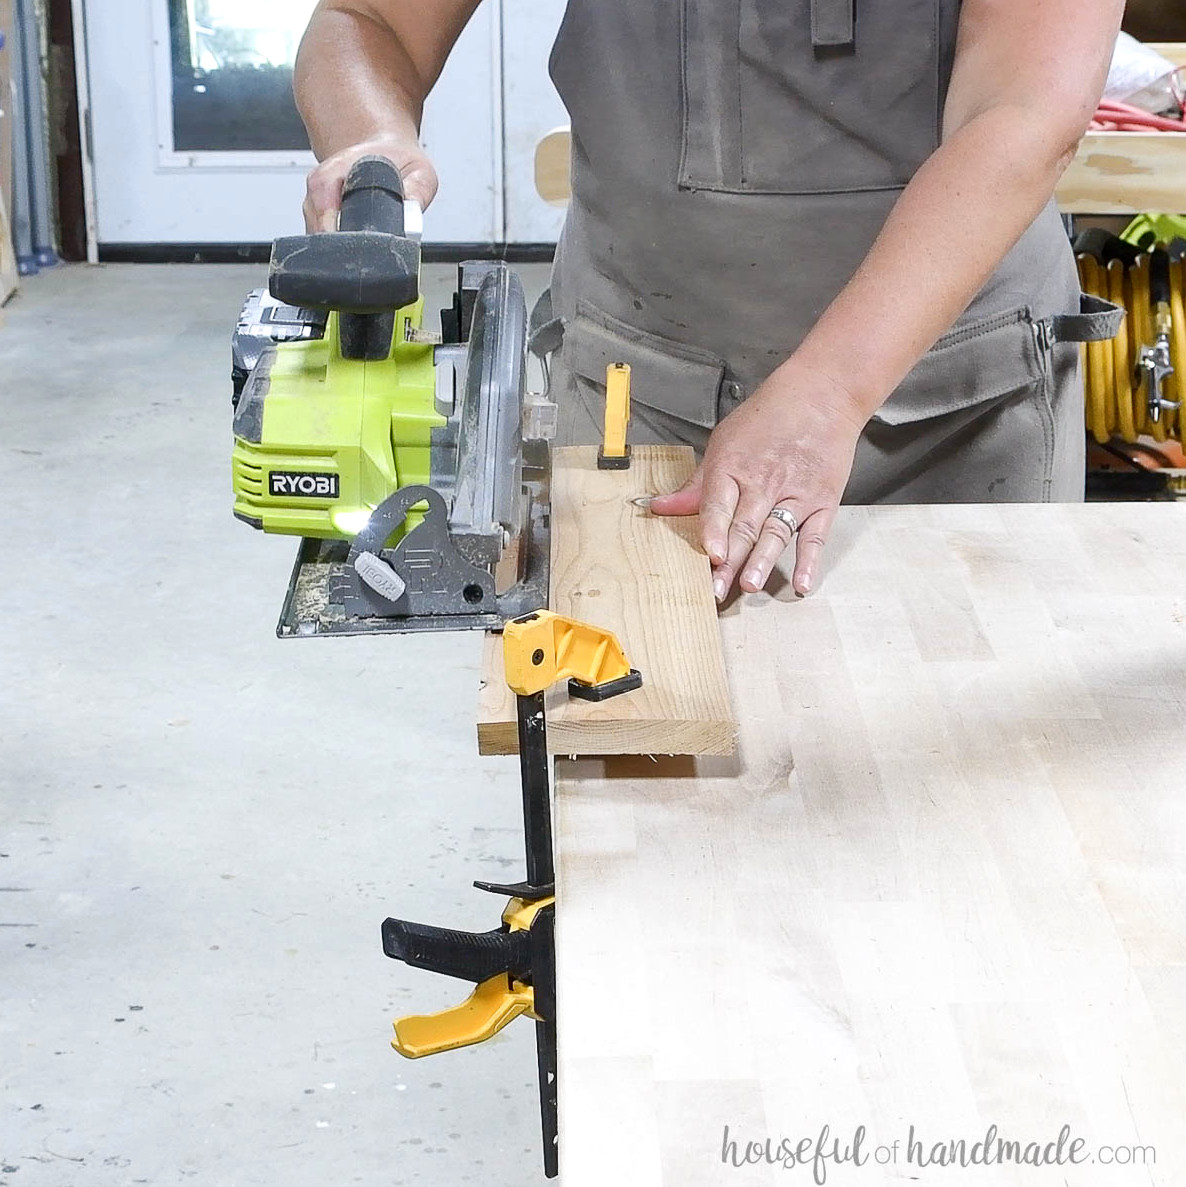
Set the board’s front end on the under seat support, positioning it 20” back from the front of the leg board. Fasten with 1 1/2” screws.
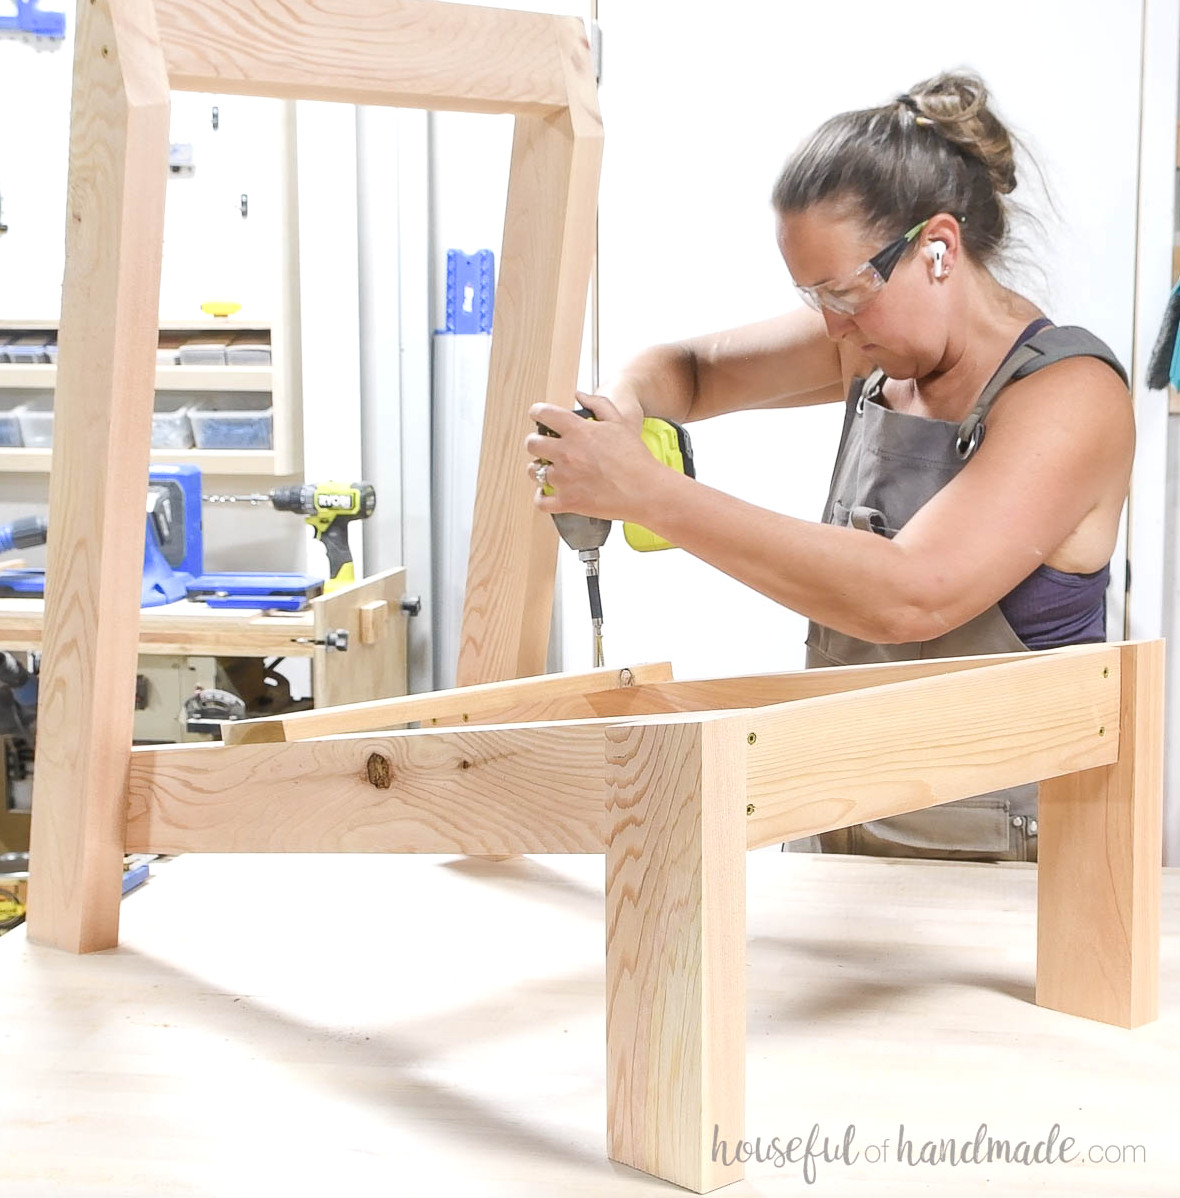
STEP 3- Install seat slats
Position the rear slats so their lower edges are even with the bottom of the back slat support, leaving a 5/8” space between each board.
The outside slats should align with the back leg edges and extend 1 1/2” beyond the edge of the back slat support.
Fasten with 1 1/2” screws, placing (2) through the bottom of the back slat support and (2) through the back support near the top.
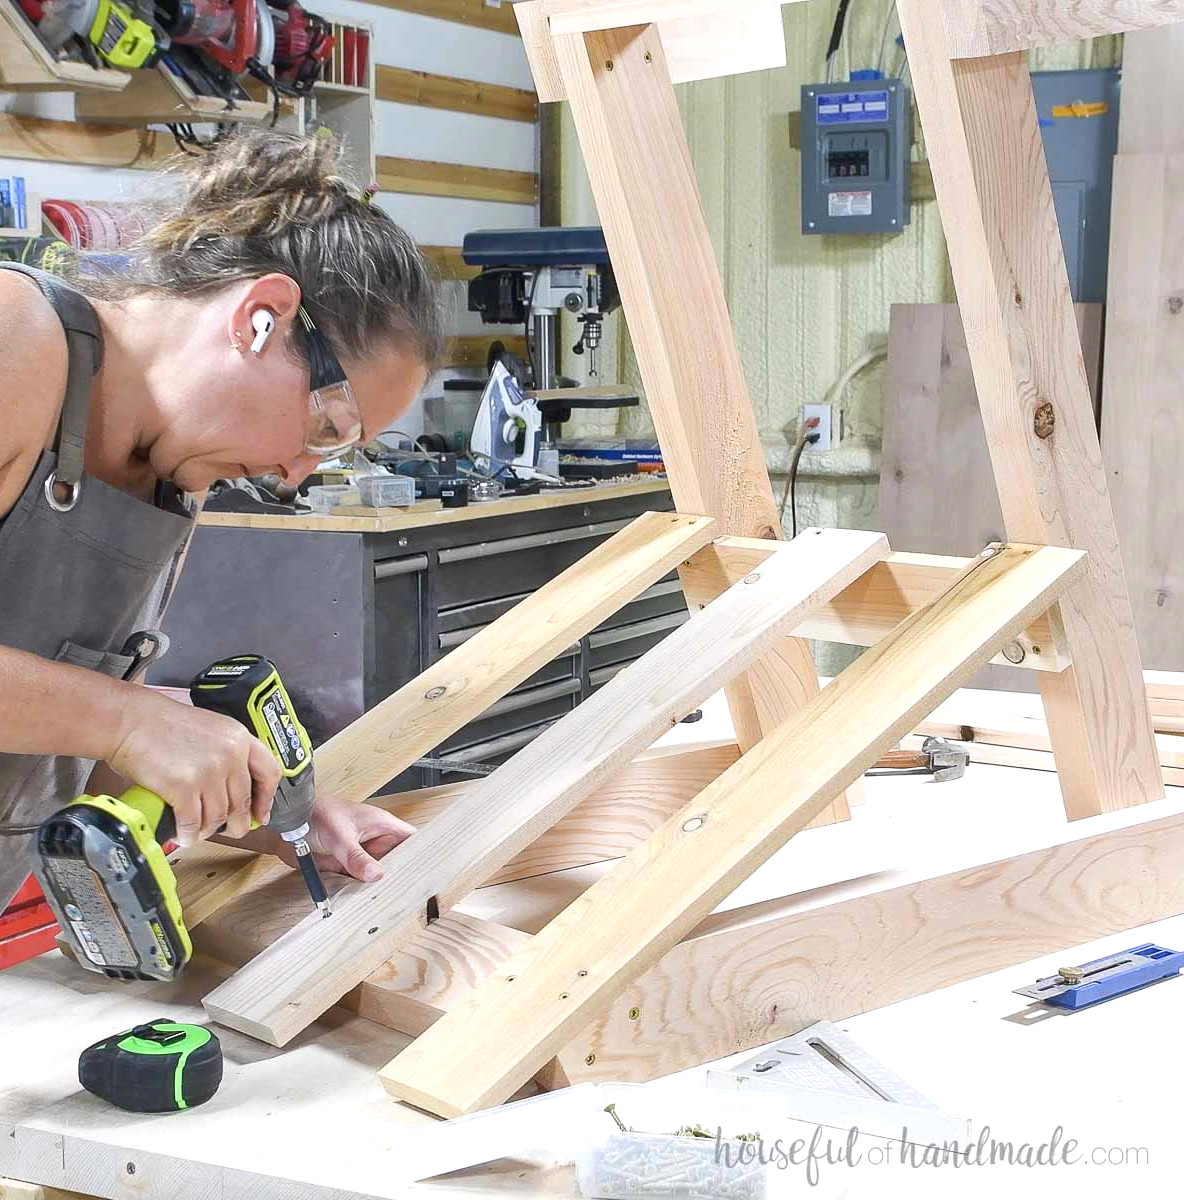
Position the front seat slat so it aligns with the sides of the front legs, allowing the front edge to extend 1/4” past the legs.
Fasten it to the under seat support board using 1 1/2″ screws.
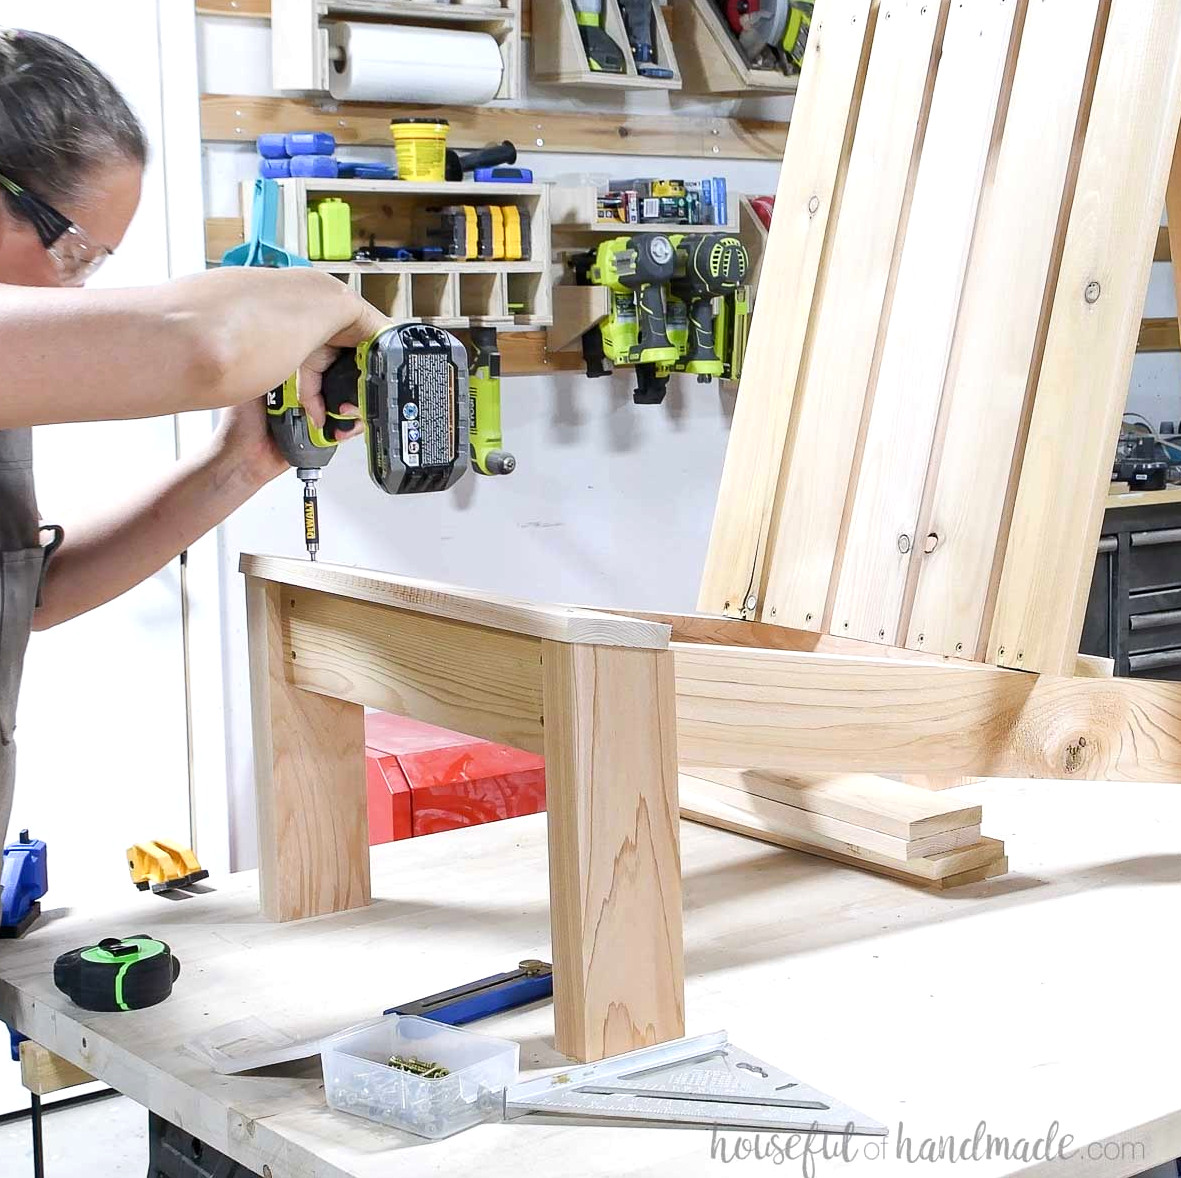
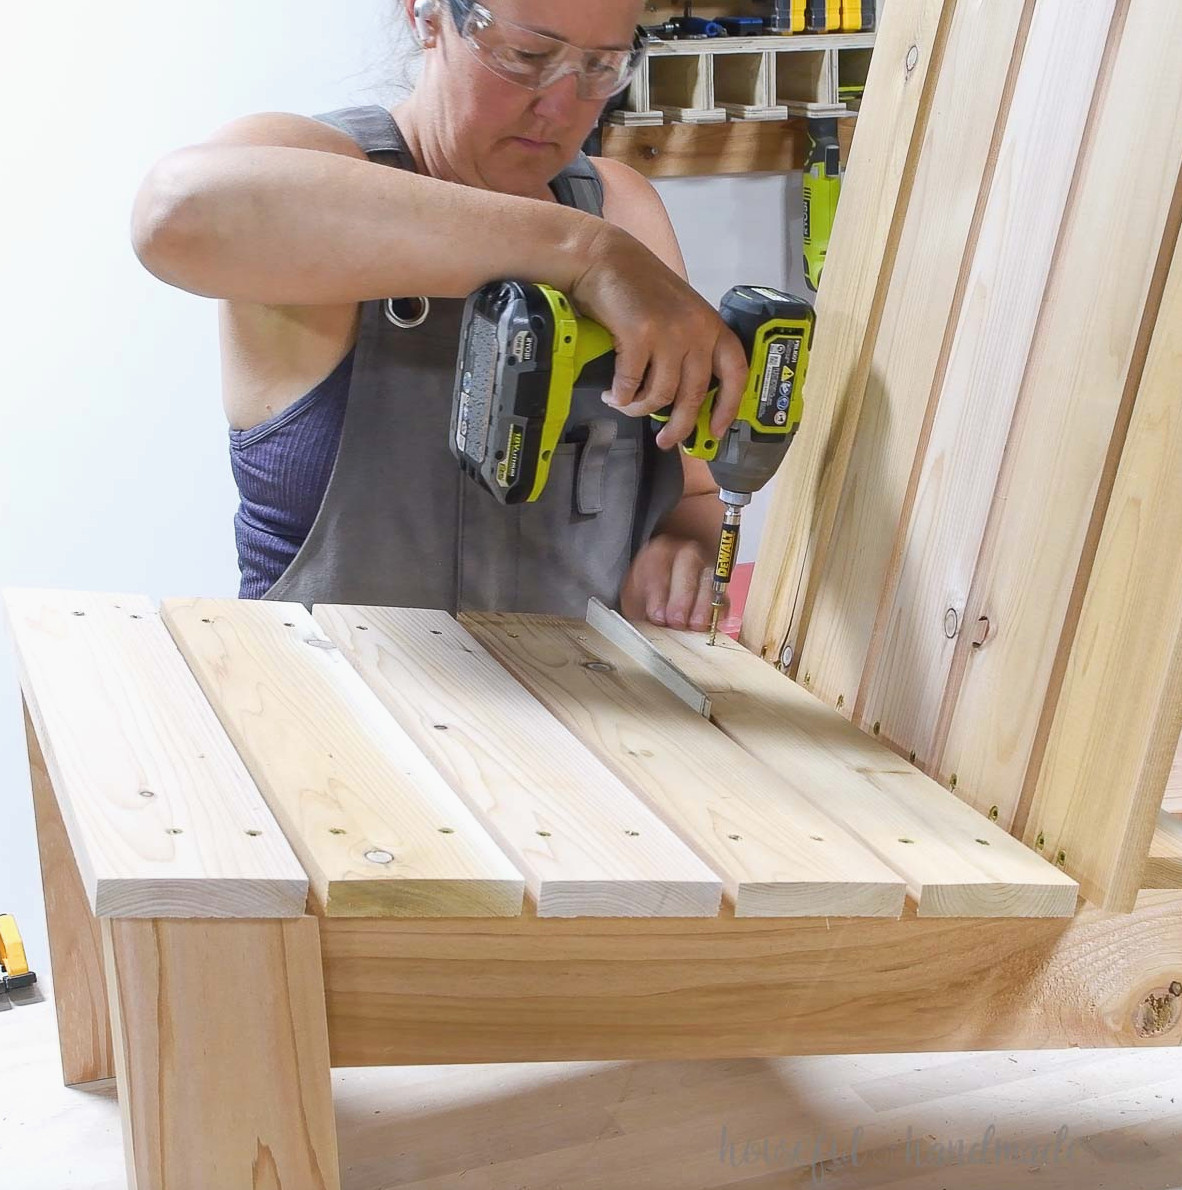
Arrange the remaining seat slats so they extend 1 1/2” over the under seat support board. Leave a 3/8” space between the boards.
Secure them with 1 1/2” screws, using (2) through the side of each board and into the under seat support pieces.
STEP 5- Complete the finish
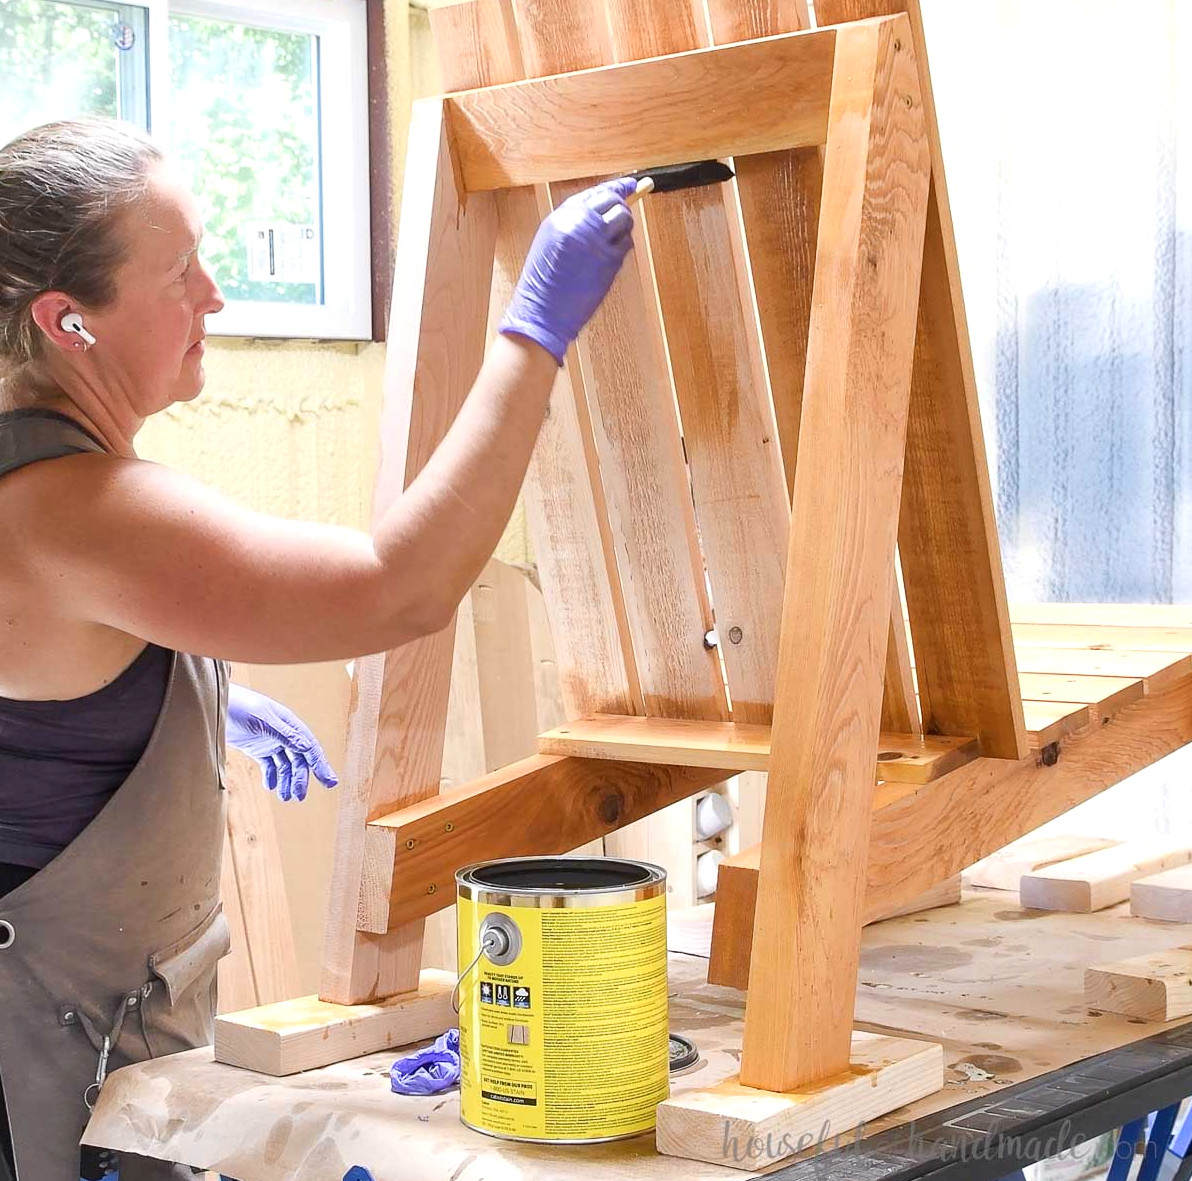
Smooth your completed chair with sandpaper, then apply a sealer suitable for outdoor use.
I made my chairs from cedar and sealed them with Cabot Australian Timber Oil in Natural.
You’ve completed it!
Don’t Forget to Get the Printable PDF Plans Here!
Premium plans feature:
- Suggested Tools
- Materials list
- Easy-to-follow cut list table
- Cutting diagrams
- Detailed instructions with 3D renderings
- Useful resources
- BONUS: 3D SketchUp file
If desired, add a 20” x 20” seat cushion, then relax and enjoy your chair!
Enjoy building!