Design the ideal drop zone with a stylish entry ladder.
Is there a spot where you can set down everything when you walk through the door?
If you want entryway storage that is both attractive and useful, this contemporary ladder is an excellent choice.
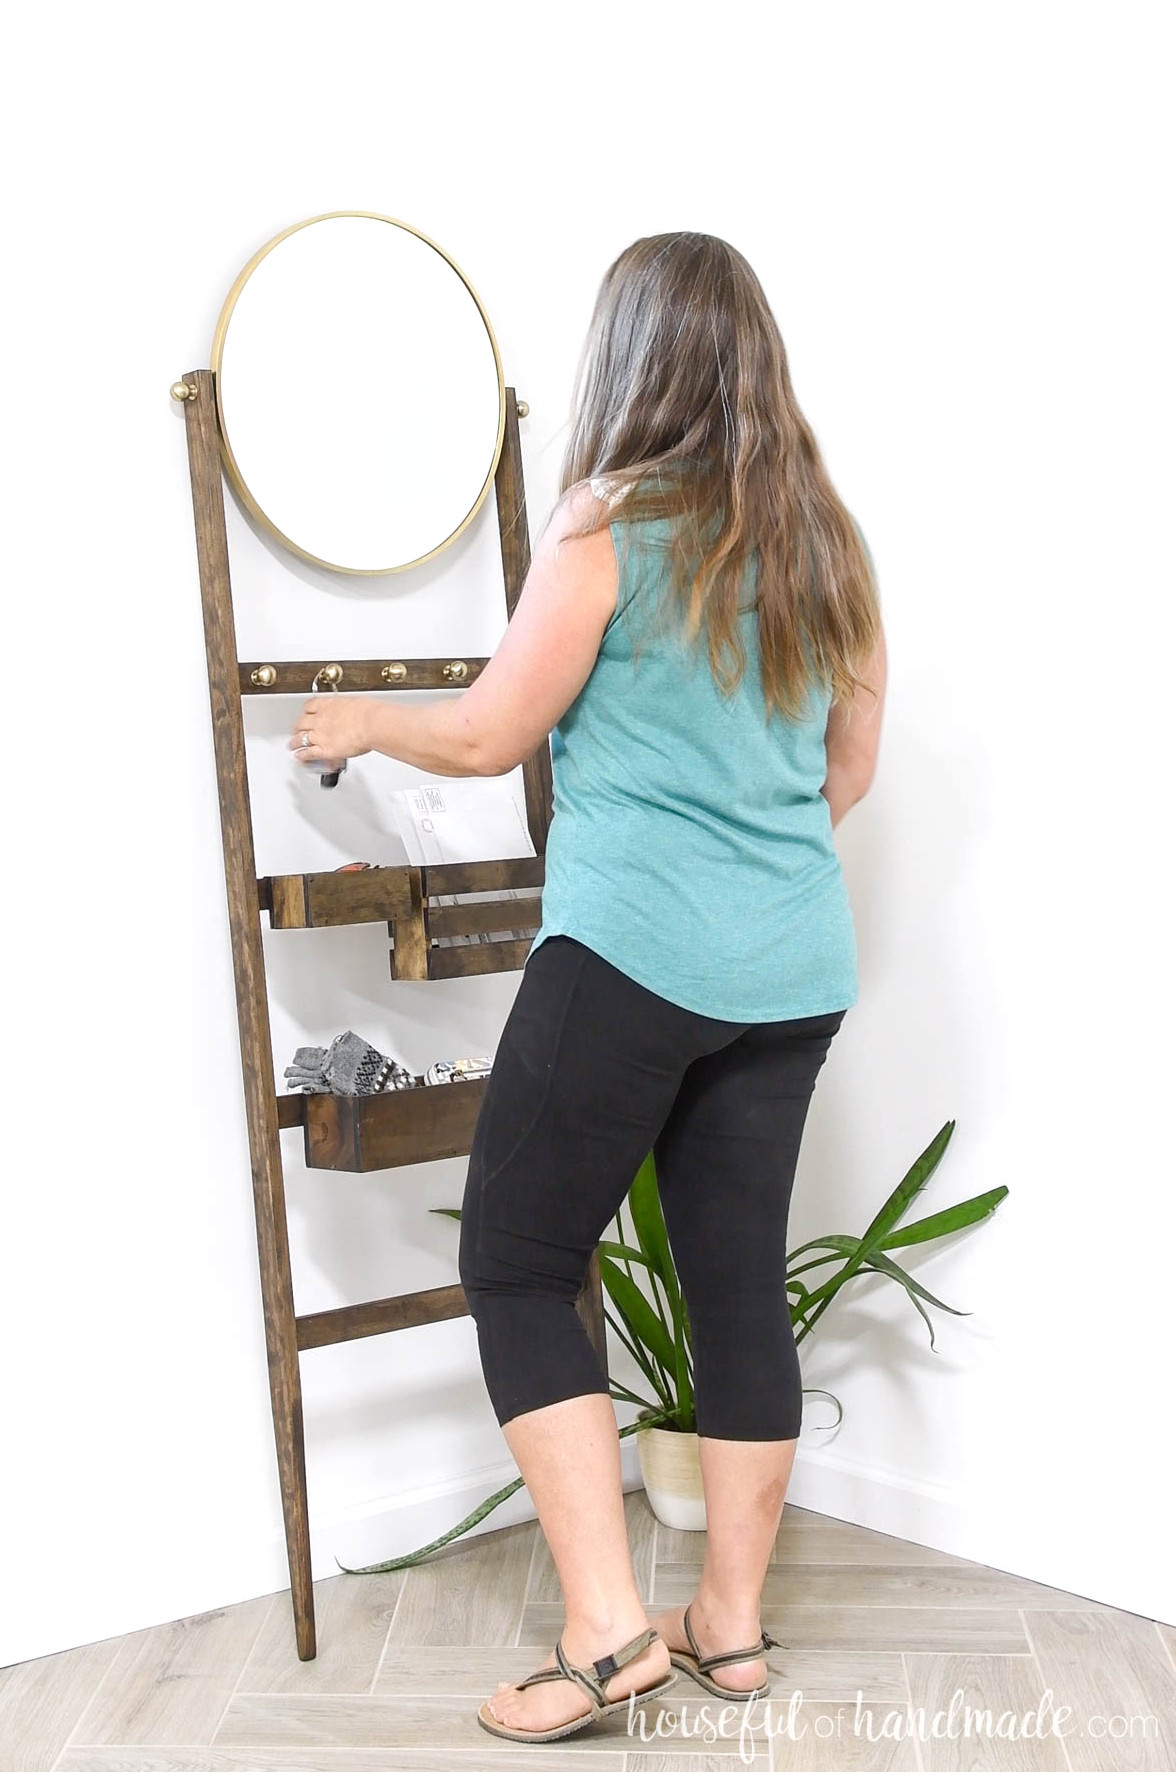
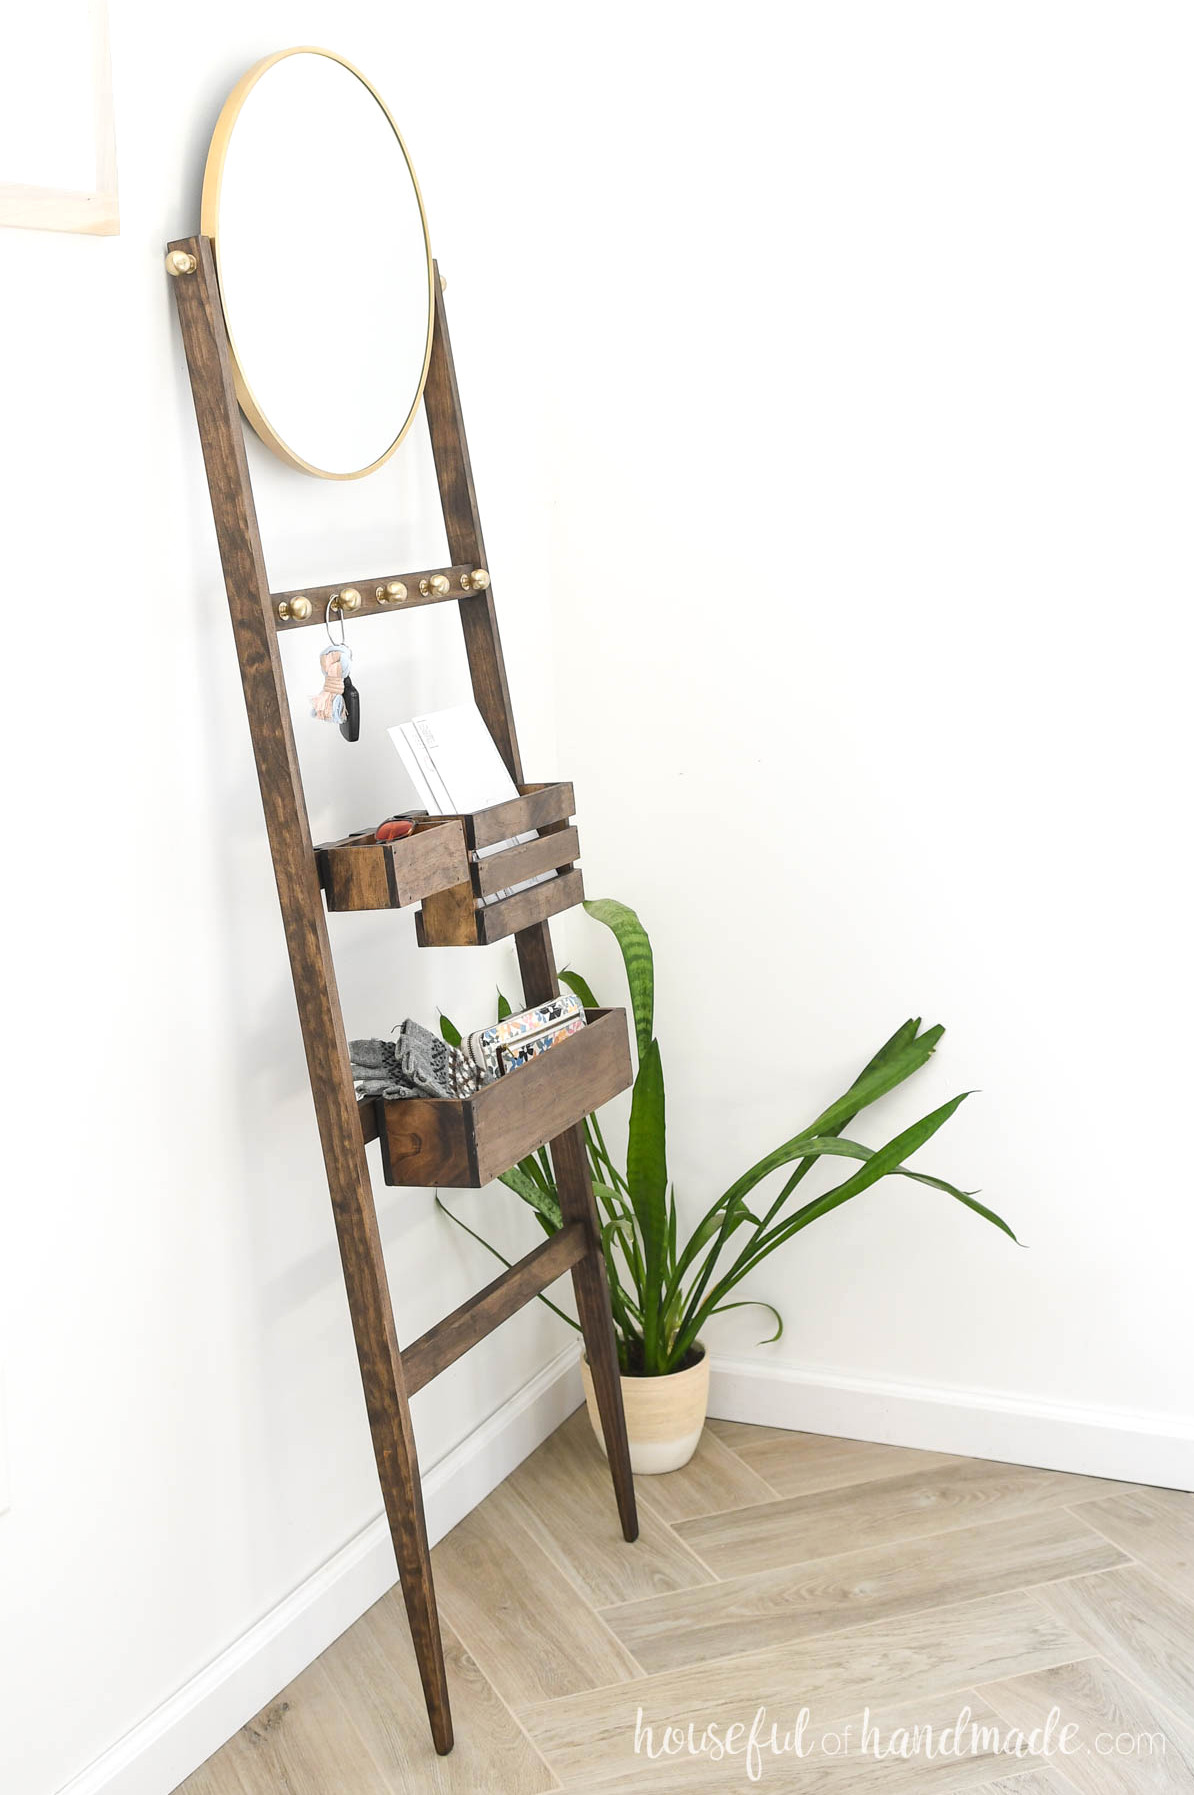
A large mirror sits at the top of the entry ladder, allowing you to check your appearance before heading out. Beneath it, hooks and movable bins provide room for sunglasses, a wallet, mail and other essentials.
Entryway Drop Zone
Without a designated place to put the items you bring inside, they are likely to accumulate somewhere.
The best way to avoid clutter on your countertop, coffee table or floor is to create a drop zone. However, when space is limited, you need a compact solution that offers plenty of practical storage.
A storage ladder is an ideal fit for a small entryway!
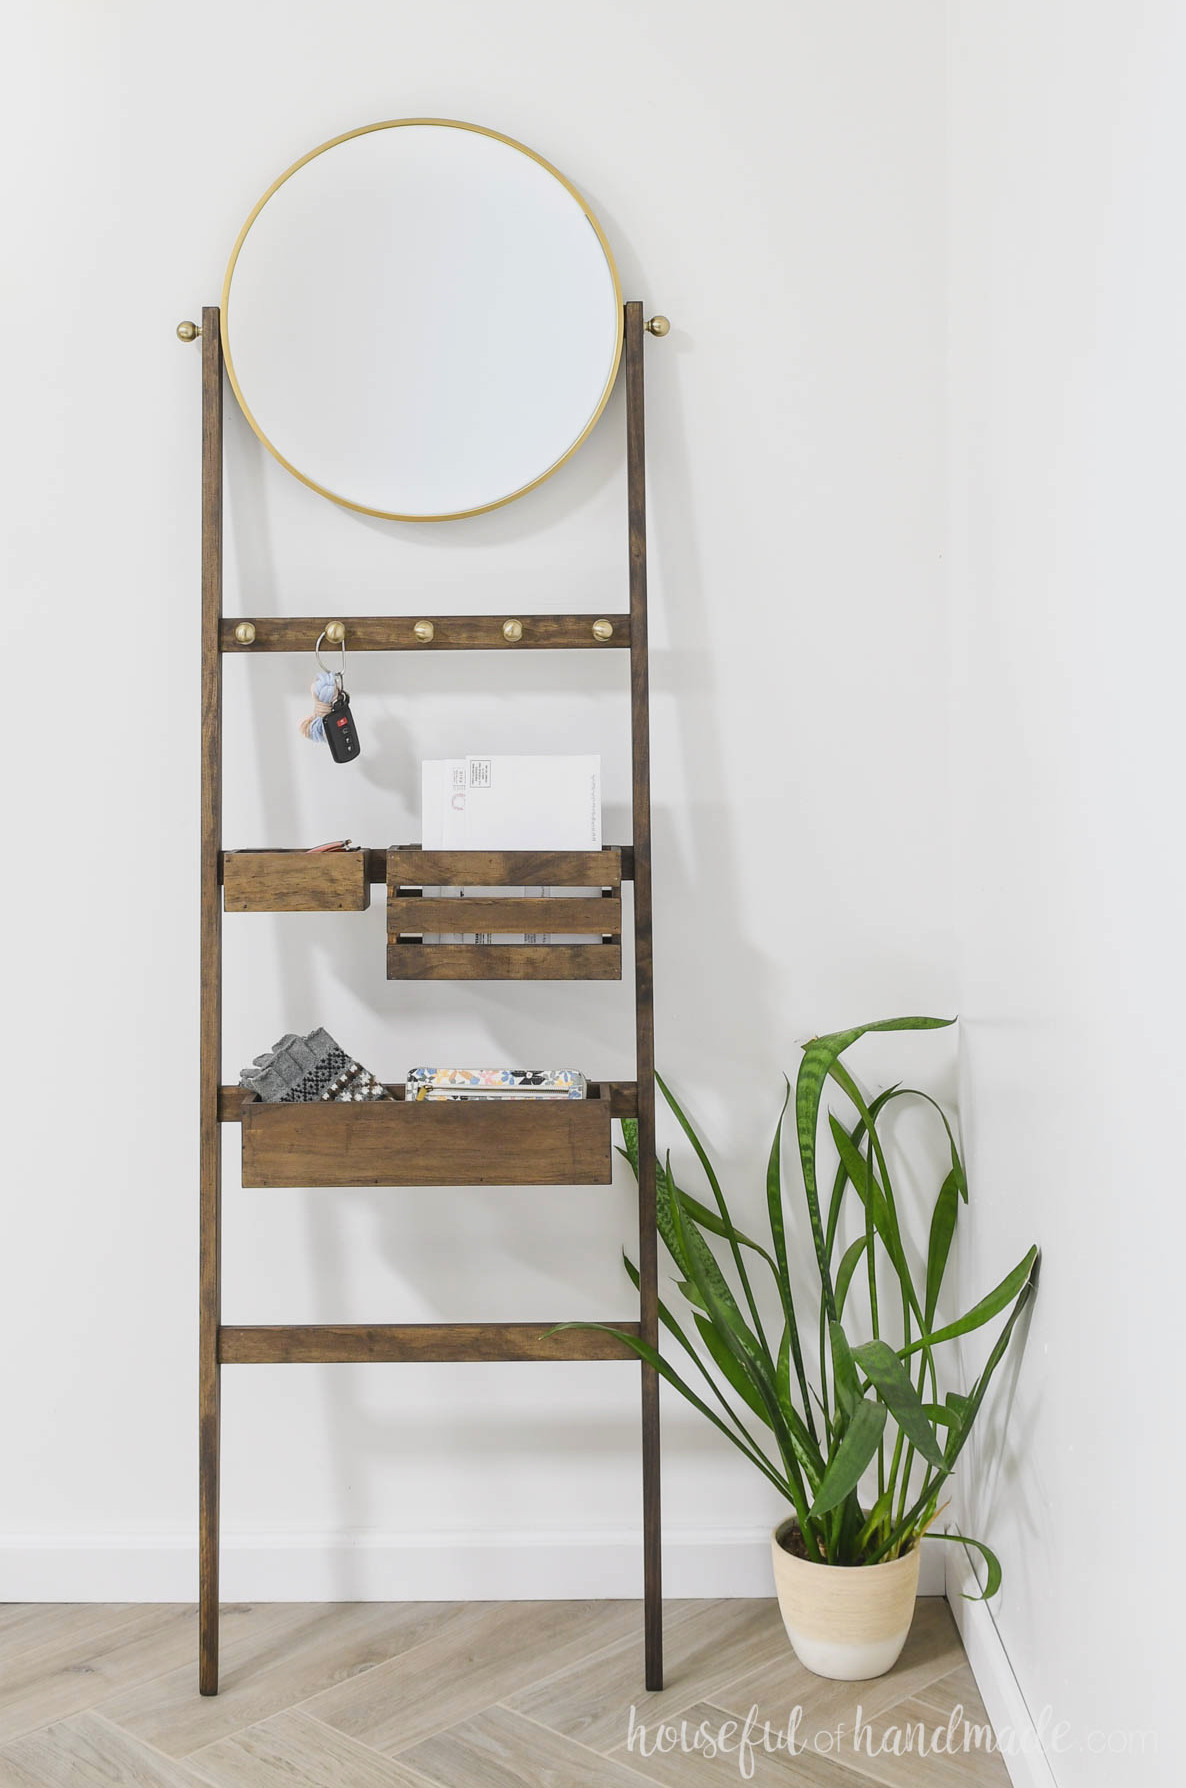
This ladder provides everything necessary to keep your entry neat and free of clutter.
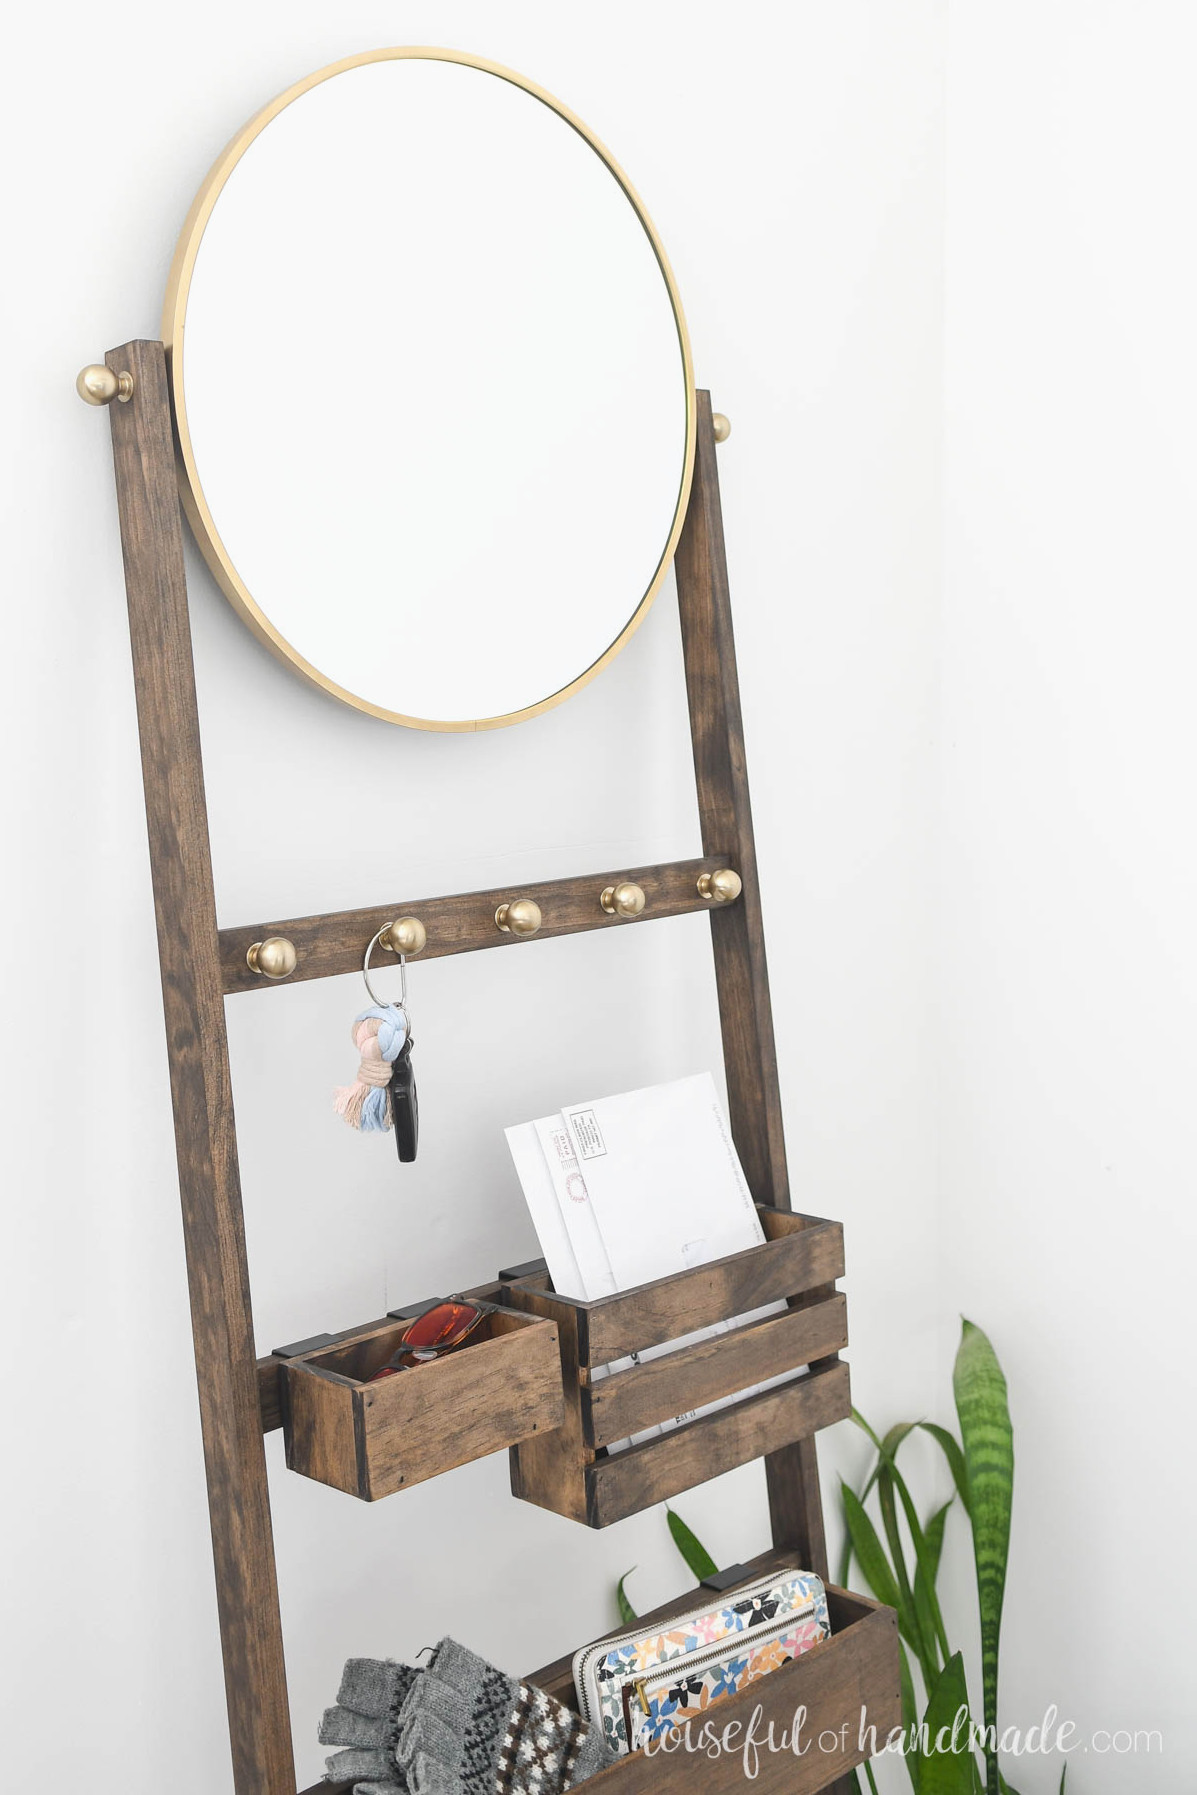
Numerous hooks offer space for keys, umbrellas, purses and more.
Underneath, you’ll find several styles of adjustable bins. Hang them from the rungs to store gloves, sunglasses, mail and other small items.
At the top, a generously sized mirror lets you check your hair and makeup whenever you head out.
More Entryway Ideas
Looking for additional ways to maintain a tidy, organized entryway? Explore these other DIY projects.
How to Make a Storage Ladder
Tools & Materials
Overall Dimensions
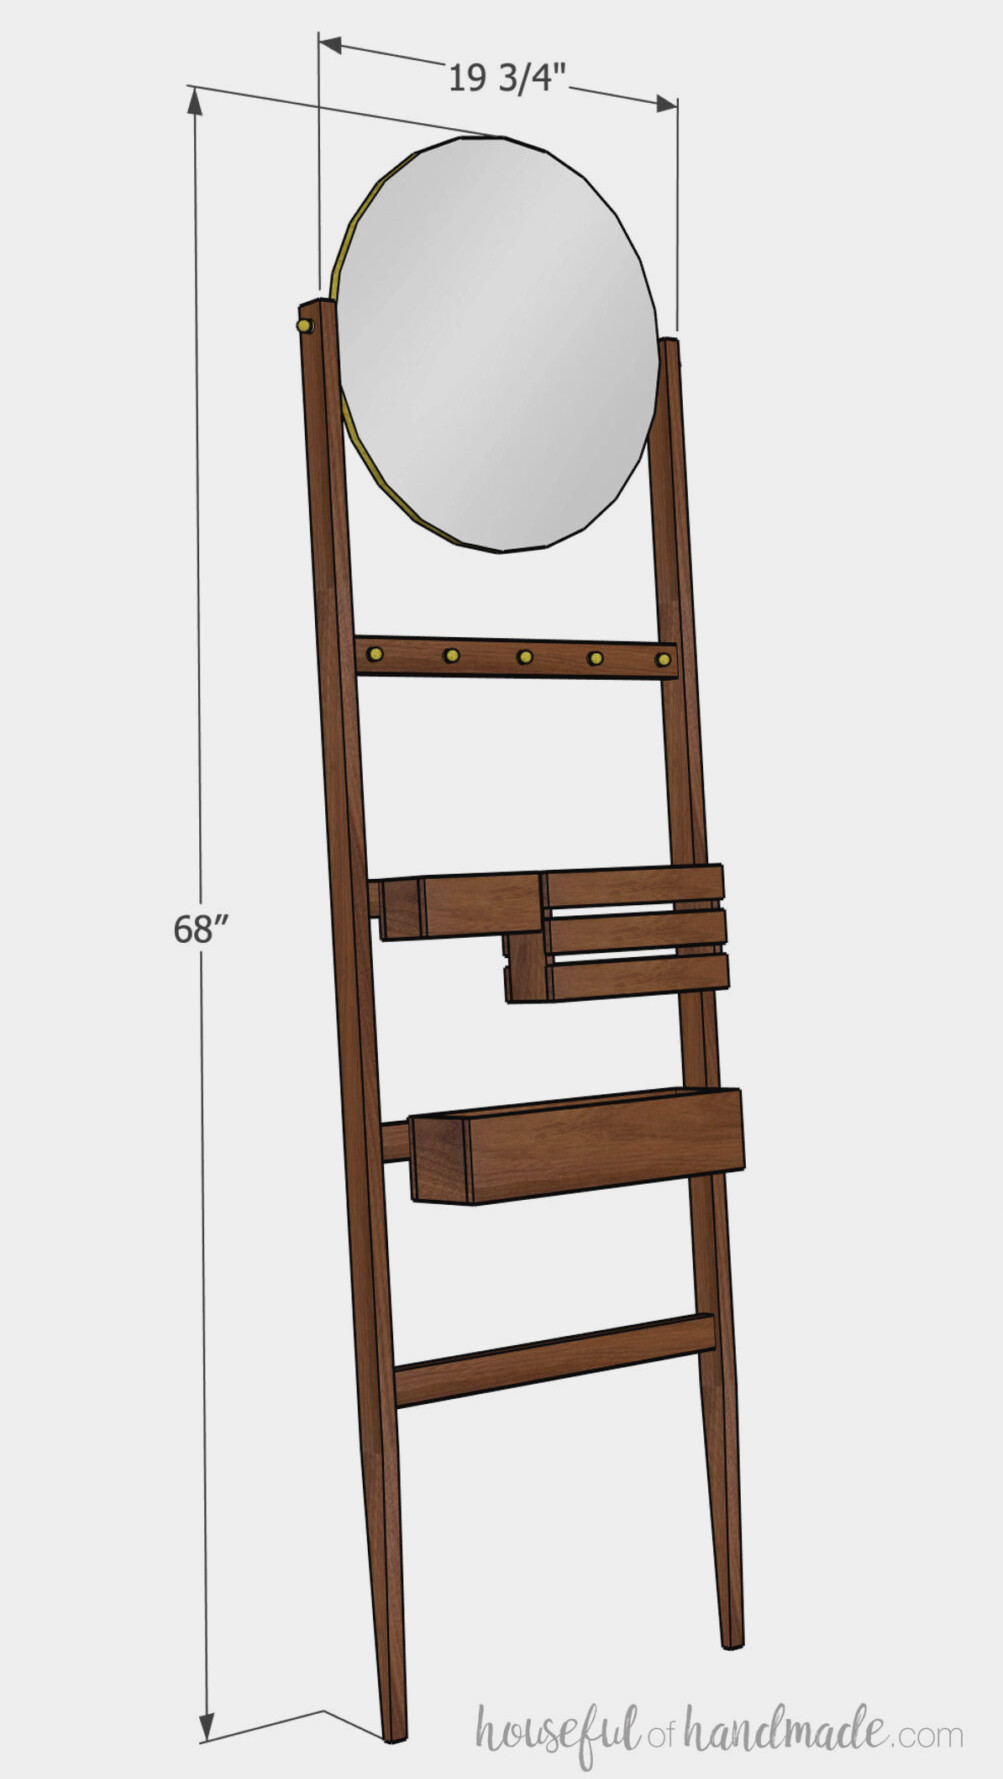
The completed ladder measures 60″ high, or 68″ high including the mirror. It is 19 3/4″ wide and extends roughly 6-8″ from the wall at the bottom.
Cut List
Prepare the pieces by following the clear, easy-to-read chart in the PDF plans.
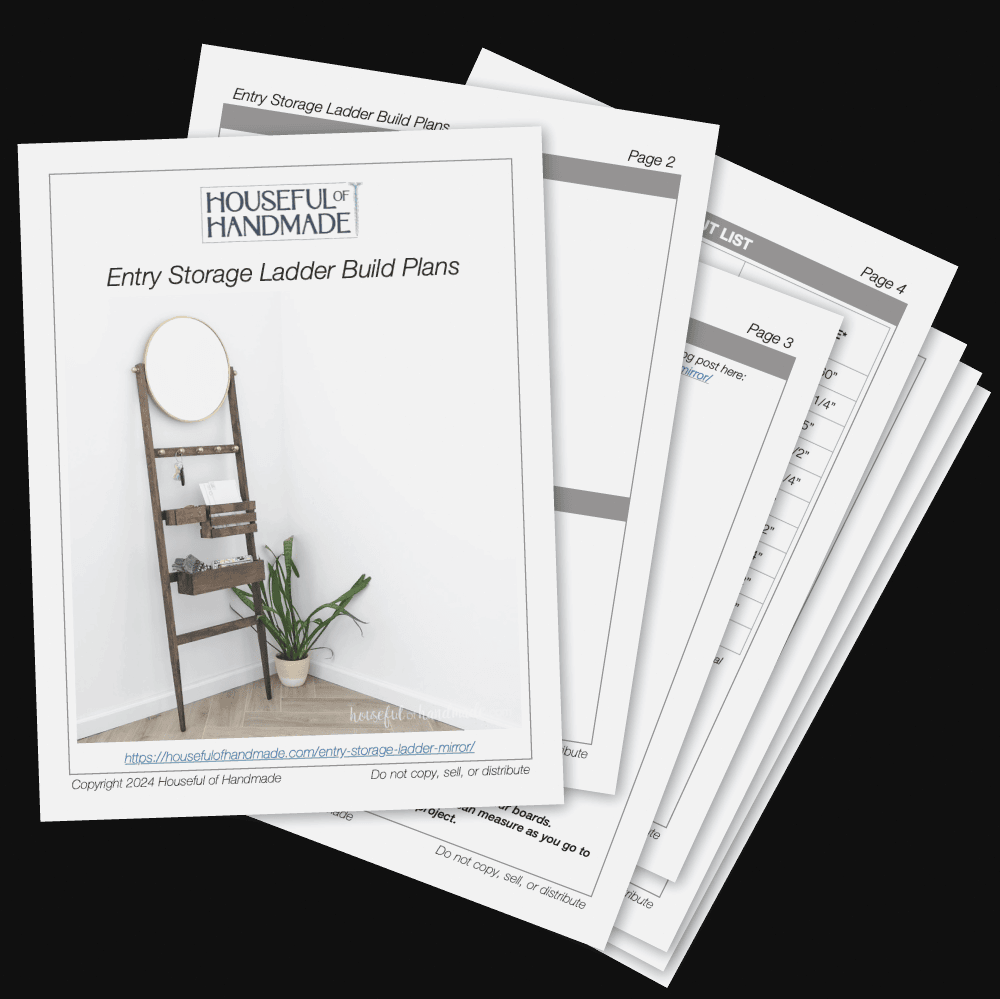
Purchase the Premium PDF Woodworking Plans
PDF plans include- Simple Cut List, Shopping List, Suggested Tools, Step-by-Step Directions with 3D illustrations, & Useful Resources
BONUS- 3D SketchUp File
STEP 1- Cut taper in sides
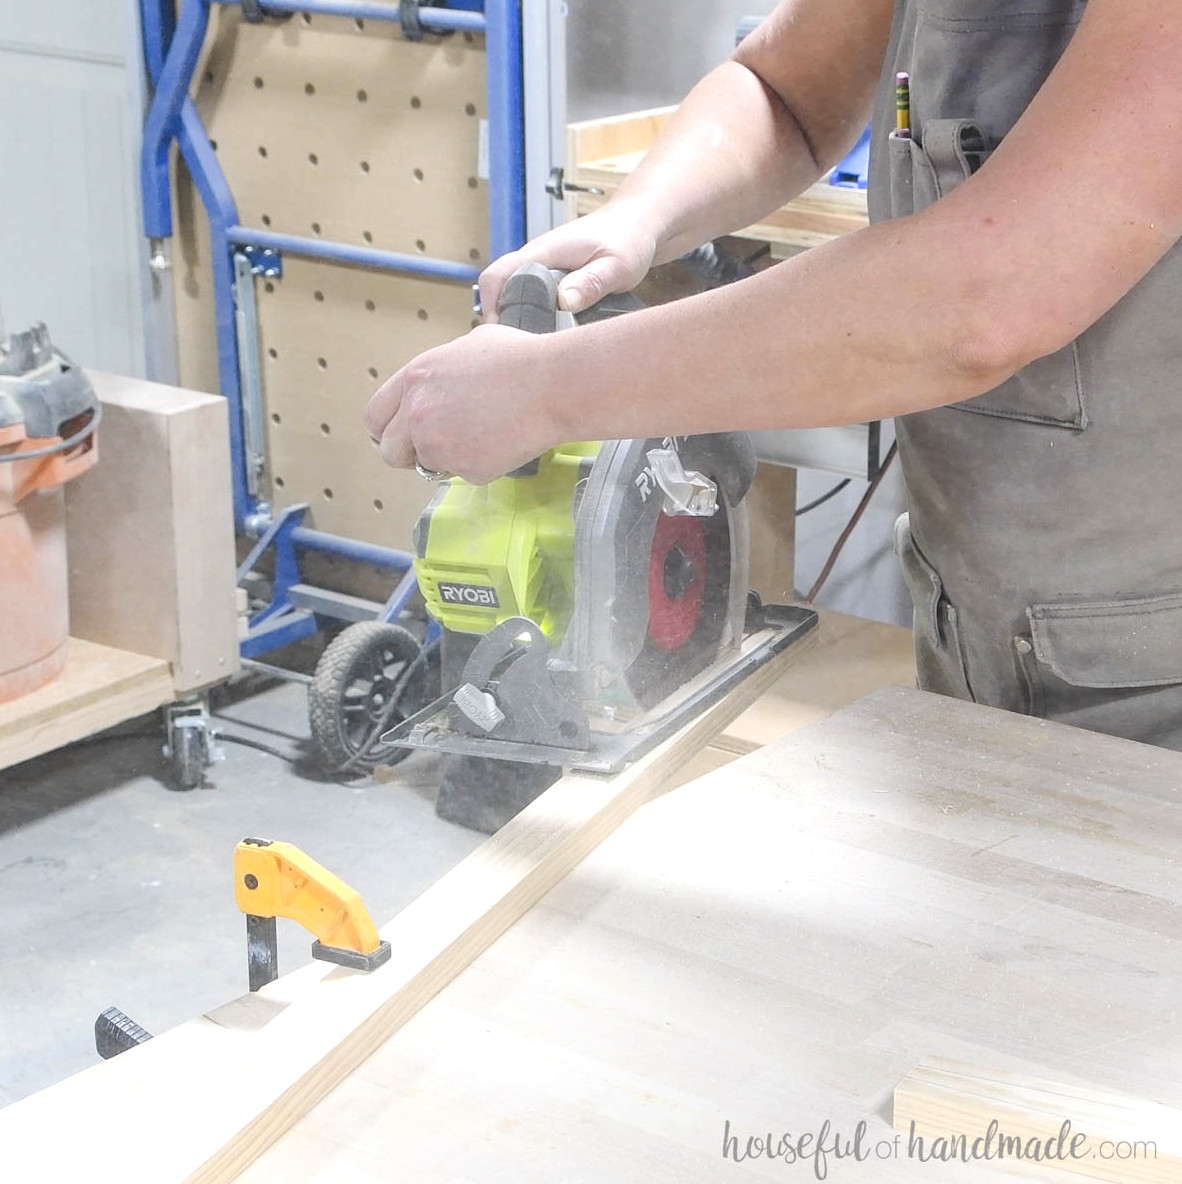
Following the premium plans, measure and mark a taper on the lower portion of both side boards. Use a circular saw to cut along the marked line and form the taper.
Smooth the paper with sandpaper. I also sanded the bottom slightly so it had a rounded edge.
EXPERT TIP:
Because the taper is decorative and does not need to be exact, I cut it freehand. If you are not confident making freehand cuts with a circular saw, use a guide to help keep the cuts straight.
STEP 2- Assemble ladder
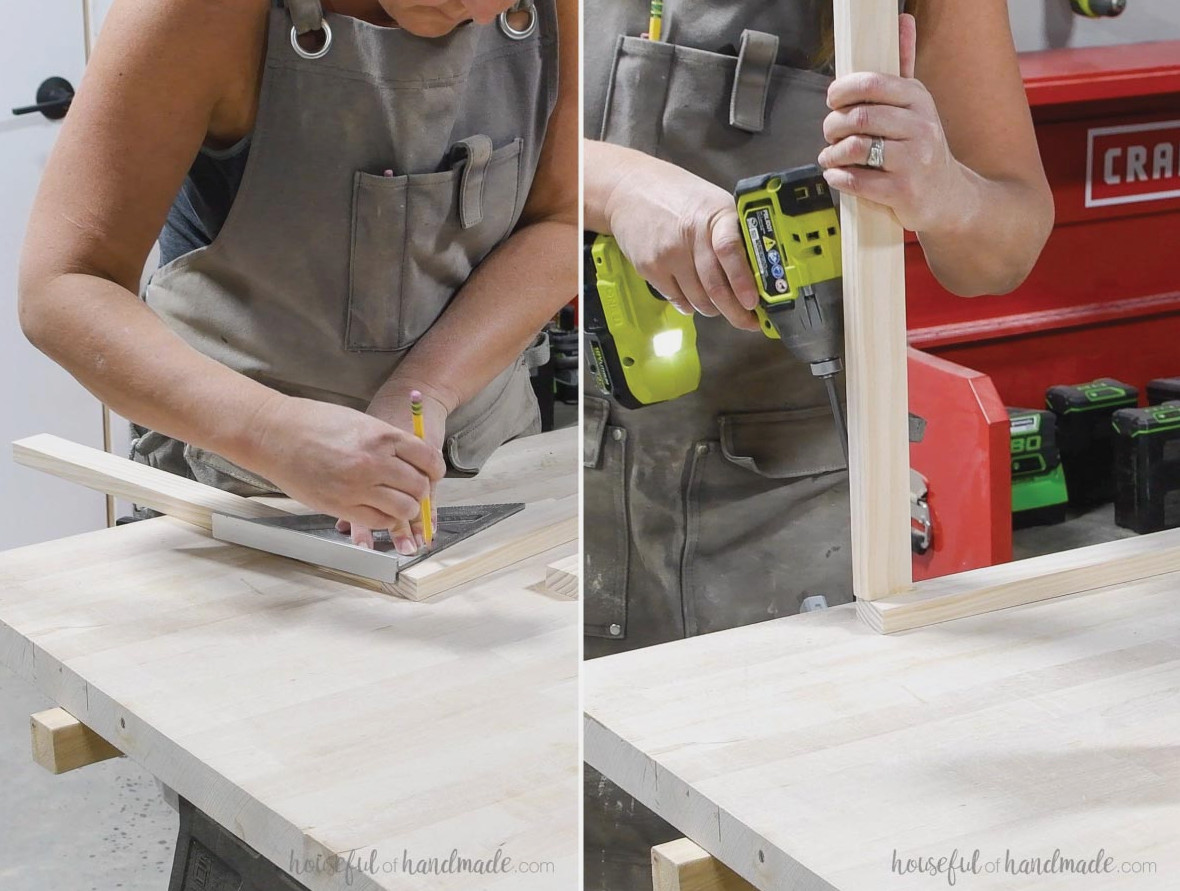
Find the center of one side board at the top and mark it. Next, draw a line down from this mark at a 5-8 degree angle. Choosing a wider angle will position the ladder’s bottom farther from the wall.
In the back of one rung, make 1 pocket hole set for 3/4” thick material. Position the pocket hole slightly above the center of the board.
Position the rung at the top of the side board along the angled line. The board’s top corner should sit flush with the top of the side board.
Fasten it with wood glue and a 1 1/4” pocket hole screw.
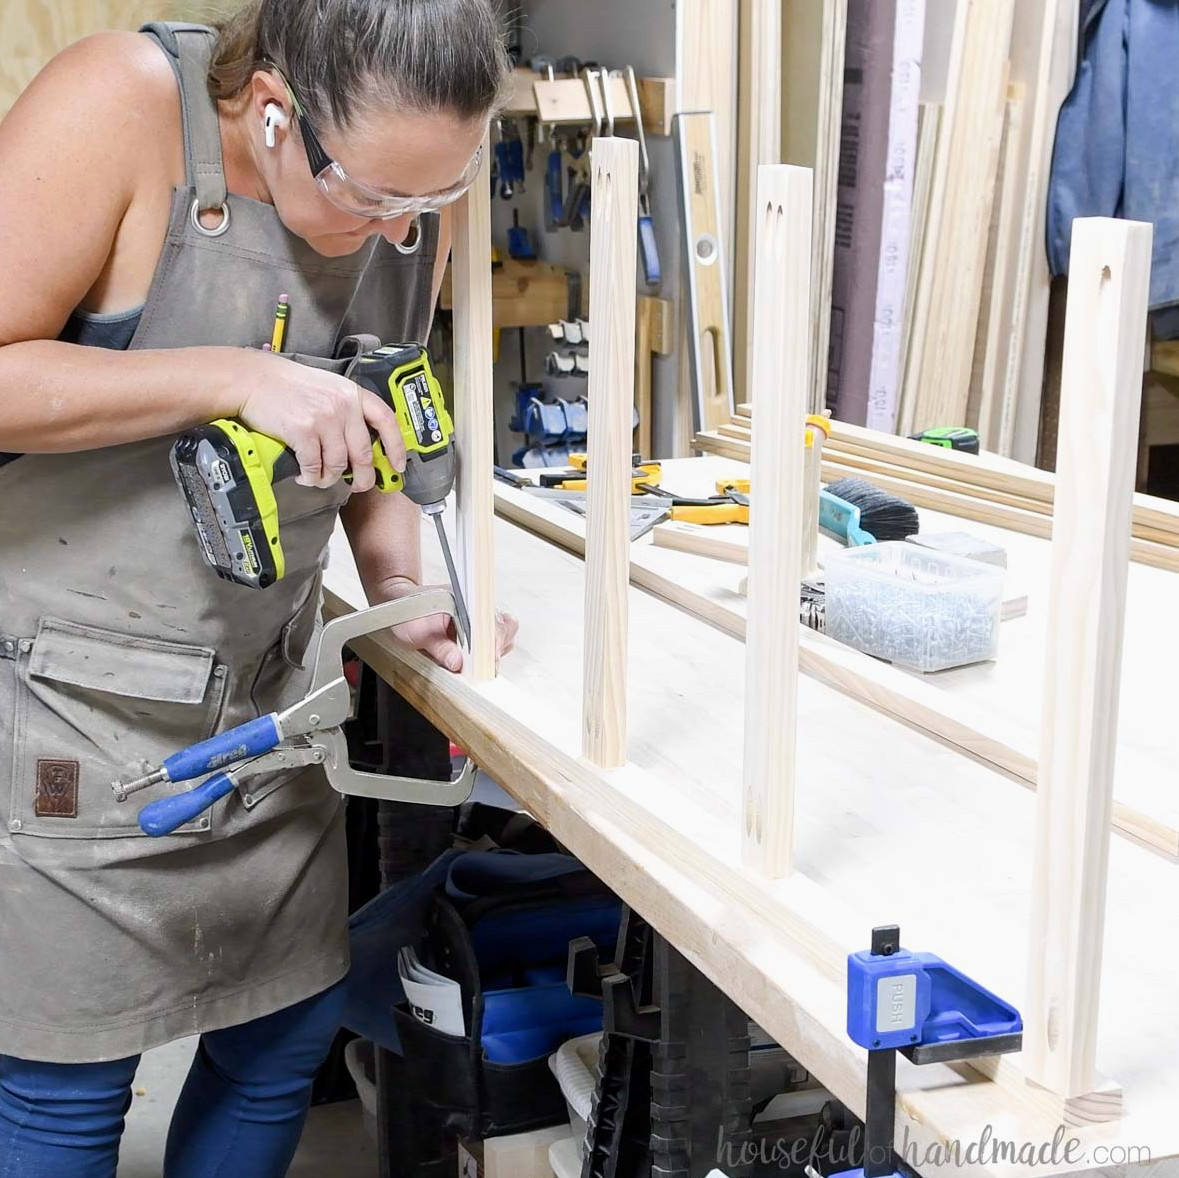
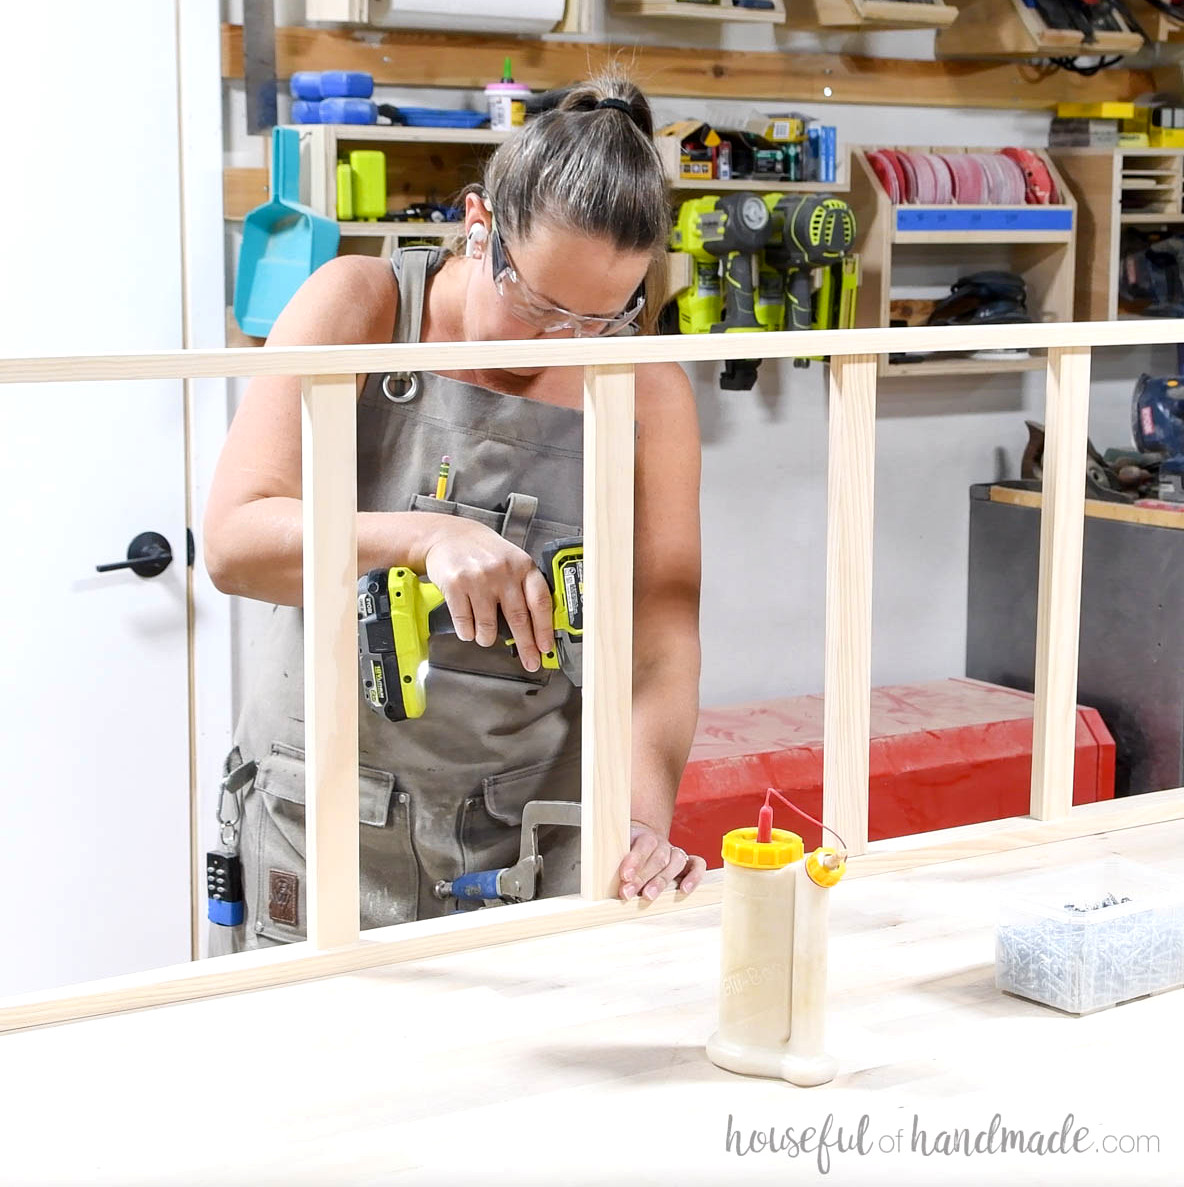
Create 2 pocket holes for 3/4” thick material at each end of the remaining rungs.
Position the rungs on the side so they are centered from front to back and arranged according to the measurements in the PDF plans.
Apply glue and secure them with 1 1/4” pocket hole screws.
After fastening all the rungs to one side, install the second side board.
Check that the rungs match the spacing on the first side. Use glue and 1 1/4” pocket hole screws to secure them.
STEP 3- Build storage bins
To make the storage bins, begin by fastening the sides to the bottoms, keeping the lower edges flush.
Use glue and 1” brad nails to hold them in place.
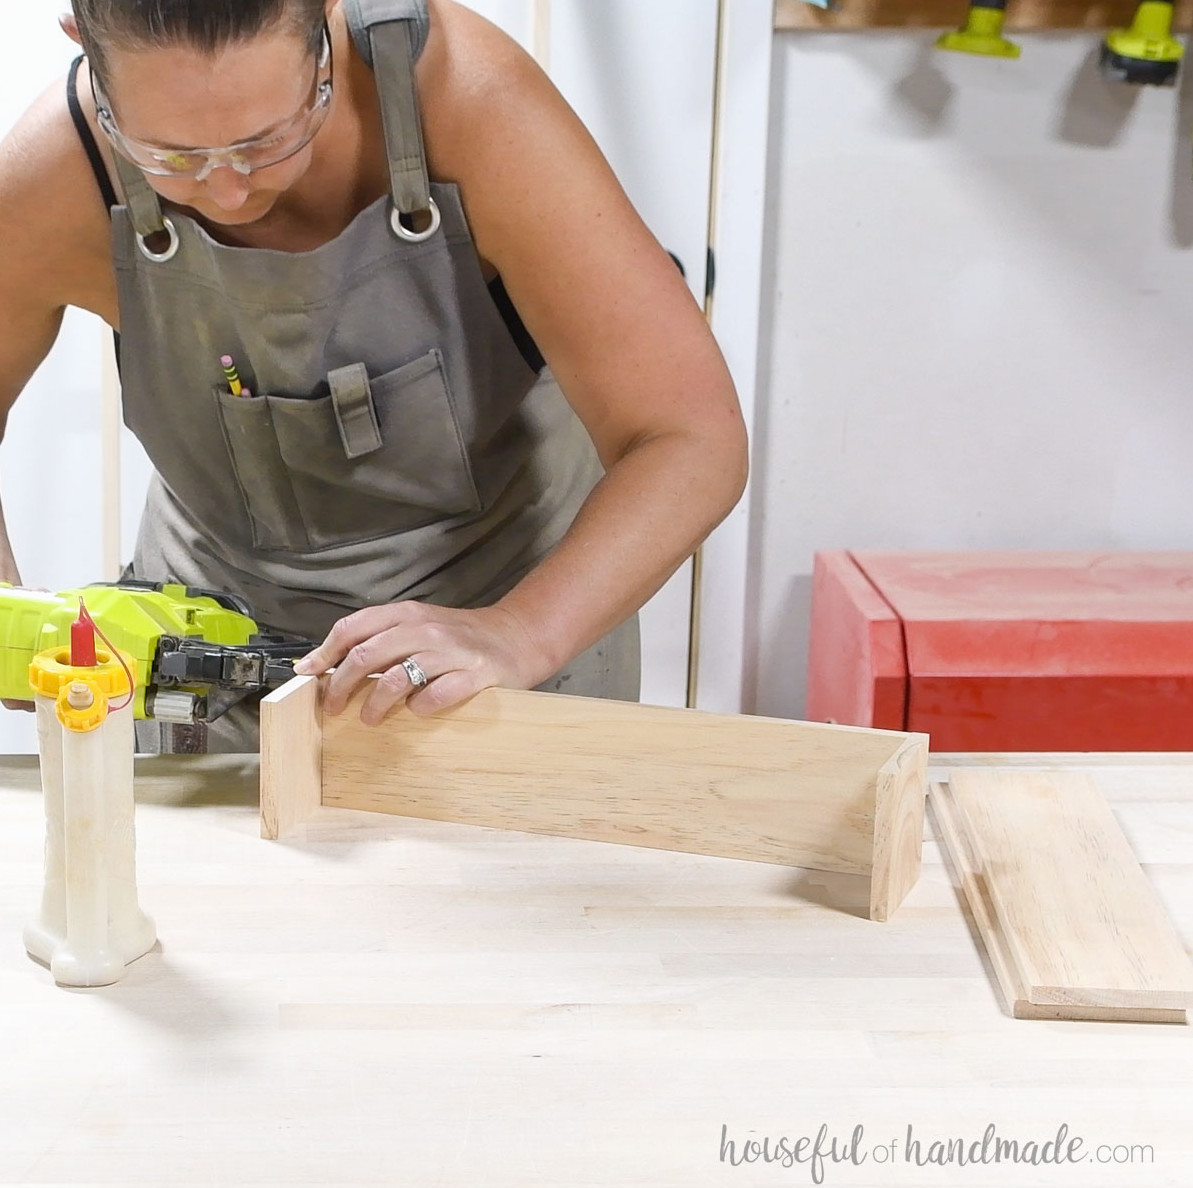
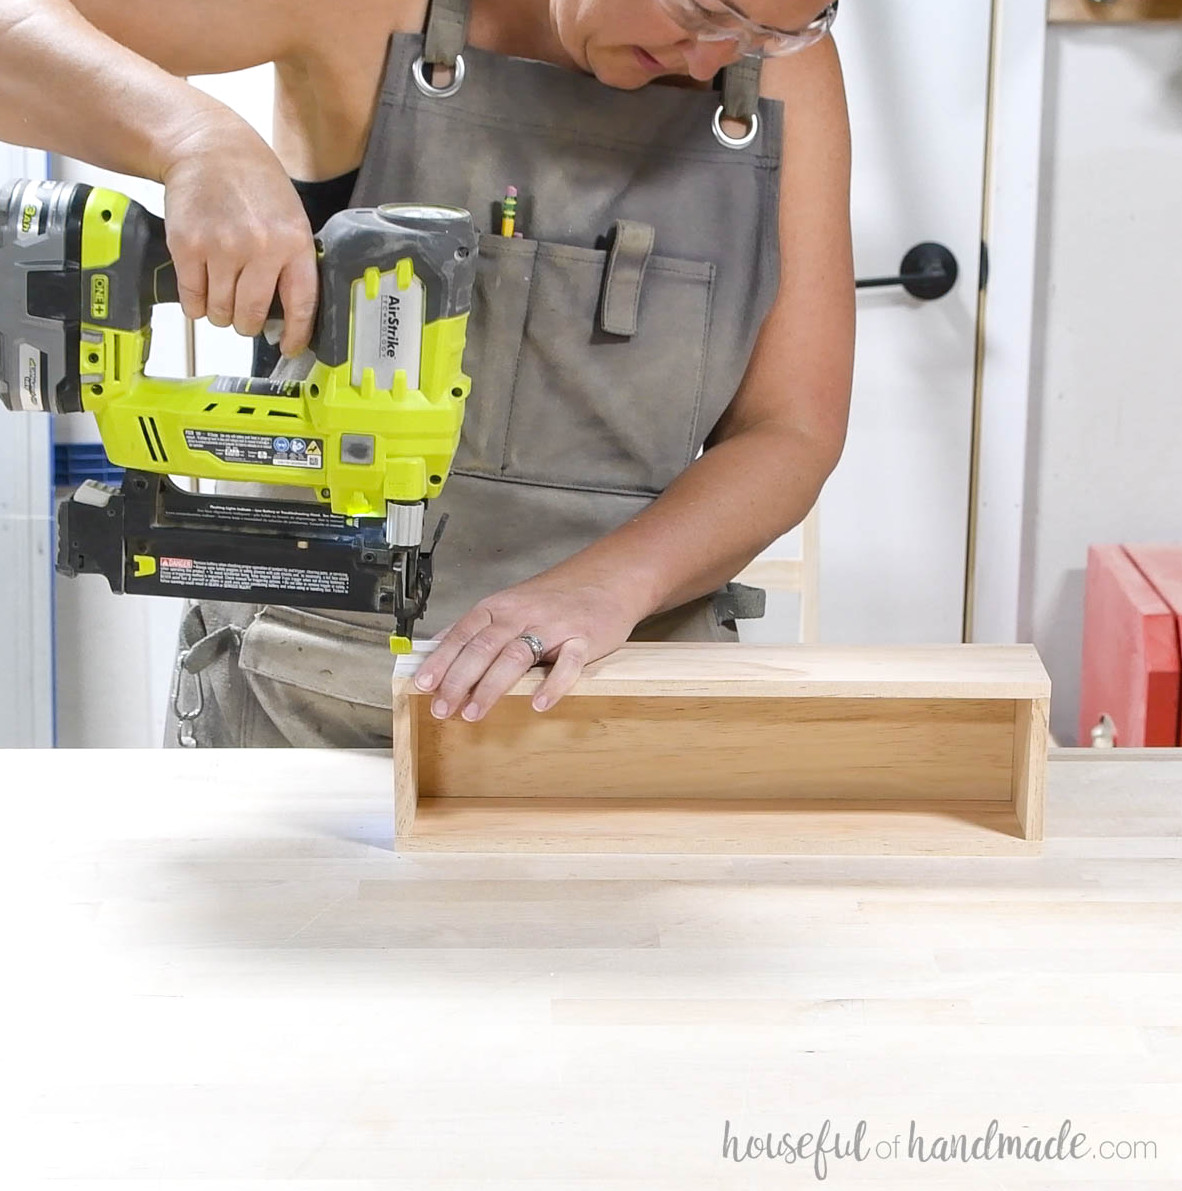
Next, attach the front and back pieces of the bins, aligning them flush with the sides and bottom.
Securewith 1” brad nails and adhesive.
For the slatted bin, fasten the slats with a 1/2” space between each one.
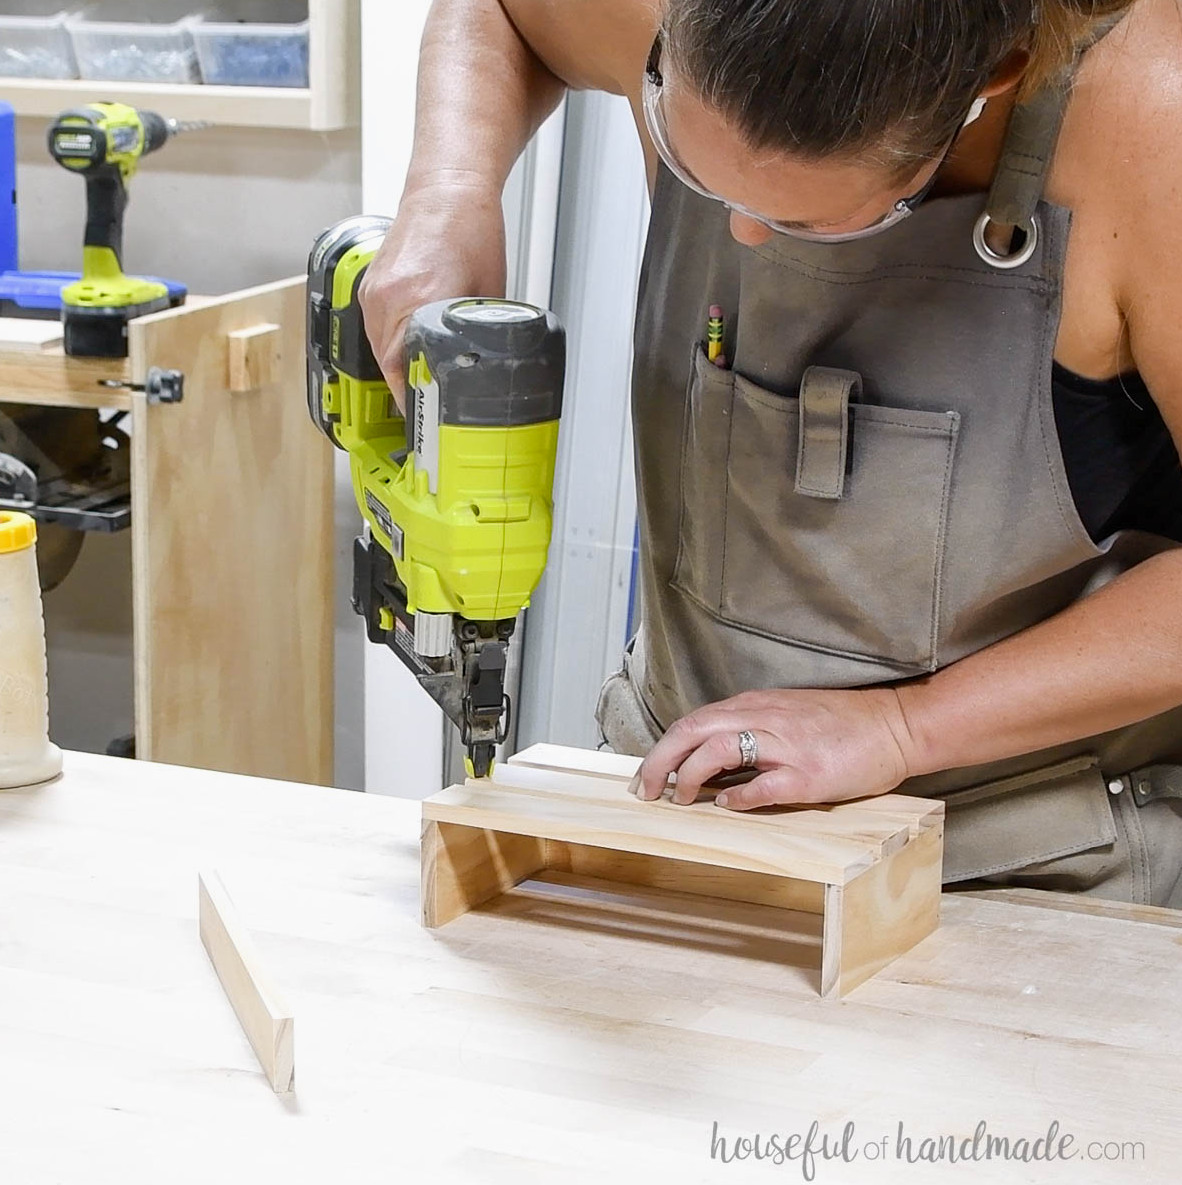
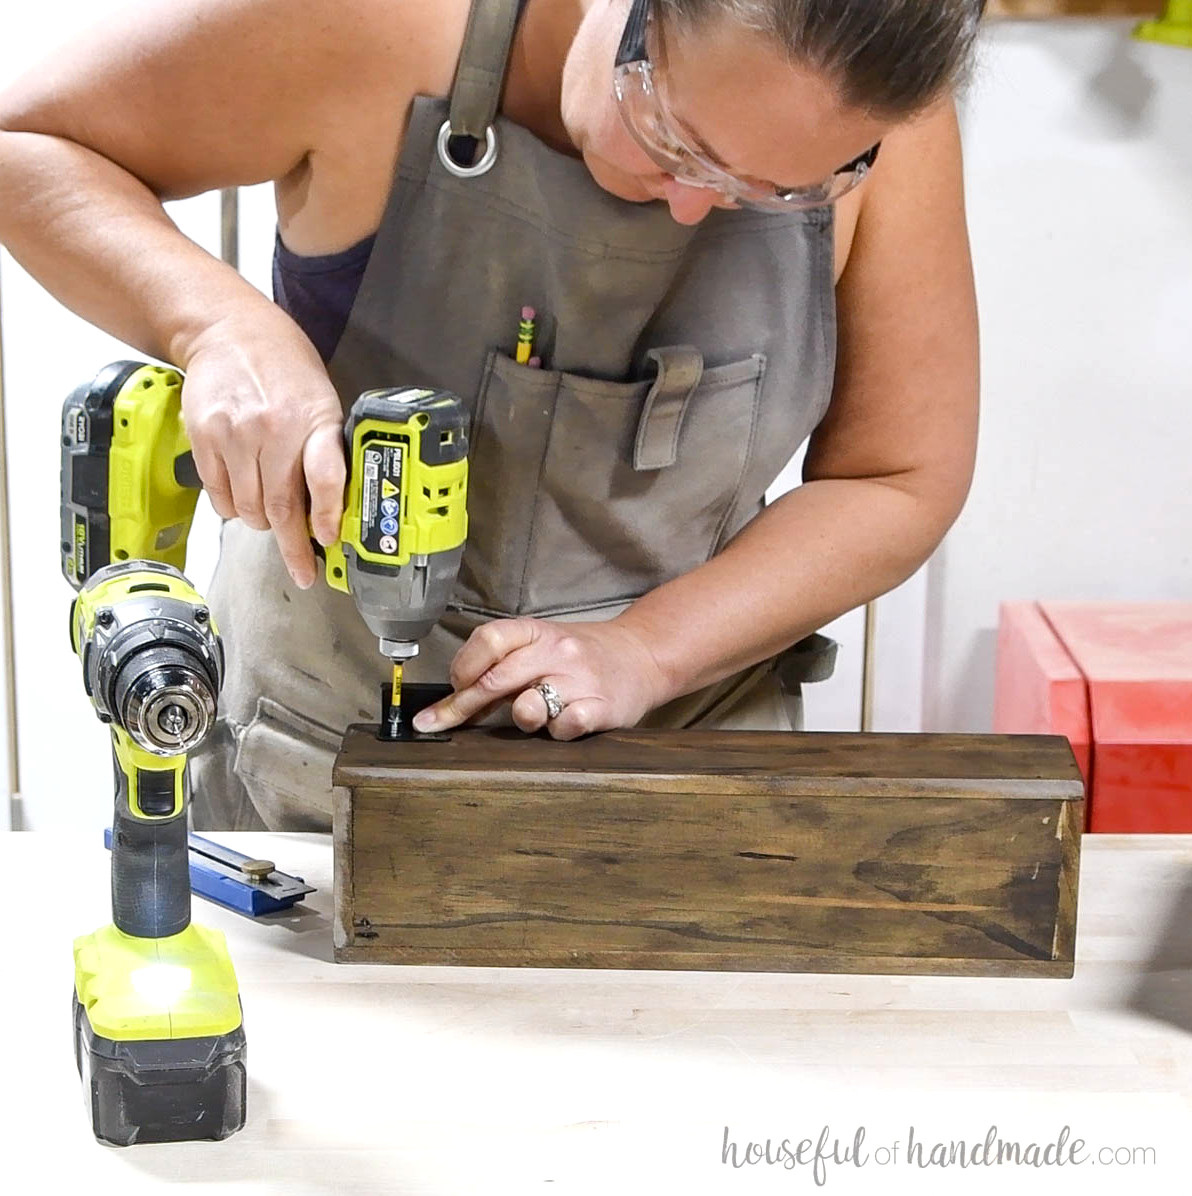
Next, secure 2 square hangers to the upper back of every bin using 3/8” wood screws.
These hangers allow the bins to be repositioned, making it easy to adjust them for whatever you plan to store.
STEP 4- Mount the mirror
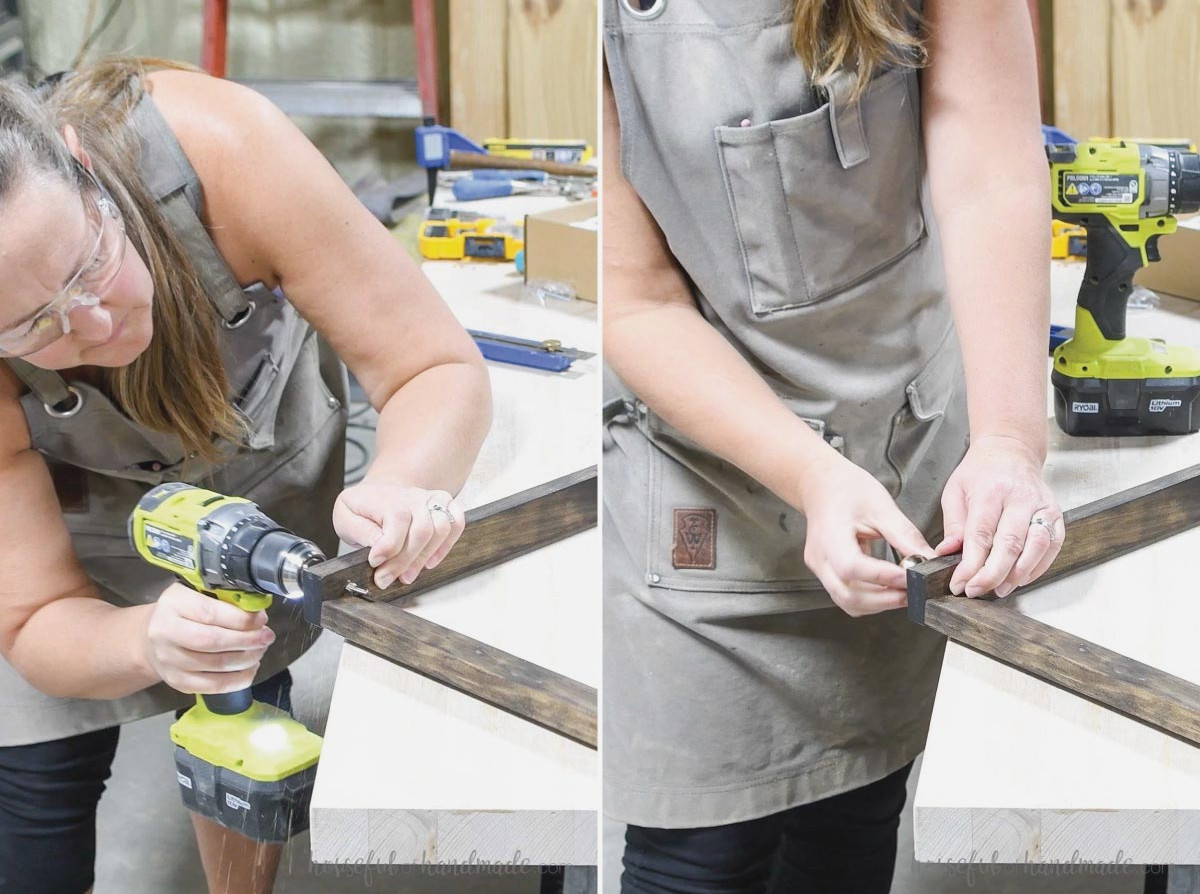
Before mounting the mirror, you can drill holes through the sides if you would like knobs to appear as though they are supporting it. Position the holes 1” below the top and just toward the front of center.
Afterward, twist the knobs into place using their attached screws.
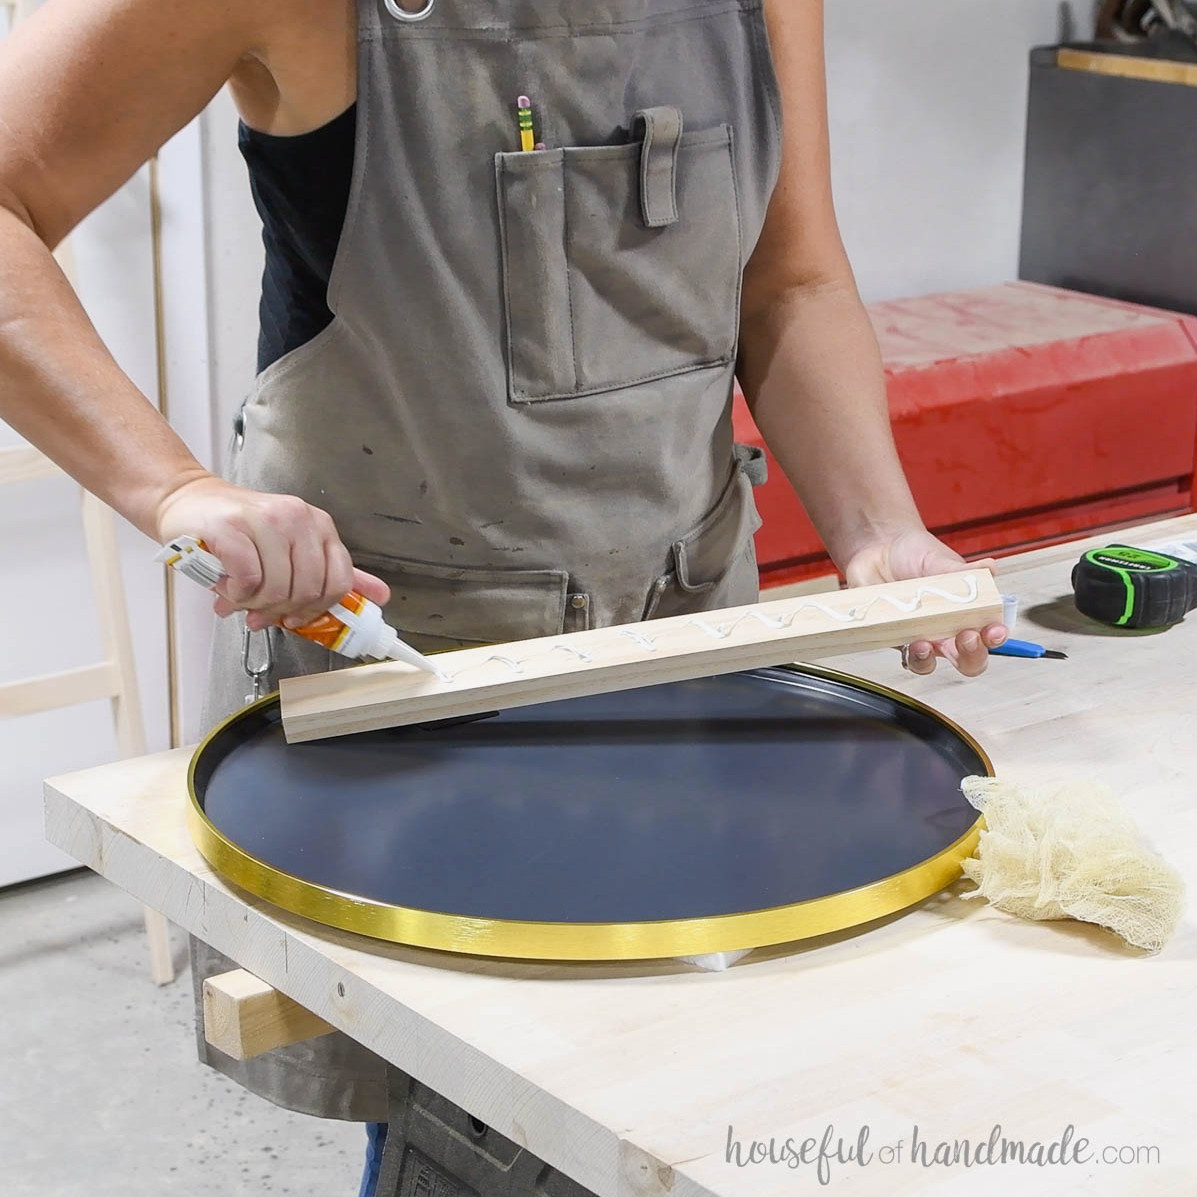
Apply construction adhesive labeled for use with both mirrors (or glass) and wood, then attach the mirror to the mirror-support rung as directed on the adhesive packaging.
Because my mirror included a frame, its back surface was uneven. I therefore adhered a scrap piece of 1×2 inside the frame with the construction adhesive.
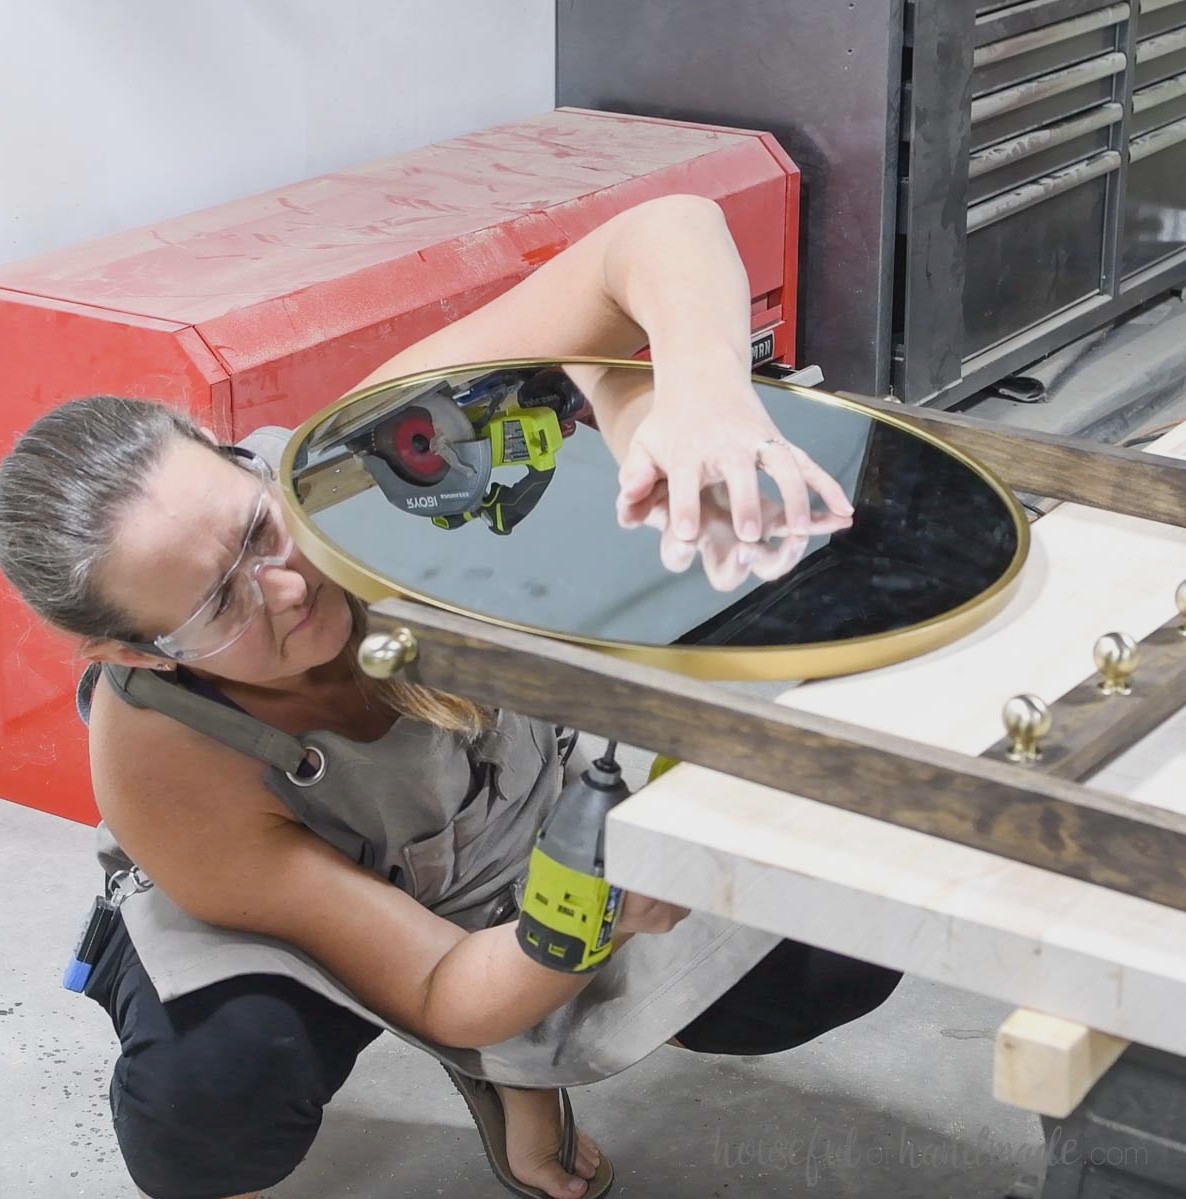
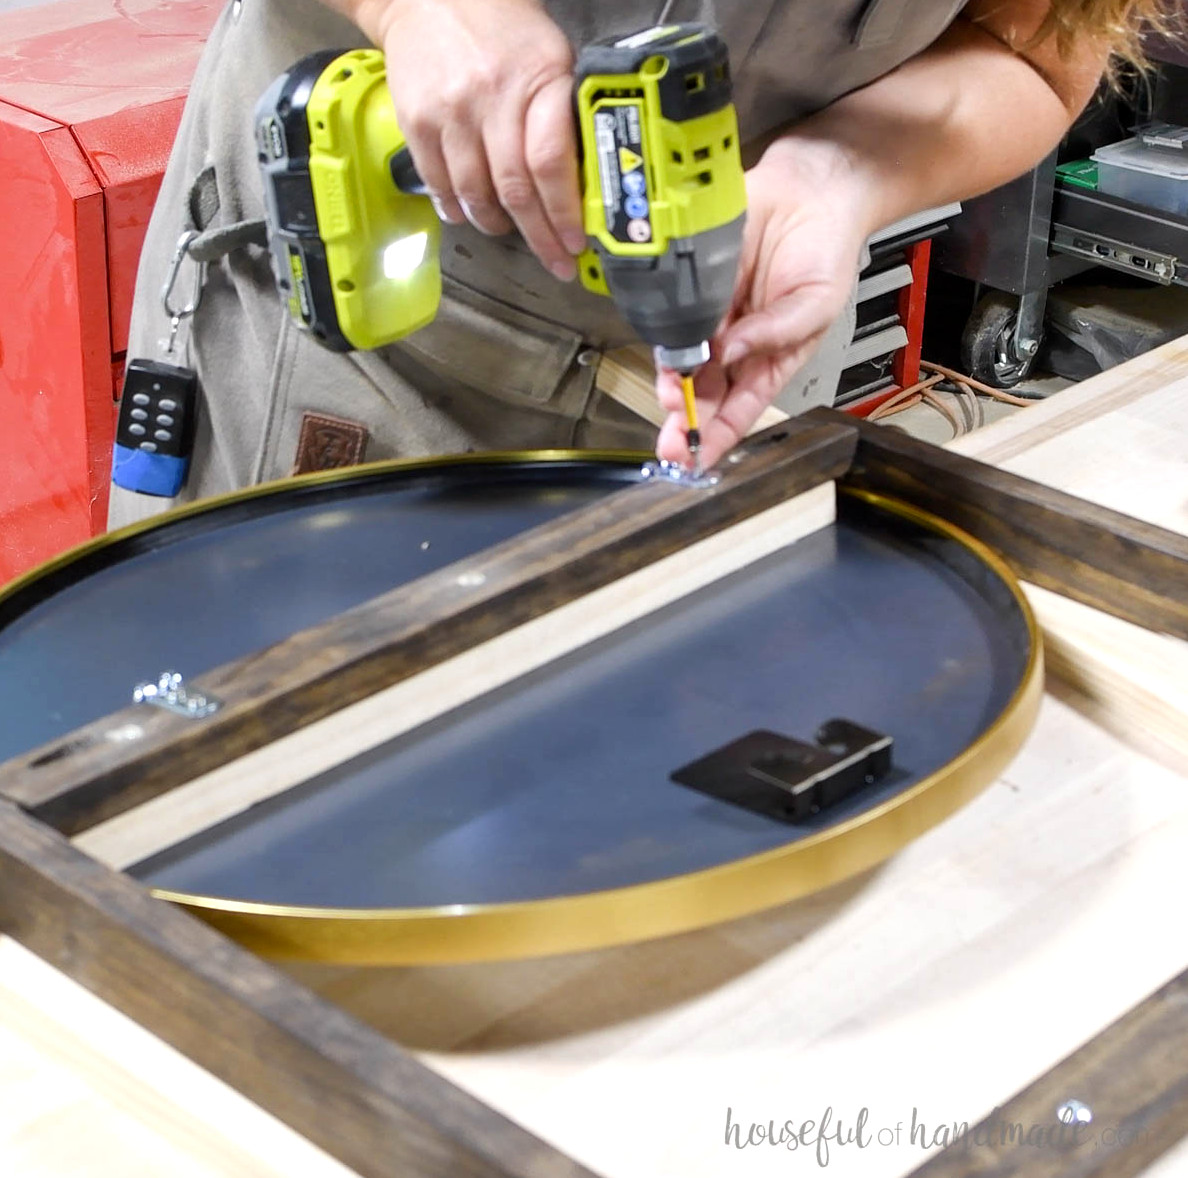
Once the adhesive had cured, I fastened the mirror to the ladder by driving countersunk 1” screws through the rear of the rung and into the 1×2 attached to the mirror.
To keep the ladder from being knocked or falling forward, install 2 D-ring hangers on the upper rung.
Place them over heavy-duty picture-hanging hooks mounted in the wall to secure the ladder.
Install knobs or hooks on the ladder’s top rung for hanging belongings. Then position your bins across the rungs in whichever arrangement you prefer.
I really like that the bins can be adjusted and moved effortlessly whenever necessary.
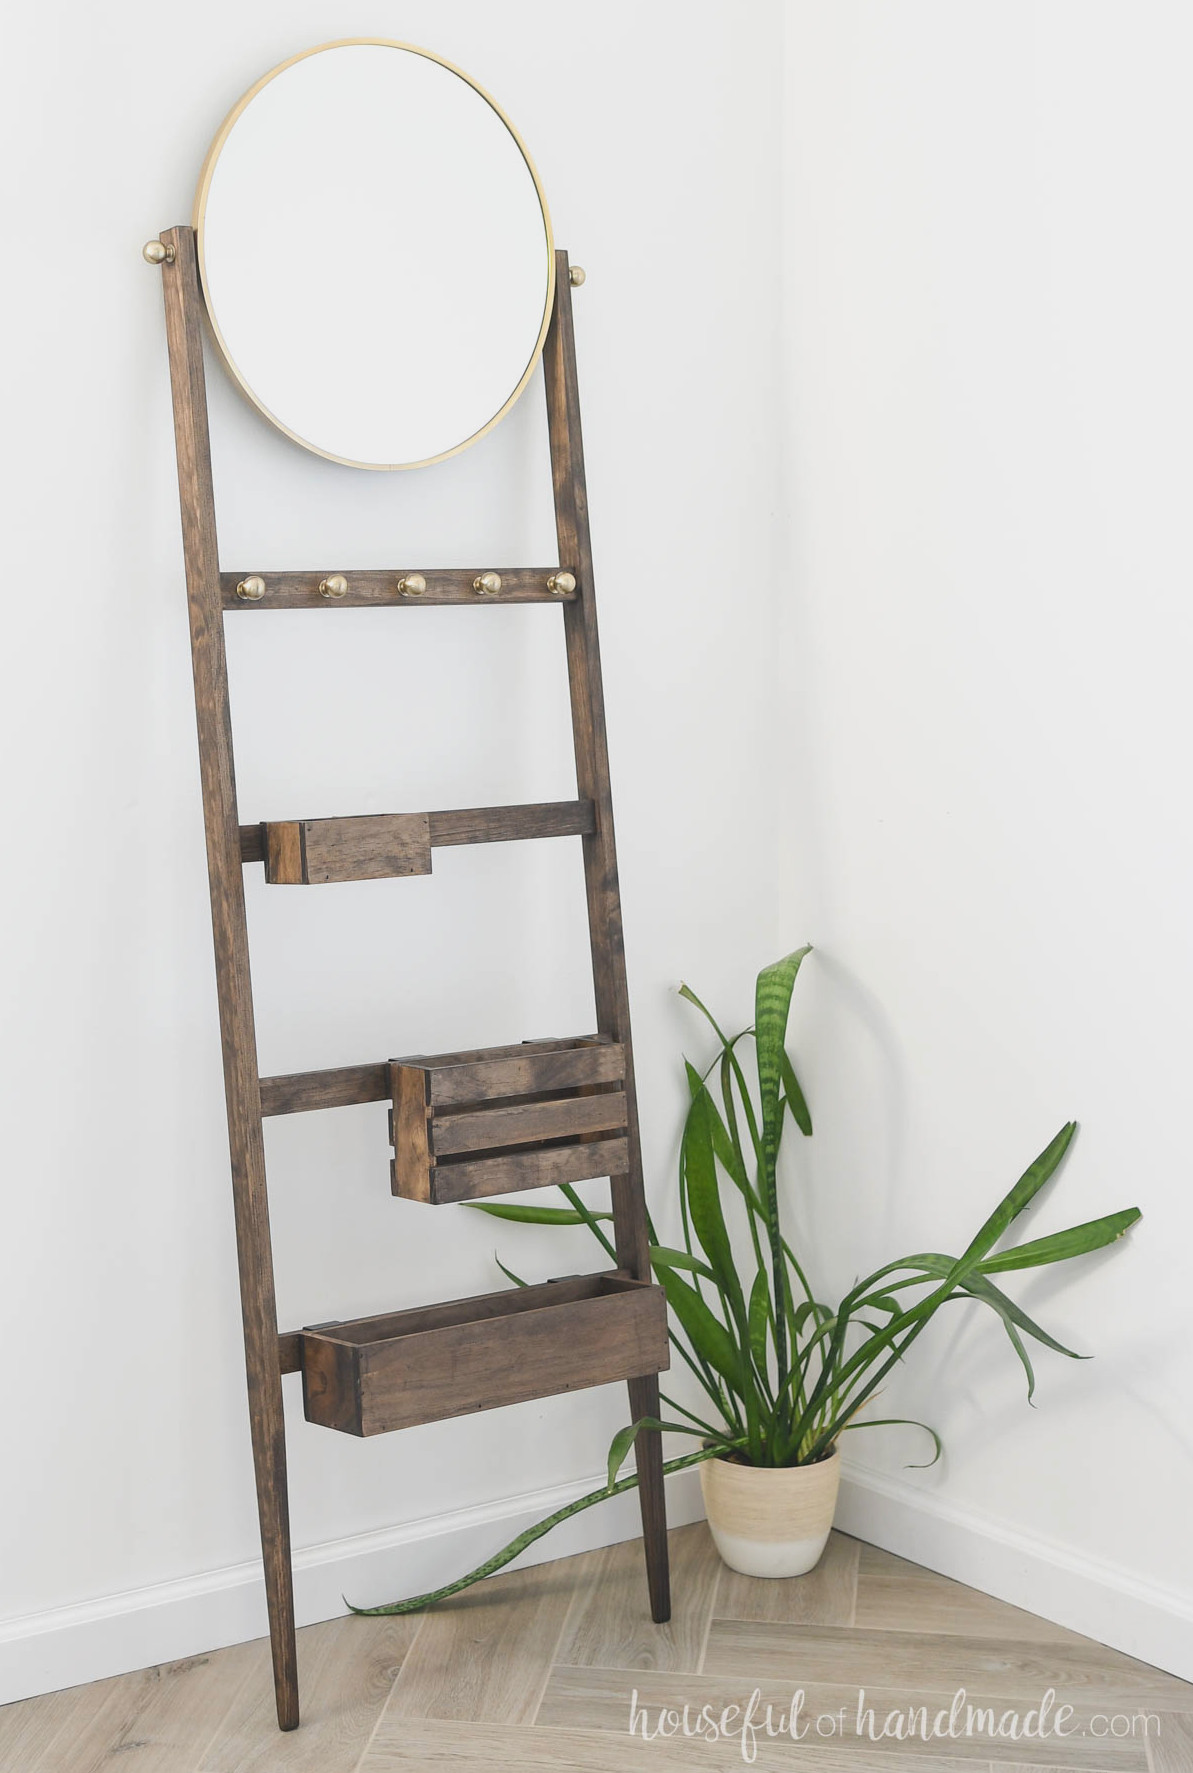
You’re finished!
Remember to Download the Printable PDF Plans Here!
Premium plans feature:
- Suggested Tools
- Materials shopping list
- Simple-to-follow cut list chart
- Cutting diagrams
- Detailed step-by-step directions with 3D renderings
- Useful resources
- BONUS: 3D SketchUp model
Now you can arrive home with your hands free and quickly locate everything again when heading out.
Enjoy building!