Create a lovely oversized bookshelf to bring storage to any room in your house.
Bookcases are incredibly useful! Fill them with books, place baskets on them for extra organization, use them to showcase decorations, or combine all three ideas.
Although you can purchase a bookshelf at a low price, inexpensive versions often look and feel cheaply made.
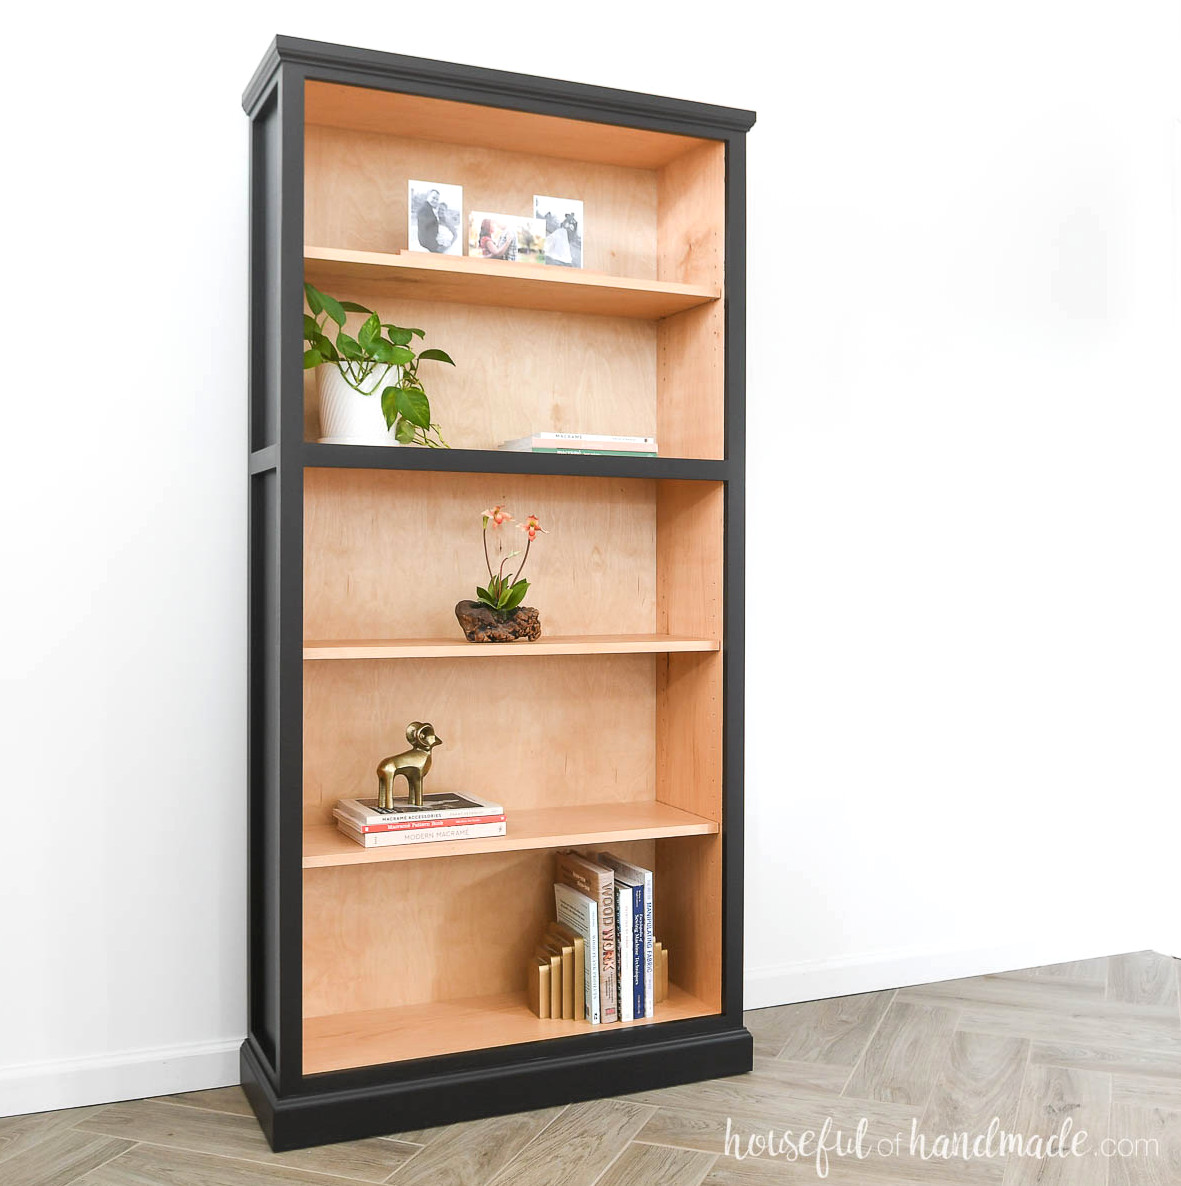
A better option is to construct your own DIY bookcase. This attractive tall bookcase includes 5 shelves and was made with 1 sheet of 3/4″ plywood, 1 sheet of 1/4″ plywood, plus some trim.
It costs only a little more than the inexpensive veneer bookcases available in stores, yet its appearance is far superior! It is also extremely solid, so it can serve you for many years.
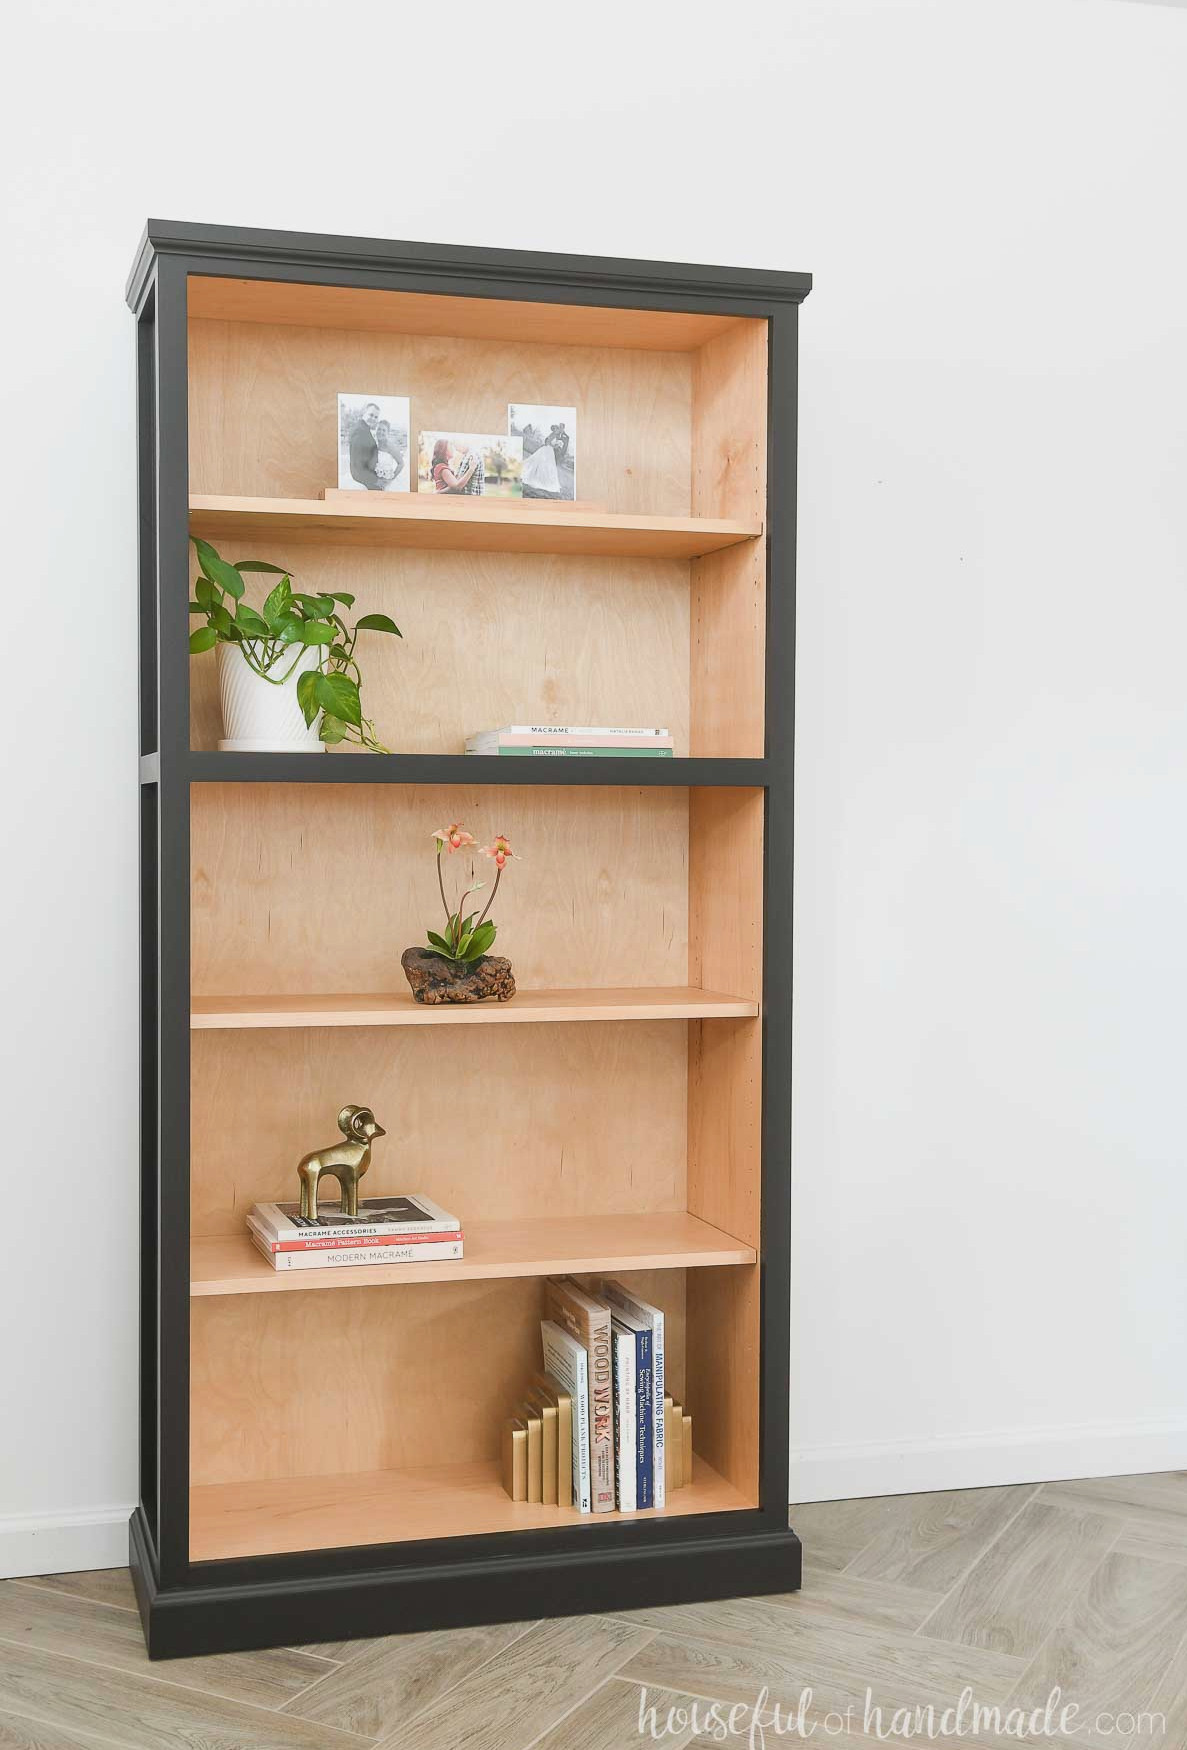
Simple DIY Plywood Bookcase
For this tall bookcase design, I wanted to minimize the materials required. Therefore, I planned the entire frame so every piece would fit on one sheet of 3/4″ plywood.
Should you prefer additional shelves, you can conveniently make them from leftover plywood or use another sheet of plywood.
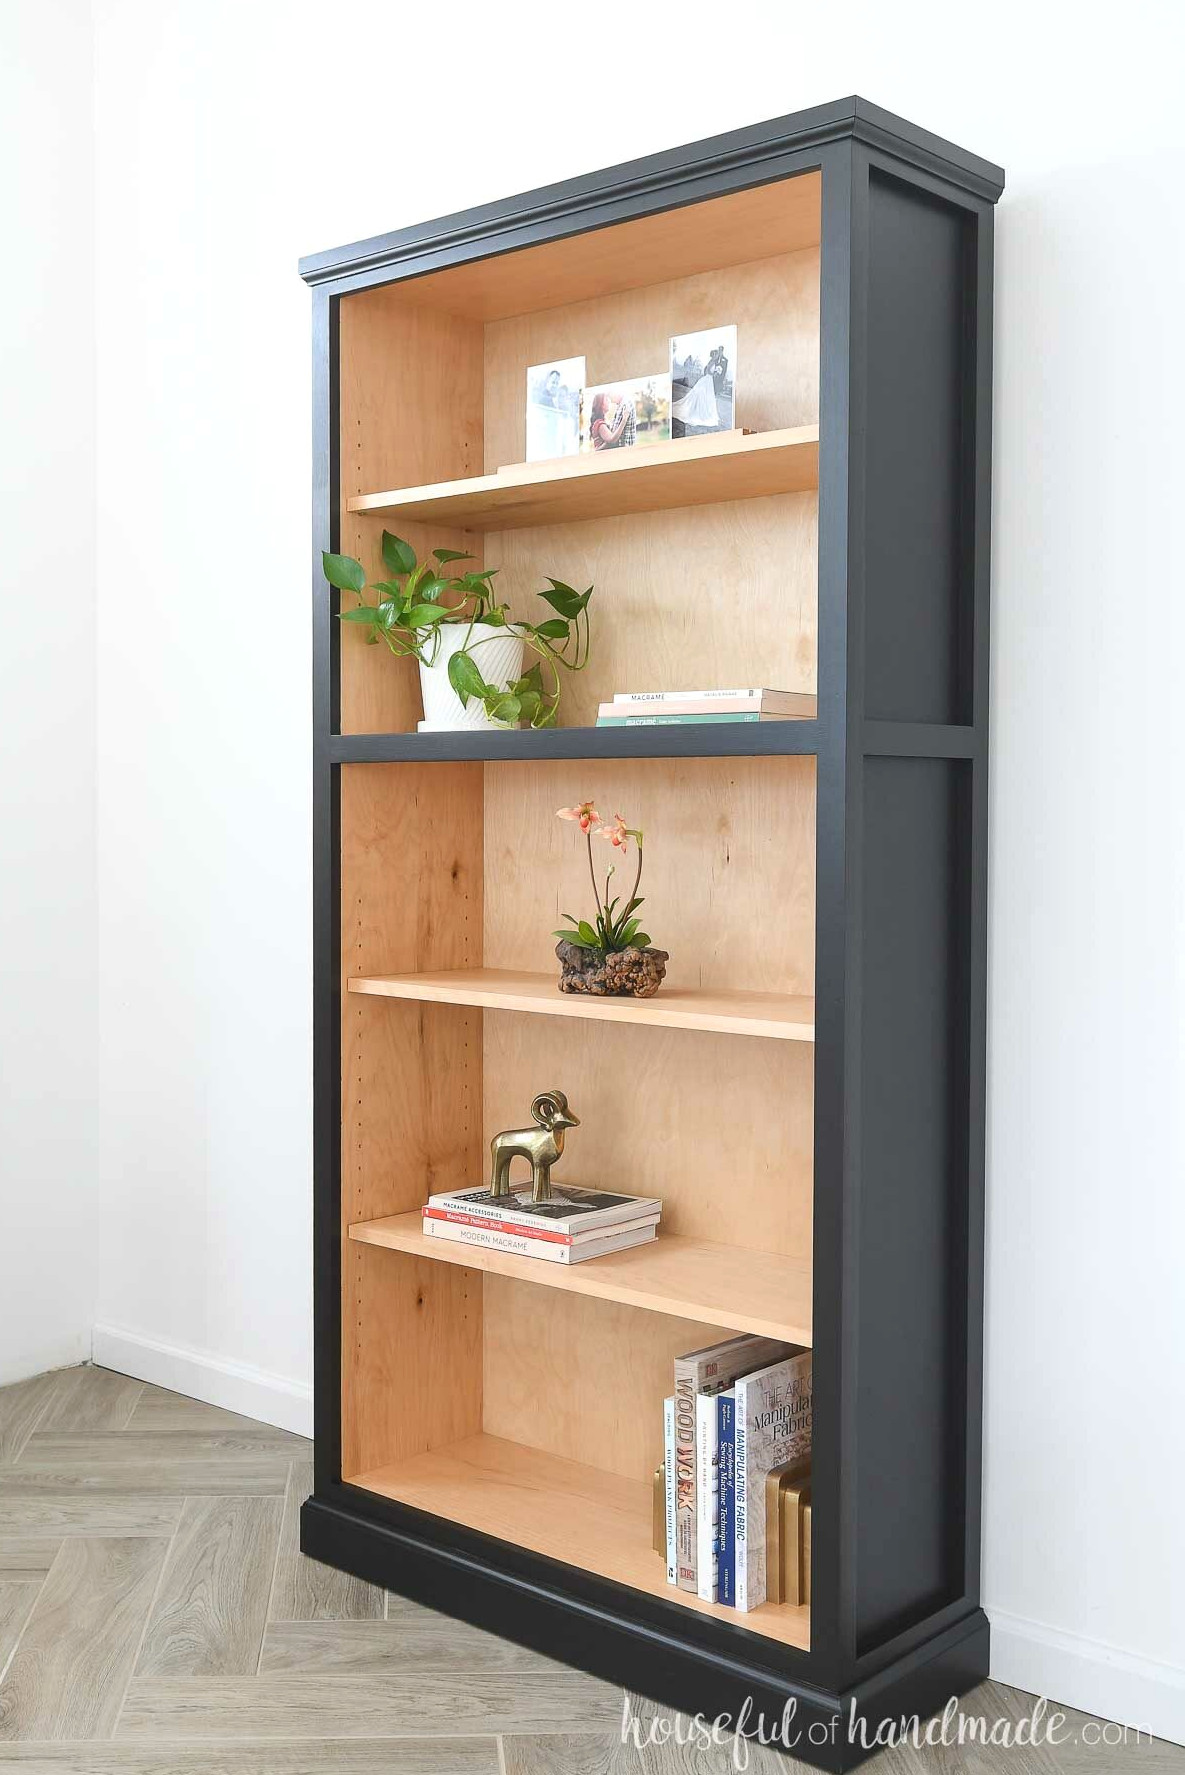
The trim along the sides and front hides all of the screws that hold the frame together. It also provides plenty of character.
The finished piece is a gorgeous bookcase that you will be proud to display.
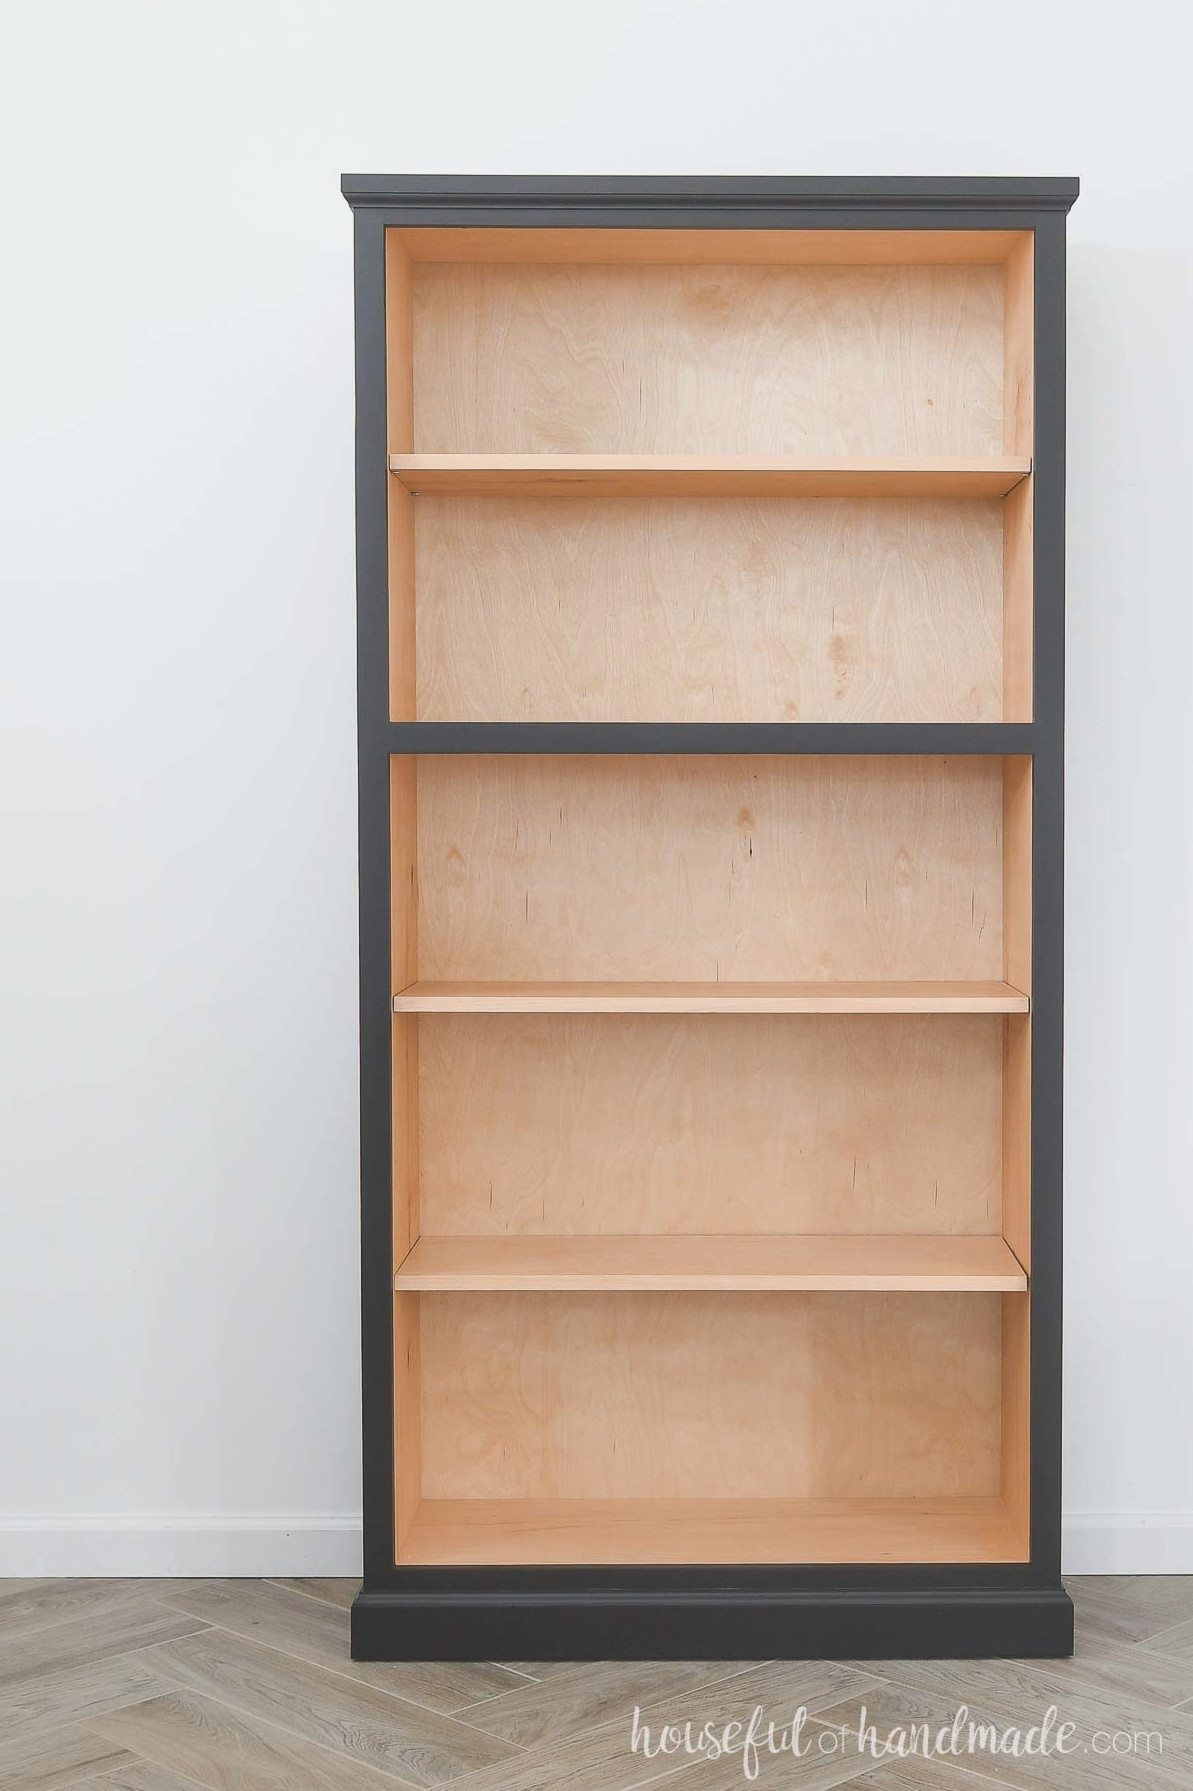
Best of all, this bookcase is incredibly simple to build!
Because I decided on a two-tone finish, painting the bookshelf took more time than constructing it.
The only essentials are a circular saw with a guide for making straight cuts, a drill, brad nailer, and sander.
I also used a pocket hole jig, miter saw, and trim router, although these tools are entirely optional (as explained in the tutorial below).
Clear off your workbench and let’s start building!
Additional DIY Bookcases
There is always room for more bookshelves! They help maintain an orderly home while adding attractive style.
How to Construct a Large Bookcase
Tools & Supplies
Overall Measurements
The completed bookshelf measures 35 1/2″ wide, 73″ high, and 13″ deep. It includes 1 fixed shelf and 3 adjustable shelves.
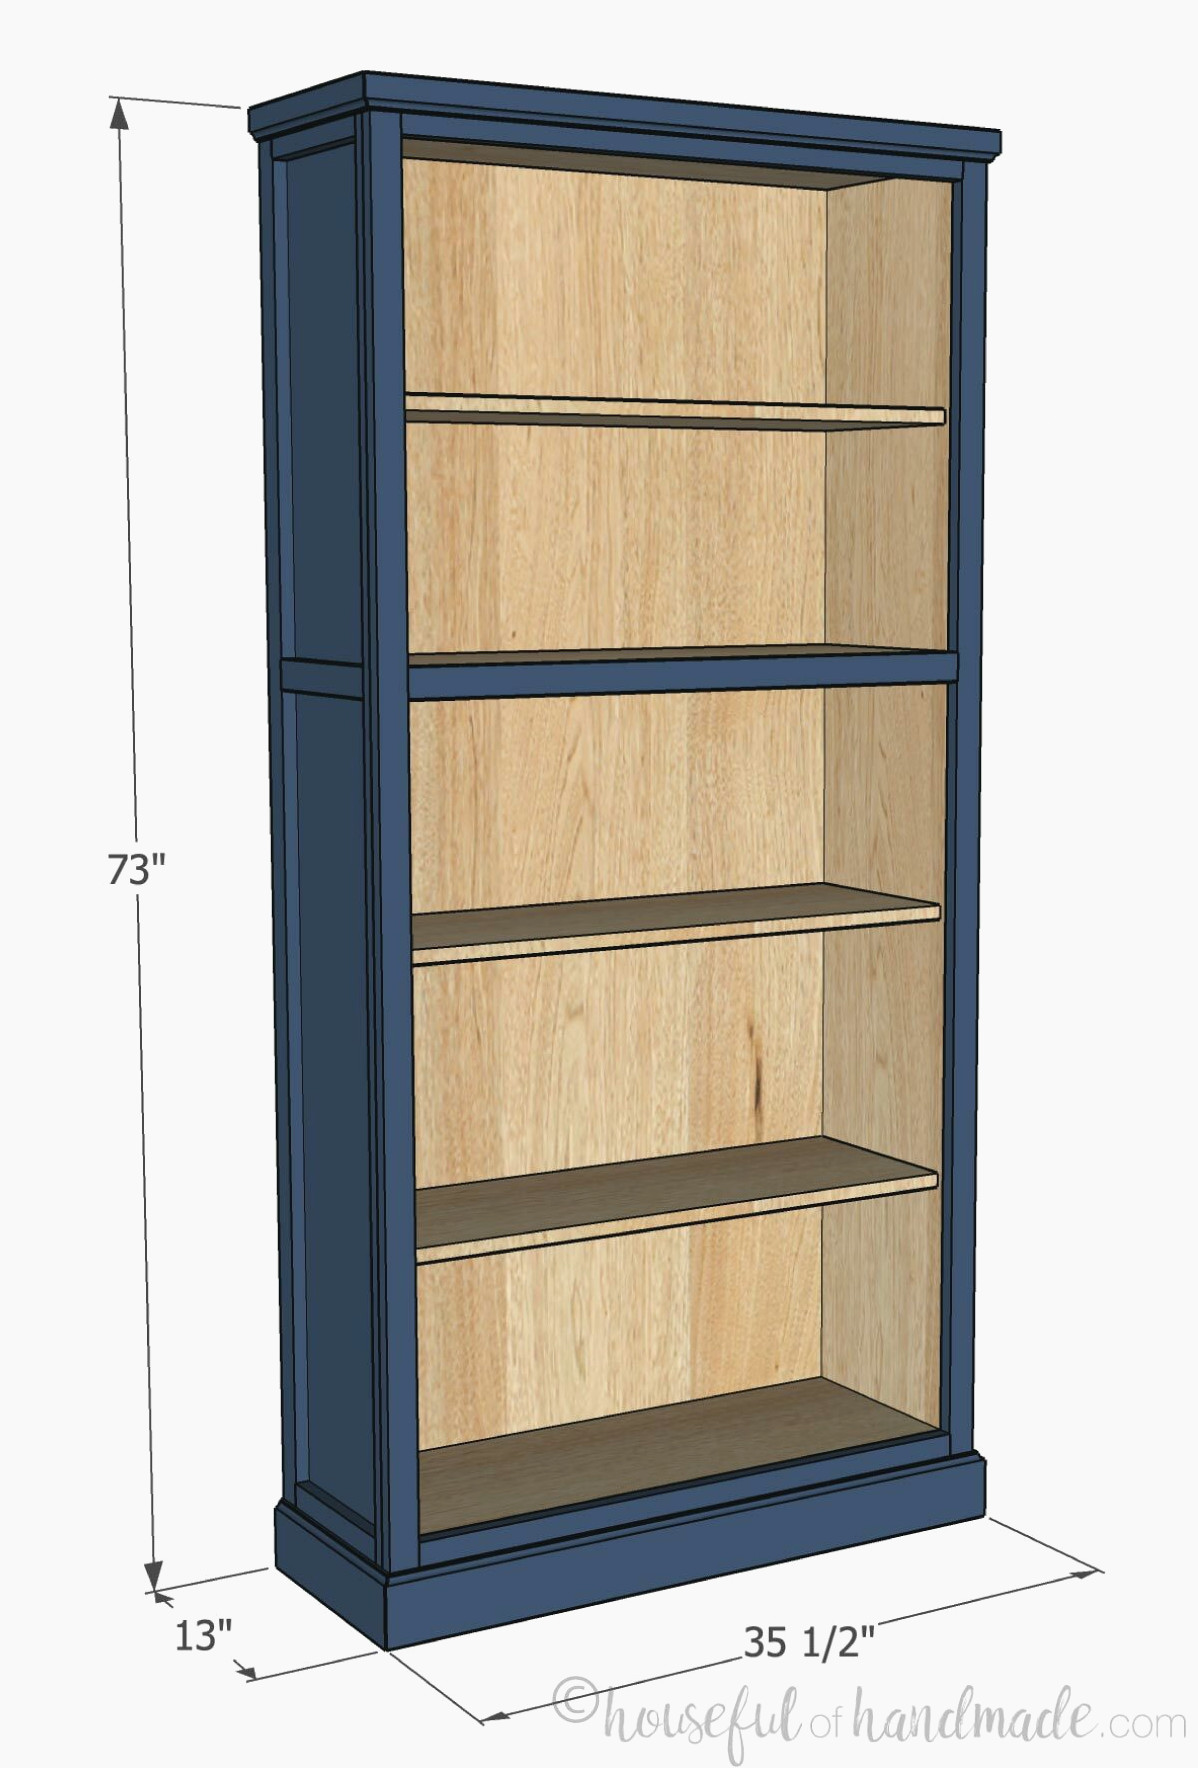
Cutting Guide
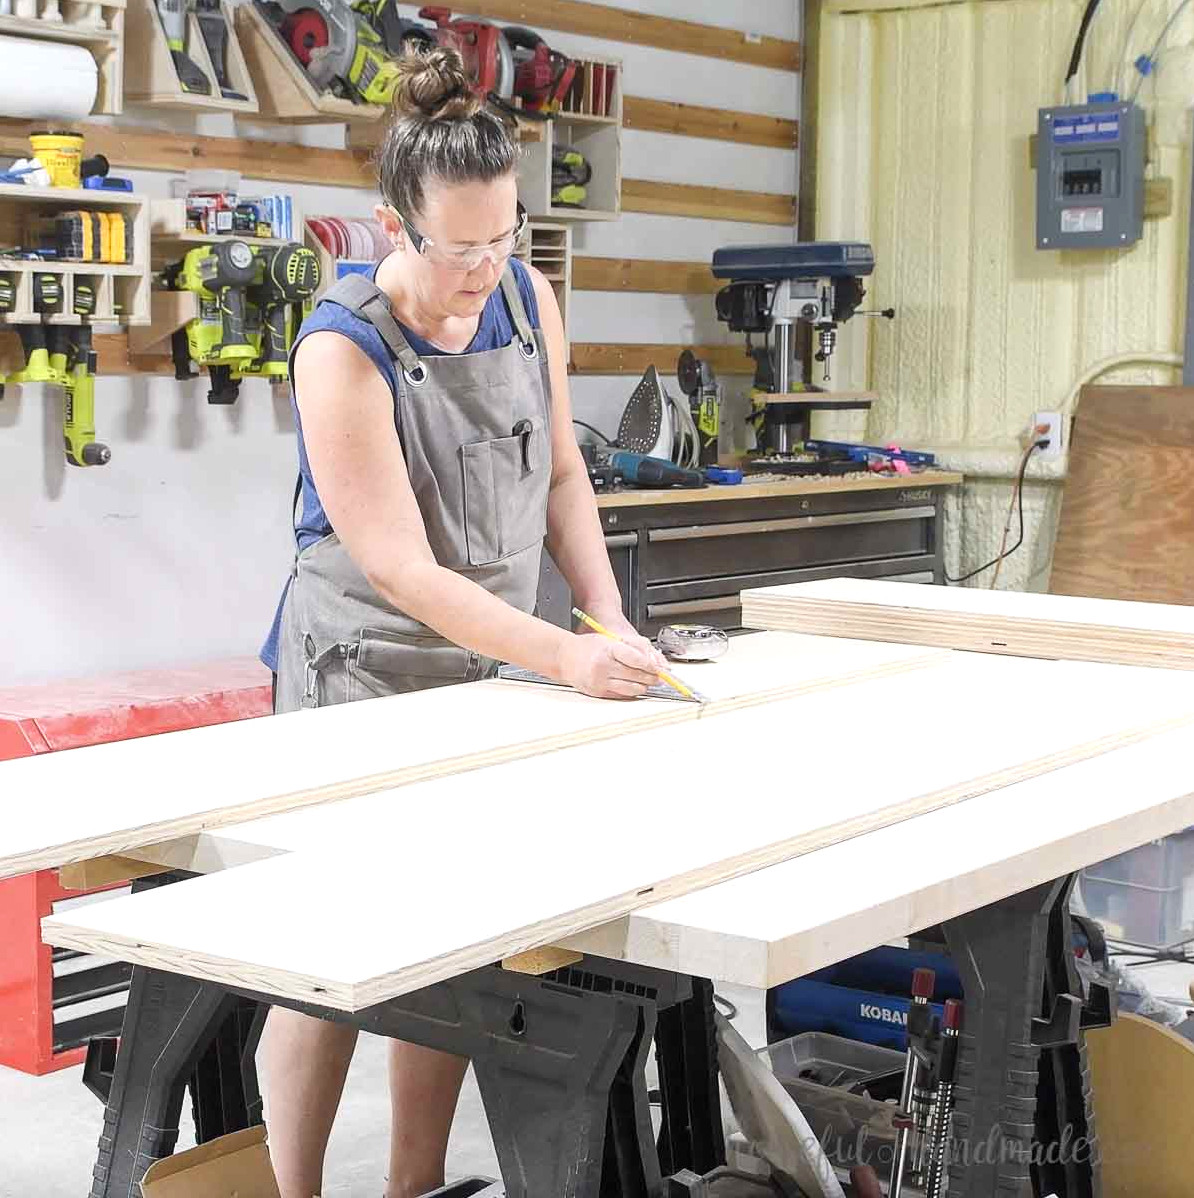
Cut the components based on the straightforward table provided in the PDF plans.
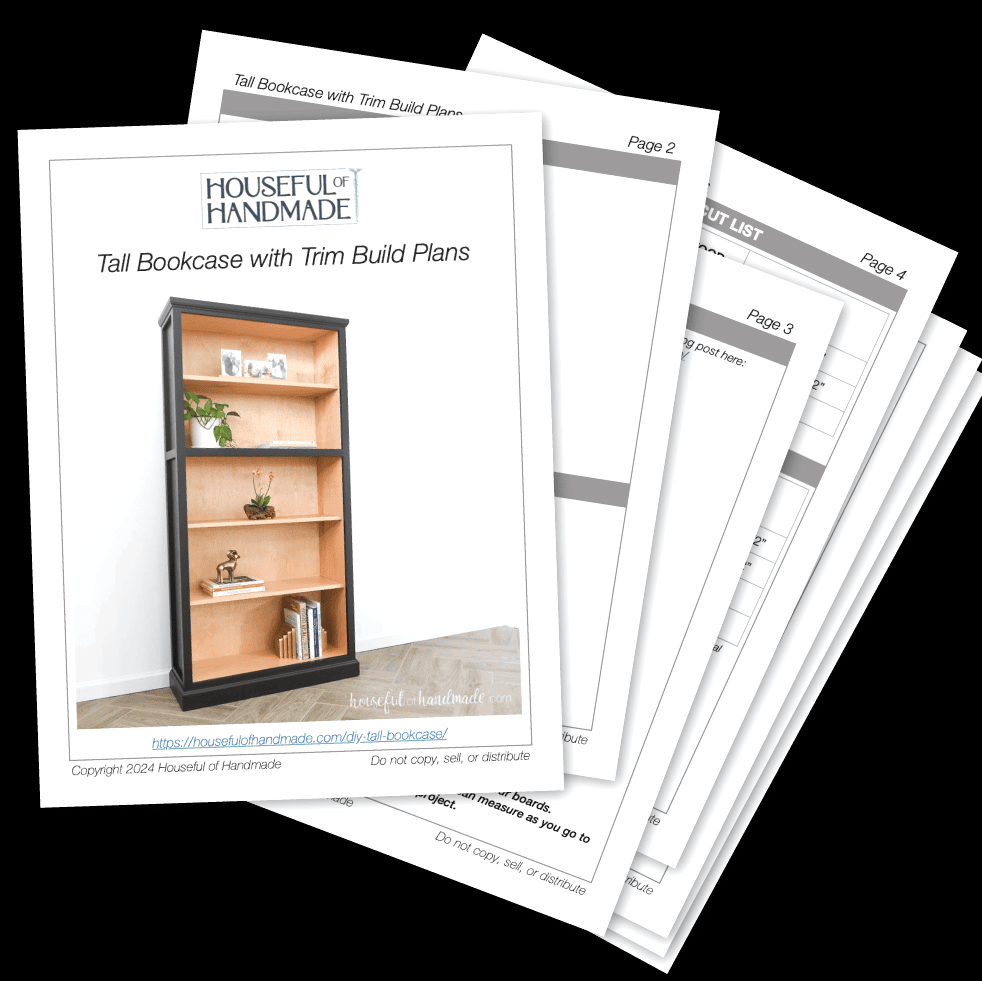
Purchase the Premium PDF Woodworking Plans
PDF plans contain- Easy-to-Follow Cut List, Shopping List, Suggested Tools, Step-by-Step Directions with 3D drawings, & Useful Resources
BONUS- 3D SketchUp Model
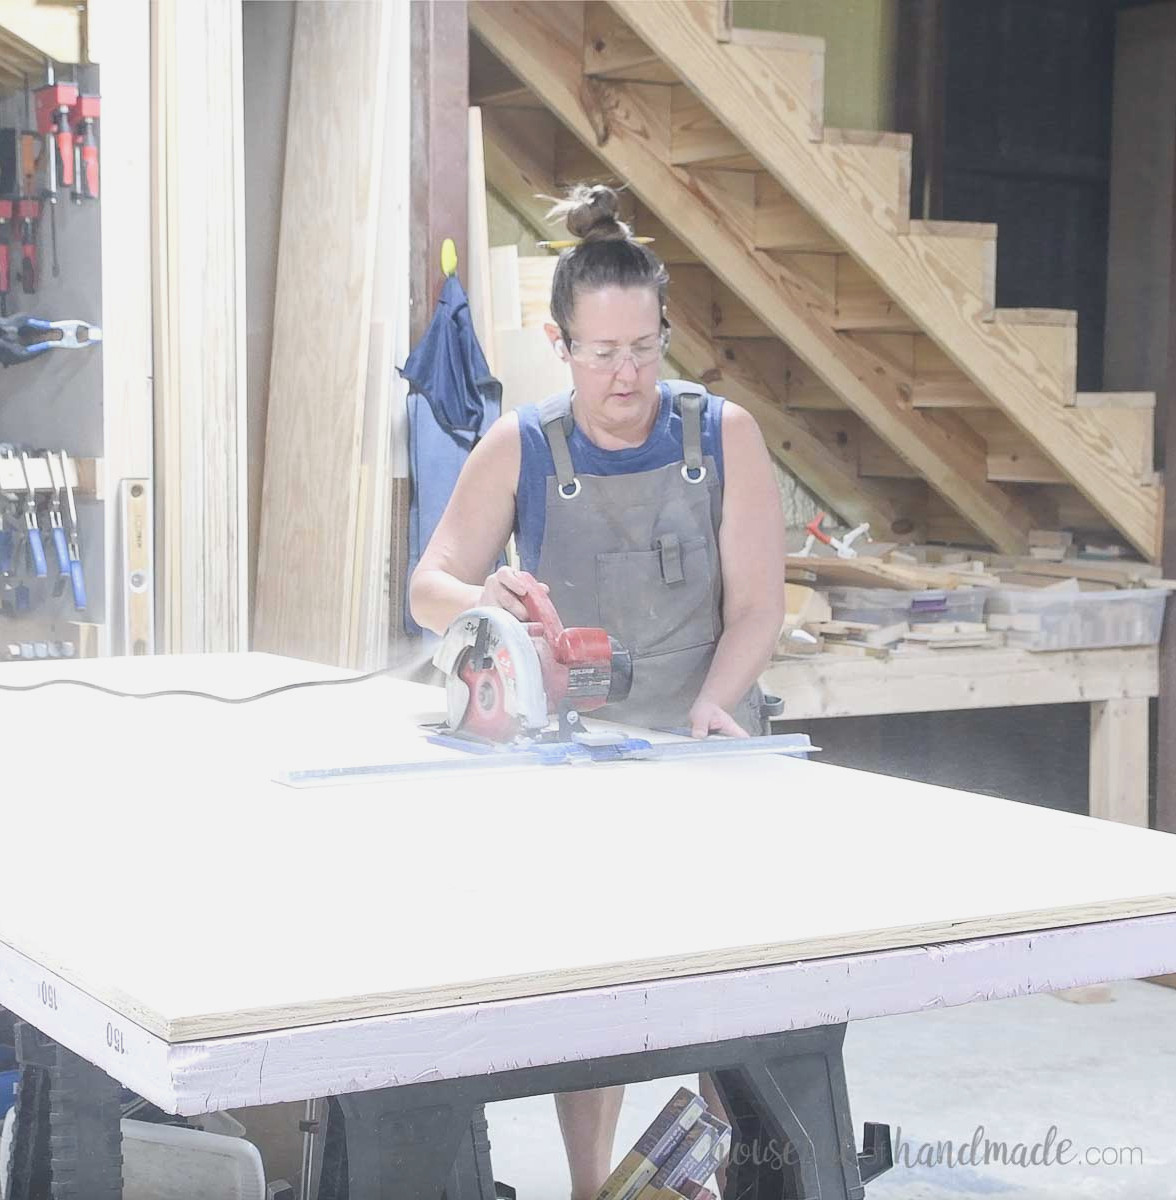
With a rip-cut guide, divide the plywood into 4 strips. I prefer placing my plywood on rigid foam insulation while cutting so the sheet remains fully supported.
Find all of my circular-saw plywood-cutting tips here.
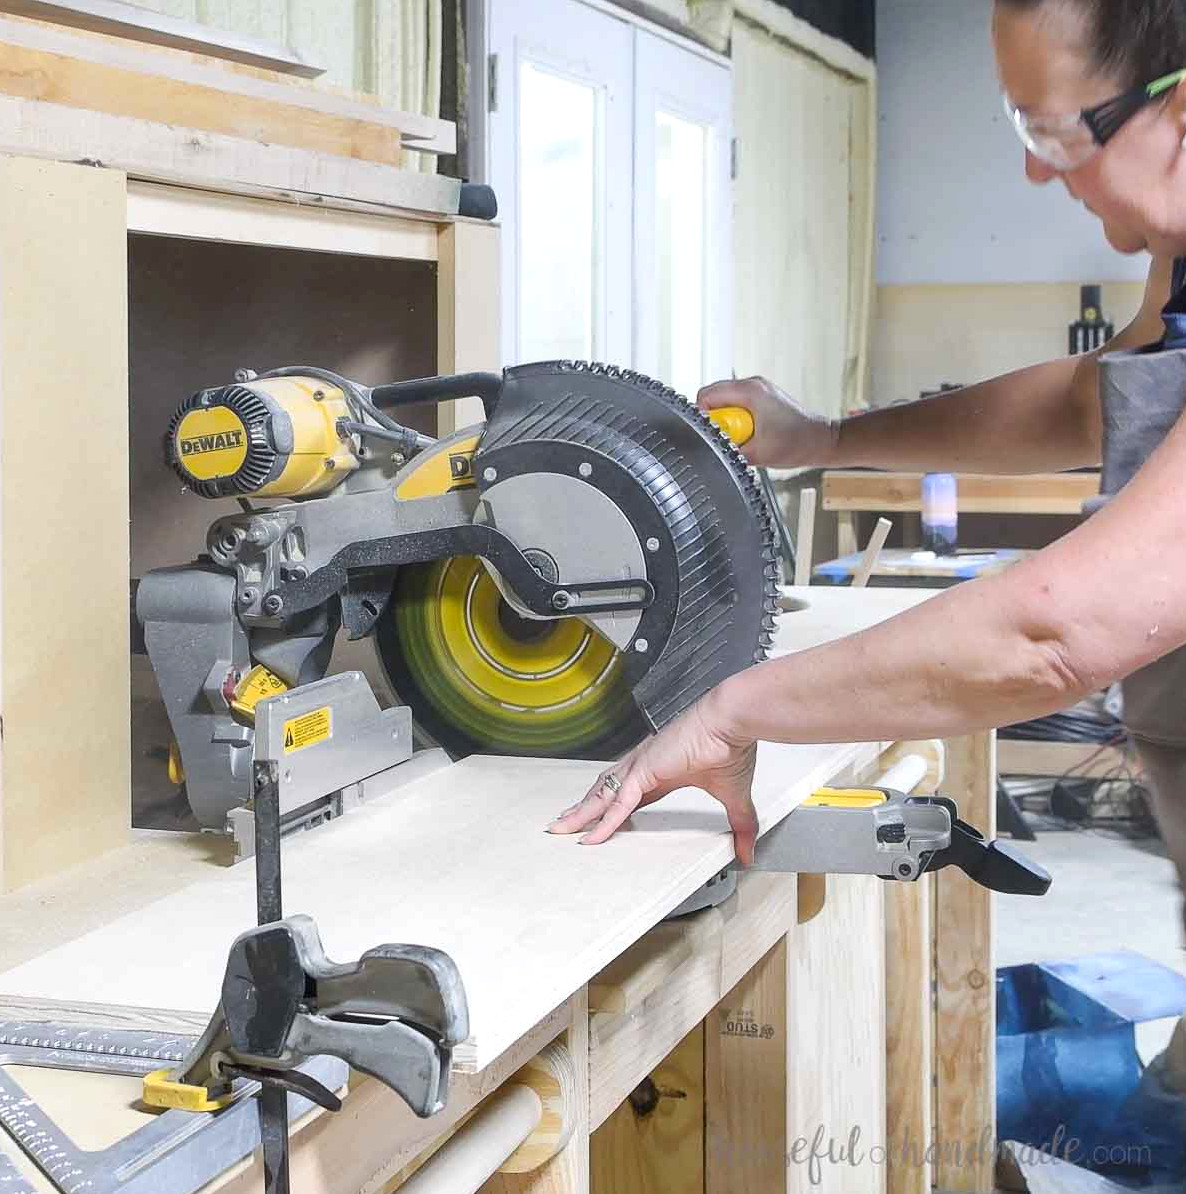
After that, I cross-cut the pieces with my sliding miter saw.
Without a sliding miter saw, you can make the cross-cuts using a circular saw. Guide it with a straight edge to ensure clean, accurate cuts.
STEP 1- Put Together the Bookcase Box
Following the diagram in the plans, mark lines on the inside of both side panels to indicate the top of the fixed shelf and the bottom of the lower piece.
Next, on the outside faces of the sides, mark lines showing where the centers of the boards will be used as guides.
Apply wood glue to the edges of the boards. Align the top, bottom, and shelf panels with the inside of one side panel.
Hold them temporarily in position with 1 1/4” brad nails, using the marked line for alignment.
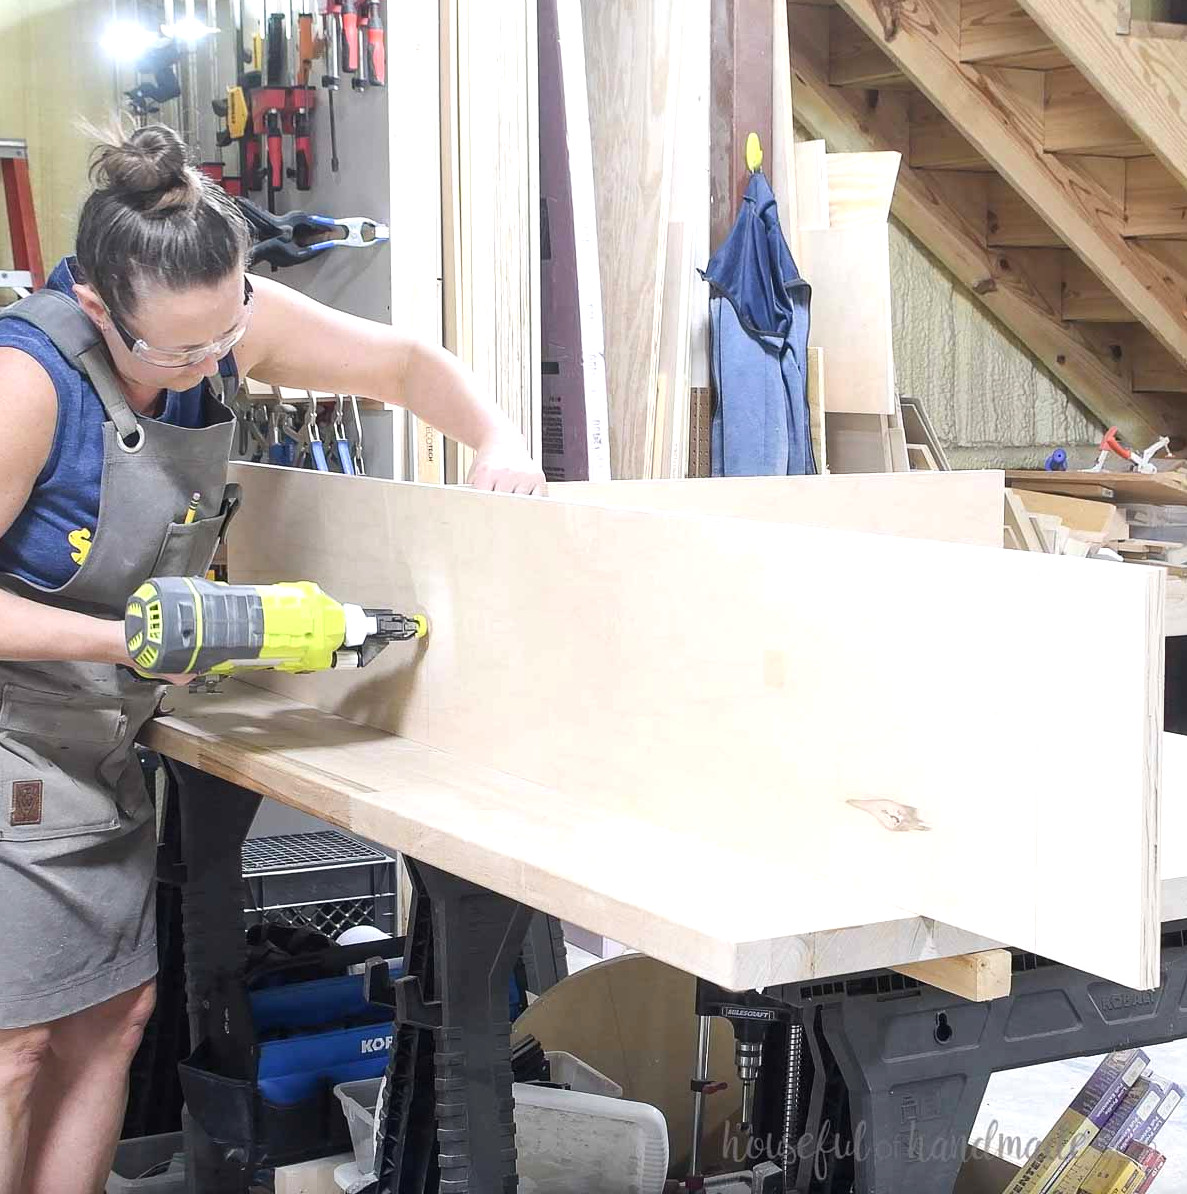
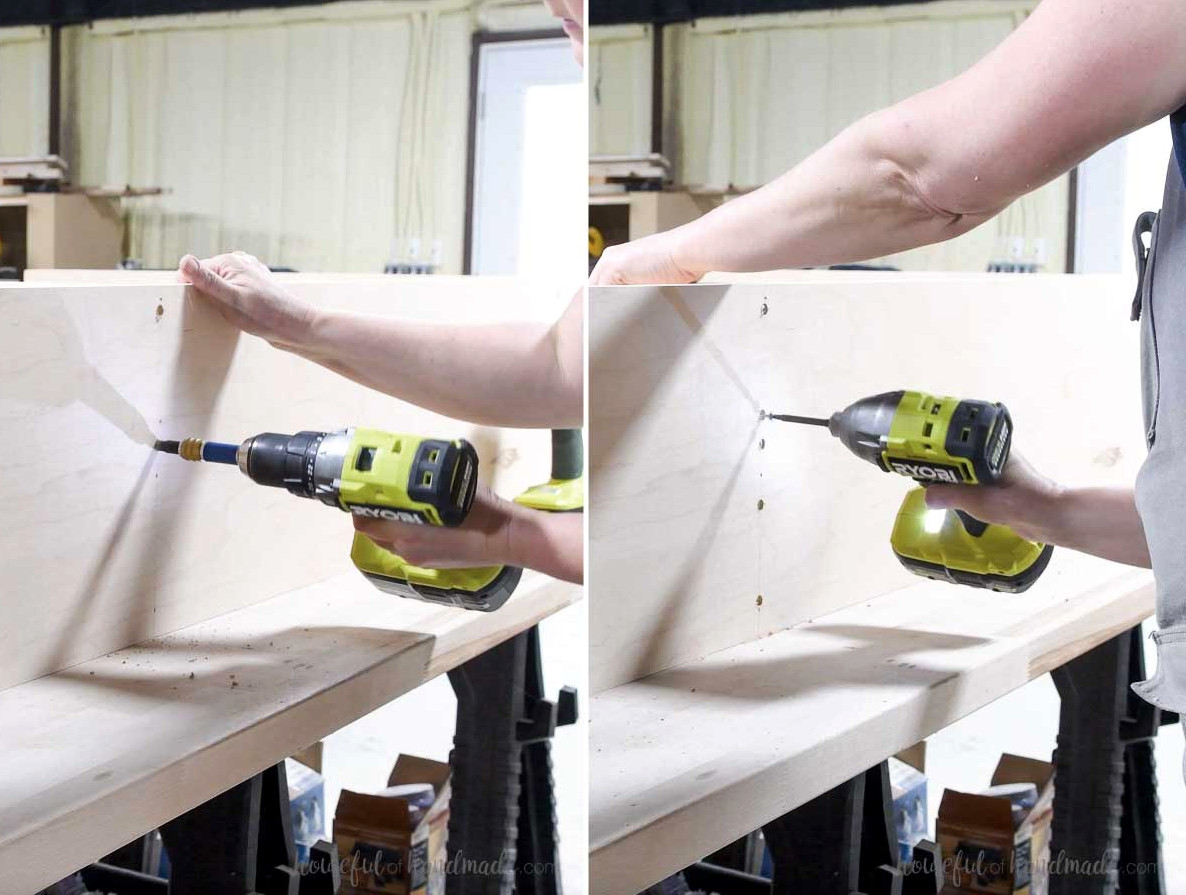
On the marked line, drill countersunk holes through the side panel for the screws.
Afterward, permanently fasten the pieces with 1 1/4” pan-head screws.
Check that the screw heads sit flush with, or slightly below, the surface of the sides.
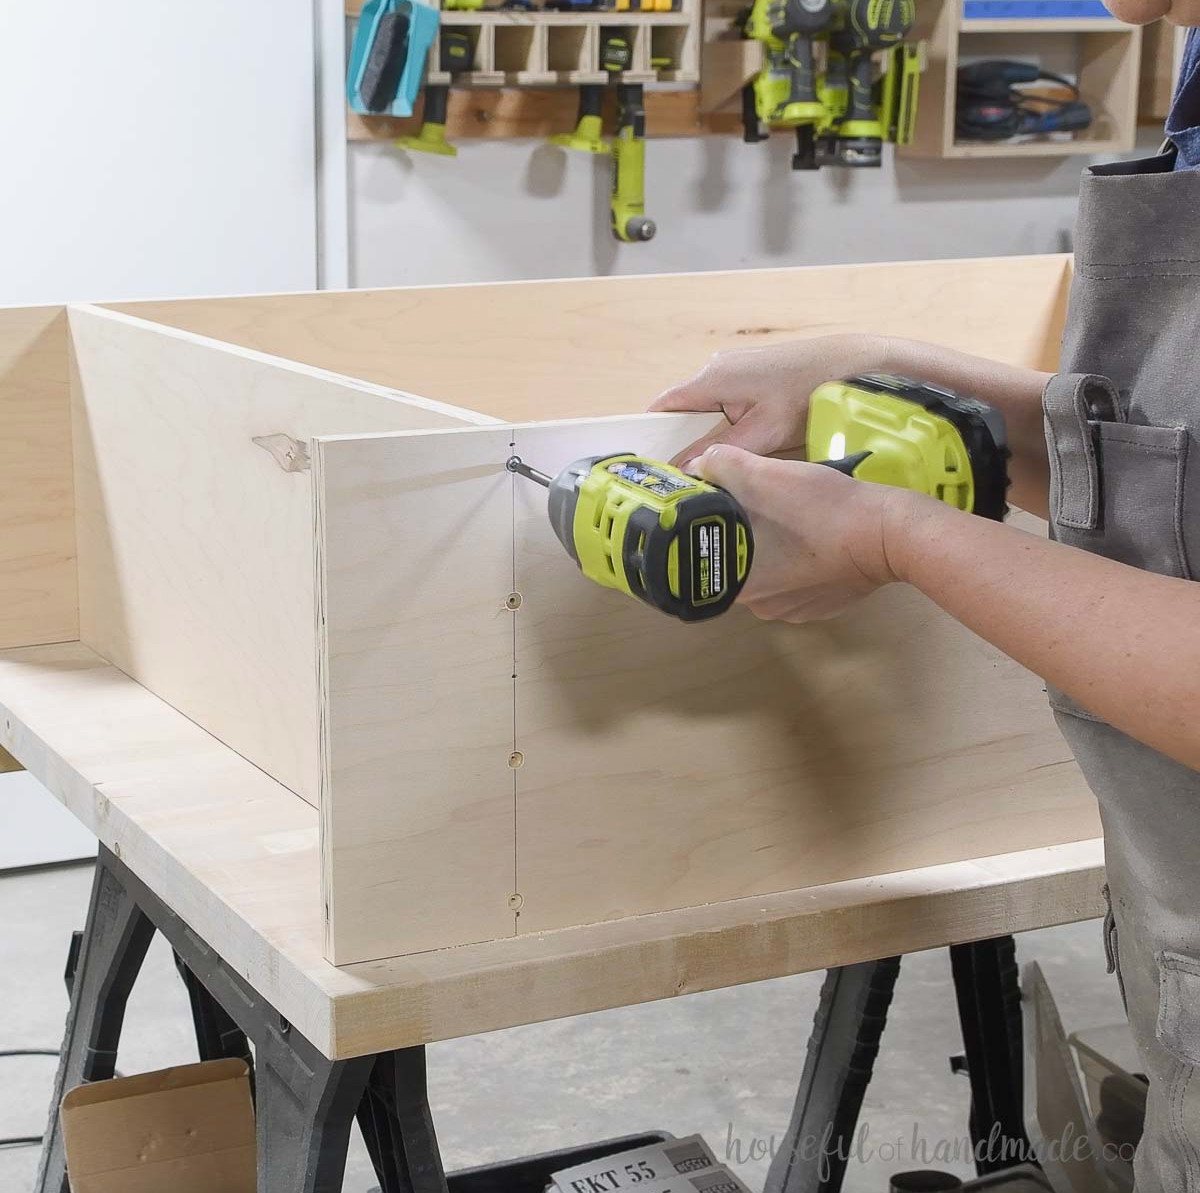
Spread wood glue across the opposite edges of the top, bottom, and shelf panels.
Now position the second side panel against the interior guide lines.
Fasten this side just as you did the first one: begin with brad nails, then add countersunk 1 1/4” screws.
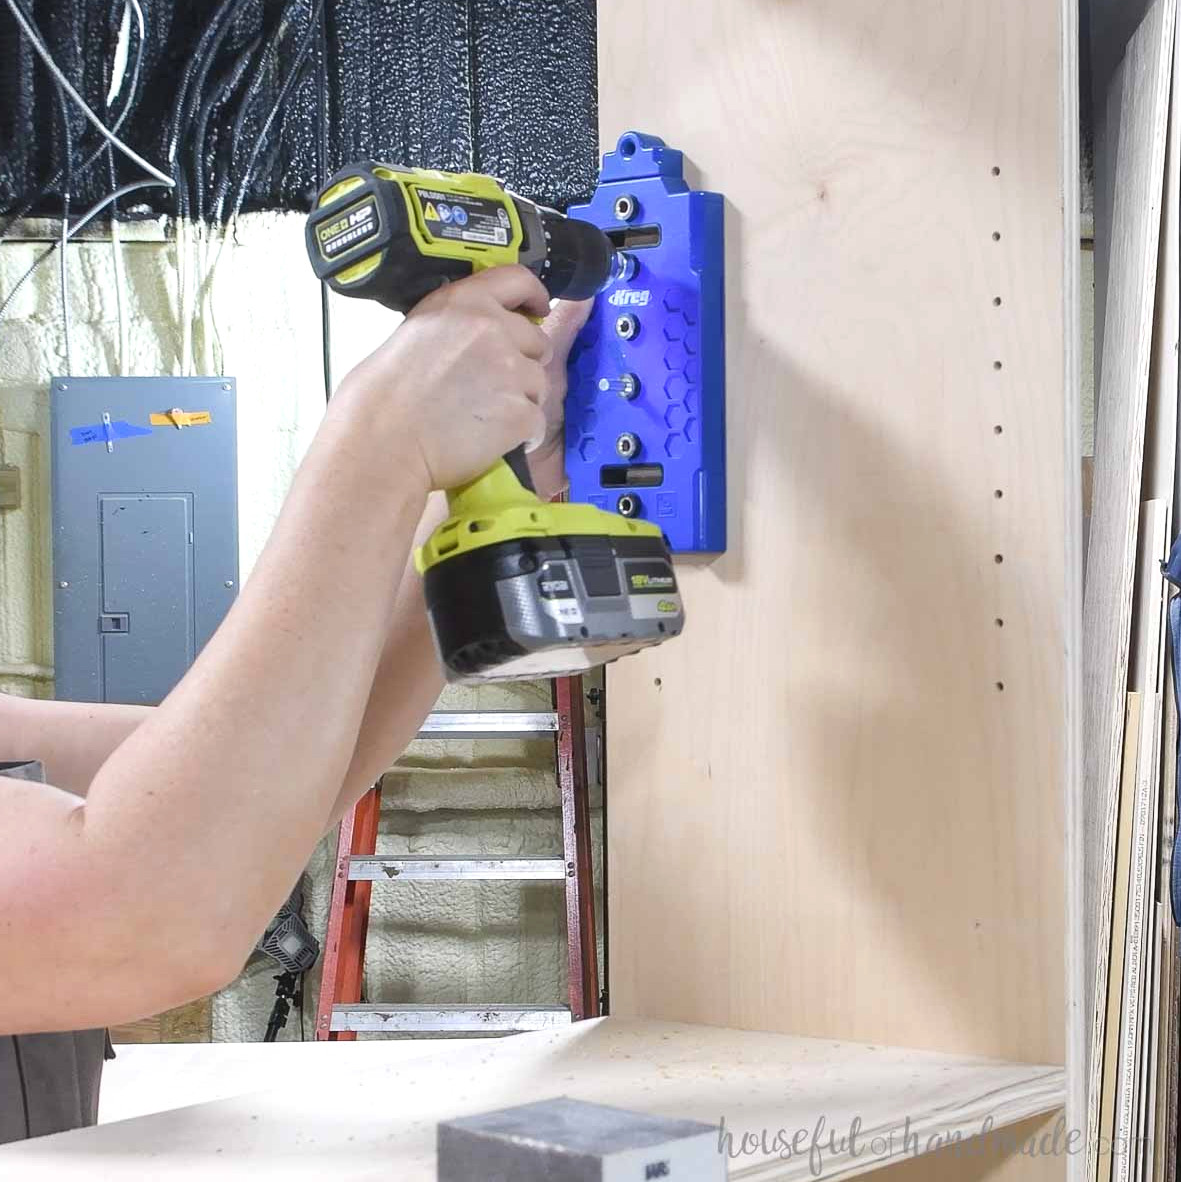
To install the adjustable shelves, use a shelf pin jig to bore holes near the front and rear of the side panels.
Drill shelf pin holes in both the upper and lower sections. However, you don’t need to extend them completely to the top and bottom, as shelves that close together probably won’t be necessary.
STEP 2- Construct trim frames
I prefer putting the trim together like a face frame. It keeps the joints secure and reduces the chance of cracks developing.
It also lets me fasten the frame with fewer nails, which means there are fewer holes to fill. If you’d rather, you can skip this step and nail the trim pieces on individually.
For the side trim frame, make one pocket hole pair for 3/4” thick material at each end of the side trim rails.
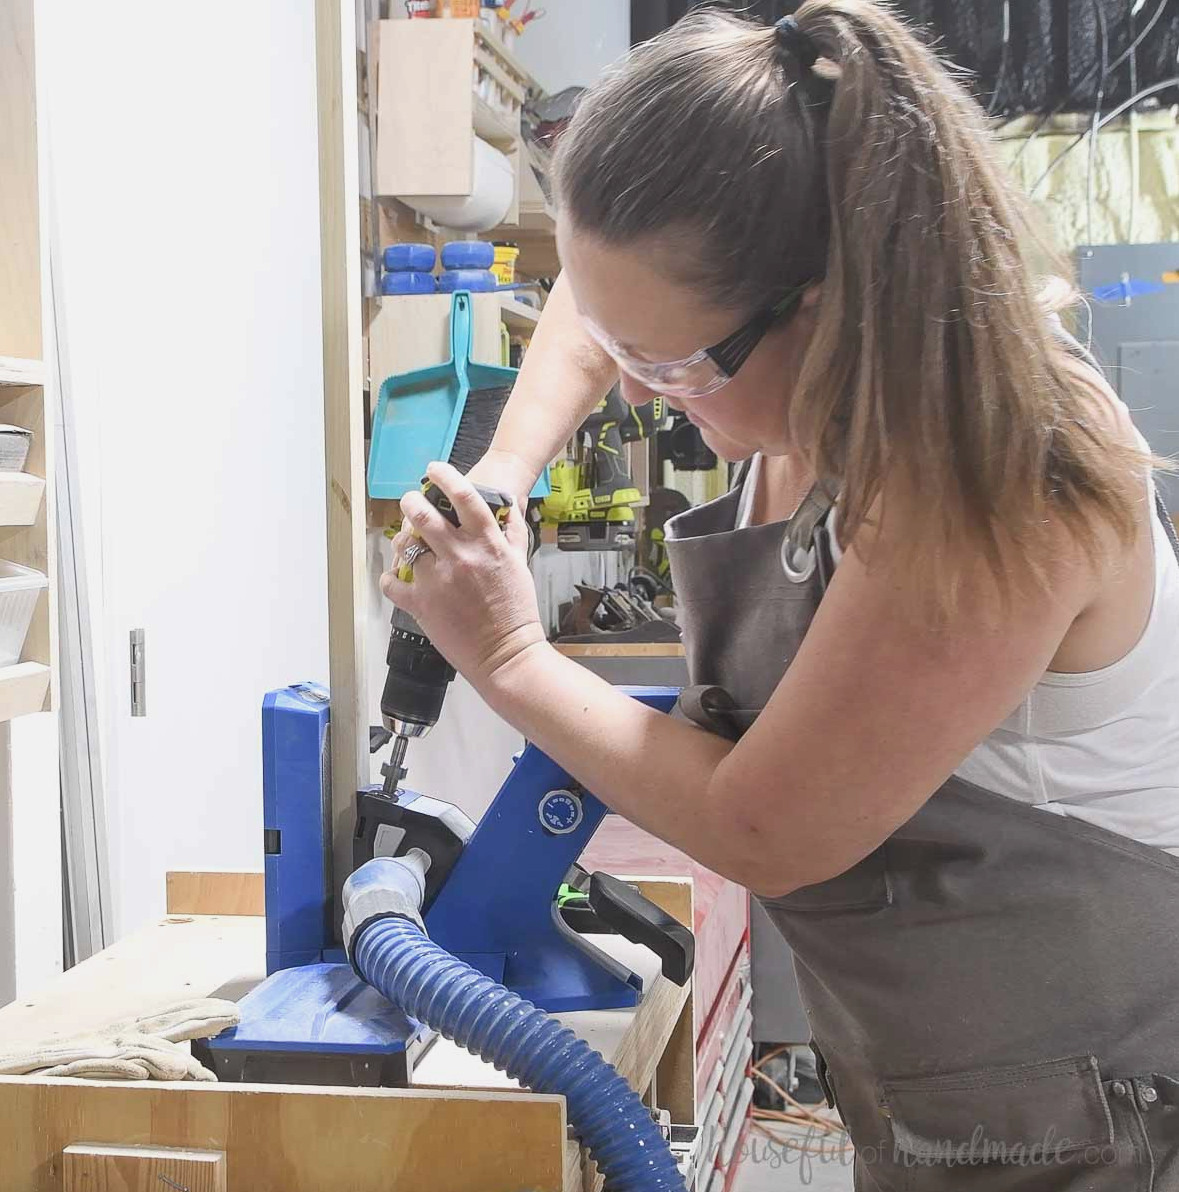
Next, secure them between one wide stile and one narrow stile as shown in the PDF plan diagram.
With this arrangement, the trim sits right over the holes in the bookcase sides and conceals them.
Build the opposite side in the same way, remembering to reverse the layout.
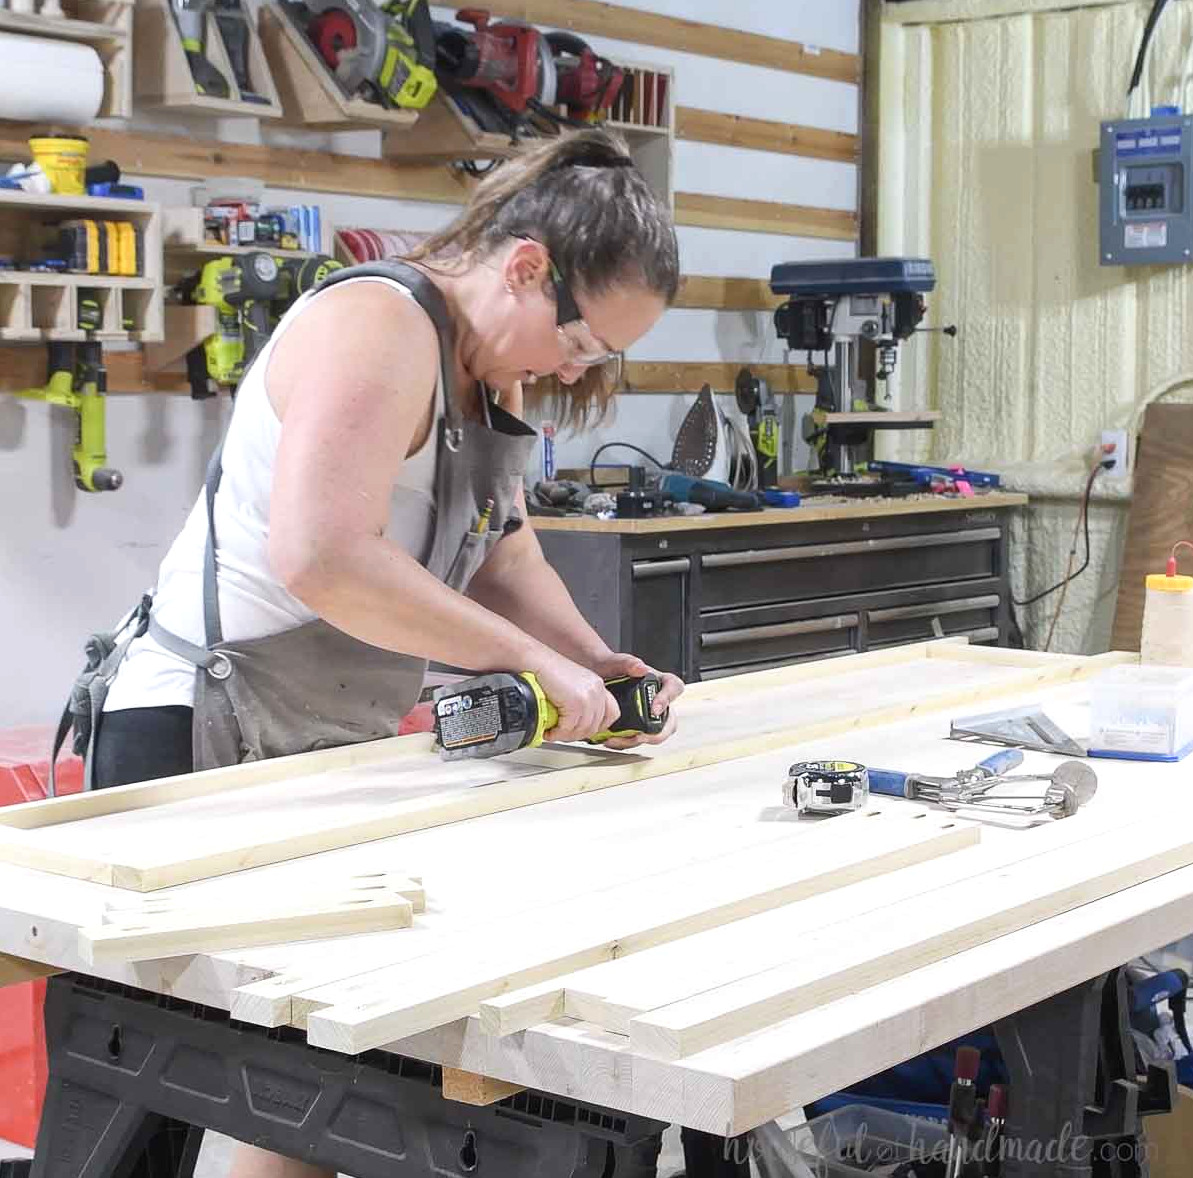
Once again, you can nail the face frame straight onto the bookcase, though I like joining the boards together beforehand.
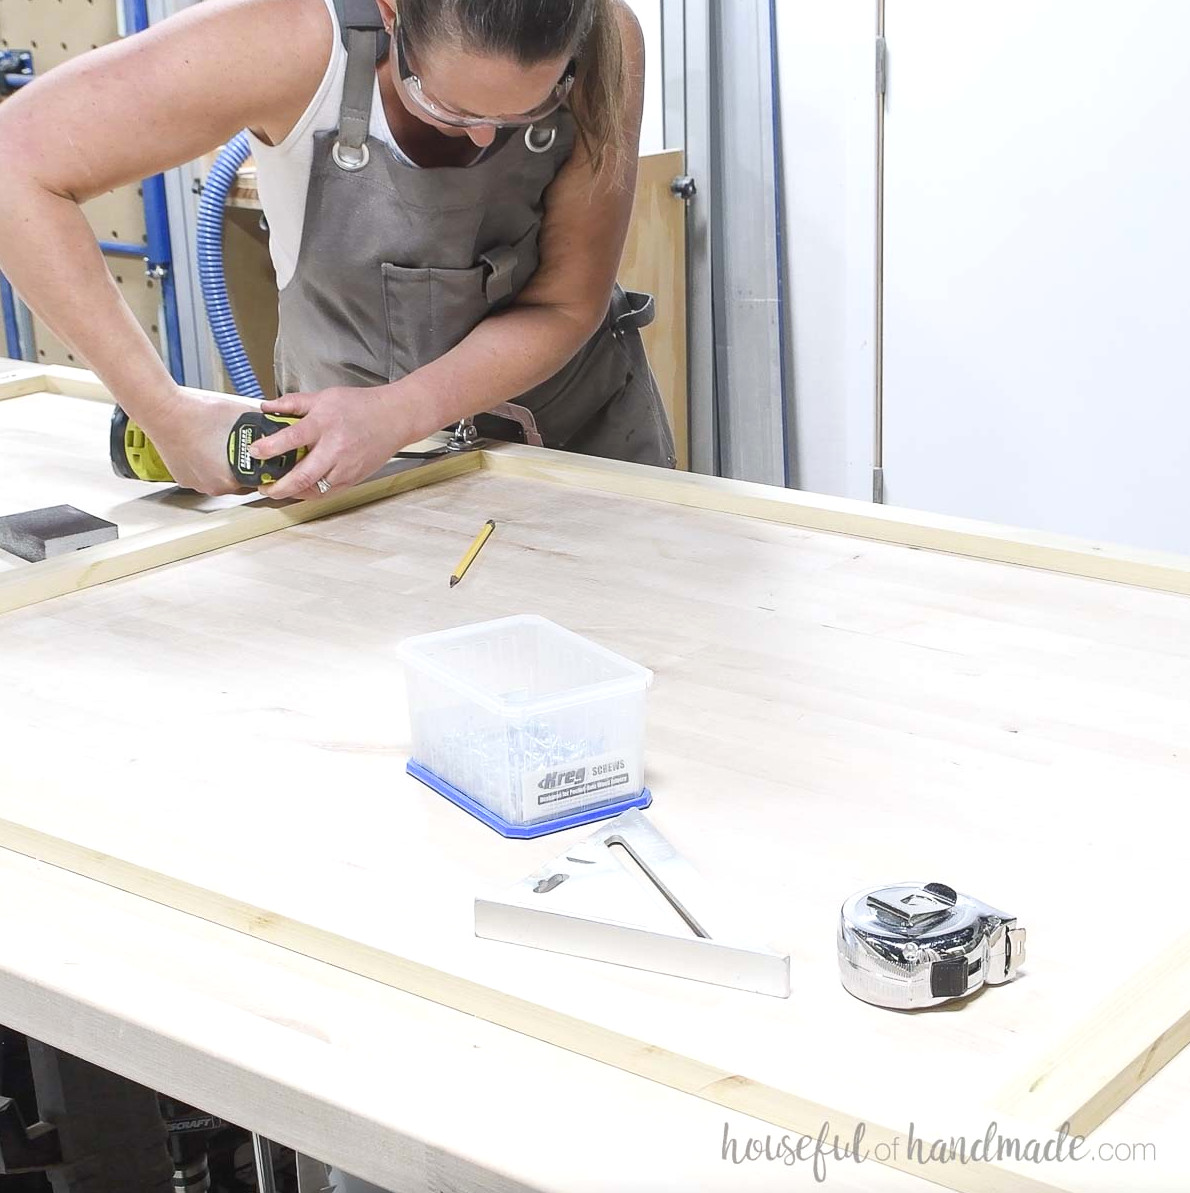
For the face frame, create a pocket hole pair for 3/4” thick material at both ends of each face frame rail. Next, fasten them between the remaining wide stiles in the same manner as the side trim.
This configuration positions the rails flush with the upper surfaces of the top, bottom, and shelf boards.
STEP 3- Fasten trim
Now attach the frames to the completed bookcase, beginning with the sides.
Position the side trim panels with the narrow stile flush to the bookcase front. The wide stile should extend 1/4” beyond the back.
Use wood glue and 1 1/4” brad nails to secure them, then repeat the process on the opposite side.
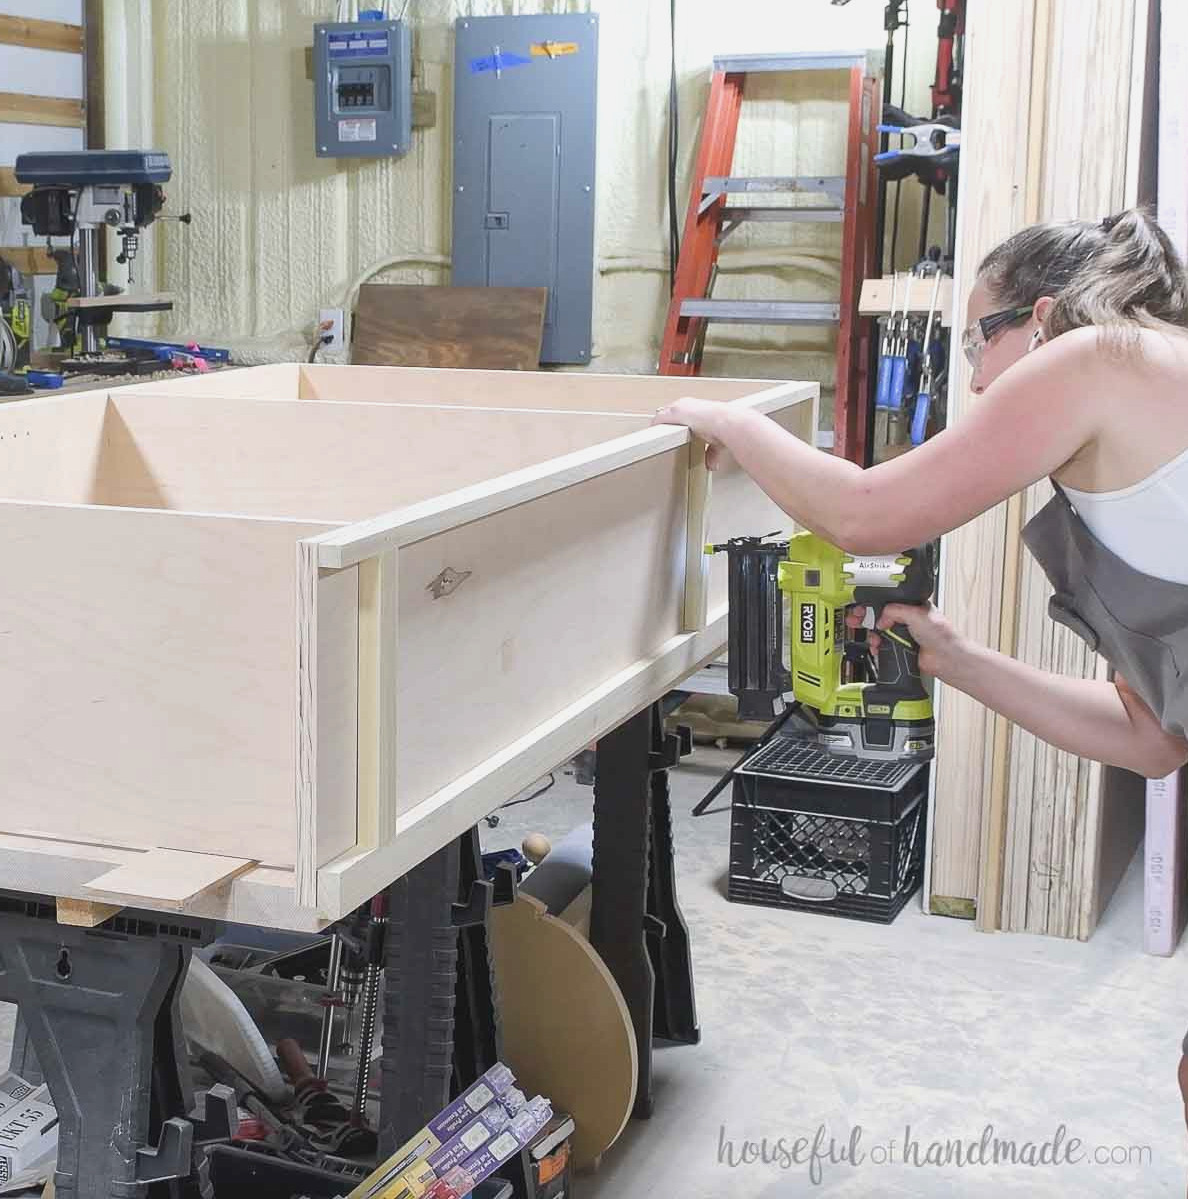
Finally, install the face frame. Align it so its interior edge is flush with the bookcase interior and the rail tops line up with the shelf tops.
Fasten everything with wood glue and 1 1/4” brad nails.
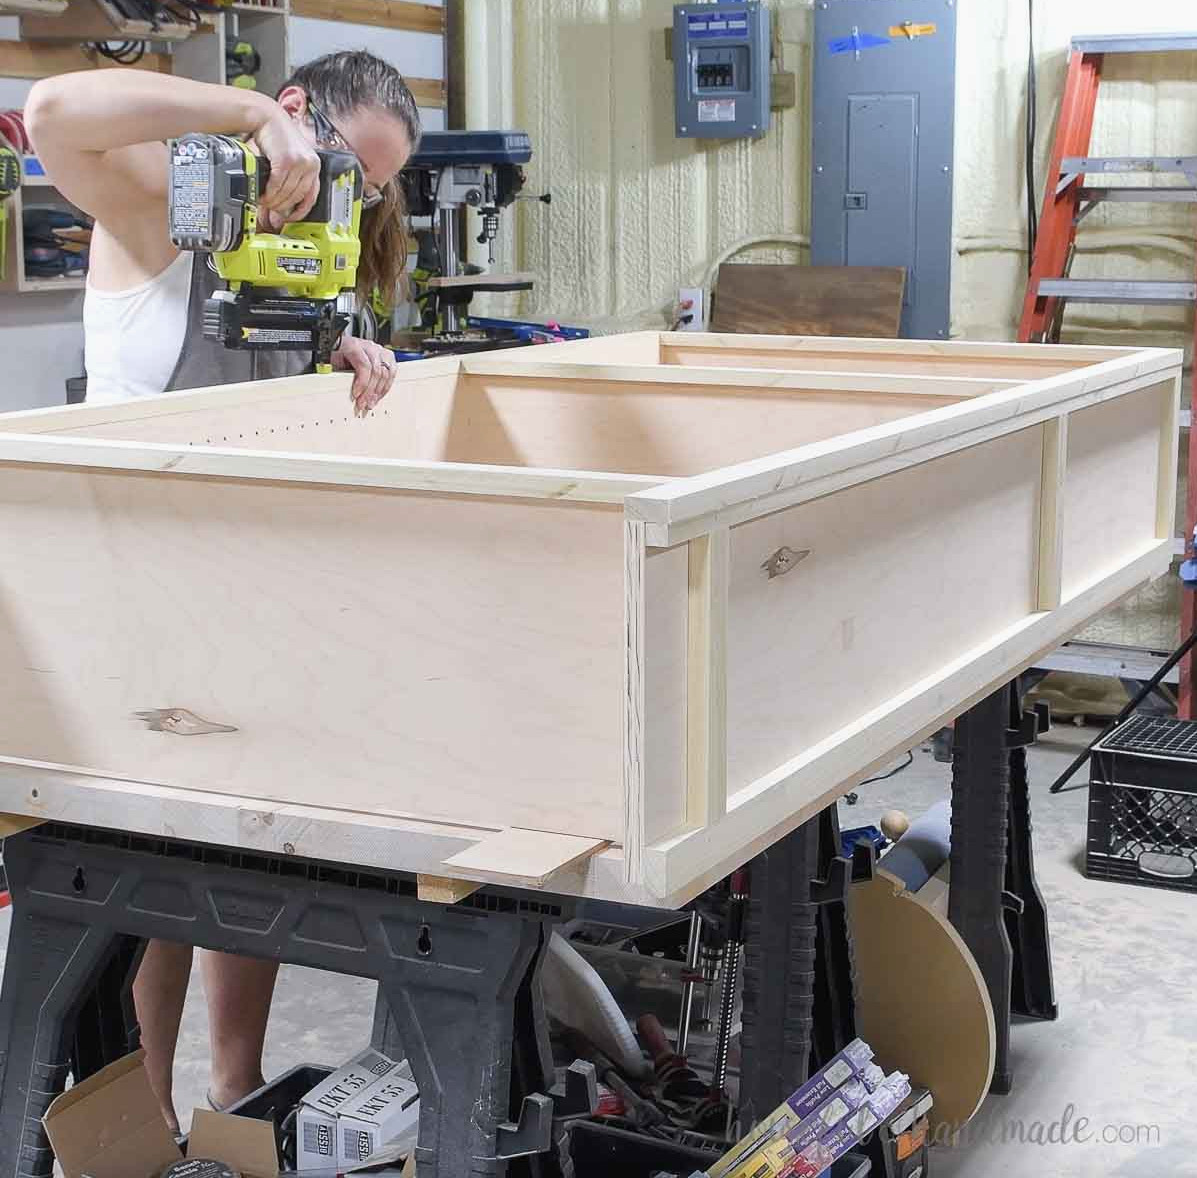
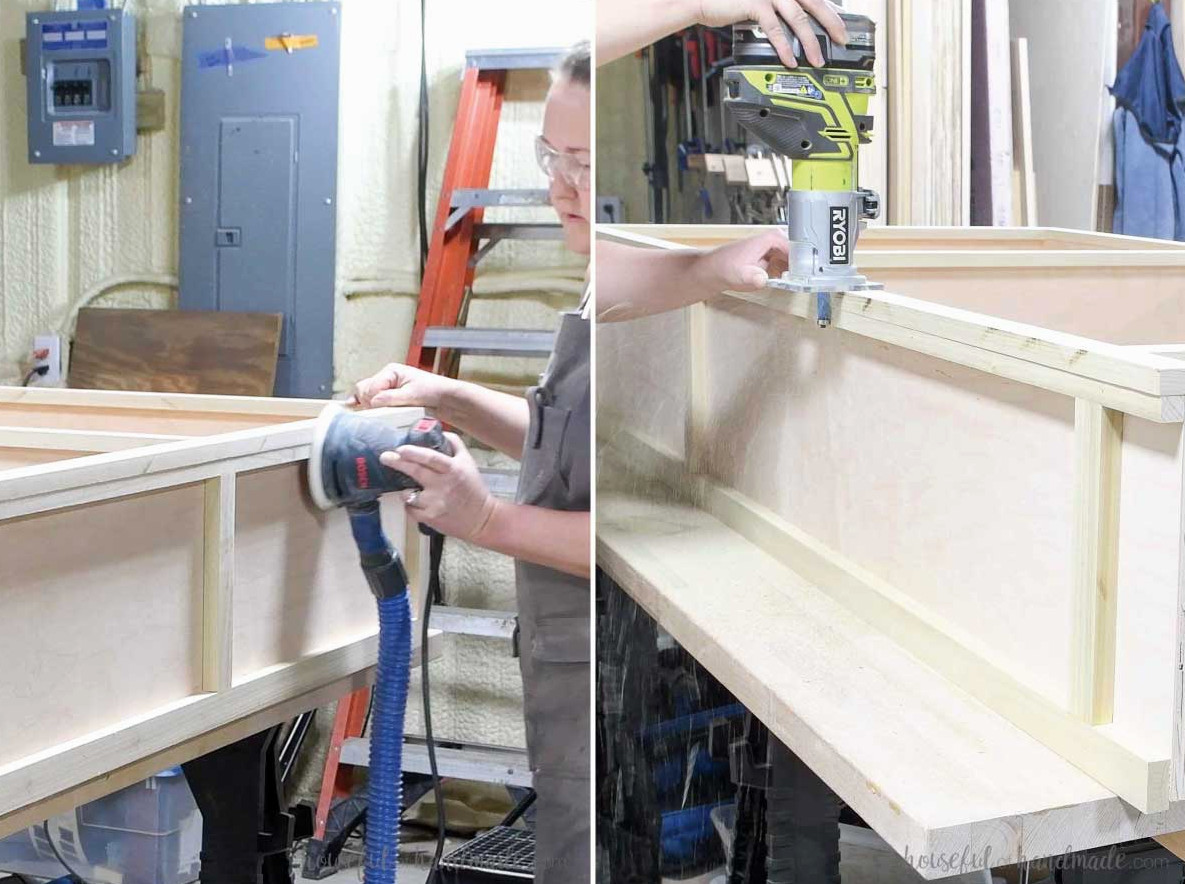
If the front face frame is a little larger than the bookcase—possibly because plywood is not truly 3/4″ thick—align it with the frame interior facing inward so the sides extend slightly past the bookcase.
Afterward, bring the sides flush with the side trim using a sander or a trim router equipped with a flush-cut bit.
STEP 4- Install back
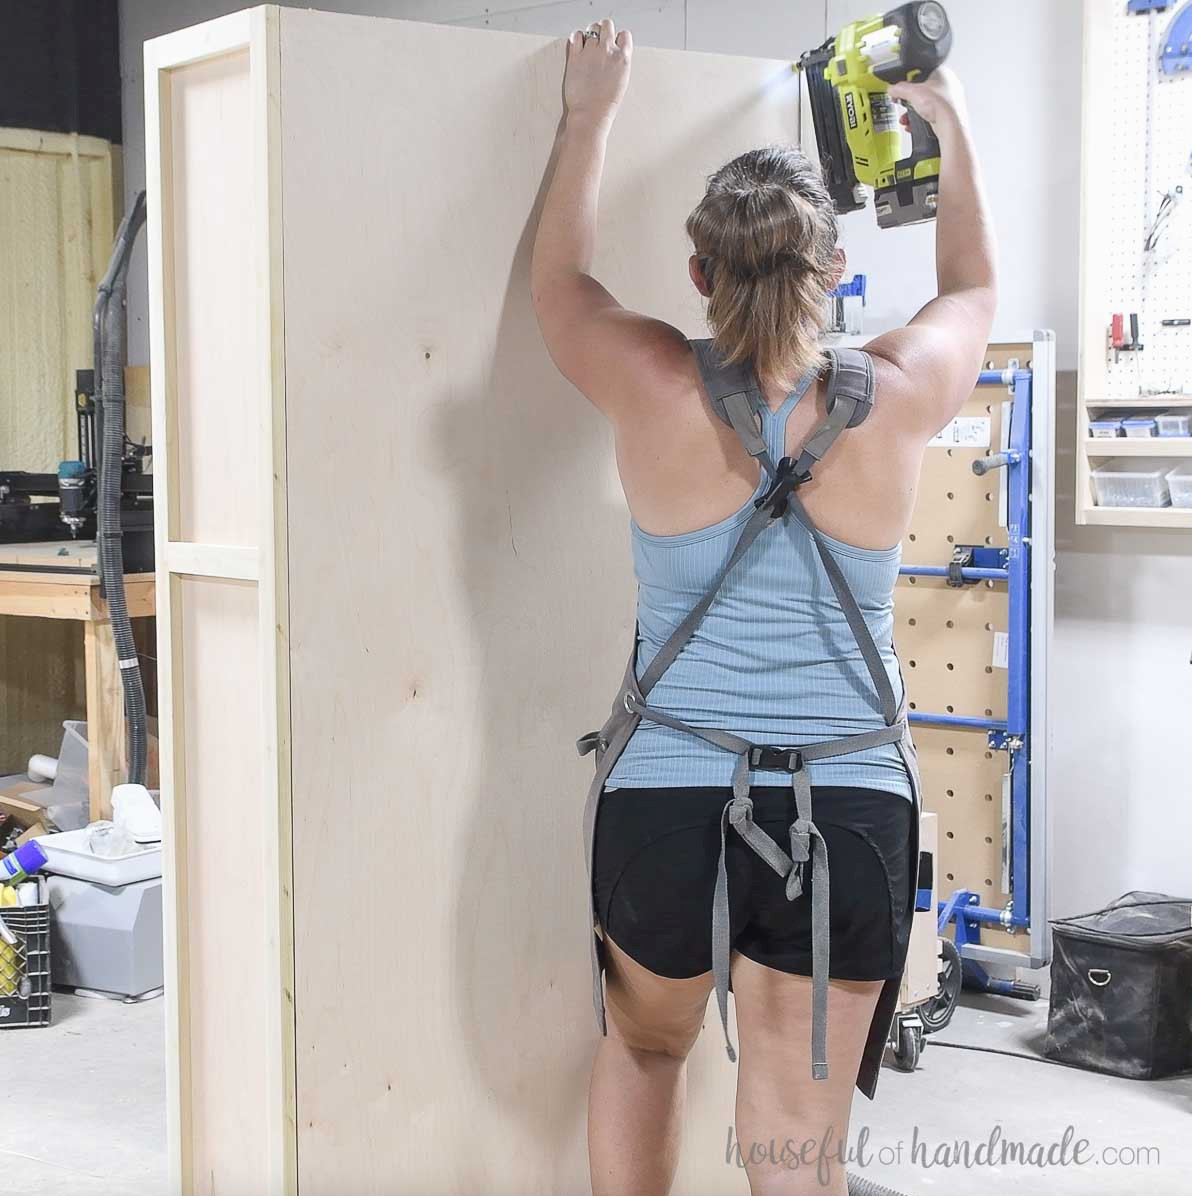
Trim the back panel so it fits between the side trim pieces.
Fasten it to the sides and the top, bottom, and shelf using 1” brad nails.
STEP 5- Install moulding
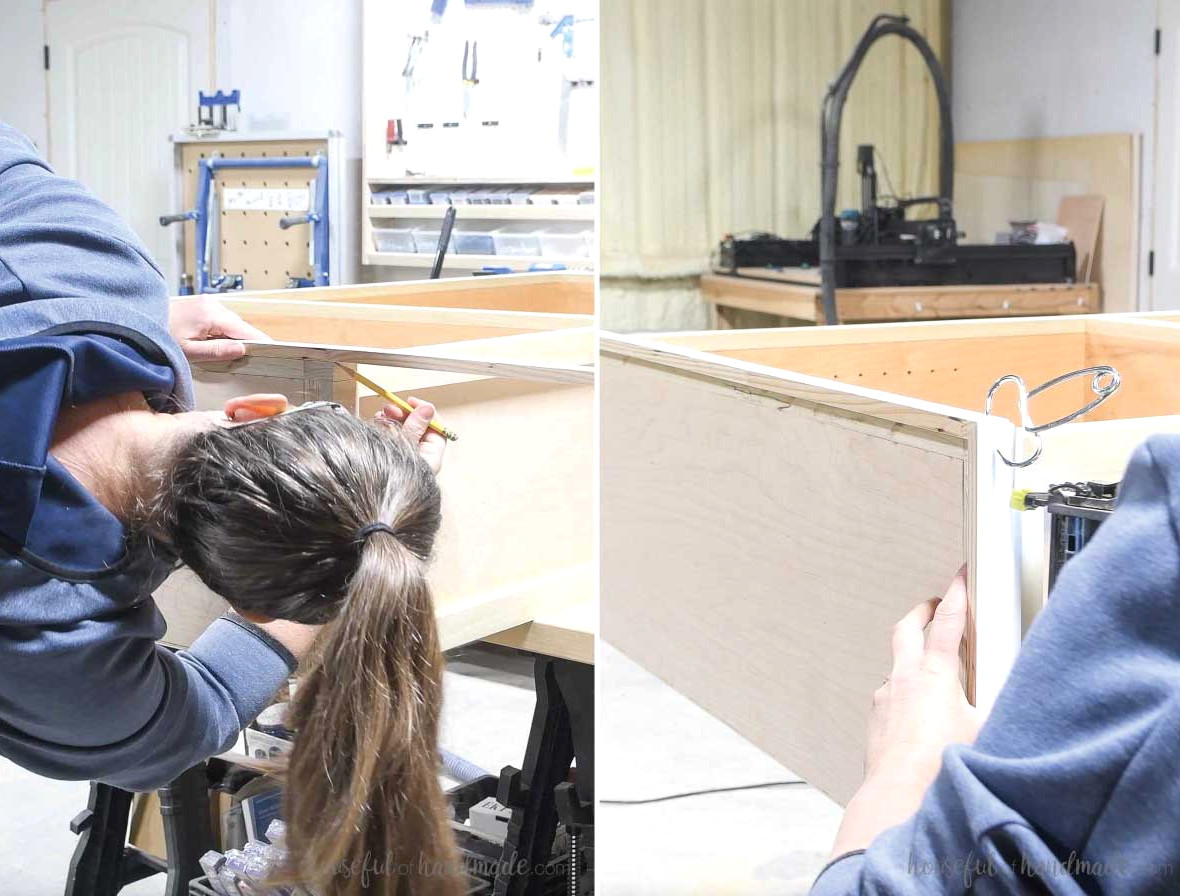
Measure and cut the top and bottom moulding with mitered corners so it surrounds the bookcase properly.
I discovered that these miter spring clamps were extremely useful for keeping the mitered corners snug while attaching them to the bookcase.
Use wood glue and 1” brad nails to secure the moulding to the front and sides.
Apply wood filler to every nail hole.
STEP 6- Complete
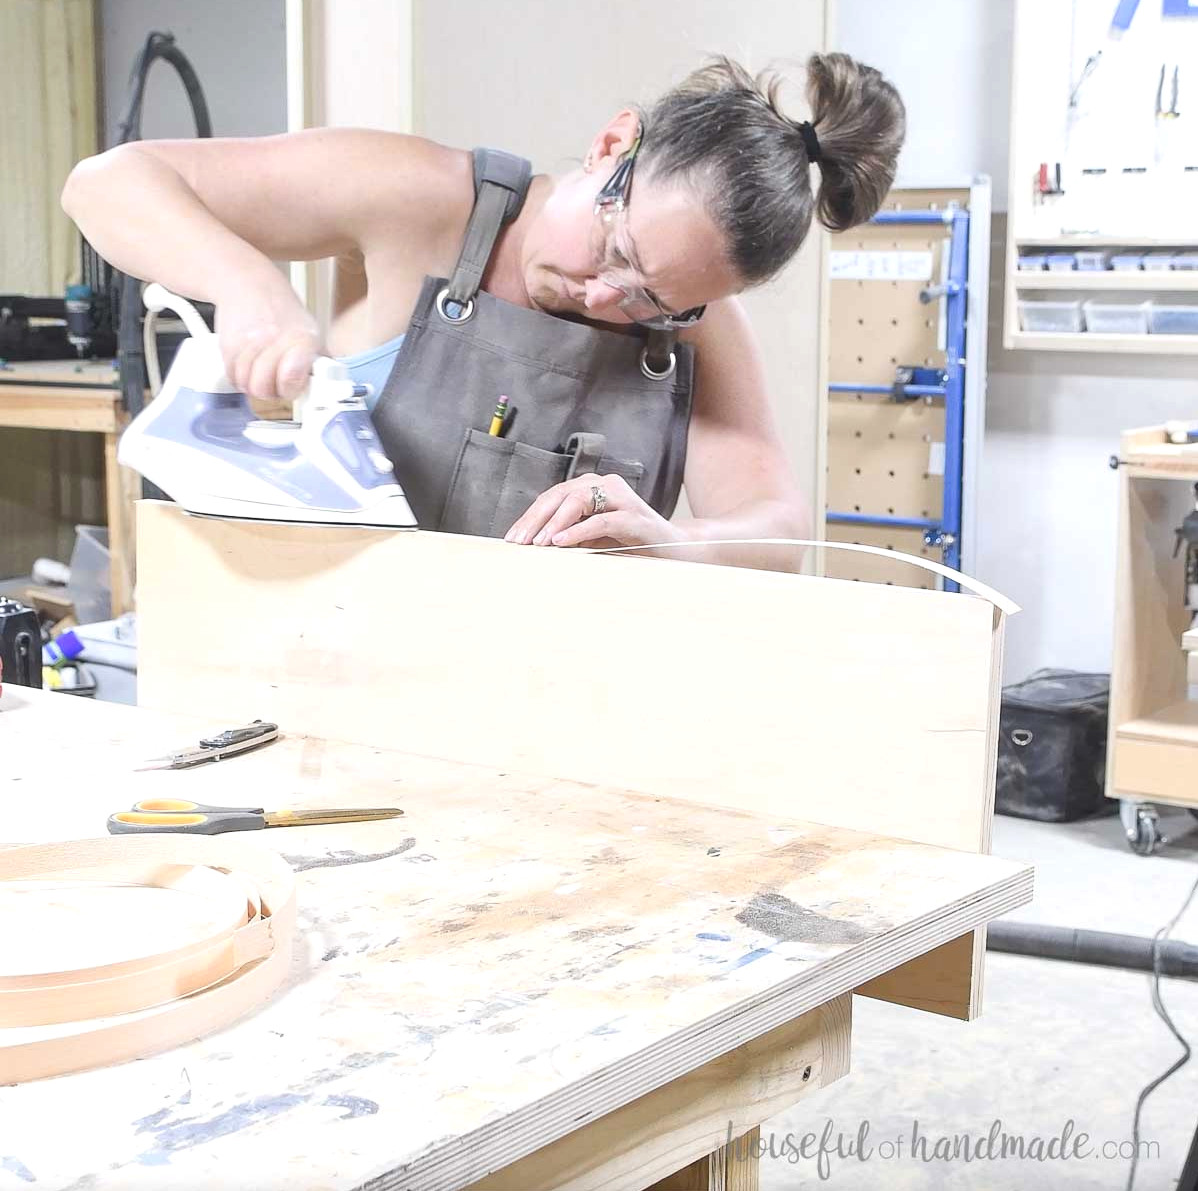
Apply iron-on edge banding to the fronts of the adjustable shelf boards, then cut it to match the board.
Thinking about adding doors to your bookcase? Discover 3 methods for making DIY doors here, followed by instructions for installing doors with concealed hinges here.
Sand your new bookcase and shelves, then stain, seal, or paint them.
I coated the inside of my bookcase with wipe-on polyurethane and painted the exterior in Behr’s Blackout.
Remember to Get the Printable PDF Plans Here!
Premium plans contain:
- Suggested Tools
- Materials list
- Readable cut list chart
- Cutting diagrams
- Detailed instructions with 3D renderings
- Useful resources
- BONUS: 3D SketchUp model
You’ve finished!
Place the adjustable shelves onto the shelf pins.Your new bookcase is now ready to fill with books and decorations.
Enjoy building!