
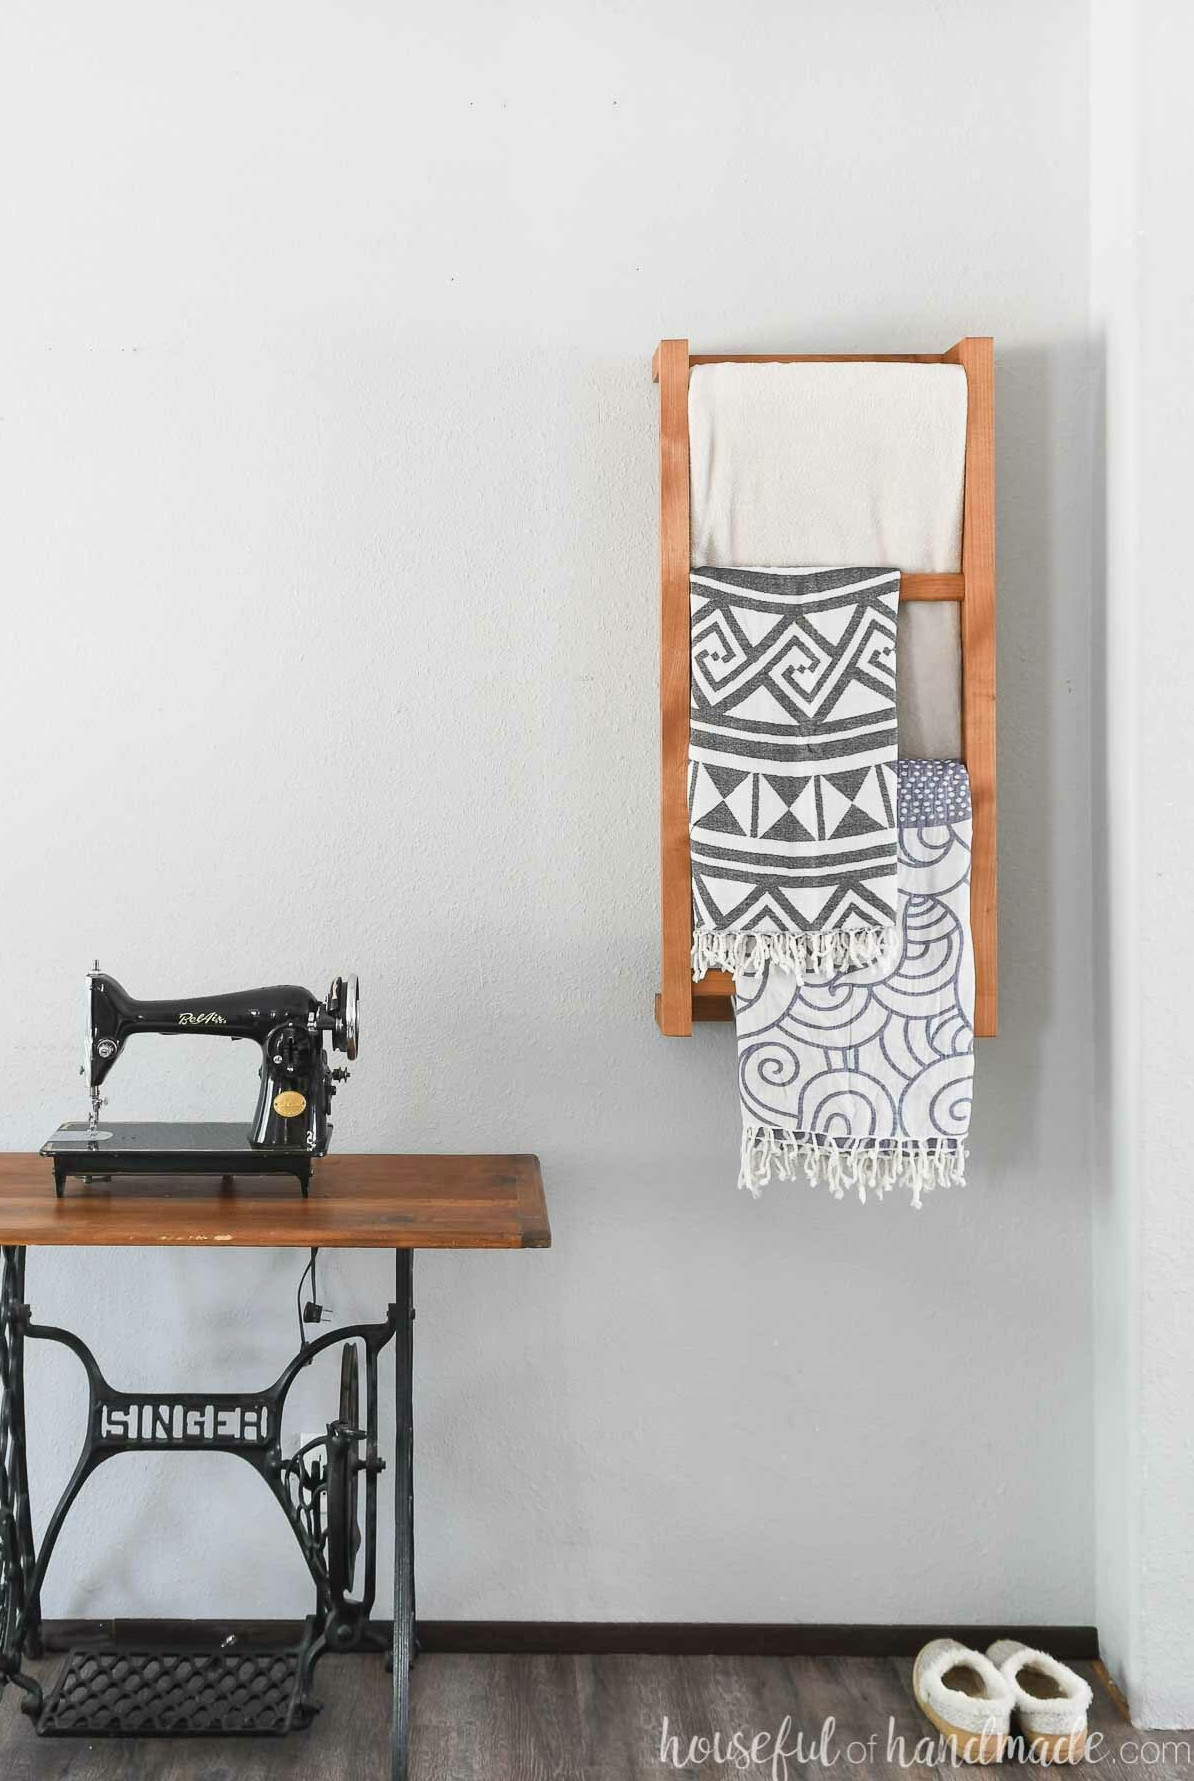
Create a lovely wall-mounted ladder to store blankets or towels.
I’m a huge fan of blankets! During the colder months, they end up stacked on the couch, chairs, and bed. That isn’t exactly an ideal way to store them.
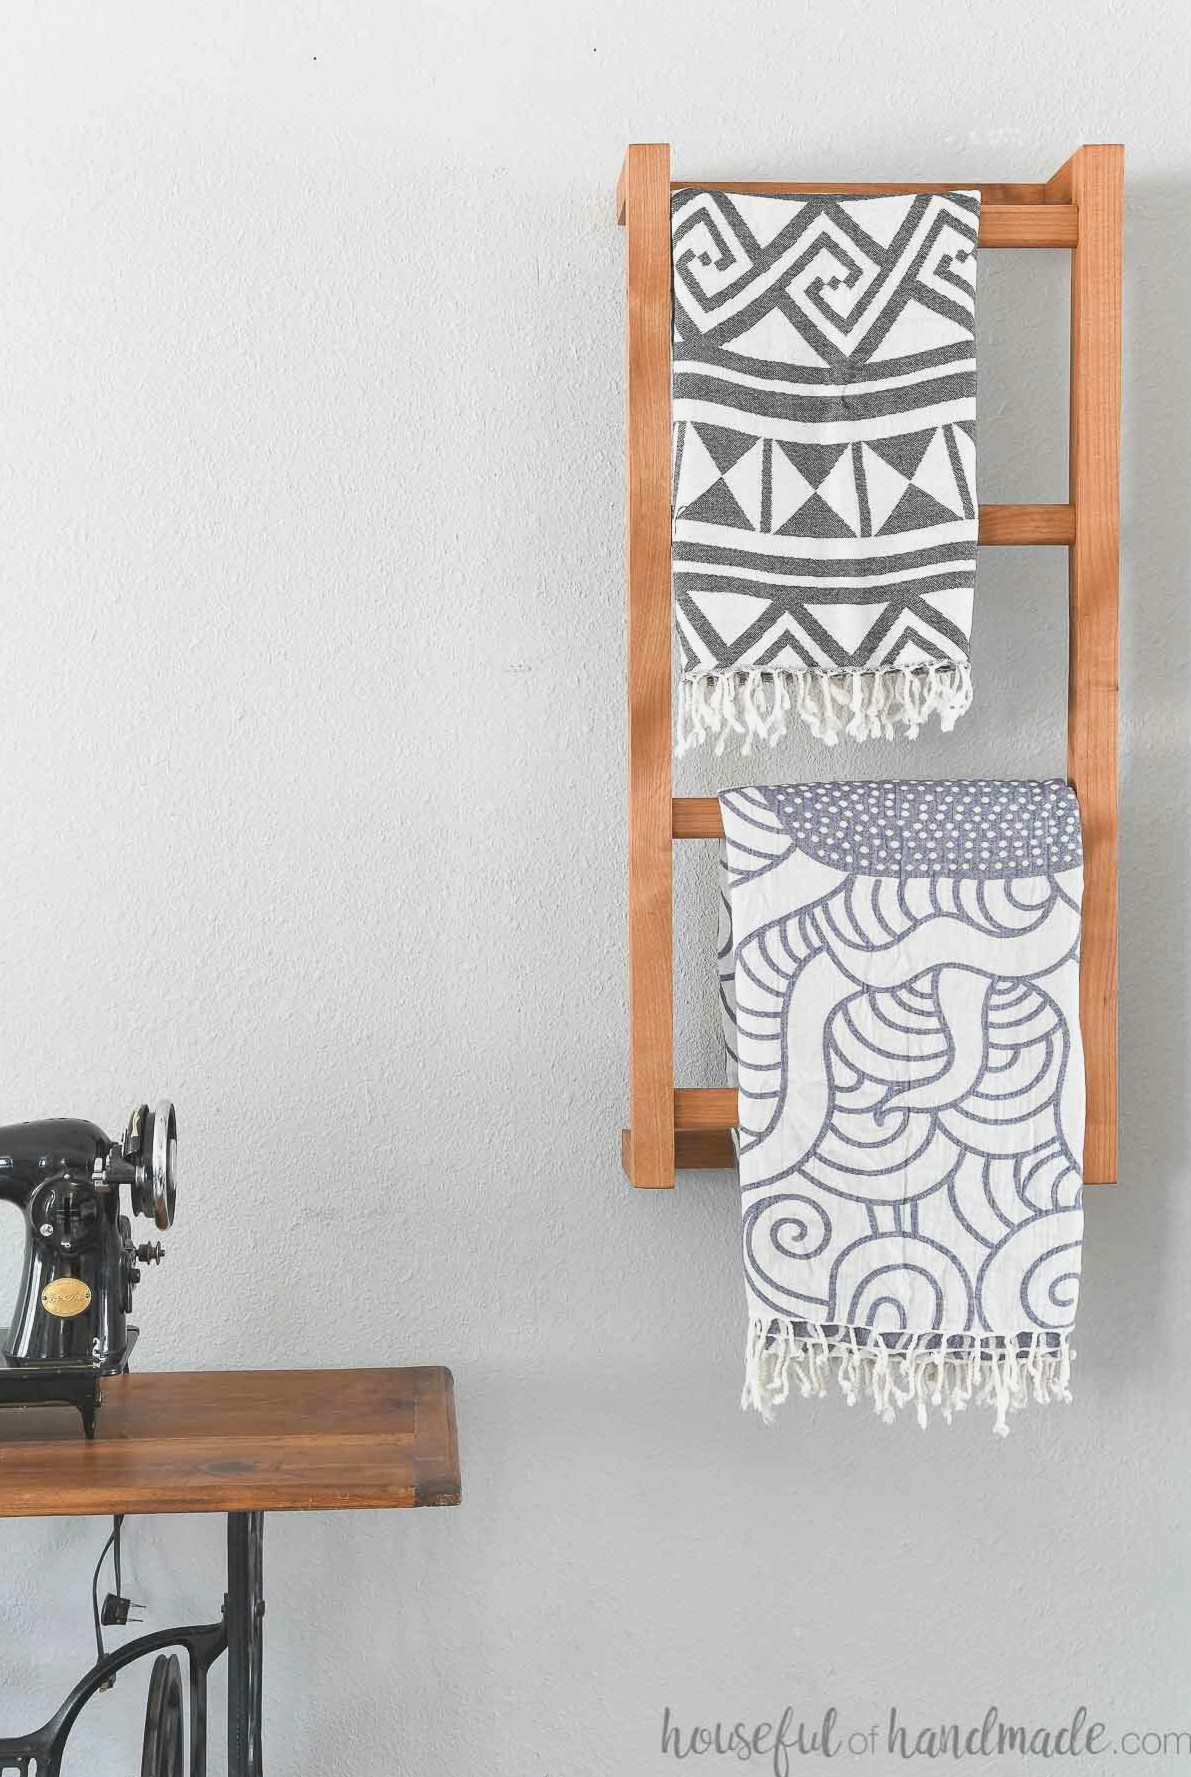
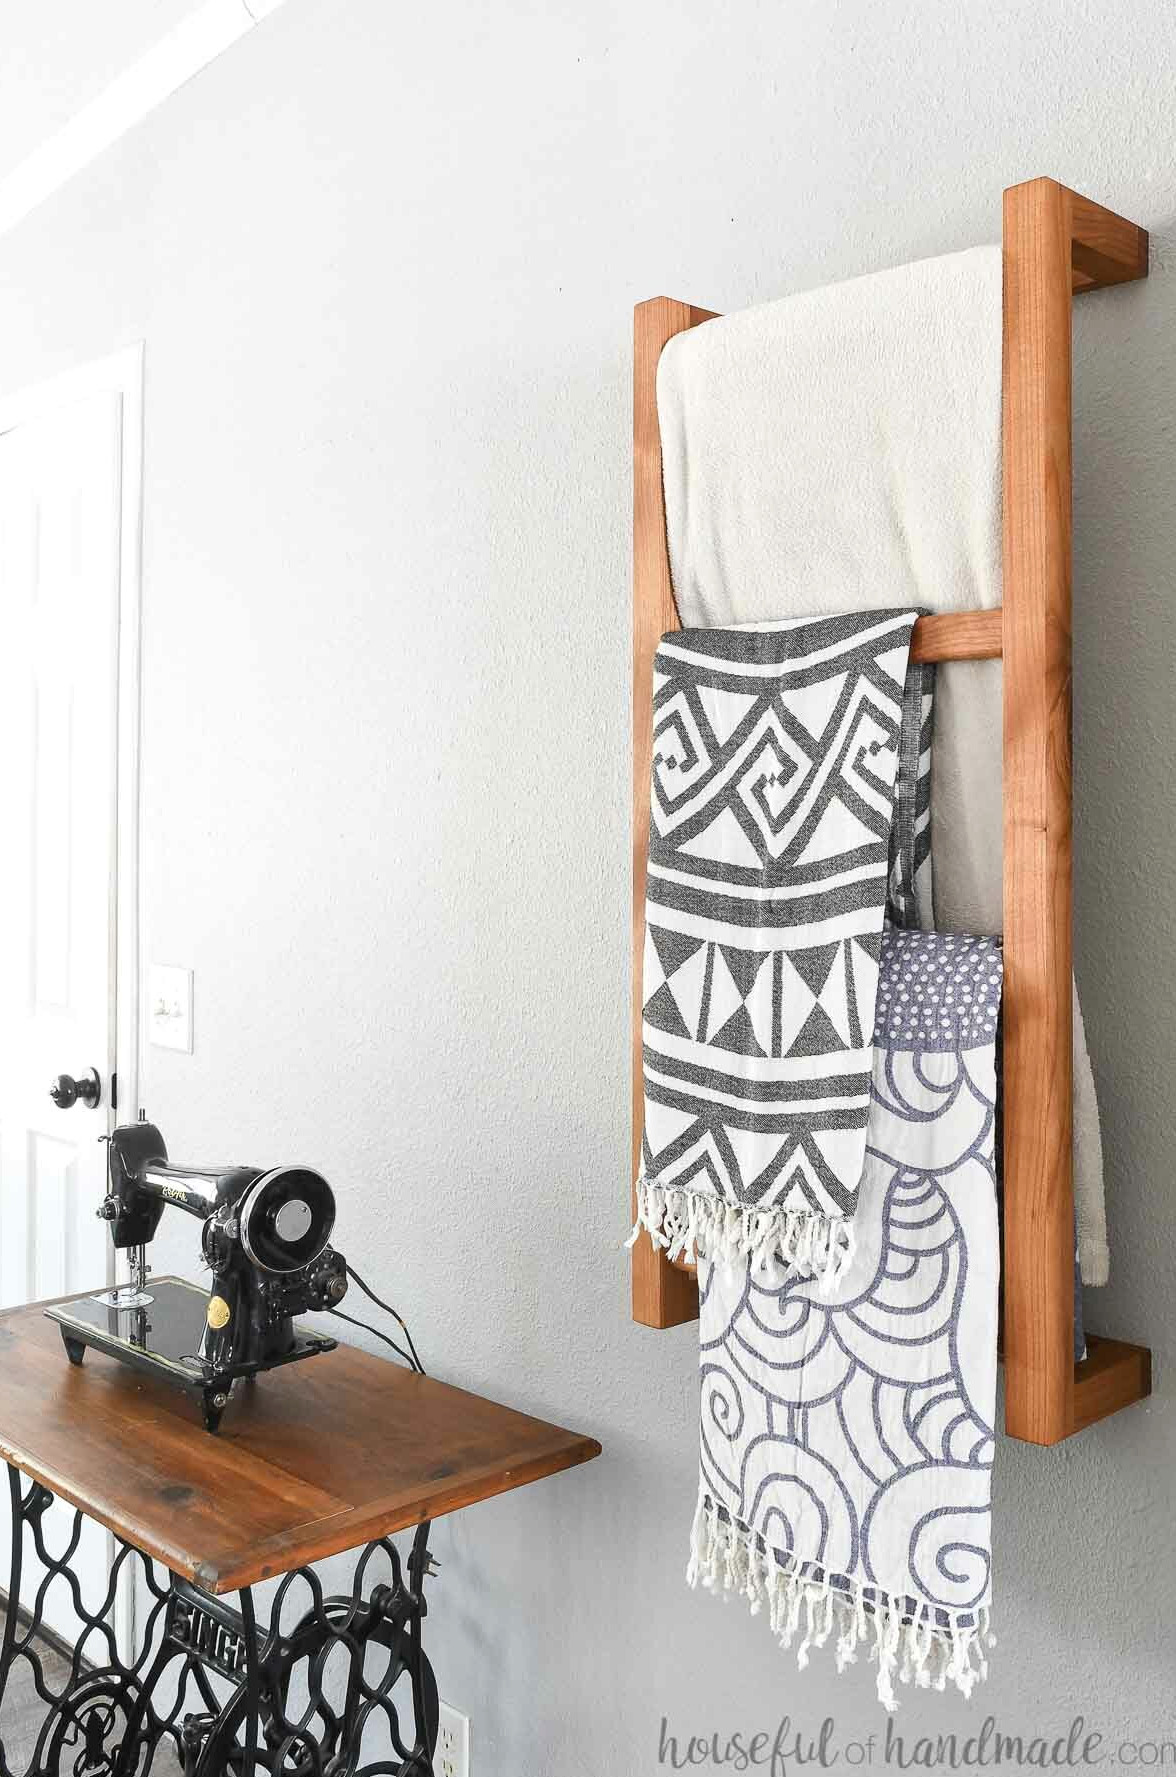
That inspired me to make a blanket ladder. Rather than building one that rests against the wall, I chose a wall-mounted design that keeps the floor space underneath open!
I teamed up with Kreg Tools and used the Kreg pocket hole jig to make this project enjoyable and straightforward. It’s an excellent build for beginner woodworkers.
Two Board Build
A major advantage of this project is that the entire ladder requires just 2 boards.
You’ll need one 8′ 2×2 board along with one 8′ 1×2 board!
Because this wall ladder takes only a few boards to make, it’s a wonderful project for experimenting with different types of wood.
I chose alder left over from the dining table build plans. Alder is an affordable hardwood. Since it’s a softer hardwood, it remains fairly simple to work with.
I really enjoy its golden tone after applying a clear sealer. There’s no need for stain!
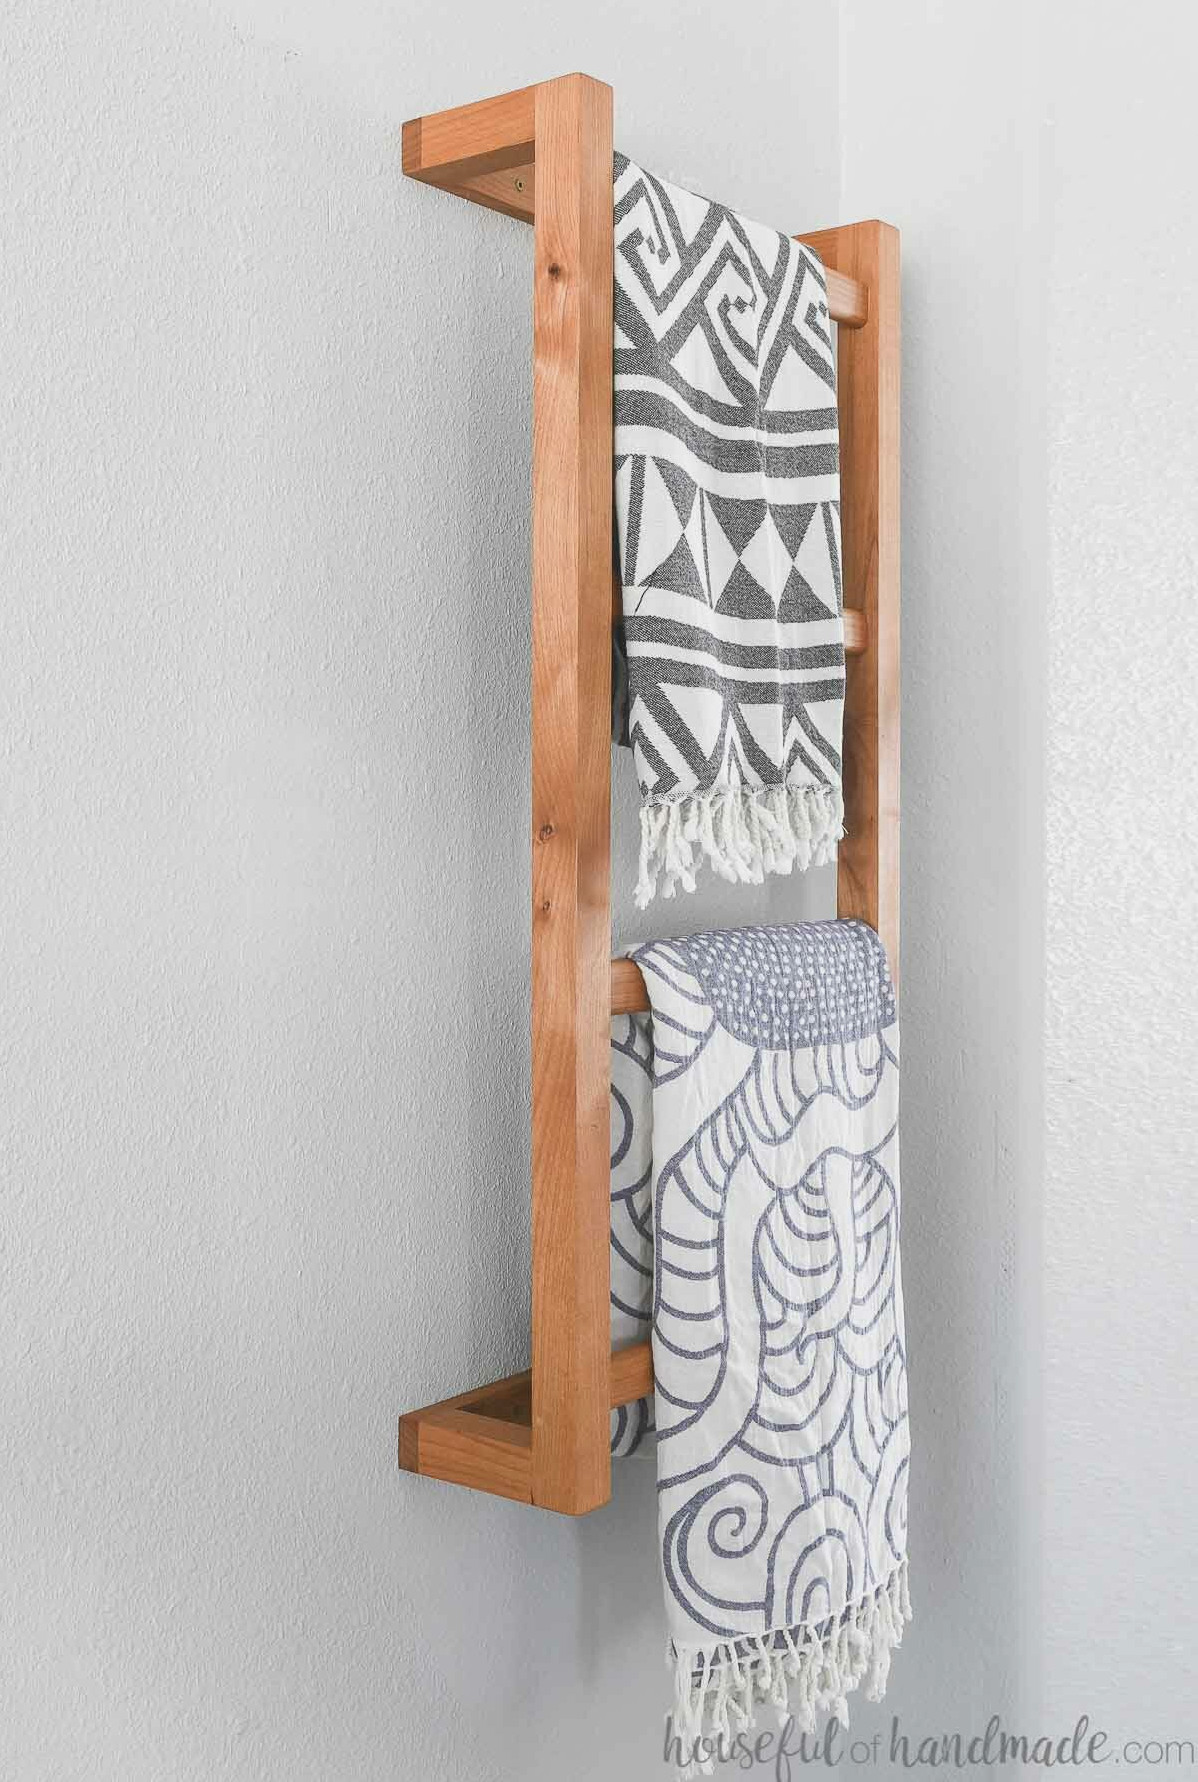
Still, you can take this chance to create your wall ladder from any lumber you prefer. Consider selecting a species you’ve always been interested in trying.
It’s hard to find a better project for practicing with unfamiliar wood species.
Beginner Friendly Build
If woodworking or pocket-hole joinery is new to you, this is an ideal project to begin with!
This uncomplicated build introduces pocket holes in 2 common lumber sizes. You’ll also work with 3 screw lengths, helping you understand when to use each one.
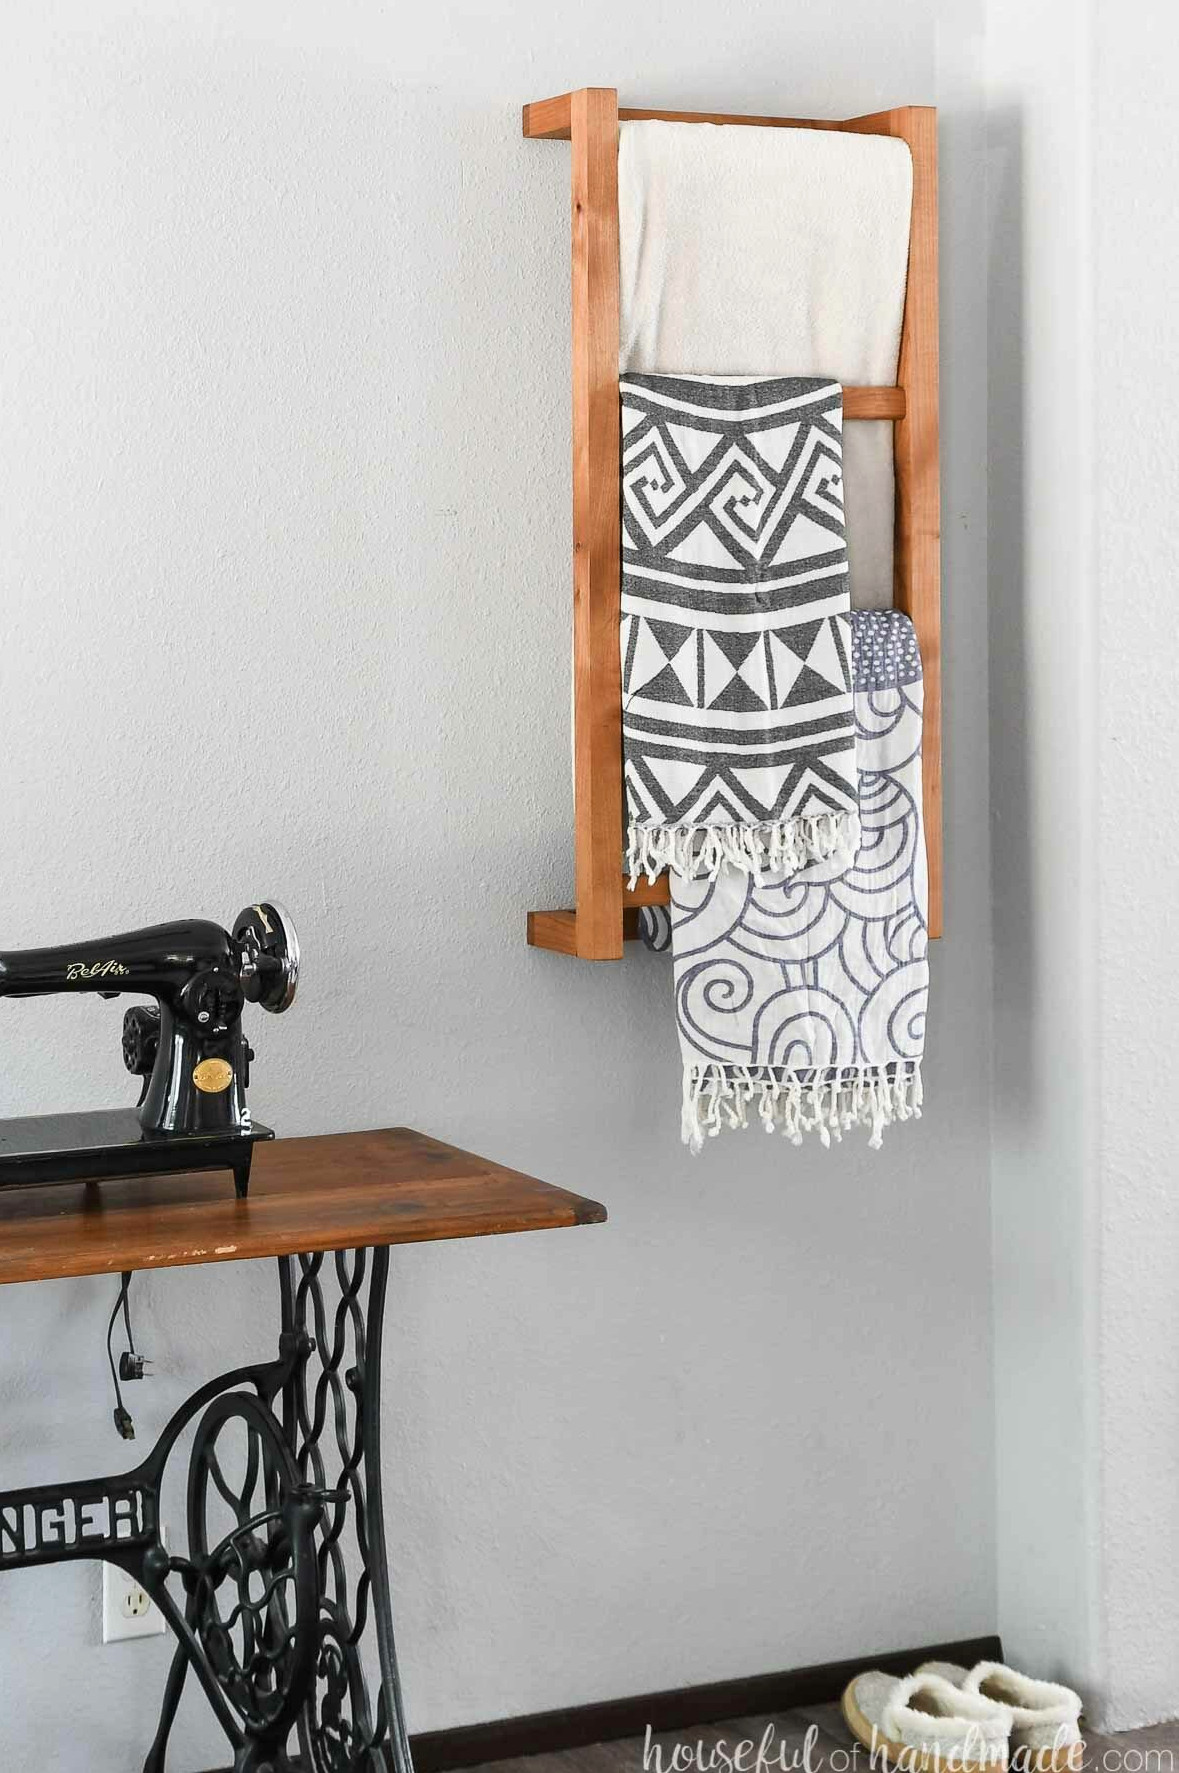
Although this project is easy to construct, I explain the process thoroughly in the step-by-step tutorial.
I want even the newest builder to feel delighted with their finished wall-mounted ladder! It should be something they’re proud to display and that inspires them to return to the workshop.
More Vertical DIY Ideas
You can save plenty of room by taking advantage of vertical storage! These enjoyable DIY projects help you maximize your wall space.
How to Build a Wall-Mounted Ladder
Tools & Materials
Overall Dimensions
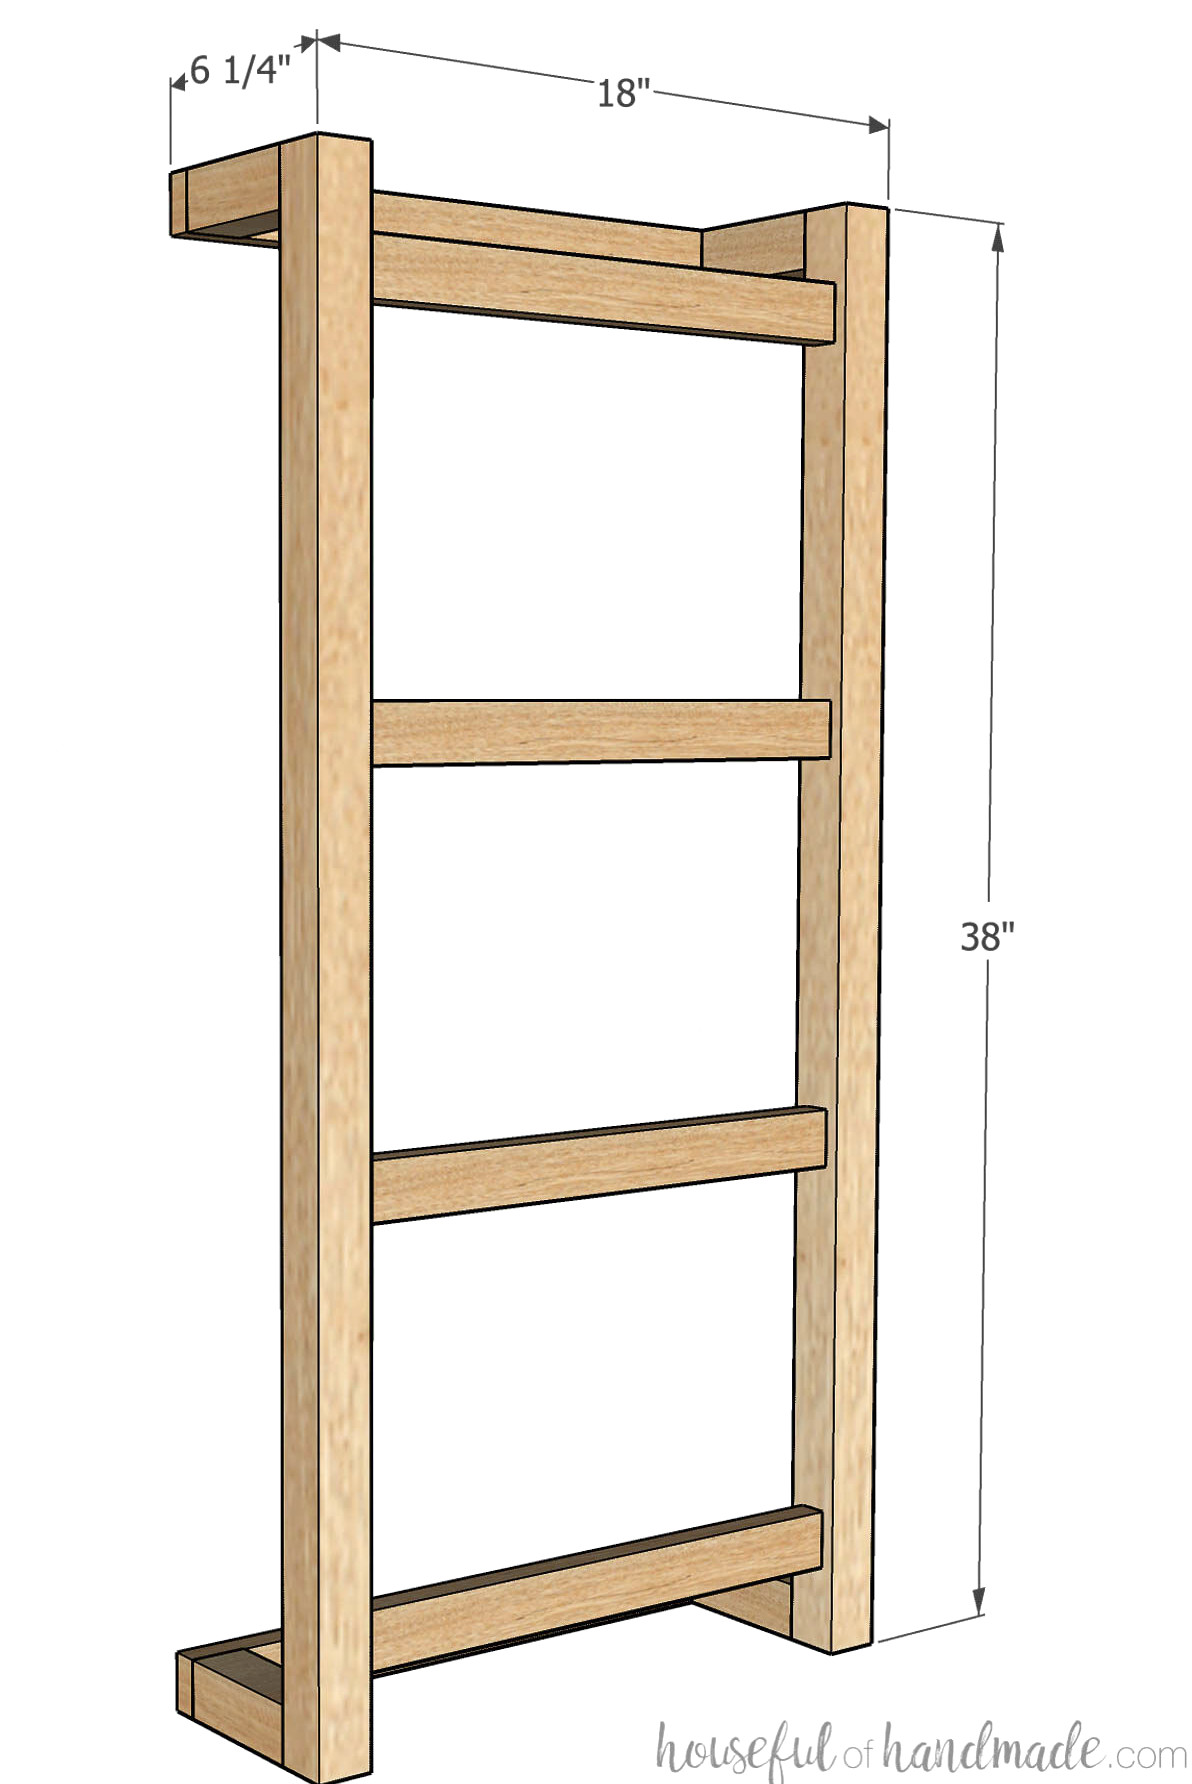
Once completed, the blanket ladder measures 18″ wide, 38″ tall, and 6 1/4″ deep.
It includes 4 rungs positioned approximately 9″ apart for holding blankets, towels, or throws.
Cut List
Prepare the pieces using the straightforward cut chart provided in the PDF plans.
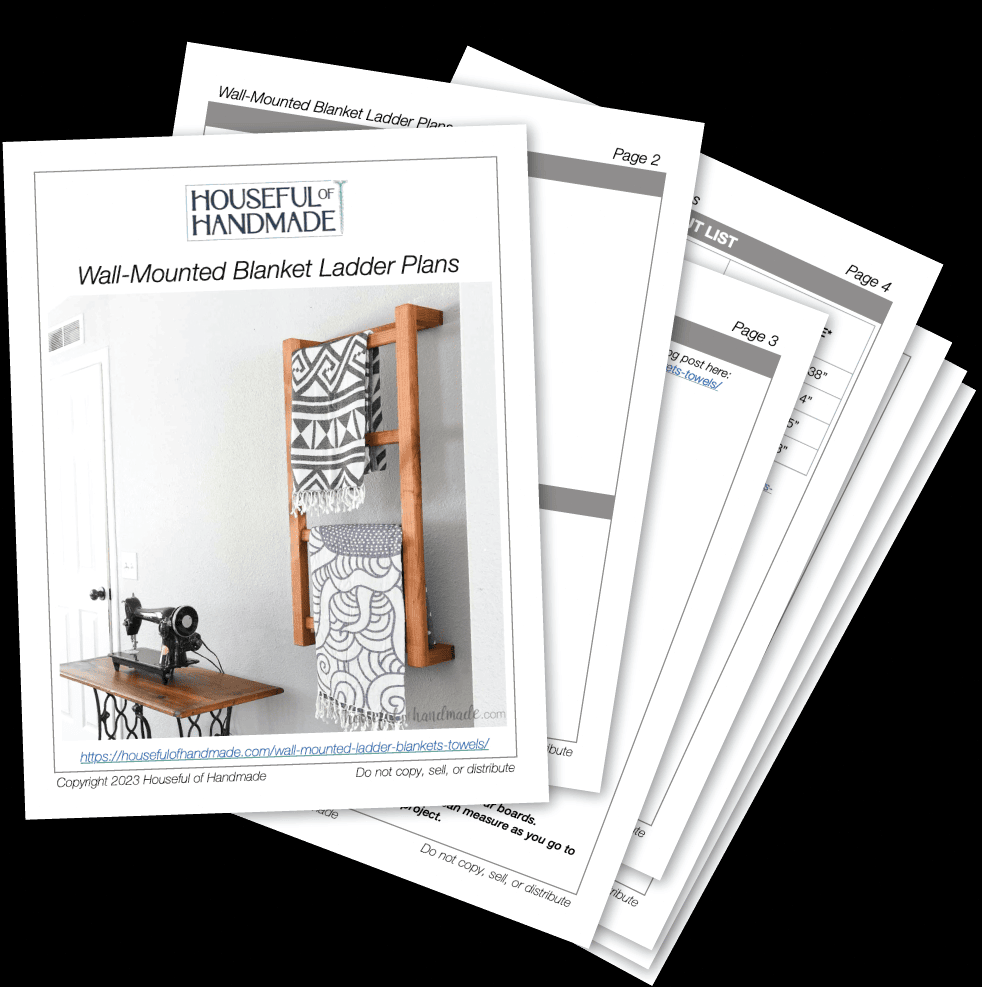
Get the Premium PDF Woodworking Plans
PDF plans include- Easy-to-Follow Cut List, Shopping List, Suggested Tools, Step-by-Step Directions with 3D illustrations, & Helpful Resources
BONUS- 3D SketchUp File
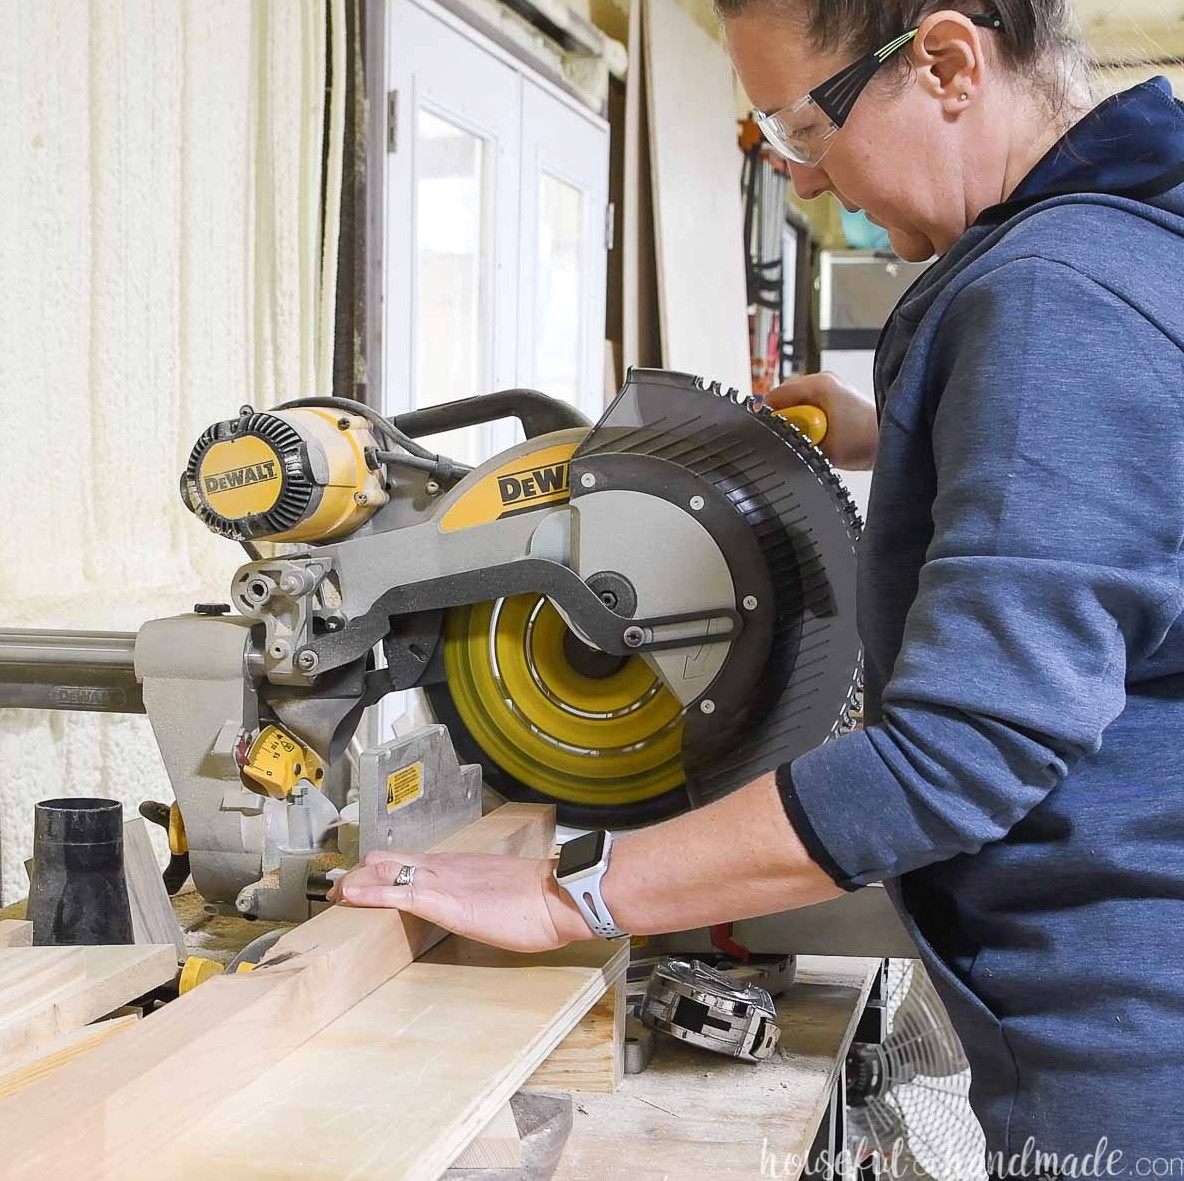
In most projects, it’s best to cut each piece as you reach that stage. For this build, though, you can cut everything except the rear supports before putting it together.
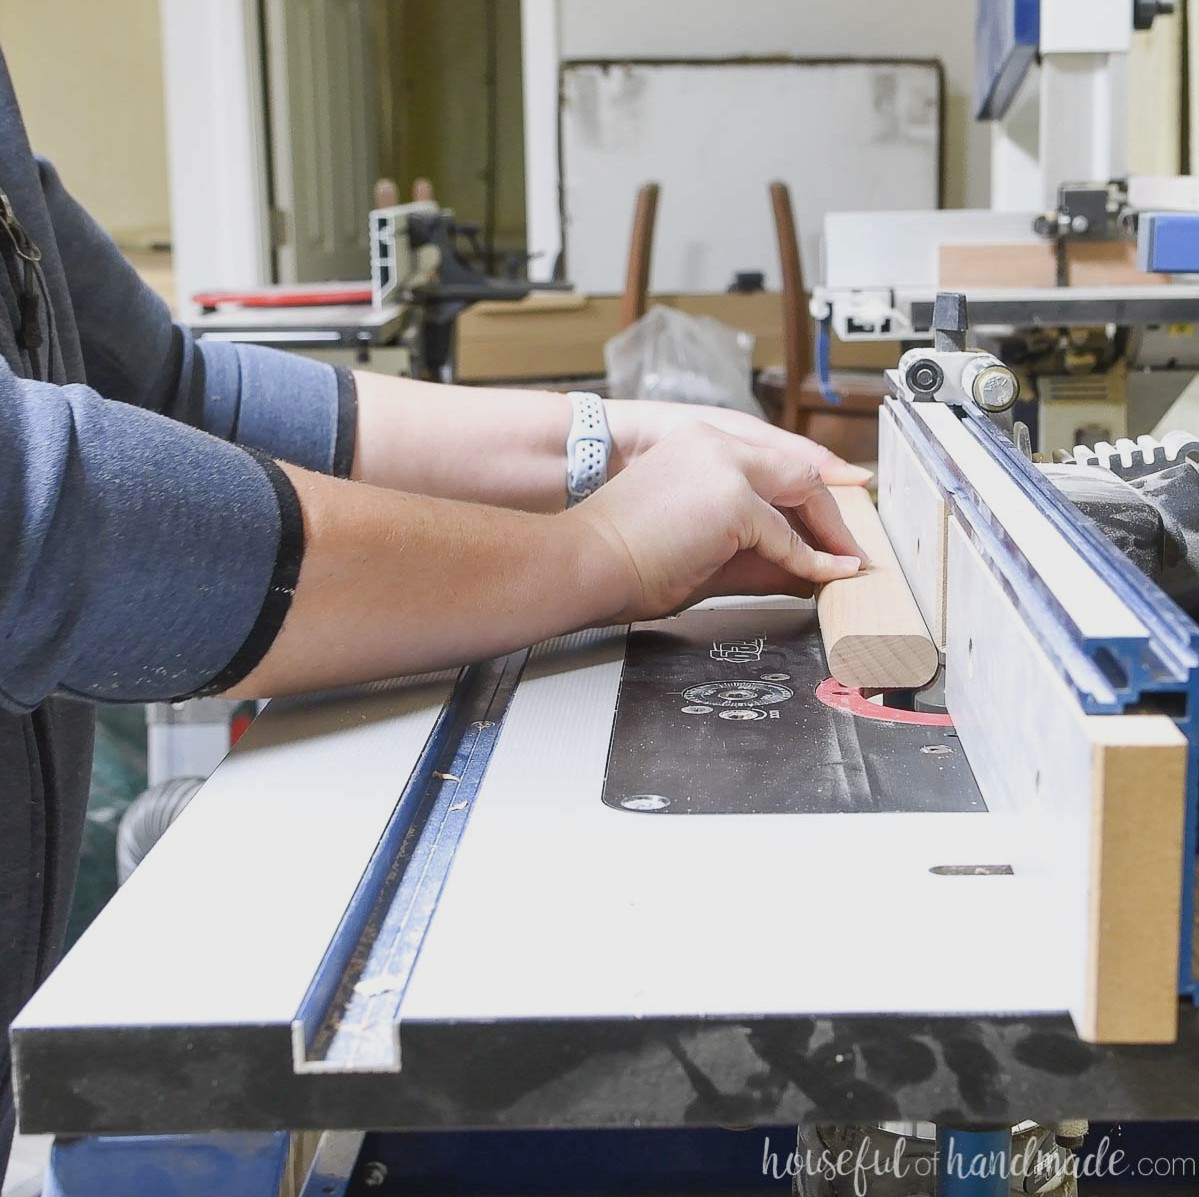
Round over each of the 4 edges on the ladder rungs.
This part is completely optional, so you can leave the corners sharp if preferred.
If you don’t own a router but would like softer edges, use a sander to gently smooth the board corners instead.
STEP 1- Assemble the ladder
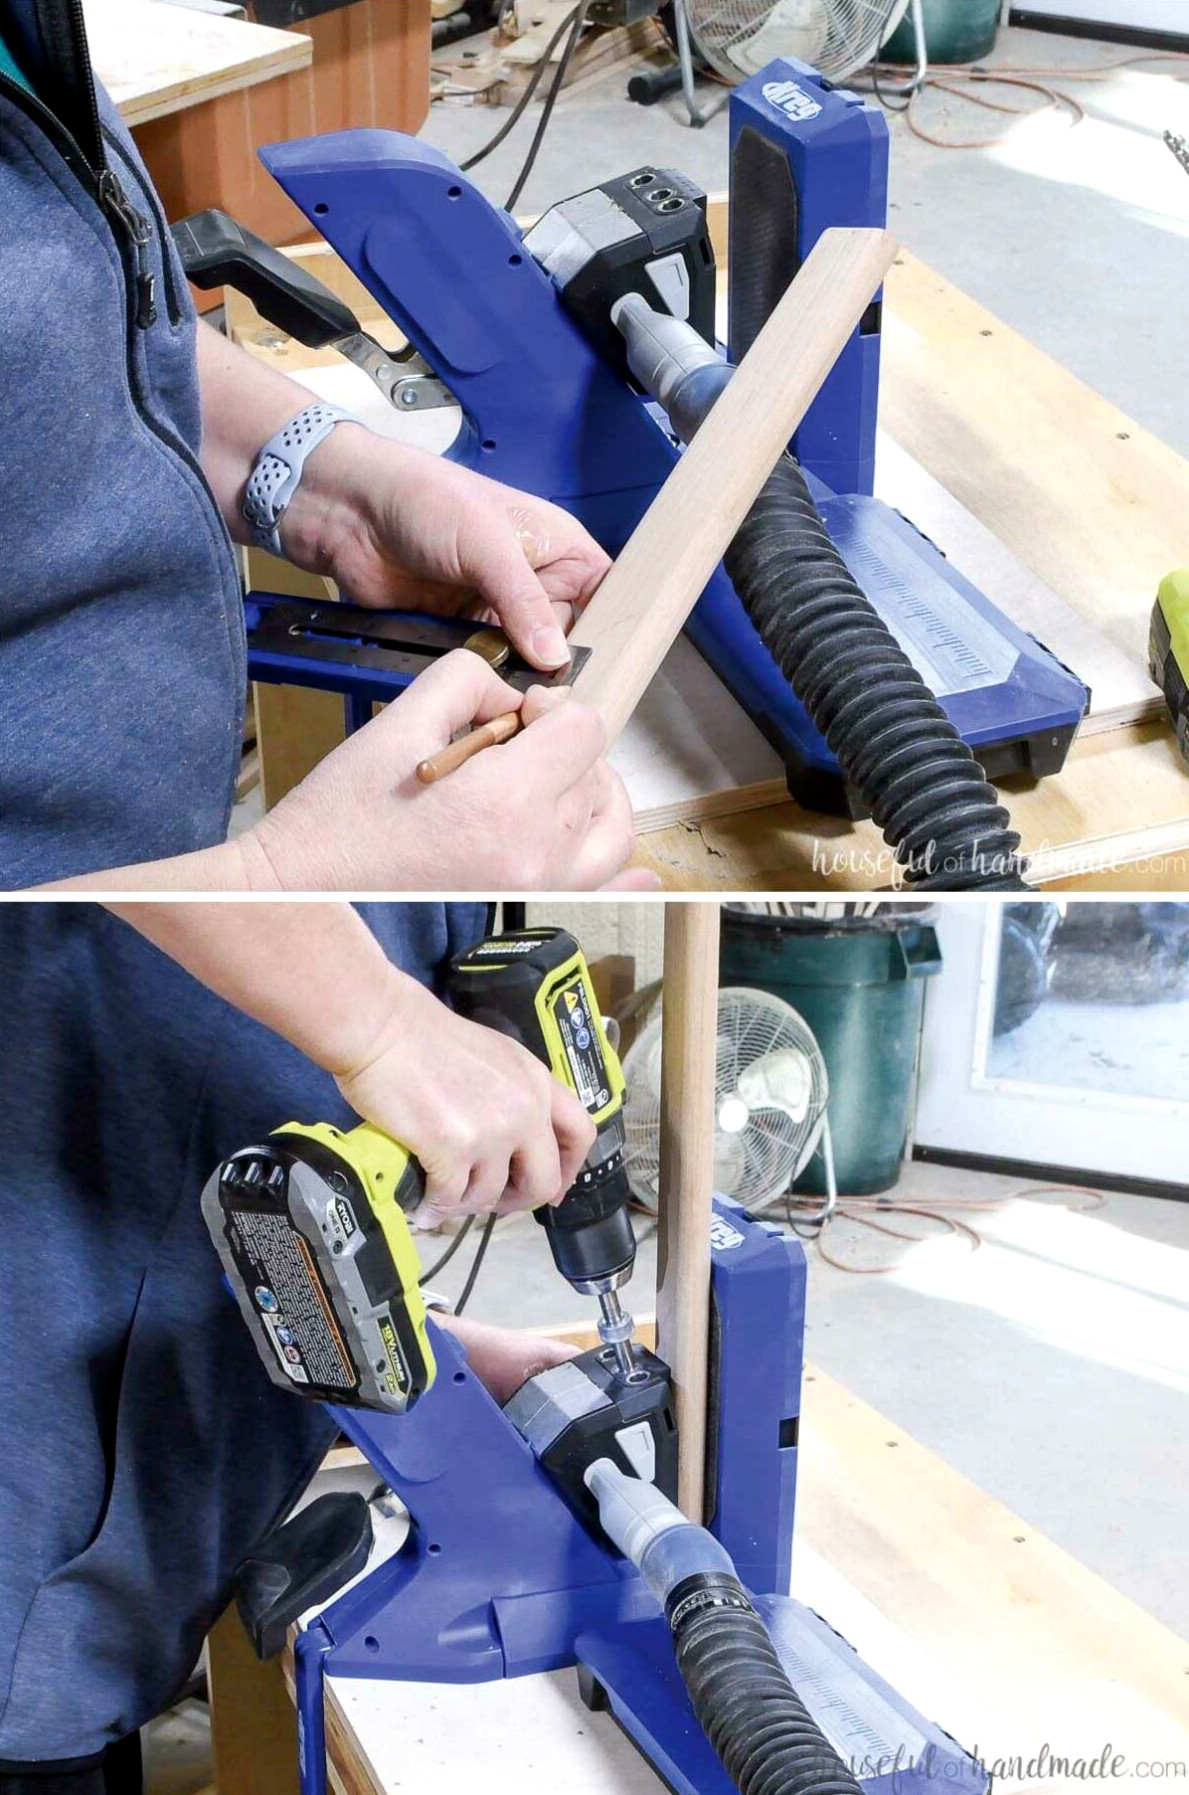
Adjust the pocket hole jig for drilling into 3/4″-thick material (1x boards measure only 3/4″ thick).
Make 2 pocket holes on the back side of every ladder rung piece.
To ensure the pocket holes are centeredon the 1×2 boards (particularly crucial if you included the round over), find and mark the midpoint of each board.
Next, align the centerline with the indicator on the Kreg pocket hole jig and bore two pocket holes.
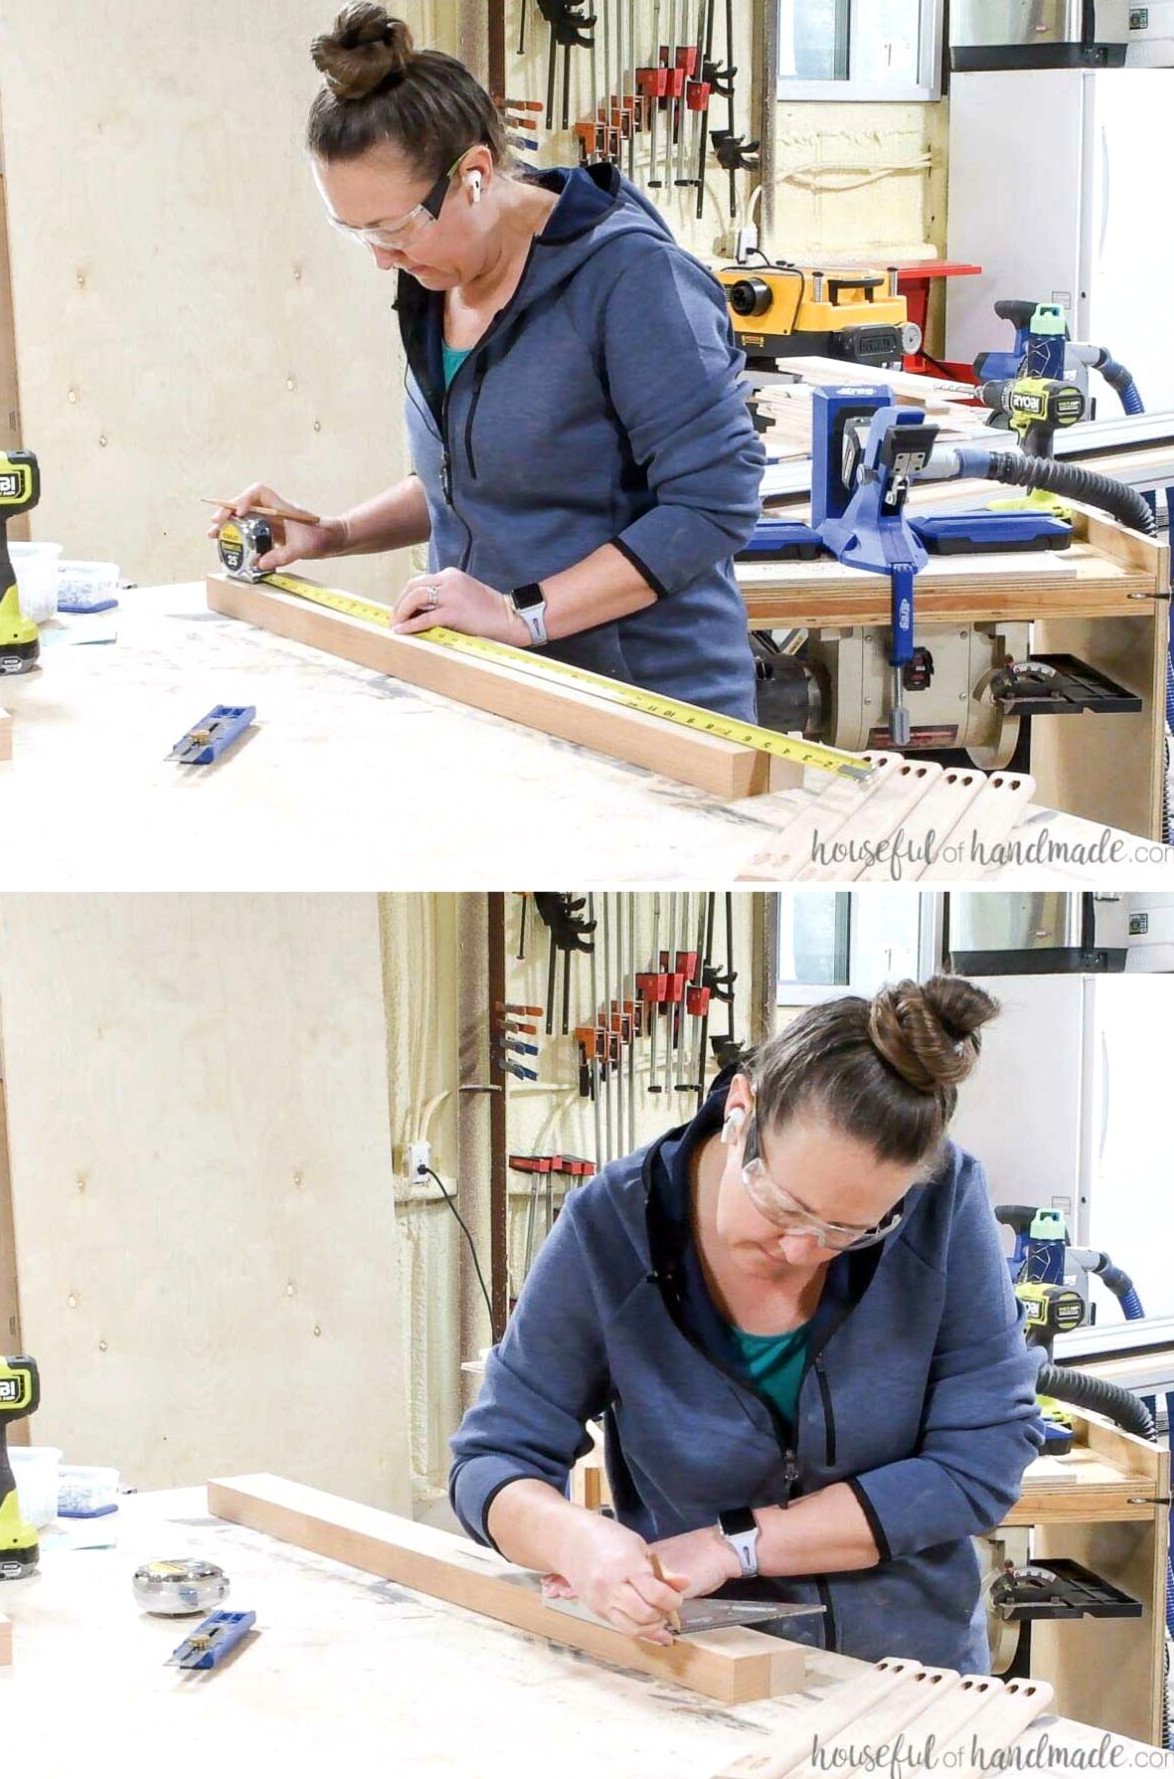
Following the diagram in the printable plans, measure and mark the locations where you would like the rungs positioned on the ladder sides.
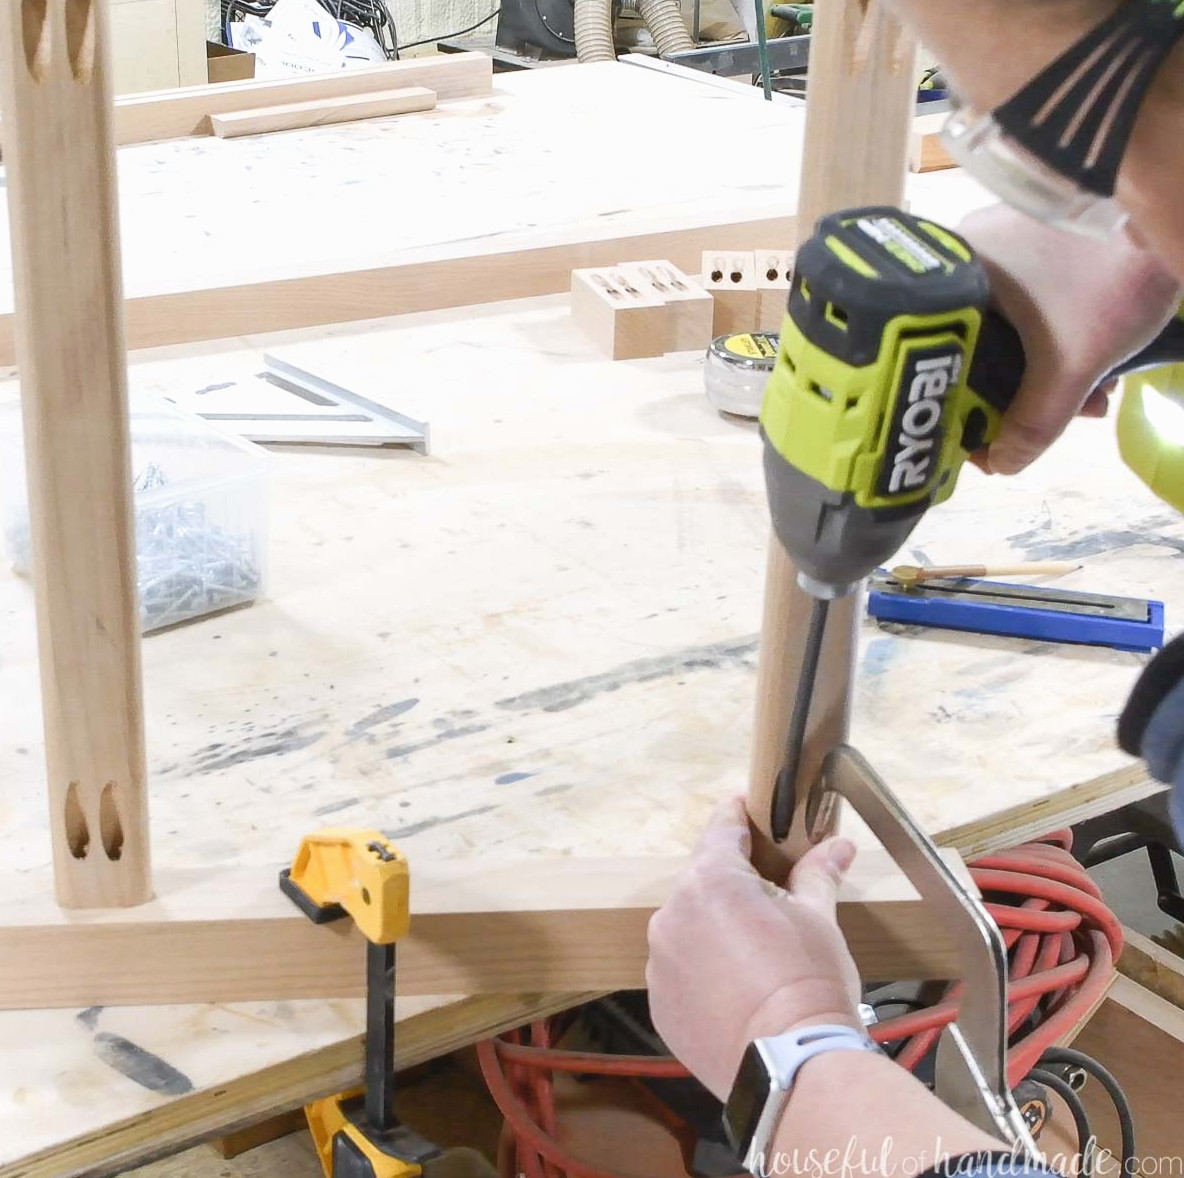
Fasten all the rungs to one side piece, centering them on the 2×2 (they should sit 3/8″ in from the front and back).
Apply wood glue, then use 1 1/4″ pocket hole screws to fasten all the rungs to one side board.
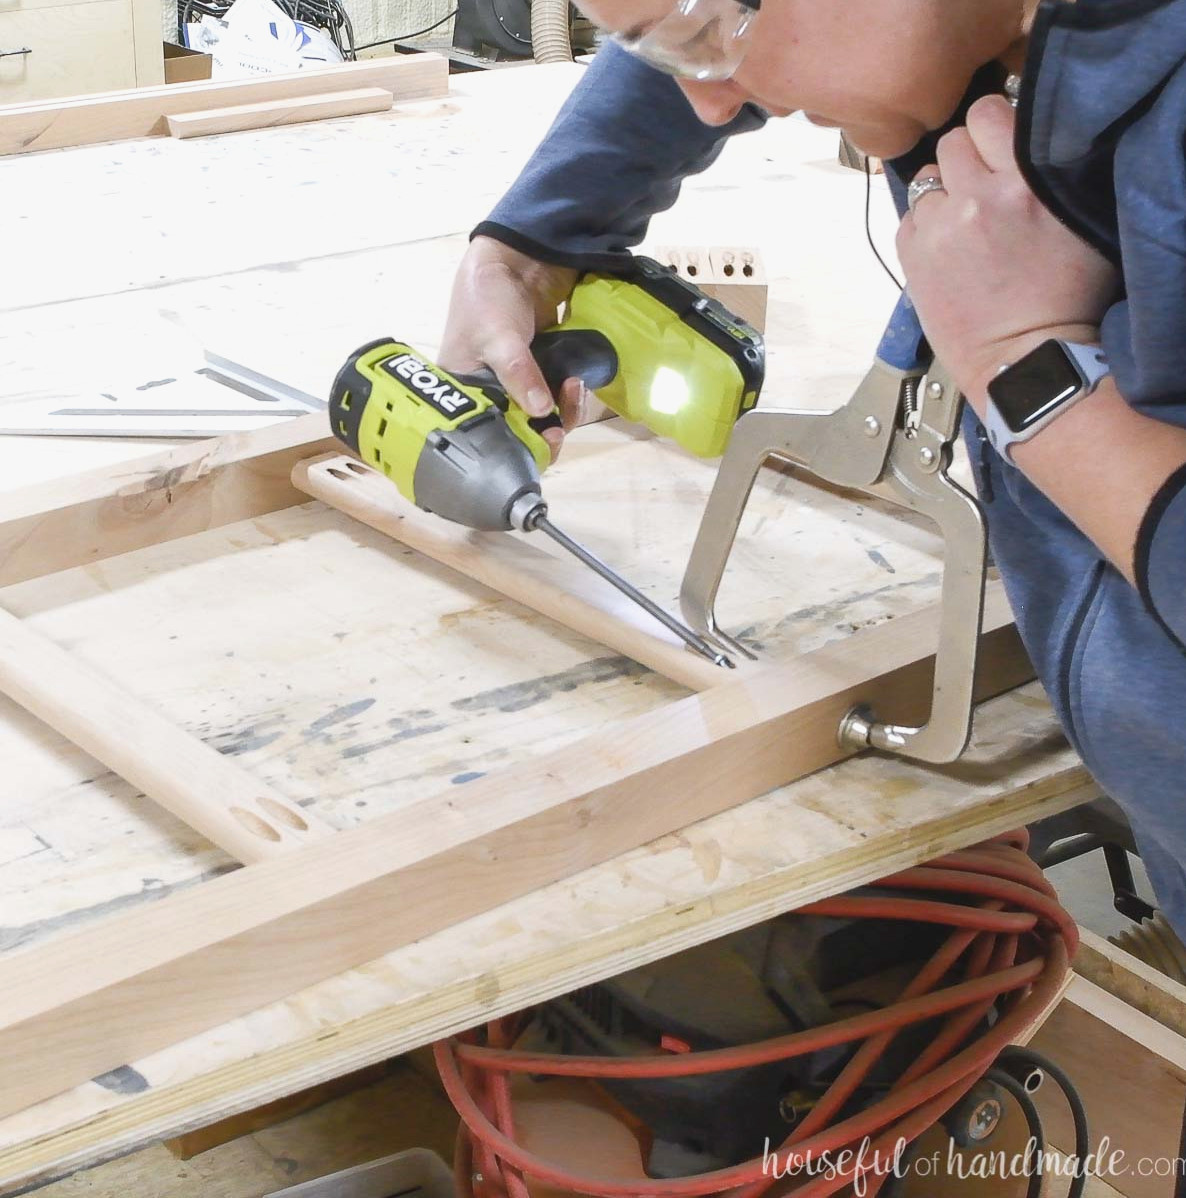
Next, connect the rungs to the second side piece. Be sure the rungs are aligned with the marks.
Hold them in place with wood glue and 1 1/4″ pocket hole screws.
STEP 2- Install the back slats
Adjust your pocket hole jig to make holes for 1 1/2″ thick material (the 2×2 boards).
Make two pocket holes at both ends of the 4″ long pieces. The pocket holes will intersect, though they will function normally.
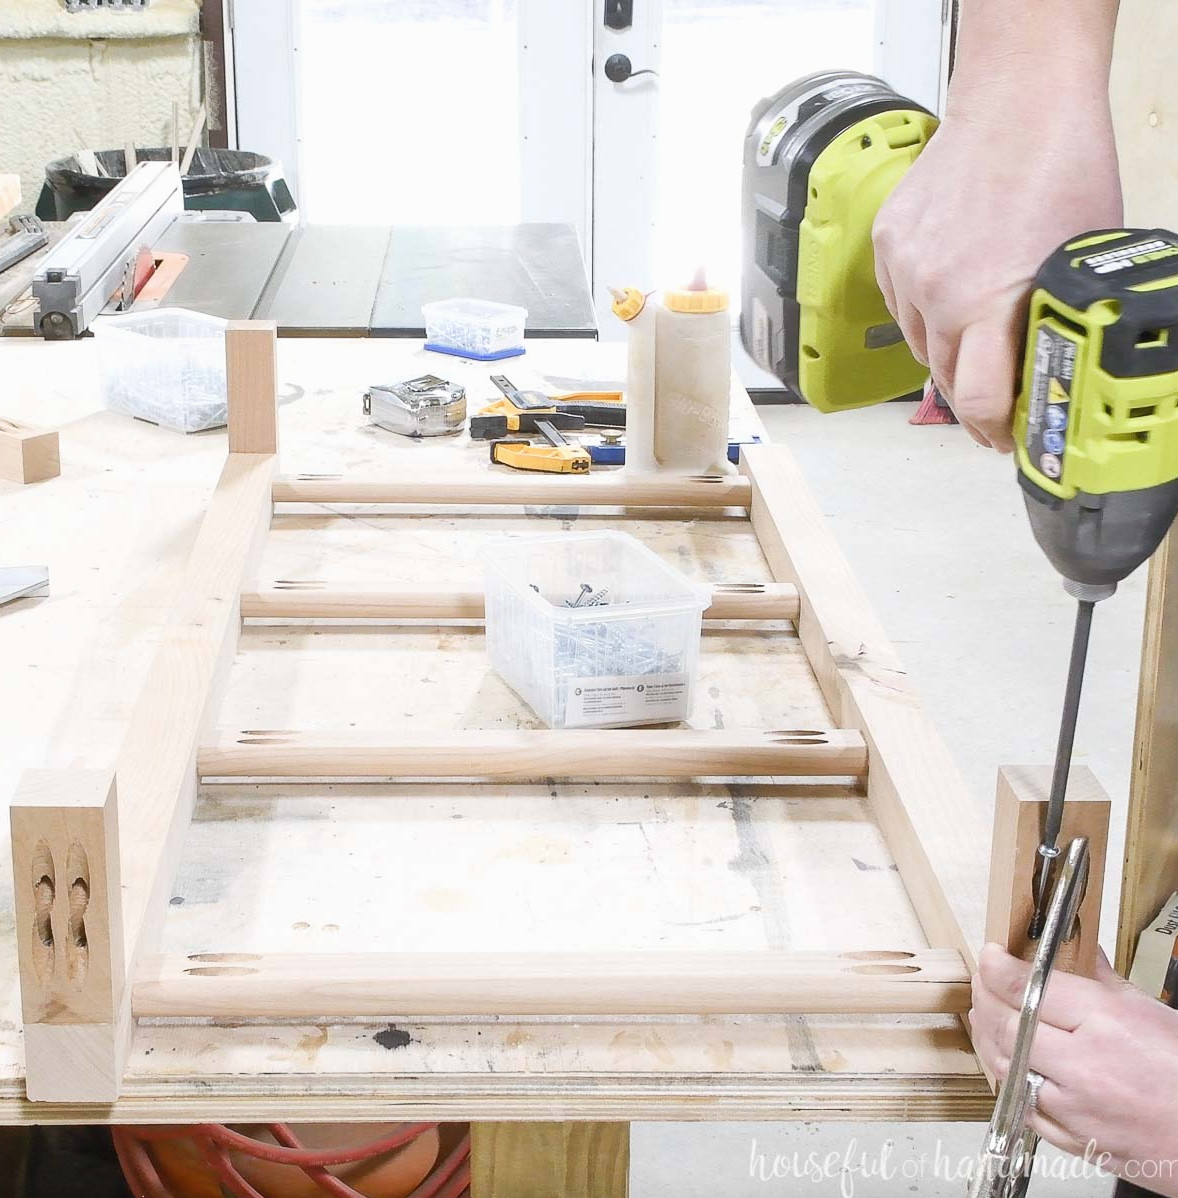
Fasten the top and bottom blocks to the upper and lower back portions of the side pieces.
EXPERT TIP:
Place the top pieces with the pocket holes facing upward and the bottom pieces with the pocket holes facing downward. This makes attachment simpler and keeps the pocket holes hidden from view once the ladder is mounted.
Apply wood glue and fasten everything with 2 1/2″ pocket hole screws.
For mounting the ladder to the wall, attach a 1×2 piece to the rear of both the upper and lower sections of the ladder, securing it to the 4″ pieces.
Take a precise measurement for this component, then cut it accordingly.
Fasten the rear support to the back of the ladder and blocks using the pocket holes that were previously drilled.
Typically, 2 1/2″ screws are used with 2x lumber. However, since you are joining 1 1/2″ thick wood (2x) to 3/4″ thick wood (1x), use 2″ pocket holes screws.
Apply wood glue and secure with 2″ pocket hole screws.
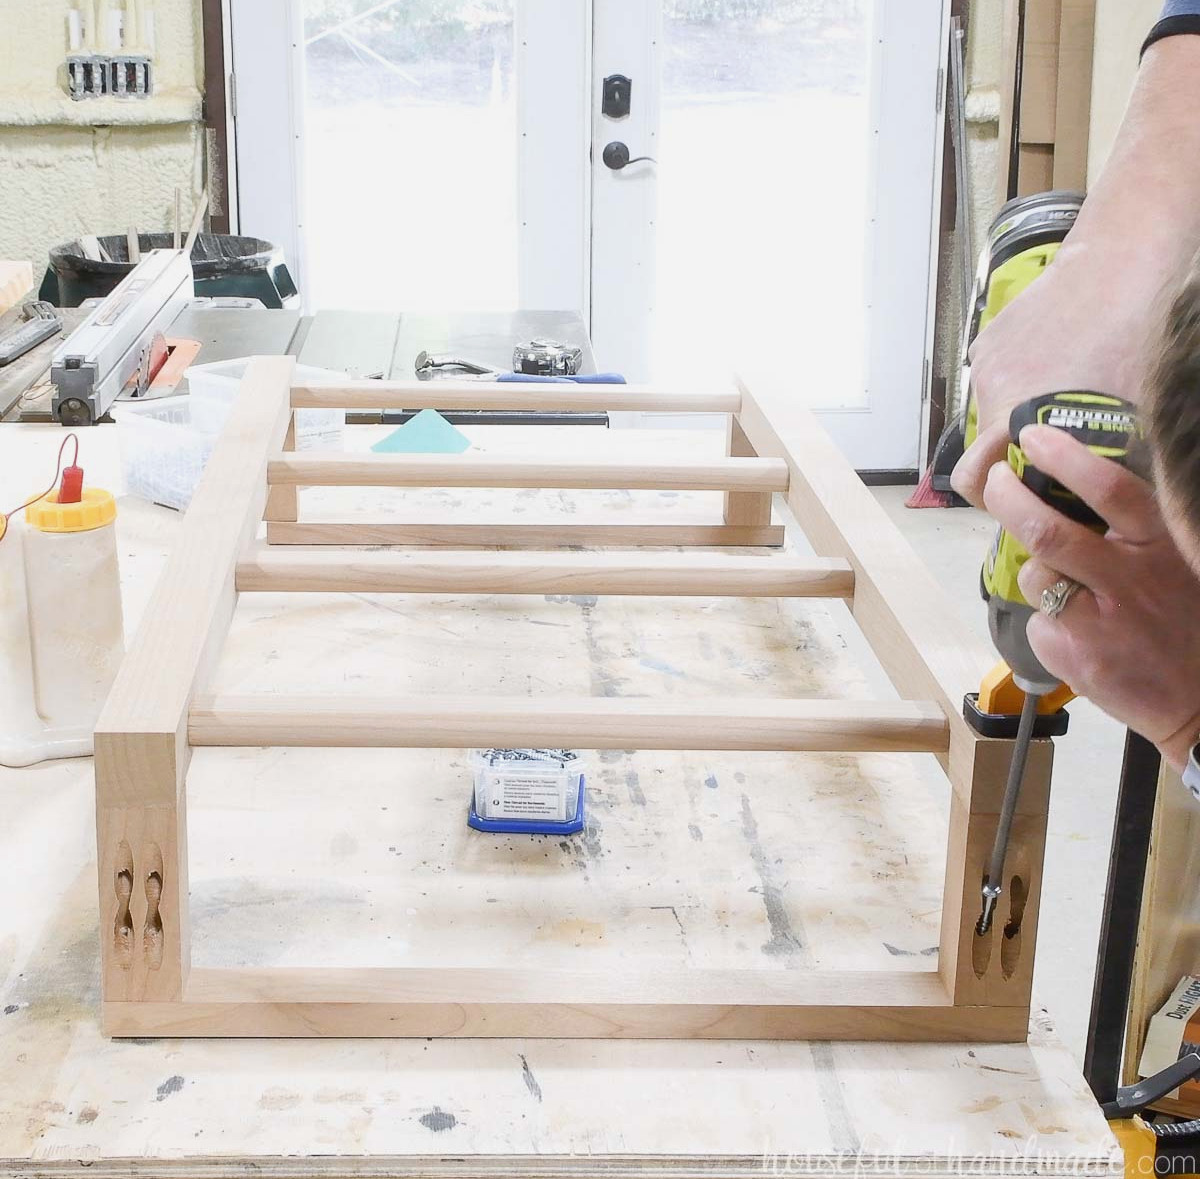
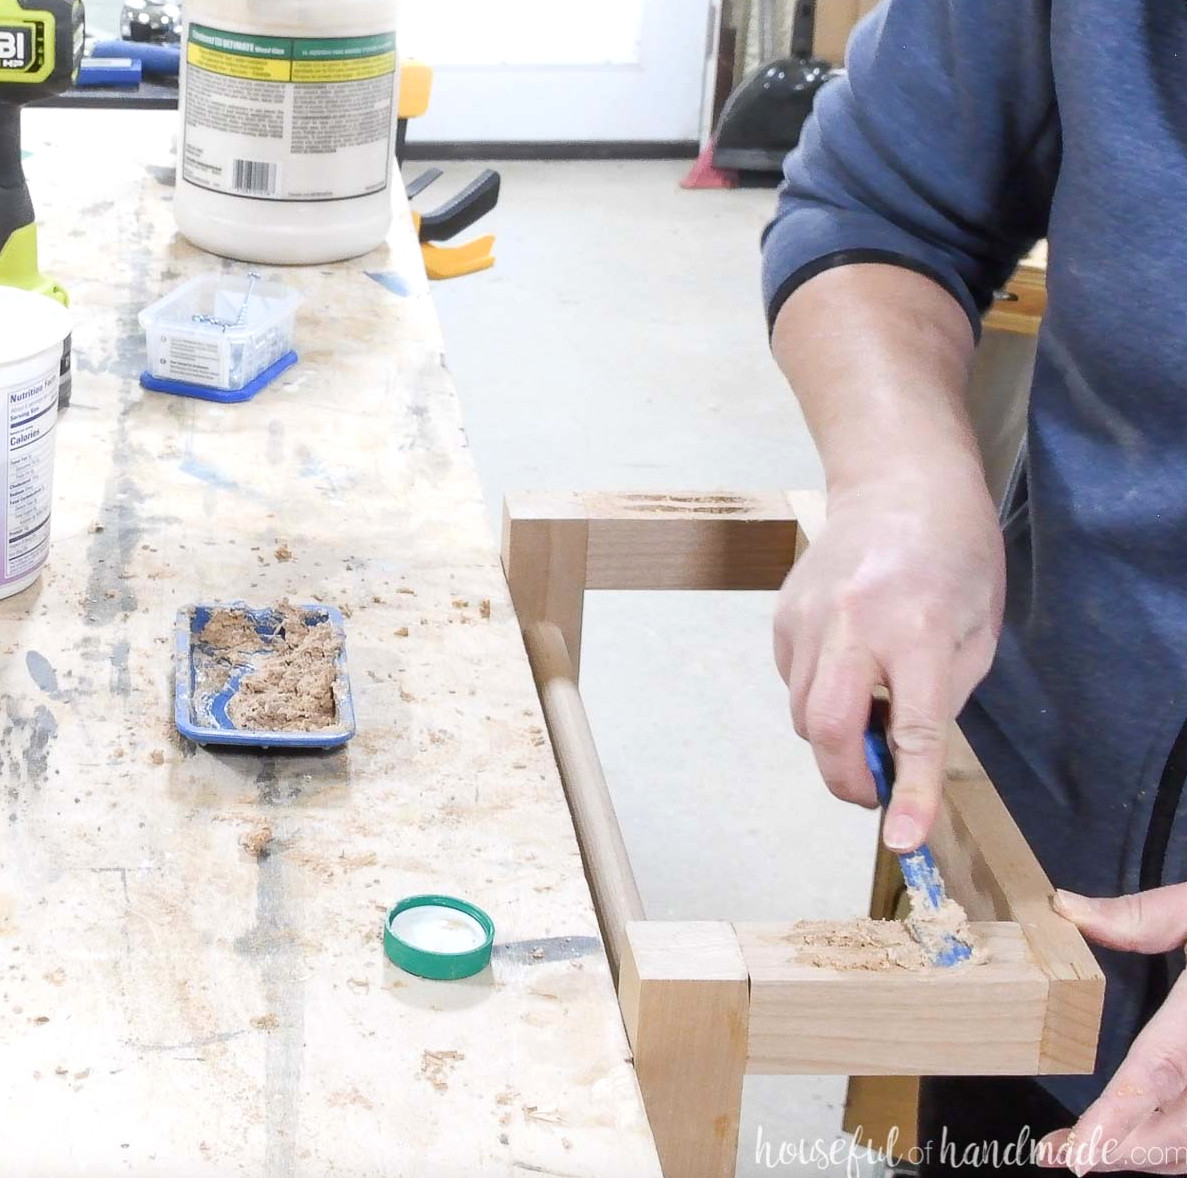
Cover the pocket holes with wood filler or plugs.
EXPERT TIP:
Create a wood filler that blends well with your lumber by combining fine sawdust from your project with wood glue. This filler cannot be stained (because wood glue cannot be stained), but it works wonderfully for projects that will remain natural or be painted.
STEP 3- Mount the wall ladder
Hang the ladder by driving 2 1/2″ long wood screws through the rear 1×2 and into the wall.
Ensure that at least one screw in each 1×2 reaches a wall stud. Install a drywall anchor for the second screw.
Locate the wall stud on the back of the blanket ladder, then mark the wall-anchor position so the spacing is even.
Keep the ladder level against the wall. Predrill through the back slat for the screws and into the wall to indicate the wall-anchor location.
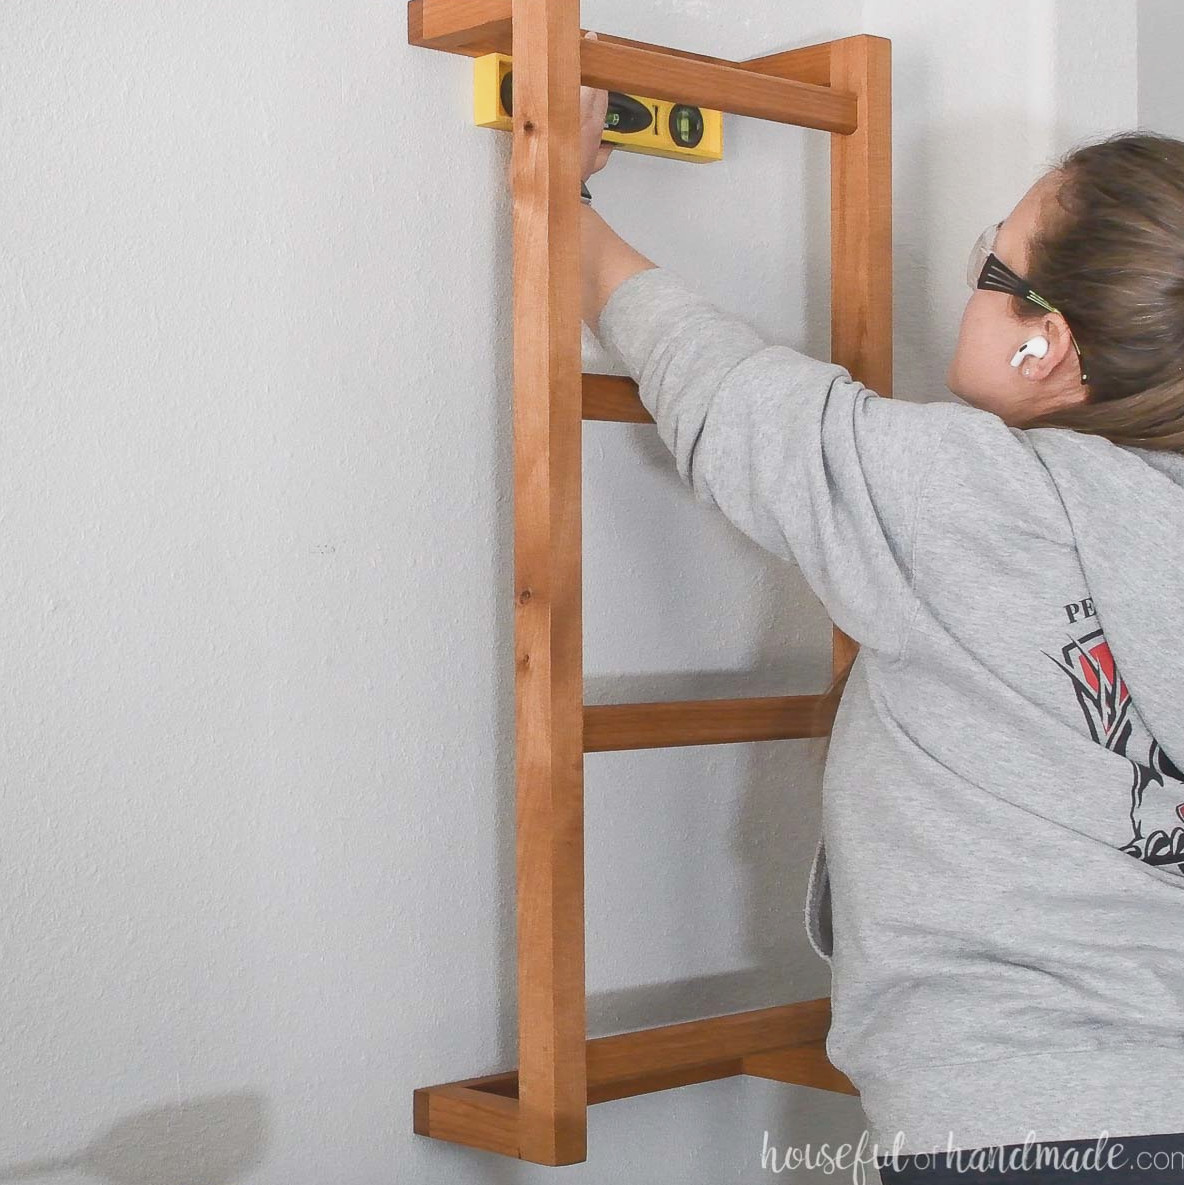
Install the wall anchors.
Afterward, fasten the wall mounted ladder to the wall with the 2 1/2″ long wood screws.
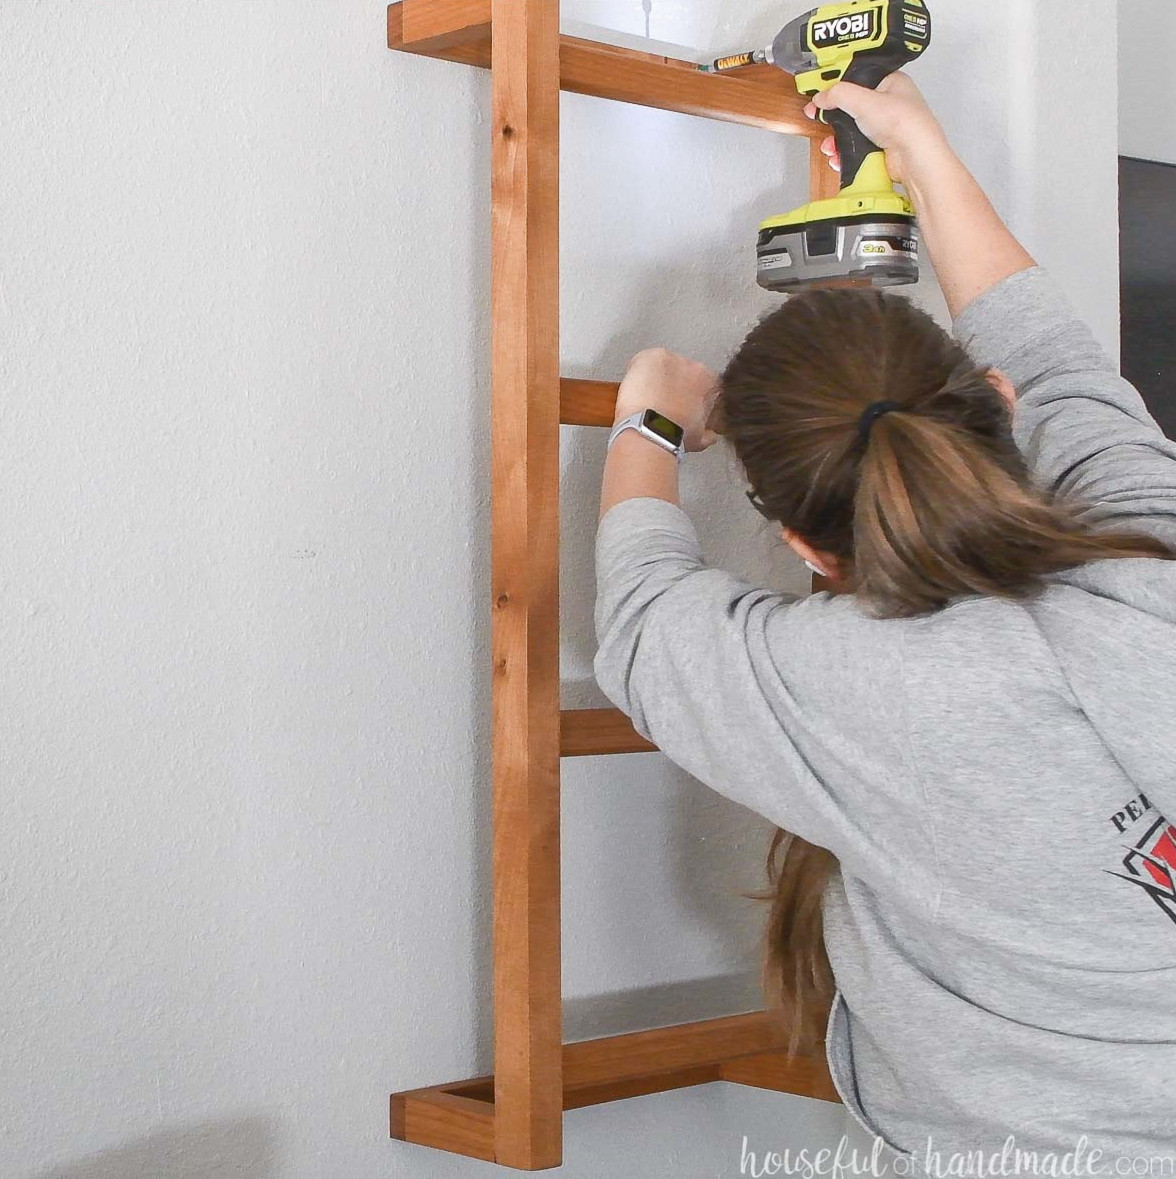
You’ve finished!
Don’t Forget to Get the Printable PDF Plans Here!
Premium plans feature:
- Suggested Tools
- Materials list
- Simple-to-follow cut list table
- Cutting diagrams
- Detailed instructions with 3D renderings
- Useful resources
- BONUS: 3D SketchUp file
Your new blanket ladder is now complete! Plus, since it is mounted high on the wall, you no longer need to worry about items disappearing behind it.
Alternatively, install it in a bathroom and use it as an ideal towel ladder.
Adjust the size up or down as necessary to suit your requirements.
Enjoy building!