Create a beautiful coffee table in just one afternoon.
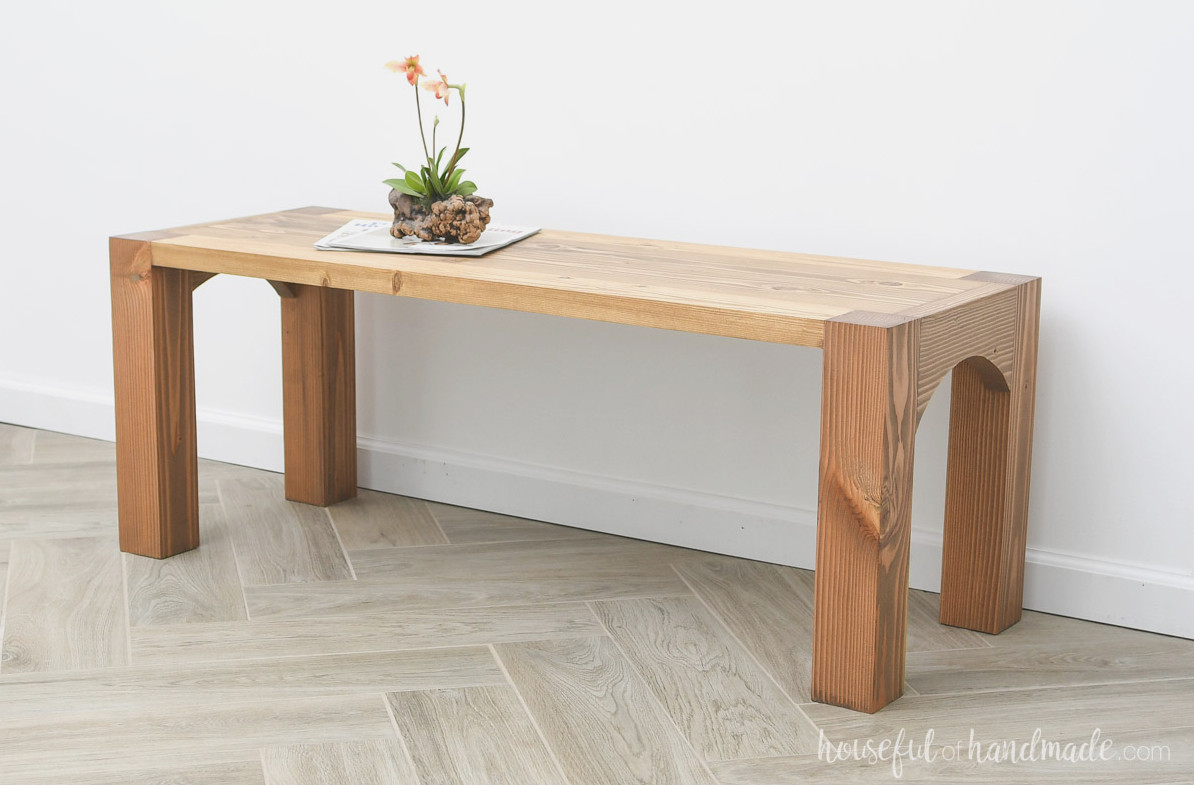
I absolutely love my new, substantial coffee table! I had spotted comparable designs at upscale retailers, but their prices were far from affordable.
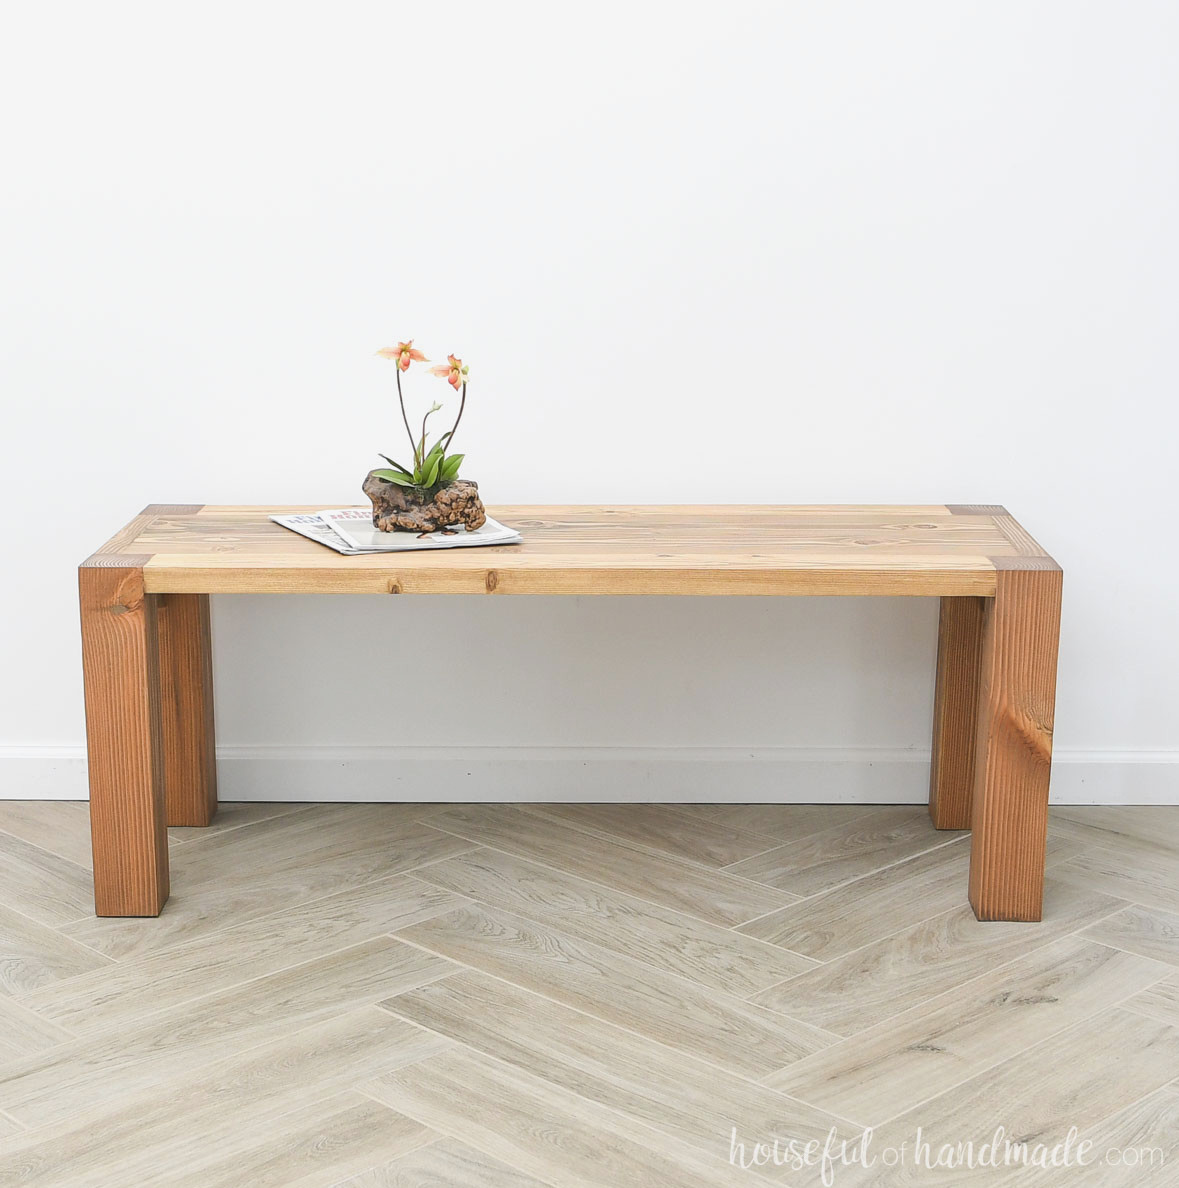
So, I built my own budget-conscious version, and it turned out fantastic. The feature I enjoy most is the exposed end grain from the legs showing through the tabletop.
The arched accents along the sides come in as my second favorite detail. They are incredibly simple to include and give this DIY coffee table an elevated appearance.
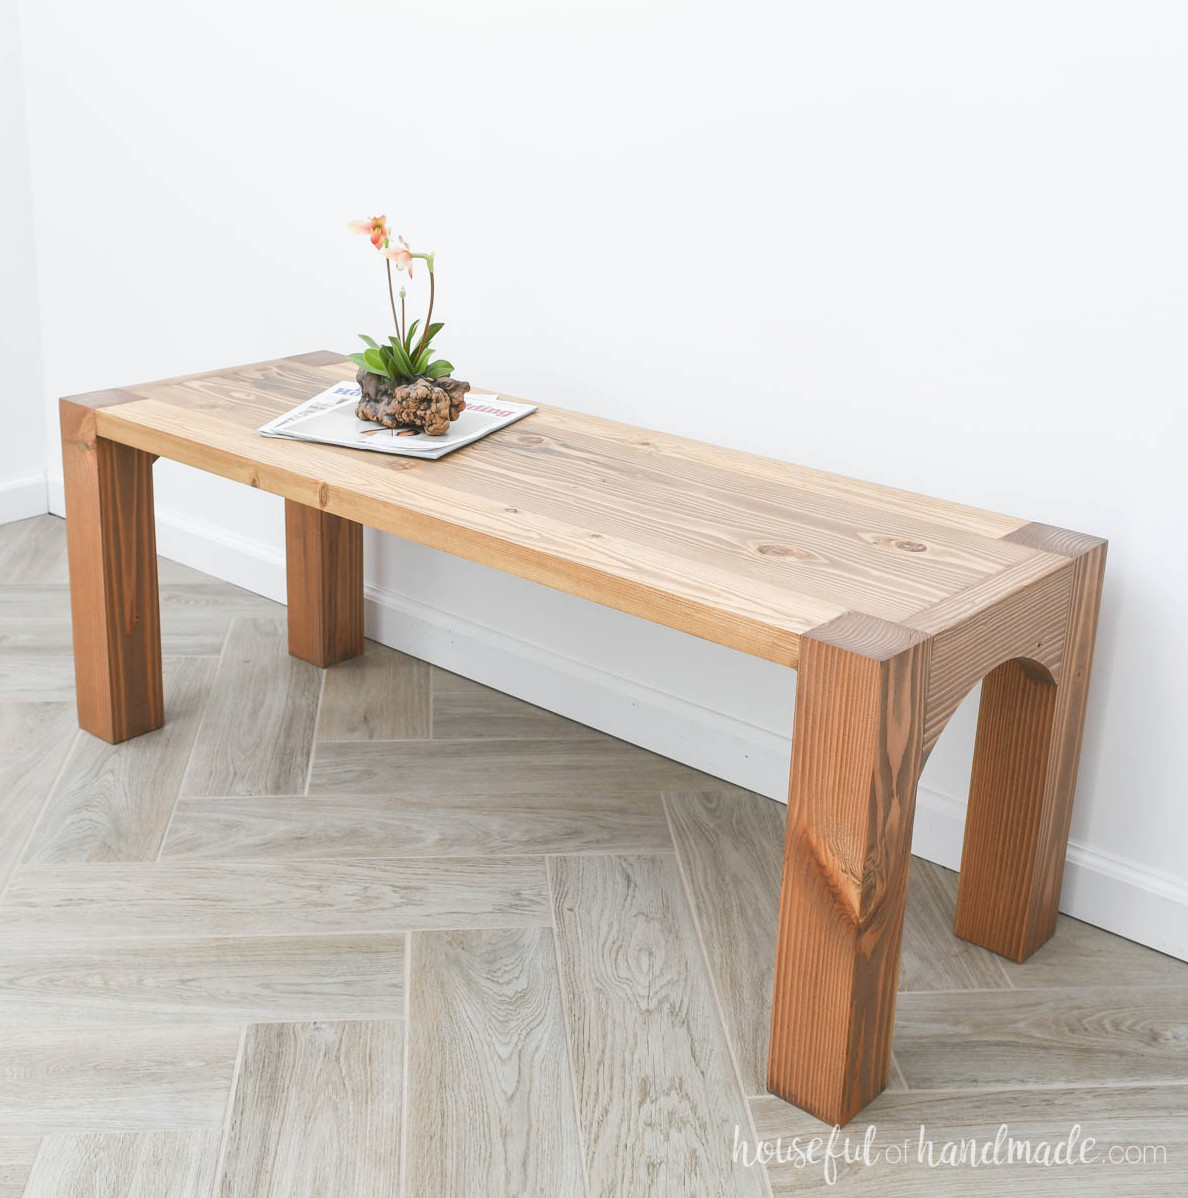
Simple Coffee Table to Build
Although it includes special touches such as the arch and the legs peeking through the top, this coffee table is incredibly straightforward to make!
Take your time measuring and cutting each piece so everything fits properly, and you can have a gorgeous new coffee table in only a few hours.
You will love how enjoyable this project is to build, and you will be happy to know that I also offer plans for coordinating side tables. Plans for the matching sofa table will be available soon!
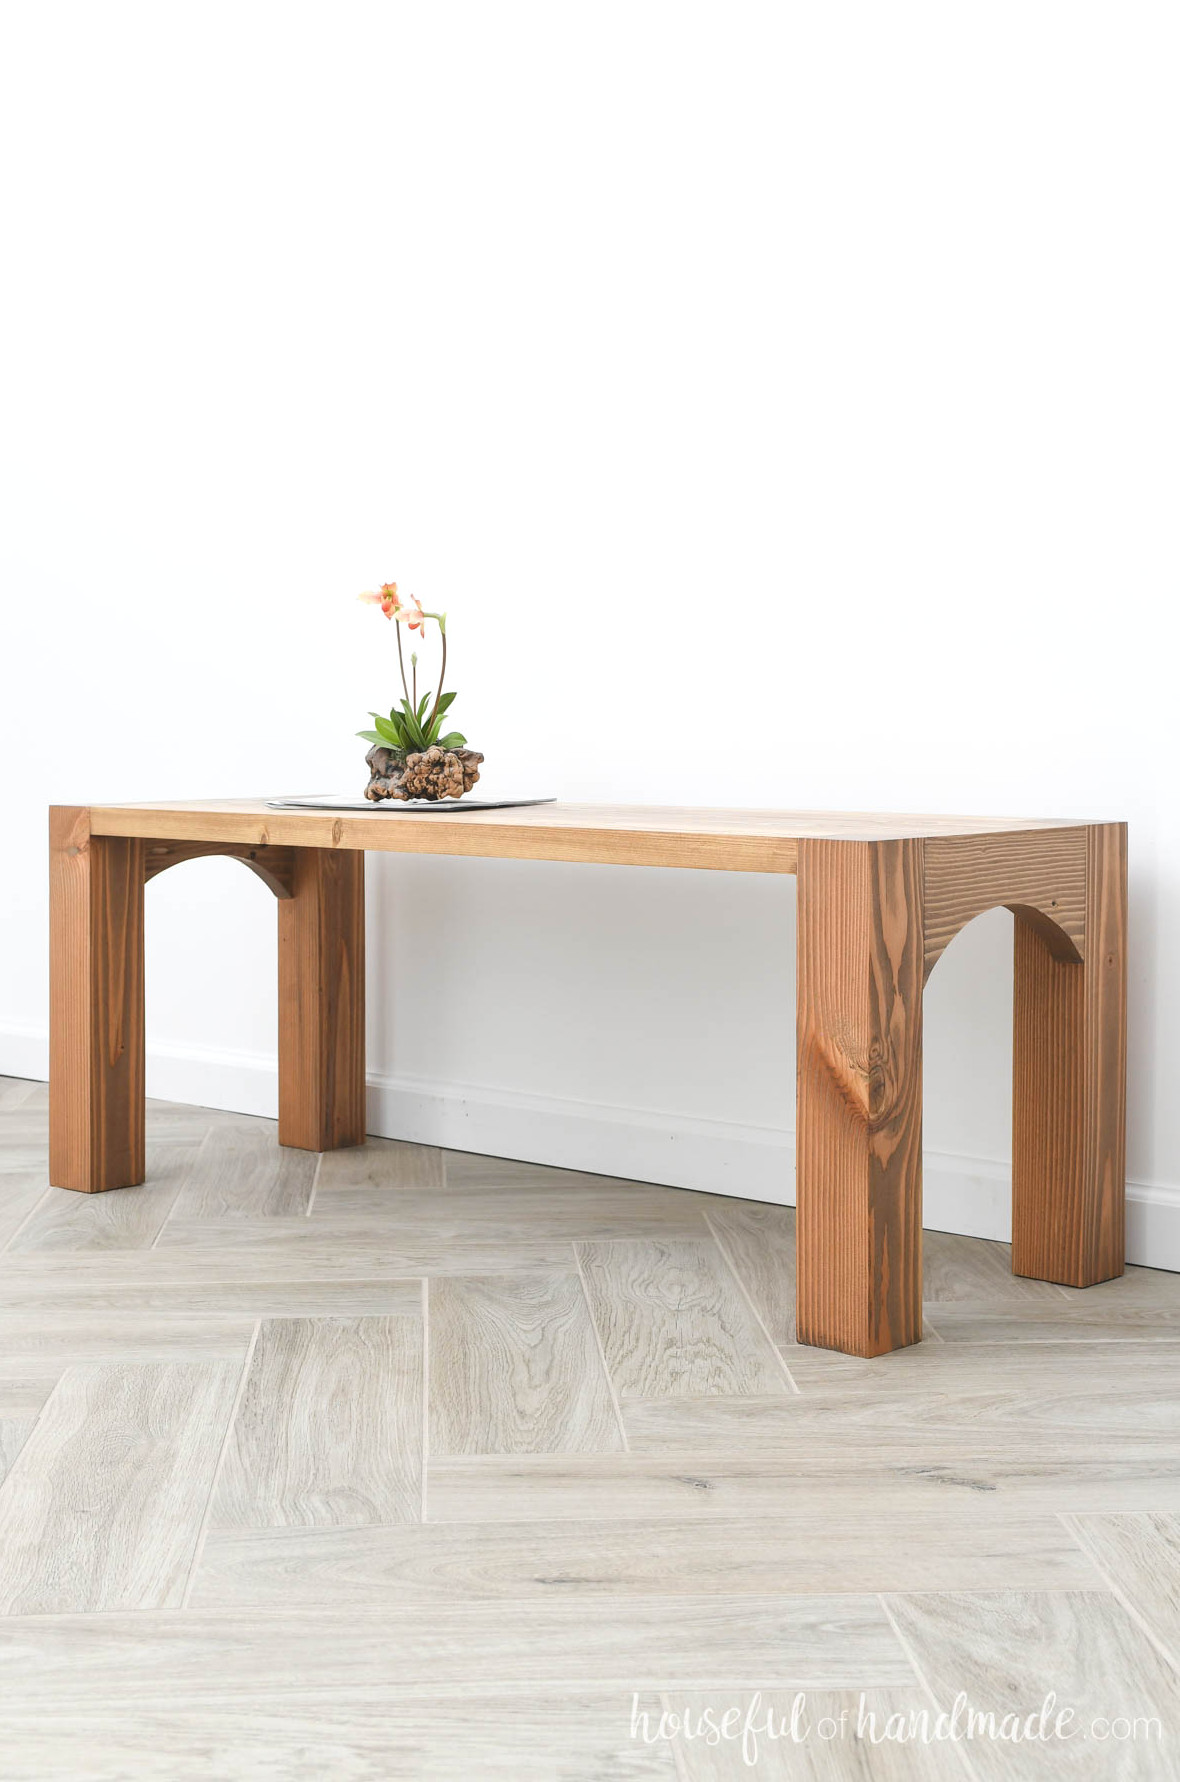
To make this upscale-looking coffee table affordable, I chose pine 2×4 and 2×6 boards.
The only 4×4 lumber I could find was fir, though its color initially looked close to that of the 2x boards. That changed once the boards had been smoothly sanded.
Still, I like the subtly reddish tone of the thick legs because it helps the tabletop detail stand out.
Another option is to avoid purchasing 4×4 boards and instead join two 2×4 boards with glue for a more consistent grain and wood color. Be sure to modify the measurements because the legs will be 1/2″ narrower on one side.
DIY Coffee Table Projects
Looking for additional DIY coffee table inspiration? Take a look at these other projects and upcycled designs.
How to Make a Basic Coffee Table
Tools & Supplies
Overall Measurements
Once completed, the coffee table measures 18″ high, 48″ wide, and 18″ deep.
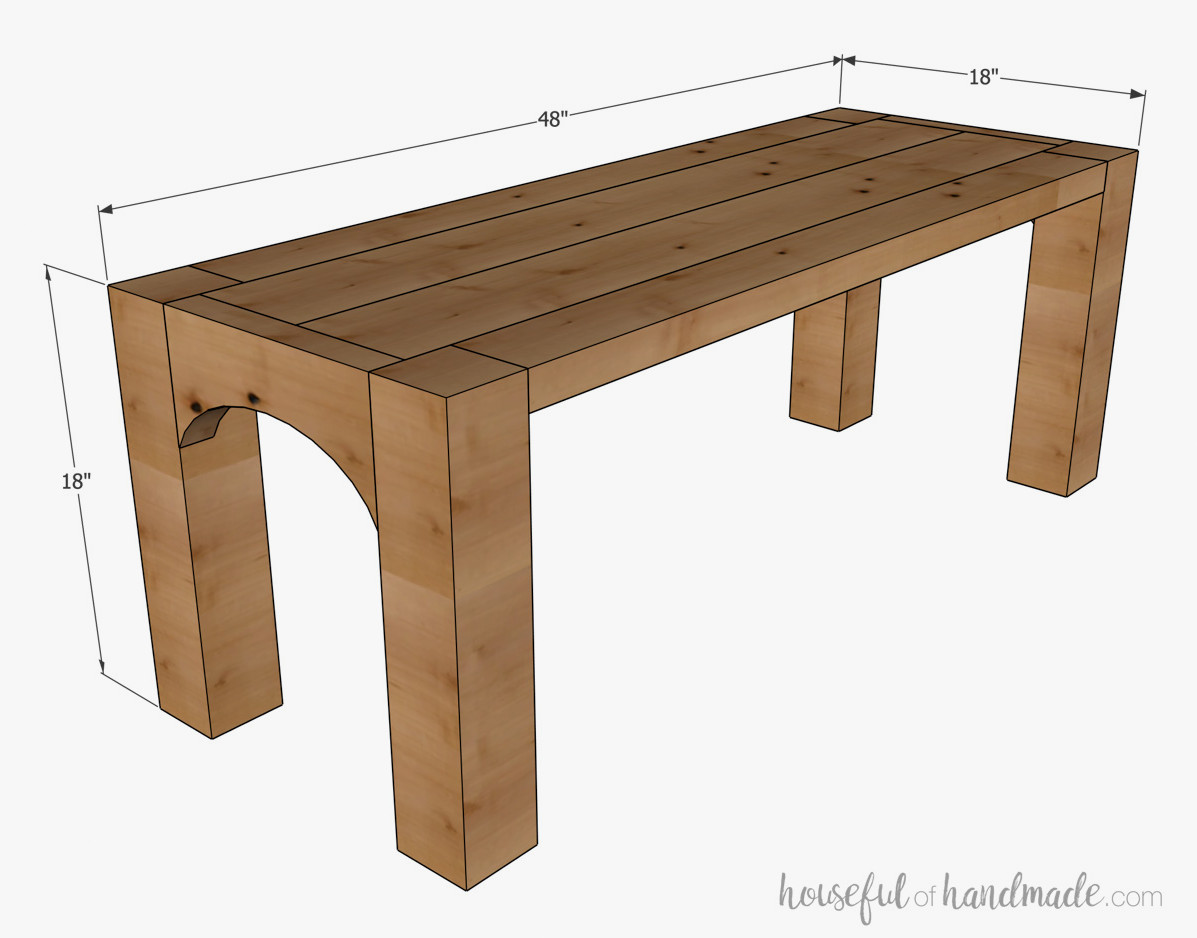
Required Cuts
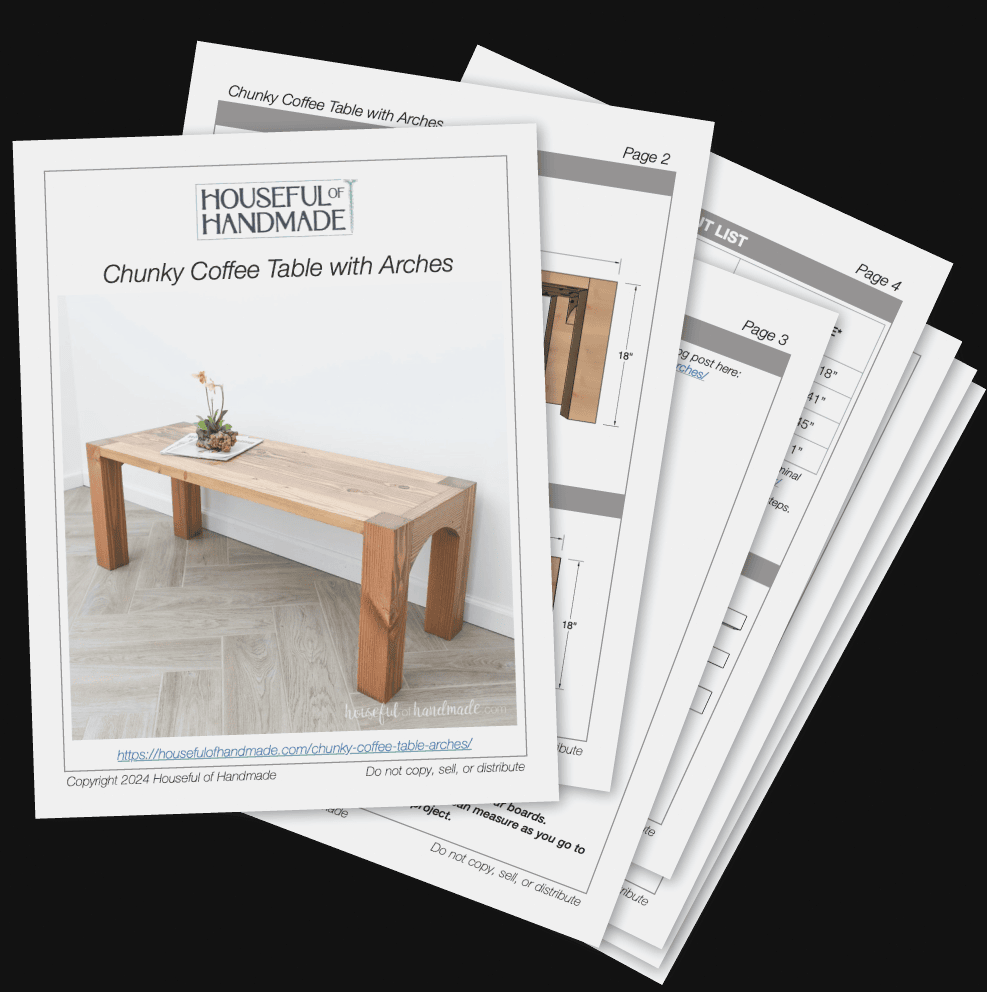
Use the easy-to-follow chart in the premium PDF plans to cut all the pieces.
Download the Premium PDF Woodworking Plans
PDF plans contain- A Clear Cut List, Materials List, Suggested Tools, Detailed Instructions with 3D illustrations, & Useful Resources
BONUS- 3D SketchUp Model
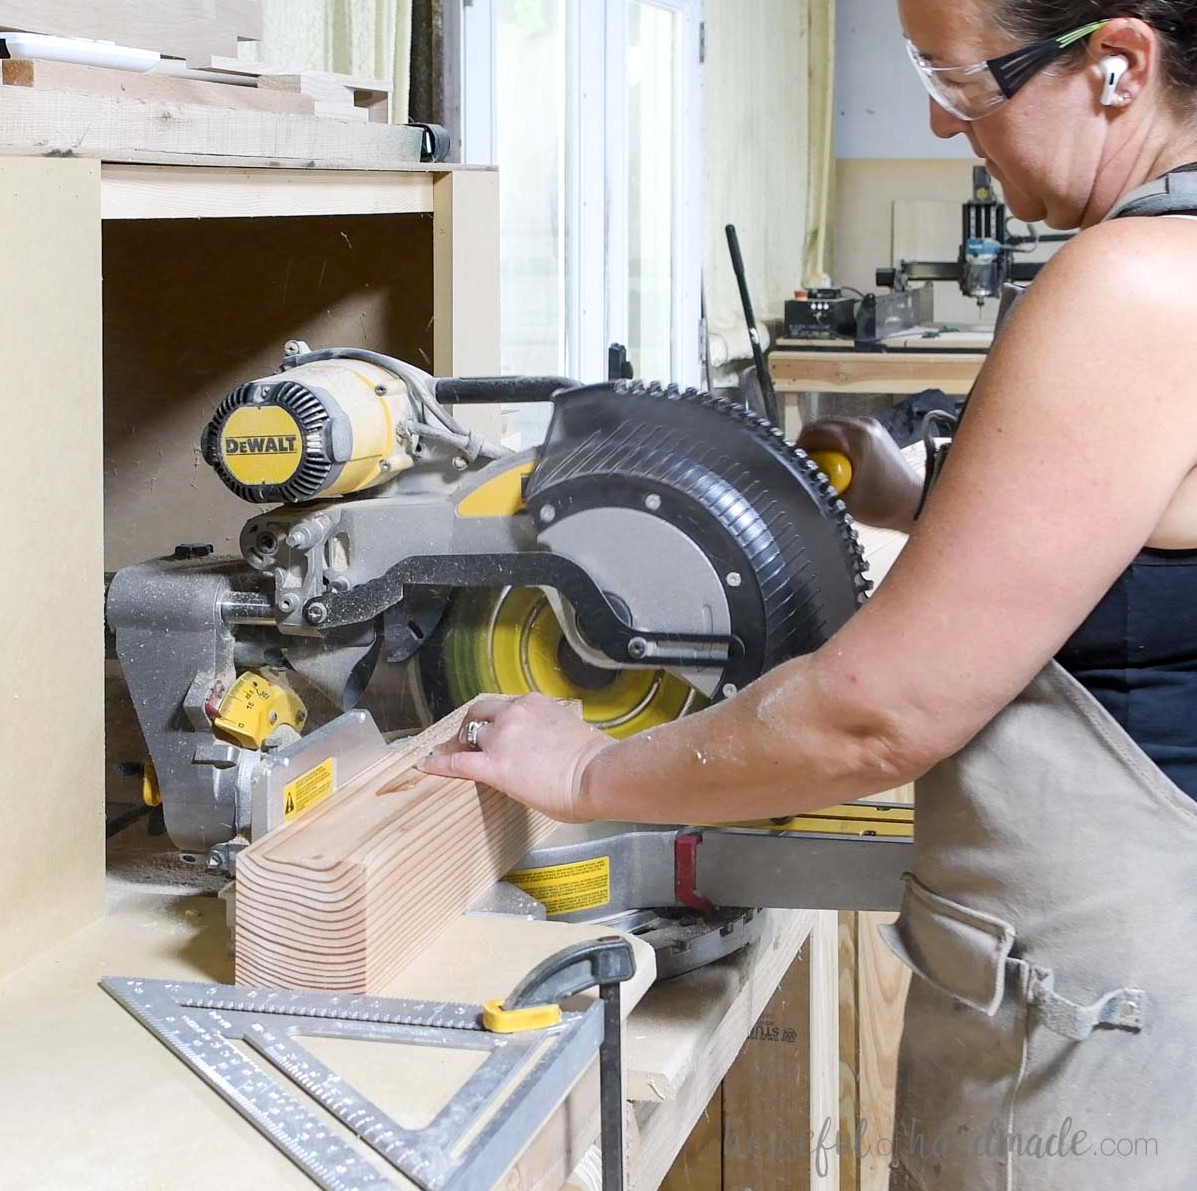
I used a miter saw to cut the boards, but wait before cutting every piece.
For the best fit around the legs and to prevent gaps across the tabletop, measure each piece and cut it as explained in the instructions below.
STEP 1- Shape the arches
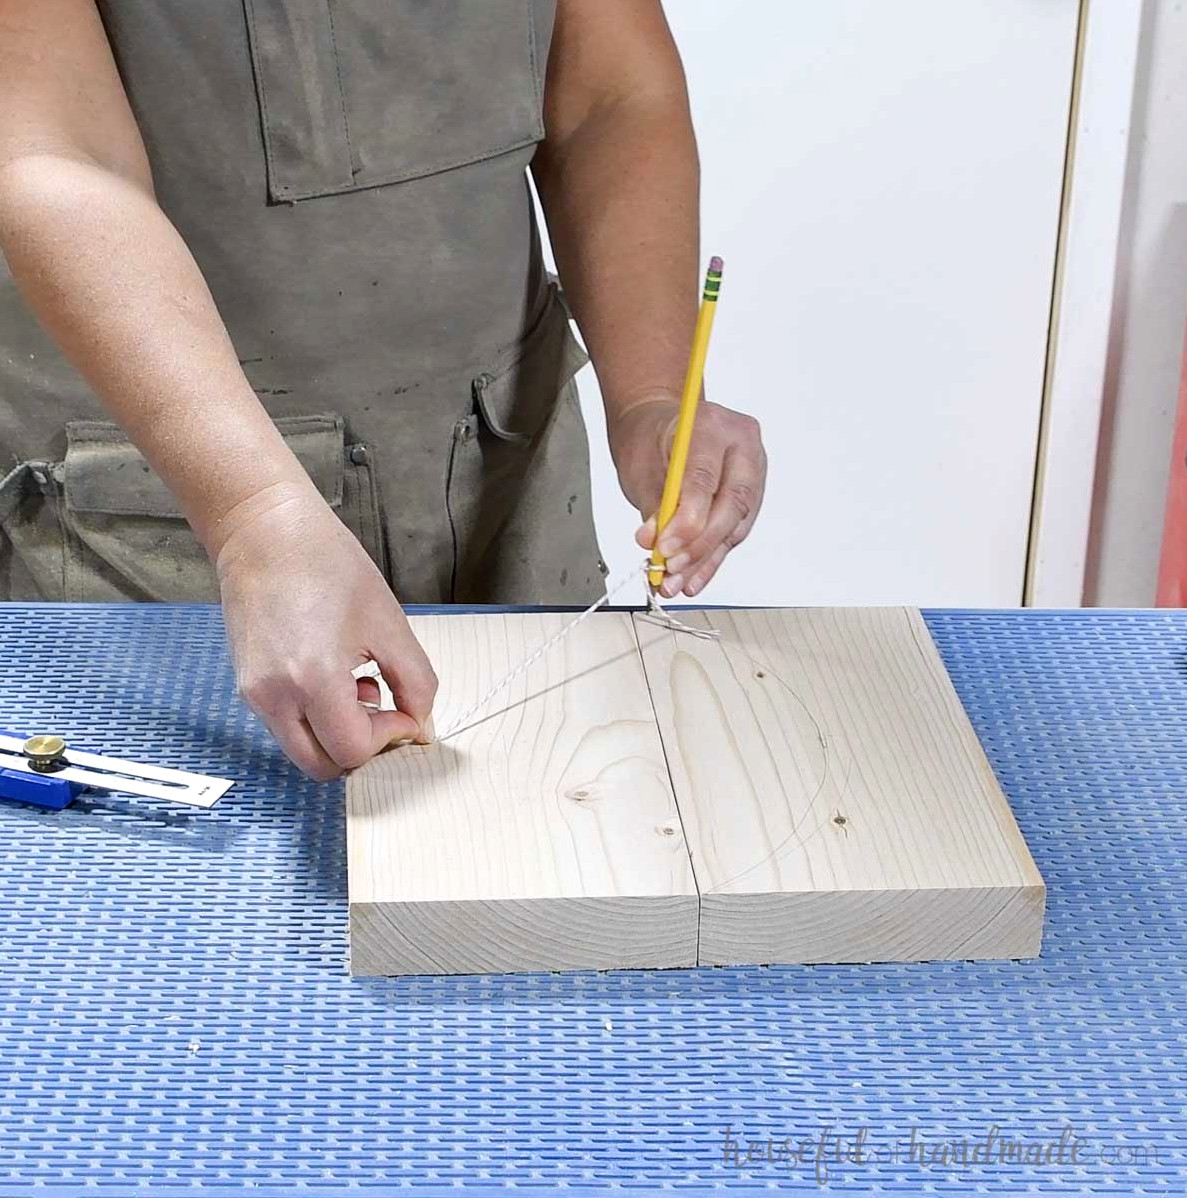
Place the two upper center boards together and verify their combined width. Then cut the curved ends based on the actual measurement.
On the lower portion of the boards, draw an arch that stretches from one side to the other and meets the center line. I made mine by using a string attached to a pencil as a guide.
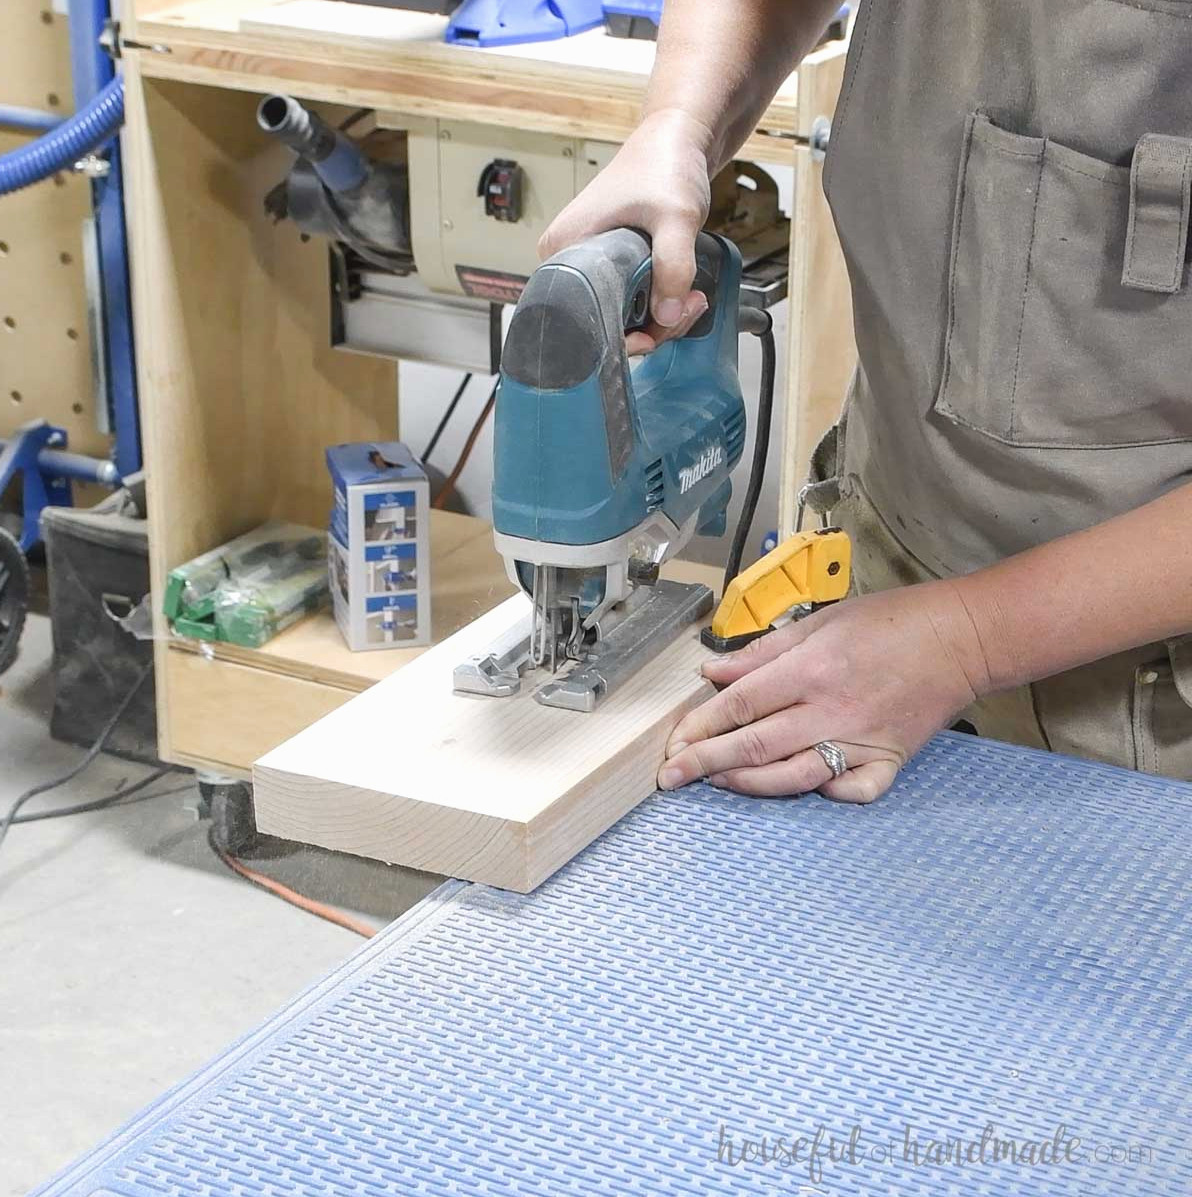
Use a jigsaw to cut the arch from both end boards.
STEP 2- Construct the sides
Adjust your pocket hole jig so it is set for drilling into 1 1/2″-thick material.
Make two pocket holes at each end of the arched boards, positioning them in the upper half.
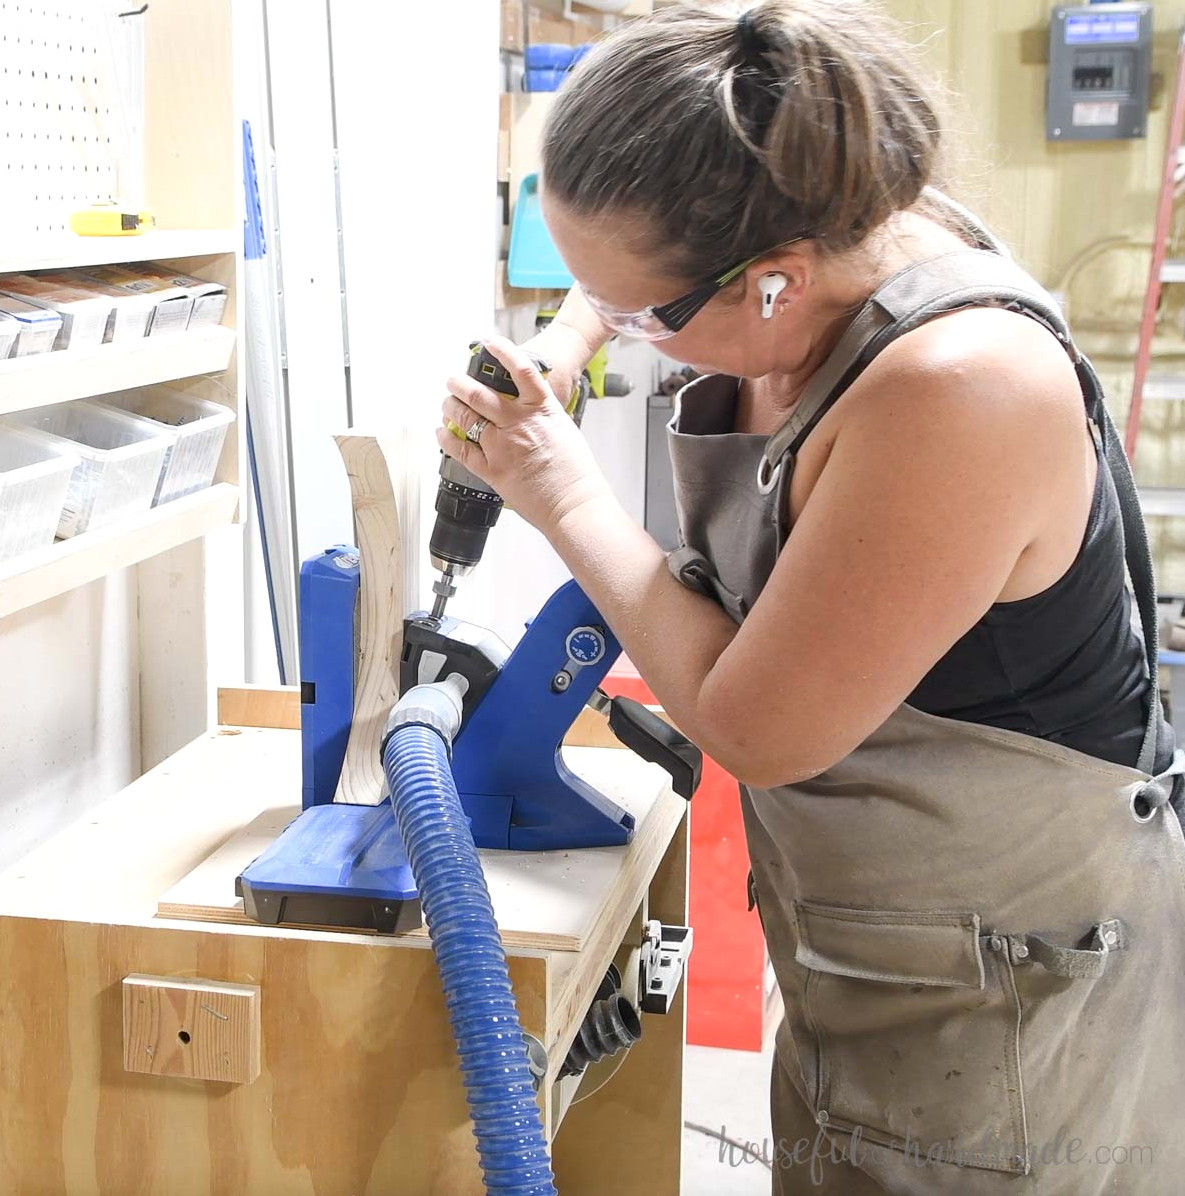
Position the arched boards between a pair of leg boards, keeping them even with the top and front edges.
Fasten everything with 2 1/2″ pocket hole screws and wood adhesive.
Build the other side in the same way.
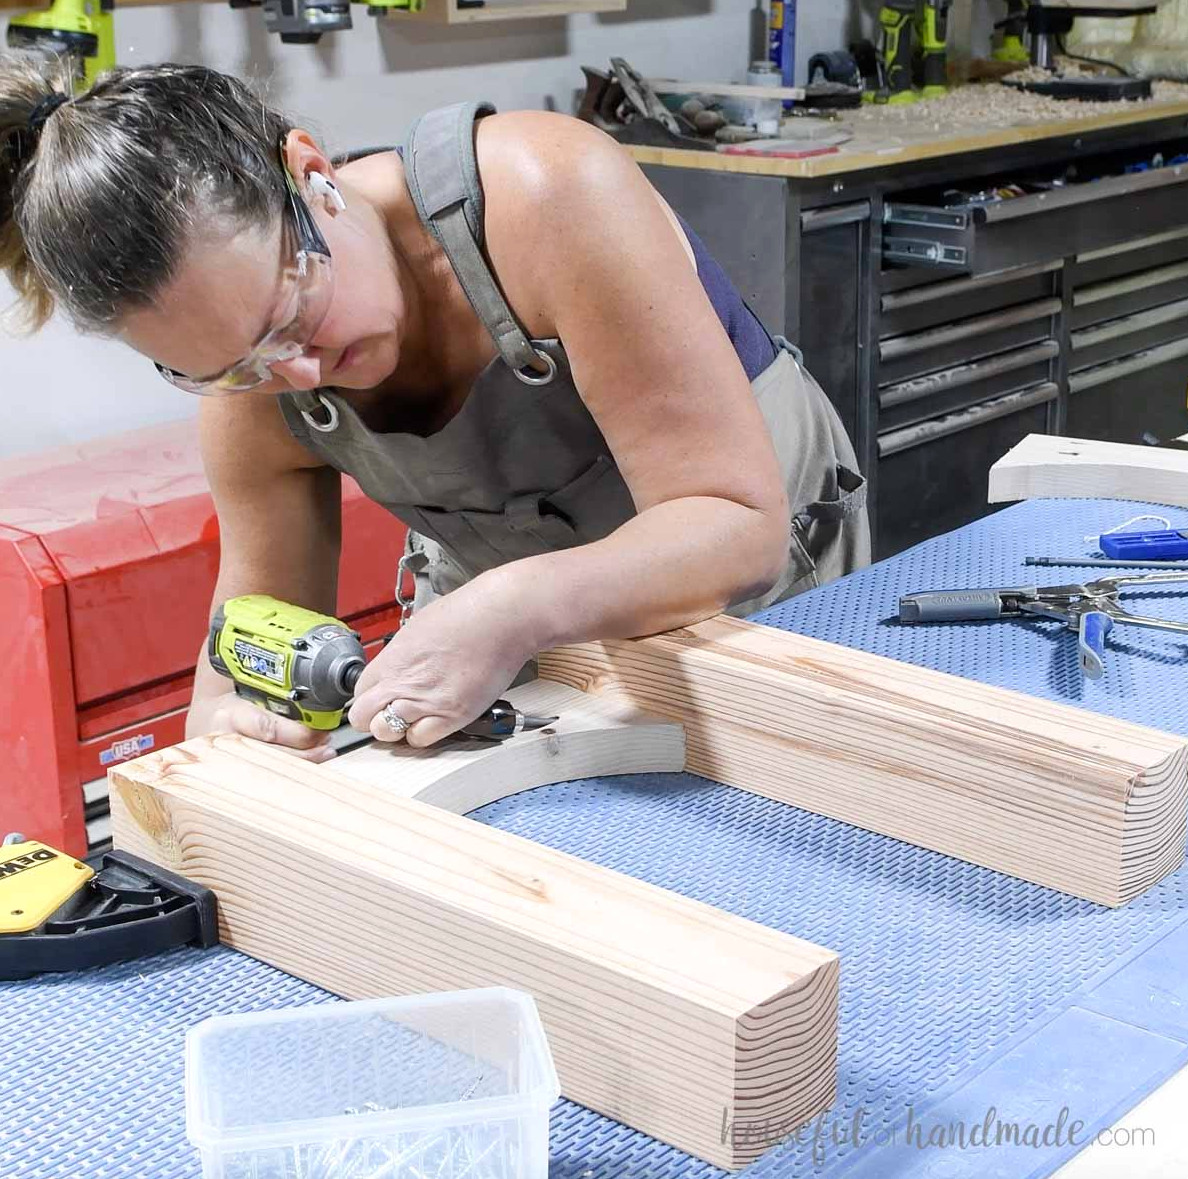
STEP 3- Put together the tabletop
For the most accurate fit with the upper side boards, place the previously cut center boards between the two legs and clamp them tightly in position.
Measure the distance between the legs, then cut the remaining boards to match that dimension.
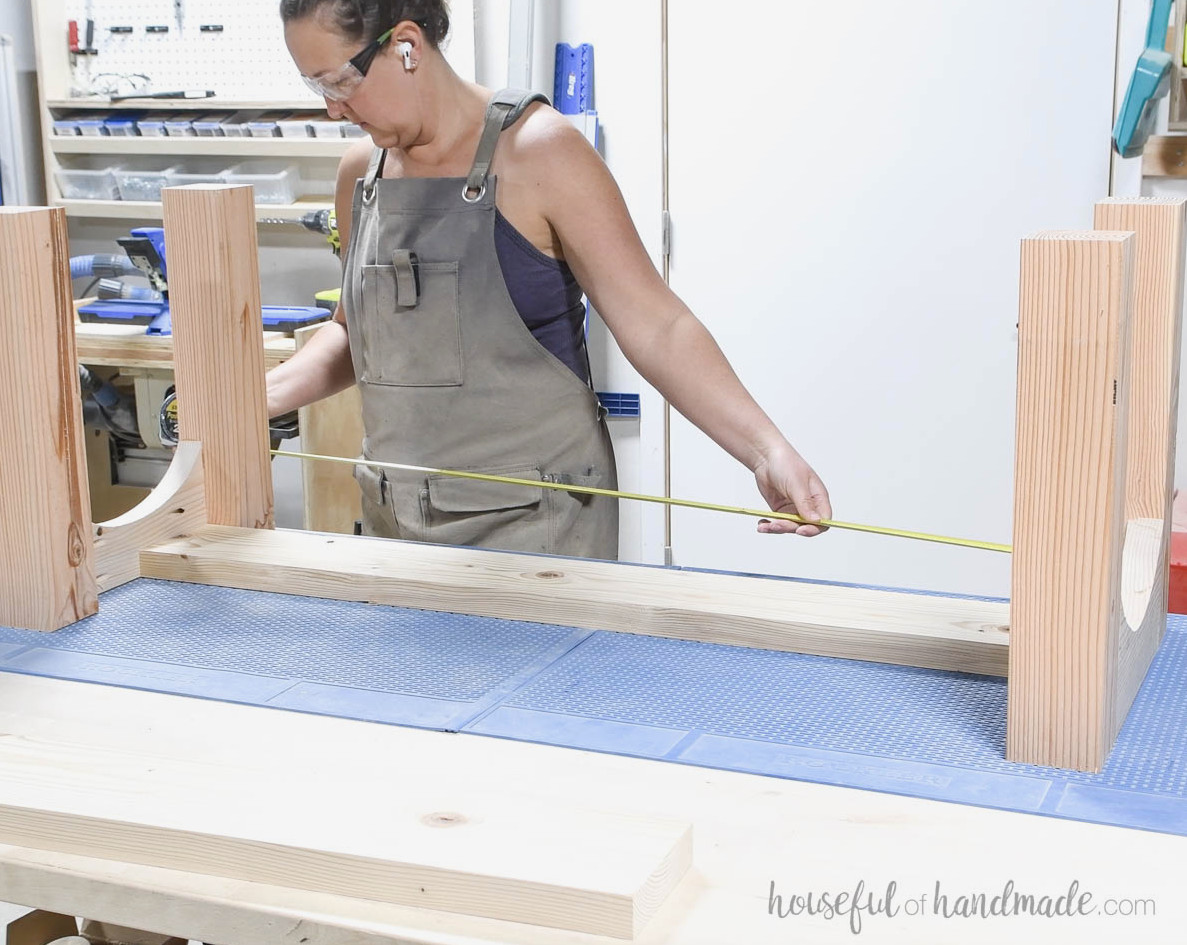
Leave the pocket hole jig adjusted for 1 1/2″-thick material and drill pocket holes into the top boards as illustrated in the plan diagram.
You may also assemble it without pocket holes ifwhichever method you choose, simply apply glue and clamp all the pieces together until everything has dried.
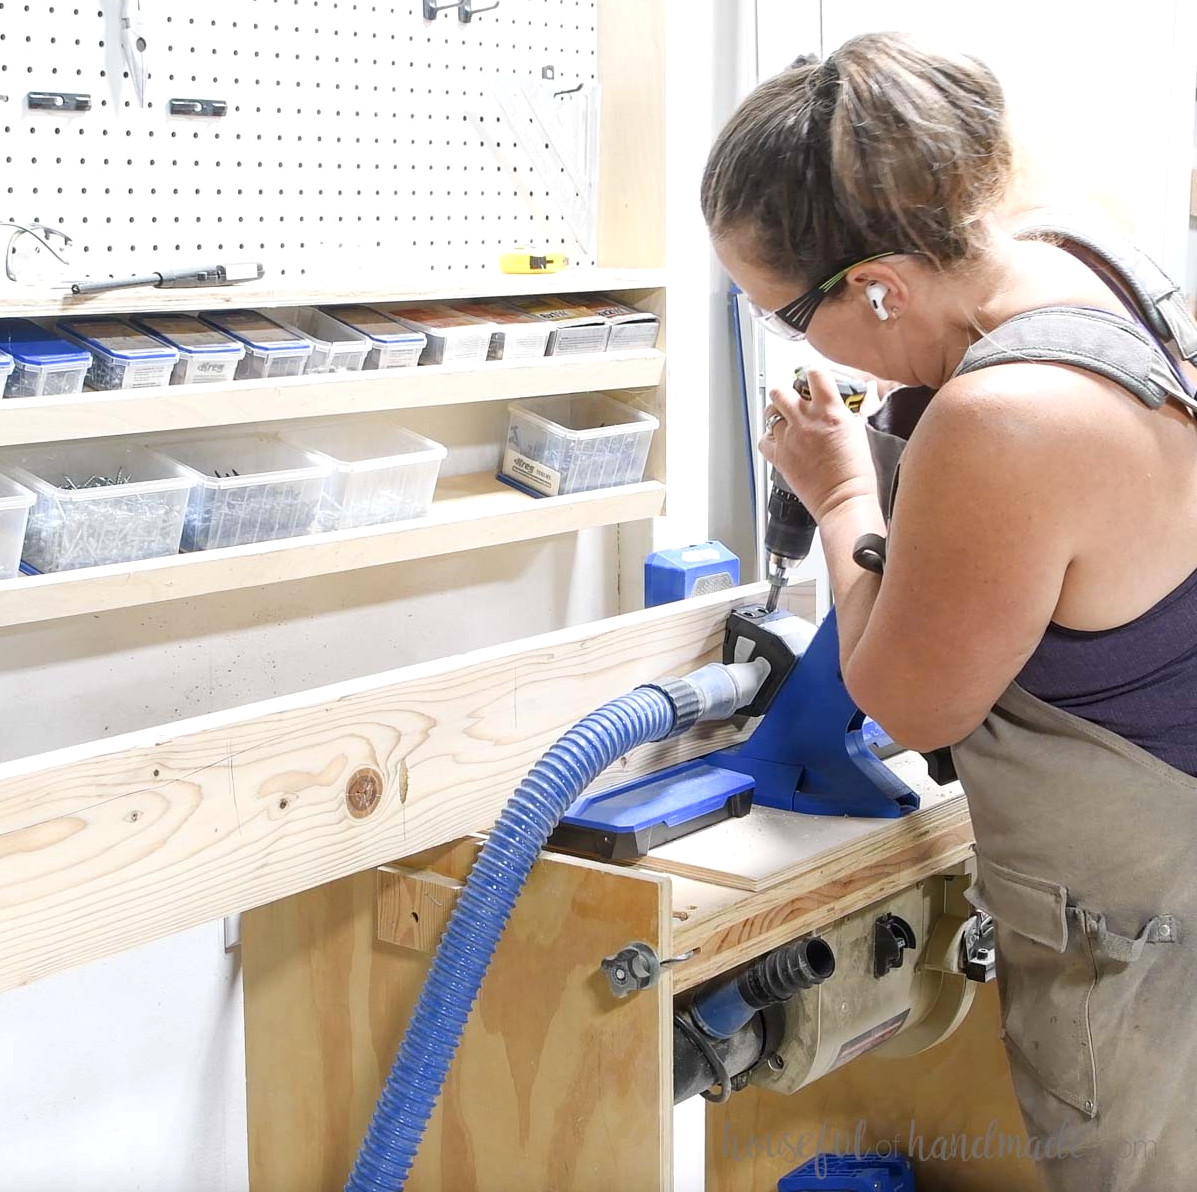
Spread glue along the joints, then fasten the boards with their surfaces even on the top and bottom. Hold them level with clamps while securing them using 2 1/2″ pocket hole screws.
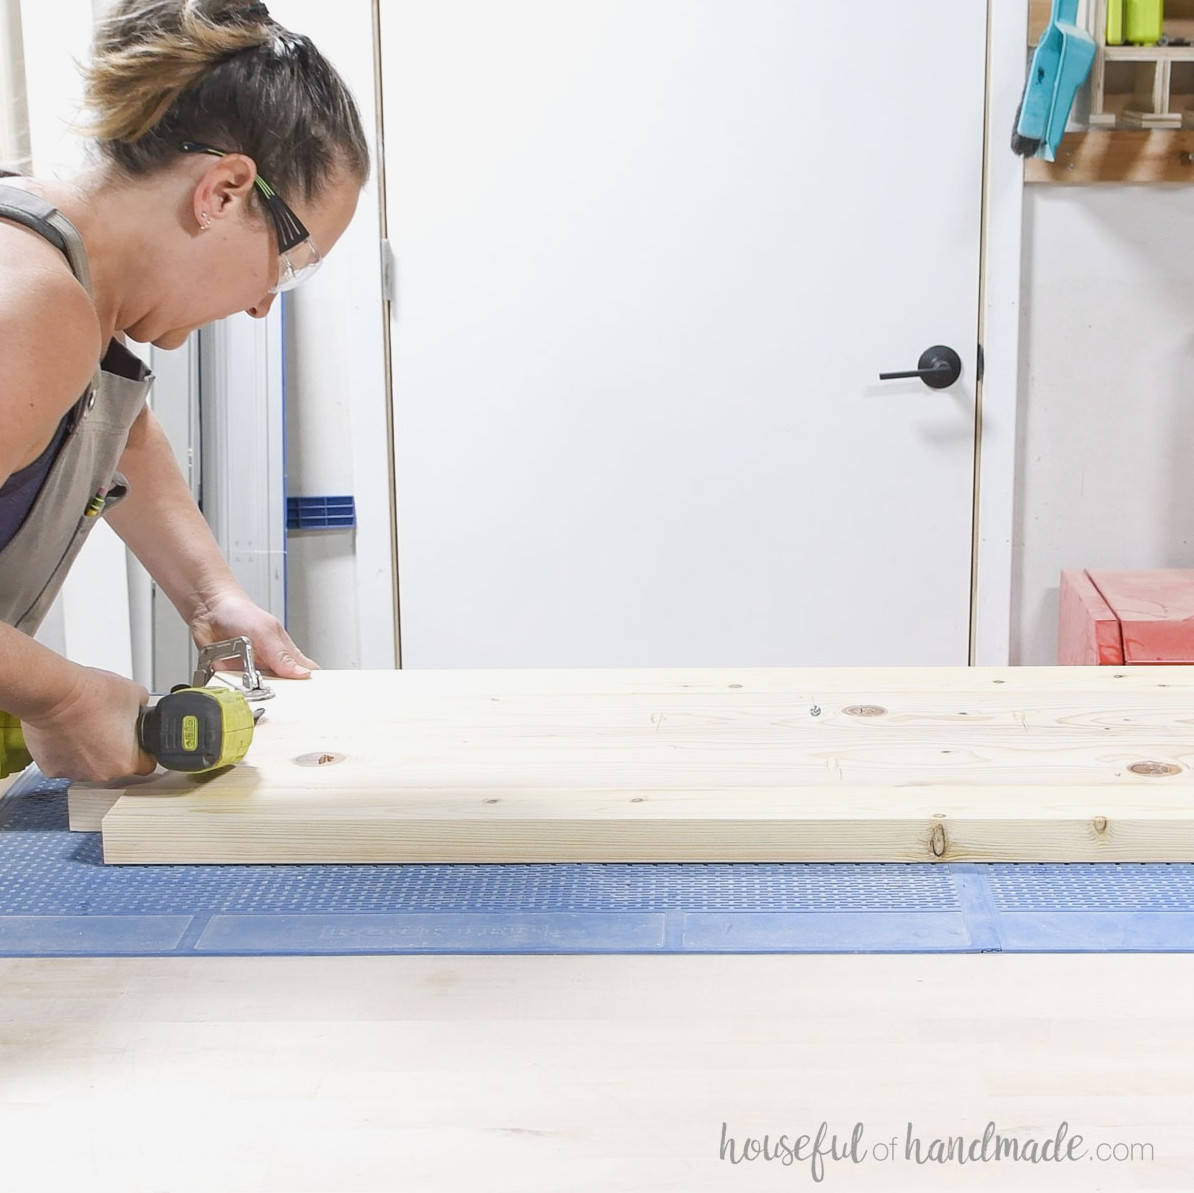
Position the top side boards in the center so they can fit around the legs.
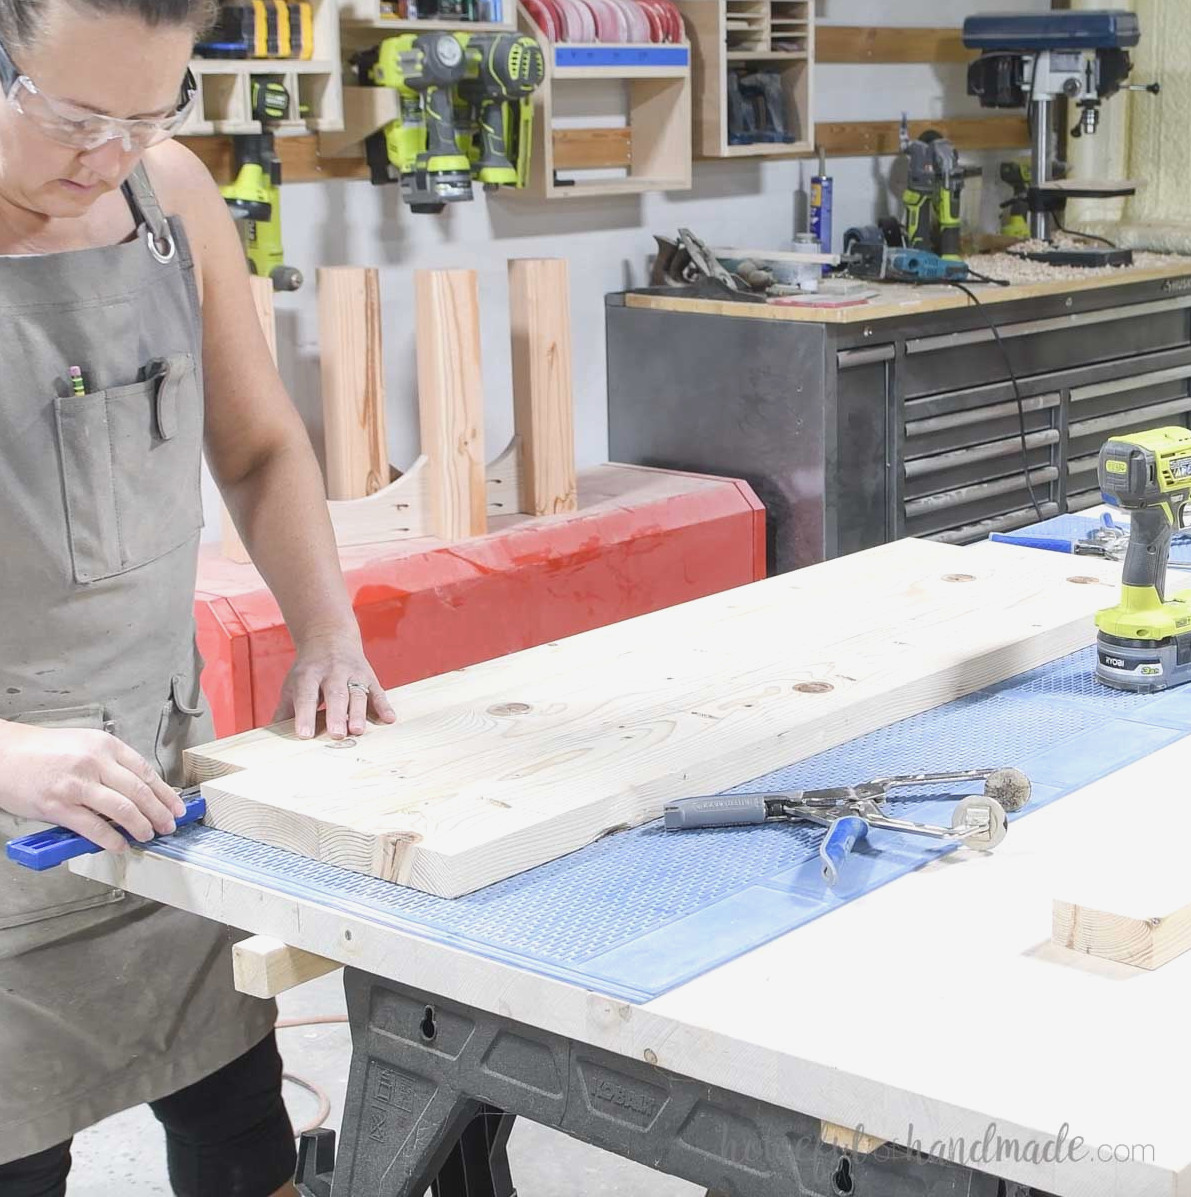
Create more pocket holes for 1 1/2” thick stock in the top, which will be used to fasten it to the legs.
Make one hole at the end of every top board, following the diagram below.
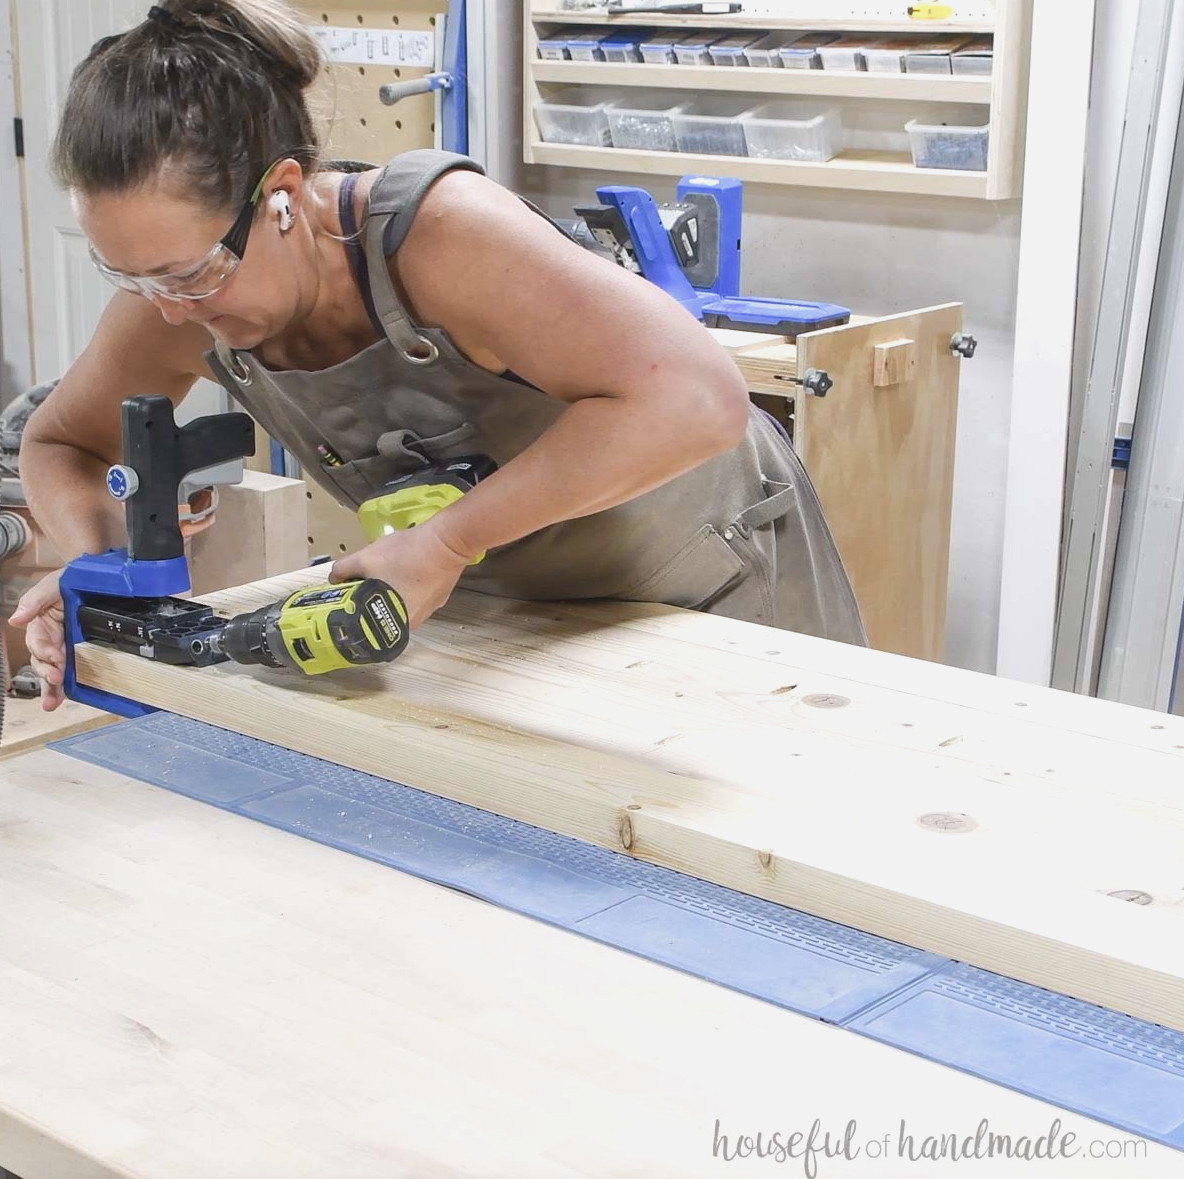
STEP 4- Attach top
Fit the top in between the legs. Should it feel too snug, carefully spread the legs with a clamp so the top can slide into position.
Apply wood glue and drive 2 1/2″ pocket hole screws through the holes made in the top board ends. Check that the entire top is flush.
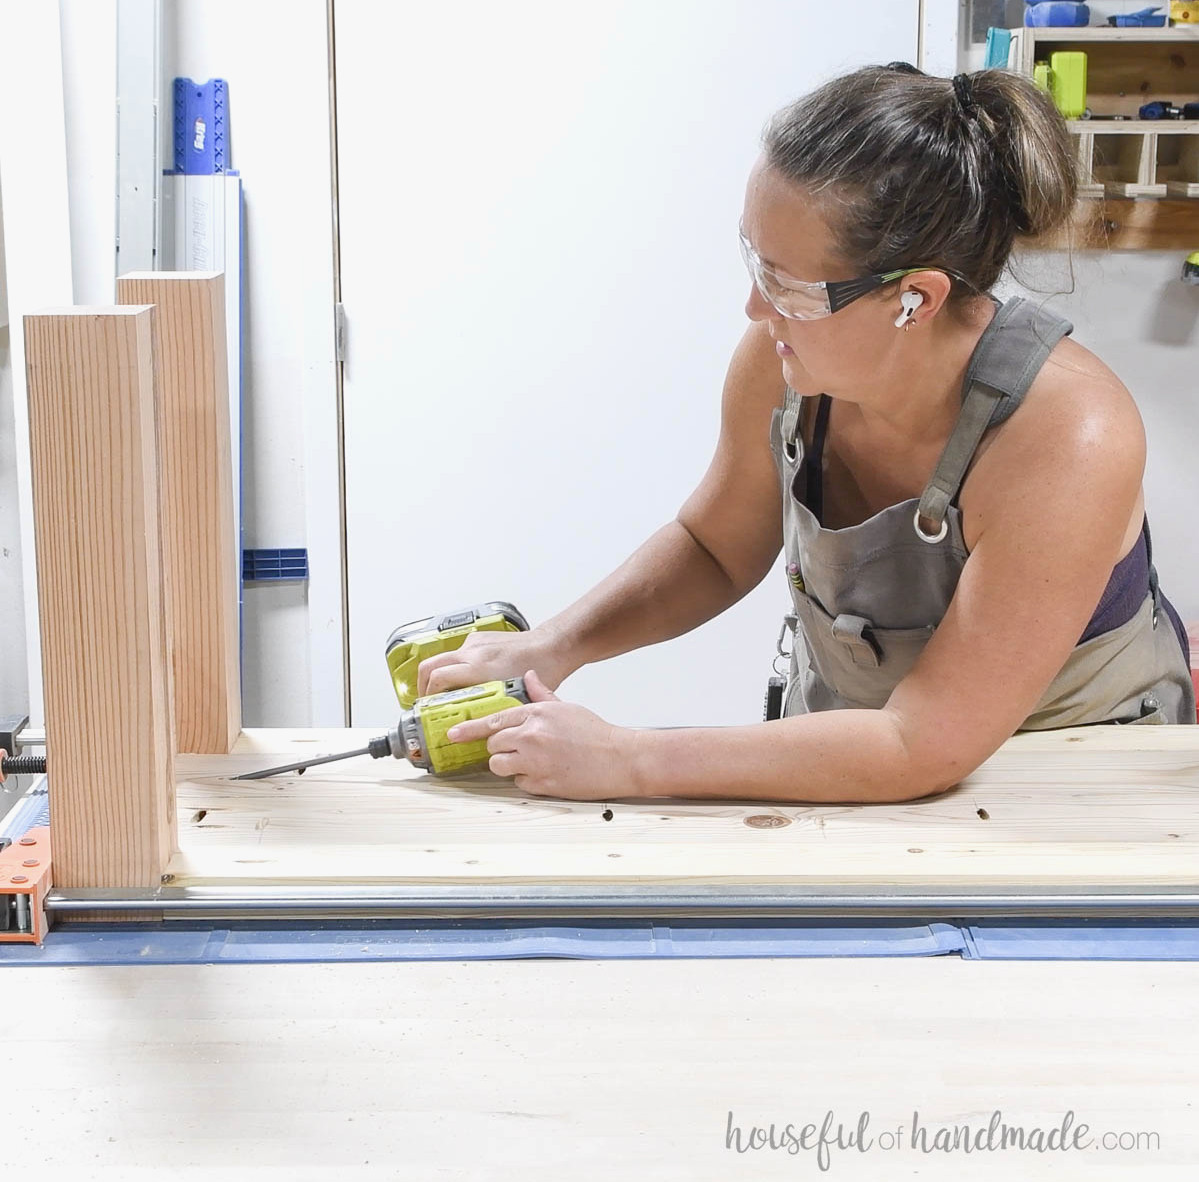
Should narrow openings appear around the legs or arched ends, use stainable wood filler to conceal them.
You may also plug the pocket holes underneath the coffee table if you wish.
STEP 5- Finish
Sand the completed coffee table, then stain or paint it.
I chose to stain mine so the wood’s distinctive grain, particularly the leg end grain level with the top, could remain visible.
Remember to Download the Printable PDF Plans Here!
Premium plans contain:
- Suggested Tools
- Materials list
- Simple cut list chart
- Cutting diagrams
- Detailed instructions with 3D renderings
- Useful resources
- BONUS: 3D SketchUp model
You made it!
Now relax and raise your feet—you’ve earned it.
Enjoy building!