“You made that bathroom vanity?!” my mom exclaimed.
“You don’t have to sound so shocked…” I answered.
“Well, it honestly looks like something you would purchase from a store.”
“That’s amusing, because I couldn’t locate anything like it in any store, so I had no choice but to build it.”
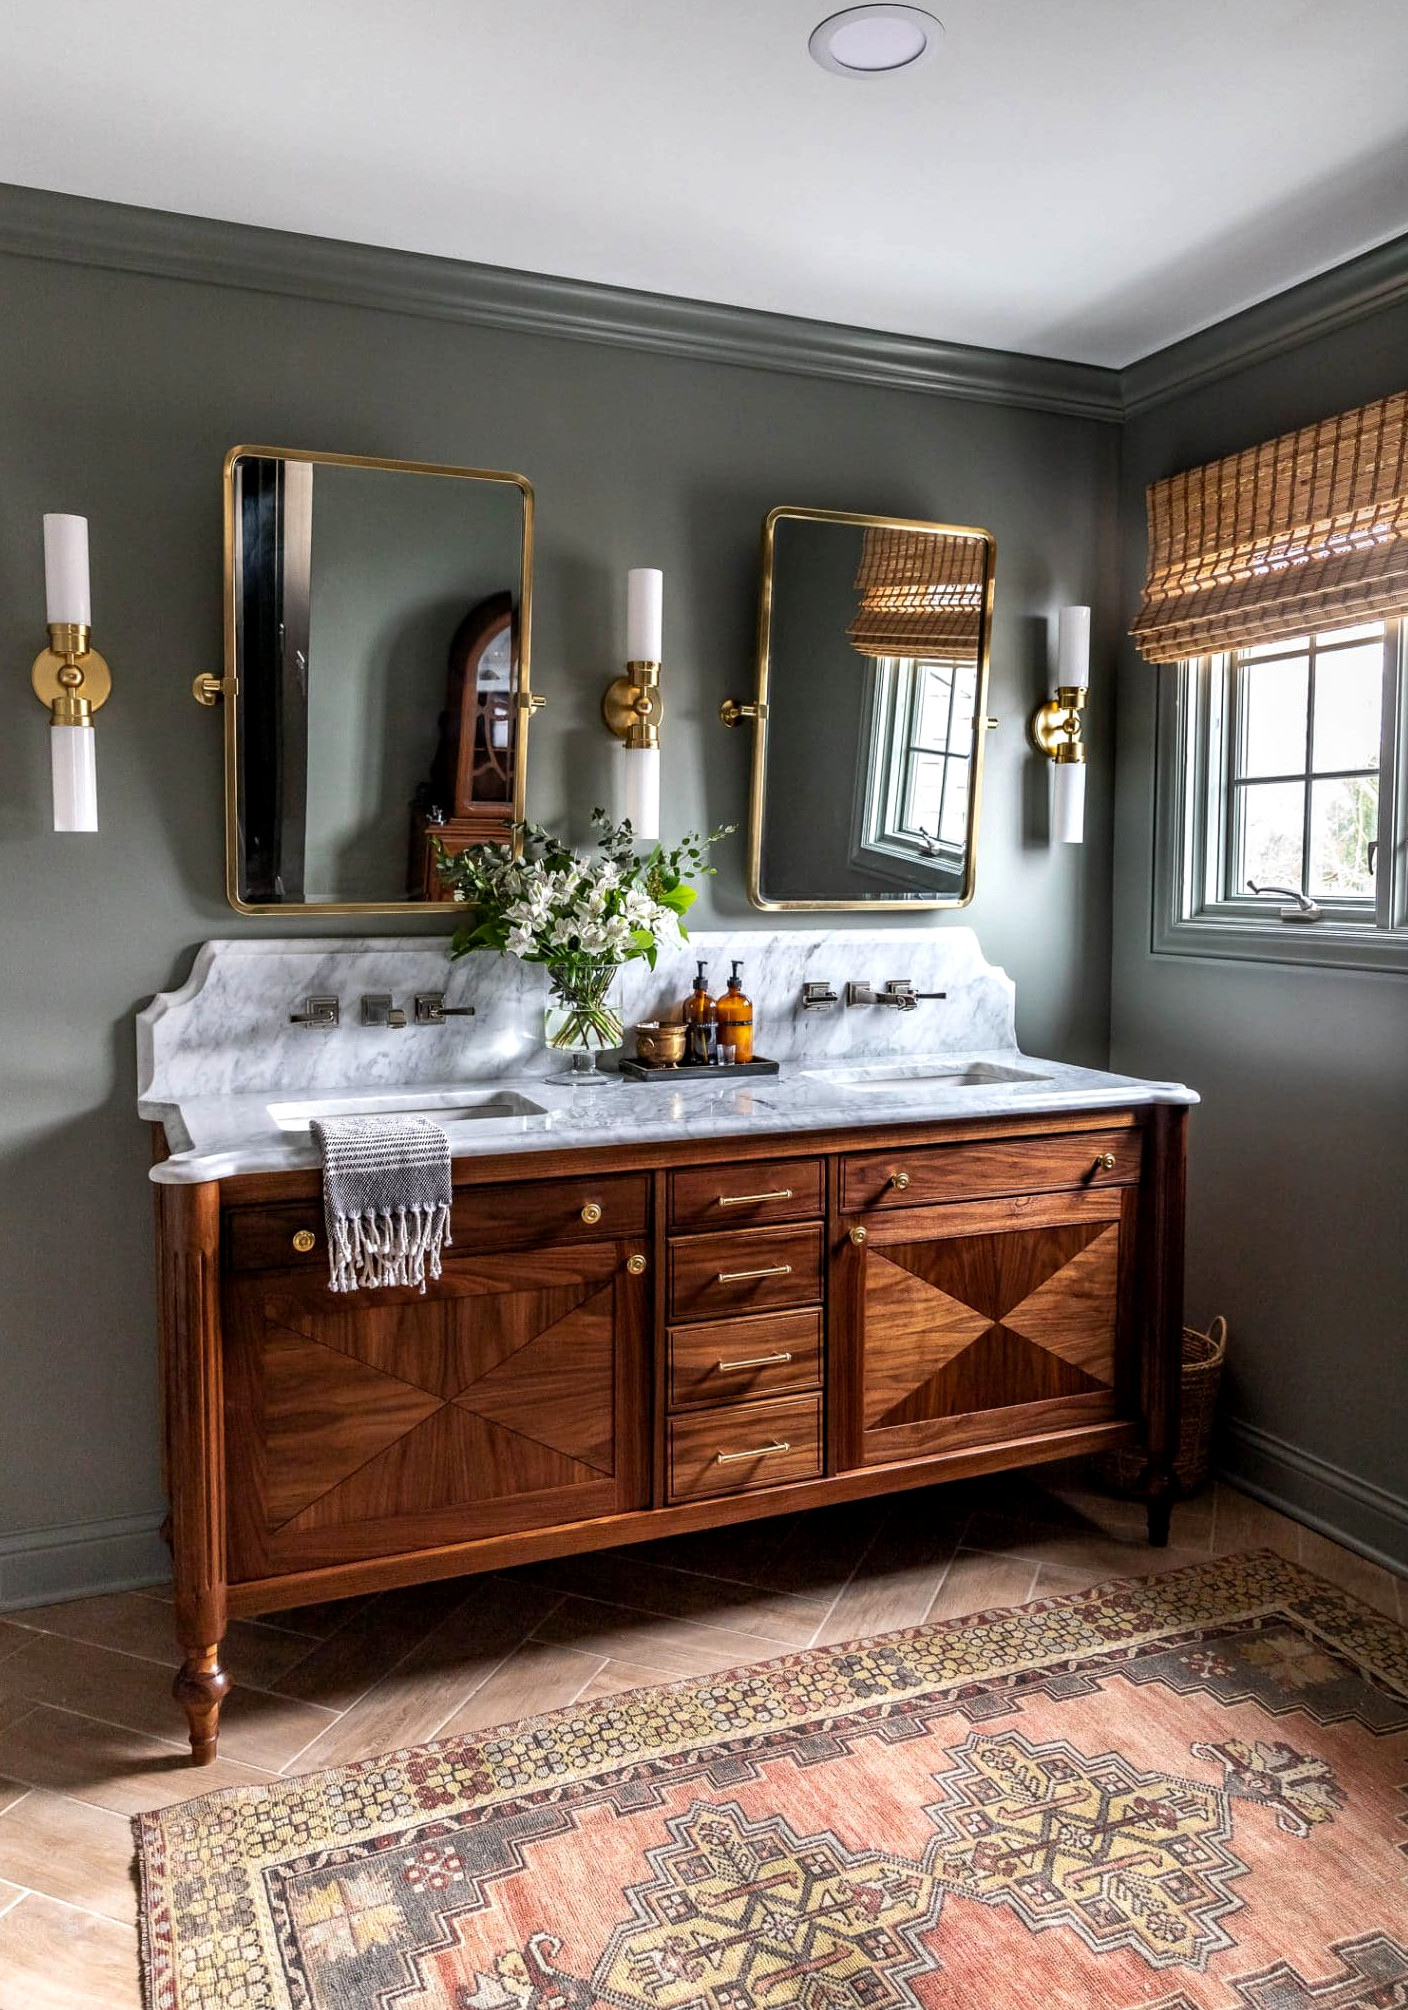
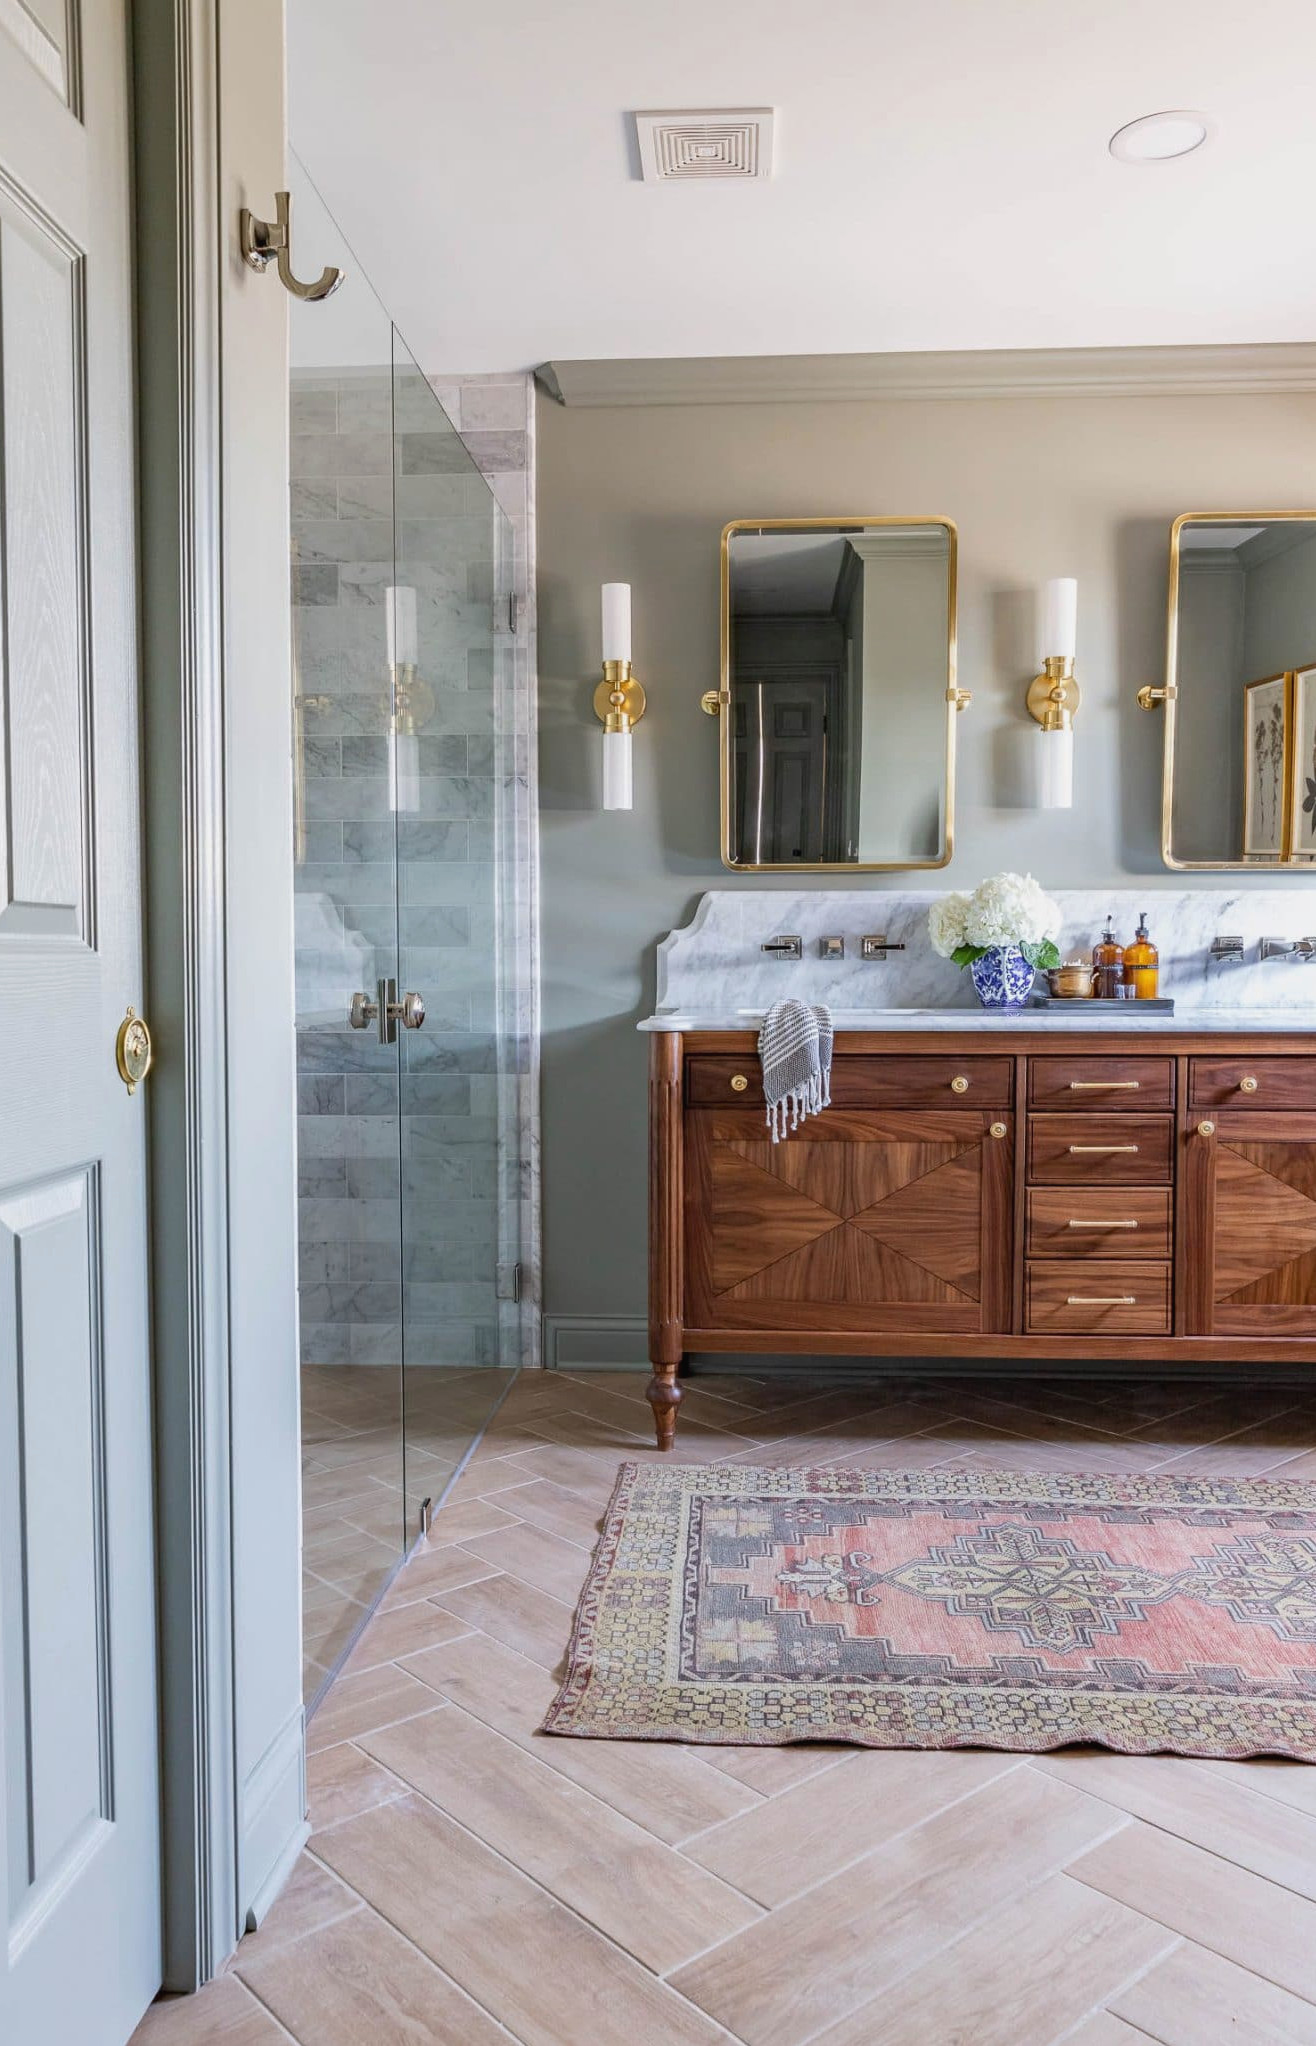
Calling this DIY bathroom vanity project a labor of love would be a serious understatement. Making it was an incredibly rewarding and fulfilling experience. I got to push myself by trying new woodworking methods, refine techniques I already knew, and learn a great deal along the way. I’m absolutely thrilled with the final result. I mean, it has a whole vibe, doesn’t it?
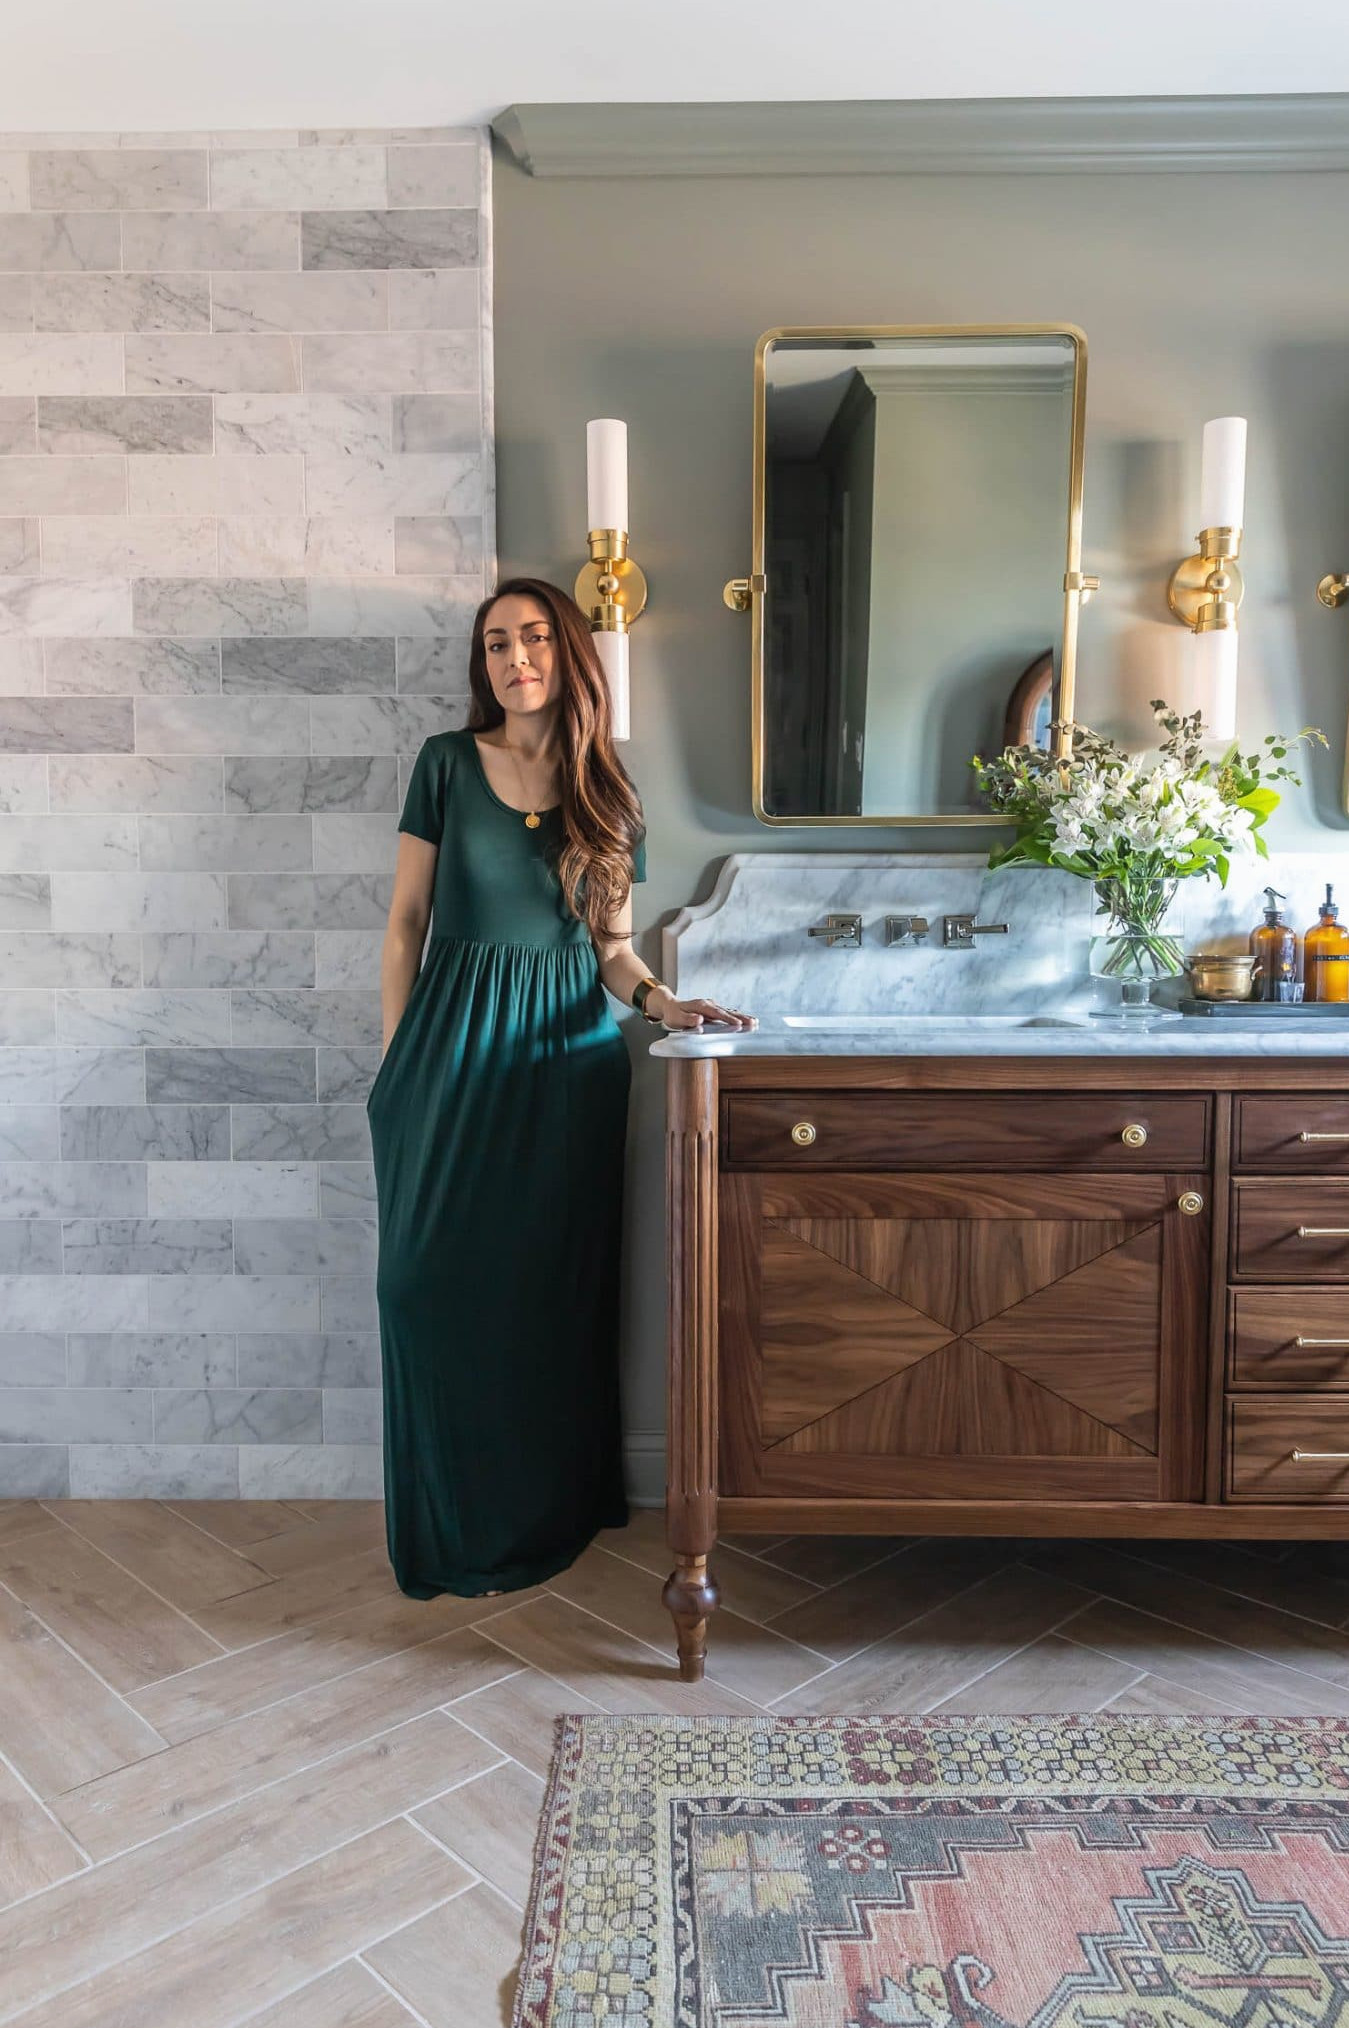
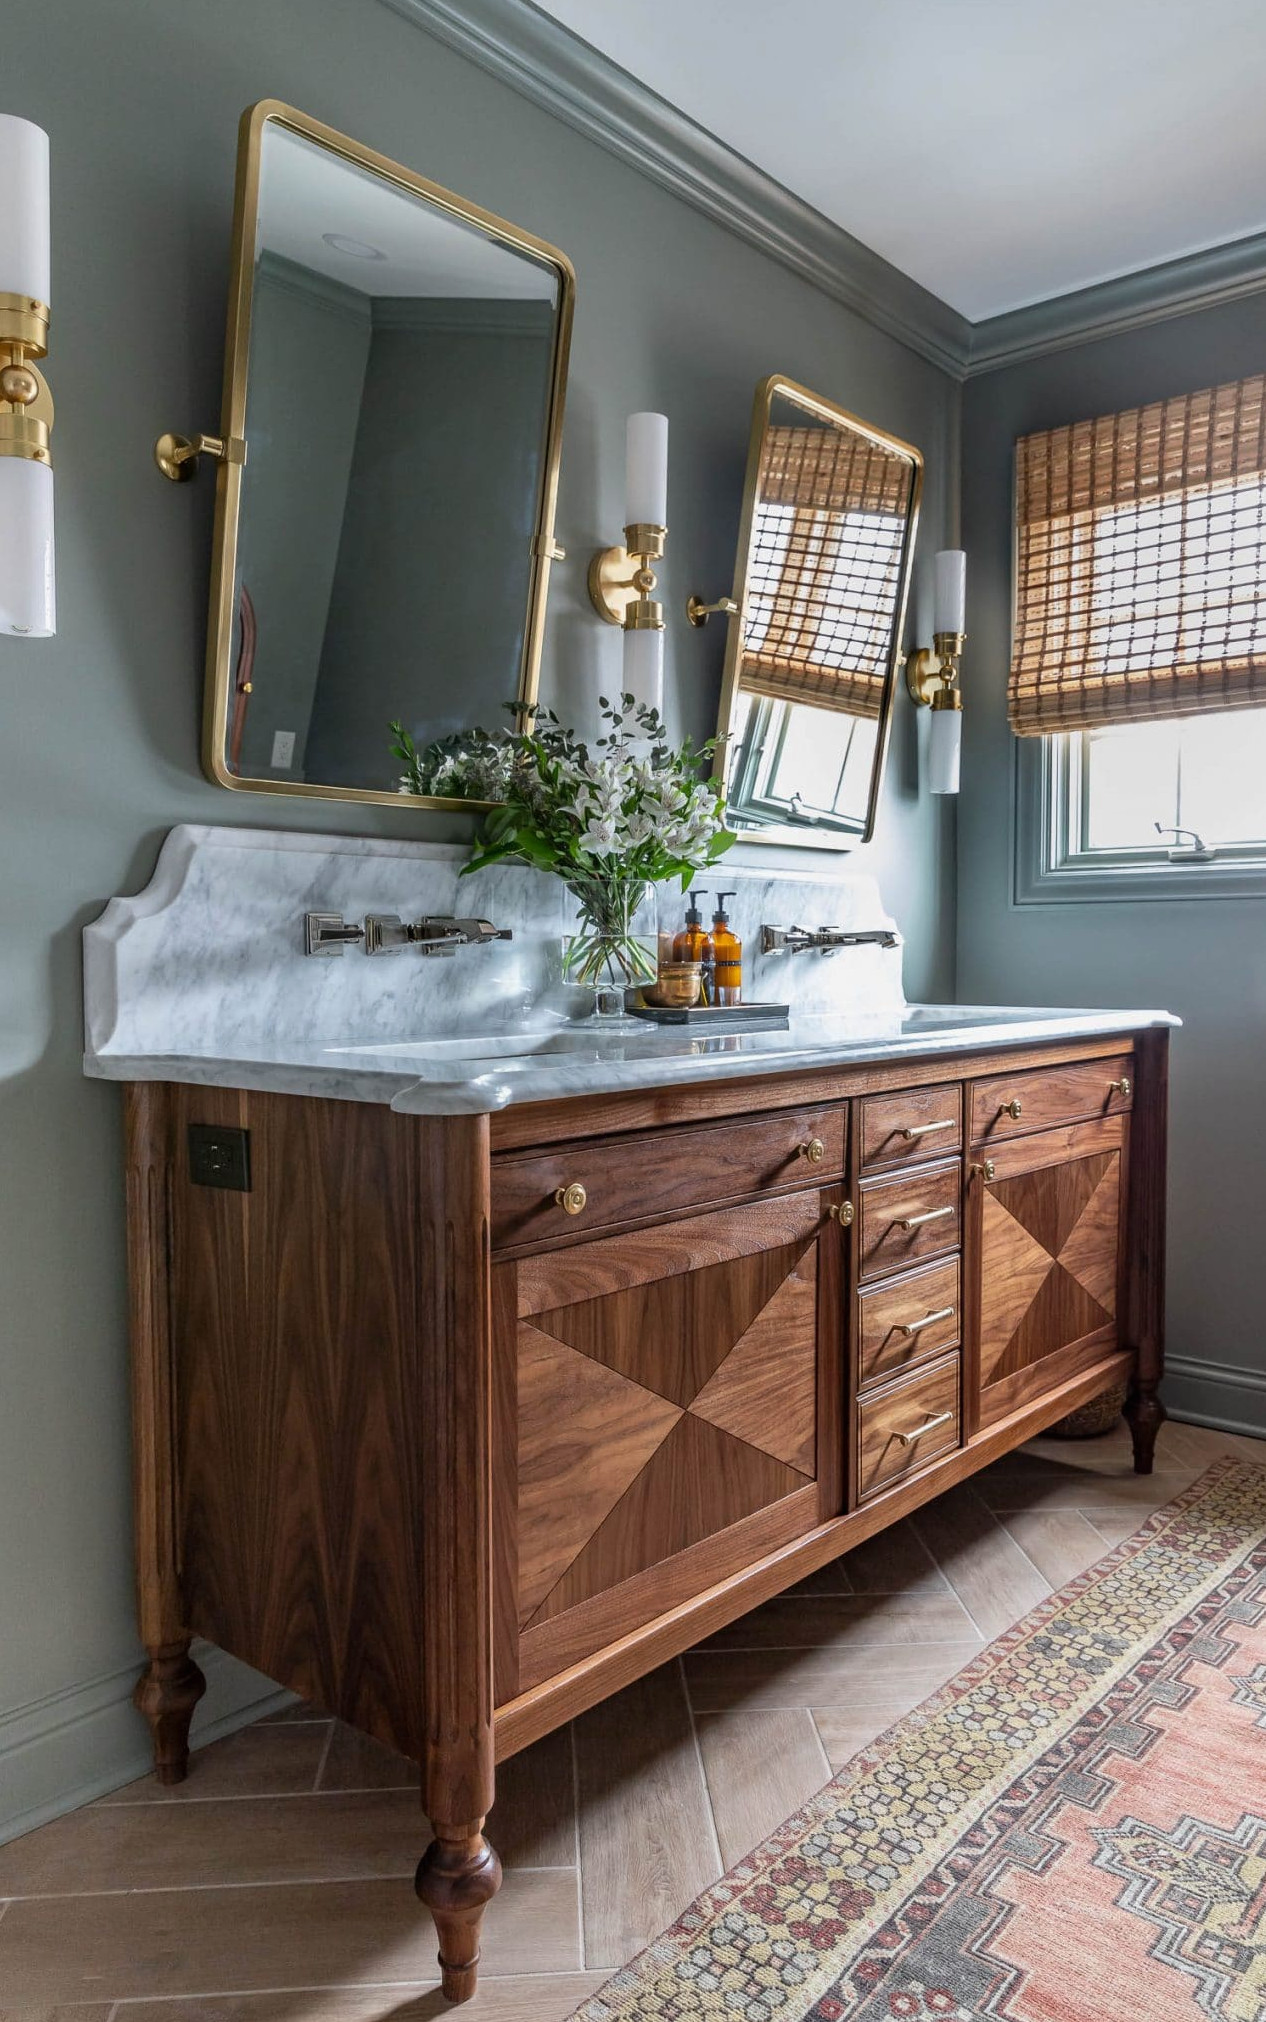
Black walnut is my favorite type of wood. It’s incredibly beautiful and pleasant to work with – sturdy and durable, without being as stiff and unforgiving as white oak can be (remember the white oak nightstands I built? Ughhh… although they ultimately came out beautifully, working with the white oak was unbelievably frustrating). I’m amazed by how much this DIY bathroom vanity improved the storage, practicality, and appearance of our primary bathroom!
Take a look at these posts about our bathroom remodel if you’d like to get up to speed:
Bathroom Remodel Progress
Ready to make this double vanity yourself? As usual, I’ve prepared a detailed step-by-step guide, though you may still encounter a bit of trial and error. I always do my best to provide thorough information that will help you succeed, but building this vanity reflects more than ten years of my DIY experience, and many small details I’ve picked up over the years aren’t included in the plan. So get ready, Buttercup. The training wheels are off. YES. You can absolutely make this, as long as you work patiently, focus on the details, keep everything square, stay safe, and enjoy the process. Oh, and let me see your handiwork when you’re finished!
How To Build A DIY Bathroom Vanity
Materials:
Tools:
Download the Plans

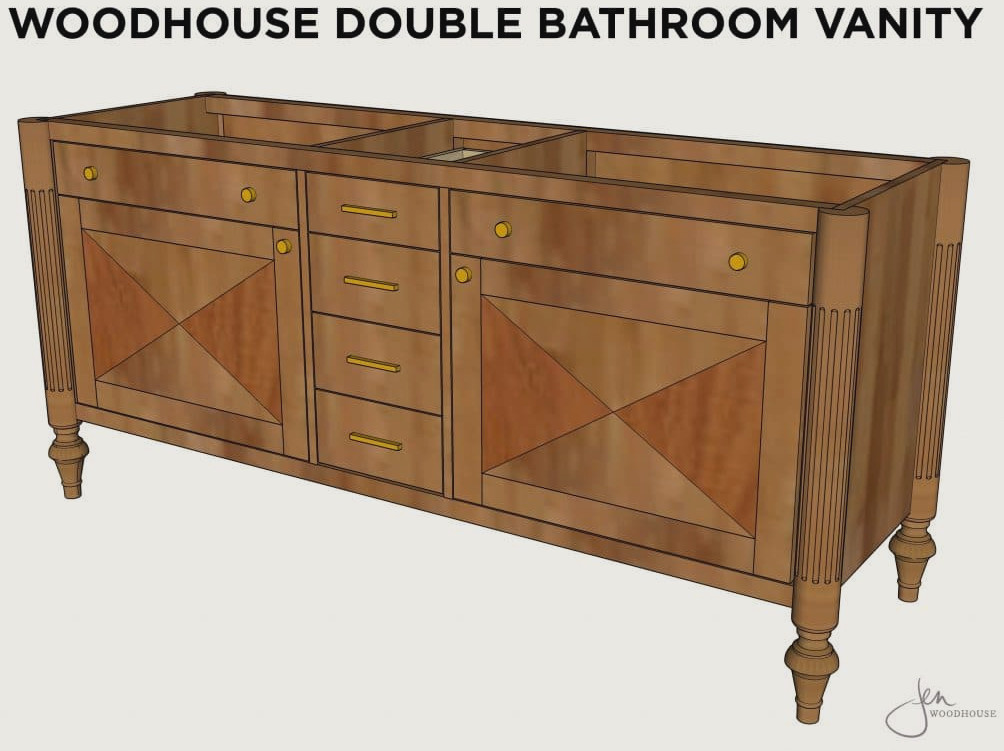
Designing the Vanity Legs
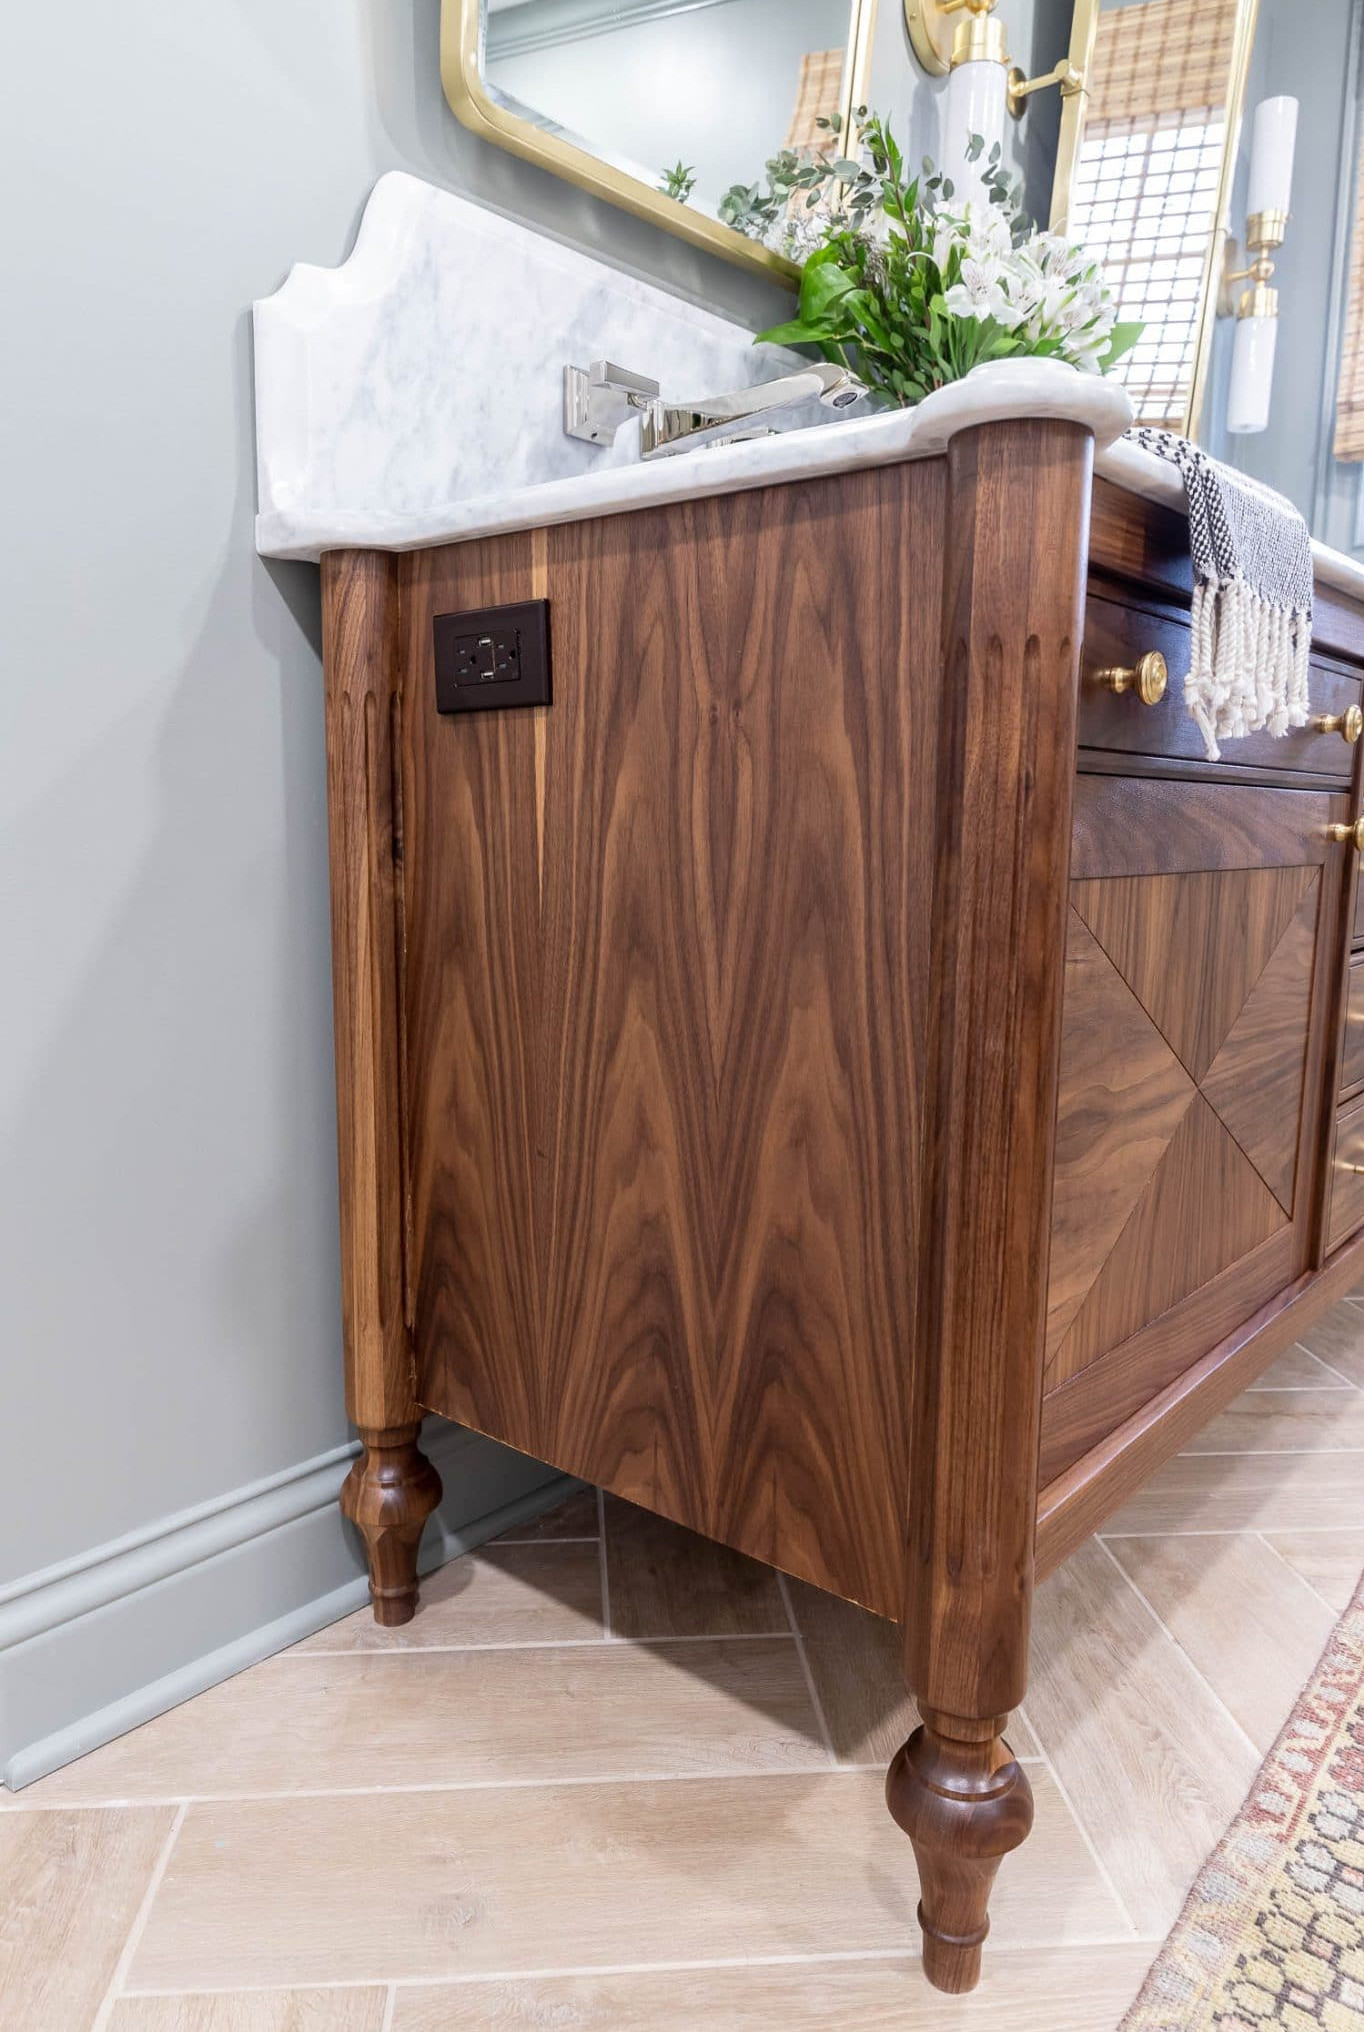
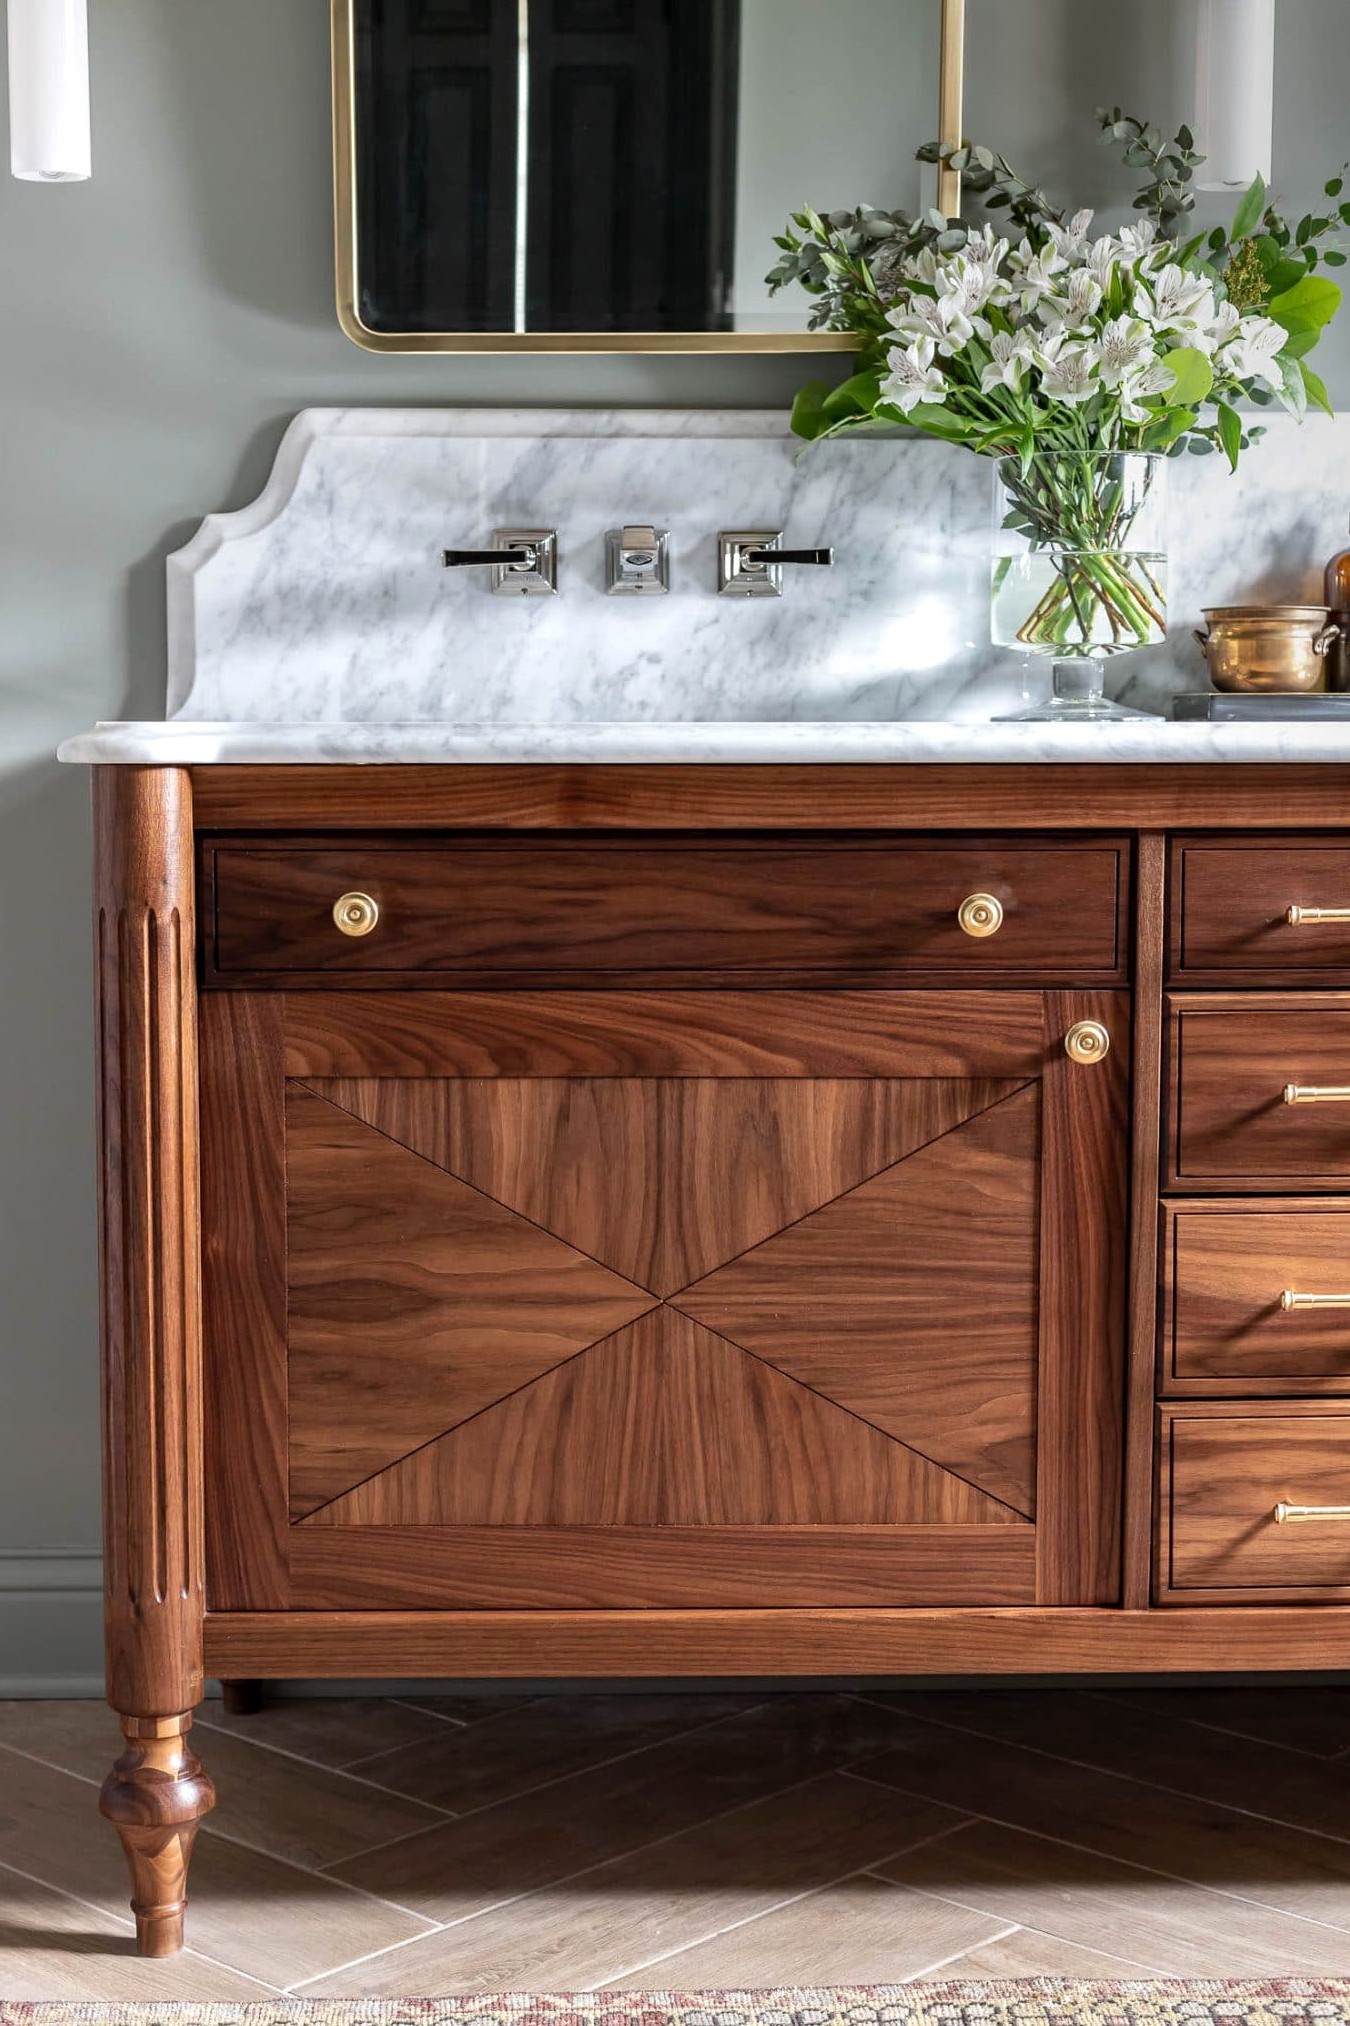
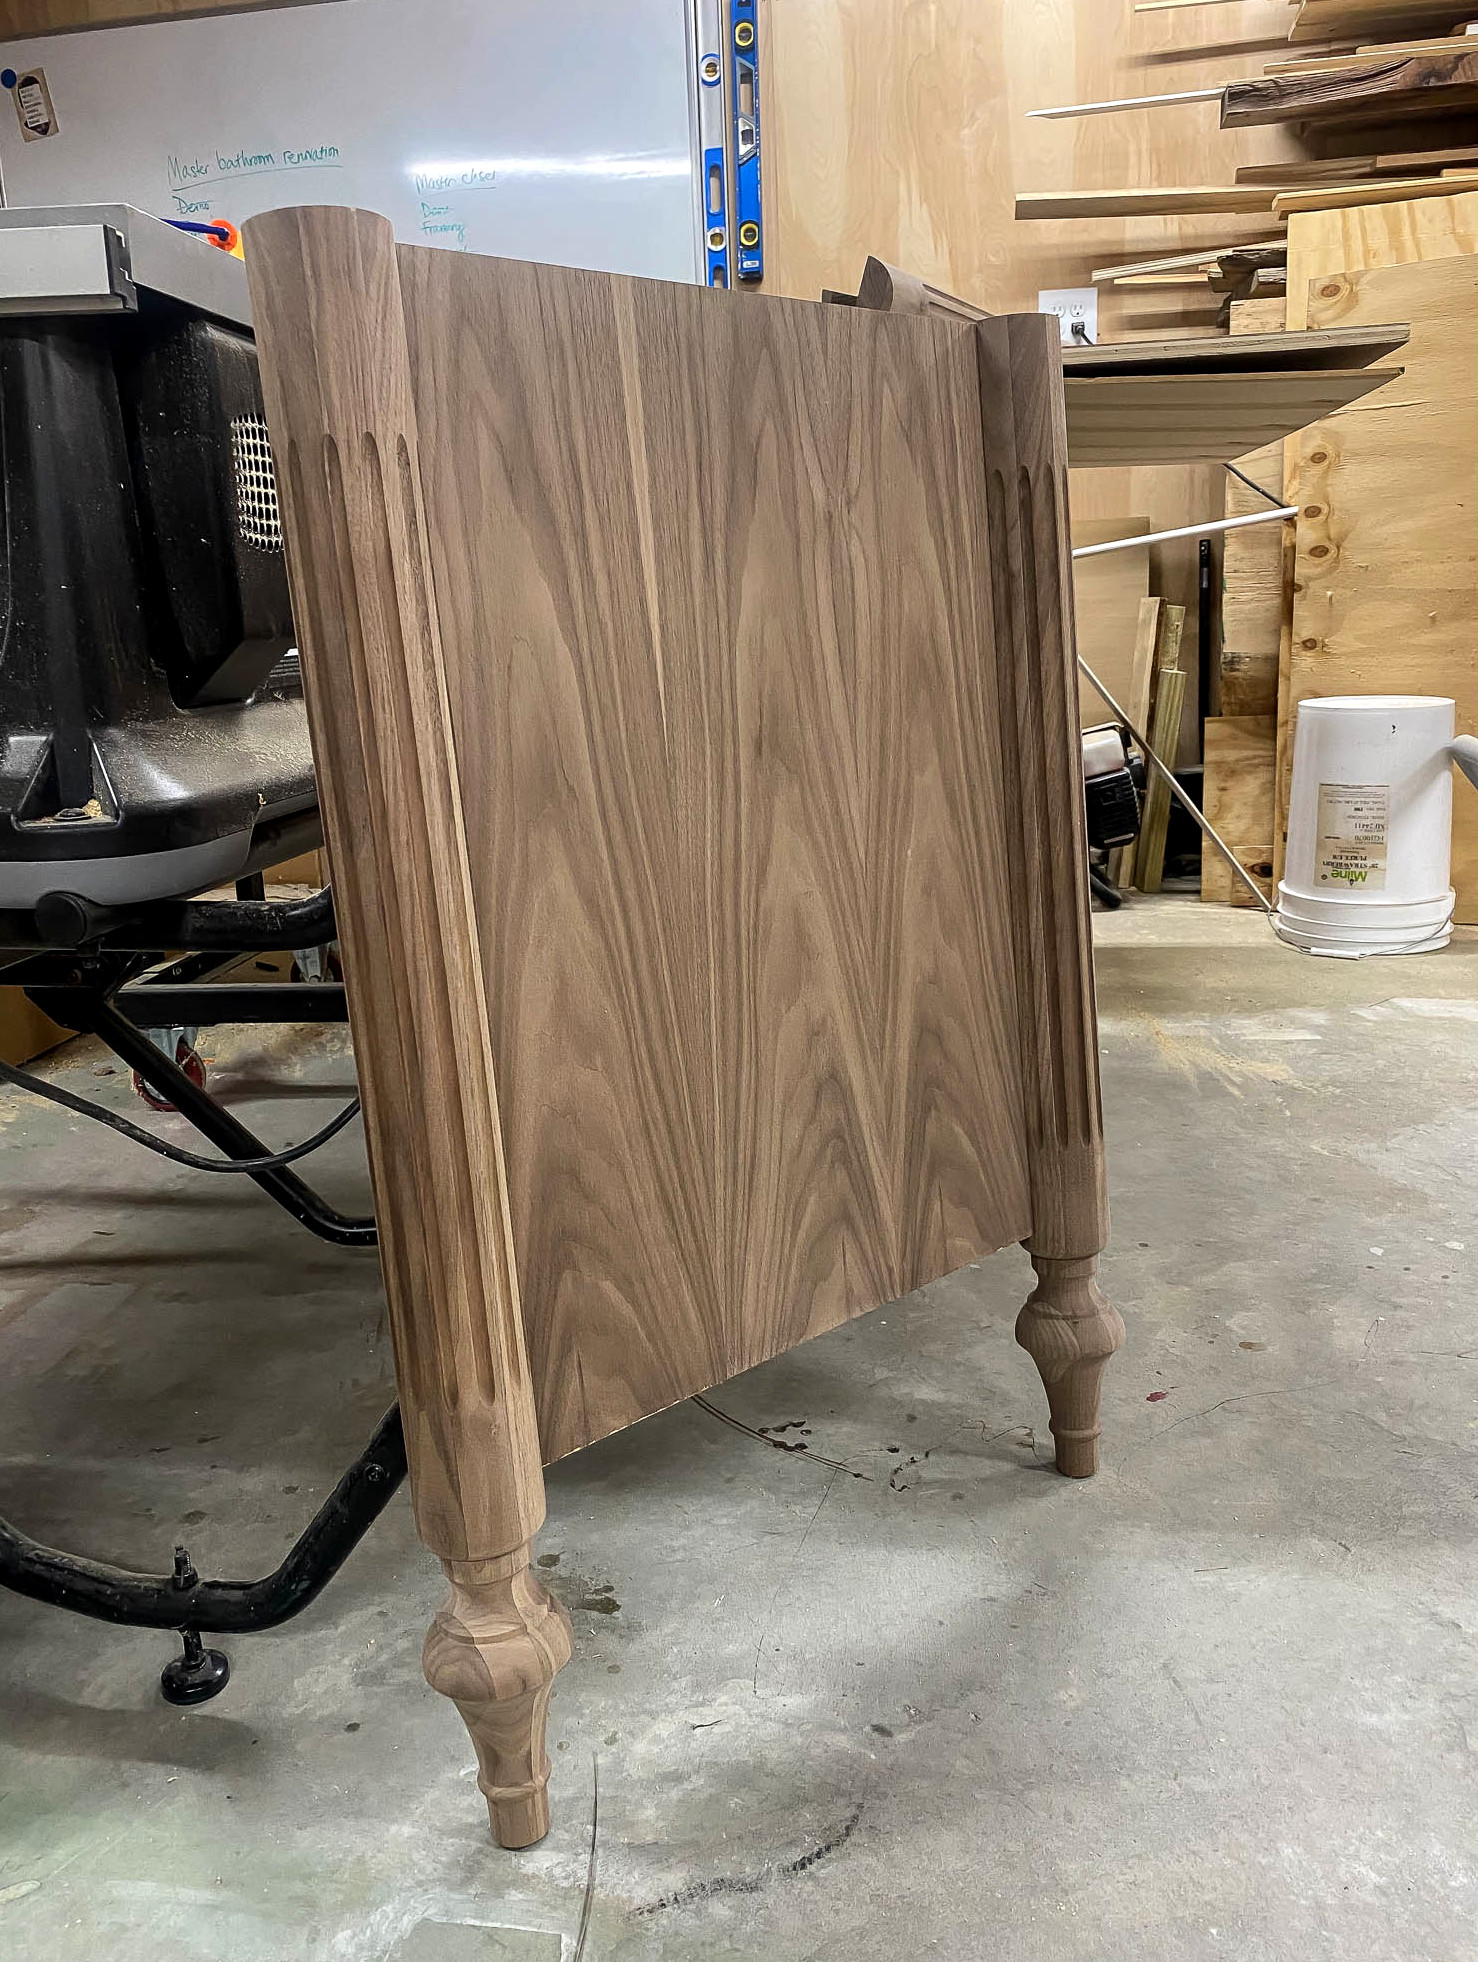
I started by constructing the two side panels. I partnered with Osborne Wood Products to create and manufacture the vanity legs. Taking inspiration from traditional Louis XVI furniture, I added details such as the fluting and elegant turned foot to the design. Many thanks to Osborne Wood – I was amazed that the entire process took under a week, from the initial idea in my mind to the finished product arriving at my door. Even better news: the Woodhouse Vanity Leg is now available to purchase through their website!
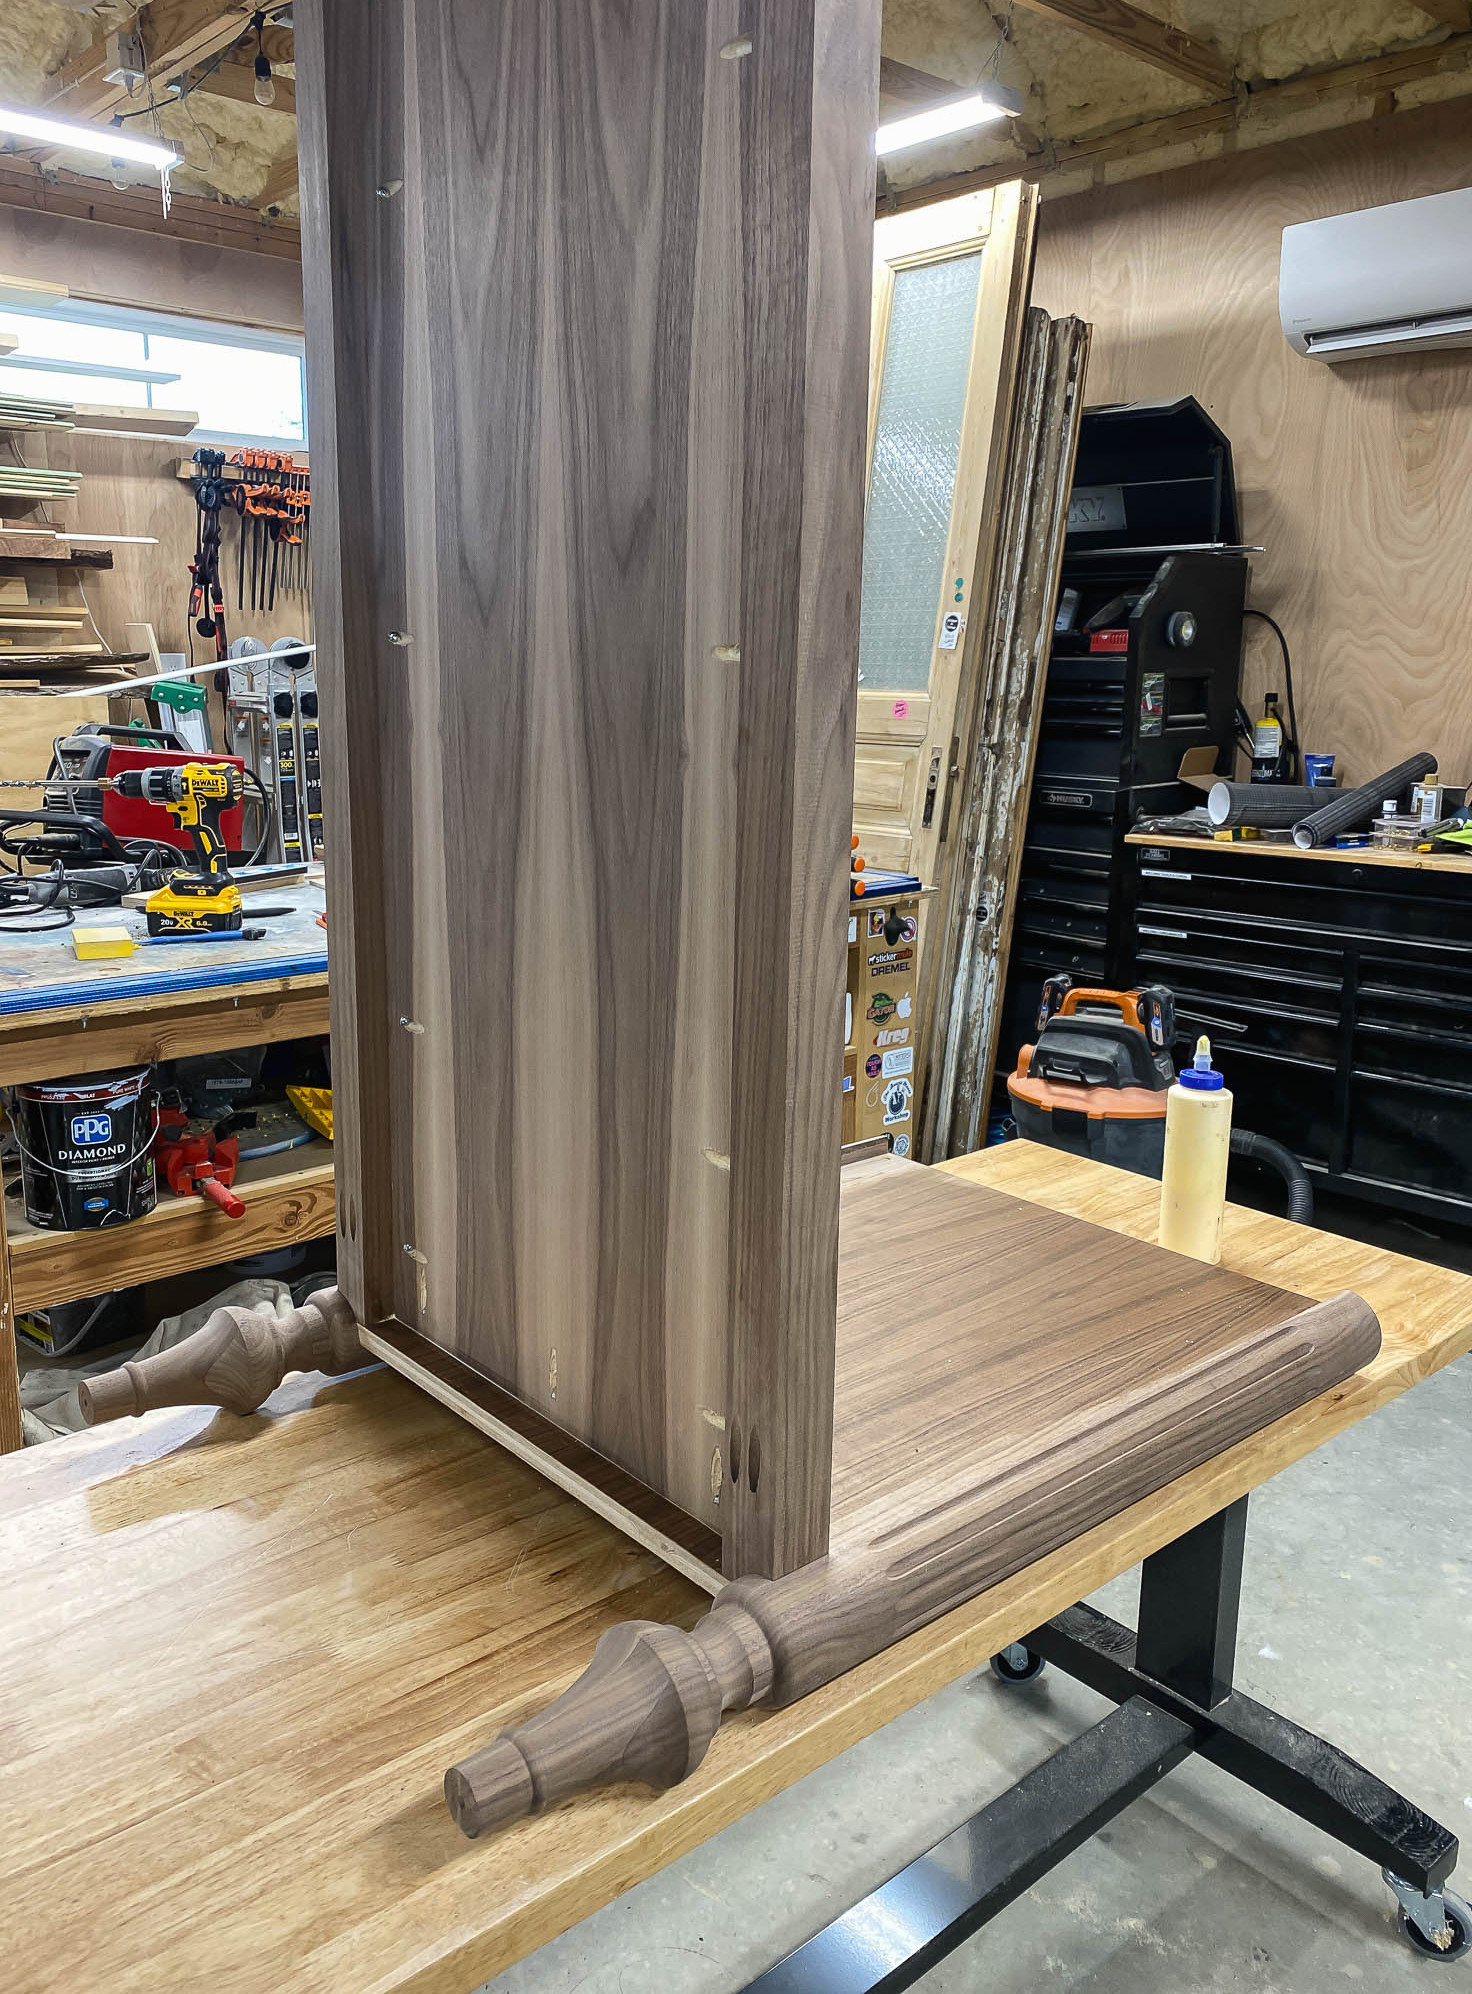
After completing the two side panels, I made the bottom panel by fastening 2×2 rails to the plywood using pocket screws. I then secured the bottom panel to the side panels. This is what the underside of the bottom panel looks like.
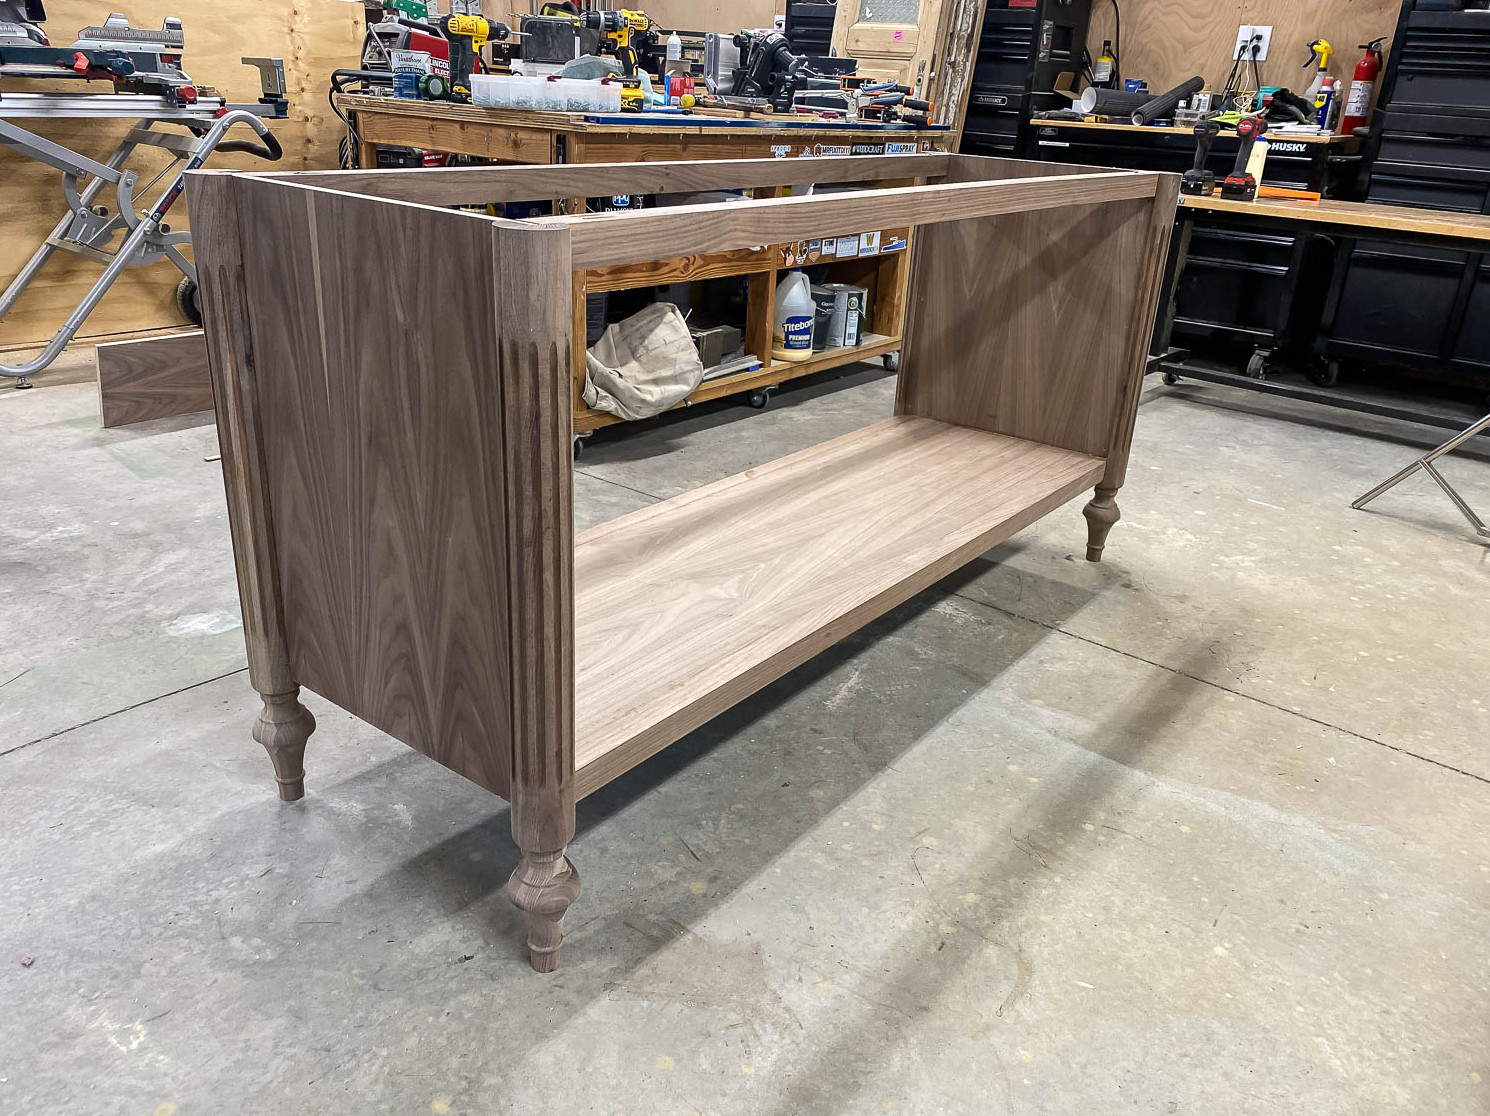
After that, I installed the top rails to create the cabinet carcass. Everything was going smoothly… we were in the easy phase. Goodness, the black walnut looks gorgeous, even before applying any finish.
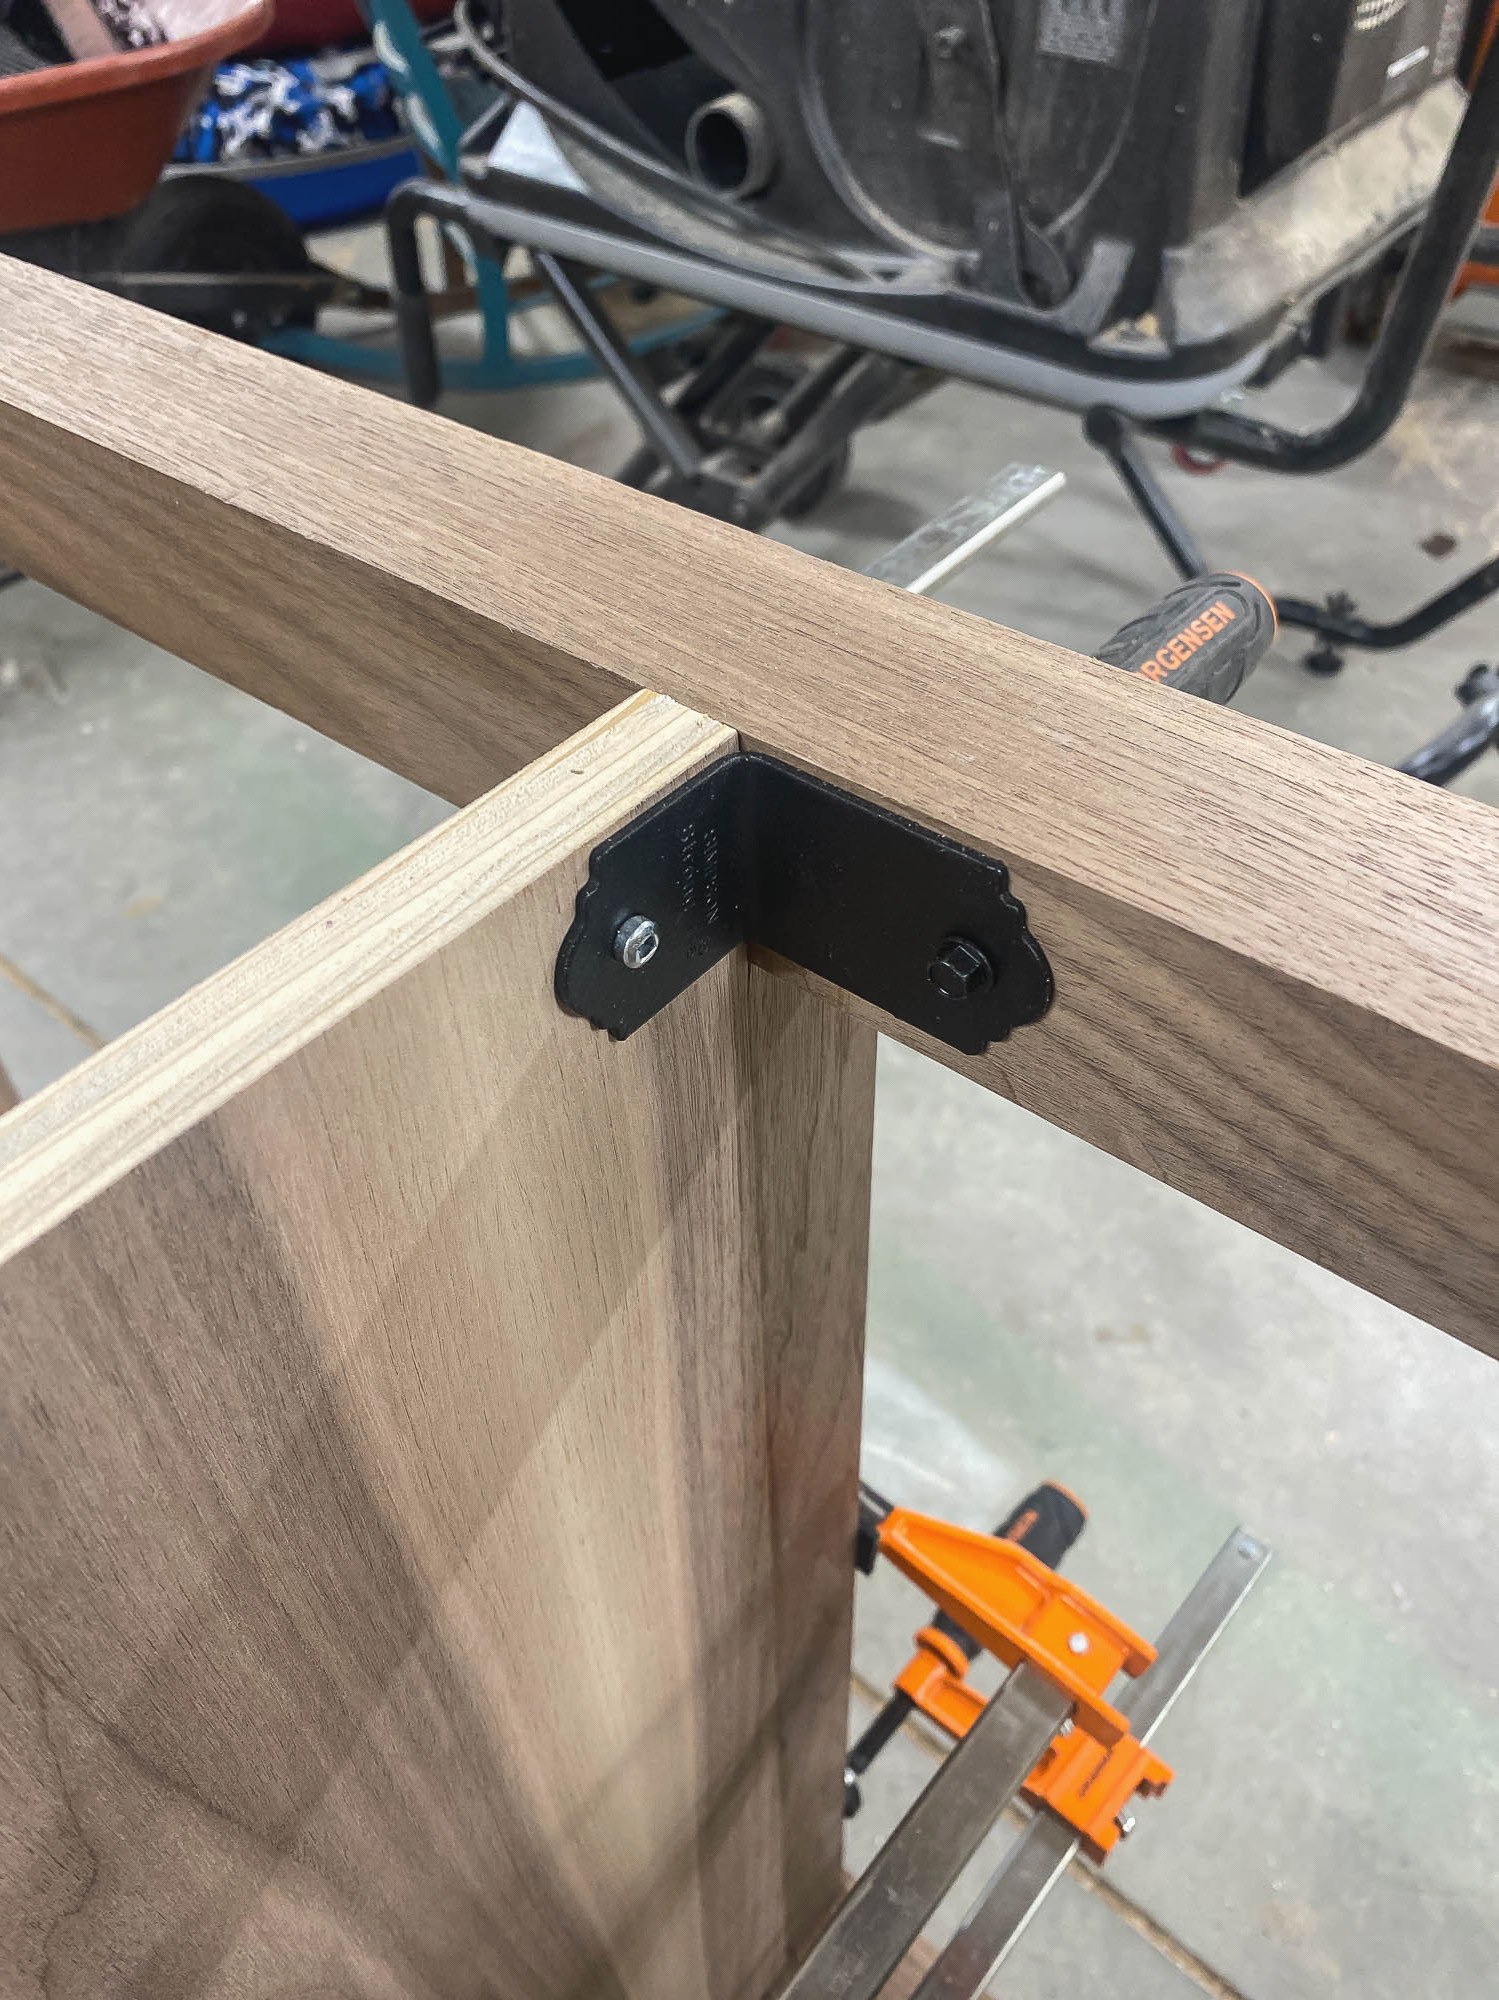
The next step was installing the center panels for the drawer stack. I attached the panels to the bottom with pocket holes, but chose to use these 90º metal brackets along the top. Pocket holes would work here too, but I thought the metal brackets would provide additional support and strength. You definitely don’t want the center panels shifting around.
Drawers: Build or Buy?
When we remodeled our kitchen, our professional cabinet makers built the cabinet carcasses but contracted out the drawers, so I followed the professionals’ example and did likewise! I discovered this online source and ordered custom drawers with dovetail construction and a protective clear finish already applied! Without question, it was the best decision ever! The drawers were also prepared for the Blum drawer slides I planned to use, which brings us to another exciting discovery…
Installing the Under Mount Drawer Slides
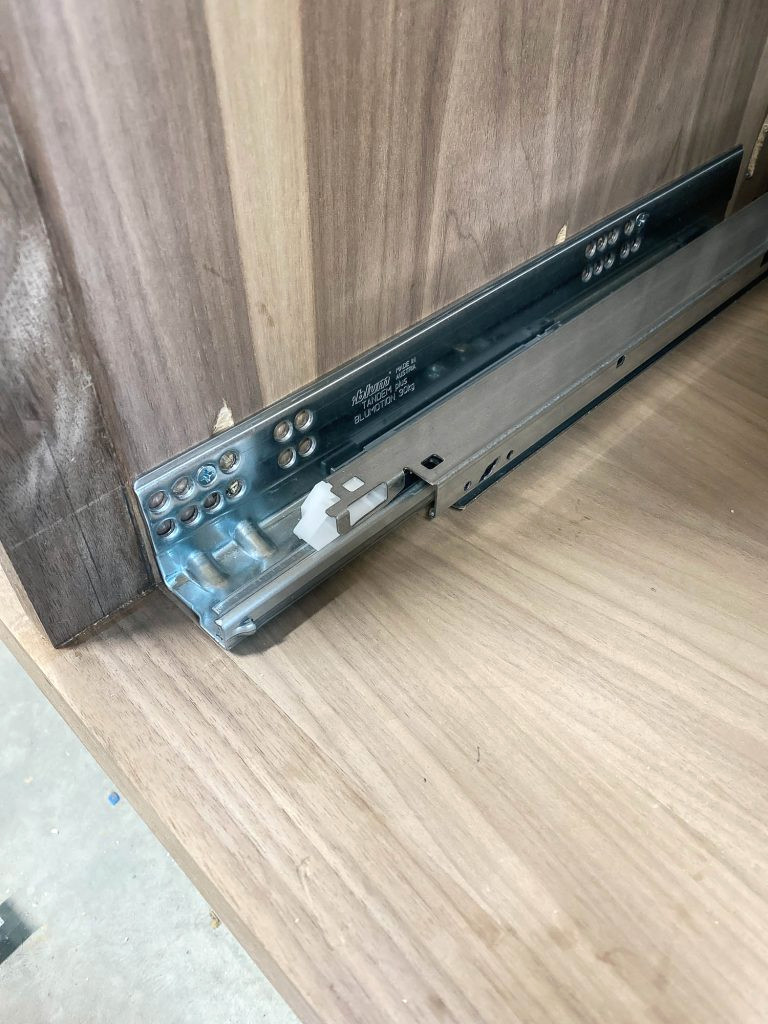
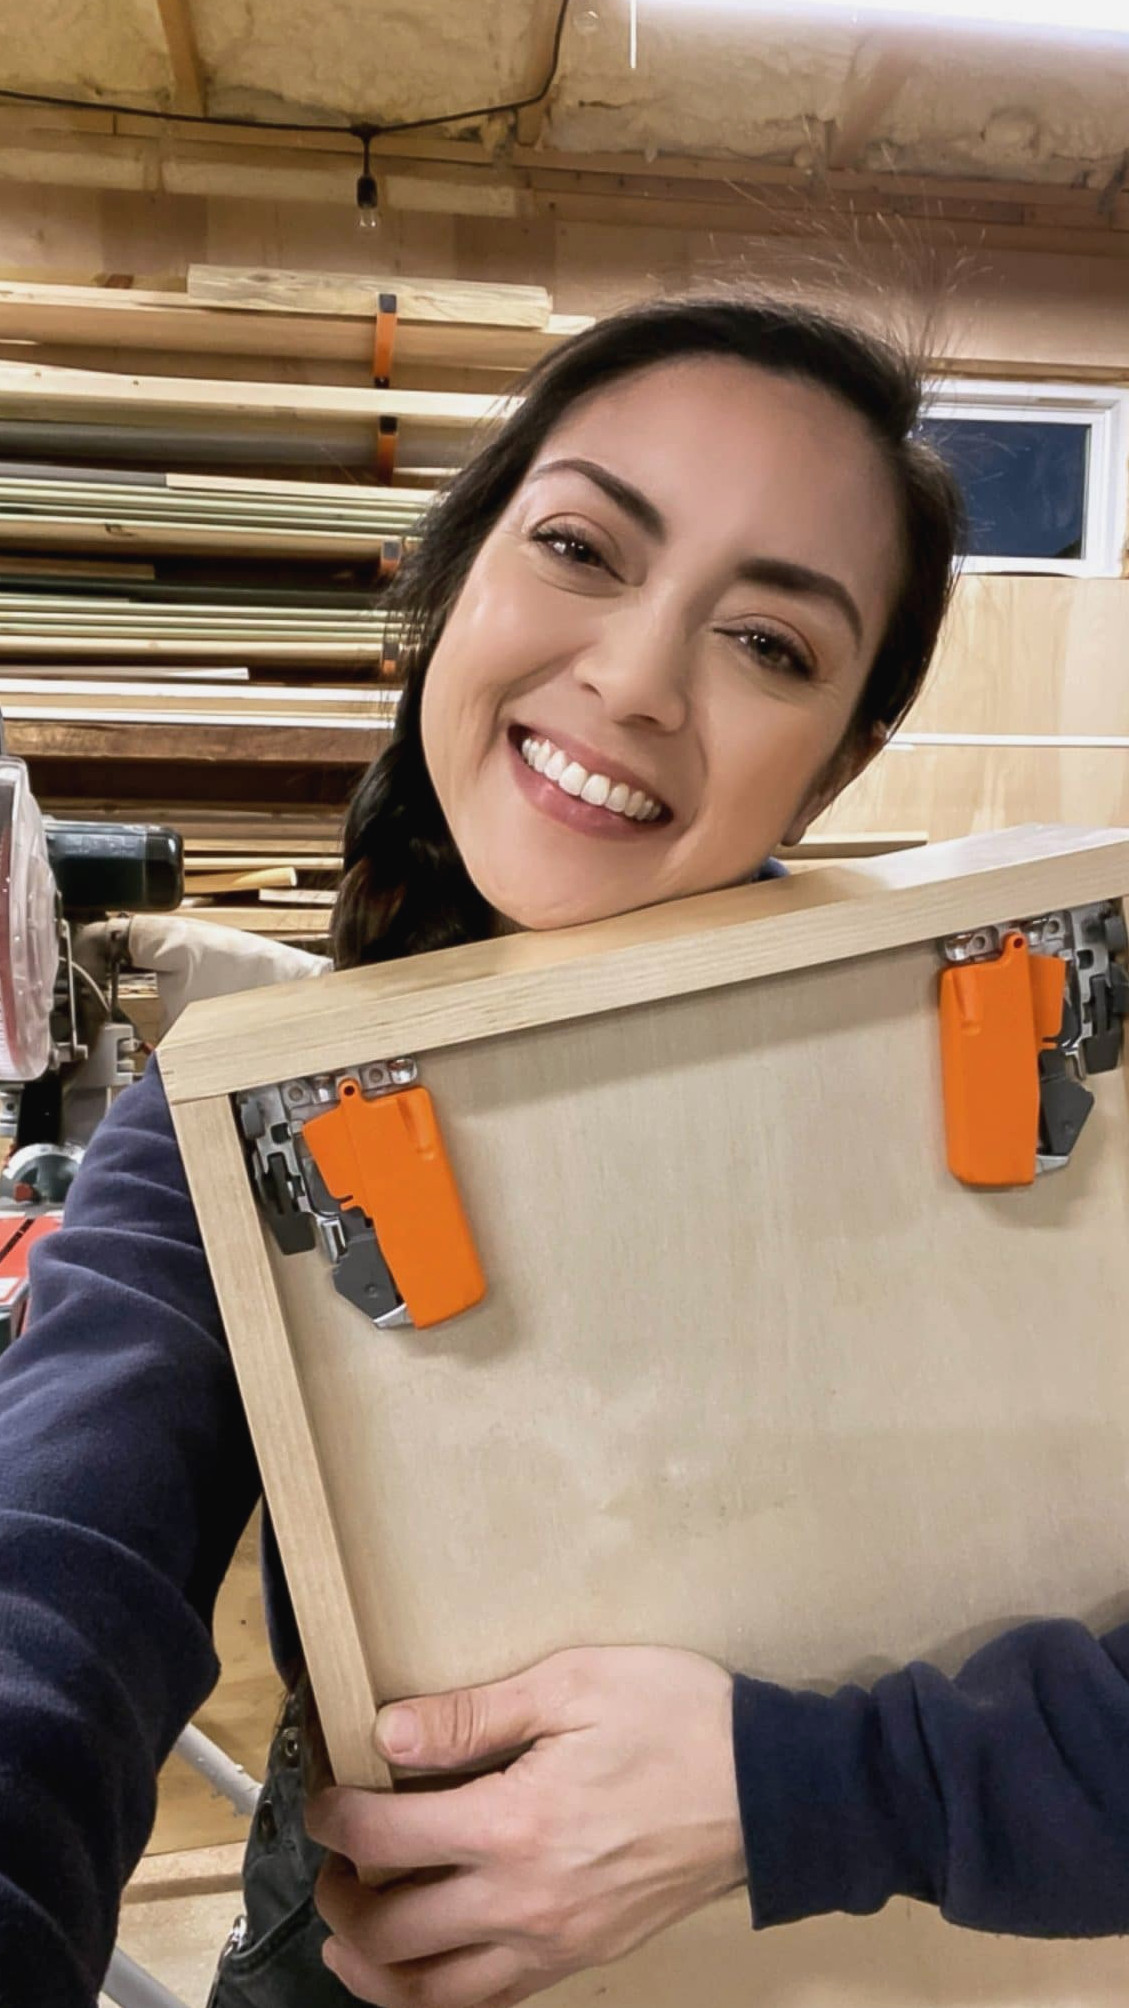
If you follow me on Instagram, you’ve probably seen how enthusiastically I’ve praised these Blum Tandem BluMotion under-mount drawer slides. I had wanted to try them for ages because I’d heard so many excellent reviews, but the complicated instructions they came with made me nervous. Thankfully, my friend Jason Bent’s YouTube tutorial made these drawer slides much easier to understand. Now that I’ve installed them successfully and understand howeasy it was, I can’t imagine returning to inferior drawer slides—in fact, I’m annoyed I didn’t use these drawer slides earlier. They’re full-extension and soft-closing… how luxurious!
Crafting the Drawer Fronts
The broadest boards I had available were 1x6s, which are actually 5 1/2 inches wide, so I needed to join boards together for the bottom three drawer fronts, each measuring 6 inches across. It feels like quite a bit of additional work for only half an inch of extra material, doesn’t it? Ahhh… sometimes that’s just how it goes. The plans recommend using a 1×8 board that can be ripped to width instead of gluing a 1×6 together to create a wider panel. And naturally, clamps are my closest companions.
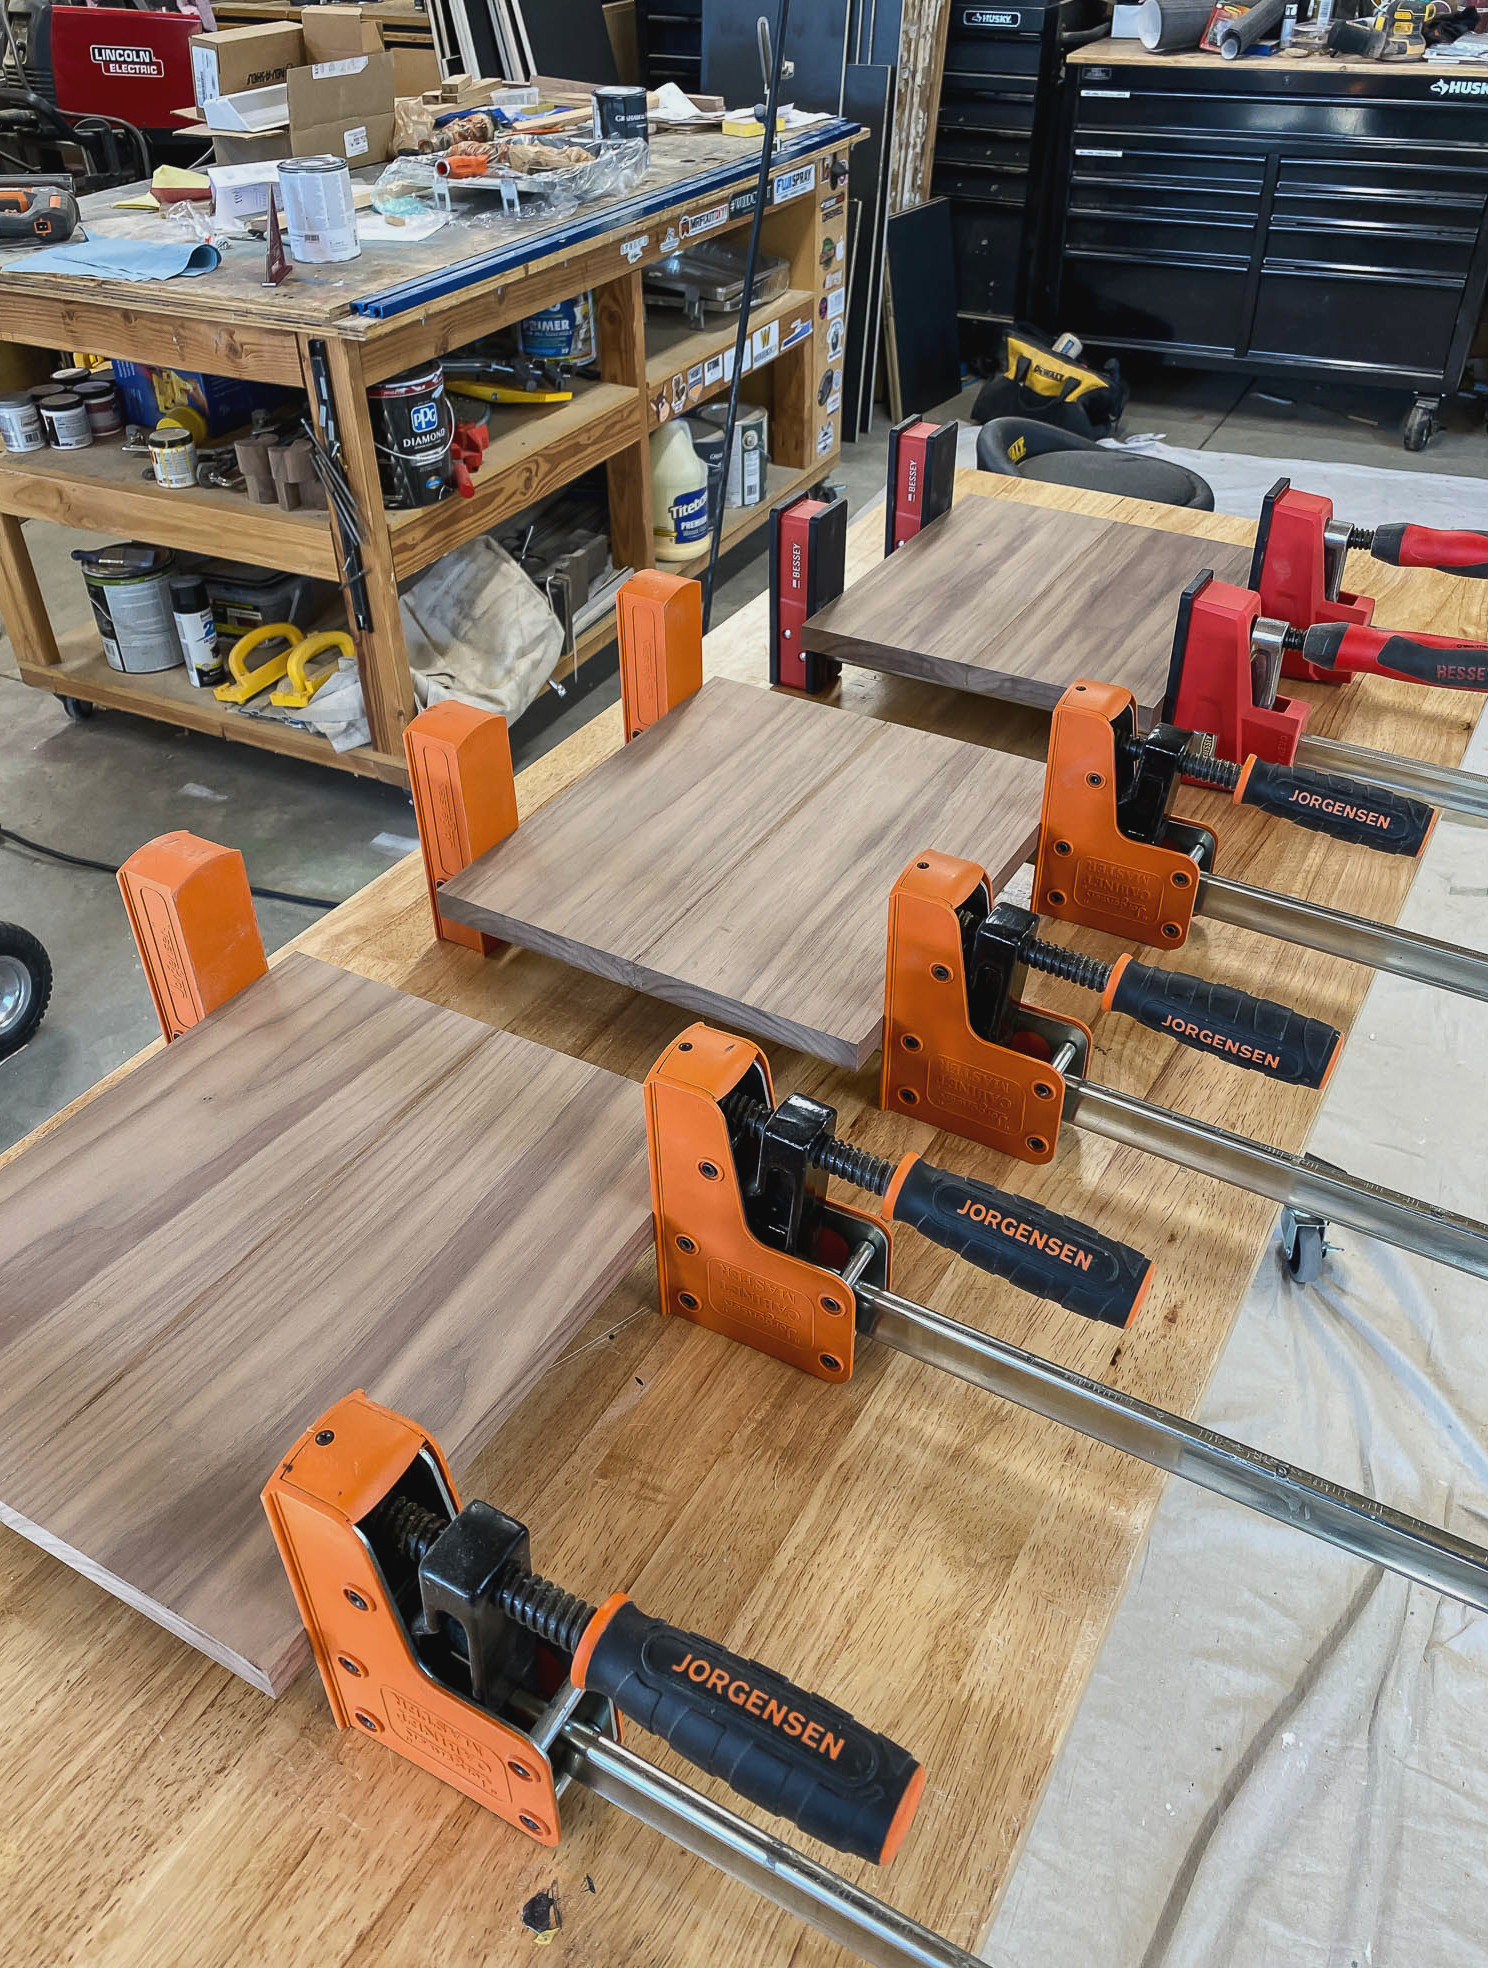
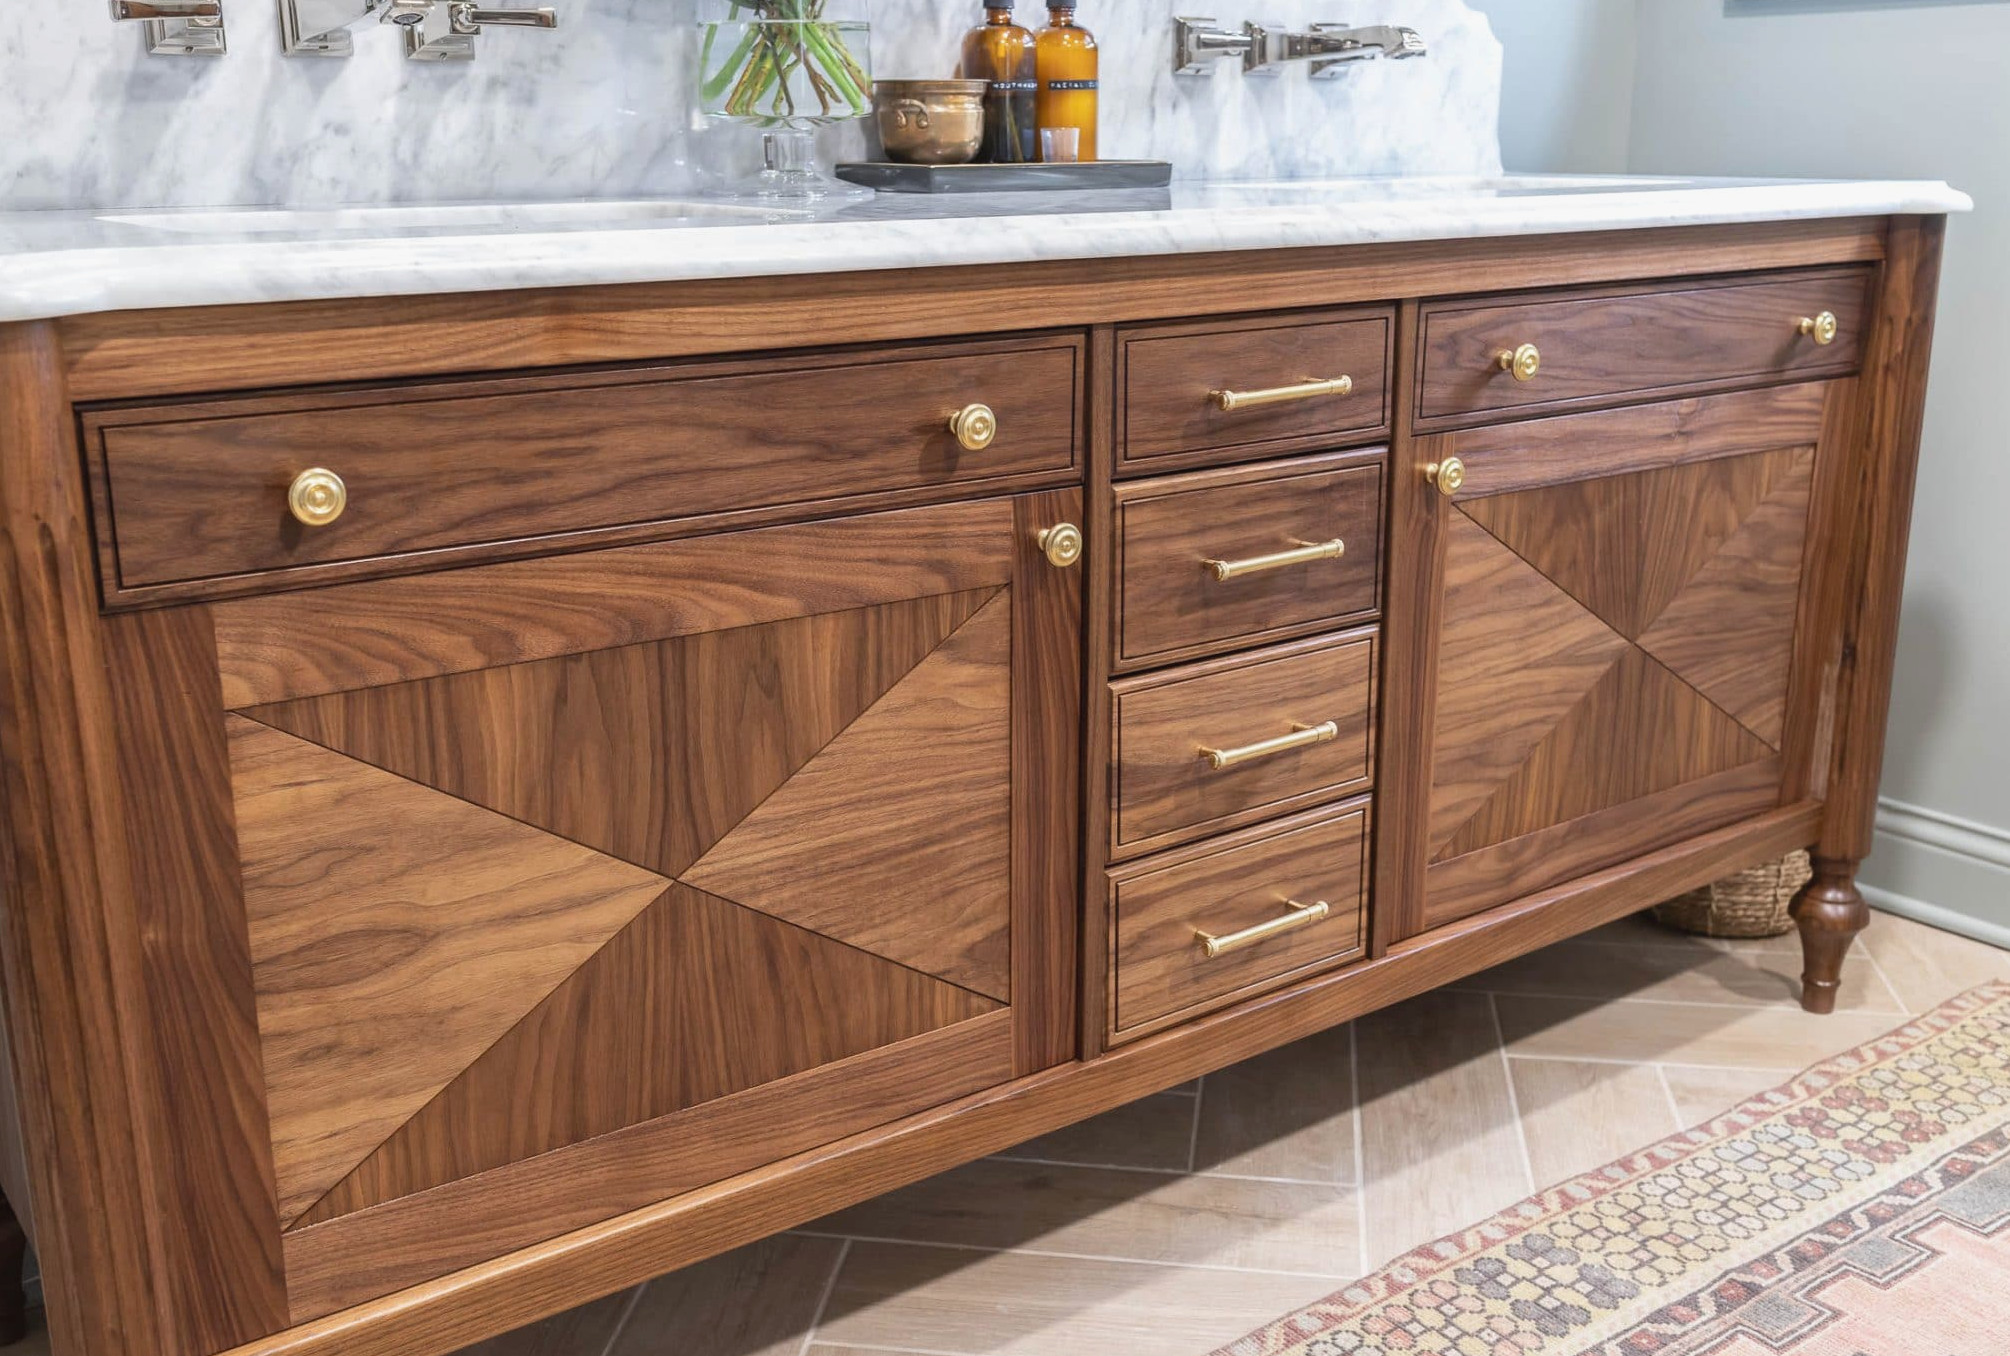
Once the panels had been glued together, I trimmed the drawer fronts to their final dimensions. This is where the process becomes slightly more involved. I used my router to cut a channel 1 inch in from the drawer-front edge, along with a cove detail around the perimeter. None of this routing is essential, though—it was simply a stylistic decision because I enjoy being “extra.” So, if you’d rather leave it out, you absolutely can.
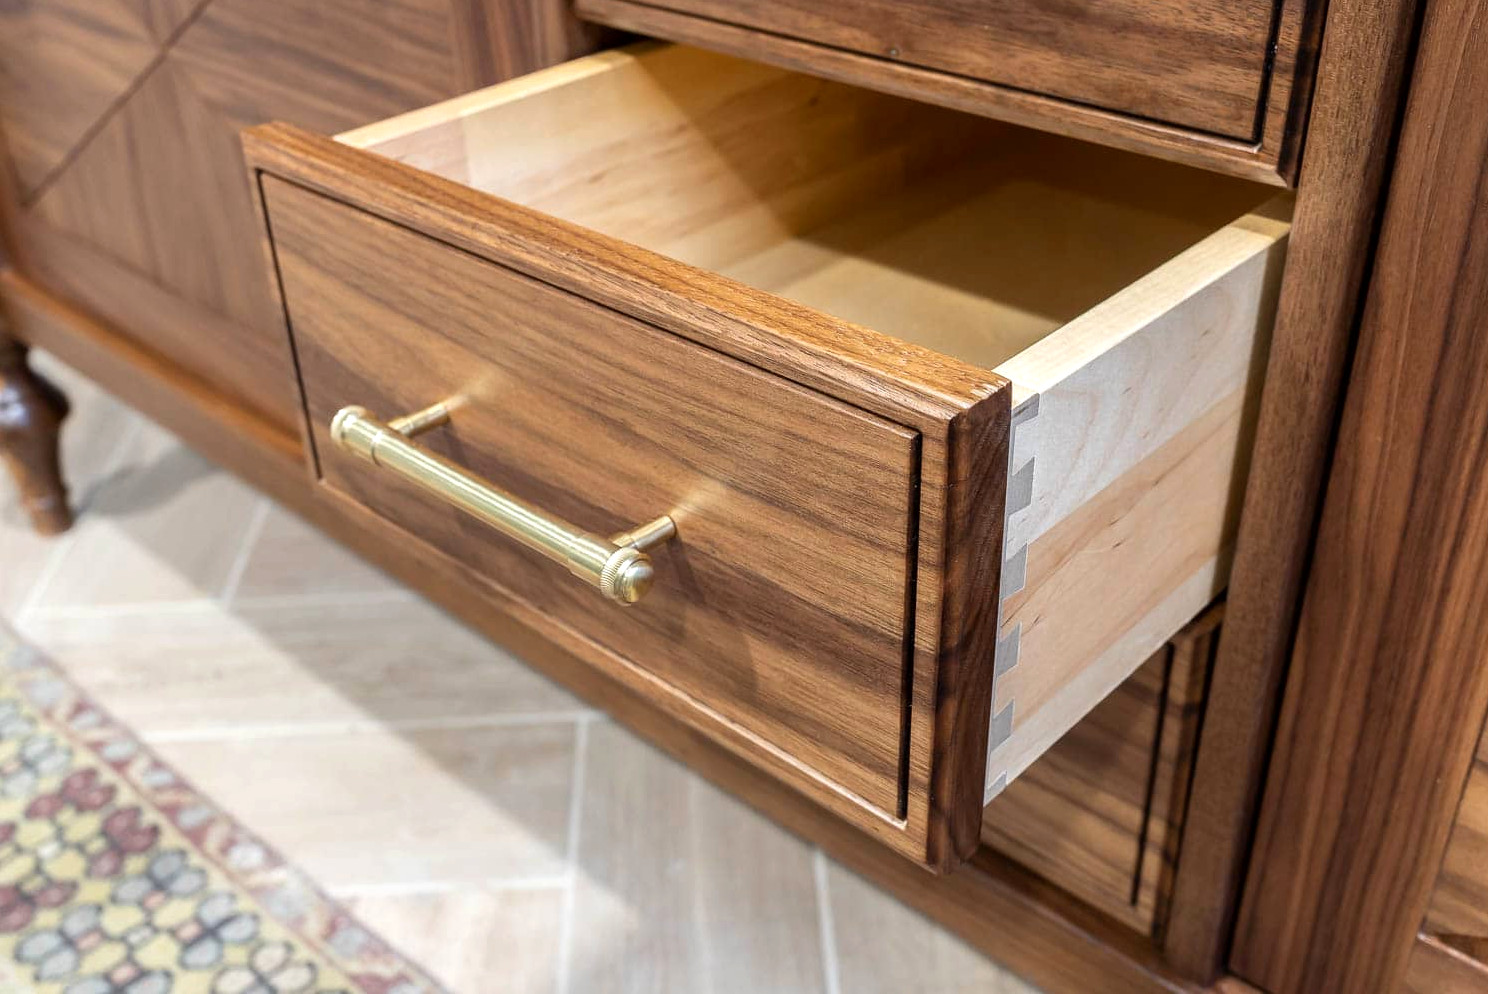
The image below also features my second version of the top three drawer fronts. During my first attempt, those three fronts had noticeably different wood colors and grain patterns, so I rebuilt them and cut all three from one board. This created a continuous grain pattern and a uniform wood tone across the upper drawers. I genuinely love concentrating on these tiny details.
Constructing the Doors
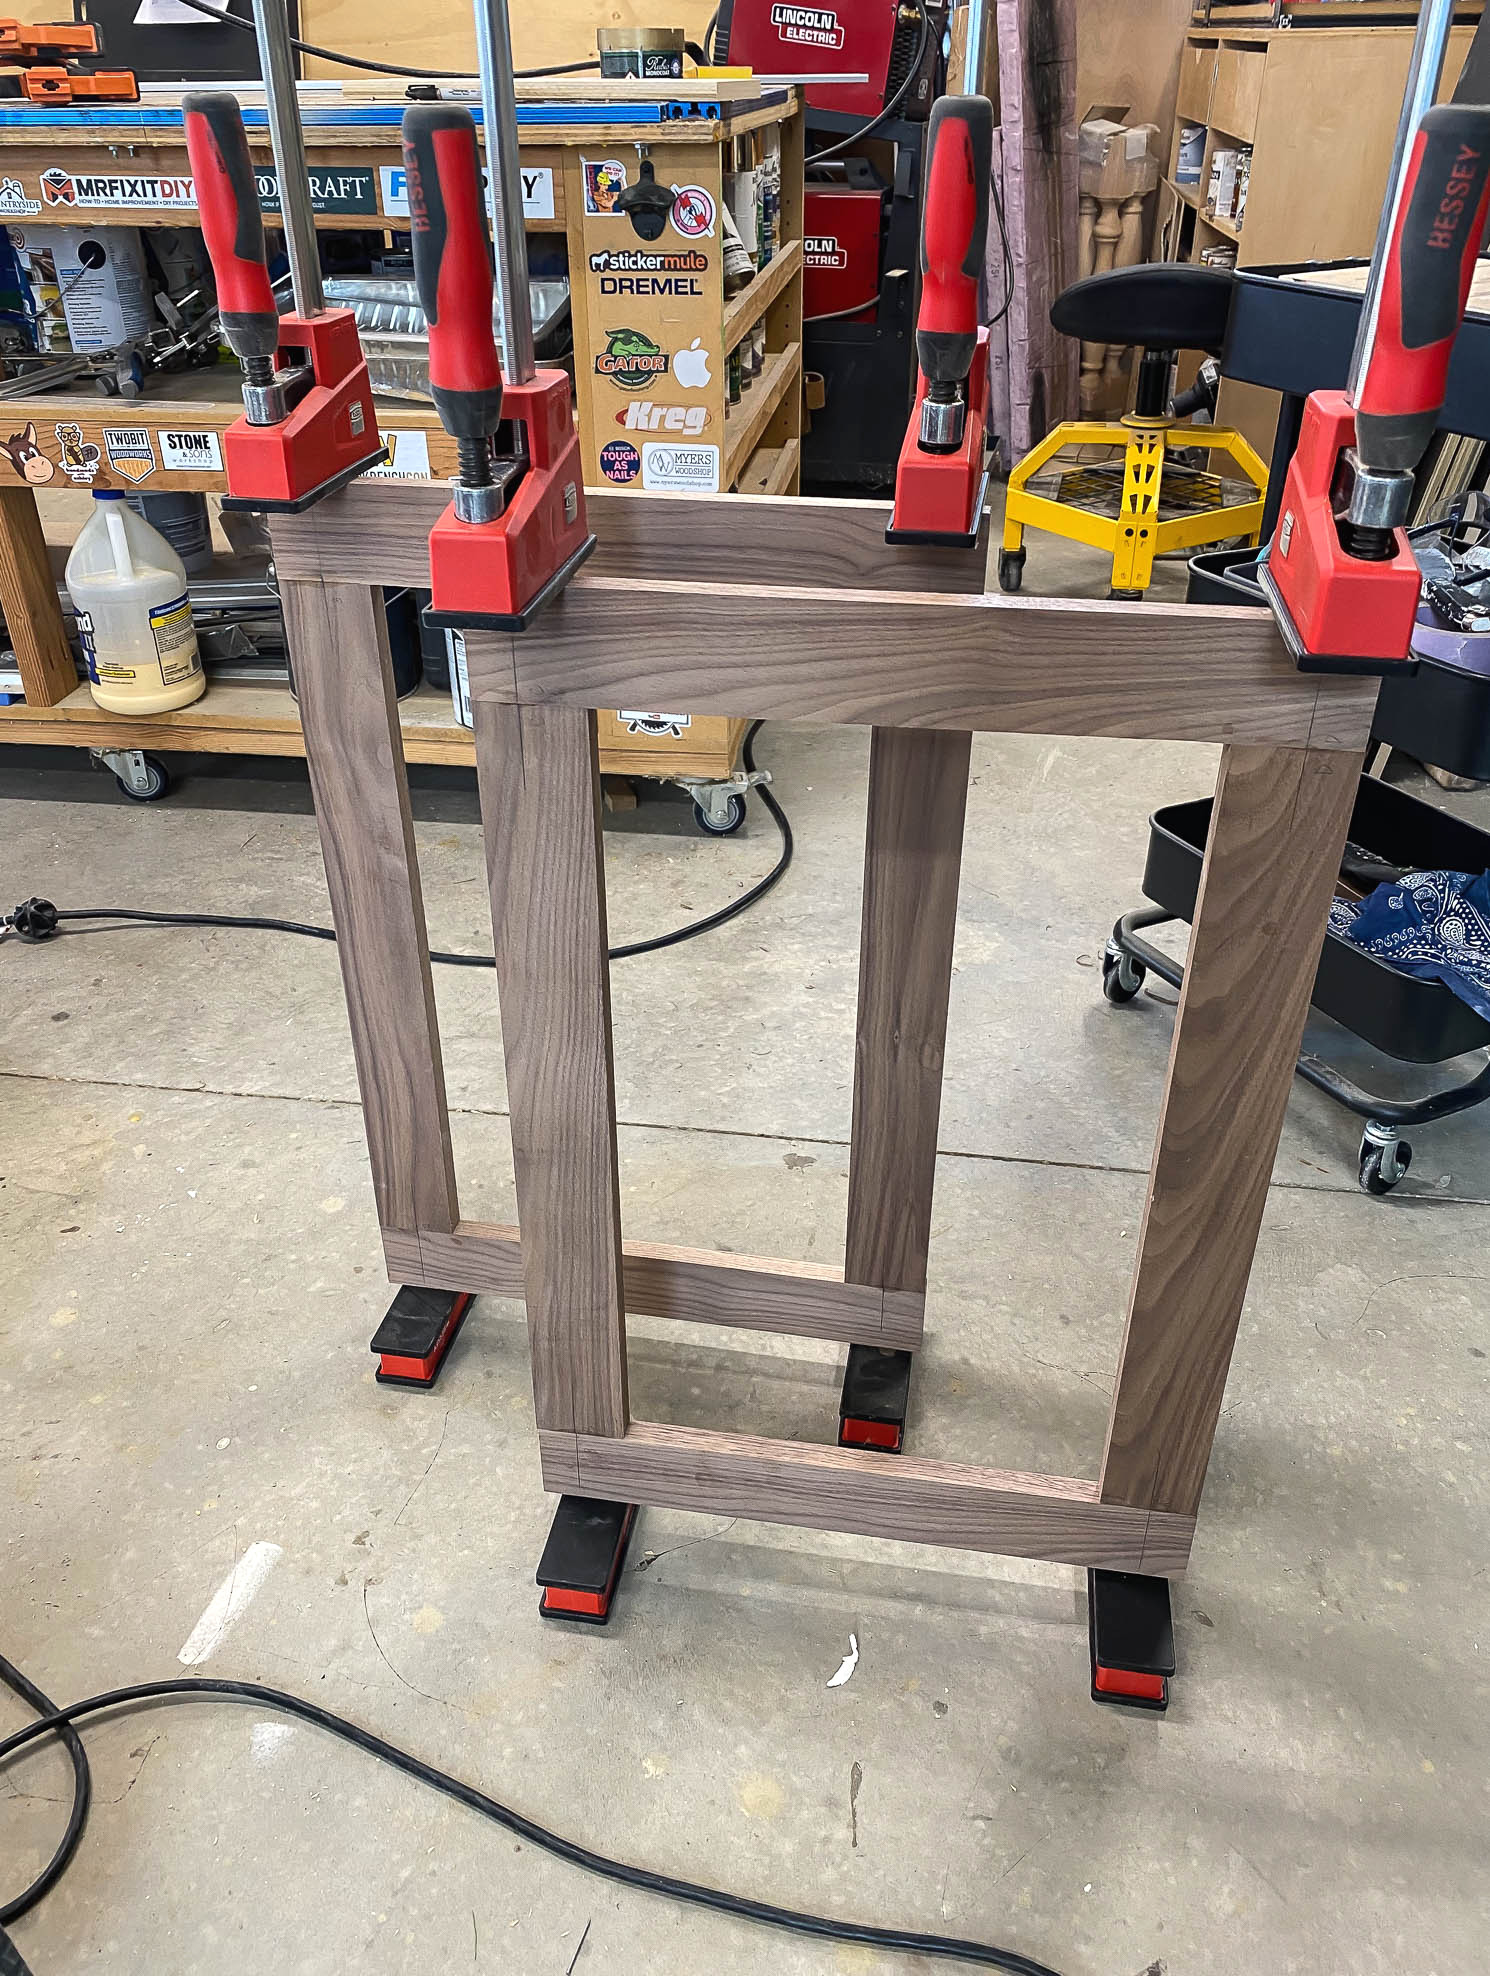
For the door frames, I followed the same approach I used when I built the glass-front bookcases in my hallway. Using a Festool Domino, I cut the mortises for the rails and stiles, then assembled the frames with Dominos and wood glue. If you don’t own a Festool Domino—it’s an expensive tool—you can build the door frames with any joinery technique you prefer, such as pocket holes, biscuits, tongue and groove, or dowels. After assembling each frame, I verified that it was square and placed it in clamps while the glue cured.
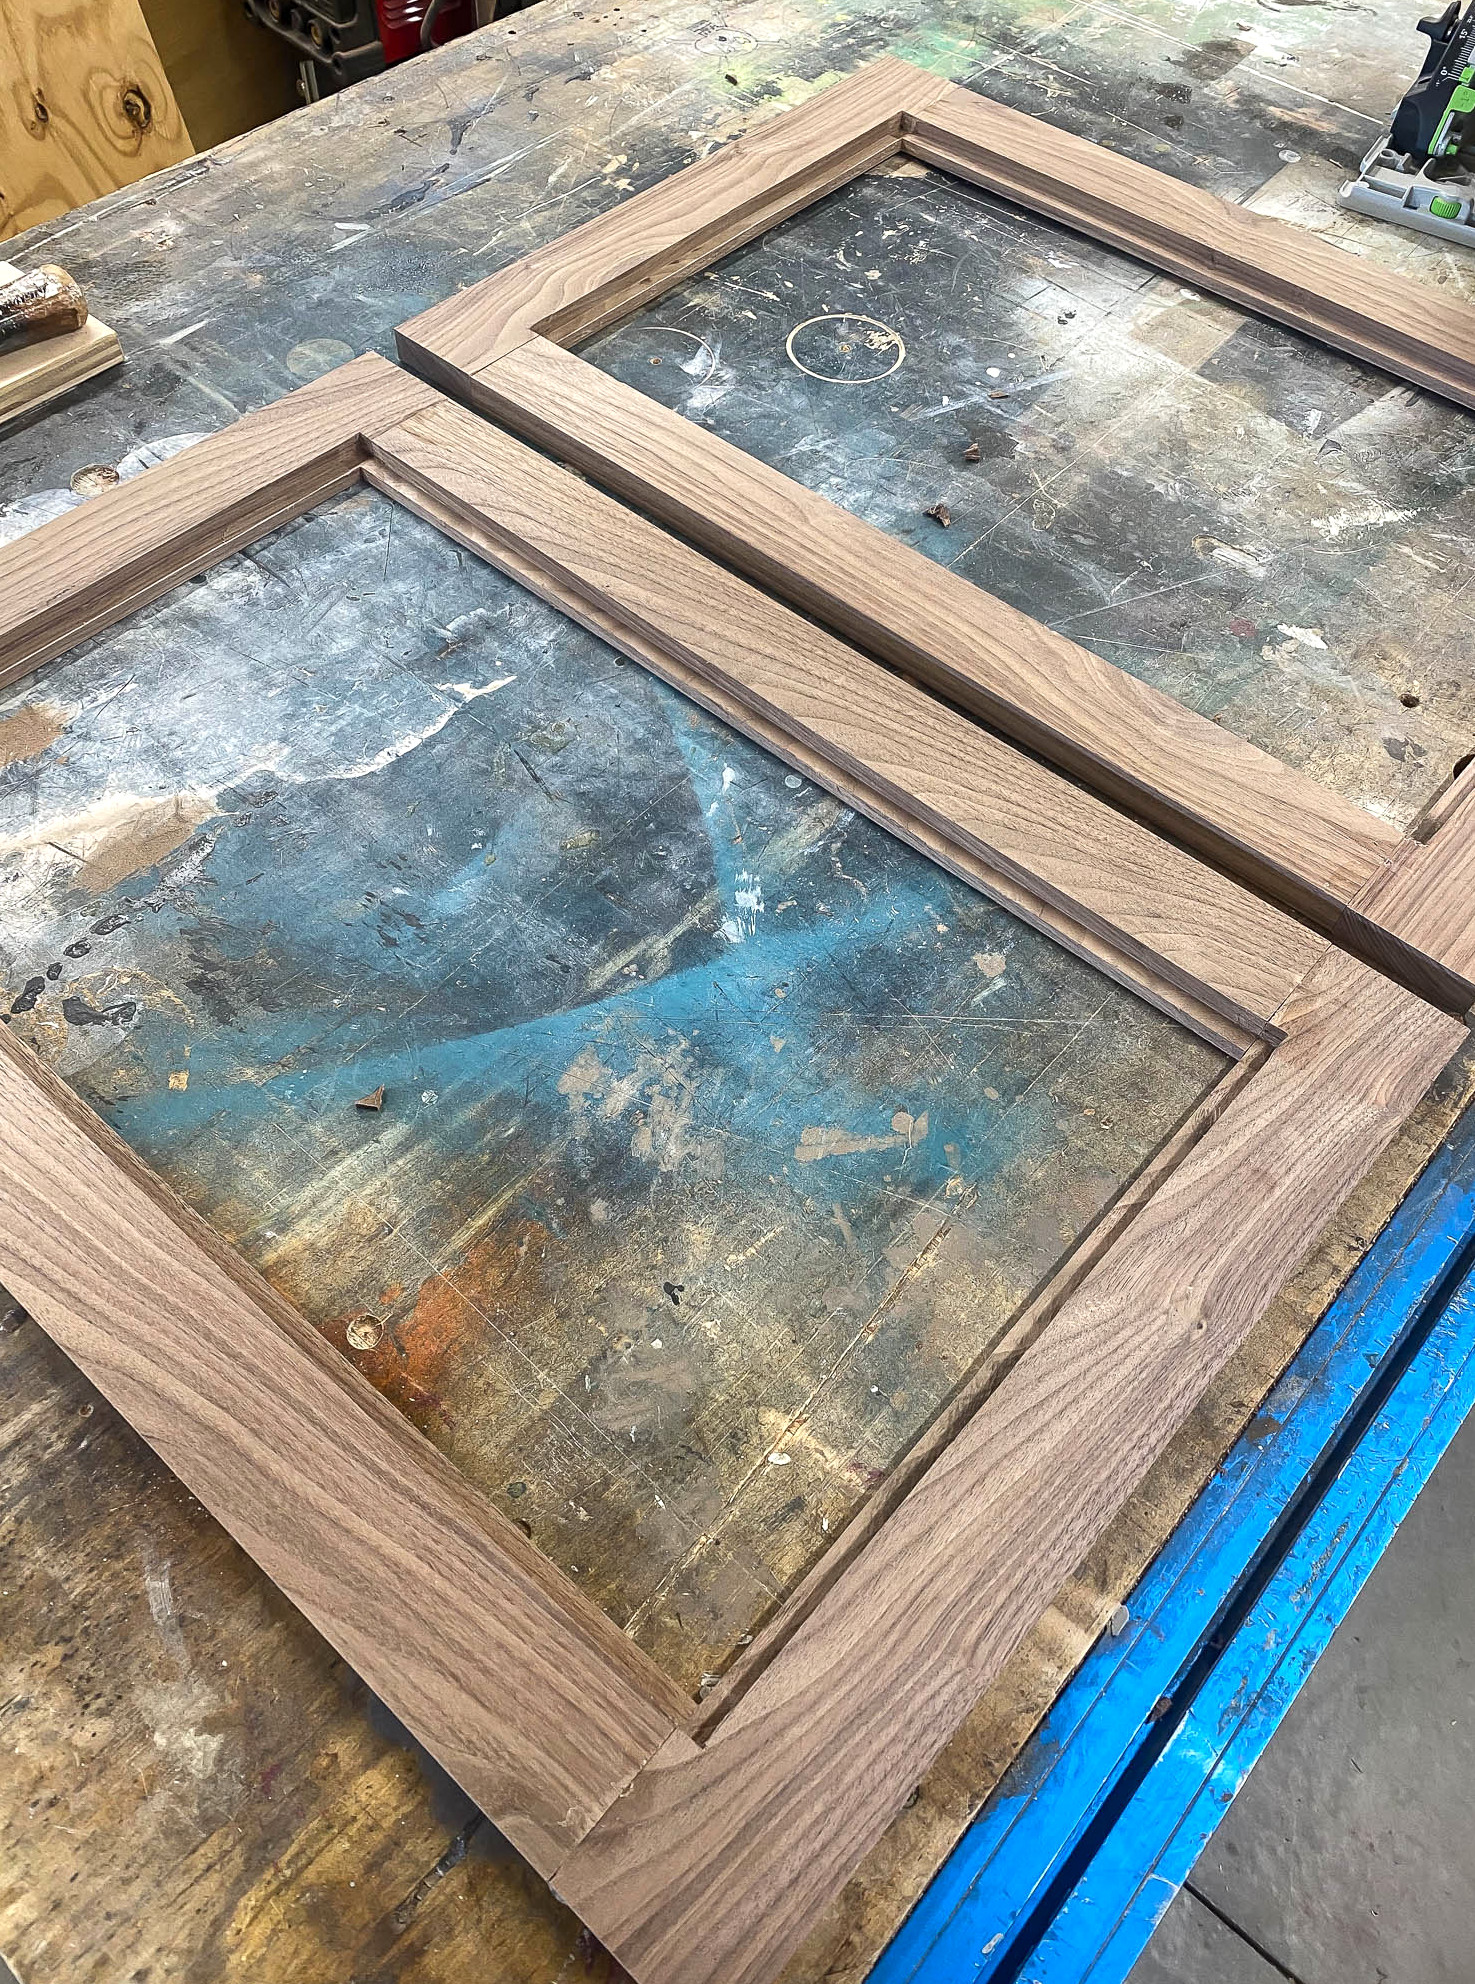
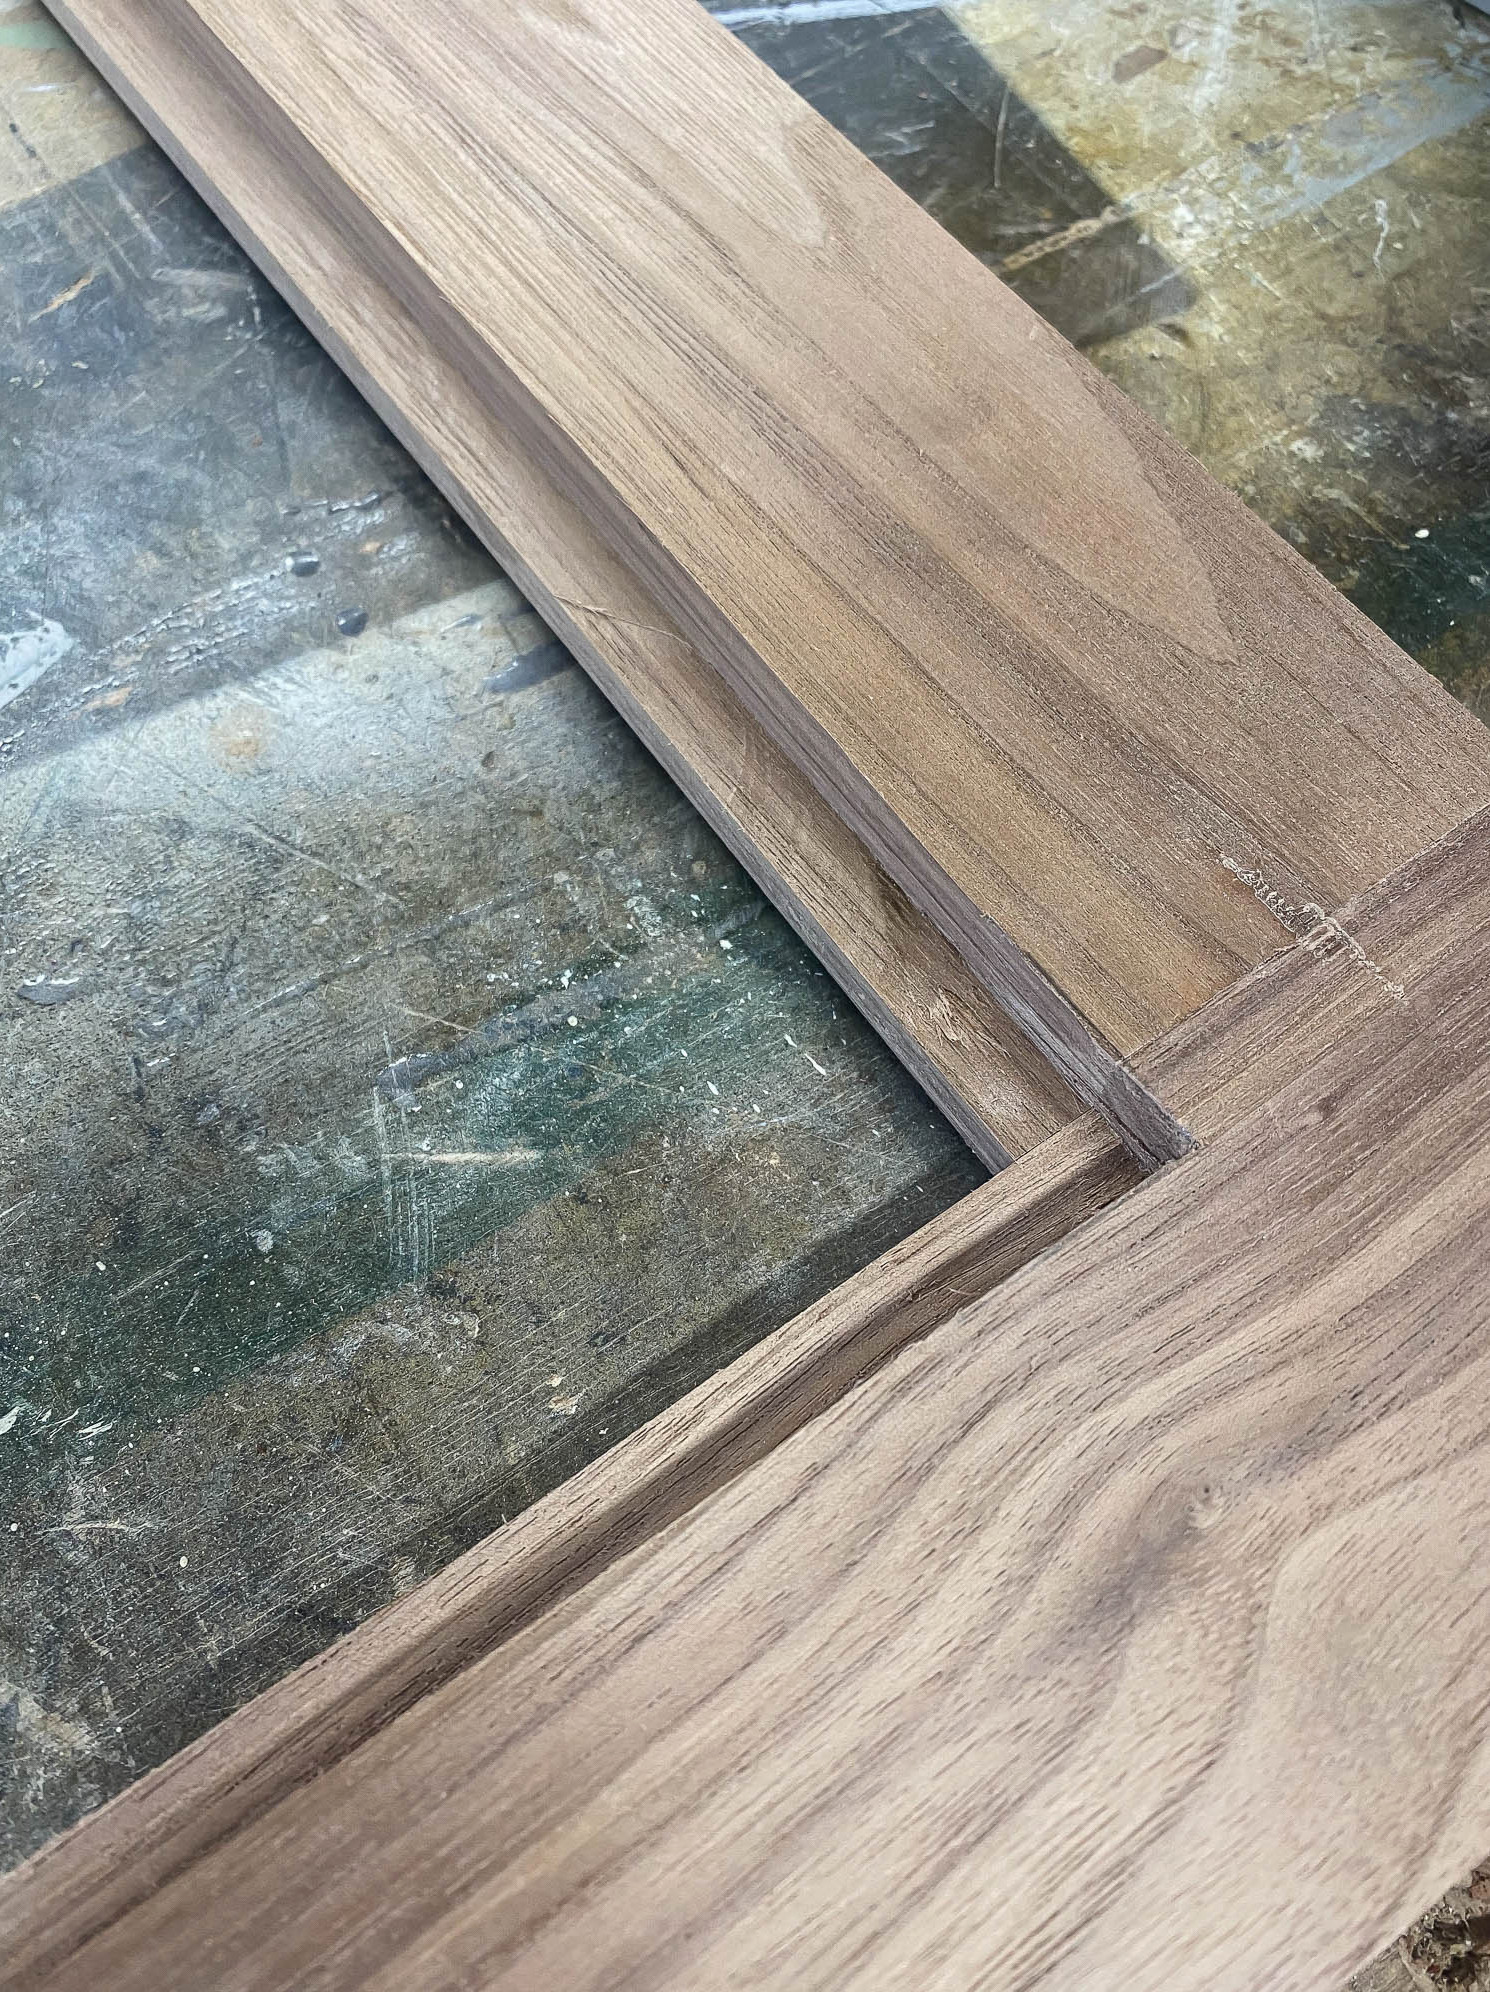
As with my hallway built-in bookcases, I used the router to cut a rabbet for the door panel. Work slowly here and make several shallow passes with the router instead of attempting the entire depth in one go. I was likely more cautious than necessary, but I set the router bit to a 1/16-inch depth and lowered it by roughly 1/16″ per pass. The rabbet ultimately measured 1/2-inch deep because I knew it needed to accommodate two quarter-inch plywood panels. Since the router bit is curved, the rabbet corners were rounded, so I squared them with a chisel and mallet. I then applied a line of glue inside the rabbets, positioned the 1/4-inch plywood panels, and fastened them with pin nails.
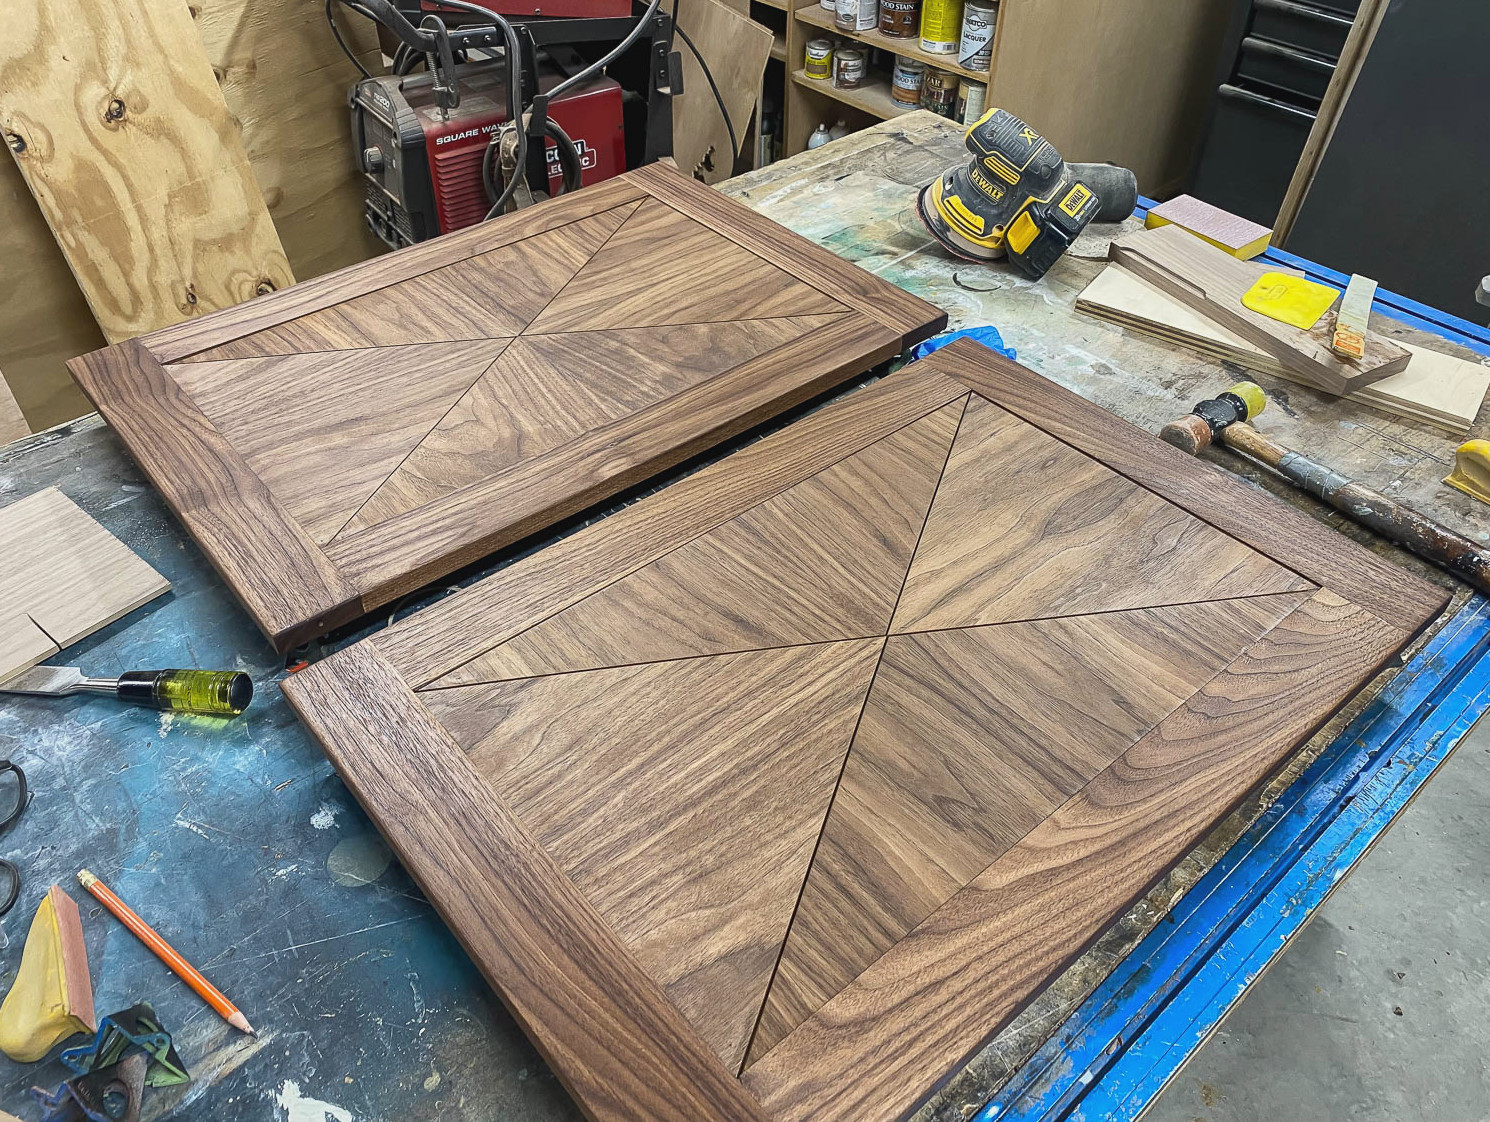
While the glue was setting, I cut the triangles for the door fronts. This is another optional design element. I was aiming for a “book-matched” appearance, so I cut the triangles while paying close attention to the direction of the wood grain. The grain runs vertically in the upper and lower triangles, while it runs horizontally in the triangles on the left and right. I also carefully arranged the patterns so they were centered on the triangles and the grain mirrored itself from one piece to the next, a technique known as book-matching. I secured the triangle pieces to the doors with 1-inch pin nails and wood glue.
Vanity Worktop
After completing all the parts, we carried the vanity into the bathroom and positioned it. By “we,” I mean “Adam and our friend, Matt,” who hauled this enormous piece up the stairs and into the bathroom. Matt is also our nearby stone fabricator, Stone City, and he produced the countertop. He began by taking precise measurements of the vanity, faucet valves, and sink locations, then made a template to ensure the marble countertop would be cut for an exact fit.
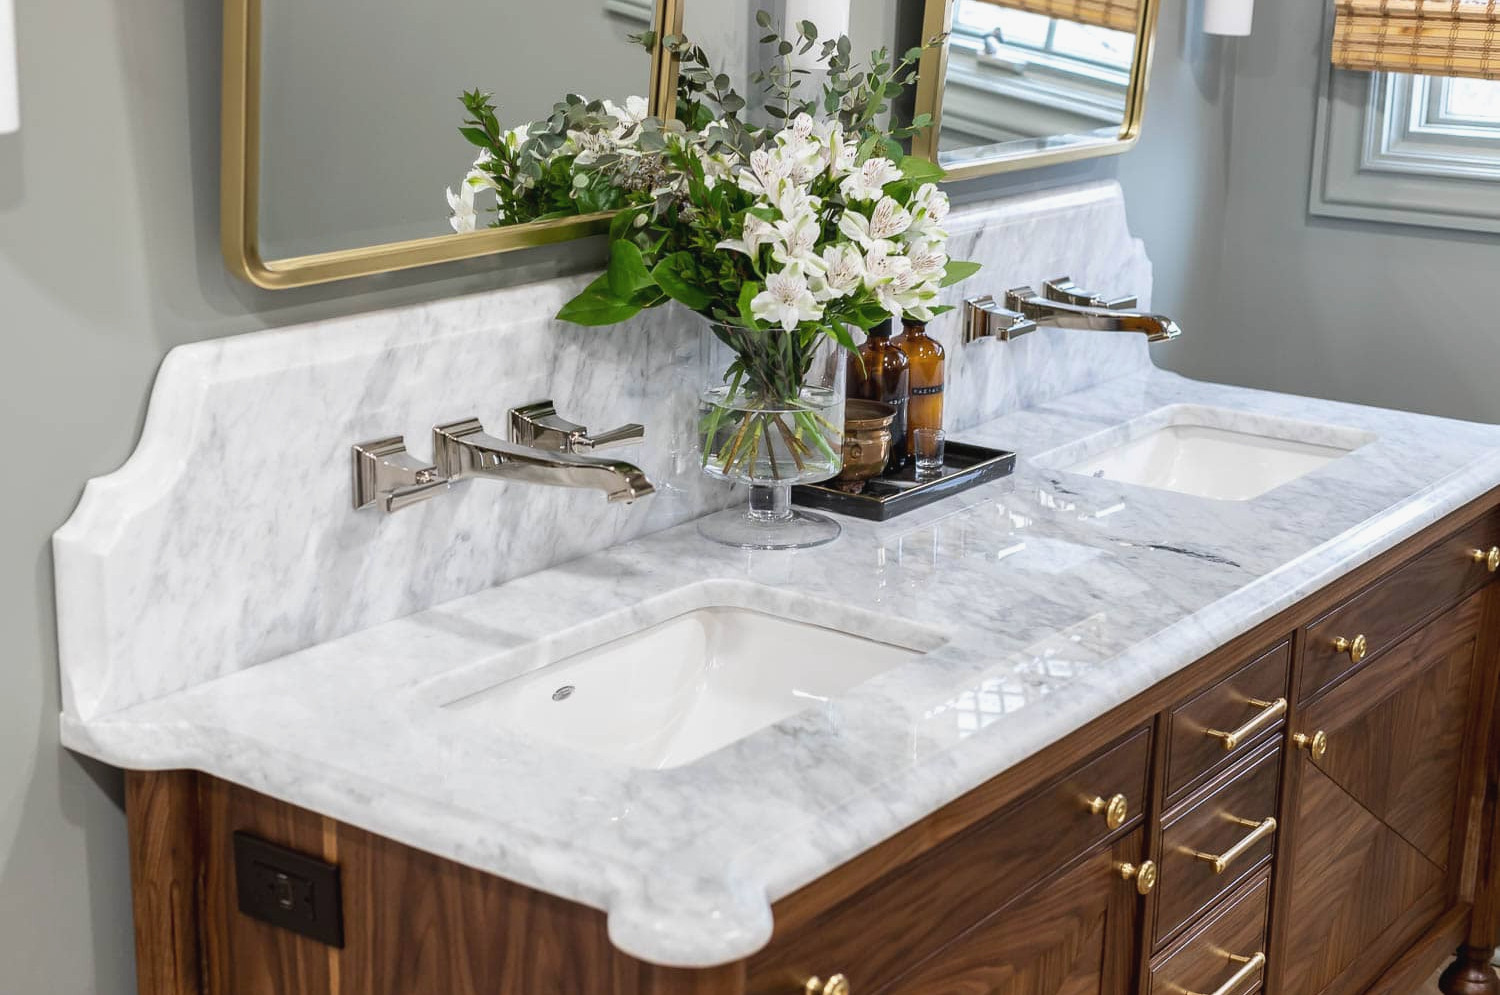
During our kitchen renovation, we encountered a problem when our cabinet maker measured the range opening incorrectly, leaving us with a countertop that was too short and needed replacing. Fortunately, we were able to repurpose that old marble slab for this vanity! I’m thrilled that the marble found a new use instead of being wasted. Fabrication took approximately a week because I also chose a curved backsplash with an ogee edge. Vinceand Matt at Stone City did an outstanding job crafting the countertop and backsplash!
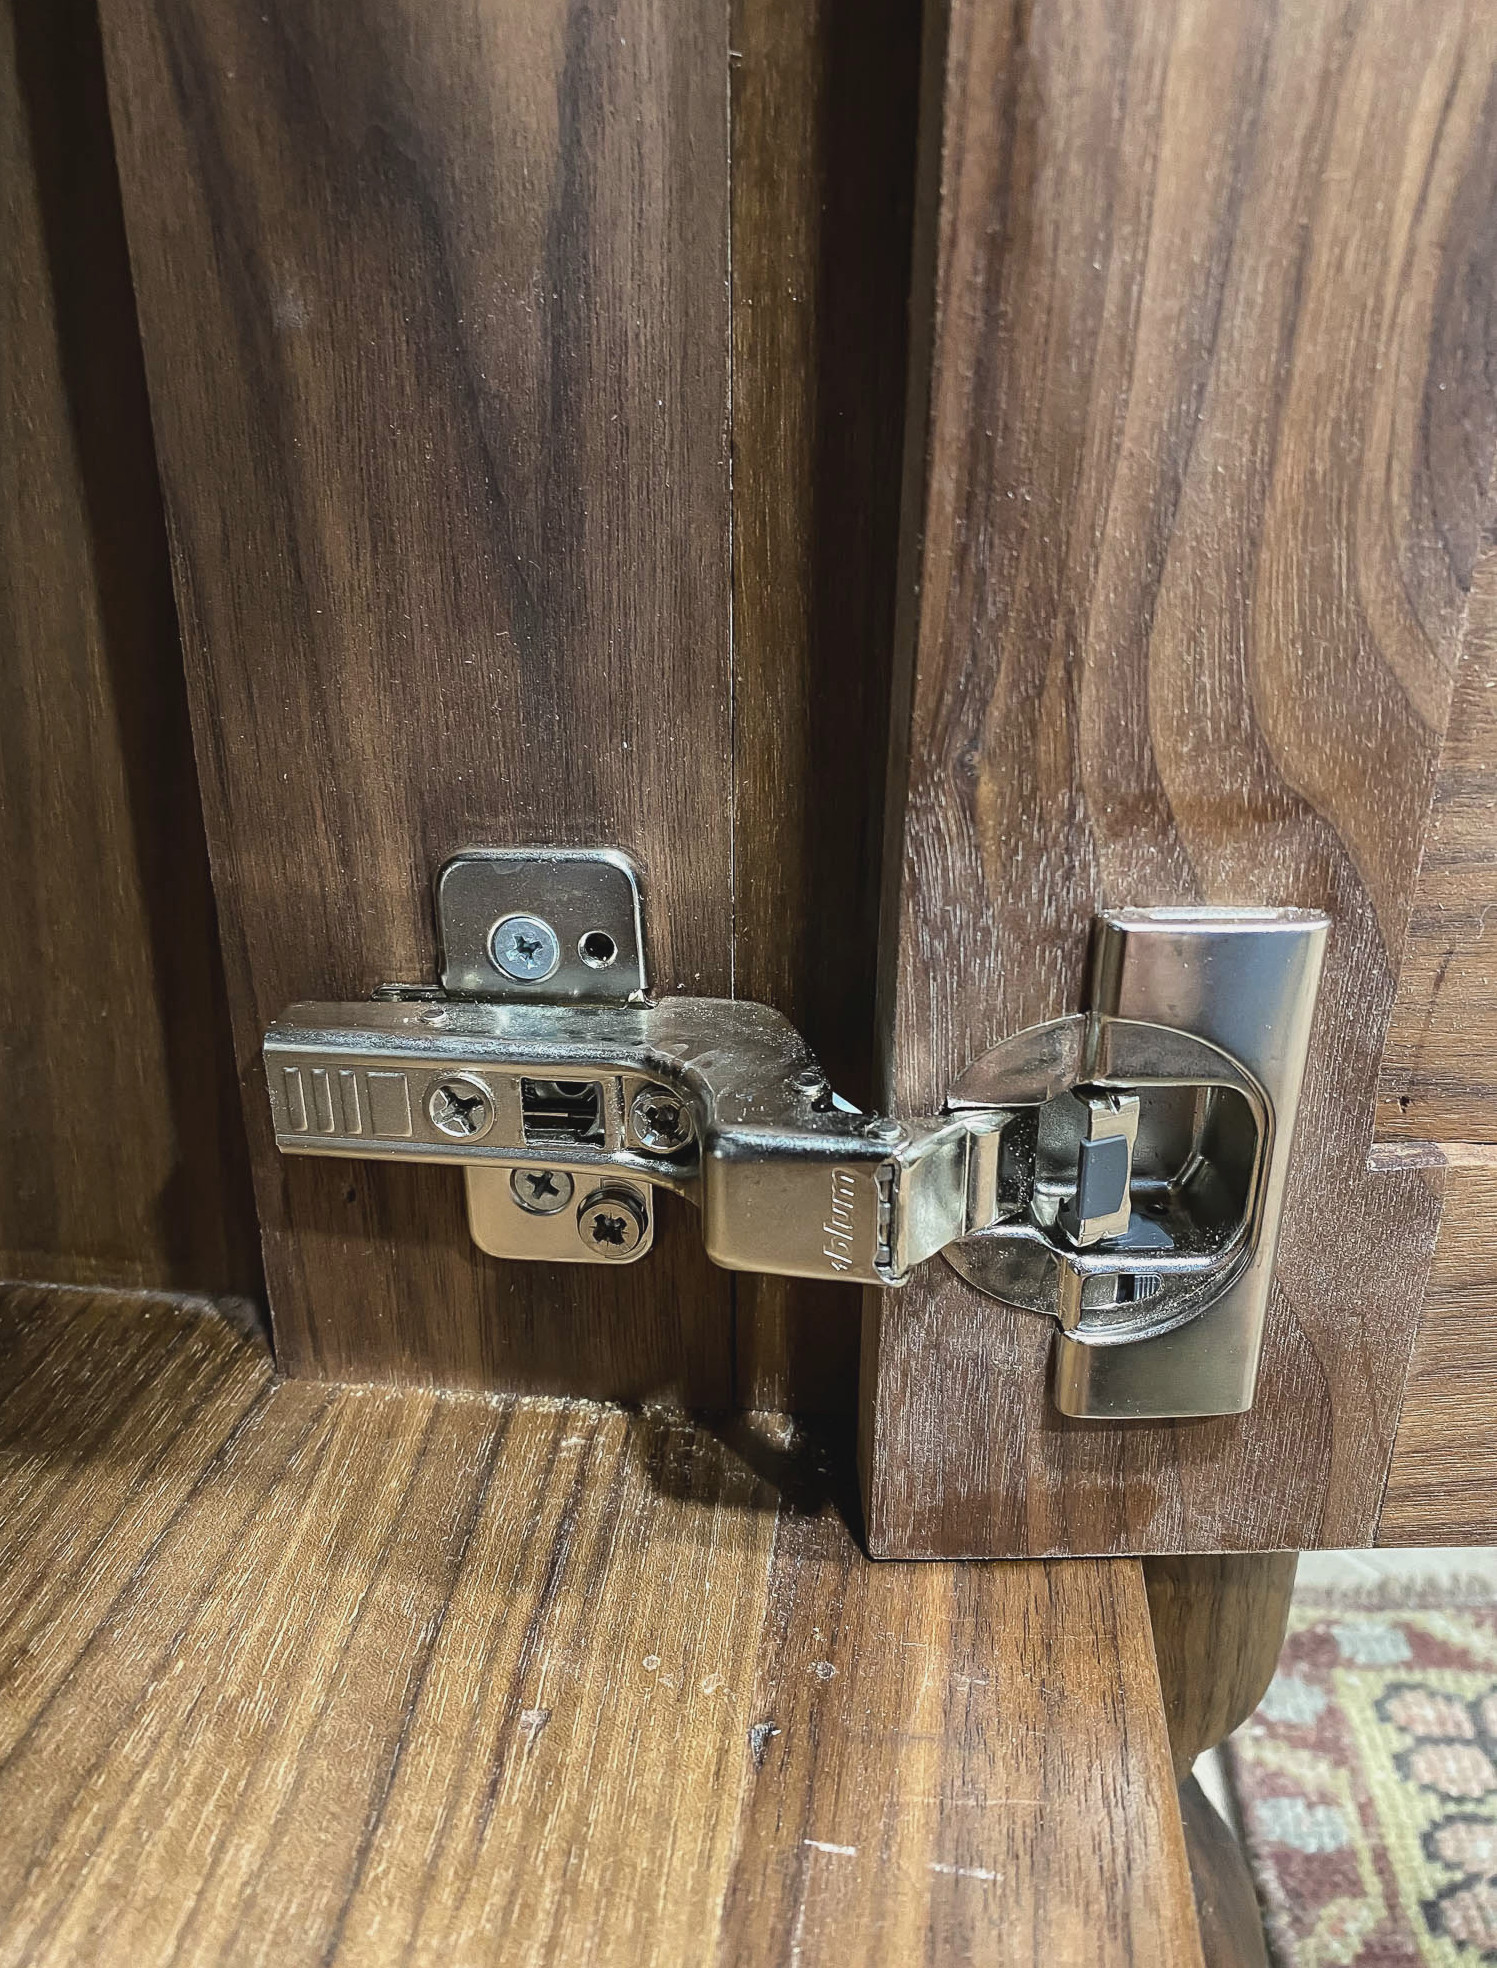
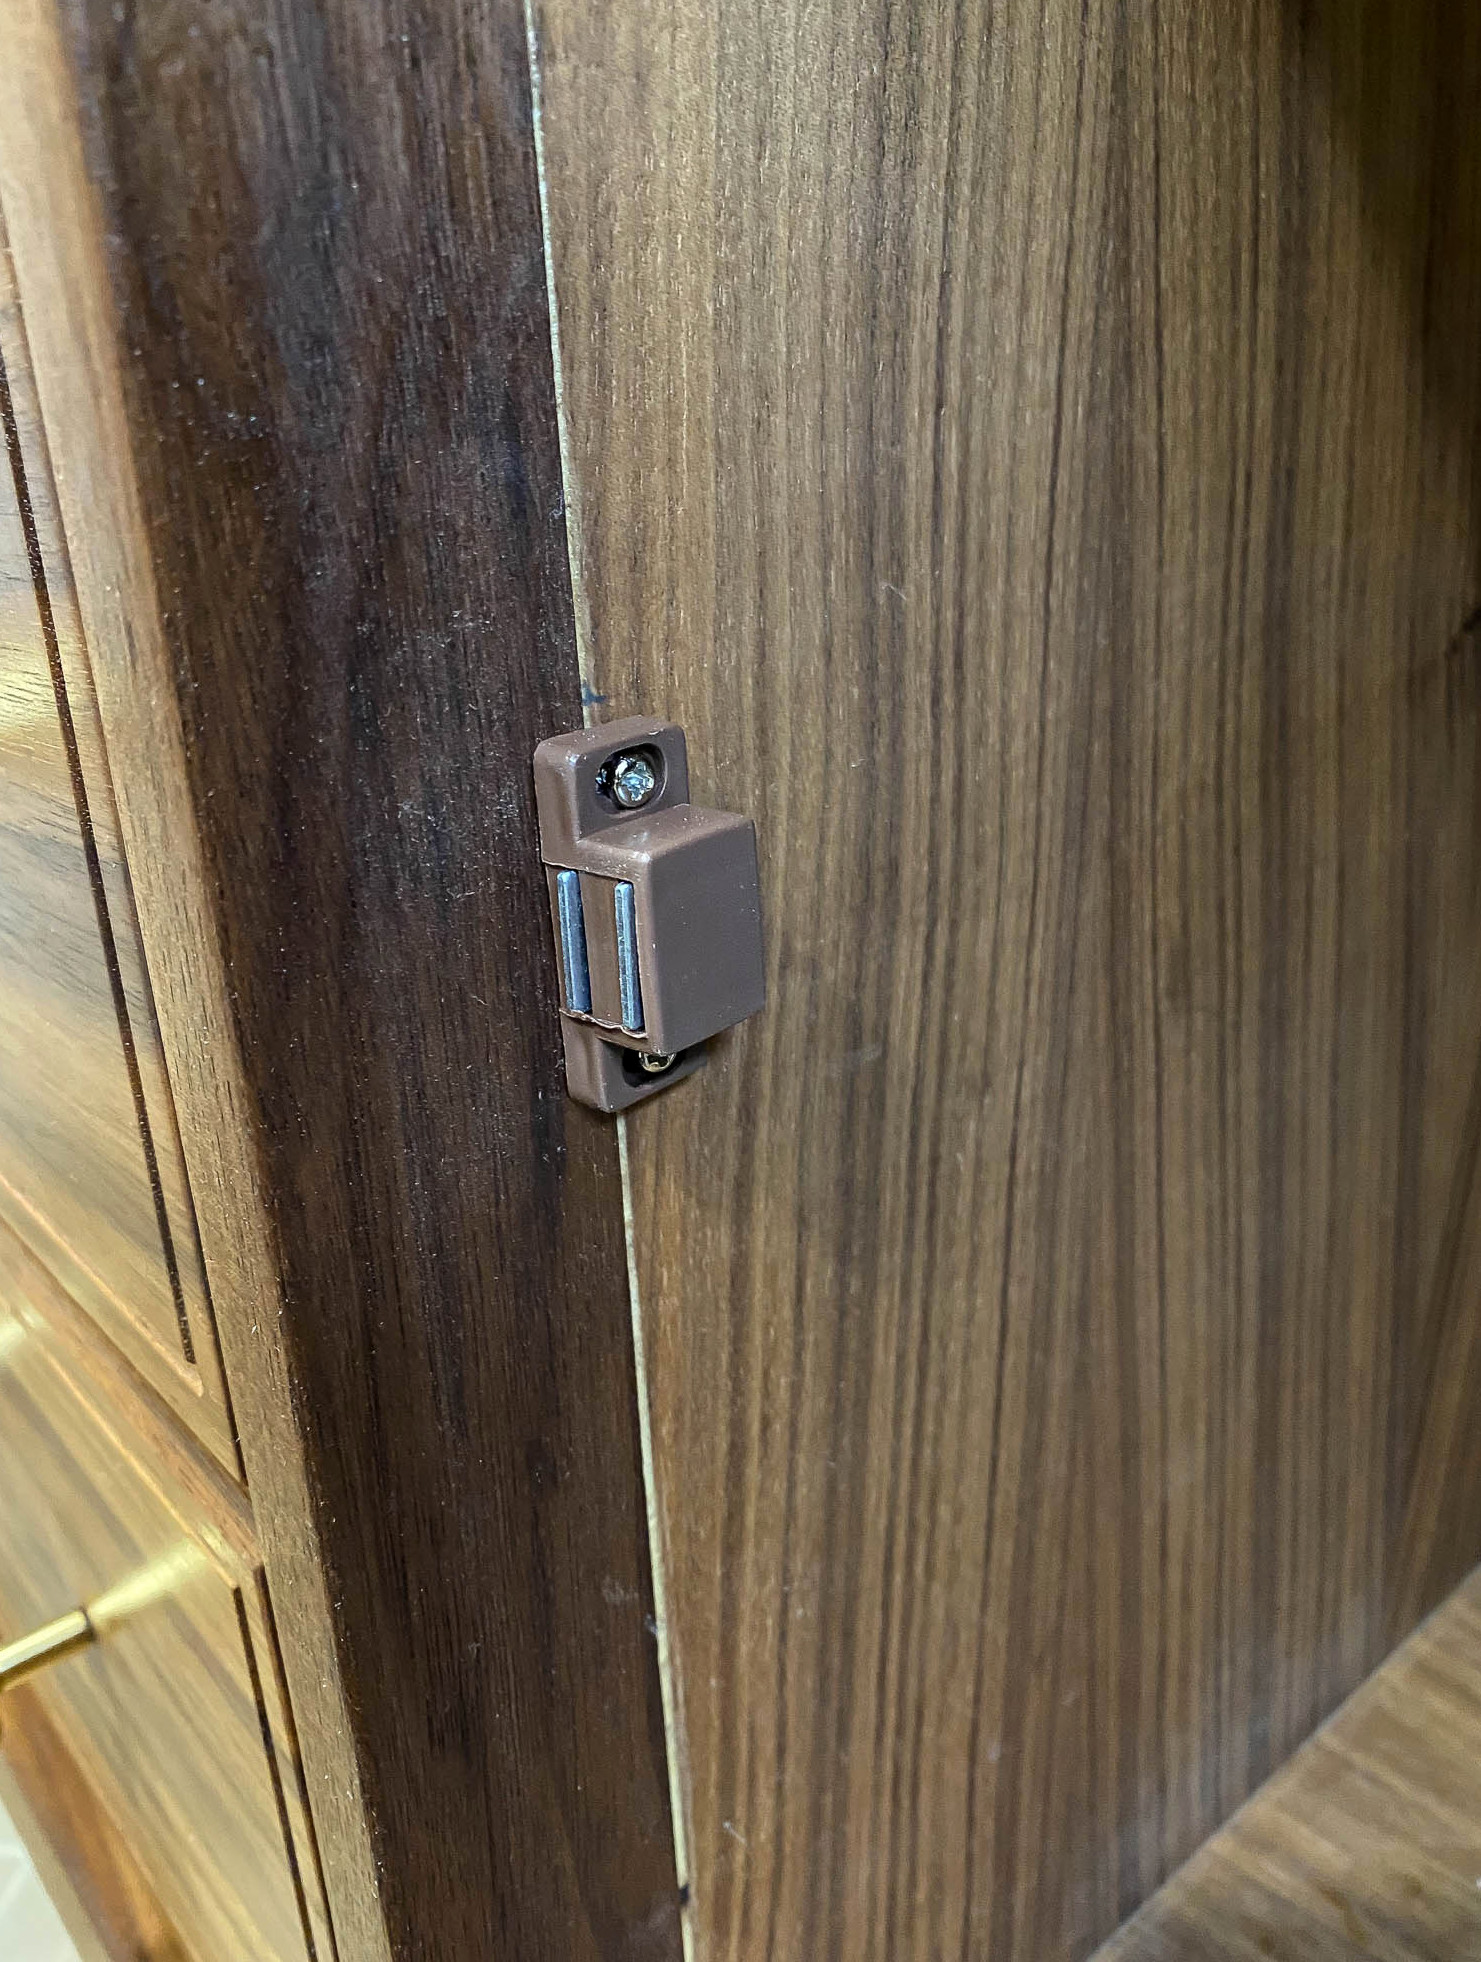
While the countertop was in production, we fitted the drawer fronts and doors. Completing this step beforehand is wise since the hinges are much easier to reach. For the doors, I chose self-closing frameless cabinet hinges and installed a magnetic catch to prevent them from opening too far inward. These hinges are especially useful because they offer plenty of adjustment. With three screws, you can move the door from side to side, up and down, or forward and backward. That means there’s some flexibility if the doors aren’t positioned perfectly.
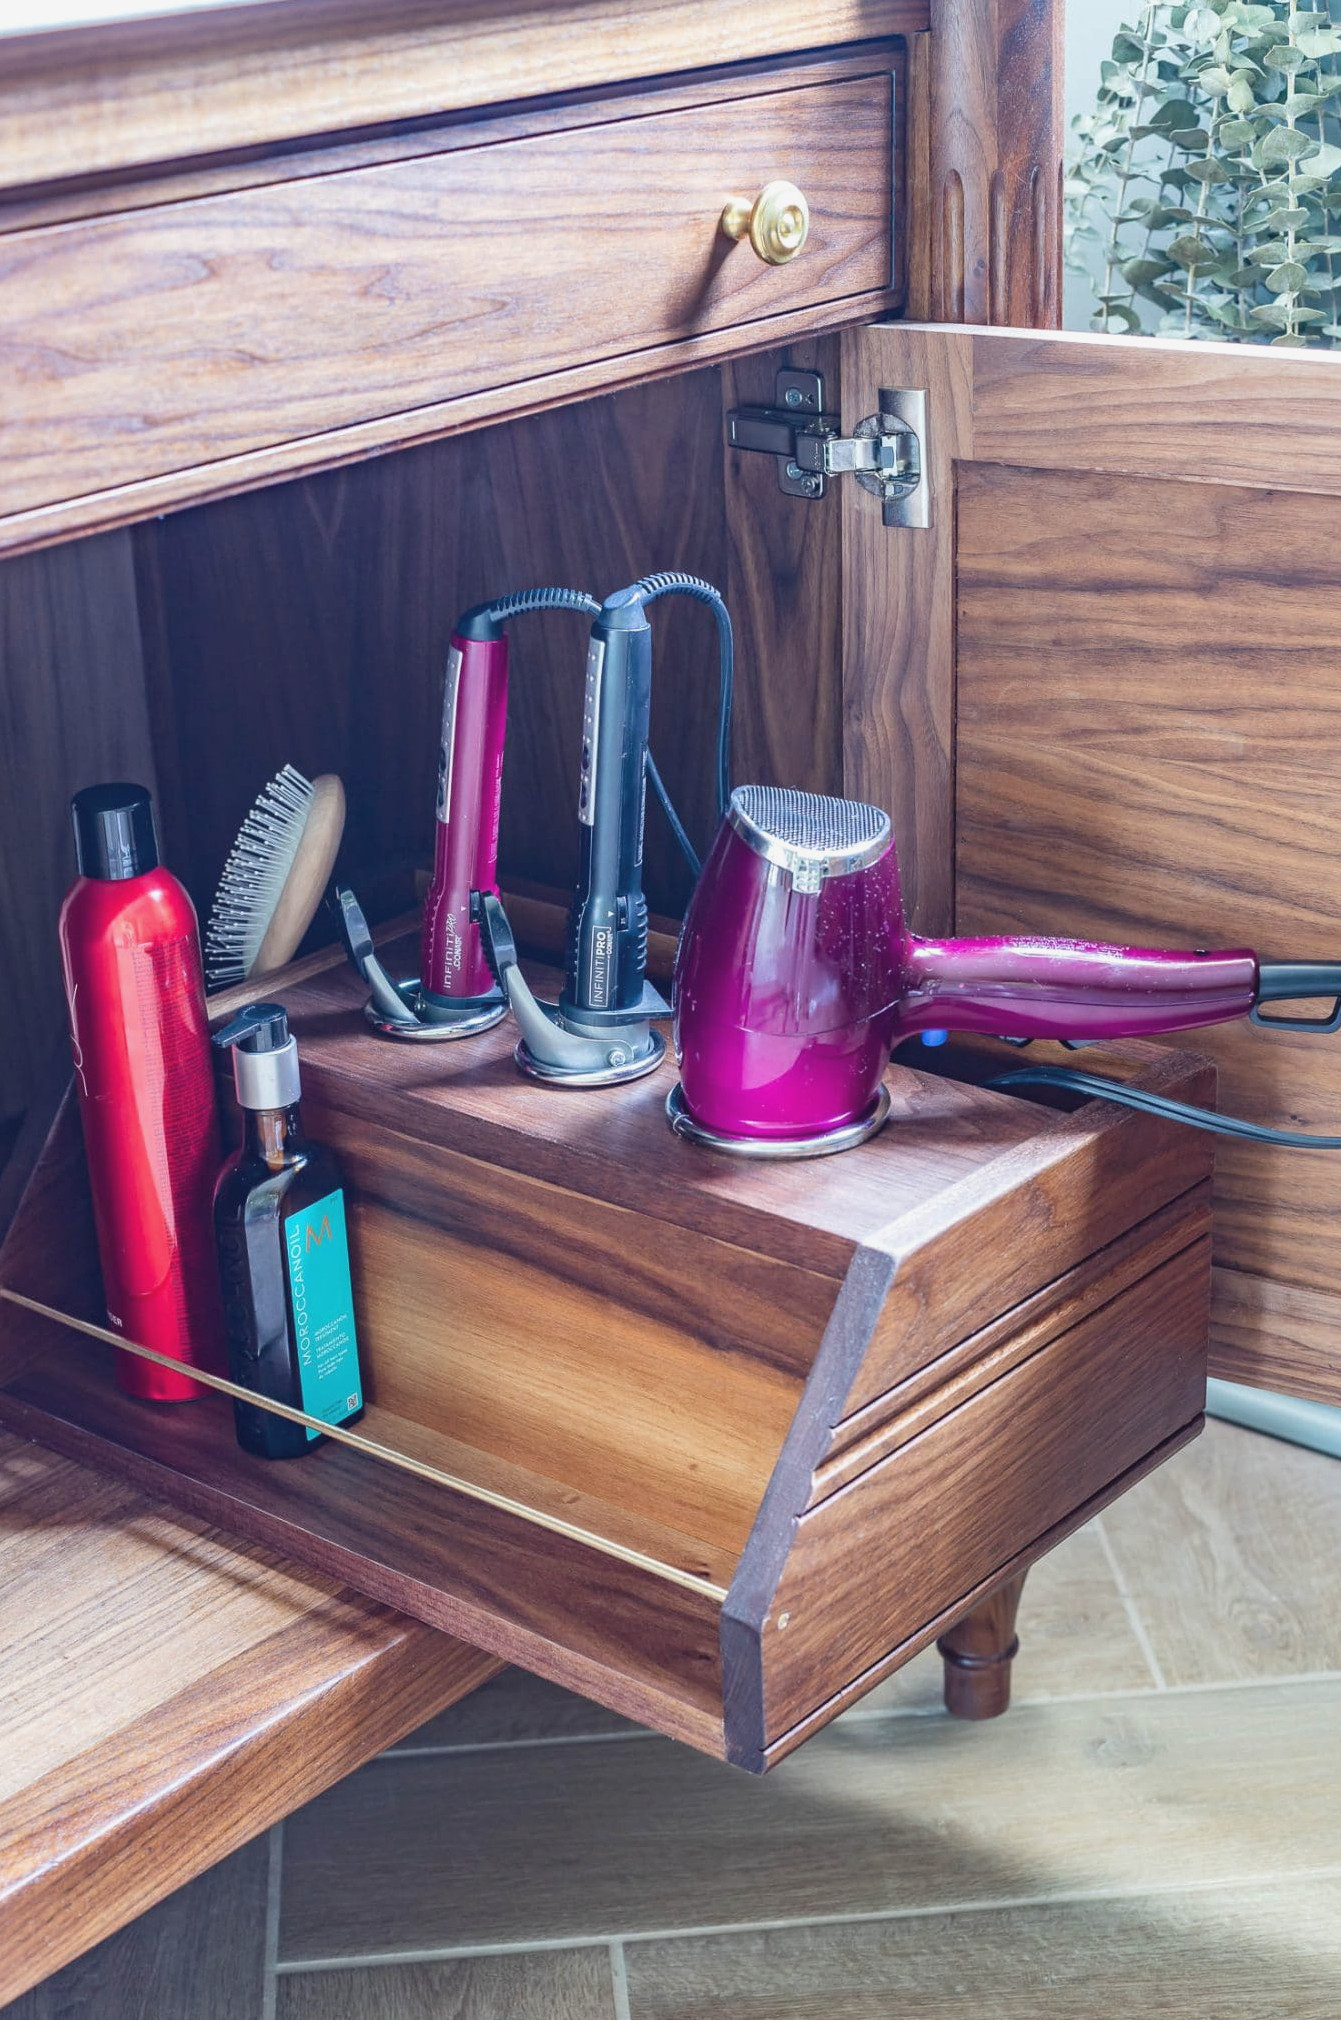
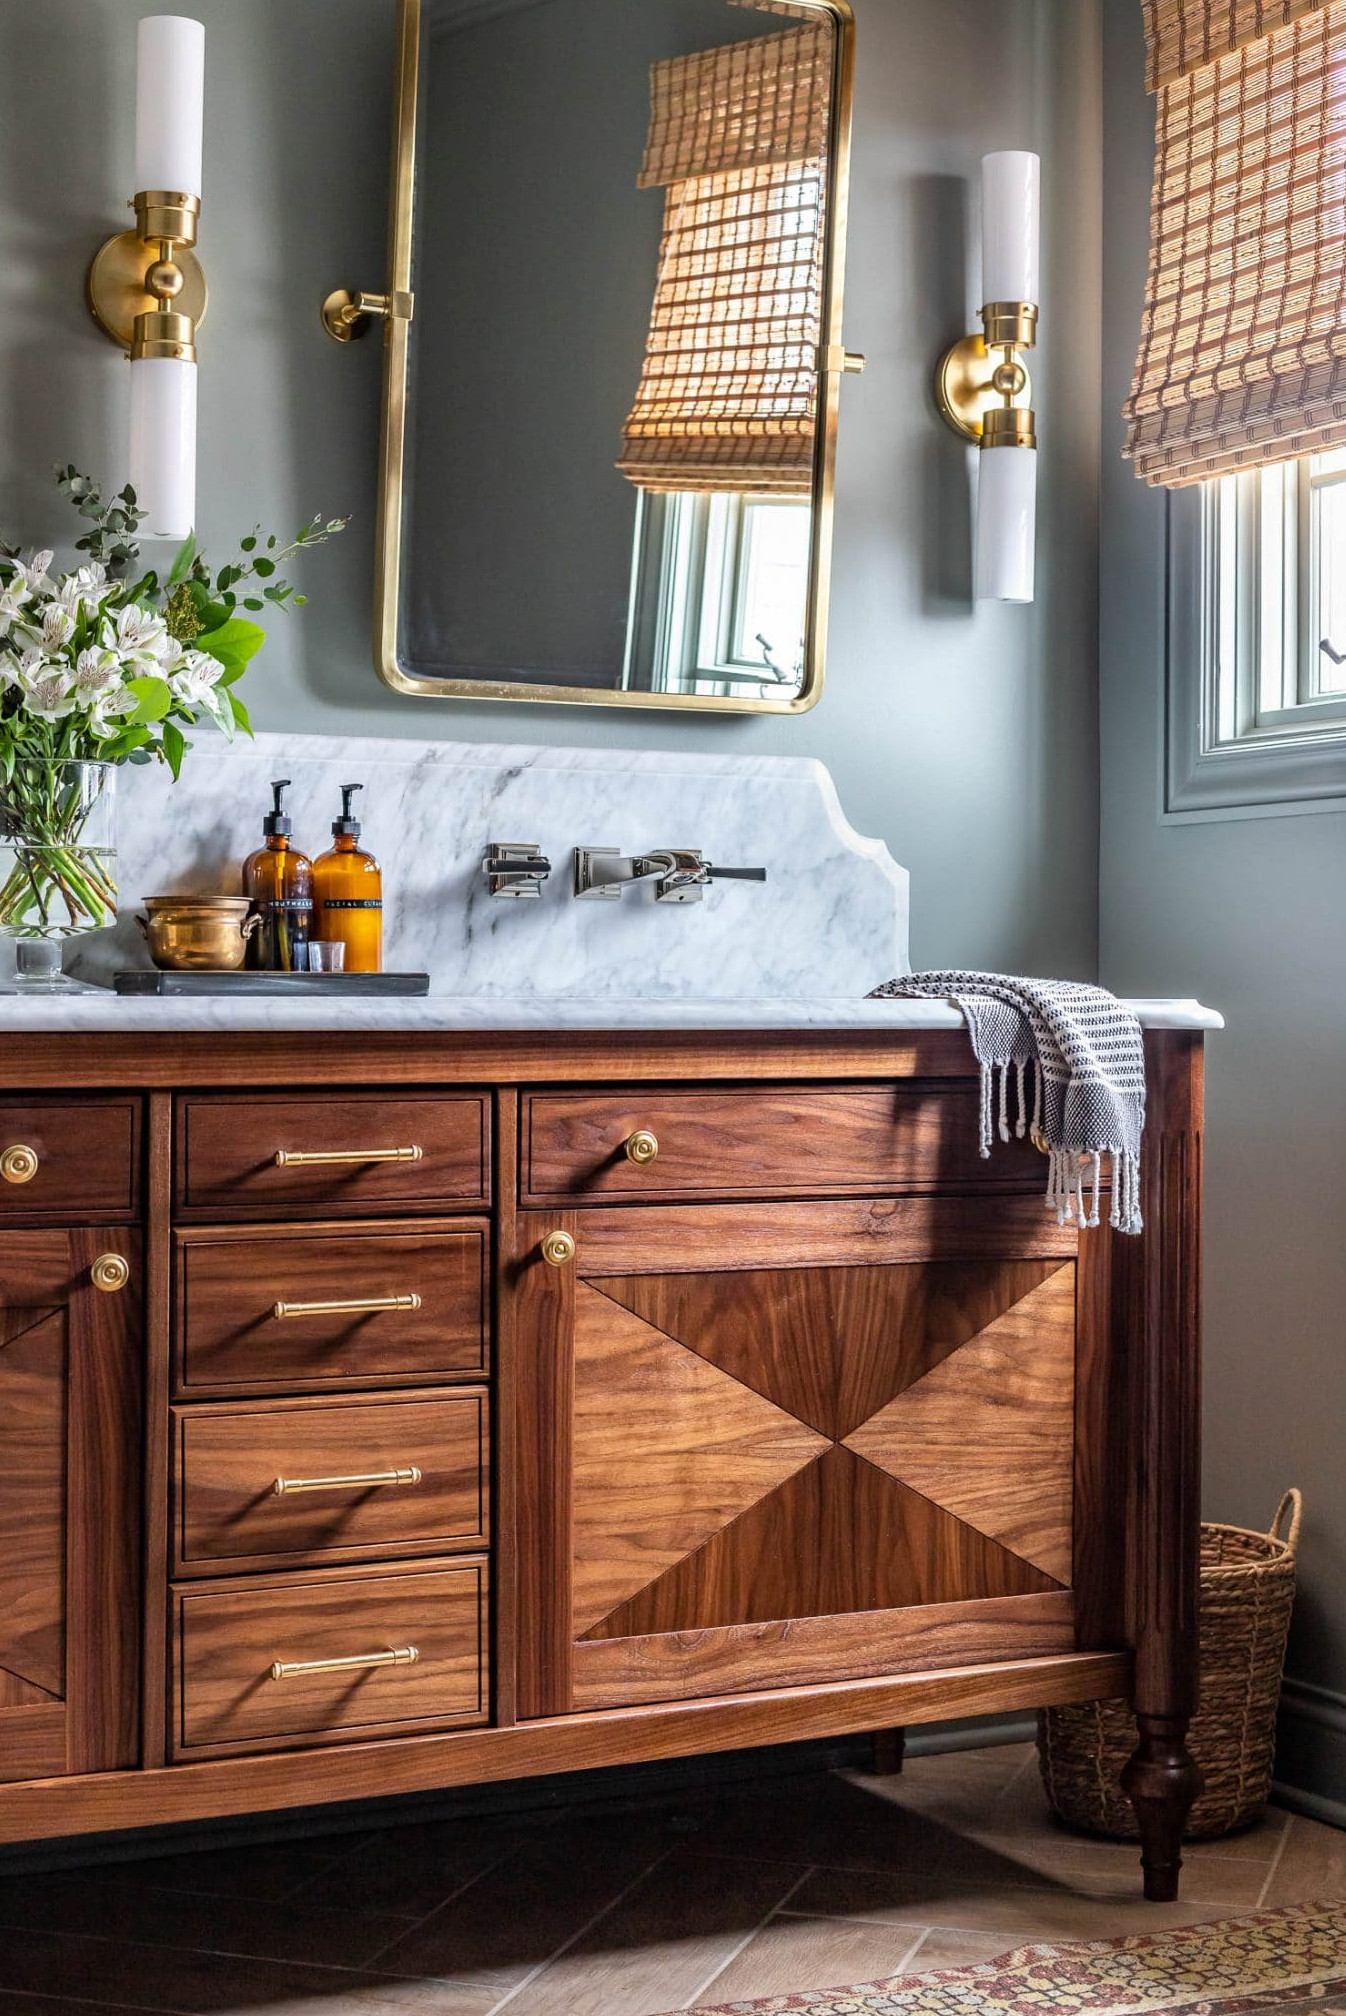
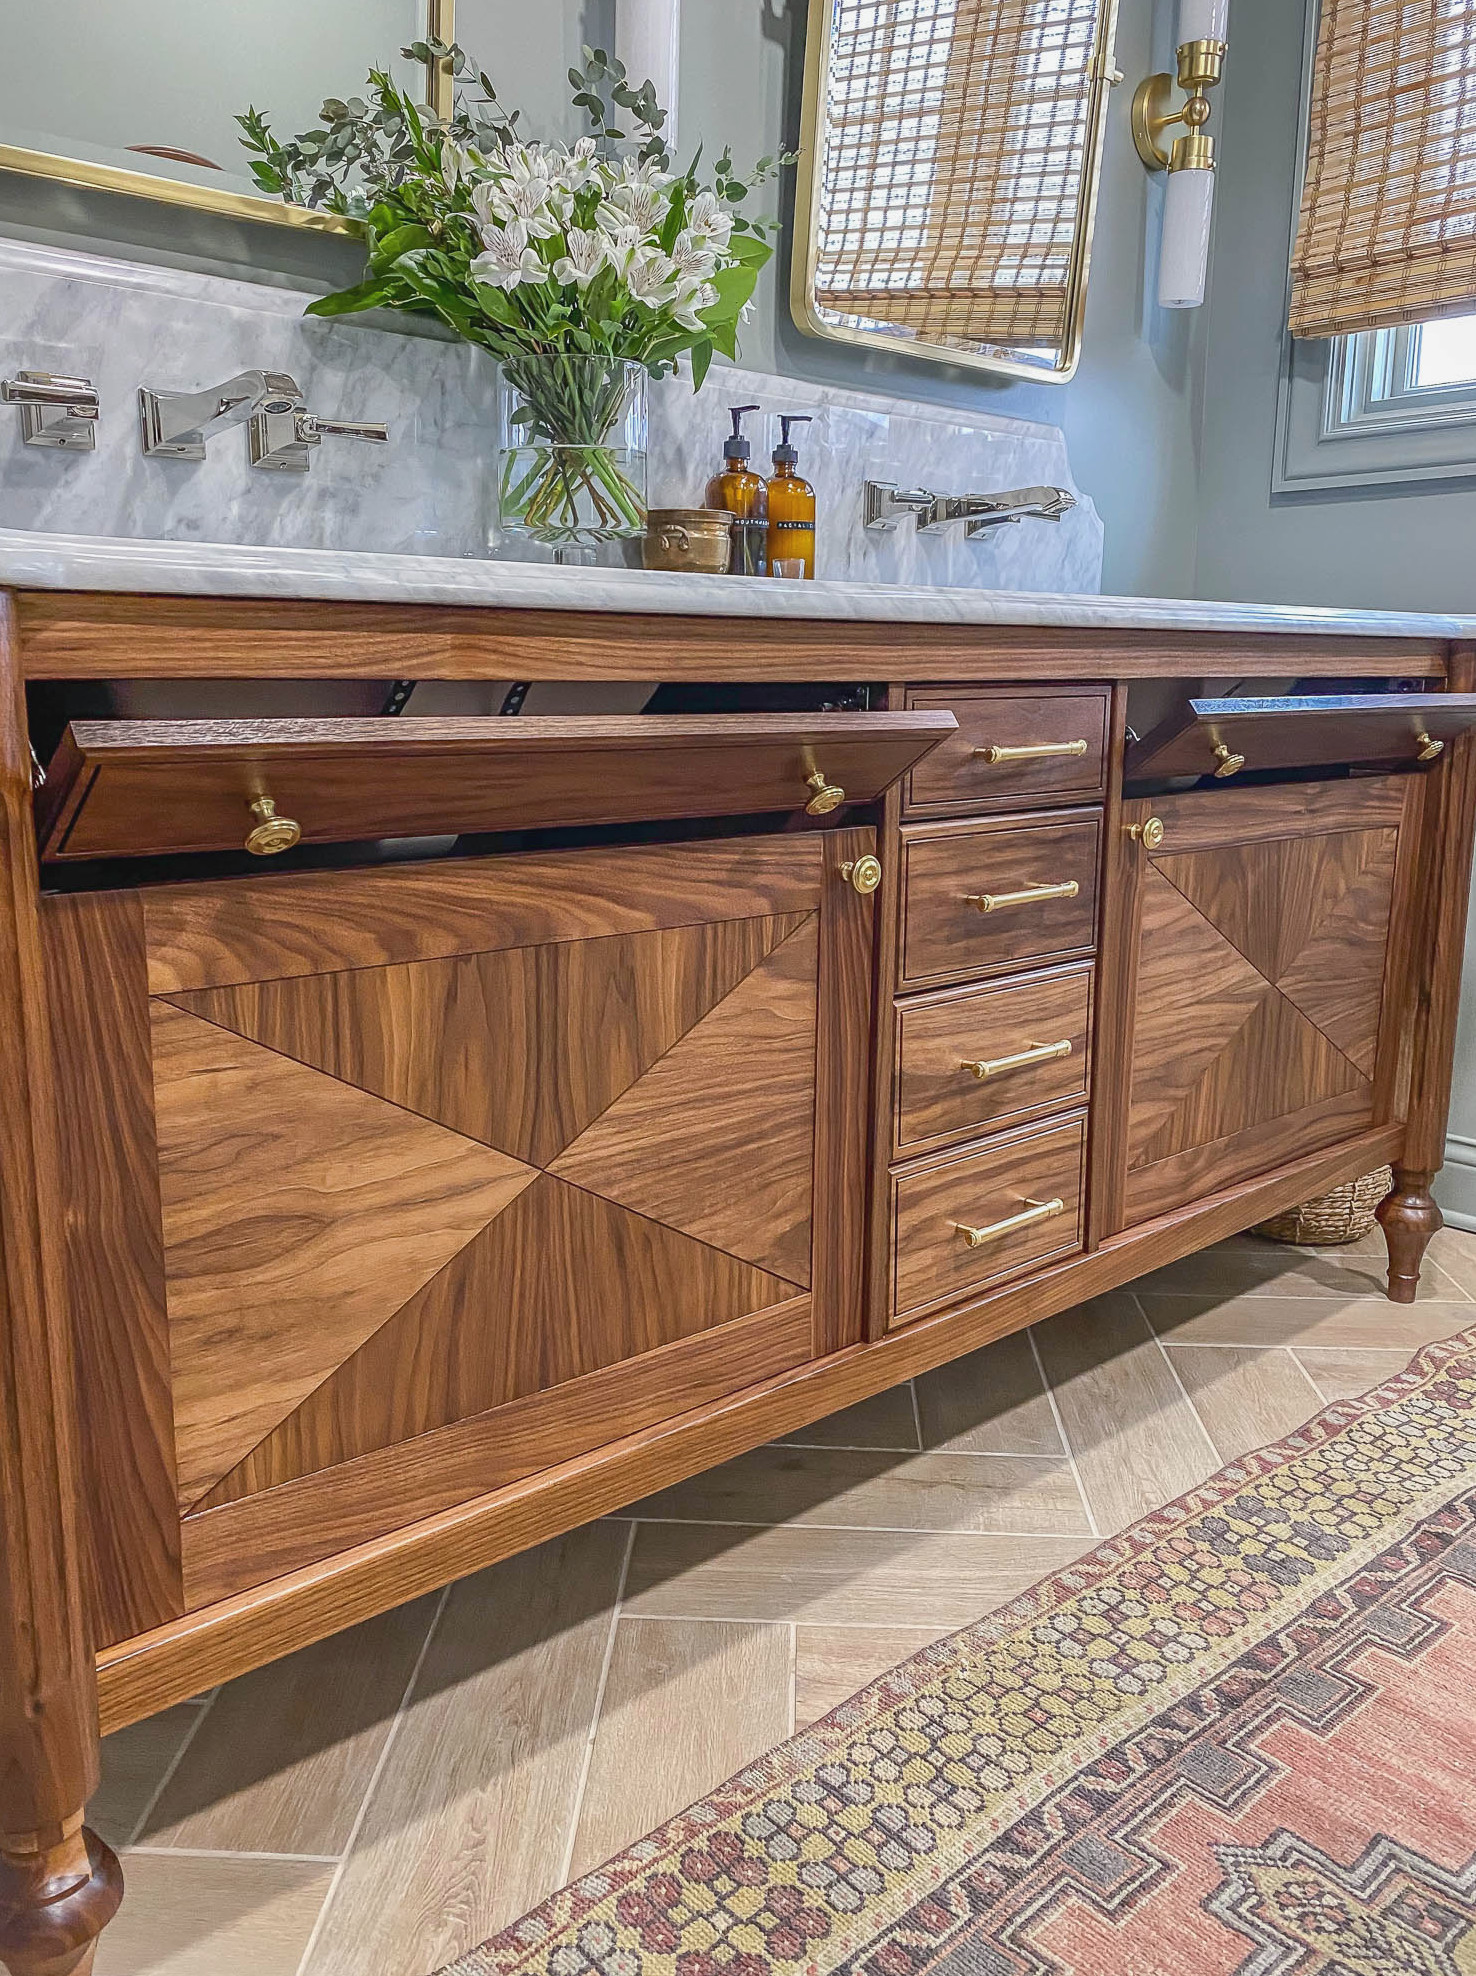
The bathroom vanity has two extended drawers on either side, both designed as tilt-out drawers with soft-closing hinges. Rather than using the white plastic bins included with the tilt-out drawer kit, I’m making custom trays from some remaining walnut scraps (because why not?).
Final Details
I smoothed the wood using 120-grit sandpaper before applying Rubio Monocoat in Pure as the oil finish. This gorgeous black walnut requires very little to look stunning. I can’t stop admiring that dramatic wood grain! So delicious.
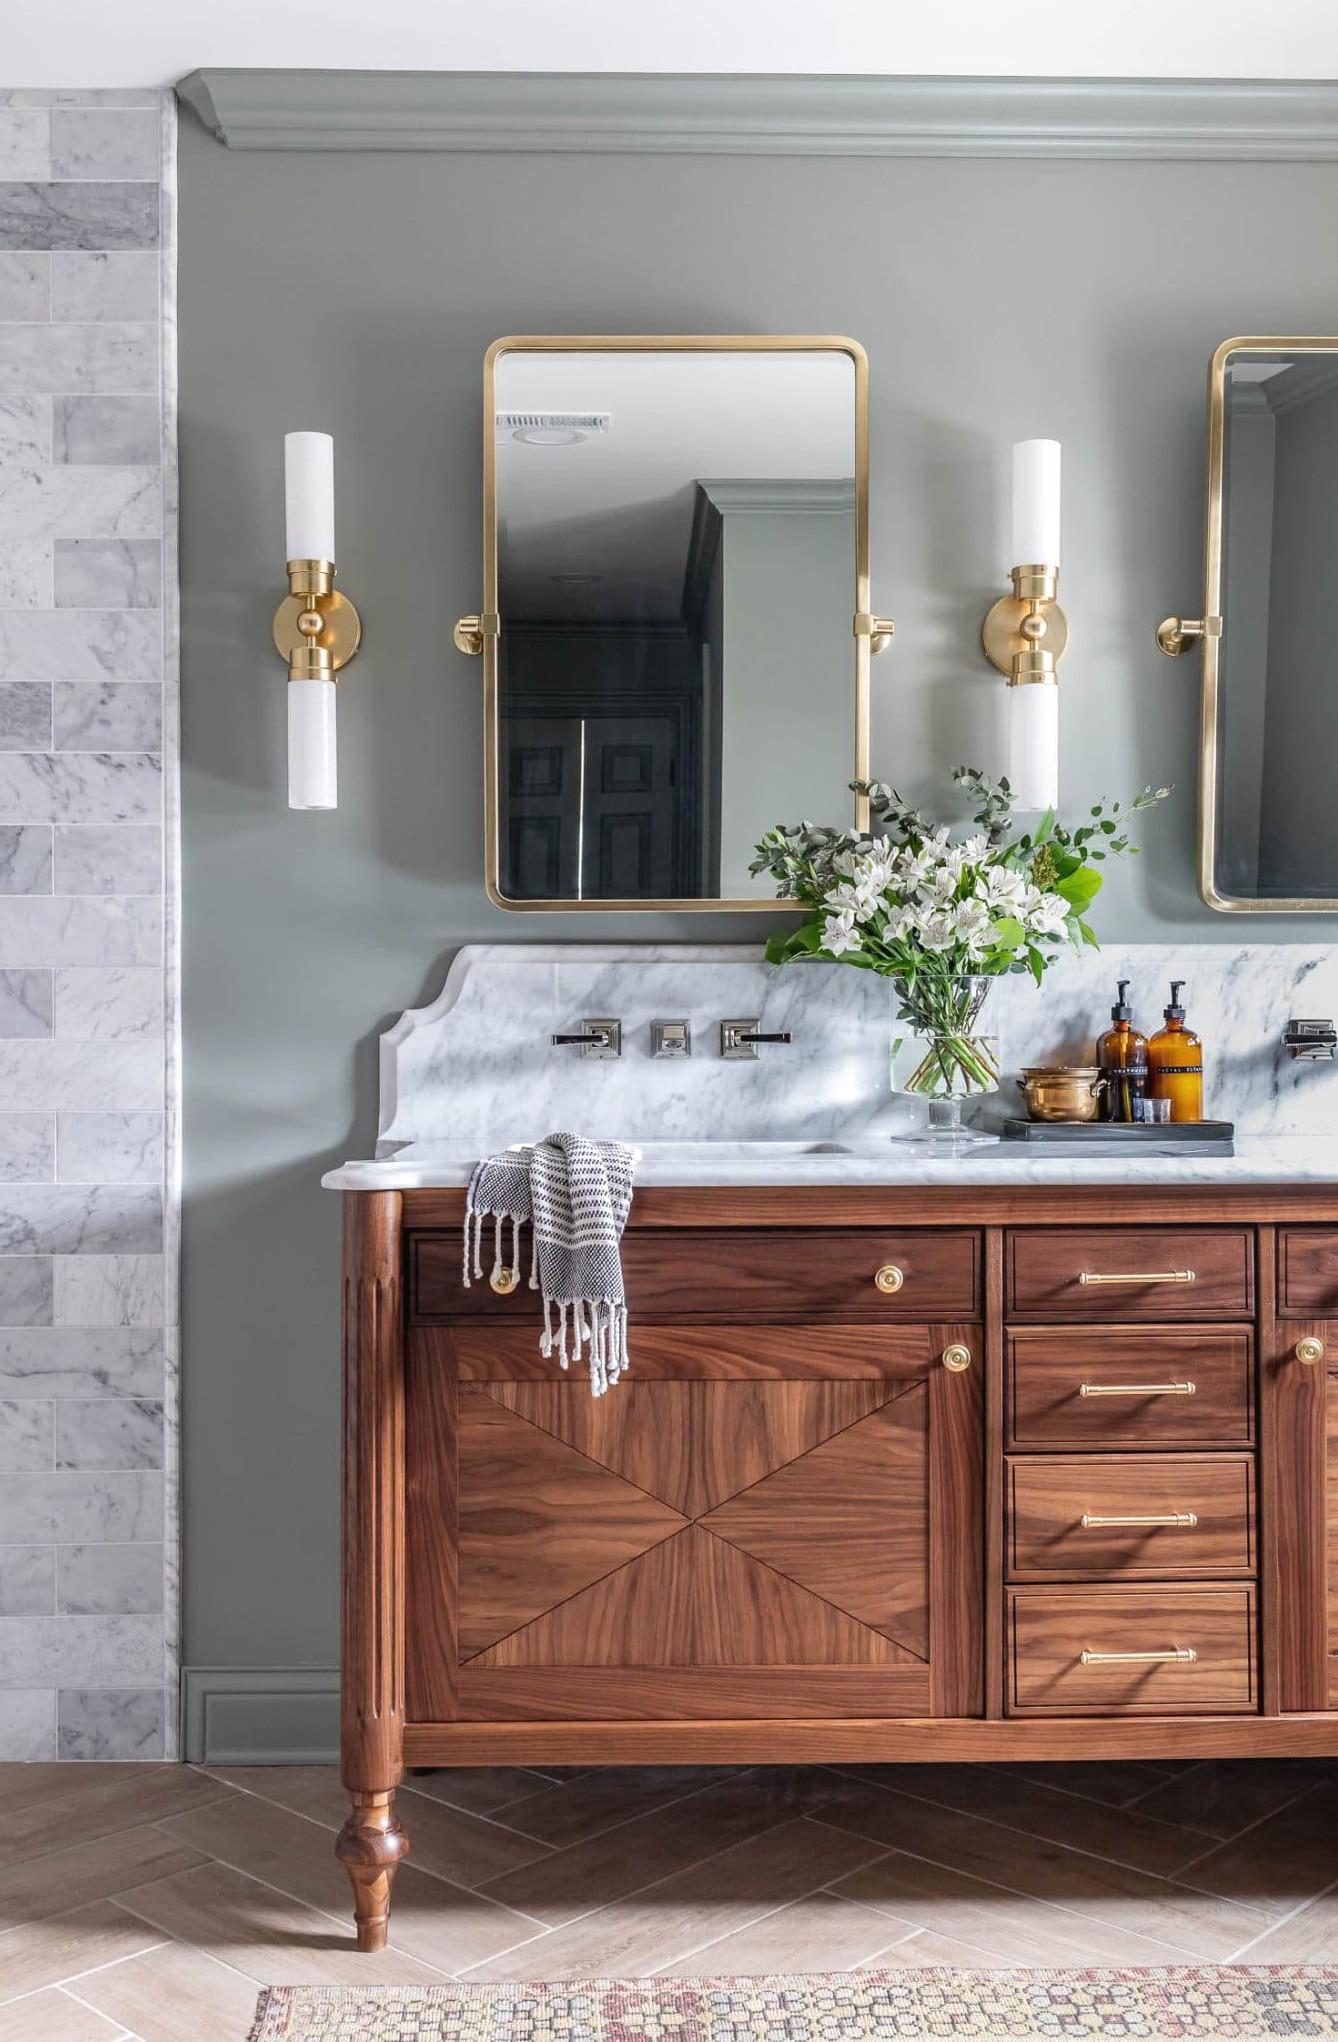
We asked our electricians to install an outlet on both sides of the vanity since I didn’t want visible outlets on the wall disrupting the view of the gorgeous curved backsplash, mirrors, and sconces. I love that we still have convenient plugs beside the mirrors while keeping them out of sight. I’m planning to create a hot hair tools organizer for my side of the vanity, so watch for that project! Also, stay tuned for the complete reveal of our primary bathroom renovation… coming soon!
*Edit: The primary bathroom remodel reveal is now available here! Click here to take the full tour!
*Edit: The tutorial for the hot hair tools organizer is available here! DIY Hot Hair Tools Organizer