There’s just something about a small unfinished wooden birdhouse from the craft store that seems to invite a makeover. They’re affordable, easy to find this time of year, and truly? With a few suitable supplies, they can appear far more expensive than they really are. This one cost only a handful of dollars, while the bark covering the roof came from my own woods, making the entire project nearly free.
I’ve tucked it into a charming Spring arrangement on my entryway table, and I find myself grinning whenever I pass by. That’s the idea, isn’t it?
A Touch of Spring: Foraged Bark Birdhouse Refresh
You know those craft ideas that linger in the back of your thoughts…and perhaps in the rear of a closet, waiting for the right opportunity?
Last spring, I brought home this tiny unfinished wooden birdhouse from the craft store. I didn’t have an immediate use for it, but its uncomplicated shape seemed to murmurpossibility. I stored it away, certain that once inspiration appeared, it would turn into something with a woodland feel.
Well, that day has finally come.
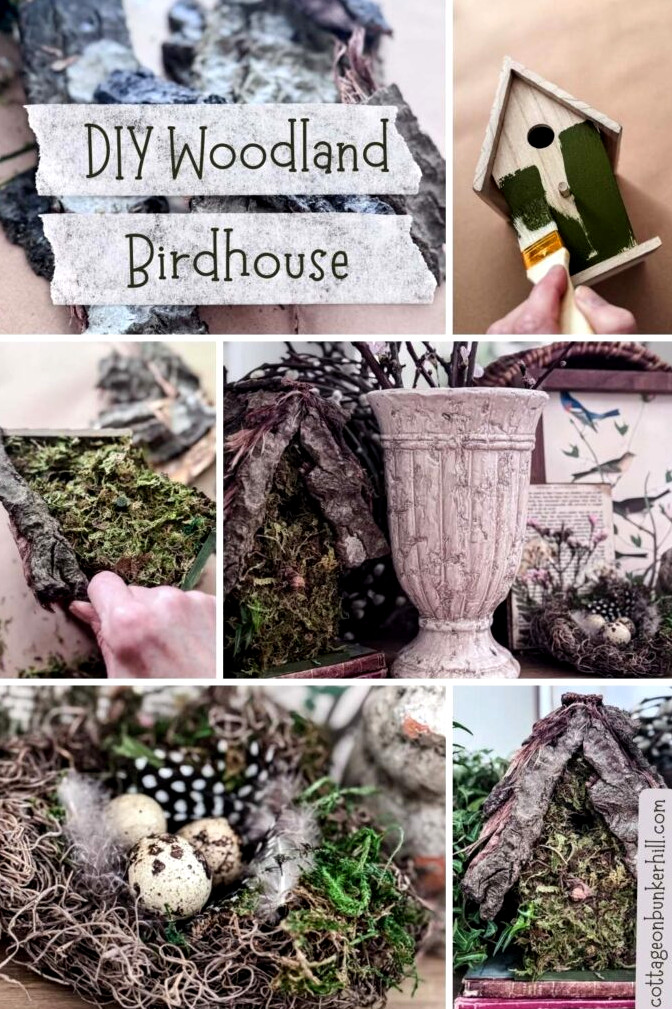
I was longing for a small glimpse of Spring (aren’t we all?), so that little birdhouse emerged from storage. Before long, I was collecting materials and opening a box of treasures I had gathered from my own woods last Fall: pieces of bark peeled from fallen pine trees and dried thoroughly over several months in the garage. (And yes, for anyone wondering: it has been resting there since autumn, so it is entirely free of bugs!)
In roughly 45 minutes, the ordinary birdhouse became the sweetest woodland-inspired accent for my entryway table. Green moss, richly textured bark, a touch of paint, and plenty of personality.
If you’re in the mood for a fast and rewarding craft that invites a hint of nature indoors, pour yourself a cup of tea and join me. I’ll walk you through how simple it can be.
Supplies You’ll Need
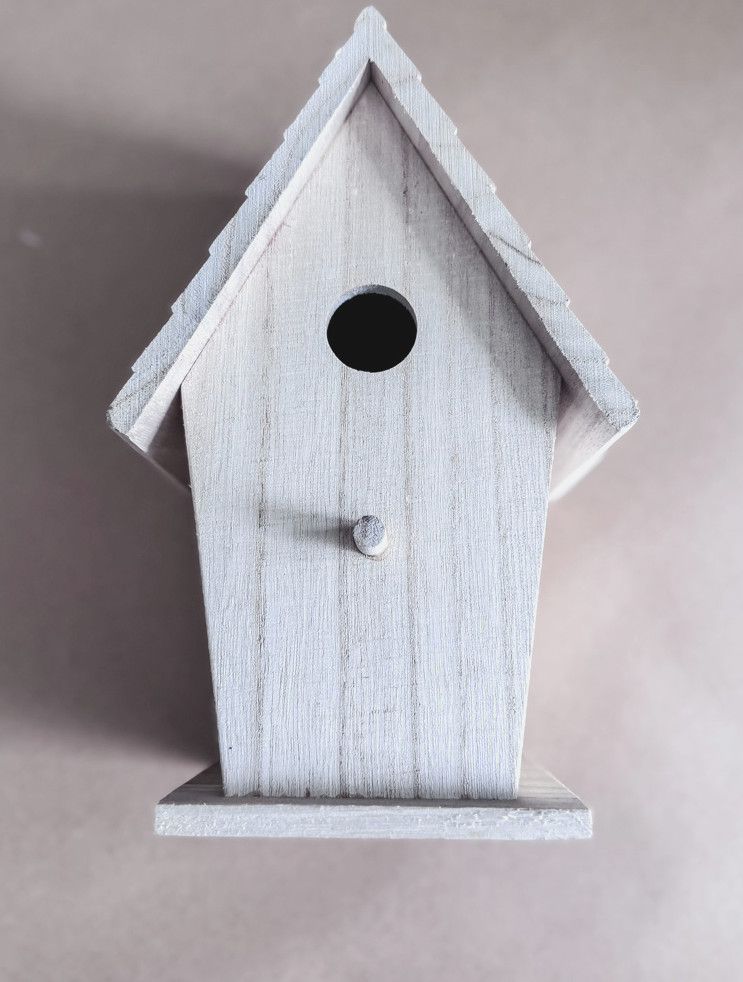
Supplies for This Craft
A quick note about choosing bark or twigs: When bark isn’t available, little twigs or slender branches make a wonderful substitute and create an even more natural, rustic appearance. Work with whatever you have on hand; that is usually the best method.
Step-by-Step: Turning Simple into Woodland Charm
This project is completed in only a few easy stages: paint, moss, bark, finished. First, you’ll apply the base colors to the birdhouse, then add moss to create a full, garden-inspired effect, cover the roof with bark or twigs, and finally enjoy the best step: arranging it into a display you’ll love seeing each day. No specialized abilities are needed, and the entire craft can be finished in an afternoon.
Step 1: Paint the Base and Roof
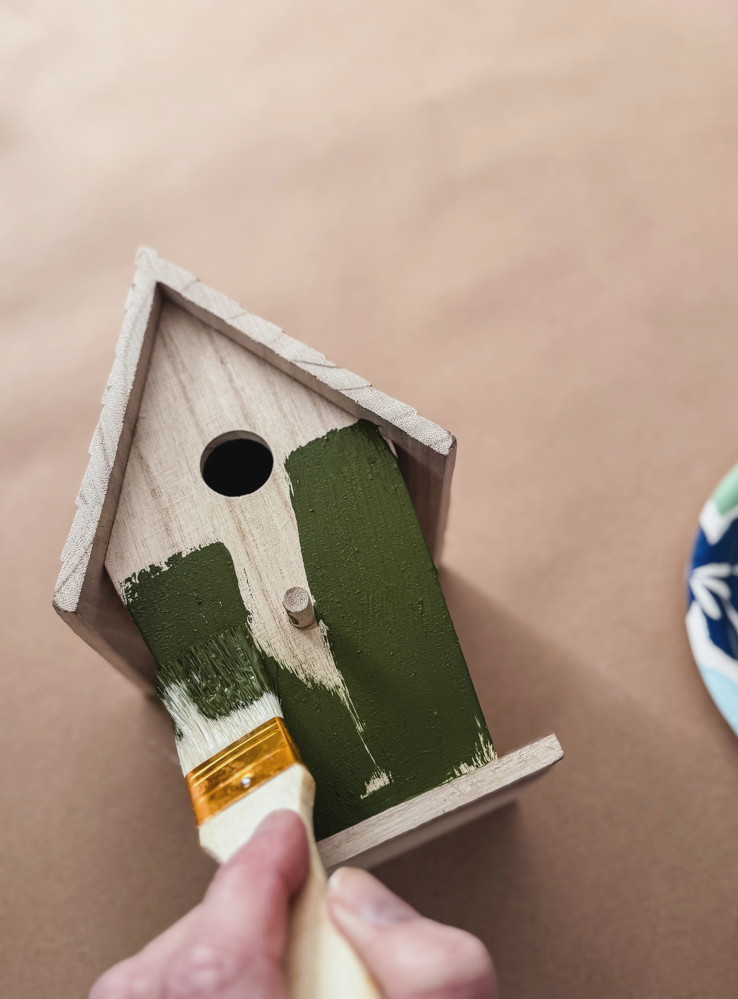
Paint the base and roof
Begin by coating the birdhouse body in green and the roof in brown. There’s no need to worry about flawless coverage! The paint is simply meant to hide the raw wood beneath. Both the roof and the body will be covered during the following steps. Allow everything to dry fully before continuing.
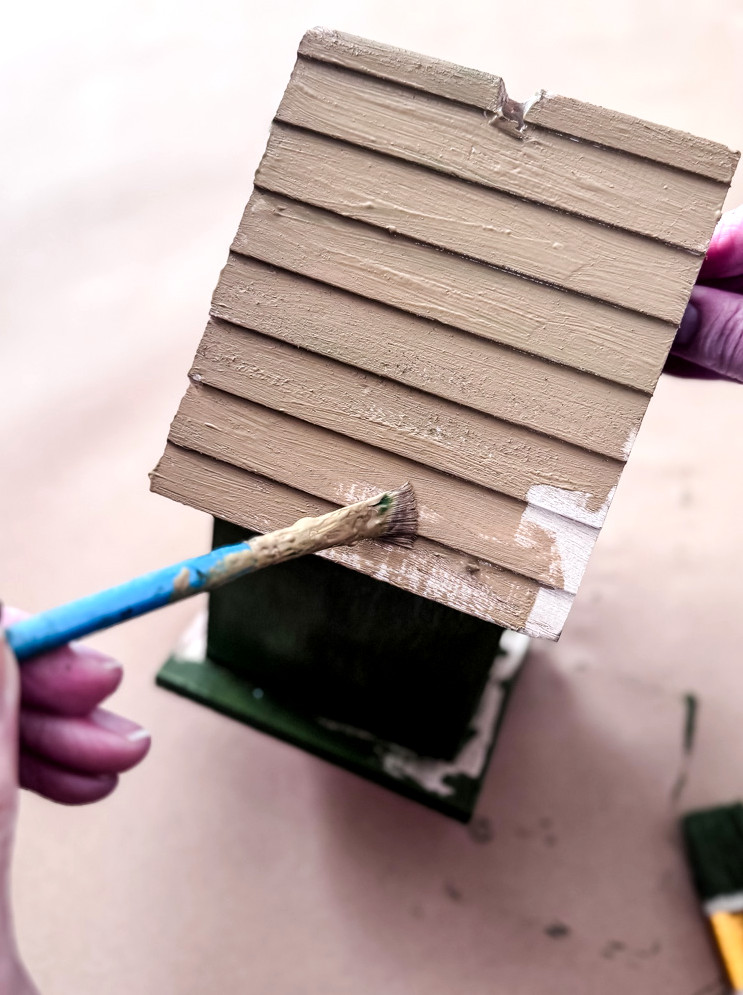
Choose any shades of green and brown paint you already have available. The final result won’t depend on the exact colors.
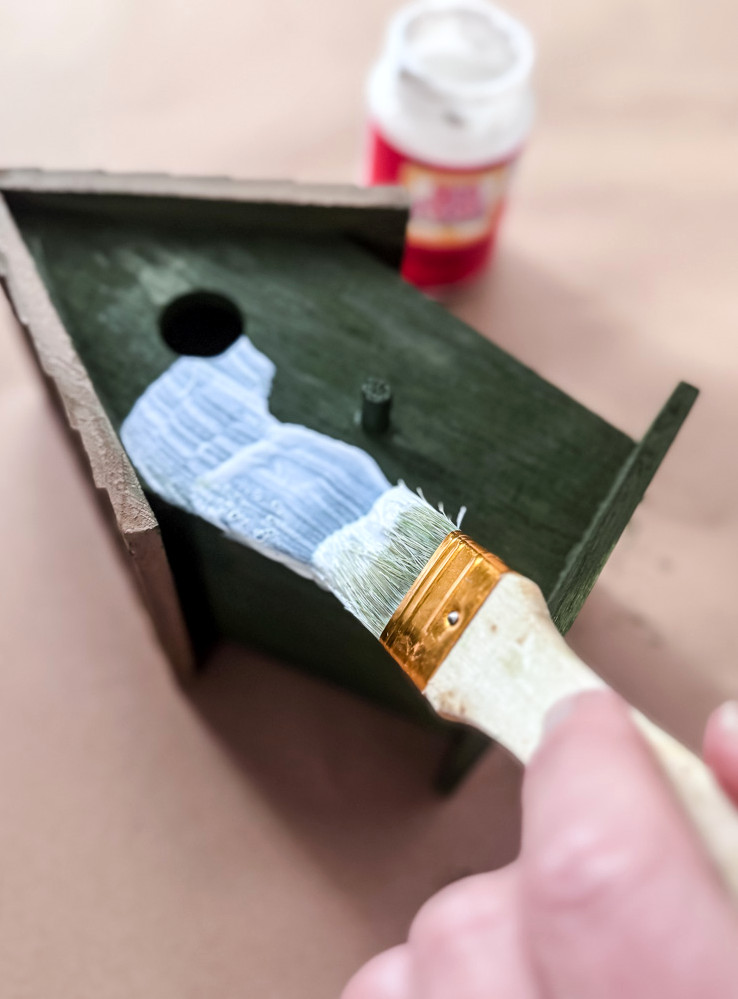
Cover the birdhouse body with moss
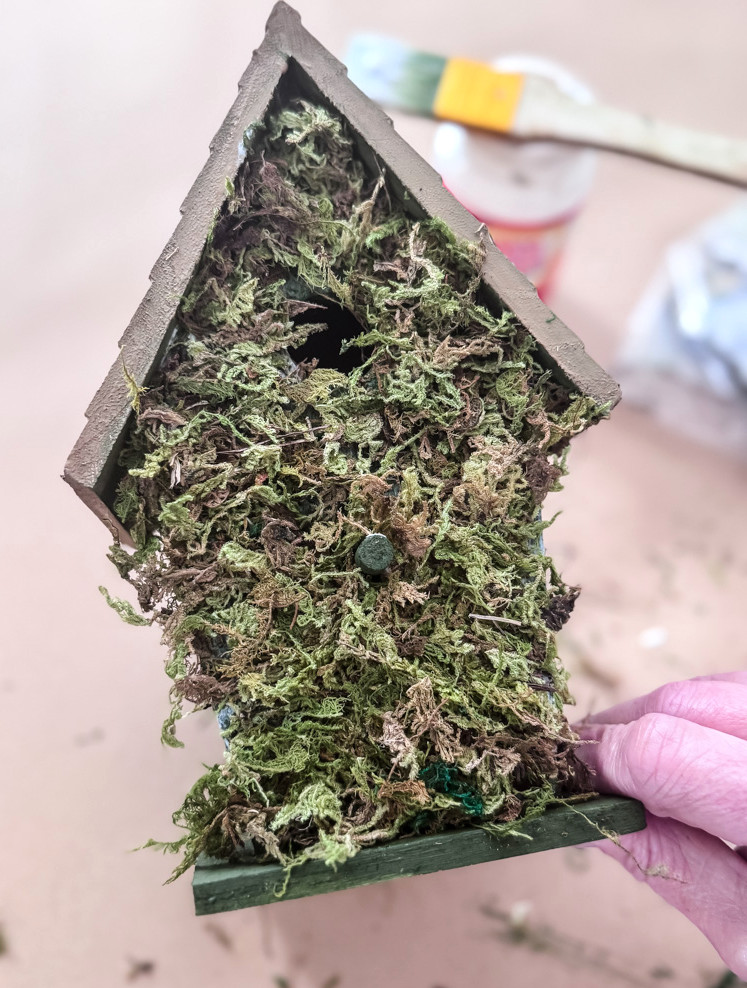
Coat the birdhouse body with a thick layer of Mod Podge, then firmly place pieces of sheet moss over it. Slightly overlap each piece as you work to prevent any spaces from showing. A perfectly even finish isn’t necessary—in fact, a more natural and slightly untamed appearance looks best.
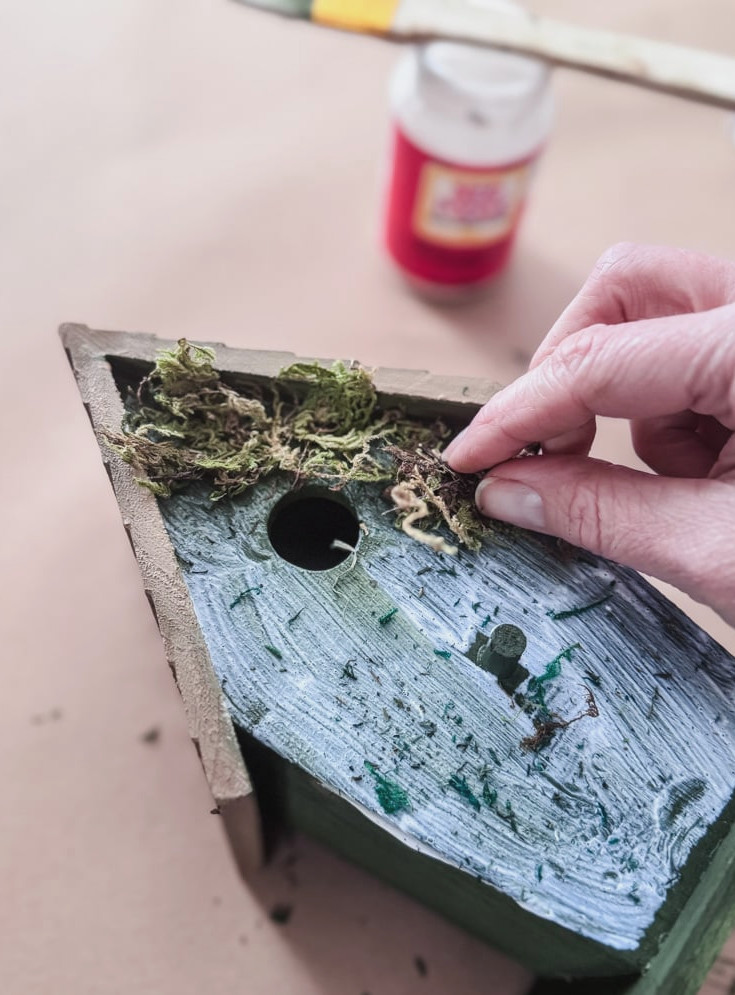
When covering the surface, choose slim, smooth moss pieces instead of bulky clusters. The goal is simply to hide the painted wood, so there’s no need to build up much volume or thickness for an attractive result.
Step 3: Dress The Roof with Bark or Twigs
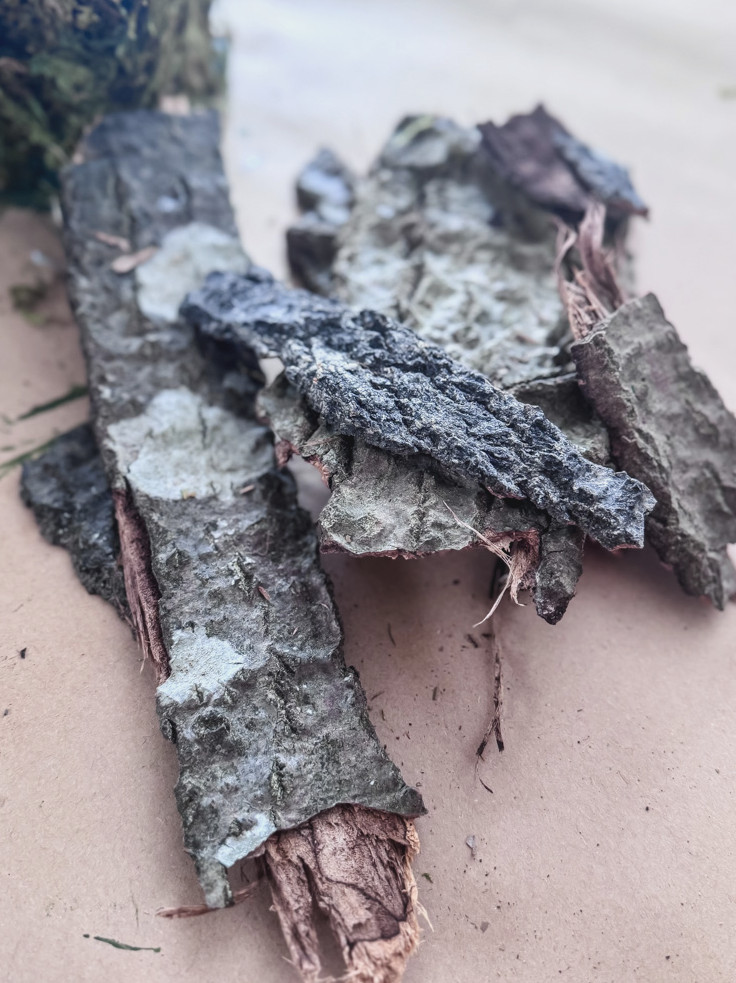
Prepare the Bark:The dried pine bark I gathered last Fall was wonderfully fragile, so it broke easily into pieces that were just the right size for this project. I didn’t need any special equipment—only my hands and an eye for appealing shapes.
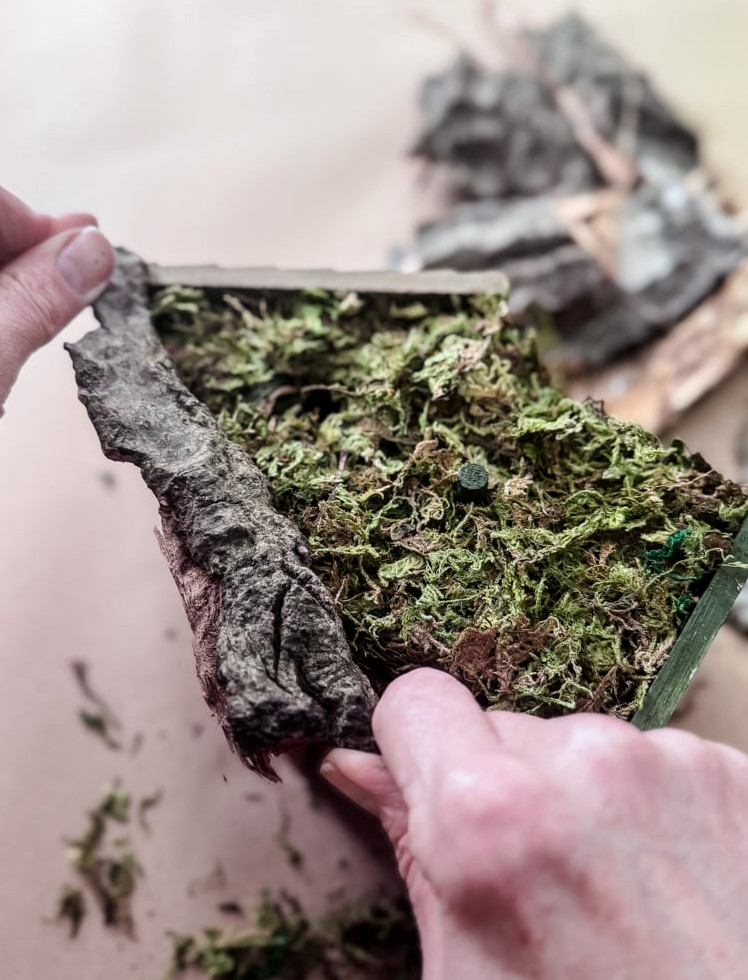
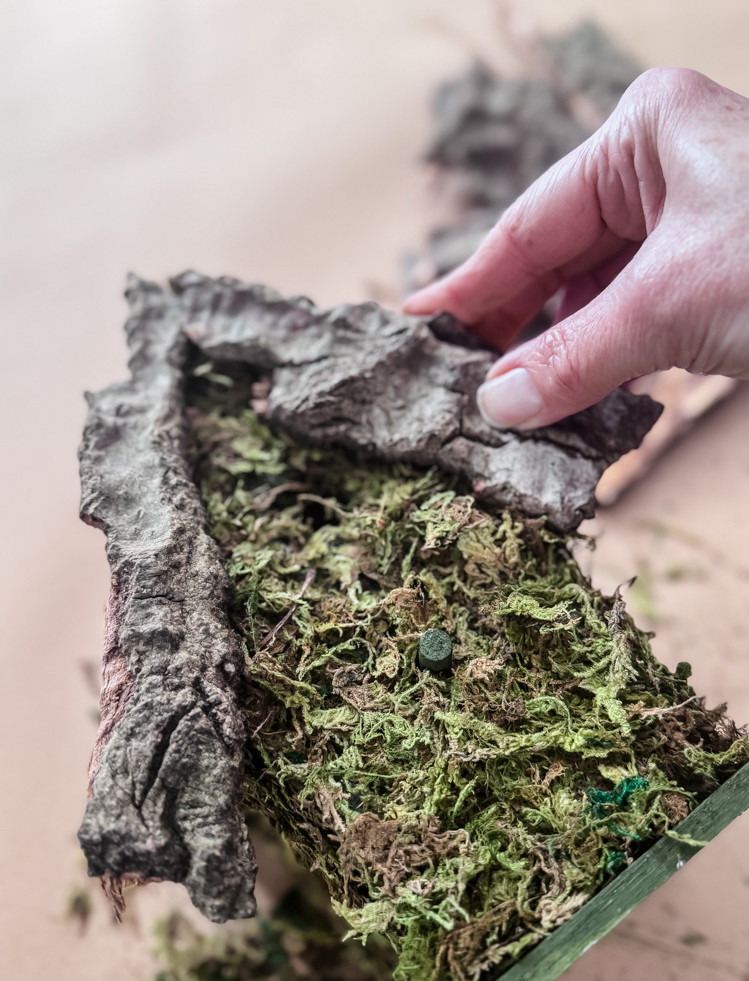
Establish a Base:To begin, I attached two long, narrow pieces of bark along the front of the house, tracing the roof peak. This provided a solid first layer and a helpful guide for the rest of the work.
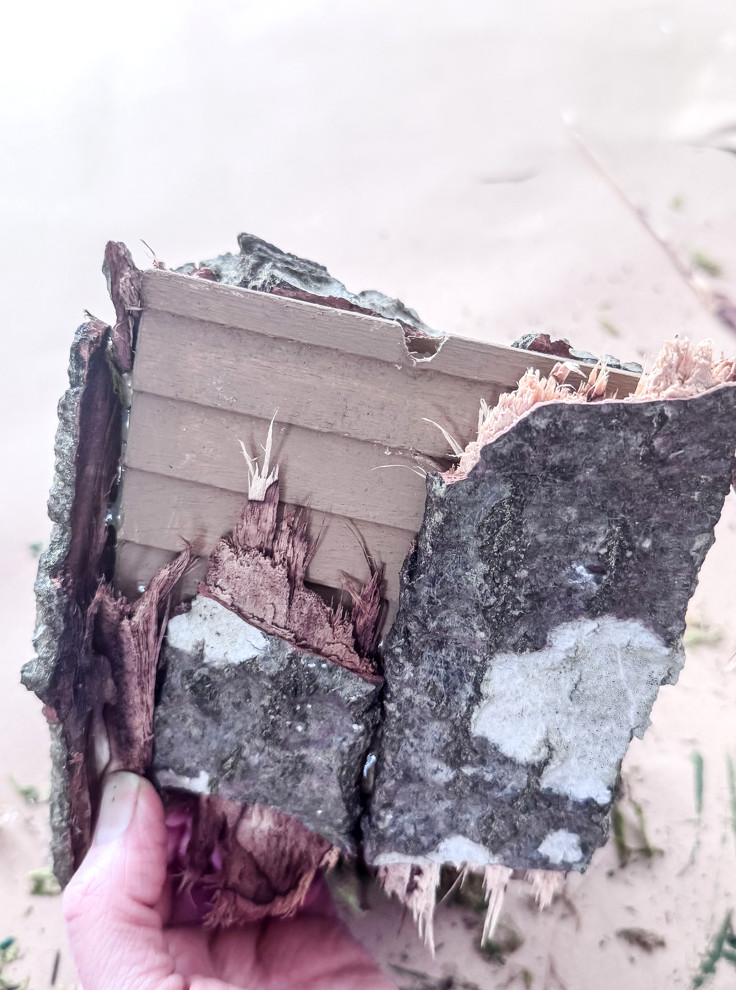
Build Upward from the Bottom:I began along the lower edge of the roof, using hot glue to attach small bark pieces and snapping each one to fit as needed. The underside of the bark—I’m unsure what its correct name is—has a beautiful texture that adds plenty of visual appeal. I left a few of those stringy edges visible here and there to create a more natural woodland style.
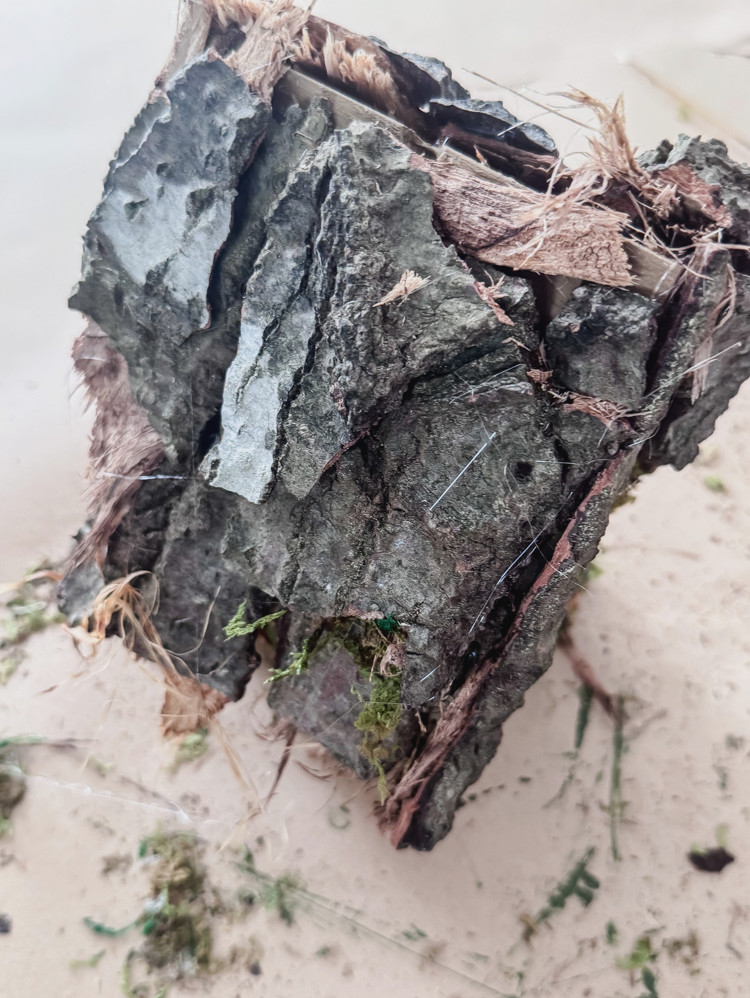
Do the Same on the Opposite Side:After finishing the front, I used the same method on the other roof side, keeping the texture and direction consistent.
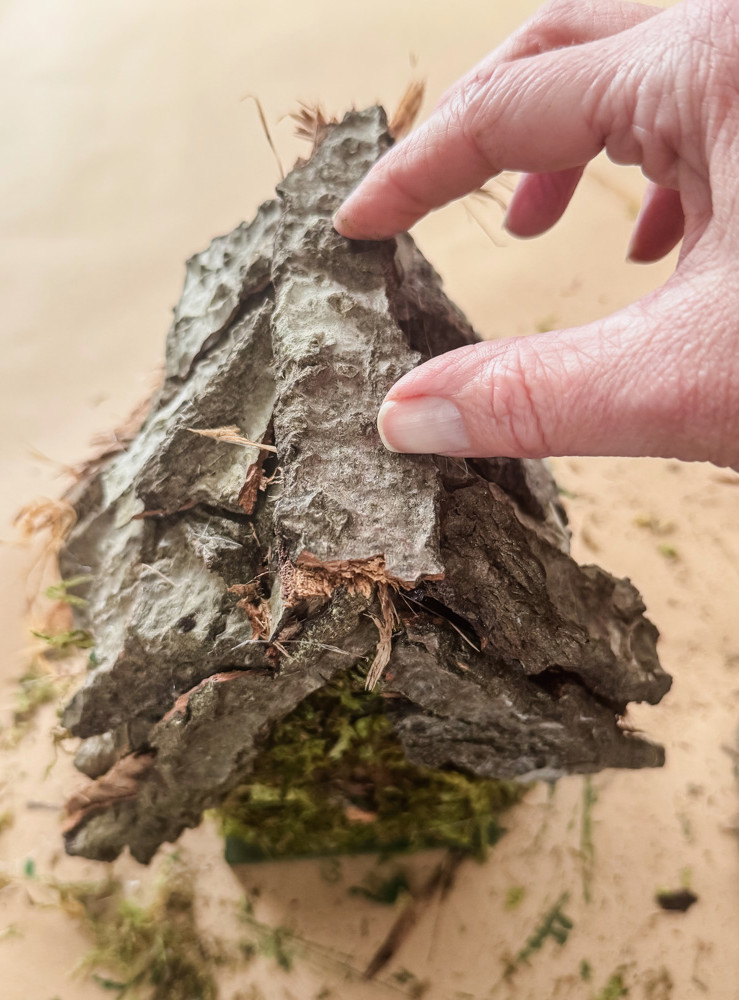
Complete the Peak:To finish, I hot glued one long, straight piece of bark along the center of the roofline, hiding the seam and creating a neat, polished appearance.
A Bit of Troubleshooting!
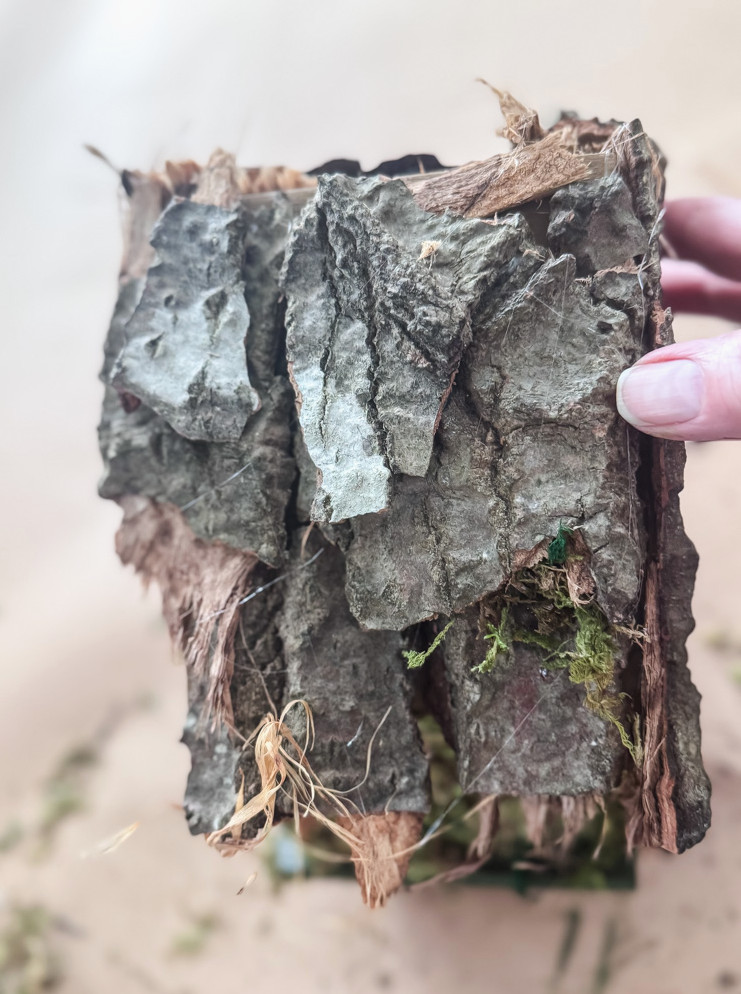
A Bit of Troubleshooting (That Turned Into a Feature!):To be completely honest, I applied a little too much glue during this step. A few dried drips were clearly visible in certain spots. Rather than worry about them, I took some small leftover bits of moss and placed them over the drips. Issue fixed!
It enhanced the whimsical “cottage in the forest” atmosphere, and now I wouldn’t want it any other way. Sometimes the best results come from happy accidents!
No Bark? No Problem
Even without a wooded backyard filled with fallen trees and available bark, you can still create a charming birdhouse of your own!!
If twigs are what you have on hand, there are two especially lovely styles you can try:
- Birch Twig Roof:Arrange slender birch twigs (or any small, straight twigs) in tidy horizontal rows, gluing them down like tiny log-cabin shingles.
- Hanging Branch Roof:Choose somewhat thicker, shorter branch pieces and attach them vertically, allowing them to drape over the roof edges like a small wooden fringe.
I truly believe either option would be wonderfully charming, and I intend to test both designs once I get a few more birdhouses. More to come!
A Quick Note About Gathering Bark
The bark I worked with came from pine trees that had fallen in my woodland a couple of years earlier. When I gathered it the previous Fall, it was so parched and fragile that it practically lifted away in sheets. That is actually the clearest sign that it will work well: without moisture, insects have no suitable place to live and multiply. The bark had already become far too inhospitable for any creepy-crawly creatures. If you are collecting your own, search for bark that is dry, brittle, and easy to peel off; that is precisely what you need, both for peace of mind about bugs and because it makes the project much simpler.
Spring Decorating
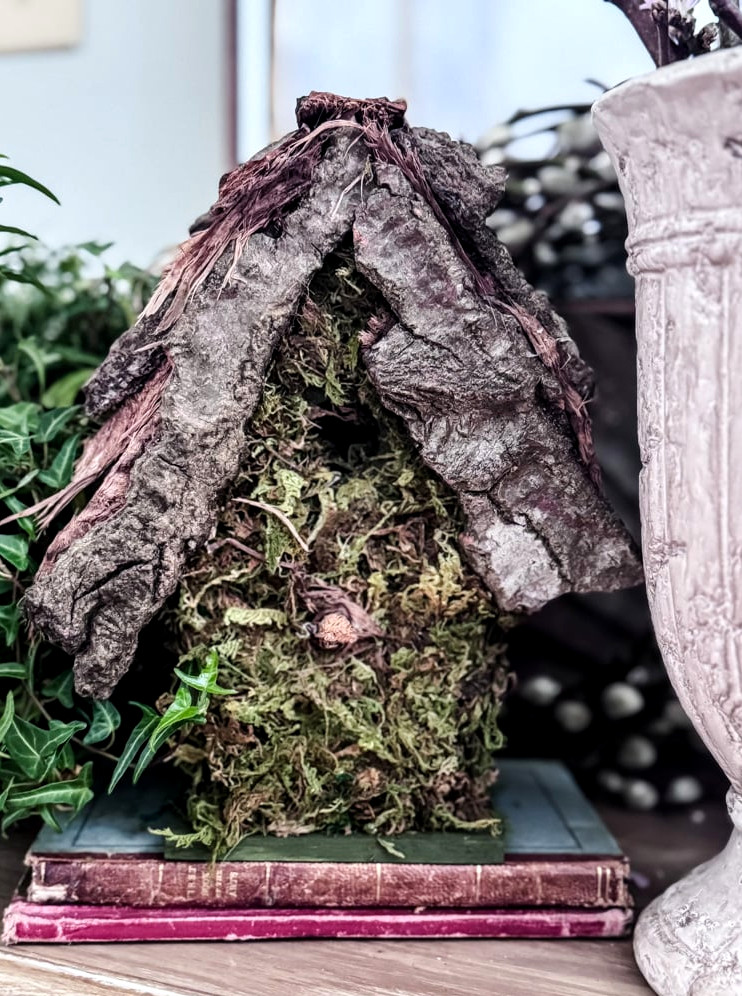
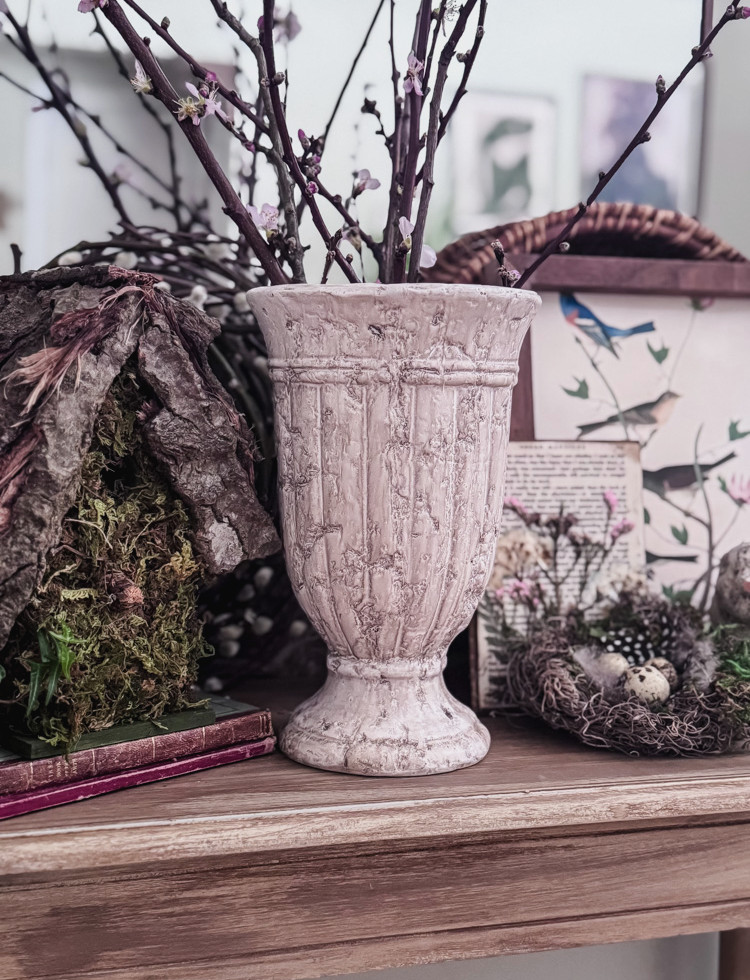
After completing the birdhouse, I placed it on my entryway table, where it became part of a small Spring vignette I arranged. I paired it with a thrifted vase filled with cherry blossom branches, a DIY bird nest, a petite pussy willow wreath I created by shaping fresh branches and fastening them with floral wire, a vintage cement bird, a few vintage books, botanical artwork, and, naturally, a plant. Each piece carries the same woodland-meets-spring character, while the birdhouse brings the entire arrangement together. The display appears thoughtfully planned, yet it really developed naturally from items I already cherished — and that is truly my favorite decorating style.
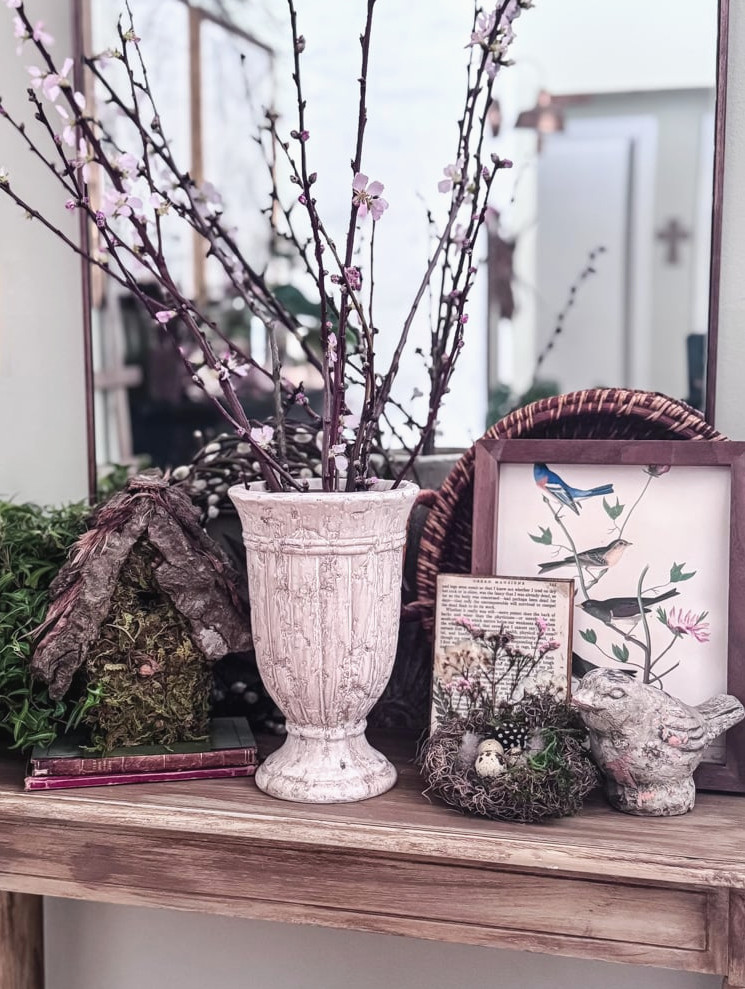
- Cherry Blossom Branches: A secondhand vase displays delicate cherry blossom branches (from Trader Joe’s), bringing in the gentle pink glow of early spring.
- A DIY Bird Nest: I crafted a miniature nest from Spanish moss and added eggs and feathers. It seems like the perfect natural partner for the birdhouse.
- Vintage Books: A petite pile of timeworn books gives the birdhouse a place to rest. It adds height along with the warm, collected-over-the-years look I always enjoy.
- Art & a Cement Bird: A small piece of casually leaned artwork and a vintage cement bird (discovered at an antique shop years ago) bring extra texture and playful character.
- Pussy Willow Wreath: I shaped fresh pussy willow branches into a little wreath and tied them together with floral wire. It is gentle, fuzzy, and wonderfully representative of early spring.
- A Living Plant: Since every vignette benefits from a touch of living green, a trailing ivy plant in a straightforward pot completes the arrangement.
Bonus! The Secret Behind My Bird Nest
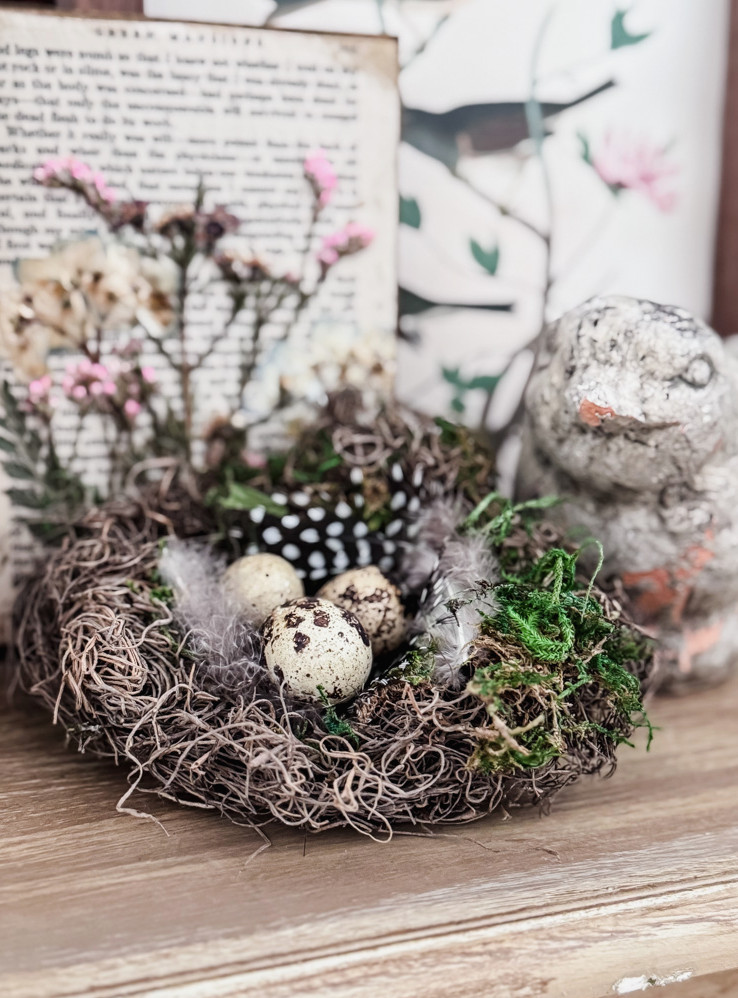
Here’s one of my favorite ways to decorate on a budget! To create your own ornamental bird nest, gather a bag ofSpanish moss(dollar stores often carry it!), a can ofspray adhesive, & a pair of disposable gloves.
- Put on your gloves, then hold a handful of Spanish moss in one hand
- Lightly spray it with the adhesive
- Shape the moss into a nest with your fingers, pressing the middle downward to create the hollow.
- Optional: finish it with little bits of moss, feathers, and tiny eggs.
Small Projects, Plenty of Joy
The easiest projects can sometimes offer the greatest delight. For almost a year, this petite birdhouse rested on a shelf, patiently awaiting its chance. Then, during one comfortable afternoon, I added some gathered bark and a little moss, and it turned into what I had always pictured: a miniature woodland moment, right beyond my front door.
Now, I can’t pass my entryway table without grinning. The birdhouse is surrounded by its spring companions. Together, the cherry blossoms, pussy willow wreath, and tiny nest gently suggest that warmer weather is on its way. It may be a modest display, but it brings an equal sense of optimism and playfulness to our cottage.
That’s the magic of crafting, don’t you think? It changes more than objects; it also changes the way our spaces make us feel. An ordinary birdhouse turns into a tale. A forgotten stack of bark becomes something precious. Even a small area of your home can feel like a woodland retreat.
I hope this project encourages you to notice the potential in the uncomplicated things around you, whether it’s a craft-store treasure, a small bundle gathered from nature, or an unplanned afternoon. The finest projects aren’t always the grandest. Often, they’re the ones that make you pause and grin as you pass by.
If you decide to make this project, whether you choose bark, twigs, or your own creative combination, I’d be thrilled to see it! Nothing makes me happier than watching these ideas take shape in your homes! That’s the reason I created a page devoted to you and your projects! See what my talented readers have made! Send your photos to cottageonbunkerhill@gmail.com for a chance to appear in the gallery.
Happy crafting, friend. May your Spring bring plenty of small moments filled with creativity and happiness.
xo, Jennifer
Enjoy projects like this?Don’t miss a thing! Join my newsletter familyfor more warm, affordable DIY inspiration sent directly to your inbox. You’ll receive special tips, advance access to tutorials, and plenty of ideas to help your home feel personal, welcoming, and handmade.